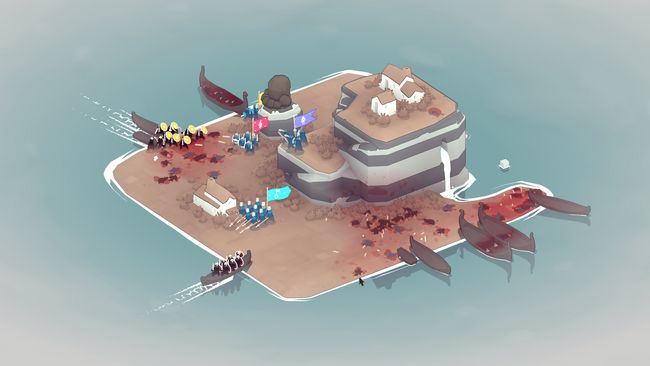
Descriptions of the pros and cons to each unit class, as well as how they interact with different enemy types. I’ve also included a section of miscellaneous strategy tips.
Up shields!
Infantrymen are the versatile all-rounder units. They shine for their mobility in combat, as well as the shields they bear which make them near immune to projectile attacks.
Pros:
- Good mobility
- Very good projectile resistance
Cons:
- Lack mechanism of invulnerability
- Due to their shields, infantrymen are your hard counter to enemy archers and axethrowers. They can hold their own in direct engagement with enemy infantry, but such engagements are where they’re at their most vulnerable due to the lack of reach for their swords. They excel at protecting your forces from ranged attacks and as flanking/skirmish units. Infantrymen are hard countered by the vikings’ brute units, which are best countered with pikes.
- I find the drop ability to be very situational. If the rare event occurs where you have nothing better to spend your gold on, it’s not a bad thing to have, but overall the seven gold is better spent elsewhere.
- Infantrymen are the unit that’s most likely to be suffering gradual casualties, so I like to equip them with the ring of command that increases their number or the warhorn that quickly reinforces the unit to increase their survivability and damage.
Hold the line!
Pikemen are strong defensive melee units defined by the outstanding reach of their weapons. They can carry your game if placed well and properly defended from archers. Pikes can only attack while standing still, and are incapable of attacking enemies at grappling range. This lack of mobility and uselessness once the spearwall has been breached is their greatest drawback, but if you can properly mitigate these risks, a unit of pikes can be a formidable force.
Pros:
- Long reach can reduce (or completely prevent) casualties
- Can draw out a confrontation to give other units time to move/replenish
Cons:
- Lack of mobility
- Crippled once the spearwall has been breached
- Very vulnerable to projectiles
Pikemen are your hard counter to small groups of powerful enemies, such as the mid/late game viking brutes. Their ability to hold distance between themselves and enemies is their greatest strength in my opinion, as it can allow them to decimate enemy forces with little harm to themselves. Pikes tend to be an all-or-nothing unit, as they are extremely powerful until the enemy gets too close, at which point they start to raise their pikes and become nearly useless. Due to their lack of shields and static nature, pikes are very vulnerable to enemies with ranged attacks, as they can’t defend themselves or chase after archers. Pikes work very well when placed in a chokepoint, particularly one formed by mountains that can give them cover against arrows.
The charge ability is helpful to grant your pikes a limited form of mobility and increase their offensive capacity, however I find it to be a luxury purchase for the most part, as the benefit gained by it should already be covered by your infantrymen.
In terms of items, I like to equip pike captains with the warhammer, as it can be used to knock back enemies who have broken the spearwall and give your pikemen time to reform.
Loose on my command!
Archers are your ranged damage dealers. If well placed, they can be a good source of constant damage through the battle, but due to their lack of effectiveness against the many shielded enemies you’ll be facing and their vulerability at melee, they tend to be more of a luxury than a necessity.
Pros:
- Ranged attacks
- High damage output
Cons:
- Poor accuracy against moving targets
- Basic attack is nearly useless against shielded enemies
- Very vulnerable in melee combat
Archers can be devastating against large groups of unshielded enemies. A max level unit of archers can tear apart a wave of light raiders, to the extent that maybe 10% of them make it to the shore. Against shields, you may have an arrow or two slip through the gaps and bring one down, rarely meaningful damage. Because of this, archers tend to be very situational. If you can manage to get your melee units to flank around the enemy and pull their shields to the other side, they become much more effective. Overall, archers aren’t a bad unit to bring along, but you could be equally successful without ever fielding a unit of them. To maximise their effectiveness and security, the highest and most inaccessible ground is the obviously ideal location for your archers.
The volley ability is the way you bring down moving targets. If a target is moving faster than the speed of an approaching longboat, it’s unlikely your archers will hit them, as they apparently don’t understand the concept of “lead your target”. Volley allows you to manually aim one shot for the entire unit, which can enable them to land a solid shot on a mobile force, if only once per cooldown. Due to the high volume of fire being put out, it can also harm shielded units, and can be used as very effective crowd control. If you’re going to buy an active ability, this is the one to get.
I like to equip my archers with bombs, as it gives them a means of effectively countering shielded enemies, as well as improves their already strong crowd control.
