Table of Contents Show
A simplified version of batteries’ guide, designed specifically for Windows 10 users.
Step 1
Make sure your vehicle is saved and remember what you named it.
Step 2
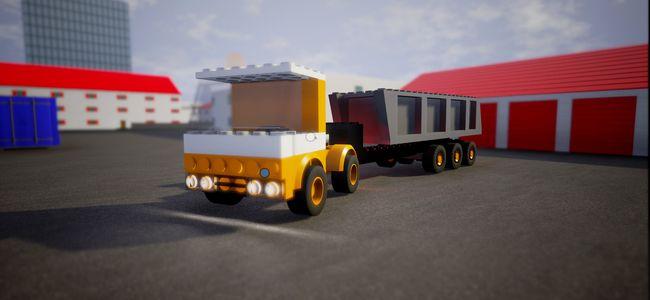
Take a screenshot with a good angle of your vehicle.
Step 3
a. Find where you saved your screenshots. Personally, mine are saved in:
C:/Program Files (x86)/Steam/userdata/[a bunch of numbers]/760/remote/552100/screenshots
b. Right-click the screenshot and select Edit with Paint 3D.
c. Resize the image to a perfect square no larger than about 600×600.
d. Click the X to close the window. This should open a box that tells you it isnt saved. Click Save.
Step 4
a. press Windows Key + R, it will open a dialogue box.
b. Type in %appdata%
c. It will open a folder. Click AppData in the top dialogue box. Do not click the arrow next to it.
d. Navigate to:
AppData/Local/BrickRigs/Saved/Thumbnails
b. Type in %appdata%
c. It will open a folder. Click AppData in the top dialogue box. Do not click the arrow next to it.
d. Navigate to:
AppData/Local/BrickRigs/Saved/Thumbnails
Step 5
a. Find the thumbnail of the vehicle you want a custom thumbnail for.
b. Right-click the default thumbnail and select Edit with Paint 3D.
c. Click Menu in the top left corner of the screen.
d. Select Insert. Find and open the picture you want as the thumbnail, then left-click anywhere on the screen except for the picture.
e. d. Click the X to close the window. This should open a box that tells you it isnt saved. Click Save.
cool game and fun