We Are the Flame Walkthrough
So you made it this far, and are ready to embark in the first mission of the darkest dungeon. Well my friend let me give you some tips so you can even the odds, because believe me when i say the best is yet to come.
On this mission you are tasked to kill a shuffling horror. The size of the dungeon is medium, so you will receive one firewood to camp, so as a recommendation don´t waste that firewood, use it only before the boss room or when stress is becoming a problem. The map is pretty simple, having to move forward to find the boss room. But be careful since the mobs on these dungeons are nothing you have seen before, and can prove themselves worthy of nightmares.
In this dungeon expect a lot of bleeds and stress per attack, so bring a lot of bandages and at least one hero that can heal stress, or otherwise don´t be mad when your heroes reach 100 stress. Also in these dungeons the map are predetermined, so they don´t change no matter what, so is recommended to search a map on the internet so you know what to expect, or you can go without spoiling the fun and go full yolo.
Boss fight: The shuffling horror
The shuffling horror is nothing more than a glorified shambler, who it seems it has been corrupted by the dungeon. When you enter the boss room you will also find a cultist priest. Don´t try to kill it because the shuffling horror will spawn another one, so is pretty much pointless.
The shuffling horror has the eldritch type, it has a gigantic size (it occupies 3 ranks) and it has 2 turns per round, making marks and debuffs pointless but blights and bleeds useful. Its main gimmick is that once per turn he will shuffle your entire party, making this fight unpredictable since you don´t know where your heroes will be moved. Also he will always spawn with a cultist priest, and will spawn another if killed so you must focus your attention on killing the shuffling horror. For his attacks he has:
Lacerate: With this skill the shuffling horror will launch itself towards two heroes, damaging them and has a chance to bleed them. While it doesn´t do as much damage as one might think (other bosses do more nasty damage), this skill can easily eat the health bar of your heroes, so don´t neglect their health bars or you can easily be on death´s door.
Echoing disassembly: This skill will only be used when the cultist priest is killed. The shuffling horror will attack all your party members, stressing them and lowering the torchlight, while also summoning another cultist priest or a defensive growth. This skill has a fairly CRIT mod so don´t focus the cultist priest yet, however annoying he might be.
Undulations: With this skill the shuffling horror will roar at your party, shuffling them. This is its gimmick and will use it once per turn, so be ready and use heroes that aren’t affected by position.
The shuffling horror is weak towards bleedings, so trying to inflict them might prove a good strategy to grind him down, especially since it has two turns per rank making DOT useful.
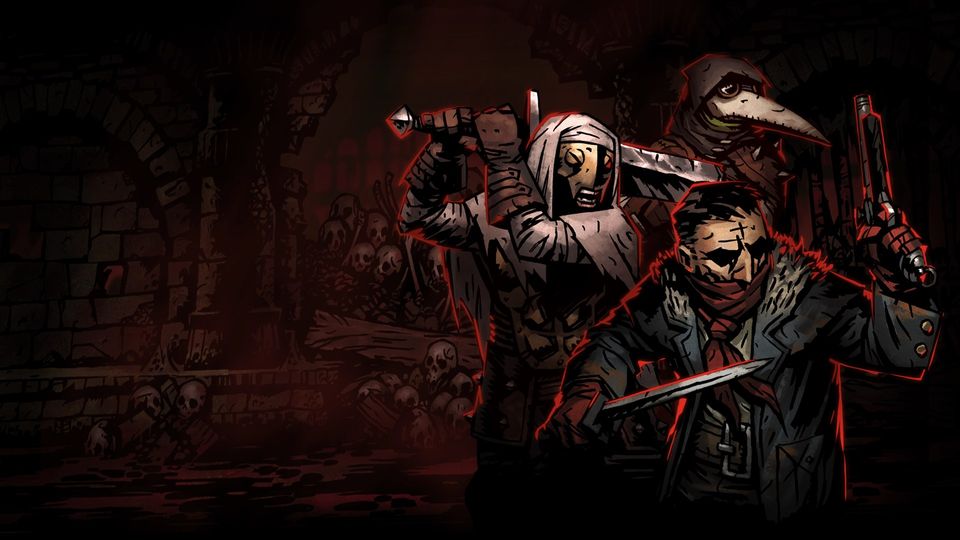
Heroes
In this dungeon you really don’t want to bring heroes that dislike being moved around, so you really need to bring heroes that can act and move at will regardless of position or you might be screwed big time. On this list i let you some heroes that I have found useful on this dungeon:
Jester: In this dungeon stress plays a high role since almost every enemy attack is guaranteed to stress your party, so you need a good stress healer. Also the jester doesn’t give a about the gimmick of the shuffling horror.
Vestal: While at first the vestal might look like a bad option, in fact she is pretty good on this dungeon since in the fight with the shuffling horror you want to keep your entire party alive and healthy as long as possible. Besides she can function in almost any position, so she is good to go.
Abomination: With his transformation the abomination might prove himself useful, especially since he can buff his damage and can move himself if needed. Just be careful since his transformation might prove your perdition if you can´t control the stress.
Hellion: The hellion exceed at this battle since she can inflict bleeds to the shuffling horrors while not giving a about its gimmick, making her a solid choice to use. Just be careful with her debuffs, you don´t want to waste her too fast and make her useless.
Highwayman: The highwayman also exceed at this battle since he can inflict bleed to the shuffling horror but he also has riposte, and all of the shuffling horror´s skills attack your entire party, so your highwayman can riposte for days, making this fight less hard.
Occultist: The occultist is a perfect choice to use in any dungeon of the darkest dungeons since he does more damage towards eldritch mobs, but he can also save you in a pinch if you need heals. But in my personal opinion he is better suited in the next mission.
Bounty hunter: The bounty hunter is one of the best choices in this battle, since he can act in any position, his mark can debuff the shuffling horror´s PROT and he benefits tremendously from marks, so if you can stack damage on both stack and size you can do some serious damage towards the shuffling horror.
After you manage to kill the shuffling horror, you will be granted three talismans of the flame, which are going to be crucial for the incoming mission and, if you lack any, the shuffling horror will give you a random ancestral trinket (since he is a shamble at heart), so you can receive two ancestral trinkets on this mission.