
Table of Contents Show
Coming to Fruition Summary
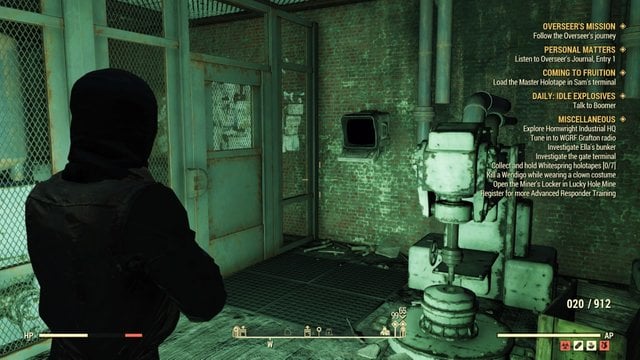
Coming To Fruition will task players to upload data and loading a number of Master Holotape Relay. This missions will take you to some familiar location along with some new ones.
Abbie’s Bunker
The quest initiates while you are in the Abbie’es Bunker. For some reason, if you have left get back there and grab the Master Holotape. Exit the bunker and go to Harpers Ferry. Access the Armory Access Terminal and insert the Master Holotape. Play the Holotape to hack the terminal and the door to the armory will unlock.
Take a right to the first opening in the armory compound. Use the terminal to open the door. Go upstairs and turn around and use the planks to cross to the building ahead.
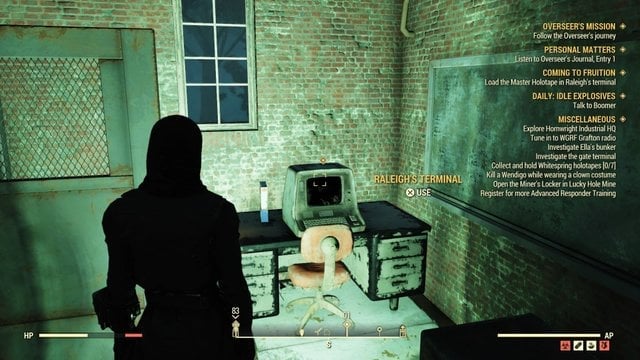
Drop downstairs and use the terminal to open the door. Exit the building and enter the neighboring one. Go up and hack the terminal to access the Raliegh’s terminal. Insert the Master Holotape and listen.
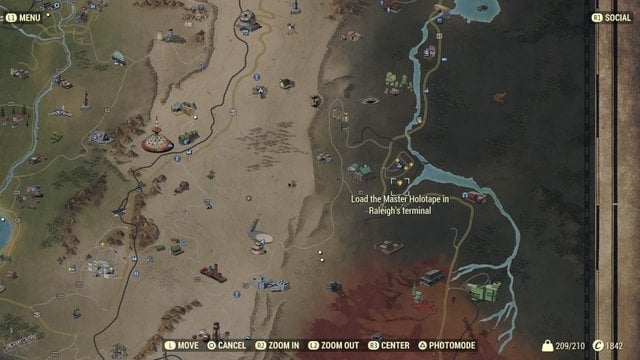
Now fast-travel to Charleston Capitol Building and get to the third floor and find the Sam’s Terminal. but it will be locked. Go down the basement and use the marked Security Terminal to unlock Sam’s Terminal. Go back up the third-floor and load the Master Holotape.
Fast Travel to Relay Tower LW-B1-22 and use the Master Holotape there. on the terminal. Download the data and get back to Abbie’s Bunker to restart the system. Use the Scorched Detection System Terminal in the main room to complete the quest.
Coming to Fruition Walkthrough
Coming to Fruition is a main quest that becomes available after completion of Reassembly Required.
Quest Rewards
- Plan: Flamethrower Trap
- Plan: Tesla Arc Trap
- (9) Purified Water
- Plan: Light Combat Torso
- Weightless Combat Armor Right Leg
Grab the Master Holotape

To begin, listen to Abbie’s latest instructions. She will tell you to grab the Master Holotape from the desk in the main room of her bunker. This holotape is required to complete most of the objectives in this quest, so once you head out to the next quest location.
Head to the Armory
The first stop on your Master Holotape grand tour is the armory in Harper’s Ferry, where you will load the tape into Raleigh’s Terminal. You may already have Harper’s Ferry unlocked from an earlier mission, but if not it is located south of Abbie’s Bunker near the split in the river.
The armory itself is located south of Harper’s Ferry, so either head through the town and deal with the Scorched in the town, or go around and head to the armory directly. When you arrive use the Armory Access Control Terminal on the outside, and load the Master Holotape to override security and get inside.
Once inside you will be in a plaza surrounded by three buildings. You can access the one on the right side and hack the terminal in the front room to advance through the locked door. There are terminals placed in various places around the armory, so take them out whenever they get in your way.
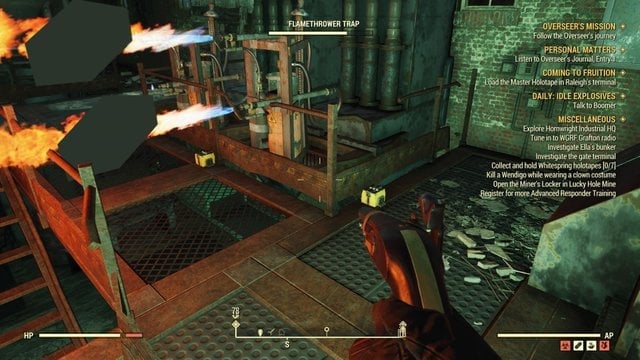
In the second building you will see some flamethrowers rigged up to a few tripwires. Sneak up to the tripwires and disarm them, or simply jump in the gap behind the flamethrowers and drop through the gap to the room below. Advance into the third building where you will run into more turrets, Make your way past and up to the second floor where you will encounter the final hackable terminal, which lets you into the room with Raleigh’s Terminal. Load the Master Holotape again, then Initiate Program File Scan, listen to Abbie, then head to the next objective.
Hack Senator Blackwell’s Terminal
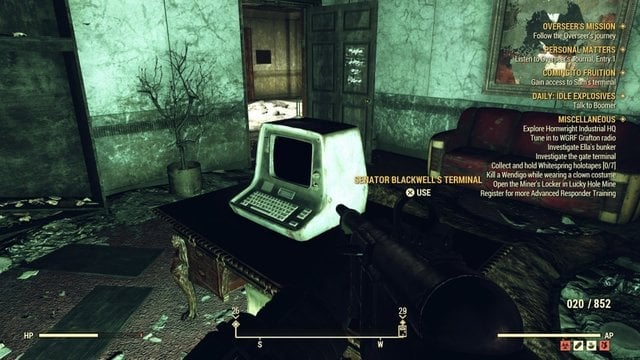
The next objective is located at the Charleston Capitol Building. Warp over there and head inside. Senator Blackwell’s Terminal is located in his office on the top floor. Battle your way through the enemies, taking every staircase or ramp up, until you are level with the quest marker, then find his office. Access Senator Blackwell’s Terminal and load the Master Holotape.
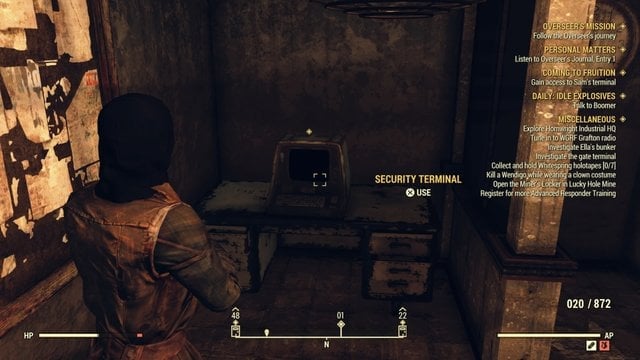
The file scan will fail because the terminal is security locked. You can unlock it using the Security Terminal located on the bottom floor. Head all the way back down and find the kitchen, which is located right next to the security room. Follow the quest marker to the terminal, access it, select Accounts, then Account Lockdowns, then Samuel Blackwell, then Unlock. With his terminal unlocked you can head back to his office, load the holotape, Initiate Program File Scan, then be off to the next objective.
Upload to Relay Tower
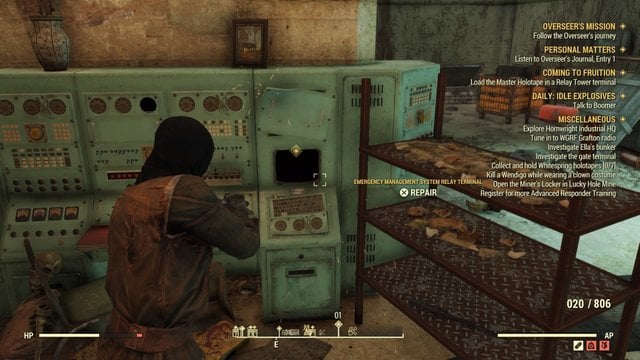
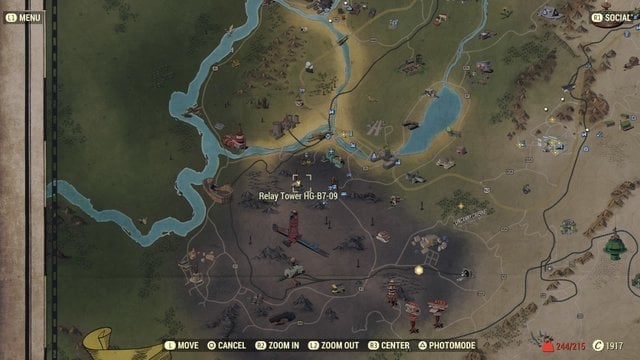
The final objective is to take the Master Holotape to any Relay Tower and upload the data. From the Charleston Capitol Building the easiest Relay Tower to reach is probably Relay Tower HG-B7-09, located directly west of The Rusty Pick near the Charleston Fire Department. Head to the Relay Tower of your choosing, clear out any enemies defending it, then load the Master Holotape to the Emergency Management System Relay Terminal inside, then Initiate File Upload.
As usual, the quest ends with you needing to head back to Abbie’s Bunker and finalize your work using the terminal in the main room. Warp back, access her terminal, then Reboot the System to complete the quest.
Completion of this quest will automatically unlock the next quest, Defiance Has Fallen.