Table of Contents Show
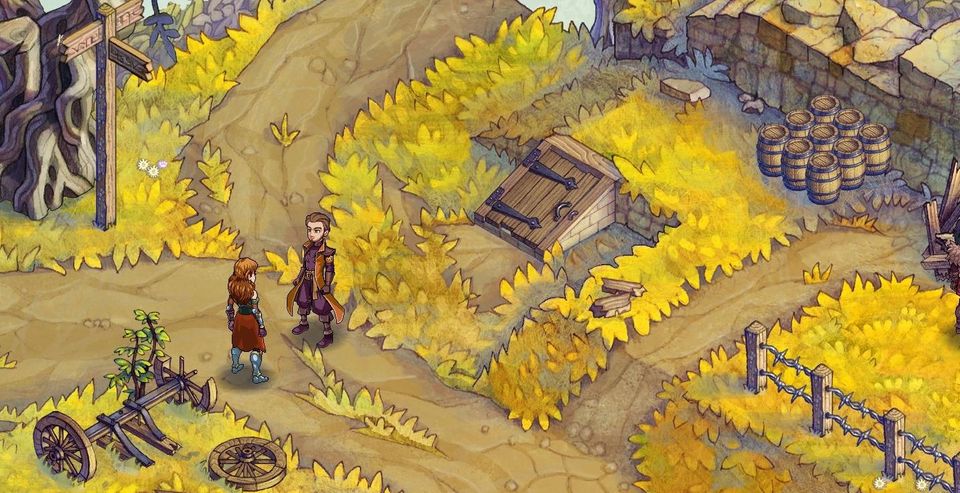
In various areas across the map are obelisks waiting to be activated to give you clues to find a hidden treasure. This guide covers the locations of those obelisks, what the completed riddle says and the answer to it.
Other Fell Seal: Arbiter’s Mark Guides:
Introduction
This guide covers (mostly) hidden devices that appear from early areas all the way up to near enough the endgame of Fell Seal: Arbiter’s Mark and the powerful treasure they lead you to. Needless to say, everything from the next section on is a spoiler. If you don’t want to see the weird and wonderful locales of Teora or to be told where bunch of secret objects are, be advised that it’s best you don’t continue reading past this point.
If you’ve played up to the first temple, you’ve almost certainly seen an obelisk but you might not necessarily know what it does. Stand next to it and choose “Activate” to make red sigils glow on it and to add an “Obelisk Clue” to your Key Items. One obelisk, one clue.
Obelisk Locations
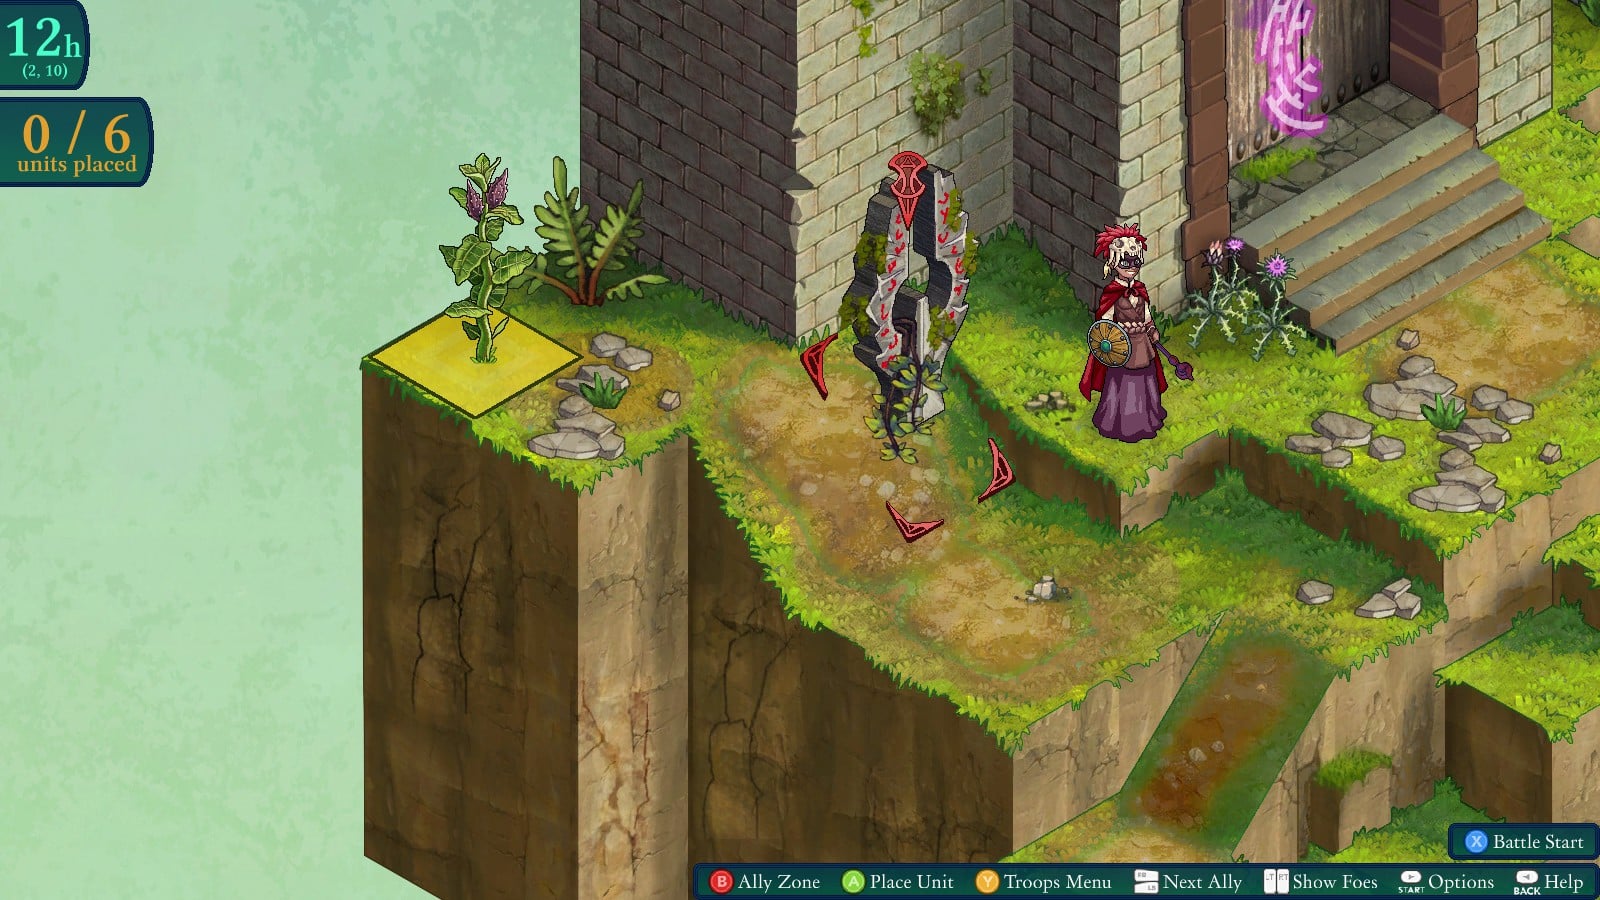
Obelisk #1
Map: Scarred Summit
Coordinates: 2,10
It’s to the left of the temple entrance and the only way you can miss it is to not play the map.
Obelisk #2
Map: Azure Fields
Coordinates: 7,16
It might be hard to see because of the grass but it’s on the second line down, on the right end of the blank space.

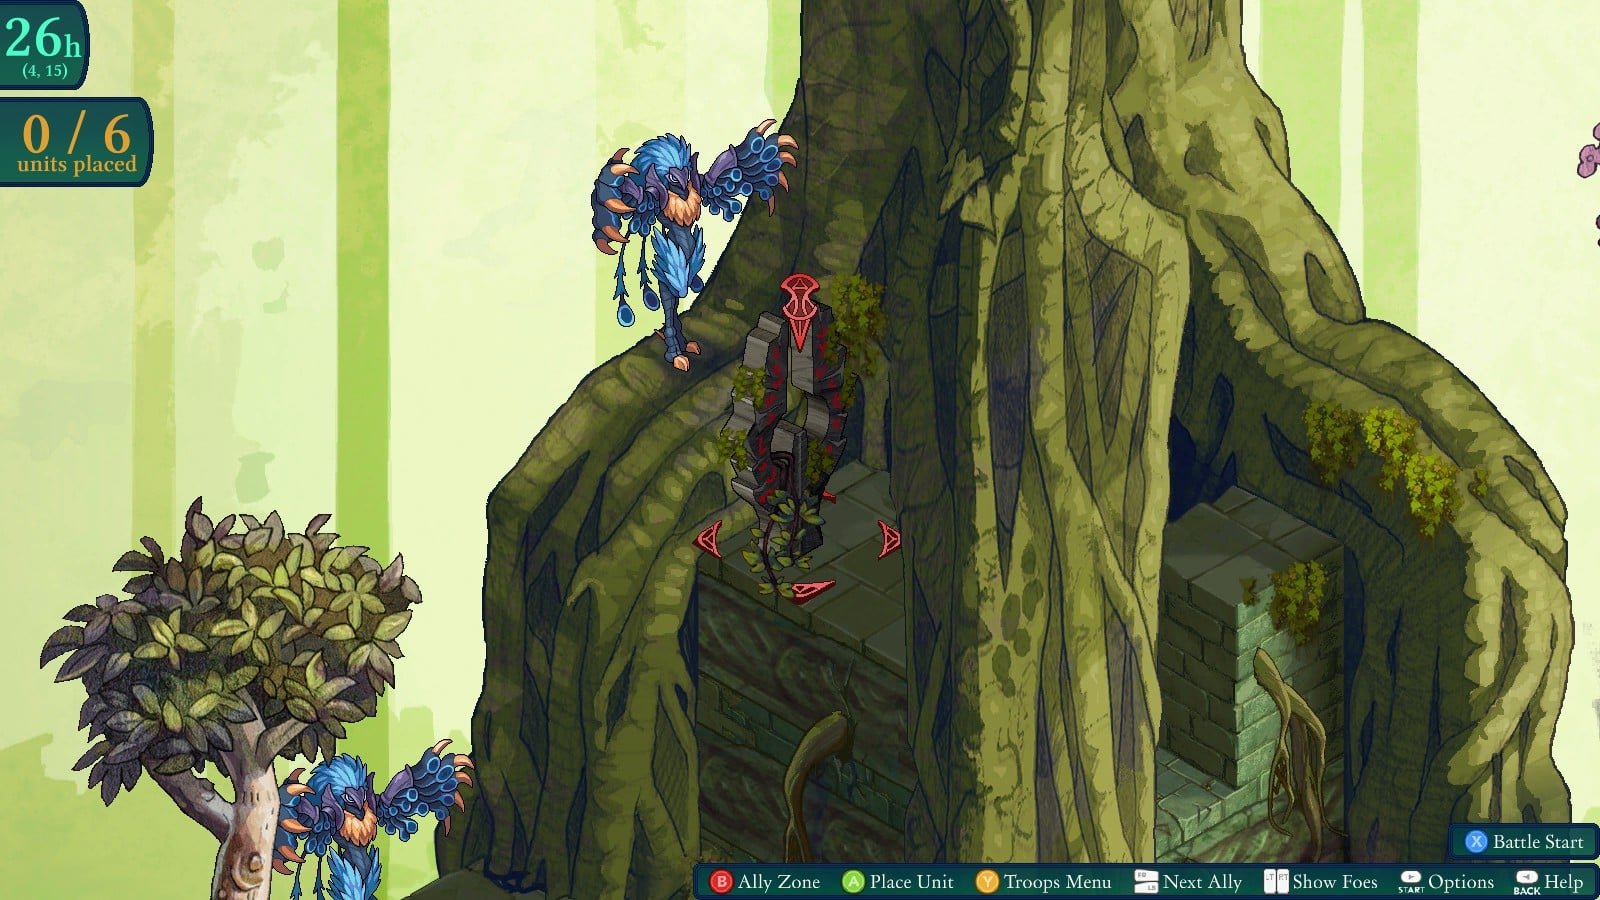
Obelisk #3
Map: Ekhidna Falls
Coordinates: 4,15
It’s sitting almost directly above the Temple entrance. You will want either a character that can fly/teleport or some powerful jump enhancements to make that 25 height jump. No other way to reach it; one route’s blocked off by that other thing and standing on the tree won’t let you activate the obelisk.
Obelisk #4
Map: Baaz Island
Coordinates: 2,13
It’s a little harder to see than previous ones but once again on maps like this, it’s next to the temple entrance.

Obelisk #5
Map: Kapawka Jungle
Coordinates: 16,8
Sitting next to a tree you can gather from, on a little island on the right. Any mobility power will get you there. Maybe don’t take someone who can’t be afford to be Boomerang Bounced into water tiles, though.

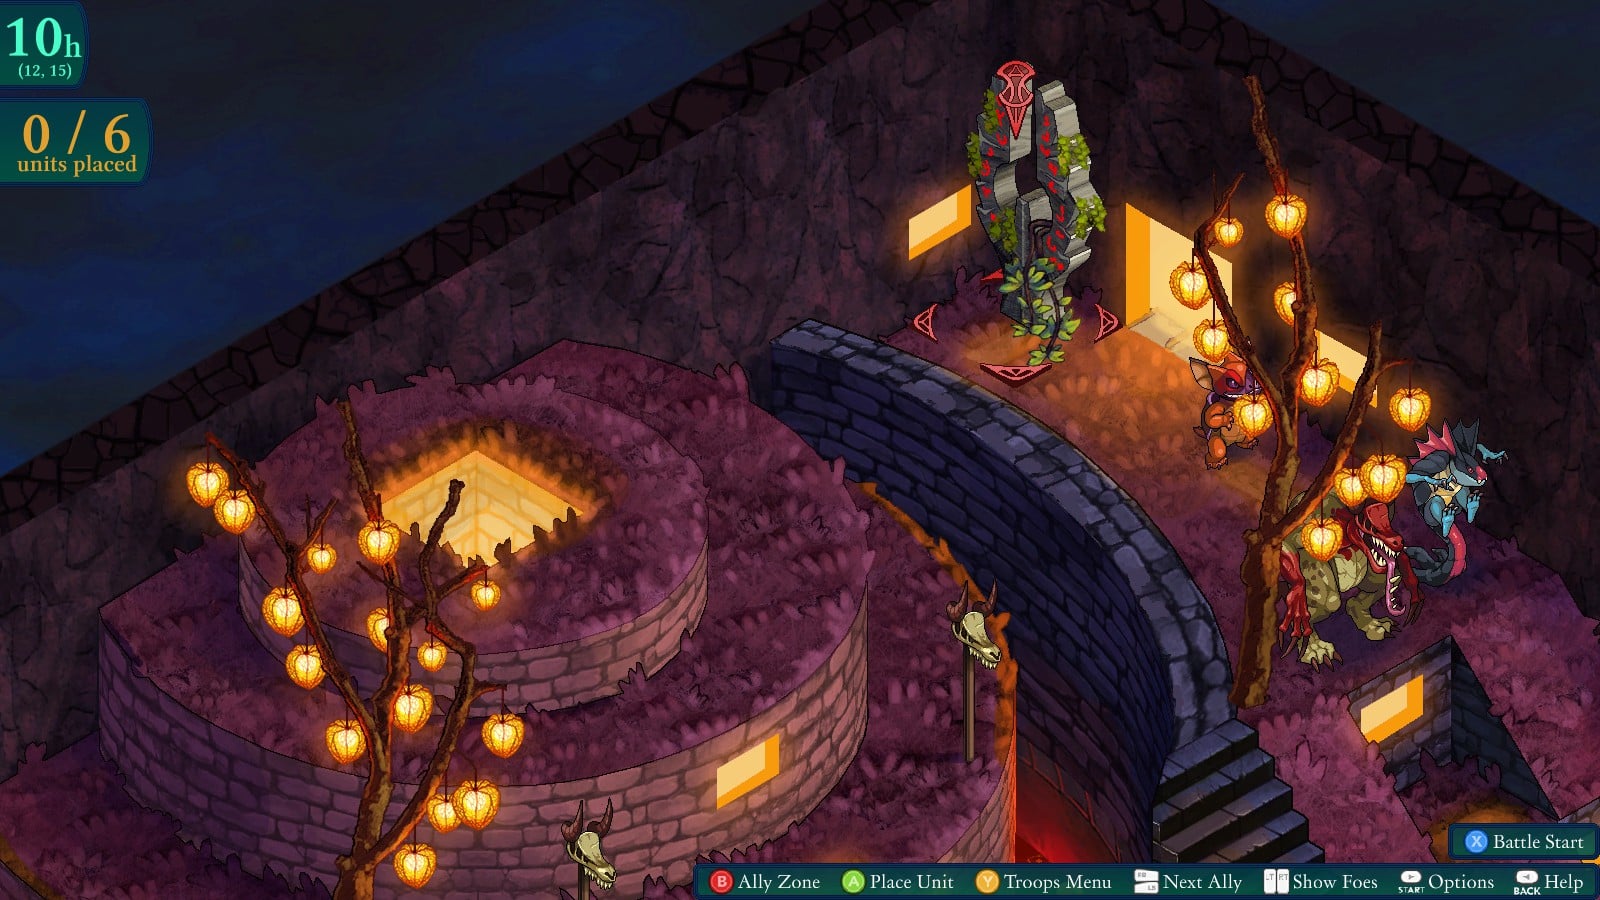
Obelisk #6
Map: Gogombob City
Coordinates: 12,15
Around the right side of the building, all the way at the back.
Obelisk #7
Map: Devilsblood Ascent
Coordinates: 6,4
Just… just trust me that it’s down there, OK? Regardless of how you deal with the height of the drop (it’s just 6), floating is a must; that’s a lava tile you’re trying to get to down there.

Obelisk #8
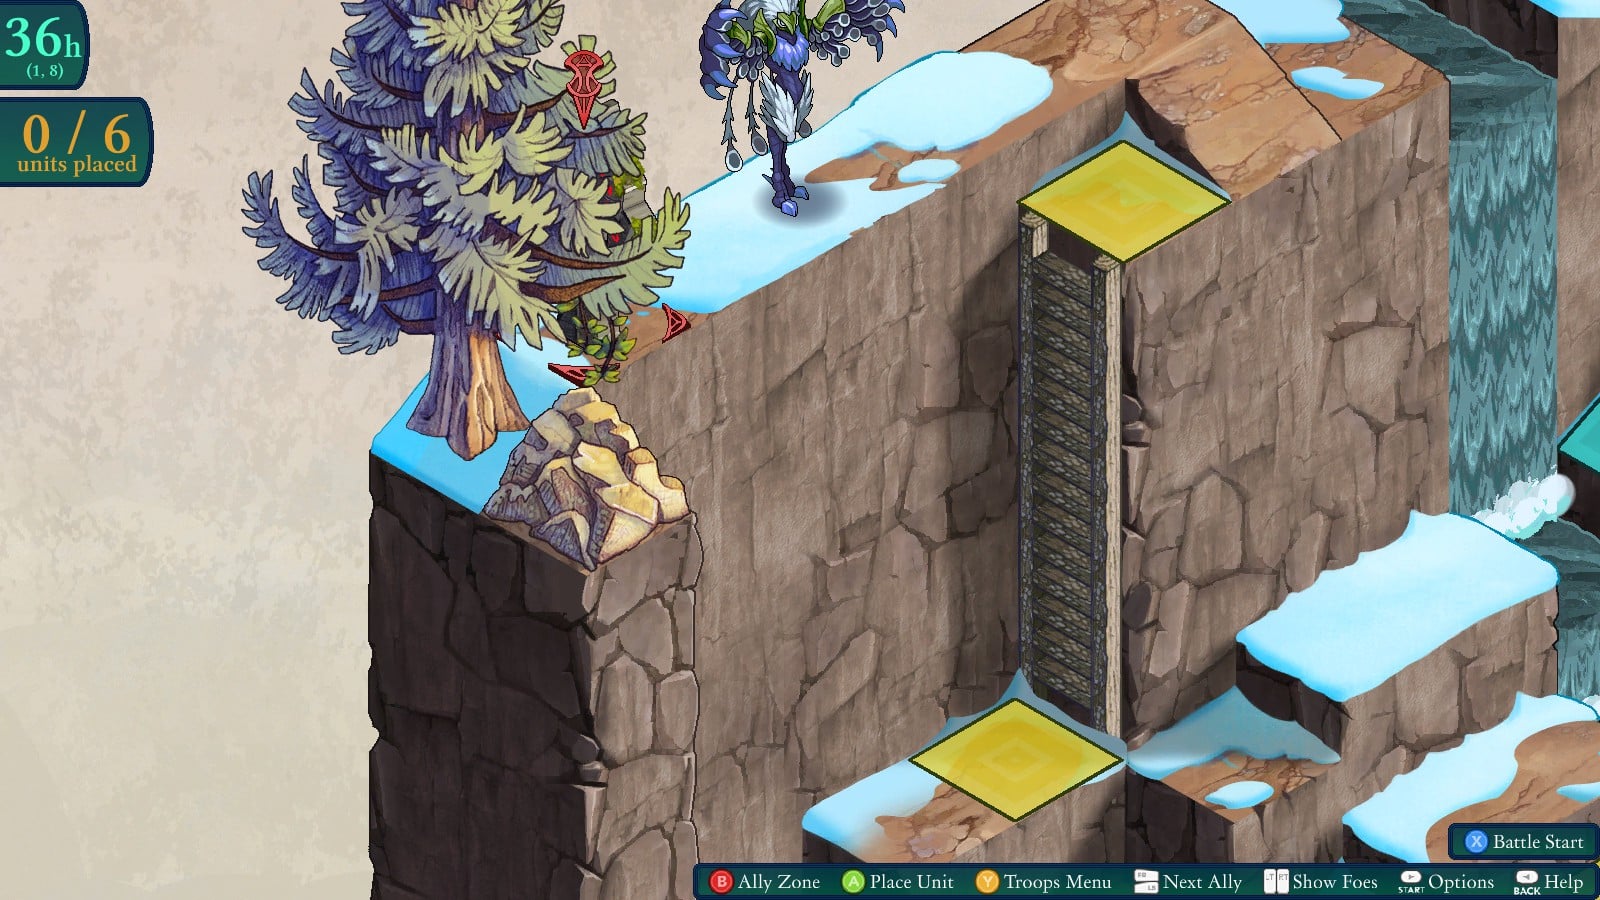
Map: Gelligh Foothills
Coordinates: 1,8
Cruelly hidden behind a tree at the top of the map.
The complete riddle
If you’ve gone through your key items and examined any of the clue items, you’ll know that it’s not entirely easy to read. Each clue is a piece of a whole paragraph written backwards, with the 8th clue being the start of the riddle and the 1st the end of it. Put together and written the right way around it reads:
“To those seeking access to the treasures of our old clan, make your way to the site of our most glorious and fated battle. 13 days it lasted and a mighty struggle it saw, leaving the fields barren and sulfurous. Once the trip made, take your feet to the twin coordinates therein. Use our treasure wisely, that no 13 others have to suffer our fate.”
The solution and the treasure location
The riddle describes the area as:
- Having fields
- Barren
- Sulfurous
- A battleground
A place that once had plants but no longer can, a place implied to have been torched, a place where a long battle was fought. One map manages to satisfy all of this with its dead trees, its smoking, grey grounds, its trenches…
As for the “twin coordinates”, only two numbers were ever listed or even hinted at in the prose, both of them being 13. With the “twin” part suggesting that wherever it is, the X and Y values are going to be the same, there isn’t much room for an alternative answer.
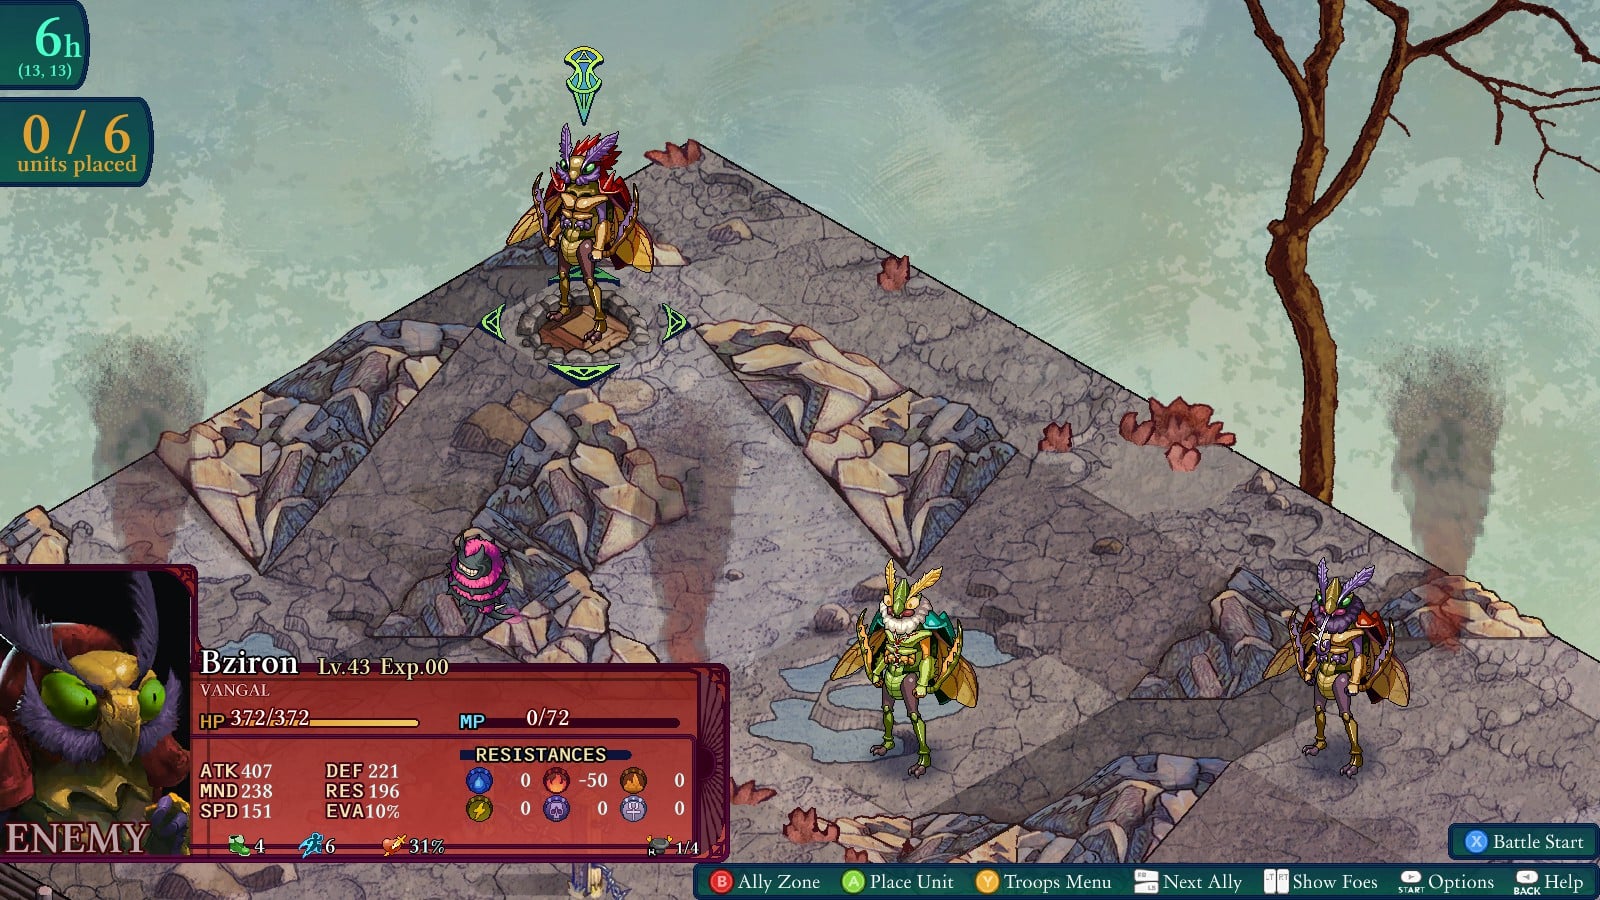
Map: Godstear Wastes
Coordinates: 13,13
It’s on top of a mound. You have to stand on that exact tile itself uncover the treasure. The tile will change to show that you’ve unearthed the goods.
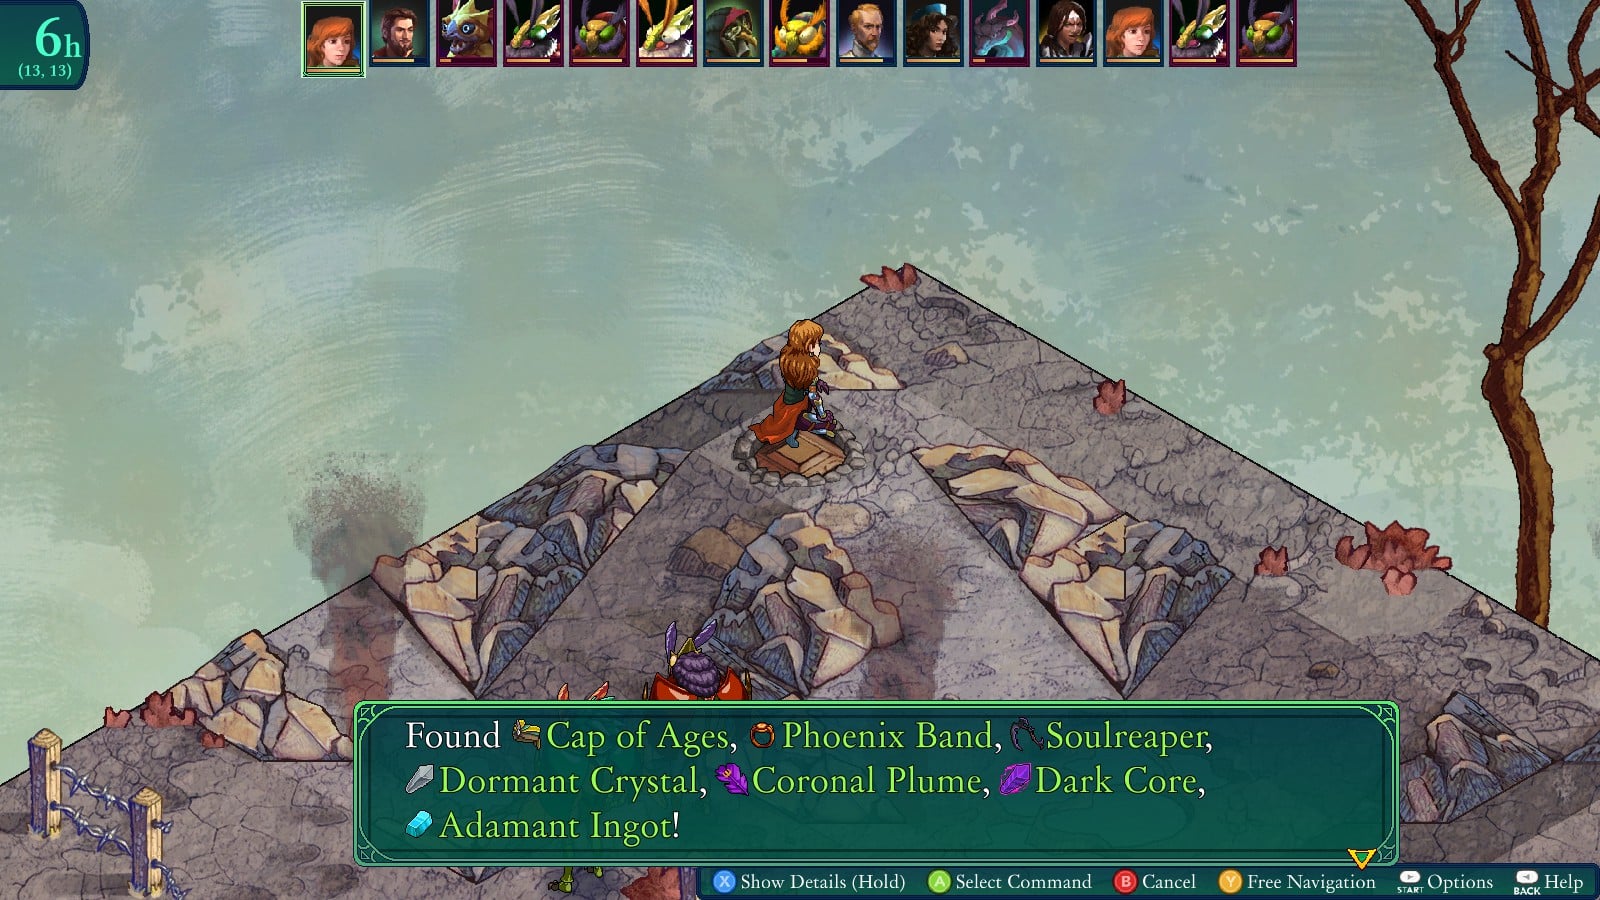
The treasure contents
For one last spoiler, here’s Anadine unearthing powerful artifacts and rare components.
Gelligh Foothills isn’t even an option for me and I think I am at the end of the game, Help!
I’m in the same boat does this location unlock after the end?