Table of Contents Show
The guide describes the shortest path for a stealth combat-free playthrough without talking to NPCs or being seen by them.
Encased Stealth Pacifist Walkthrough
Character Creation and Perks
Wing: Orange Wing.
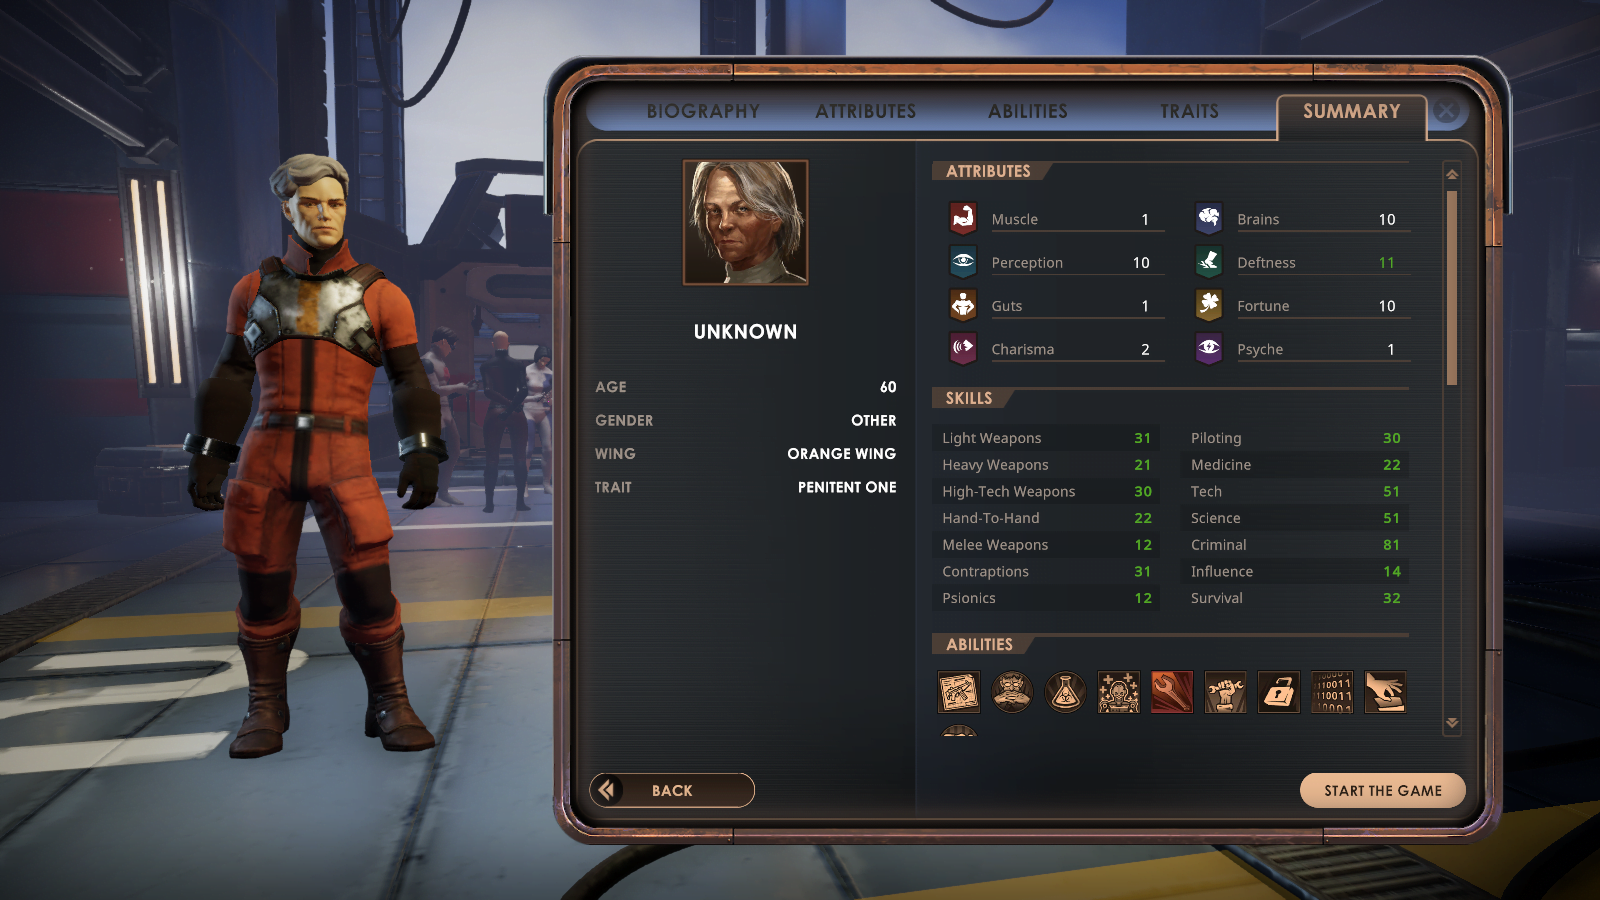
Attributes: Perception, Brains, Deftness, and Fortune at 10.
Skills: Criminal at 80, Tech and Science at 50, Piloting at 30.
Likely due to the influence of the Dome, the locals can perceive the protagonist only in a relatively small radius around them, making stealth extremely effective. Additionally, if Waiting was activated before a crime has been noticed, it is possible to wait through the cooldown. Piloting is required to get out of Concord on your own. Science might be useful for some of the terminals. Due to the possible lack of food, getting Survival to 90 if all other important skills are high enough might be reasonable. Contraptions allow the use of jetpacks, thus skipping some parts of slowly sneaking through the locations or avoiding random encounters.
Perks: Penitent One, Loner, Optimizer, School of Hard Knocks (Orange WIng).
The Loner perk should be taken as soon as possible, as the experience bonus should provide enough Skill points. Optimizer increases the maximum Encumbrance and the Contraptions skill.
Important Items
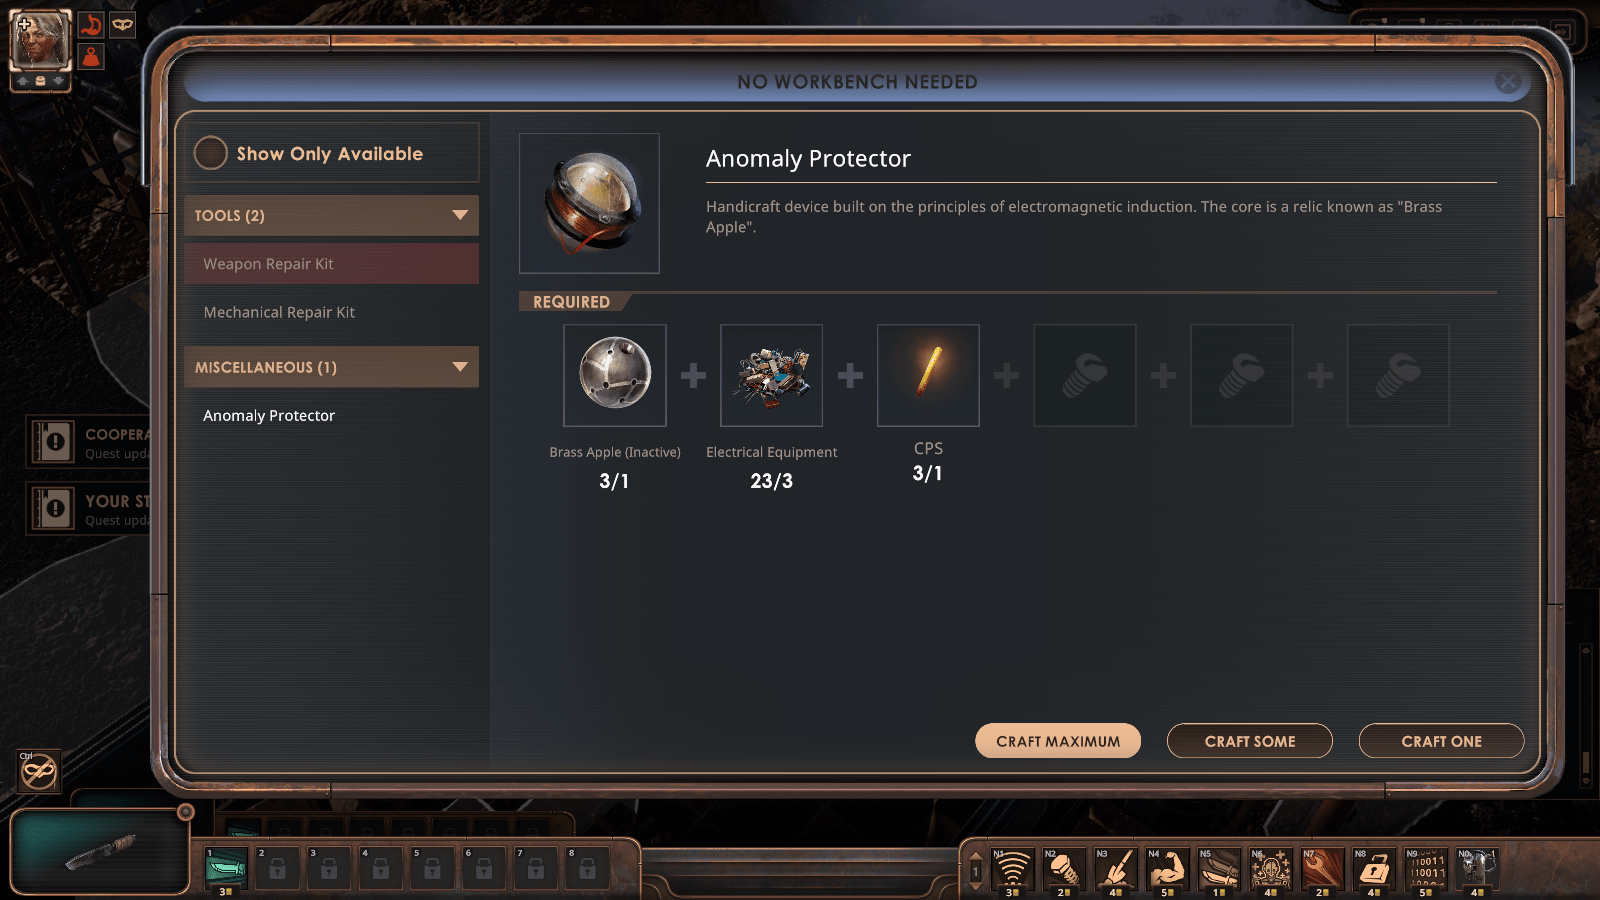
Firstly, 3 CPSs and 9 Electrical Equipment pieces are necessary to craft critical quest items.
Secondly, while a rope is likely to be available in the target location, it is safer to have one already.
Thirdly, for the weapons shivs should be found or crafted. There will be no combat, but the shivs provide a stacking bonus to the Criminal skill. All other equipment should be scrapped for experience if it does not improve the skills.
Finally, food and Energon. While Thirst can be sated with sinks, Hunger cannot, thus food should be looted at every opportunity and it is recommended to rest in beds whenever possible, as both travel and lockpicking increase Fatigue.
The Turret
In Act 1 and 2 it is not possible to avoid the turret at the entrance to Picnic before the PC can enter stealth.
Other Key Points
While it is likely that there will be enough experience to complete the game, finding high-level items gives quite a lot of it, so might be reasonable to do. The ability at Survival 90 protects from Hunger and Thirst.
A fully-explored map is recommended – without talking to NPCs, most of the areas must be reached in order to know their location.
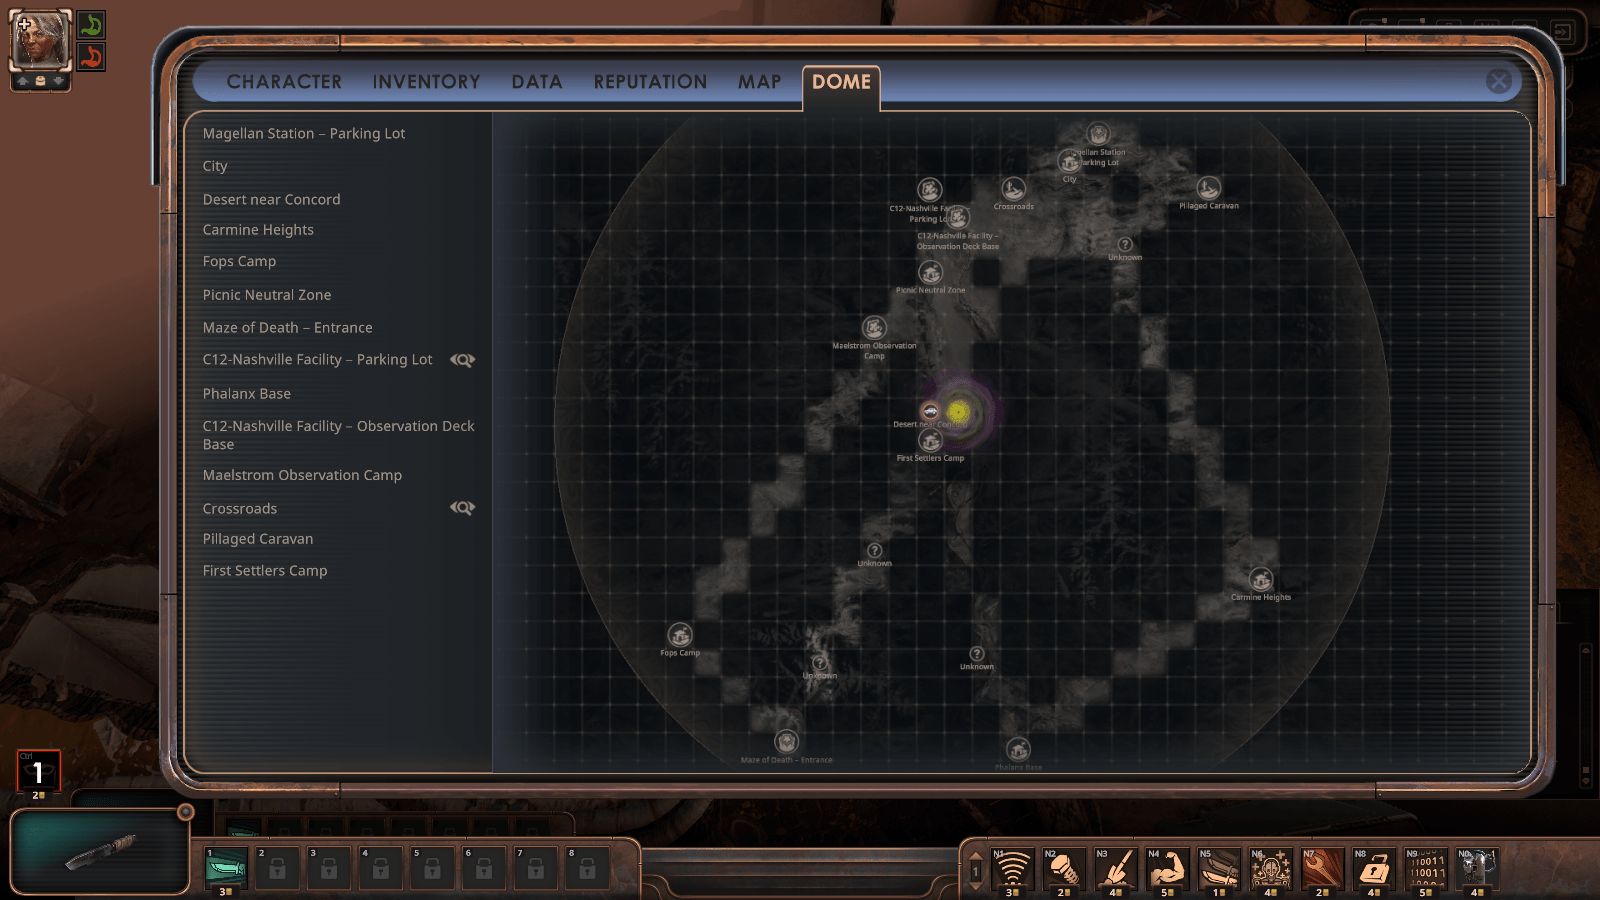
(Visiting the Fops Camp is unnecessary, the item required is in the Maze of Death).
In order to obtain the information to progress several quests, reading the journals from the Inventory is required.
Additionally, in Act 2 the sequence of actions to progress is more rigid than before and the optimal path is described in the respective section of the guide.
Most importantly, there is no special ending for completing the game solo, without killing anyone, or being seen. More of an opposite – all but 3 endings are locked behind factions, 1 requires an item, and 2 available for all.
Prologue
Concord
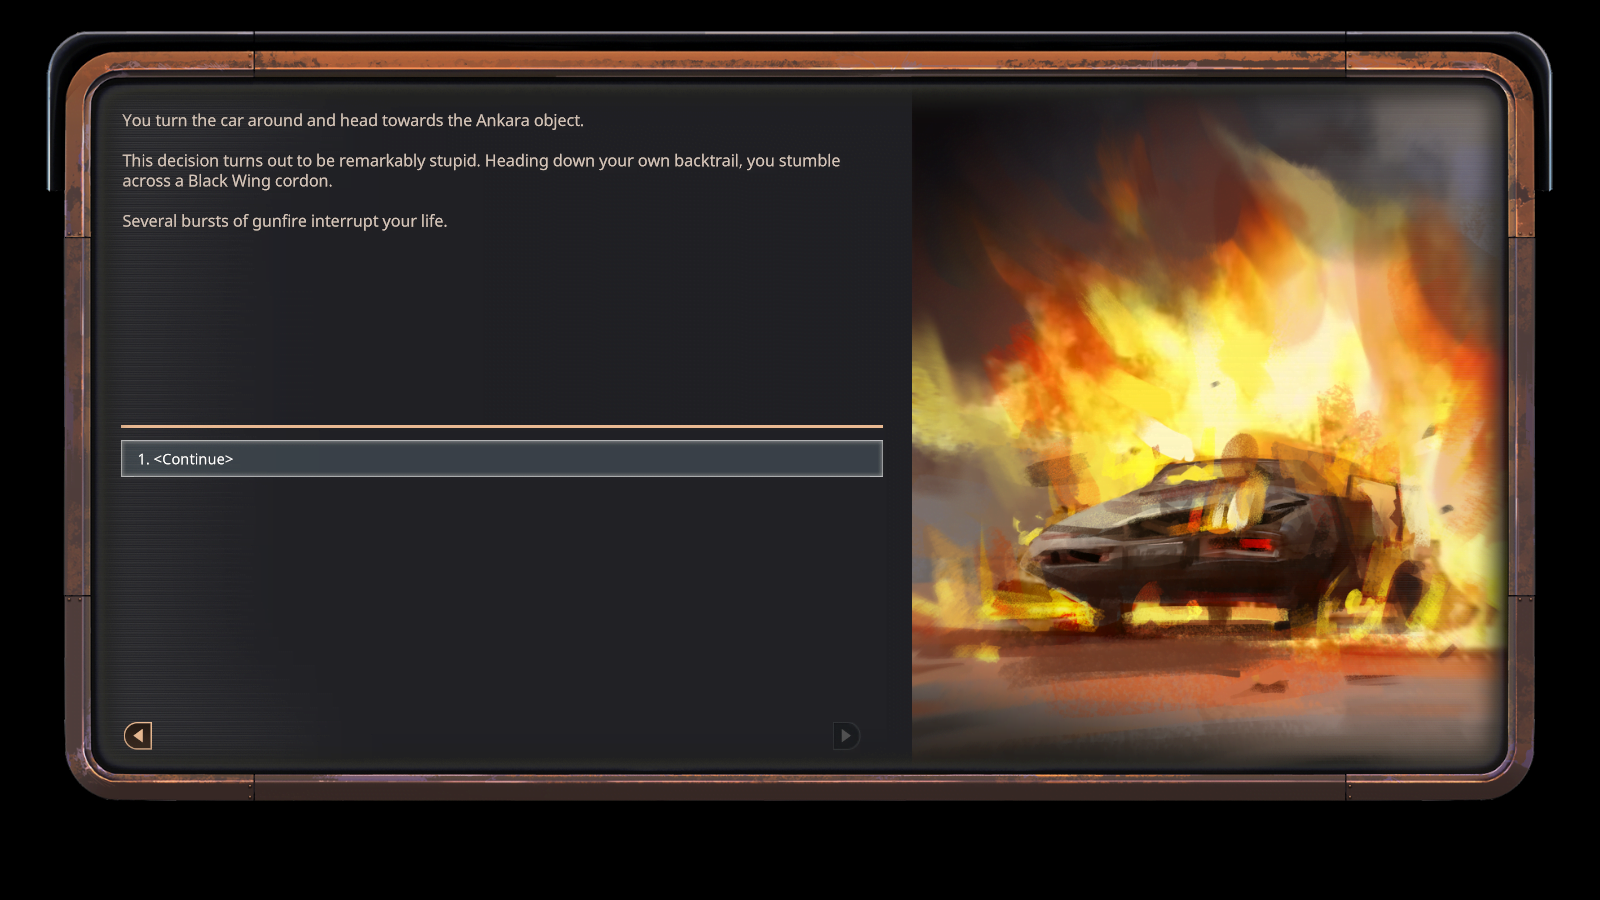
After exiting the pod it is preferable to wait (Y) for an hour, then enter stealth. All doors can be unlocked without delay, the goal is to reach the garage through the video conference room. In the garage Kingsley will contact you. The blue car is next to the stairs and can be taken. The only survivable destination is Nashville.
Picnic Neutral Zone
Nothing of note. The objective is to cross the area, get into the basement, and pick an “apple” from the glowing tree. Then sneak back and install the relic on the car.
C12 – Nashville Facility
You need to enter the sewers from the hatch in the guard booth, pick the Ventilation Grid Key from the safe, and enter the ventilation shaft. On the first floor unlock the elevator via the Elevator Terminal. It might be reasonable to rest, as there are no hostiles in the area and the fatigue will increase. Optionally, a relic fragment can be found in the ventilation, the other two are in the broken toilet on the second level and in the safe.
On the second level the key card is in the fridge with a necroid leaning onto it. It is recommended to loot the medical office.
On the third level, the path lies straight to the elevator on the other side.
On the last floor, it might be reasonable to turn on the servers to increase the amount of lighting and to loot the medical office. After entering the cave area a damage over time effect will be applied when in darkness, thus right after exiting the field of view of the foes, the PC must run to the glowing relic and use medkits as necessary.
Unknown Place
Just sneaking to the bottom of the area twice, then to the top.
Act 1
Nashville Cave
Exit the cave. Visit the Observation Deck in the next area and interact with the east-facing binoculars.
Head for the Junktown.
Junktown
Clear the fridge, rest in one of the houses, loot the glasses from Santiago in front of the Emulator Project building.
Emulator Project
Quickly interact with the console (scan yourself) next to Henrietta Russo. It will start the main quest. The goal is to acquire 3 items and restore the power to the Project. The teleglasses have been found already.
Magellan Station
Cross the parking lot, enter the elevator, enter the ventilation shaft and pull the lever on the other side of the room, then head back and enter the Hall.
Pick the door and take the next elevator to Level 7, the Reactor.
Pick the fuses from the Blue Wing employee and go to yet another elevator. The fuses to change are not highlightable, the second on the left corner of the rails.
Back at the Reactor Level interact with the console. Enter the safe mode, disable everything, restart the second reactor, start the cooling system, restart the first reactor, pull the levers.
The Station can be left for the end of the Act.
Pillaged Caravan
The relic is in the pocket of the kneeling fop.
Picnic Neutral Zone
You must enter during the day, otherwise the guard initiates a dialogue. The essence in Audrey’s pocket. If she has ropes or CPSs, they should be picked up as well.
Maelstrom Observation Camp
It might be the time to increase the Contraptions skill to 40 and disarm the mines. Otherwise, just sneak past, scan the dead scientists, and compile the driver at the terminal.
Emulator Project (Return)
Use the items on the interactive points in the test chamber, run the test sequence on the terminal next to Russo, and wait for ~2 days. The system will send a message when the tests have been completed. Then interact with the Main Console in the test chamber.
It is strongly recommended to shrink the Maelstrom.
Act 2
Emulator Project
Nothing to do here yet. Exit to Junktown.
Junktown and the City
Enter the City through the main gates, (optional) then head to the sewers on the right.
(Optional) Sewers
Enter the Chapel on the left, watch the scene, pickpocket the helmet, exit the sewers back to the City.
Council
Listen to Nakamura’s speech. Nothing can be done before that.
Temple
Loot Santiago’s safe on the left.
Emulator Project
Loot Russo’s safe to gain the password to her terminal and watch the recording. Doing so before learning of Nakamura’s intentions will not progress the quest.
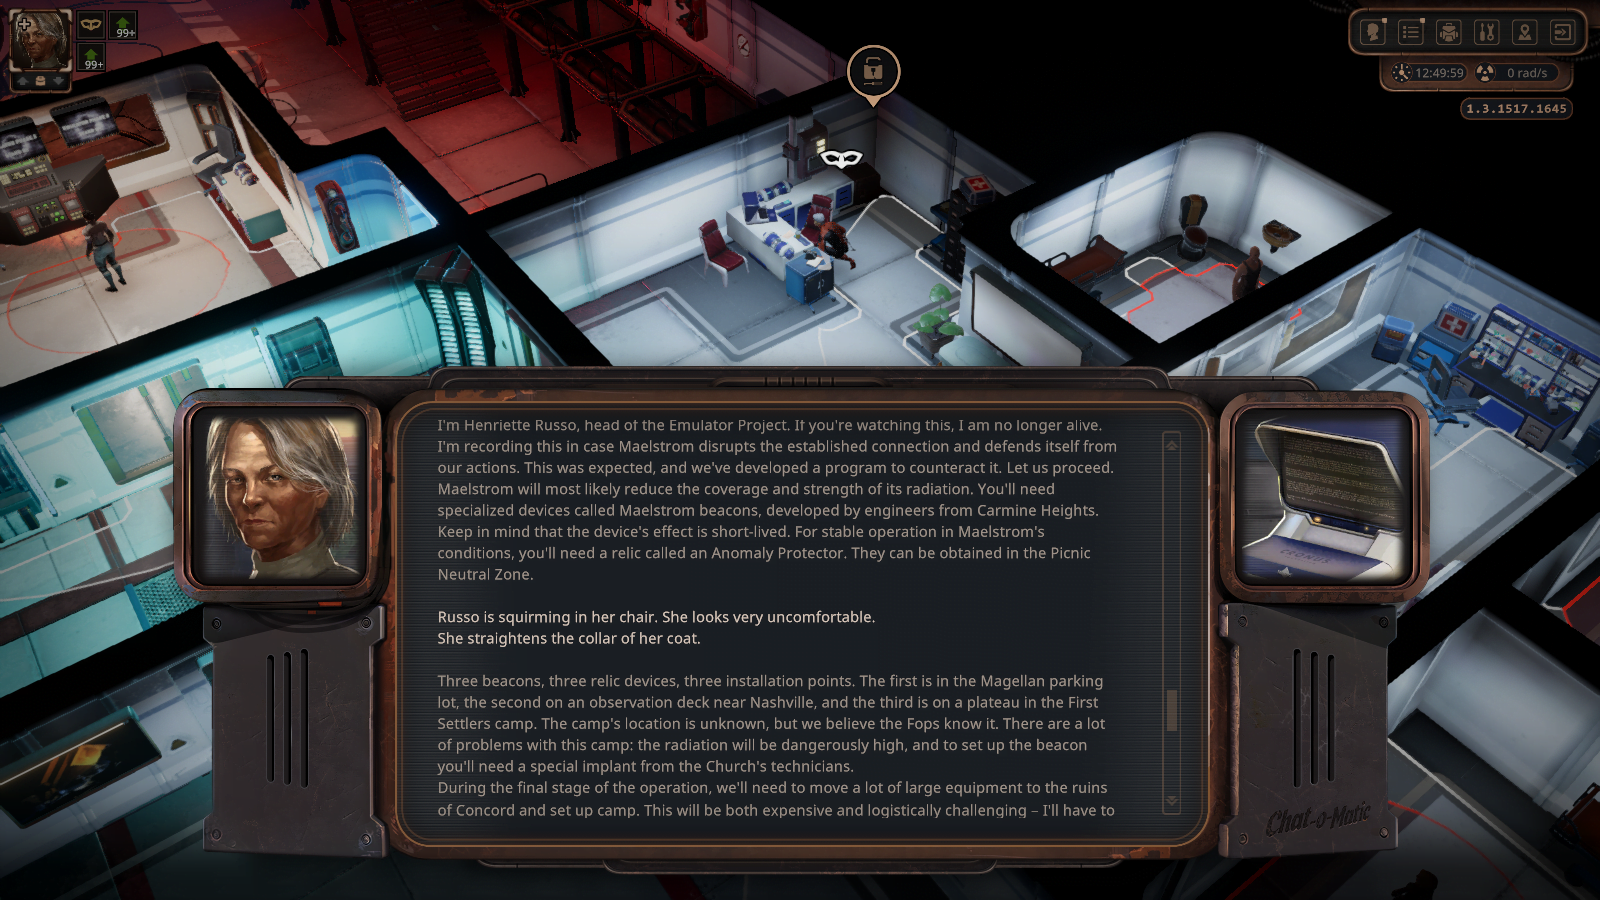
Return to the Council building and order the resources for the expedition from Nakamura’s terminal. Fix and hijack the car next to the building.
Carmine Heights
The beacons are on the north of the settlement, in the Reysners’ house.
Phalanx Base
Enter the base via the left sewage grate. Go to Zemekis’ house on the north from the exit and get his selectron from the safe. Use the selectron on the Caravan terminal next to the sewage grate to add the route to Concord.
Maze of Death
Enter through the gates. If you have a rope, just go to the elevator. If you don’t, loot the containers in the area first.
In the next area, turn left, pick the keycard from the remains in the bathtub and the roll from Sherlock. Backtrack to the elevator and go right from there to the room with a golem. Level up the Science and Criminal skills if necessary, use the terminal to power up the elevator, and get out. Most importantly, read the roll.
Picnic Neutral Zone
The relics are on the “tree” in the basement, the instructions are in the safe in the building above the tree. The CPSs and the Electrical Equipment might be in the boxes around.
If a random encounter starts after entering the area, turn left and enter the gas station from the back door.
First Settlers Camp
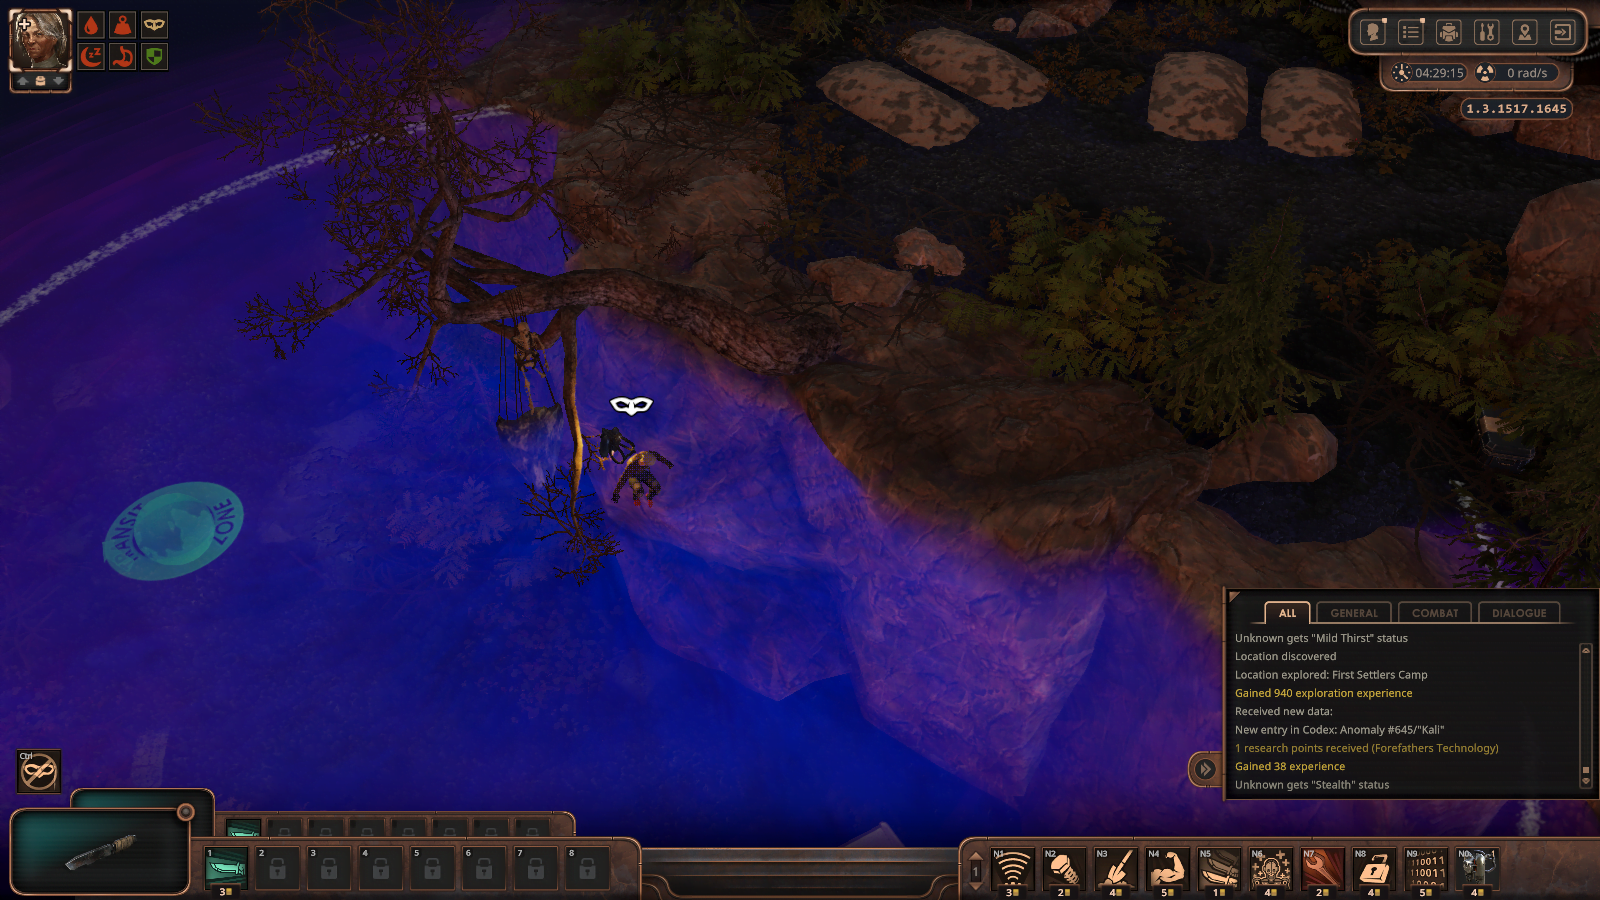
The location of the Camp was gained from Sherlock. The relic from the Temple must be equipped first. The point to place the beacon is on the cliff right above the entrance and can be reached quickly with a jetpack.
Nashville Observation Deck
Nothing of note, just place the beacon.
Magellan Parking Lot
Just place the beacon on the right from the entrance. If a random encounter starts on entering the area, exit, then enter again.
Emulator Project (Return)
Interact with the terminal next to Russo, then with the Main Console in the test chamber.
Act 3
Emulator Project
Exit the building and head into the Dome.
Desert near Concord
Cross the area and enter the remains of the station. Cross the remains of the station, while remaining hidden. Cross the launch pad and choose the NPC you dislike the most. Run into the pillar of light.
Epilogue
Desert near Concord
Nothing of note. The objective is to reach the area’s exit.
