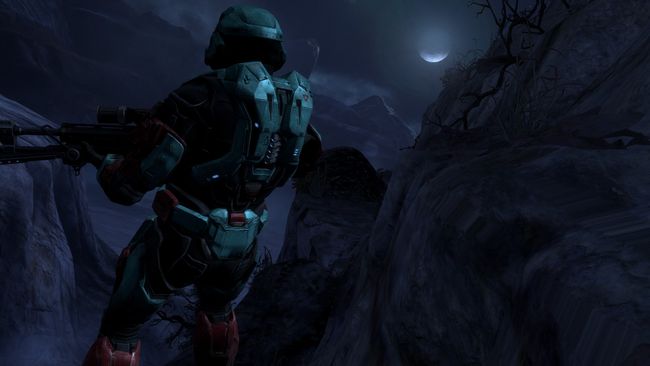
A list of general tactics to use for the legendary difficulty, as well as level specific tips that will help minimize or skip the most difficult parts of the game.
General Tactics
- On missions where you have Noble team allies, always let them push up in front of you and grab most of the attention. They can’t die, so don’t feel too bad.
- Abuse the noob combo. Always carry a Plasma Pistol unless I specify otherwise. There’s no reason not to, and you’ll just be making things harder for yourself by not doing it. And always carry a weapon capable of an instant headshot kill in your other slot. That means a DMR, Needle rifle, Magnum, or hell, a Sniper Rifle. Whenever you encounter an Elite, dip behind the nearest cover, charge your Plasma Pistol, pop out and shoot them, then quickly switch to your headshot weapon and tap them once on the head. If you don’t use this combo, you’ll be wasting ammo and time on Elites, both of which are valuable on legendary.
- Use headshot weapons for all the normal infantry. Tap grunts on the head once or twice and they die. Always aim for the exposed hand on the left of a Jackal shield, then tap them on the head while they’re reeling. Optimally, this means that you’ll be using 1-2 rounds on Grunts and 2 rounds on Jackals.
- Find a piece of cover and stay back. More times than not, there’s no reason to push in. You can almost always take out most of the enemies from a safe distance with your precision weapons.
- Brutes are hilariously weak, and you should consider replacing the Plasma Pistol with the Needler and the DMR with the Needle Rifle on areas where they’re the dominant enemy. That means all of Exodus, the hospital in New Alexandria, and the final wave defense segment in Pillar of Autumn. Since they’re mostly unshielded, you can kill one with 6 Needler rounds or three body shots with the Needle Rifle. Note that the DMR tends to take 1-2 headshots to pop their helmet off, and 1 more headshot to kill. The Needle Rifle is just as efficient except you need to aim a whole lot less.
- Grab the drop shield when you can, and use sprint otherwise. Other than some very niche situations, there’s very little reason to use the other abilties.
Mission 5: A Long Night of Solace
- The initial beach section is easily handled by all of Noble Team tanking and the noob combo. Once you reach the facility, there will be two troopers with rocket launchers. Trade your pistol for one of theirs, then kill the other for ammo.
- In space, be sure to hug the backside of Anchor Nine. Enemies rarely fly there for whatever reason, so it’s a relatively safe place to regenerate your shields. When the Phantom wave spawns, wait for them to come closer before picking them off with your missiles.
- For the next segment, boost straight towards the Covenant Corvette and take out its engines with your missiles before you’re prompted to. Then, rush on over to your friendly ship and hide behind it. The safest place is under one of those weird wings – you can easily keep pace with it, and it keeps you covered from multiple angles. The enemy Covenant aren’t too bright and may ram into the ship trying to kill you. Either way, your friendly ships will eventually take out all the enemies and you can proceed to the next part.
- The initial comms room may be one of the more difficult parts of the whole game. Six Elites, all armed with Plasma Repeaters. They’ll be able to gun you down within a second. Don’t drop in immediately and wait for two of them to hop up into your space. They can’t attack while they’re jumping, so quickly murder them before they land. A third Elite jumped up for me once, but don’t count on it. Hop down and use that Launcher you grabbed to wipe them out, using your drop shield for brief cover if you need it.
- For the hangar area, uses the hallway you come in as cover. It shouldn’t be too hard once you manage to pick off the Engineer.
- For the bridge area, stay in the doorway of where you entered intiially and pick off any Grunts and Jackals you see. If the concussion rifle is spraying you too hard, fall back and the door will close. Keep an eye on your motion tracker for the invisible Elites and just kill them with DMR shots – their shields are a lot weaker than other Elites, and Plasma Pistol shots won’t track them.
- When you return to the hangar with Jorge, hop in the Pelican’s turret and win.
Have fun!
