Table of Contents Show
The Ark Society Walkthrough
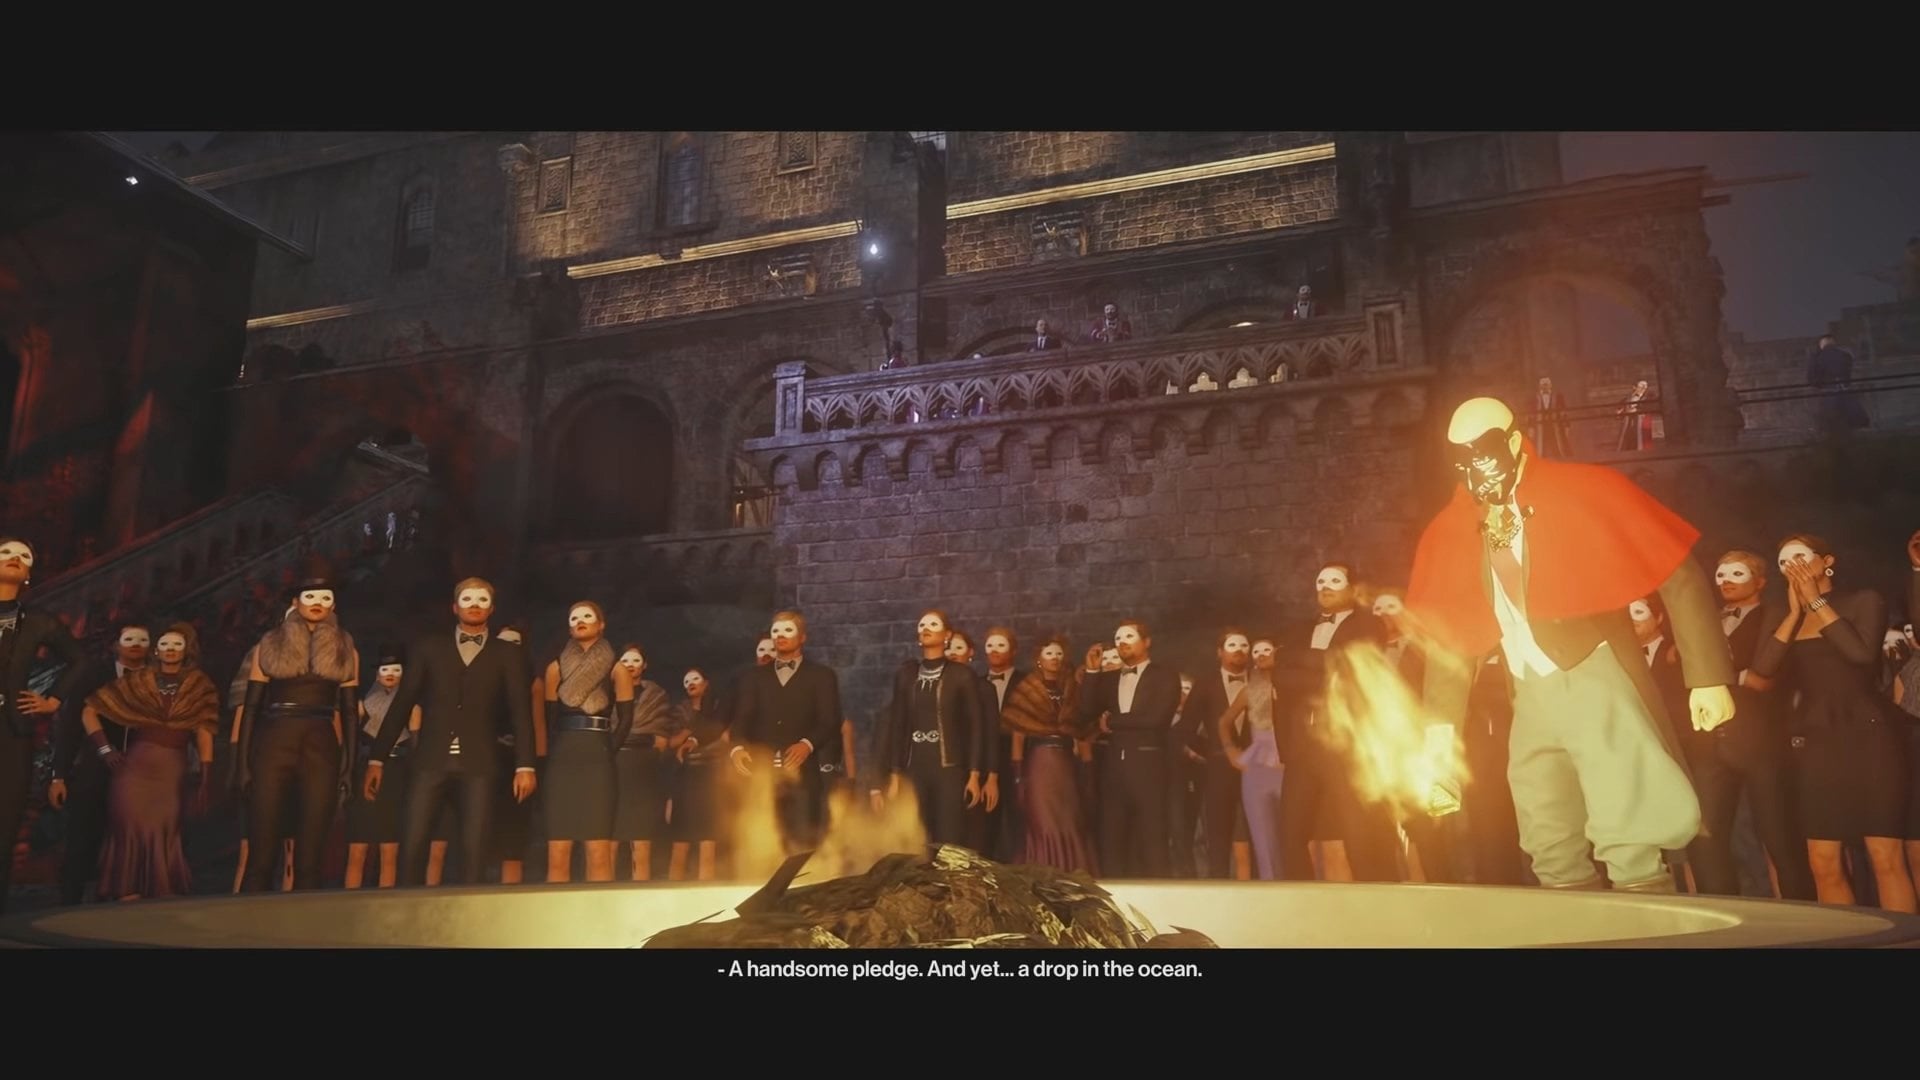
47 arrives at the meeting of The Ark Society, an elite club for the richest and most influential people on the planet. His goal is to eliminate its leaders and get away with the Constant (the only person who knows the identities of Providence). Once a year, members of The Ark Society gather up to see a grand show and bid on auction (items varying from the latest security system to a personal town in the middle of the Antarctic).

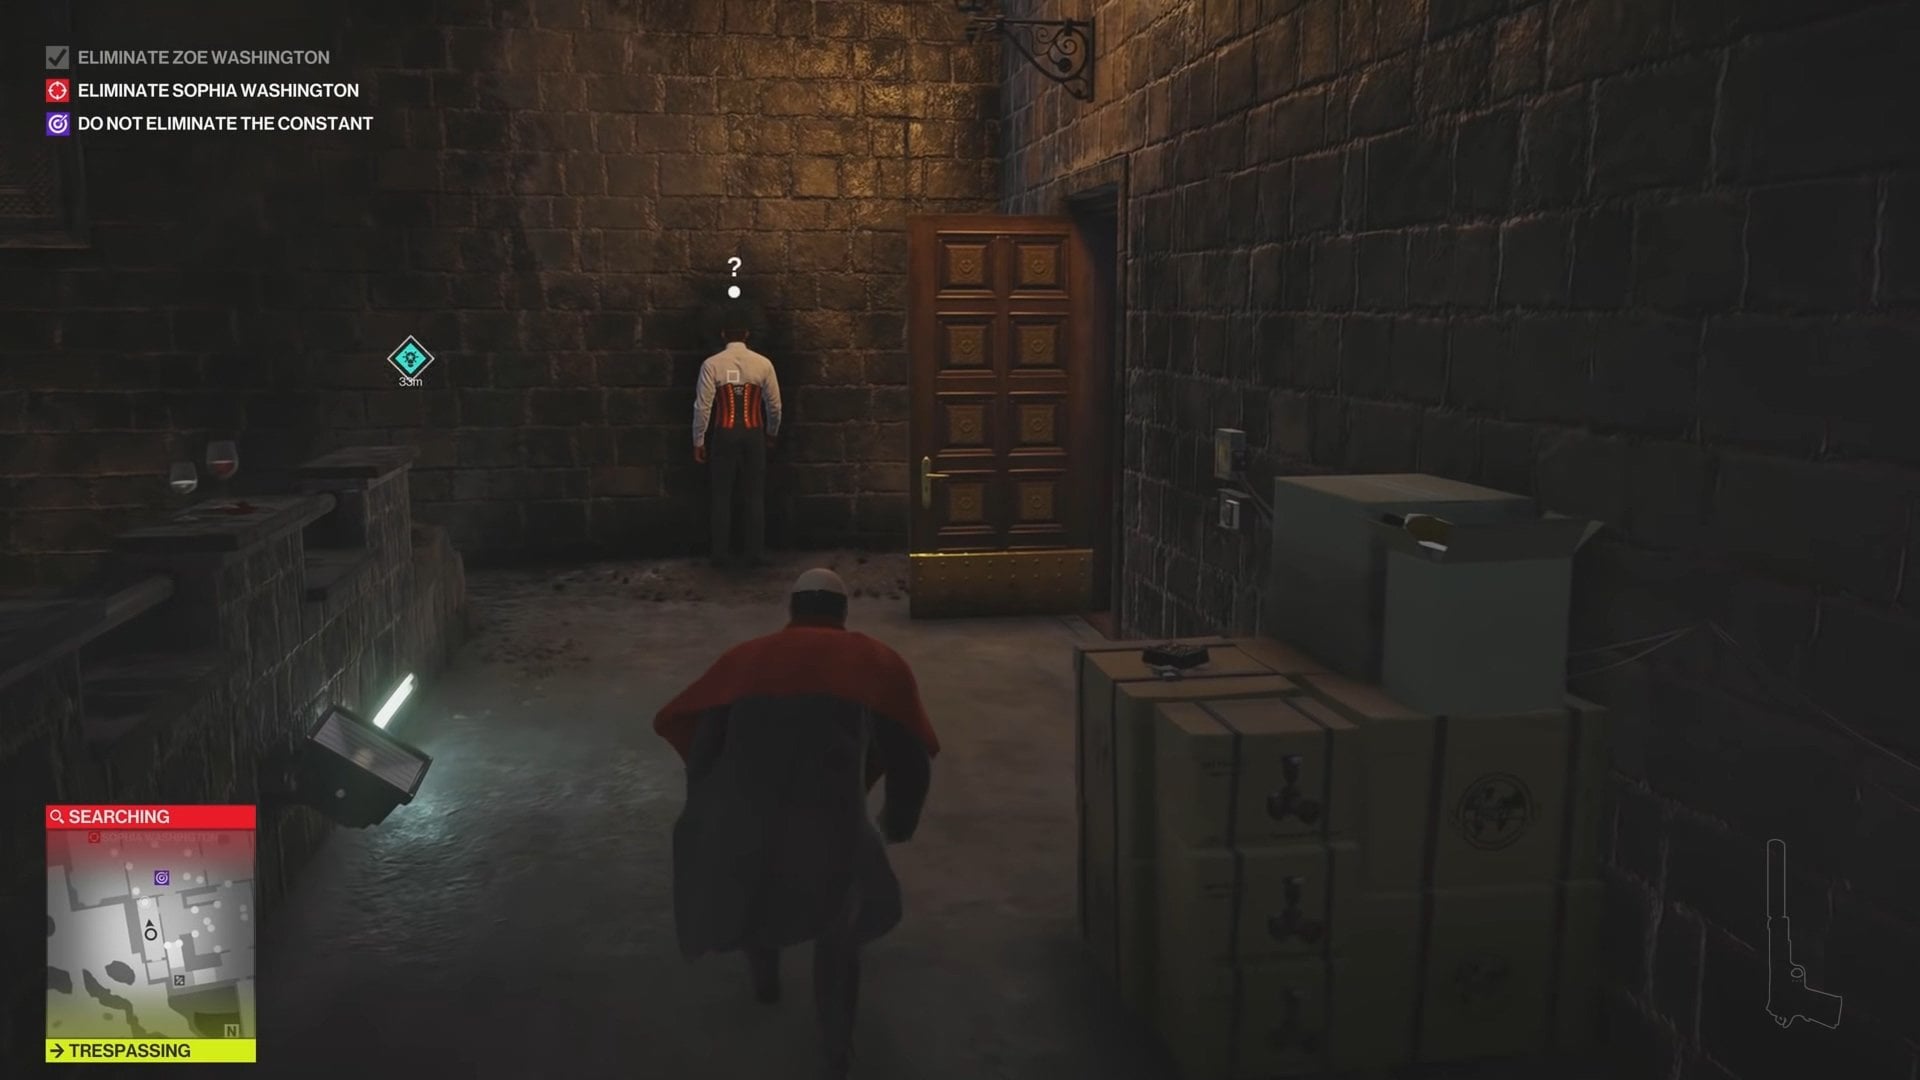
The location is rather small due to it being a tiny island with little land mass, but it sure is interesting and has many layers to it. The medieval castle greets the player with its high stone walls, huge chandeliers, death traps, dozens of secret passages and secluded places. You have many opportunities to set up an accident here. The location is quite crowded and has something like a rank system. You can only access certain halls after reaching a new title. That is, finding an appropriate disguise or collecting a special badge. Do not rush and thoroughly explore the castle. Be careful and be gentle with the Constant — any threat to his life automatically fails the mission.

Zoe will play the main role in the fire show. She will be locked in a cage inside a huge fire phoenix engulfed in flames. Of course, Miss Washington is not going to die so easily and will escape through the trapdoor in the floor. If you do not interfere with it. By the way, you can also just shoot her with a real cannon located on a hill nearby.

In addition, Zoe takes part in an interview with potential members of The Ark Society. You can find ten commemorative tokens hidden around the castle and ask for an audience. The interview features a lie detector and electroshock. Zoe will be shocked when you start ignoring the rules.
Also, Zoe will definitely attend the dirge of Janus. Unfortunately, the ritual dagger is missing and they can’t start the ceremony. Help negligent employees find it, and you will have a grand final with famous Ave Maria in the background.
Zoe’s sister, Sophia is keen on negotiations with the highest members of society — the Council of Five. Fortunately, they can’t reach an agreement because of one stubborn industrialist. 47 can impersonate him and get into Sophia’s head. She will threaten you with torture in an iron maiden if you do not vote in favor, but you can shove her inside before she has the chance to.
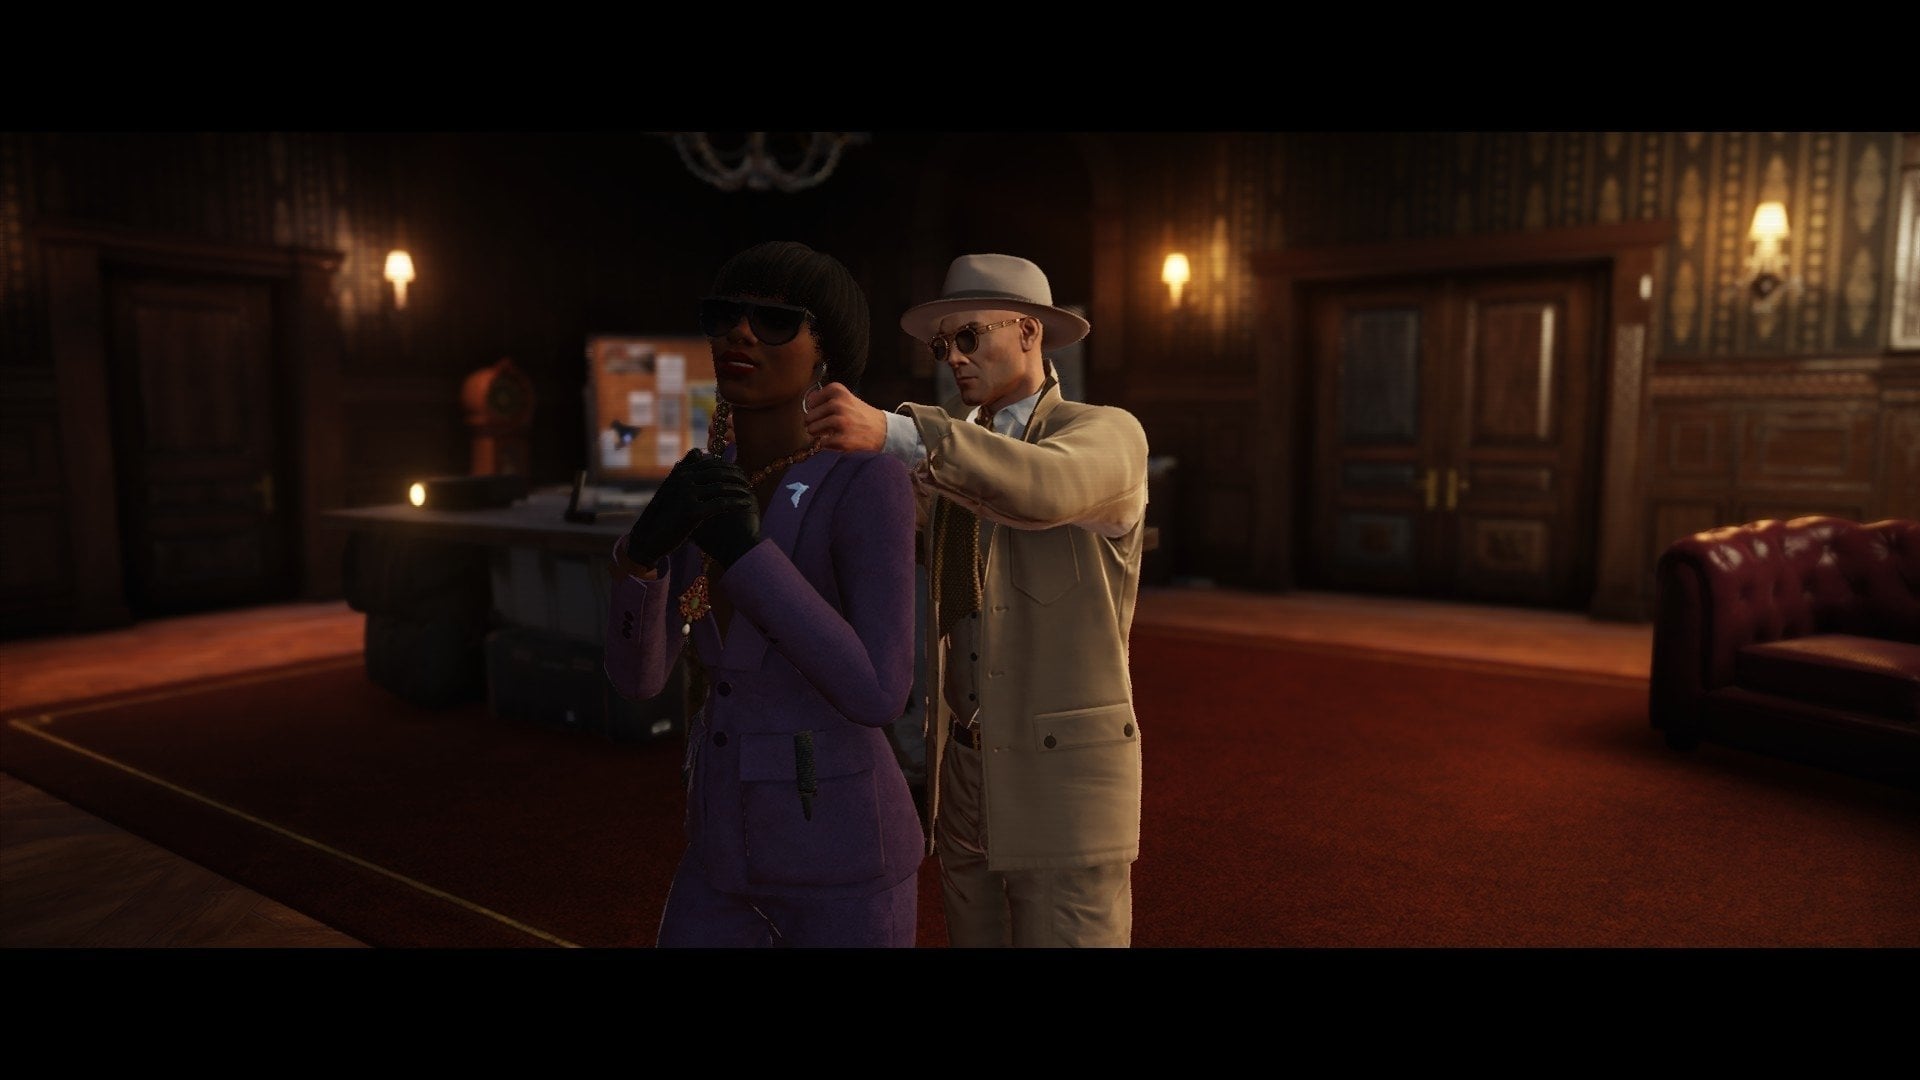
Another option to attract Sophia’s attention is to give her a beautiful Aztec necklace. At the moment it is displayed in the castle’s gallery and is heavily guarded. Show off your talents: turn off the security system and steal the necklace. Now you only need to find the right outfit for the occasion and rendezvous with Sophia. The necklace will look great on her neck. Not for long though.
You should also keep in mind that you are in the castle in the middle of the ocean. One could easily trip and fall to their death here. High stairs, shaky railings and huge chandeliers — all this can become a weapon.
How to extract the Constant from the island
After murdering Zoe and Sophia, you will receive an additional task. The easiest way to complete it is to pick up one of the killswitches from the sisters’ bodies. Then you just need to go to the Constant and tell him to follow you.
You will have to listen to him whining all the way to the pier. Accompanying the Constant without changing your disguise once can be quite difficult, as he rarely appears in the public premises.
Points of interest
- Lower courtyard — Just upstairs from the starting position. Sponsors of The Ark Society are gathered here, waiting to get to the main show. You can stay here for a while, listen to music and borrow something useful from the bar.
- Stronghold showroom — On the left side of the scene. Here you can see a nuclear bunker available for a mere $99 million. The girl will be happy to give you a tour, and you want to pick up a commemorative coin inside. You can also get to the catacombs under the castle through the pantry in there.
- Upper courtyard — The red carpet up from the scene will lead you to the terrace, where the fire show with Zoe Washington takes place. This place is hard to miss — there will be a well with money in the middle and a huge statue of Phoenix on the top. There are several hidden passages to other parts of the castle from here. On the left side of the area, you will find a couple talking about the upcoming show. Freely available locations end here. To reach further you need an appropriate access or a disguise.
- Patrons’ lounge — Located opposite the stage. There are several guests actively discussing the initiation ritual, which takes place in the castle. This is the starting point for the Finals Club mission story.
- Chapel — This part is off-limits. You can find the master of ceremonies here, as well as CCTV hub, if you need to erase some evidence. Be careful, as there are a lot of guards around it.
- Gallery — As soon as you gain access to the VIP area (up the steps from the Upper courtyard), you will be in the gallery. It exhibits various pieces of art and history, which belong to the Society. The developers have placed several famous paintings and relics here, but the main item here is the Aztec necklace in the center of the hall.
- Architects’ lounge — Further up the castle is a hall for a bit more respected members of the organization. There is not much to look at here, except for the models of huge cities that only few can afford. There is another security room on this floor and several handy disguises. In addition, Sophia often walks through here.

- Conclave — Meeting place for The Ark Society’s council. They sit together, sip champagne and decide the fate of the world. Even you can take part if you get the appropriate suit.
- Penthouse — A glass box on top of the castle. Very minimalistic: a table, two chairs and few decorations. Nothing special here apart from one of the mission stories finale.
Disguises
- The Ark Society patron — 47 begins the mission in this costume. It provides access to the showroom, the upper and lower courtyards. To access the rest of the castle you will need something better.
- Initiate — You will easily recognize the right character in a crowd of patrons by his white nightgown. The man often wanders into the corner of the courtyard, where you can easily stun him. The body can be hidden behind the walls of the castle or in a box behind the scenes.
- Custodian — A pair of them are working below the statue of Phoenix in the Upper courtyard. There is a large hall with two containers and a generator. Turn it off to distract one of the custodians, and knock both of them out.
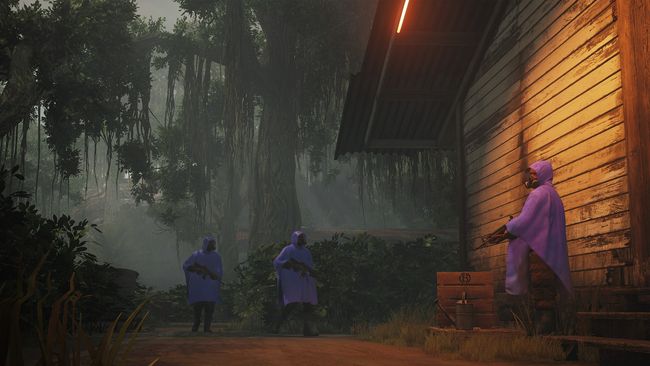
- Elite custodian — These guys walk around in their hoods and have access to most of the castle. Finding a lone guard on the third or fourth floor is not difficult.
- Soldier — soldiers guard the penthouse and helipad. A suitable candidate can be found on the roof, next to Jebediah Block. There is also a generator to attract him.
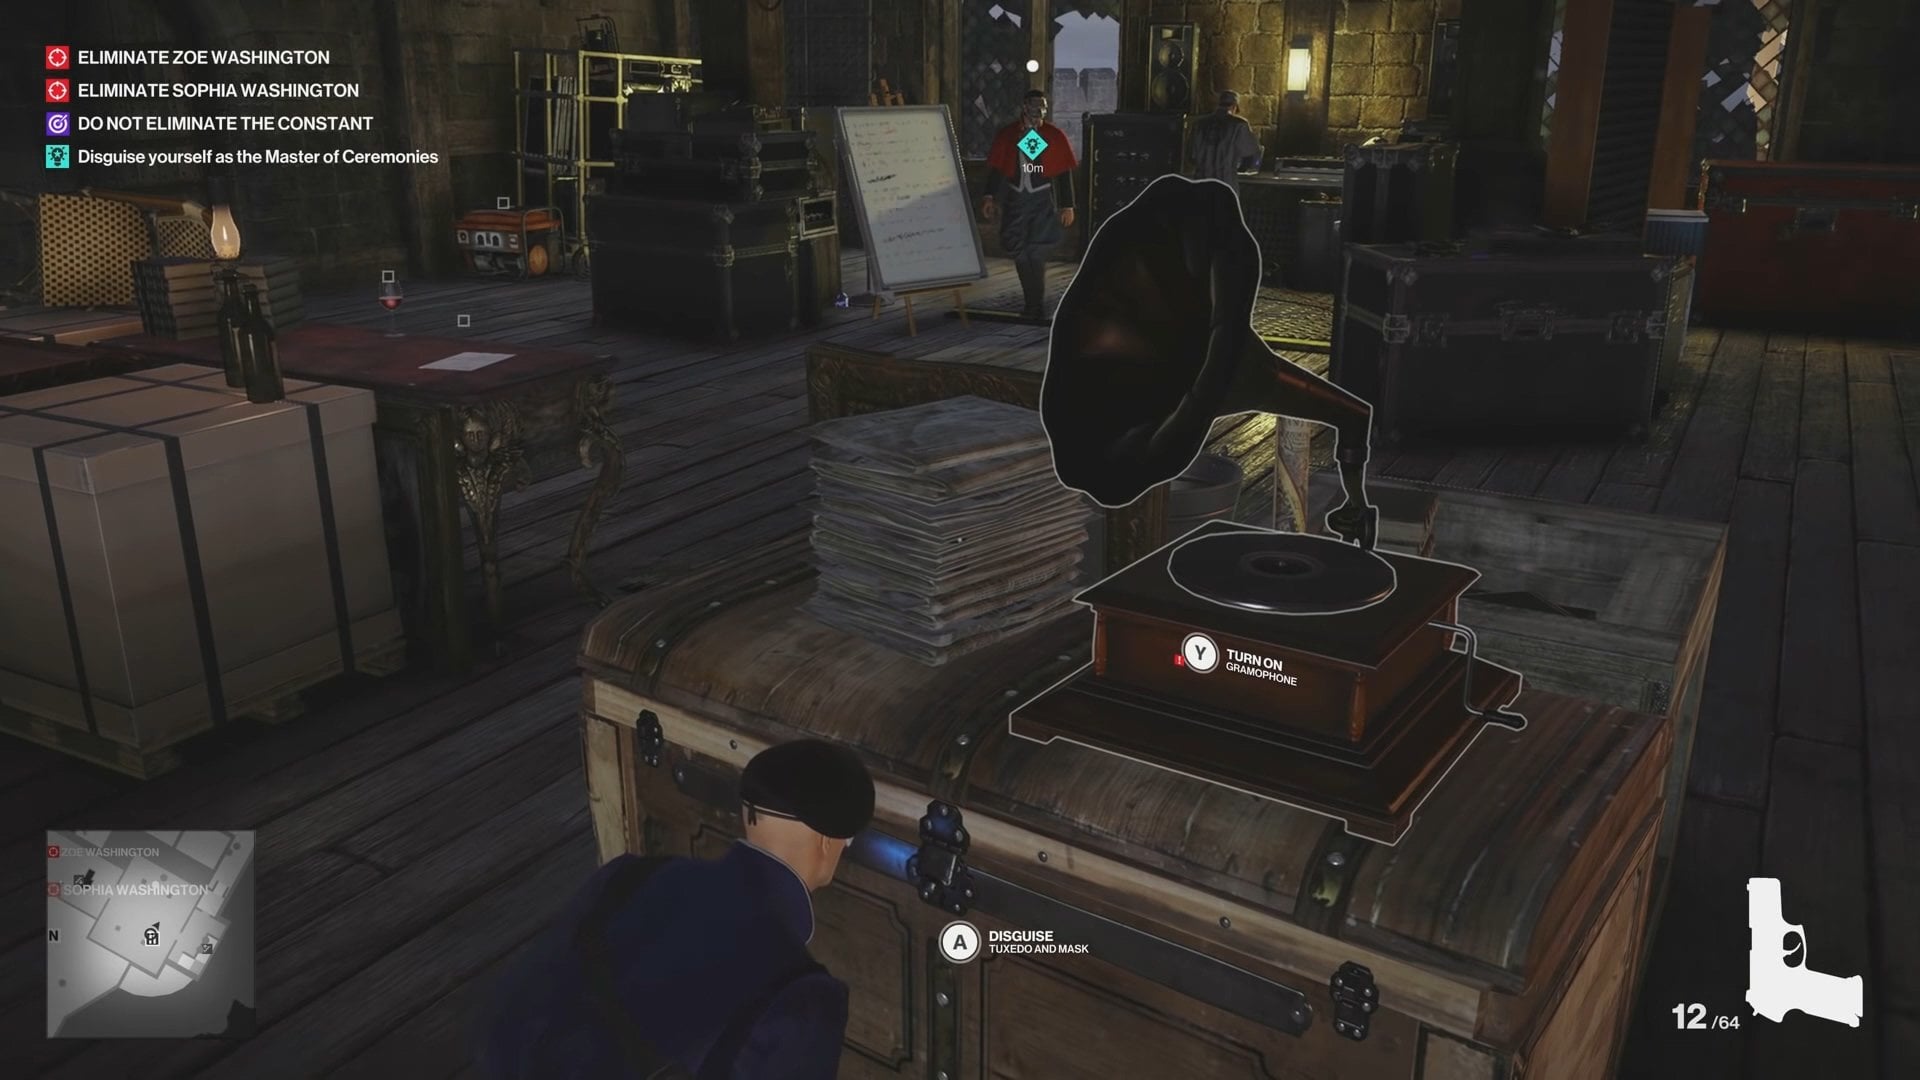
- Master of ceremonies — You will find him in the chapel, panicking about his part in the ceremony. Head in there, steal his schedule, so he gets even more upset and starts running around the room looking for it. Stun him when he is in a good position and steal his outfit.
- Ark member — They wear a scarlet robe with two “sticks” on the back. If you go upstairs from the upper courtyard, you will find another party with plenty of members. A suitable candidate oversees the ceremony in the right part of the upper courtyard. He will investigate if you shut down the nearest generator, although such things should be pretty indifferent to guests.
- Architect — They wear an emerald green robe with three “sticks” on the back. There no real need to use their disguise though, apart from one of the challenges.

- Event staff — On the second floor of the memorial room (to the right of the gallery) you will find a lone staff member near one inconspicuous door. You can lure him inside by turning on the vacuum cleaner.
- Castle staff — From the place with the event staff member, head out to the balcony and climb a beam to the floor above. Deactivate the fuse box on that higher balcony, so the castle staff member comes and investigates. Subdue him after he fixes the fuse box so no one else bothers to check it, and take the disguise.
- Jebediah Block — You can find him on the roof of the armory. There are some ledges to the left of the entrance for you to crawl along. Lure out one of the guards by turning off the generator, and then make your way to Block’s glass of wine. Add rat poison to it. Jebediah will feel unwell and go to the other end of the roof. There you can easily stun him and take his clothes.
Useful items
- Rat poison — Can be found in the kitchen, security room, pantry or the tale in the VIP lounge.
- Cannonball — You can find it in the corner of the lower level of the chapel. Two guards are patrolling nearby. The cannonball is by the huge hole in the wall.
- Castle master key — It is sitting on the table in the Penthouse.
- Killswitch — Both sisters hold one of them. Use it make the Constant follow you off the island.
- Commemorative coins — There are 30 of these hidden across the island. Some of them are in obvious places, some are in the pockets of the attendees.
- Aztec necklace — It is in the center of the gallery. You need to turn off the alarm to steal it quietly. The control center is on the floor above, you can get there by climbing the wall. After that, quickly grab the necklace when the guards are distracted.
Walkthrough tips
- Disguises are very important in this mission: the higher you want to go, the more sophisticated outfit you need. Nevertheless, do not forget about the peculiarities of the castles: there are secret room, passages and many ledges to climb. You can manage to get anywhere if you are good enough.
- Most of the castle rooms have a tiny hole, through which you can see what is happening in the next room. Very useful to examine hard-to-reach areas.
- Once in a new area, examine it and look for the best way to climb higher.
- Make sure that you do not carry anything forbidden if you are going to visit the higher floors. Security is very meticulous over there. But you can follow both sisters just fine — those guards do not really care.
Perfect walkthrough
How to complete Silent Assassin and Suit Only challenges on master difficulty.
Loadout and starting location
Choose the default starting location. Bring the sniper rifle case and some coins with you. Anything else is optional. Begin the mission.
Sophia Washington
- Run to the Upper courtyard following the red carpet. There is a camera above the arch, but do not worry — we will deal with the evidence later.
- Reach the stairs leading up to the Phoenix statue. Proceed to the right of it — an initiate in white pajamas often wanders there.
- Go behind the folding screen on the right, pick up the wrench, then turn right and enter the catacombs through the hole in the wall.
- Approach the ladder, take your rifle out of the case and climb up. You will not be able to bring the case along with you.
- Then go back and hide behind the table with white tablecloth. Pick up the coins by the way — they will be handy.
- Equip your silenced pistol and shoot the hard drives with surveillance footage.
- While the guards are distracted, exit through the wooden gate on the left and move along them to the open storage window. Do not sprint and make sure you are crouching. The guards will notice you if you are not careful.
- Reach the storage room and turn left, then right into the recess. There will be two big doors on the sides, and a drainpipe on the wall. Climb it.
- Turn right and grab the ledge. Pull yourself up and jump into the window on the right.
- You will find yourself in the room with a radio and a letter opener that you can take. Head outside through the door, take a left, and then right.
- This room has a container, where we will dump Sophia’s body later.
- Exit the room from the other side and see the stairs. Approach the edge and put your pistol on the black stripe.
- Now place two coins to the right of the door leading into the room. One closer to the wall and the other half — a meter further.
- Enter the room and wait until Sophia Washington goes up the stairs.
- First, she will see a gun and notify her bodyguard. He will take it to the storage.
- At that moment, Sophia should pass by your door and see the coins. As soon as she is closer to you, knock her out with any heavy object. Take all her belongings as well.
- Drag the body into the room, kill her with your sniper rifle and put the corpse in the crate. If you use the standard non-silenced sniper rifle, you will have to hide in the crate with the body until the security calms down. If you use a silenced version, then the guard will run into the room, investigate for a bit and head back. It is better to stun him as well, so he does not interfere with your plans further down the road.
Zoe Washington
- Exit the room in the direction of the stairs and open the door on the left. There will be a glass bridge.
- Wait until the two guards look away and cross the bridge. Follow the left guard, he will stand near the cliff, while you need to slip into the door behind him.
- Take the pistol from the container, go downstairs and enter the storage room. Do not rush — running here will draw unnecessary attention.
- Exit through the door and turn left, then through another and turn right — you will be outside, in the bushes to the left of the hill, where Janus’s ceremony happens. Wait for the second target here.
- There will be a guard patrolling in front of you, toss a coin so he gets closer to you and knock him out by throwing a wrench at him.
- Drag the body to the bushes.
- Now move along the building in front of you and put a coin by the last pillar.
- Return to the bushes and place the guard’s weapon on the ground.
- Now wait until Zoe Washington and her bodyguard arrive. The bodyguard is in front, so he will pick up the coin. After that, stand up, so that Zoe sees you. Wait until the indicator has a dotted line around it. It means that she spotted you and will investigate. Crouch again.
- The bodyguard will follow Zoe, who will see the gun you placed earlier.
- The guard will take the gun to bring it into the castle.
- Now you can lure Zoe behind the wall by tossing the coins, and then knock her out by throwing your wrench.
- Then drag the body to the cliff, shoot Zoe and throw the body in the water.
- Hide in the bushes again, wait for her bodyguard to return and knock him out. You can leave him in the bushes.
The Constant
- Return to the room, where Sophia’s body is hidden. The fastest way is to climb the drainpipe on the right. Reach the glass bridge again, head back to the stairs and enter the room.
- Continue backtracking until you reach the room where you have seen the letter opener and a radio earlier. Wait here. After the Constant talks to Jebediah Block, he will pass this room. Because the area is restricted, you will not be able to talk to him, so stun him and hide his body in the crate.
Escape
- Exit the room through the window and descend using the same pipe you used in the beginning.
- Carefully move along the right side, by the pillars.
- Distract the technician using another coin and proceed behind the boxes.
- Now another coin toss to the right of the helicopter. The soldier will go to check it. This is your opening to sneak inside the helicopter and leave the stage.