Table of Contents Show
My scratchpad
This is my scratchpad, that I have made in guide format.
It contains an overview of the unlocked building scores and some other information.
Presented mostly in the way the game presents the unlocks.
This is so that I might plan out small strategies in order to know which buildings to save for the future and where and when to place them. Sometimes it is worth a small loss in order for a future gain – if I can remember that this structure gains from that structure…
It may seem pointless, as the information is given in-game – but tell me… how must is a market going to be worth next to 12 houses, 20 mansions, 2 town centres, the statue, 2 warehouses, 4 sandpits, 3 plateaus, a circus, 4 masons, a gold mine and 2 jewelers. If the radius is that big.
Using this guide I can check that most of that stuff doesn’t count as score – and figure out if it is worth putting the temple here or there, or if the fields are better saved until I build some floating plateaus (do they even grown on these?) or if my resort area is not worth saving and those trees can make way for a new suburb and circus.
Make of it what you will. Perhaps I’ll update it in future – it needs formatting and tidying up for certain – or make private again, if it is not necessary for others like me.
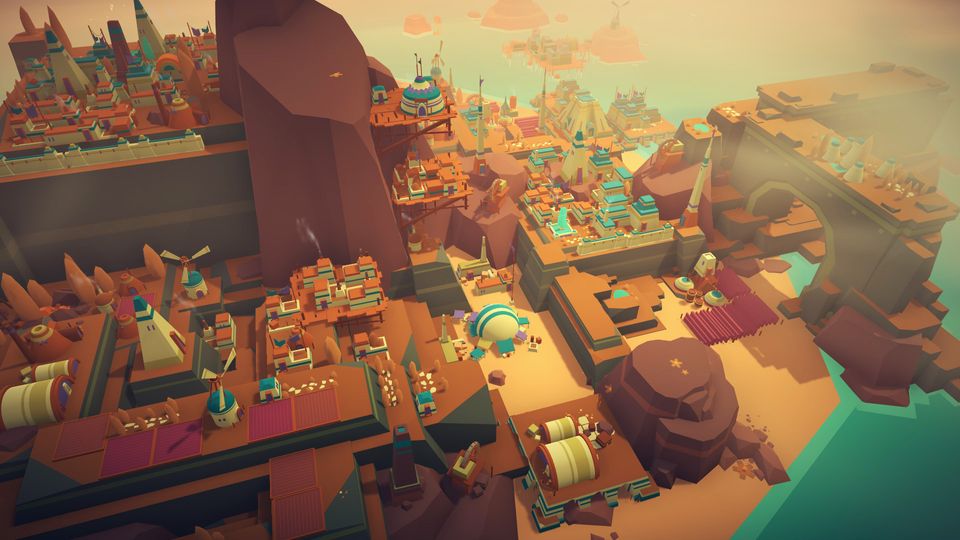
Maybe I will add pictures of each thing, that might be nice.
I simply wanted the achievement for perfect placement (which making this guide helped me get, thank you me).
I am sure it will help learn how to beat the time trials and 1000 points on 1st island, also.
General Notes
- Saving buildings in the inventory is fine, if there is no need to use them.
- Sometimes it is ok to lose points if the position will gain in the future.
- Houses are for devout workers, whereas mansions prefer to be closer to luxury goods.
- The city centre does not have to be near the statue – you may even get a few city centres.
- You do not need an “official” city centre structure to make a new urb.
- “Useless” structures that are being saved may have to be placed in order to progress
- Unlock the new tier as soon as possible – don’t wait to place what is in hand before doing this.
- Placing a building that will add to the value of another is good, however it is worth checking in which order to place these – some might squeeze a few extra points, eg, a park placed next to some trees and houses, before a fountain is placed on the trees and surround with more houses, will net more points than building houses and then placing the park and fountain.
- There may seem little point in unlocking a Shaman in a land with no flowers, but it will add some value, the same with other agricultural things.
- Choose the industrial pathways depending on the space and resources available.
- Where there is a Gold Vein, remember that – without enough mansions, the jeweler is always a loss – so it might worth extending the richer part of town to this richer area.
- Keeping space near industrial parts for future warehouses is useful, as is saving some unused industrial buildings to boost the area.
- Sometimes you just have to place that building you’ve been saving, because no Hop Fields are coming your way…
- Once into past the City Pack, it is less often to get agricultural or industrial drops until after Gold Mine / Plateaus / Temple.
- When planning for a future Market (a potential +100 point build) an town of mansions, leading from a gold vein and within reach of the industrial / agricultural areas is important.
- Temples and Markets do not fit on plateaus *doh*! But they can be used to build around these things.
Convention
Until I format it – this is how the annotations work:
Name of Structure (base score, sometimes minus) – minus score in proximity to self (sometimes zero) :est. radius compared to: structure’s footprint (shape)
Positive structures to have in proximity.
Negative structures to have in proximity.
Perhaps I will add a small “hub” section – and why it is ok to place things that have negative points, for future investment. Who needs to spread those 6 woodcutters all over the map when there’s only 1 sawmill in the stack? It nets a profit.
Woodcutting
Lumberjack ( ) -6 : 10x : Very Small (round)
- Sawmill 5
- Statue 4
- Tree 1
Sawmill ( ) -12 : 4x : Medium (round)
- Lumberjack 7
- Warehouse 6
- Statue 4
Farming
didn’t choose this game.
Brewing
Hop Field: 2x – small
Brewery (7) -10 : 3.5x – med.
- Hop Field 5
- Statue 4
- Warehouse 2
Sandworks (?)
Didn’t choose – will update next game.
This one was quite important – the mason.
City Pack
City Centre (15) -40 : 5x : small (square)
- Fisher 7
- Statue 5
- Mason 4
- Mill 2
- Shaman -5
- Resort Oasis -15
- City Centre -40
House (1) 3x : small (variable shape)
- City Centre 6
- Shaman 5
- Statue 4
- Wall Plateau 3
- Circus 3
- Fountain 2
- Market 2
- Temple 2
- Tavern 2
- Park 1
- House 1
- Mason 2
- Wall -2
- Jewelry -2
Mansion (1) 1x : small (variable shape)
- City Centre 8
- Shaman 6
- Plateau 6
- Wall Plateau 6
- Statue 5
- Fountain 3
- Park 2
- Market 2
- Temple 2
- Jewelry 2
- Mansion 1
- Circus -3
- Wall -3
Shaman
Shaman ( ) -13 : v small (round)
- Statue 5
- Temple 5
- Flower (map item) 3
- Mason -6
- City Centre -10
Fisher
Fisher (5) -10 : 10x : v small (round)
The Fisher must be placed at sea.
- City Center 7
- Warehouse 2
- Statue 2
- Hut 1
Fountain
Fountain ( ) -15 : 4x : small footprint.
- City Centre 7
- Statue 3
- Park 3
- Mansion 3
- House 2
Hut
Hut (4) 0 : v large radius : v small (square).
Can be built on nearly any ground.
- City Centre 6
- Statue 2
- Shaman 2
- Fisher 1
- Sawmill -1
- Lumberjack -1
- Warehouse -1
- Brickyard -1
- Mill -1
- Mason -1
I must be missing something, because this game I am getting +19 points per hut on the coast between the 2 centres and the 2 fishers – which is +18 only… Oh there is a 3rd Fisher. Ok.
Park
Park (2) 0 : 4x : small (variable)
- Resort Oasis 5
- Fountain 4
- Temple 4
- Hop Field 3
- Field 2
- Plateau 2
- Statue 2
- City Centre 2
- Tree 1
- House 1
- Mansion 1
- Wall -2
- Warehouse -2
- Brickyard -3
- Lumberjack -4
- Mill -4
- Sawmill -5
Plateau
Plateau (0) 0 : 2.x : Large (square)
Can be built on any flat land with space – or at sea, where it can be used to extend building ground, to make for floating areas, but cannot be joined or built across.
They are around 2.5 houses/fields square in size.
Fields may be build upon a basic Plateau.
- City Centre 10
- Mason 8
- Plateau 5
- Statue 3
Tower
Tower (0) -20 : 20x : v small (square)
- Temple 8
- Mason 5
- Mansion 1
- Park 1
- Wall 1
- House 1
Warehouse
Warehouse (0) -15 : 5x : med (rectangle)
- Brickyard 7
- Mill 7
- Gold Mine 7
- Fisher 6
- Brewery 5
- Mason 5
- Sawmill 4
- Statue 4
- Resort Oasis -5
Circus
Circus (0) -10 : 2x ; med (round)
- Statue 10
- House 4
- Mansion -5
- Temple -25
Gold Mine
Gold Mine (-20) 0 : 1x : small (square)
Must be built next to a Gold Vein, or is worth -20 points.
- Gold Vein 35 (minus 20 = 15 build points)
- Warehouse 10
- Jewelry 10
- Statue 5
- Resort Oasis -15
Jewelry (-35) -30 : 5x : med (rectangular)
Must be built next to a Gold Mine and/or enough Mansions to offset the -35 points for building.
- Gold Mine 30
- Statue 6
- Mansion 5
- Wall -3
- House -4
Market
Market (-20) -35 : 4x : v large (irregular square) – will not fit on plateau.
As the market has a basescore of minus 20, it is worth trying to leave an area between the agricultural/industrial areas, the suburbs and urban areas – placing a market can unlock the next tier by itself.
- Warehouse 20
- City Centre 5
- Statue 4
- Mason 4
- Fisher 3
- Mansion 2
- House 2
Resort Oasis
Resort Oasis (0) 0 : 3x : med (rectangle)
- Hop field 7
- Plateau 6
- Fountain 5
- Park 5
- Water Plateau 5
- Statue 4
- Flower 2
- Field 3
- Brewery 2
- Fisher 2
- Tree 1
- Mill -3
- House -5
- Brickyard -5
- Lumberjack -5
- Mansion -7
- Sawmill -10
- Gold Mine -10
- City Centre -10
- Mason -10
- Warehouse -10
Tavern
Tavern (-15) -15 : 5x : small (squarish)
- Bewery 18
- City Centre 8
- Statue 4
- House 2
Water Plateau
Coming soon.
Temple
Temple (-75) 0 : 1x : large (square)
Temple is a very difficult one to place and a huge 75 points before it even makes a profit – it really helps to plan it from the start, especially with the statue taking most of its cost. A temple seems as if it should fit on a (regular) Plateau, but I have not tried – something to find out!
- Statue 40
- Mason 25
- Shaman 15
- Mansion 10
- Wall 10
- City Centre 10
- Tower 10
- House 8
- Park 5
- Tavern -20
- Gold Mine -20
- Warehouse -20
- Circus -20
- Market -20
- Mill -20
- Brickyard -20
Wall Plateau
Coming soon.