
Other Kingdom Hearts 3 Guides:
- Kingdom Hearts 3 Worlds List
- Kingdom Hearts 3 Golden Hercules Figures Locations
- Kingdom Hearts 3 Item Synthesis Recipes and Materials List
Arendelle Return to Elsa’s Ice Castle Walkthrough
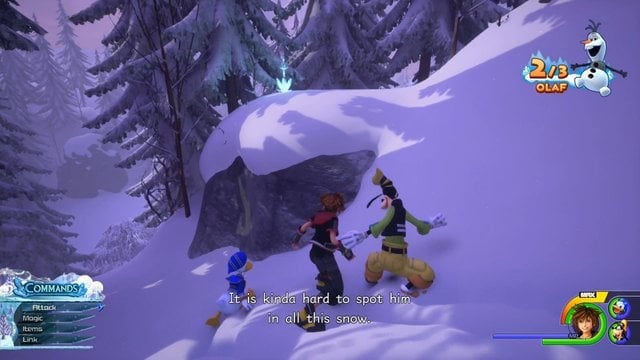
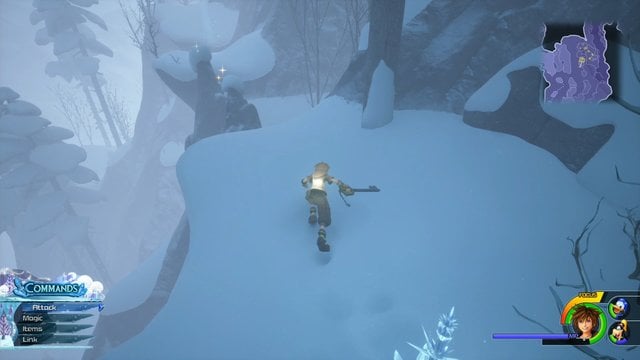
You will now need to return to Elsa’s Ice Castle. There is a single path you can go on. Head down it and continue on it until you reach a clearing. You will need to find Olaf’s missing body parts now. This can be an annoying minigame since there are fake parts around alongside the real ones.
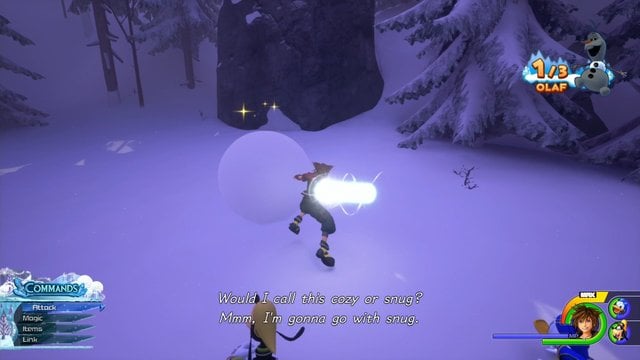
We’ll go ahead and give you the answer to where the real ones are so you don’t have to waste time. Head to the north in front of you across the ice pond and you’ll find a large snowball. Hop on it and roll into a tree to smash it and reveal Olaf’s head.
Then you will want to grab his legs. They are running around the ice pond but will sprint away if you run up to them too fast. What you need to do is walk slowly by barely pressing the left thumbstick to slowly creep up and grab the legs.
For the final piece, head left to the large ice wall. Run up it and then turn right, ignoring the piece in front of you. It will take you down a snowy ramp. About halfway down, there will be a ledge on your right. Jump to it and his middle piece will be found there.
Then you will have a fight with some familiar Heartless. They are the bats, bulls from Olympus – Realm of the Gods, and the ice deer. Defeat them and then head west on the path next to the ice wall. Follow this path to a clearing and take out the ice deer here.
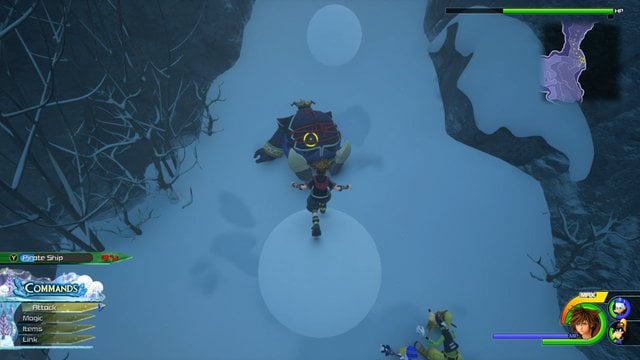
You can use the nearby snowball to take them out quickly. When done, continue onward to the glowing wall behind them. Run up it and there will be another snowball in front of you. Hop on top of it if you’d like and start rolling forward along the ledge; just make sure not to fall off!
Along this path, there will be a couple of big Heartless and a couple of extra snowballs. The snowball will take the big Heartless out in just a few rams. When they are gone, head left at the fork to continue up the mountain north.
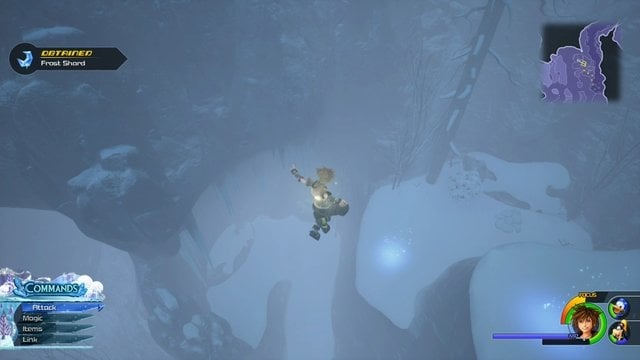
Follow this path along the way and you’ll come to some more Mary Poppins-like Heartless. Take them out and continue along the ledge until it curves to the right and up. There will be a blue glowing circle here. Step into it and it will launch you upward so you can cross the gap to the next area.
Go down this path and it will take you to another blue glowing circle. Launch up and aim for the higher of the two platforms in front of you. Use its blue circle to launch and dive towards the singular platform with a blue circle ahead of you.
From here, use that platform’s blue circle to reach the next area that’s up and a little to the left. Go left on this ledge and there will be two little sparkly rocks. Run towards them and Sora will automatically leap across them to the other side.
Use the glowing blue circle on the other side to launch up and over to the next area in front of you. Follow the path to the next blue circle and use it to launch once again across the gap in front of you. This will take you to a clearing where there are some standard Heartless and another flying dragon-like one.
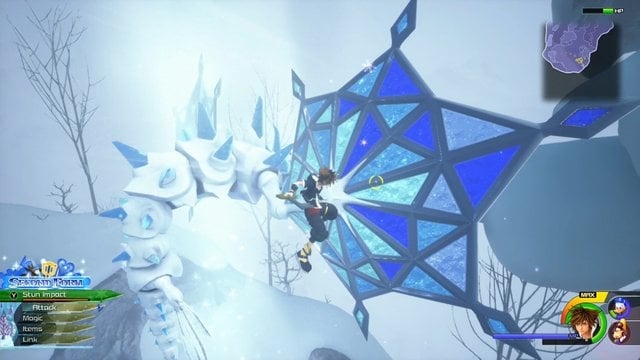
You are going to want to use team moves and attractions to take out the adds first before focusing on the flying Heartless. Once again, it’s the same procedure as before. You want to aim for the wings first, if possible, so you can clip its wings and bring it to the ground for a much easier kill.
When you are done, there’s a big glowing wall at the back of this area. Run up the wall and then turn right to find a blue glowing circle. Use it to launch across the gap to the next area. Walk along the ledge to a sparkly rock you can automatically hop across.
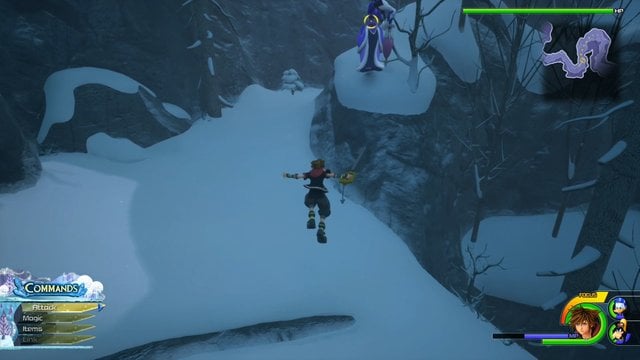
Be careful, though, as the two water elemental Heartless will try to blast you so you fall or aren’t able to cross. You can try to take them out with magic or dodge the attacks. On this next ledge, there are some more sparkly rocks at the end of it.
Simply run Sora towards them and he will leap up them. If you happen to fall trying to get to the last rock like we did, no problem at all. You will simply fall down to another ledge. Continue on this ledge and a glowing wall will quickly appear on your left. Run up it and you are where you need to be.
If you don’t fall off, the platform you’re supposed to get to will have a blue circle that will launch you to this next ledge you need to be on. Go to the linear path west of this ledge on your minimap. There will be a snowball there that we recommend you hop on.
Use it to roll and destroy the big Heartless enemies. Continue on the path and you will come across two separate Mary Poppins-like Heartless on top of a hill. Take them out and continue on the path and it will curve slightly right then drop off.
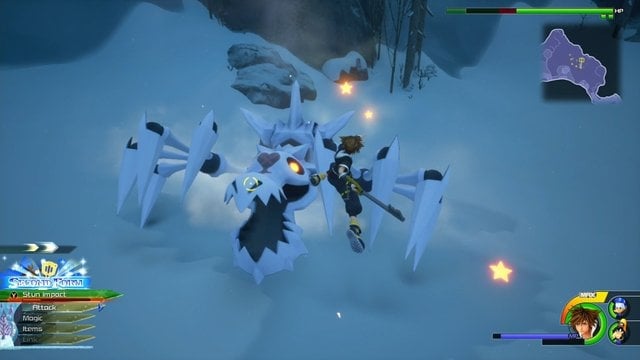
Jump down to the clearing where you will face some ice deer and two flying Heartless dragon thingies this time. Though there is one more than last time, it’s the same procedure. Focus on the adds first with team moves and attractions.
When they are gone, focus on one flying Heartless at a time, clipping its wings and bringing it to the ground to quickly take it out. Then repeat the same steps with the other flying Heartless. Alternatively, you can clip both of their wings and ground them both before focusing on defeating one.

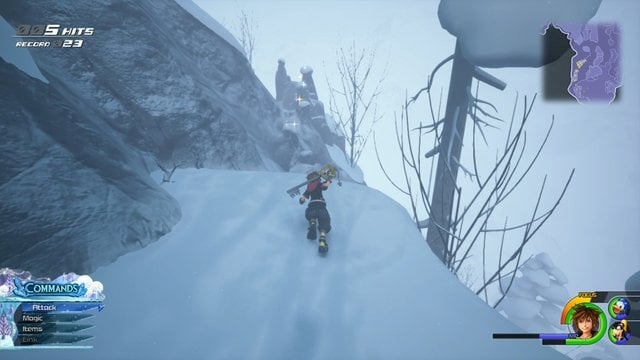
Once you’ve defeated the enemies, continue north and you can see a small curving path ahead of you. Jump up it and go left and continue following this makeshift path, jumping up the ledges as you go. This will take you to another clearing where there are three big Heartless.
Watch out as these three like to slide around the snow on their bellies so be sure to dodge. Once they are defeated, continue heading westward on the path until it curves left at a dead end. Keep going past here until another ledge and dead end. Go into the small passageway on your right.