
Table of Contents Show
Metro Exodus Tips and Tricks for Beginners
How to use the binoculars
Binoculars will be especially useful on the Volga and the Caspian. You will receive it after you have met Duke on the Volga according to the storyline. Take out your binoculars. It has three magnifying positions: LMB – zoom in, RMB – zoom out. First, zoom out to the maximum and start moving the binoculars’ sight around the location. You will hear clicks indicating that the binoculars are aimed at some interesting place. Zoom in and find the required object.
Focus on the blur on the screen. For example, if the crane is blurry, that’s what you need: zoom in and wait. The blur should disappear while a symbol of binoculars will appear in the upper left corner. Open the map and you’ll see that a ‘’question mark’’ has appeared at this place. There is one exception: if you have visited this location before and the mark has already appeared on the map, the binoculars symbol will not appear at the top left.
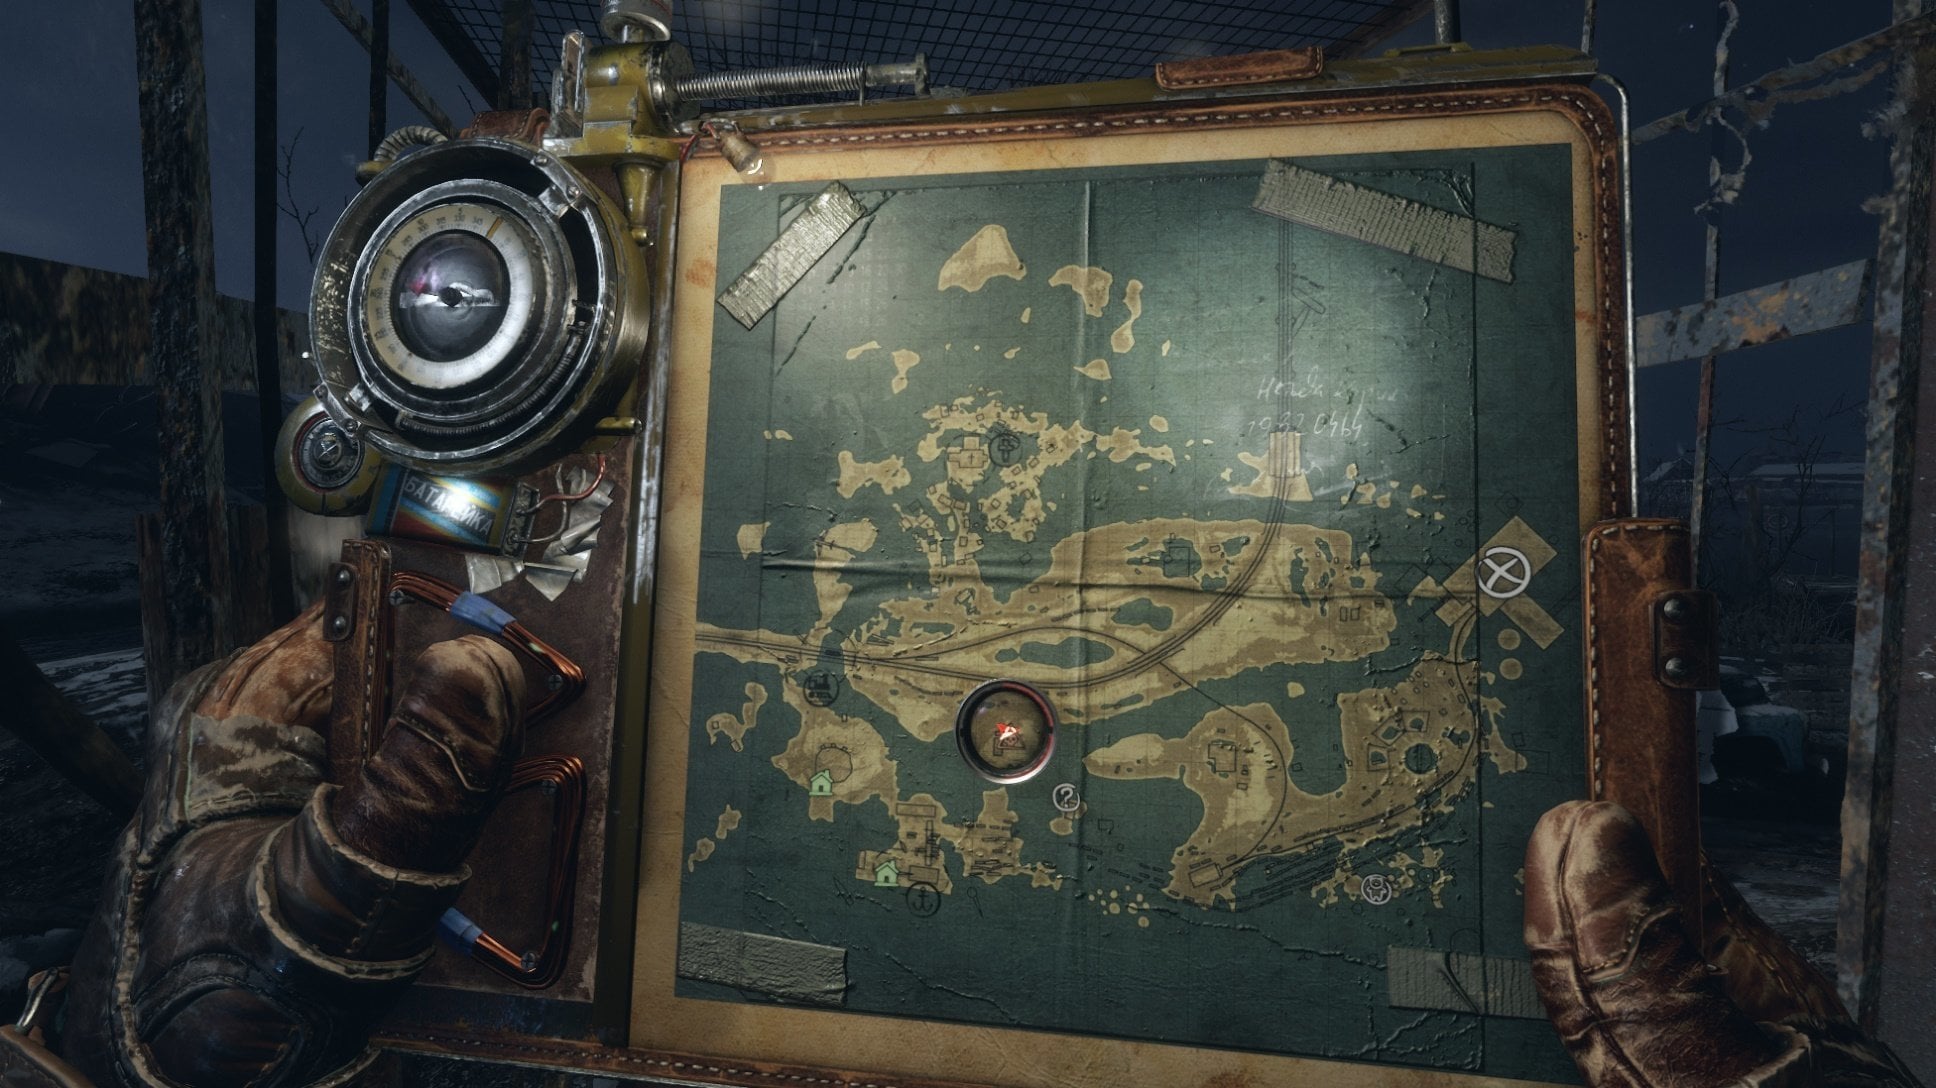
Map markers
Several types of markers may appear when examining locations:
- A ‘’question mark’’ indicates an interesting place that you haven’t visited but have already learned about it (for example, from your comrades or by using your binoculars);
- A ‘’red skull’’ indicates that the place where you have already been is occupied by enemies – bandits or mutants (you will find resources there, less often a note or an upgrade could be found).
- A ‘’green house’’ or a ‘’green fire’’ (in Taiga) indicates a safe shelter with a sleeping place or a workbench;
- A ‘’white cross’’ indicates the next place you should visit to progress along the storyline.
What numbers in the lower right corner of the screen mean
These numbers usually appear during saving or loading a game. Having chosen a quick save in the pause menu, you will see the distance that separates the Artyom and his friends from Moscow. The distance is shown in kilometers. It is the distance covered by the Aurora.

When the game is loading, the number in the lower right corner shows the loading percentage.
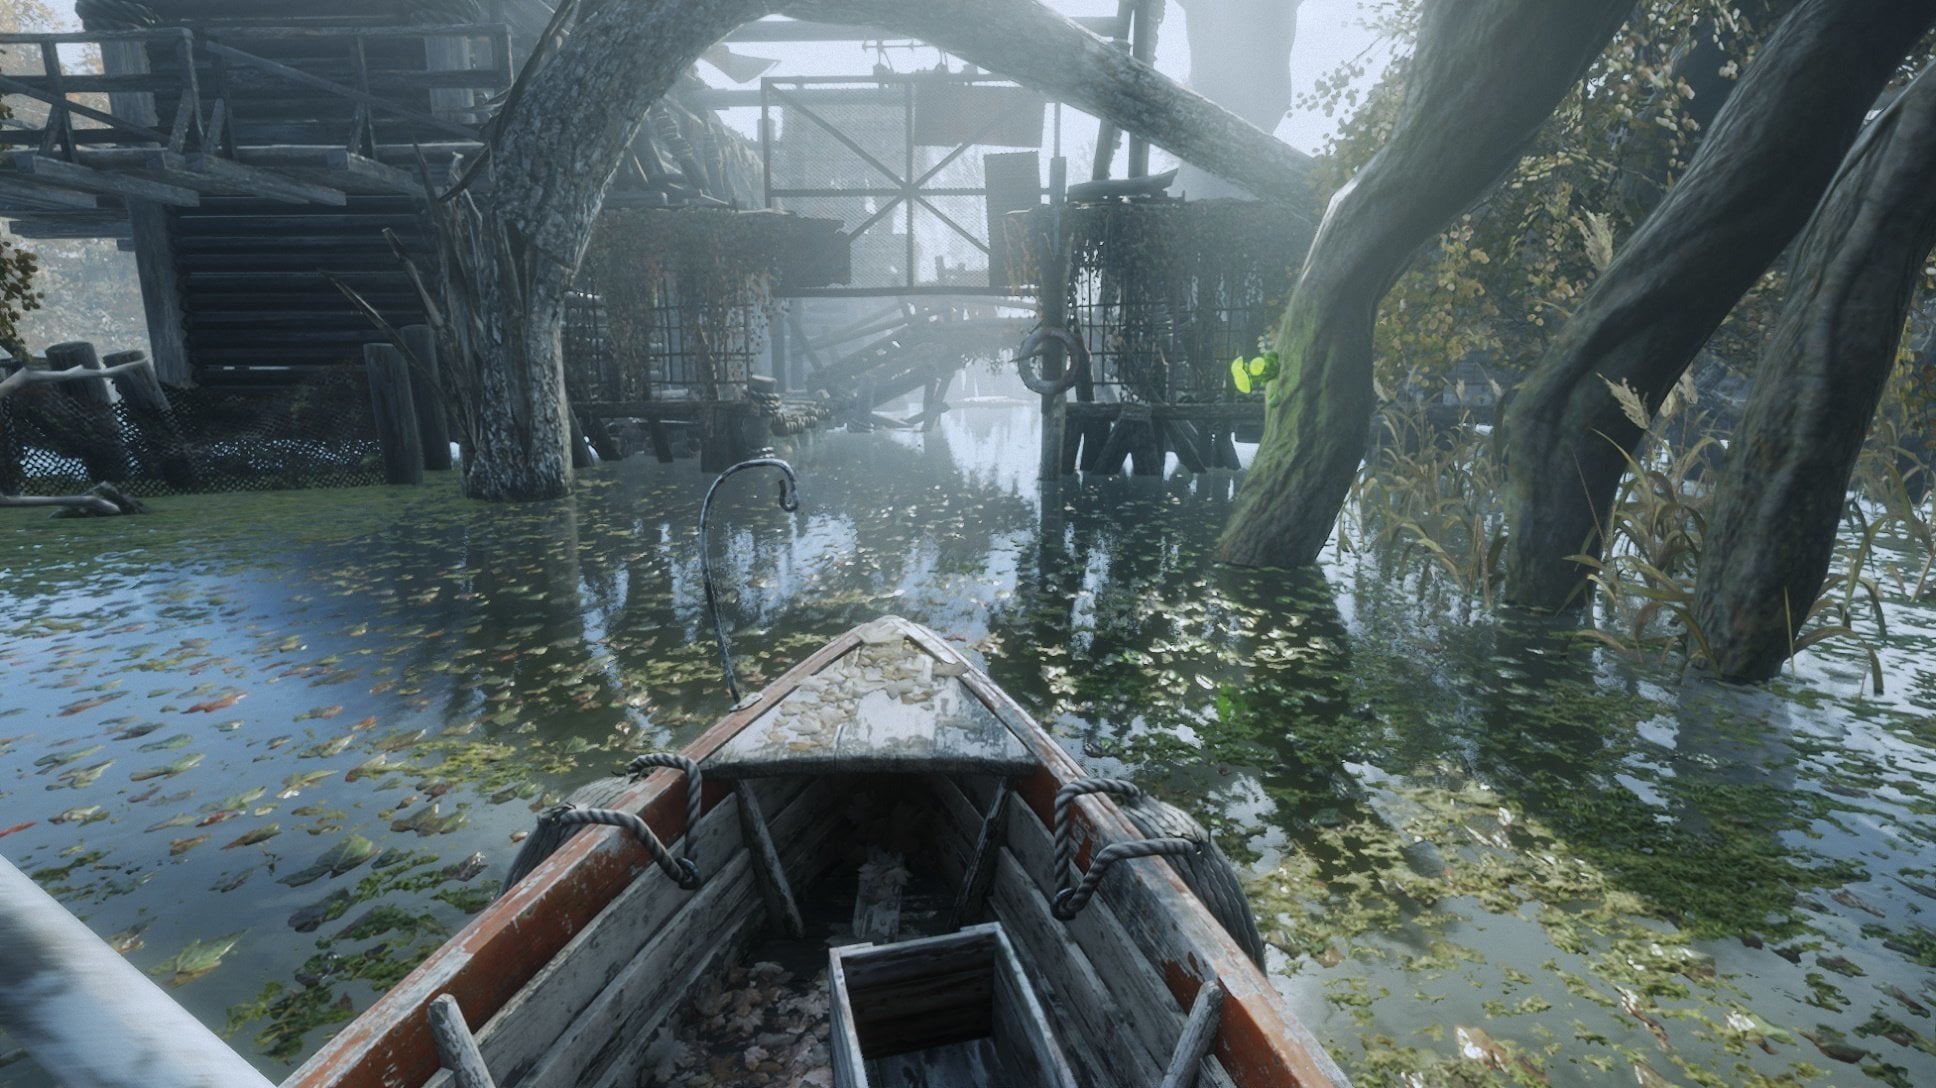
How to defend yourself on the boat
On the Volga and in the Dead City you will need to travel by boat which can be attacked by water monsters. If they attack you while you are rowing, the only way to defend yourself is to press E key. If you want to get ahead of them, hold E to drop the oars and then shoot the opponents. Long creatures in the Dead City can be destroyed even when they move on water (aim at the luminous belly).
How to change the time of day
In the game, you can move both during daylight and nighttime. It is harder to spot you in the night – and some people are just sleeping at this time. However, the night is the time of monster activity. Also, you may have to deal with fireballs that cannot be destroyed. You can use a sleeping place (typically, a mattress on the ground) to change day to night and vice versa. You can find such mattresses at various parts of the map which are marked with ‘’green houses’’.
Air Filter
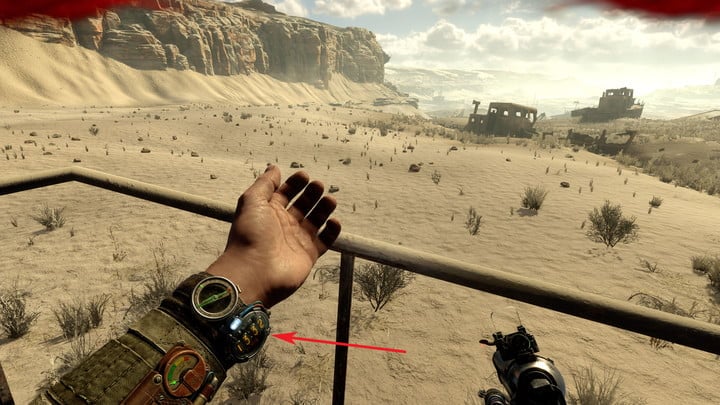
Your air filter timer is the most important piece of information visible on Artyom’s gear. You can see it visible on his left arm, and the timer will count down only when you’re in an area with toxic air. If the timer is not going down, this means you can take your gas mask off by holding down on the directional pad.
If you hear a high-pitched beep and see a notification to change your filter, it means you have less than one minute remaining before it will be completely worn out. You can craft more whenever you want, and certain key areas will also occasionally offer air filters are loot.
Compass
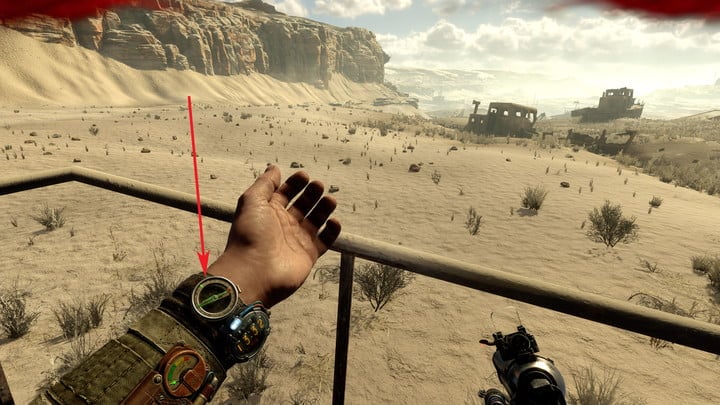
Early in Metro Exodus, you’ll also gain access to a compass, visible on Artyom’s left arm, that points you in the direction of your main objective. If you don’t have time to pull out the map and want to instead follow the main storyline only, you can use it and keep up the pace. Later on, you’ll get the option to replace it with a small radar device that will beep and point out the location of nearby lifeforms.
Geiger Counter
The Geiger counter will turn from green to red whenever you’re in an area with high levels of radiation. Aside from a few story-specific areas with one clear path, there are no times in Exodus when you should be going into areas that spike the counter. If you are, you should turn around and go back the way you came.
Batter Indicator
Your manually-charged battery is used to power your flashlight as well as the night vision goggles you’ll discover later on. If it is running low, you’ll get an alert to charge it, but you can check it at any point by holding down left on the directional button. This will pull up your charger, and you can mash the right trigger to bring it up to full power.
Scavenging
Learning to efficiently scavenge for resources is at the heart of Metro Exodus, as you need two different types of materials in order to craft anything from medical kits to incendiary ammunition. These can be found by searching dead bodies you come across, looting the environment, and occasionally by visiting a workbench controlled by your allies. Scavenging from the environment is what you’ll be doing most frequently.
How do you scavenge effectively? Look in every corner you come across. Look underneath stairwells and in burned-out trucks. If you see a closed lockbox-type container, a wicker box, or a container with a medical symbol on the front, you can look it. Blue lockers that are already closed can be opened to search for resources, and the green mushrooms you’ll come across can be looted for a few liquid-type resources each.
When you kill a human enemy, don’t stop at just looting his body when you see the small backpack symbol. Find his dropped weapon, as well, and hold B or Circle to scrap it for parts. This will give you access to any attachments, more resources, and occasionally even extra ammunition.
Quick Saving
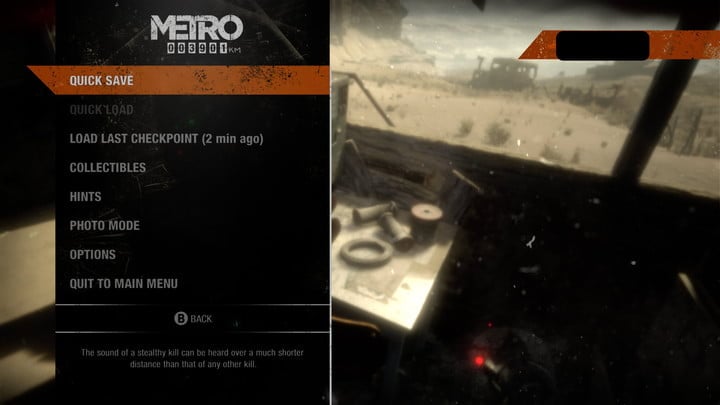
Metro Exodus has multiple forms of saving. The game automatically lets you resume your game at the beginning of a chapter, there is a generous checkpoint system, and there are quick saves. The last is the only one in your control, and making good use of it will make your experience much less frustrating.
If you’ve located a safe area with a workshop and resources, quick save your game. If you are about to go into hostile territory, quick save your game. If you finally managed to resupply on healing items, quick save your game. Oftentimes, the checkpoint system will let you off the hook if you die quickly, but we’ve had occasions where we’ve gotten stuck and the game happened to automatically save immediately. If we hadn’t quick saved, that would have potentially meant an hour of progress lost.
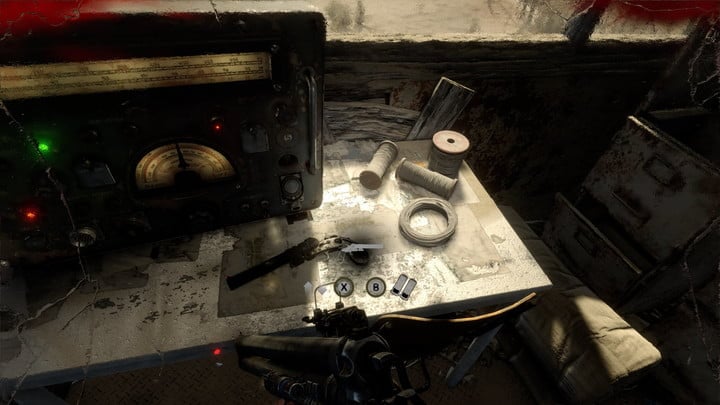
Workbench
The workbench is used for several things:
- Repairing the gas mask;
- Installing new gadgets on the helmet, body armor, charger and bracer;
- Crafting ammo;
- Cleaning weapons;
- Installing weapon modifications.
Components and chemicals that can be found in game locations are used to craft ammo. Components can be obtained from various tool boxes, chests,and when disassembling enemy weapons. You can get chemicals from canisters, cannibals in Yamantau, or green mushrooms.
Only chemicals are required for cleaning weapons. Dirty weapons will constantly jam, and you will have to reload them often. A broken gas mask does not let radiation in (if you seal it) but decreases vision quality.
How to open locked doors
You will find closed doors and grates in some parts of the game world. Some of them can be unlocked solely from one side, and you often have to bypass them through the neighboring rooms, while others have a padlock. You can get rid of it – shoot it or hit with the butt (V key).