
Table of Contents Show
Outward delivers an immersive RPG experience coupled with survival gameplay, offering a deeply-rewarding challenge for the most avid gamers.
As an ordinary adventurer, you’ll not only have to hide or defend yourself against threatening creatures, but also brave the hazardous environmental conditions, protect yourself against infectious diseases, make sure you get enough sleep, and stay hydrated. Embark on perilous expeditions across untamed lands to reach new cities, undertake varied missions and discover hidden dungeons crawling with formidable enemies.
Other Outward Guides:
- Outward Debug Menu
- Outward Get the Biggest Backpack
- Outward All Factions
- Outward All Skill Tree
- Outward How to Make Money
- Outward Achievements Guide
- Outward Efficient Cooking Guide
In order to survive in the dazzling yet deadly world of Aurai, you’ll have to be cunning, clever and prepared. Devise diverse strategies to defeat your foes and don’t neglect your basic needs, sharing your journey with a friend, locally or online.
Mixed Legacies Walkthrough
This is first quest in the Blue Chamber Collective storyline, and can be undertaken 3 in-game days after the player commits to joining the faction in Looking to the Future.
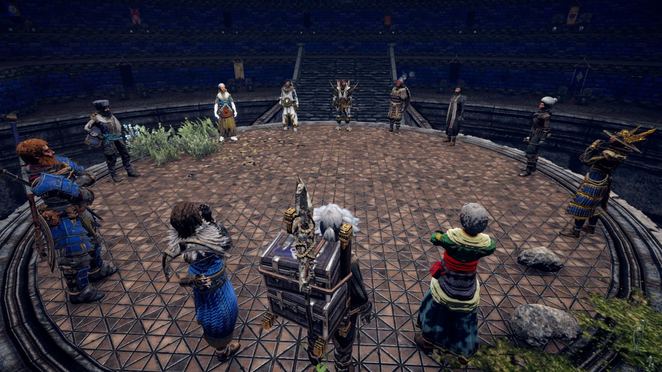
Once the quest is available, speak with Rissa in Berg. You’ll be prompted to head for the Blue Chamber proper, the large building to the east of the city, to attend discussions over sensitive geo-political matters. Once in the assembly hall, feel free to speak with all the Chamberlords present.
Speak with Rissa again when you are ready, and you’ll be asked to head to the Old Coin’s Inn back in town to check on a late delegation. Well this doesn’t set the stage for anything suspicious at all! And wouldn’t you know it, you’ll barely be a few paces from the Blue Chamber before you’re immediately informed to return inside at once!
You’ll bear witness to a chaotic scene, with Chamberlords Gabriella Sullivan and Sagard Battleborn fighting off some decidedly unwelcome guests. Join the fray and take out any remaining Marsh Bandits (don’t worry, the armoured hyena is on your side for a change!). Once the dust has settled, speak with both Gabriella and Sagard. Turns out Rissa and some other Chamberlords have been kidnapped! Are you a bad enough dude to rescue Rissa?
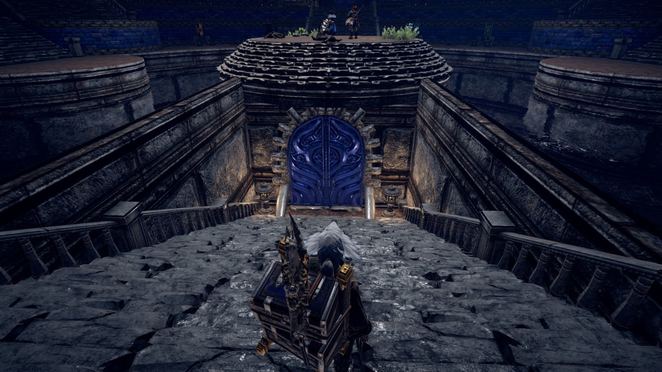
Your next task is to enter the Necropolis located directly under the Blue Chamber itself. Go around the chamber hall to reach the staircase leading down, and enter the fancy set of doors.
Necropolis
In spite of its name, the Necropolis holds no undead foes (at least the sections you are able to access for the duration of the quest). The archive room nearby however does hold two bandits; one armed with a steel saber and shield, and the other with a polearm. Try to lure them out one by one if you wish to take them out.
Otherwise all you need to do here is interact with the only ladder resting against the wall in the room you first emerged in. You usually aren’t able to climb ladders in this game, but this particular ladder will transport you to another area: the Ancestor’s Resting Place.
Ancestor’s Resting Place
Here you’ll face off against two more bandits, each armed with Miner Pickaxes. Open the gate at the end of the hallway up ahead, then at the four-way intersection head to your left. Ignore the other halls for now, as they lead to gates that are locked until you get a key off a bandit leader later.
You’ll enter a small cavern and face a new foe: the Assassin Bug! These oversized roaches aren’t anything you can’t handle, so guard and counterattack as required. There are two such bugs here, so try to lure one out first if you are uncomfortable with taking on both at once.
Continue down the cavern and you’ll soon emerge at the top of a large underground chamber. Don’t just jump straight off the very top! What you need do is carefully drop down to ledges you’ll see below to your right (if you are facing the underground chamber).
Watch out for the suspicious looking Mana Crystal formation you see down there. This is in fact a Mana Mantis in hiding! If it is alerted to your presence, watch out for its ranged attacks and short-ranged blast attack centered around itself. If you have a ranged weapon on you, you can also simply take pot shots at the Mana Mantis from above, letting the ledges guard you from any ranged retaliation.
Once the coast is clear, examine the body you see at ground level and be sure to read the note nearby. These bandits are ruthless, but fortunately for you also quite careless! You now have the clues you need to make the next step, but first you have to return to Berg.
Take care when you step into the chamber from the pool you dropped down into. You’ll likey catch the attention of two more bandits here if you run around blindly. One is an ice mage, while the other has both a bow and machete. Try to take out the mage as quickly as possible before going after the archer.
These two bandits are guarding a stairwell leading to the upper levels of this underground chamber, but be warned that you’ll find a Rock Mantis waiting for you if you decide to go exploring. If you have a ranged weapon handy (like the one the bandit archer you just killed had *hint* *hint*), one thing you can try is run up to the stairs, get the attention of the Rock Mantis, then run back down. The mantis apparently can’t chase you down the stairs, leaving you with the chance to pepper it with shots from below!
If you intend on fighting it in honorable combat, know that the Rock Mantis is capable of guarding against your attacks like a bandit, and it has access to a powerful three-hit combo. Try to circle around and strike when the opportunity presents itself.
The main reason you may went to test your mettle against the Rock Mantis is that the creature happens to be guarding a Palladium mineral deposit that you can mine from! Much of the finest gear you can craft uses Palladium scraps as a component, so it’s worth gaining access to. You’ll also find another stairwell up there that leads back down to the Ancestor’s Resting Place, with a door that leads out to the Enmerkar Forest region map. There is also a gate here that leads to a room with an Ornate Chest, but you can’t open it from the side you’re currently in.
Another way to leave the Ancestor’s Resting Place is to head back in the large underground chamber you dropped down into earlier. Head to the chamber opposite of the stairwell that was leading up to the Palladium mineral deposit, and prepare for a fight with the bandit leader holed up there all by his lonesome. Boy, these guys sure love covering their tracks don’t they?
The bandit leader is armed with a steel saber and shield, and drops both of these upon defeat. More importantly, you can also loot the Enmerkar Catacomb Key from him. This allows you to open all the gates down in the Ancestor’s Resting Place, including a gate leading back to the four way intersection you passed by earlier.
You can either return to the hallway leading back to the Necropolis, or unlock the other gate that leads to the room with the Ornate Chest that we mentioned earlier. Be careful, as this chest is guarded by a bandit, a bandit lieutenant and an armoured hyena! Once again, try to get their attention one at a time and lure them out into the longer hallways. The bandit lieutenant in particular is armed with an Iron Greatmace.
Feel free to loot the Ornate Chest once the bandits have been taken care of, and you can also unlock the gate leading to the room with the Enmerkar Forest exit.
Return to Berg however you choose, then prepare for a journey down the southern portion of the Enmerkar Forest map. Rest, recover, repair, and stock up on provisions and tripwire traps! You may also want to bring items that recover from the Burning affliction.
That’s because your main goal is head down the area surrounding the Burning Tree to the south of the Enmerkar Forest.
The Burned Fort

Optional: Kill the Mercenary Leader
While you are heading down south, look for a path leading to the Cabal of Wind Temple, located to the southwest of the Enmerkar Forest map, just before you enter the Burning Tree area. Try looking around the area marked with a blue icon in the map above; what you’re looking for is a solitary Mercenary Leader guarding a campsite to the west (possibly northwest) of the Burning Tree landmark.
You’ll know you have the right bandit if he’s armed with a Prayer Claymore, and he’s all by himself near his Simple Tent so it’s a one-on-one duel if you choose to take him out! Be mindful of the longer reach of the two-handed sword, and strike when you see an opening. Defeating him completes this optional objective, and you can also loot his Prayer Claymore as well as some very tasty food items. You can even use his Campfire and Simple Tent for yourself in order to recover and repair! Thanks, Mercenary Leader.
You’ll definitely want to be in tip-top shape before you head back down south to the burned forest area in order to accomplish your main objective. You want to head for what is marked as a “Bandit Camp” on the Enmerkar Forest map, just southwest of the Burning Tree. You should find a fortified area with a wooden tower structure.
Welcome to the Burned Fort! Look out for the Burning Men patrolling both the fort exterior and the area surrounding the Burning Tree.
Burning Men
These elemental fiends are ready to turn up the heat, in every sense. They are capable “breathing” fire as a sustained conal attack in front of them, and they can also generate a short-ranged explosion centered on themselves. Be especially careful of the Burning status they can inflict on you, it’s one of the most potent DoT (damage over time) ticks in the game. You can chill out with some Fresh Water or tea.
You can try infusing your weapon with Frost (or use ice magic) to try and fan the flames of these foes. While the Burning Men shouldn’t be underestimated, they do have a chance of dropping Obsidian Shards upon defeat. These are key components needed to craft some of the most potent weapons in the game, like the Obsidian Pistol capable of inflicting Burning on targets.
Either take out or avoid the Burning Men, and enter the wooden tower. Be prepared to take on two more bandits once inside. Both are armed with steel sabers, while the lieutenant also has a shield. The cramped rooms in the fort may make this a challenging encounter, and to make matters worse you may not have a great opportunity to lay down many tripwire traps (armed with iron spikes) before the bandits notice you.
The odds are stacked against you here, but do your best to guard against their attacks and counter when you see opportunities. The good news is even if you do get defeated by these two, you’ll only get booted right back outside the Burned Fort. At least you won’t have to travel far to get back! Avoid sleeping to recover if possible, as this will also heal any damage you may have dealt to the two bandits in the process. You’ll eventually whittle them down! Are you a bad enough dude to rescue Rissa?
Once the two bandits inside the Burned Fort have been taken care of, you’ll at last be able to free Rissa and Kirounac. The latter in particular will reward you with 100 silver on the spot. Speak with Rissa, who will head back to Berg instantly.
If only she took us with her! Once the hostages are freed, you’ll have to make the trek back up to Berg yourself. Once you’re safely inside the city, speak with Rissa to complete this quest and earn your rewards!
Completing this quest unlocks the Achievement/Trophy Damage Control.