Table of Contents Show
Everything you need to know to survive the metro in paradox of hope, from ammo, to enemies.
Paradox of Hope Survival Guide
Welcome, Stalker! Today I will share with you the tips that have helped me survive and get through the game Paradox of Hope. A lot of these are probably subject to change, because the game is in early access, but I will try to keep this guide updated.
Tip 1: Stealth
- Stealth is essential to surviving the metro. Because of the high enemy count in Paradox, you need to be very very careful when traversing your first raids. The farther you get, it will get easier, but you need to still be extremely careful, when you have little to no gear.
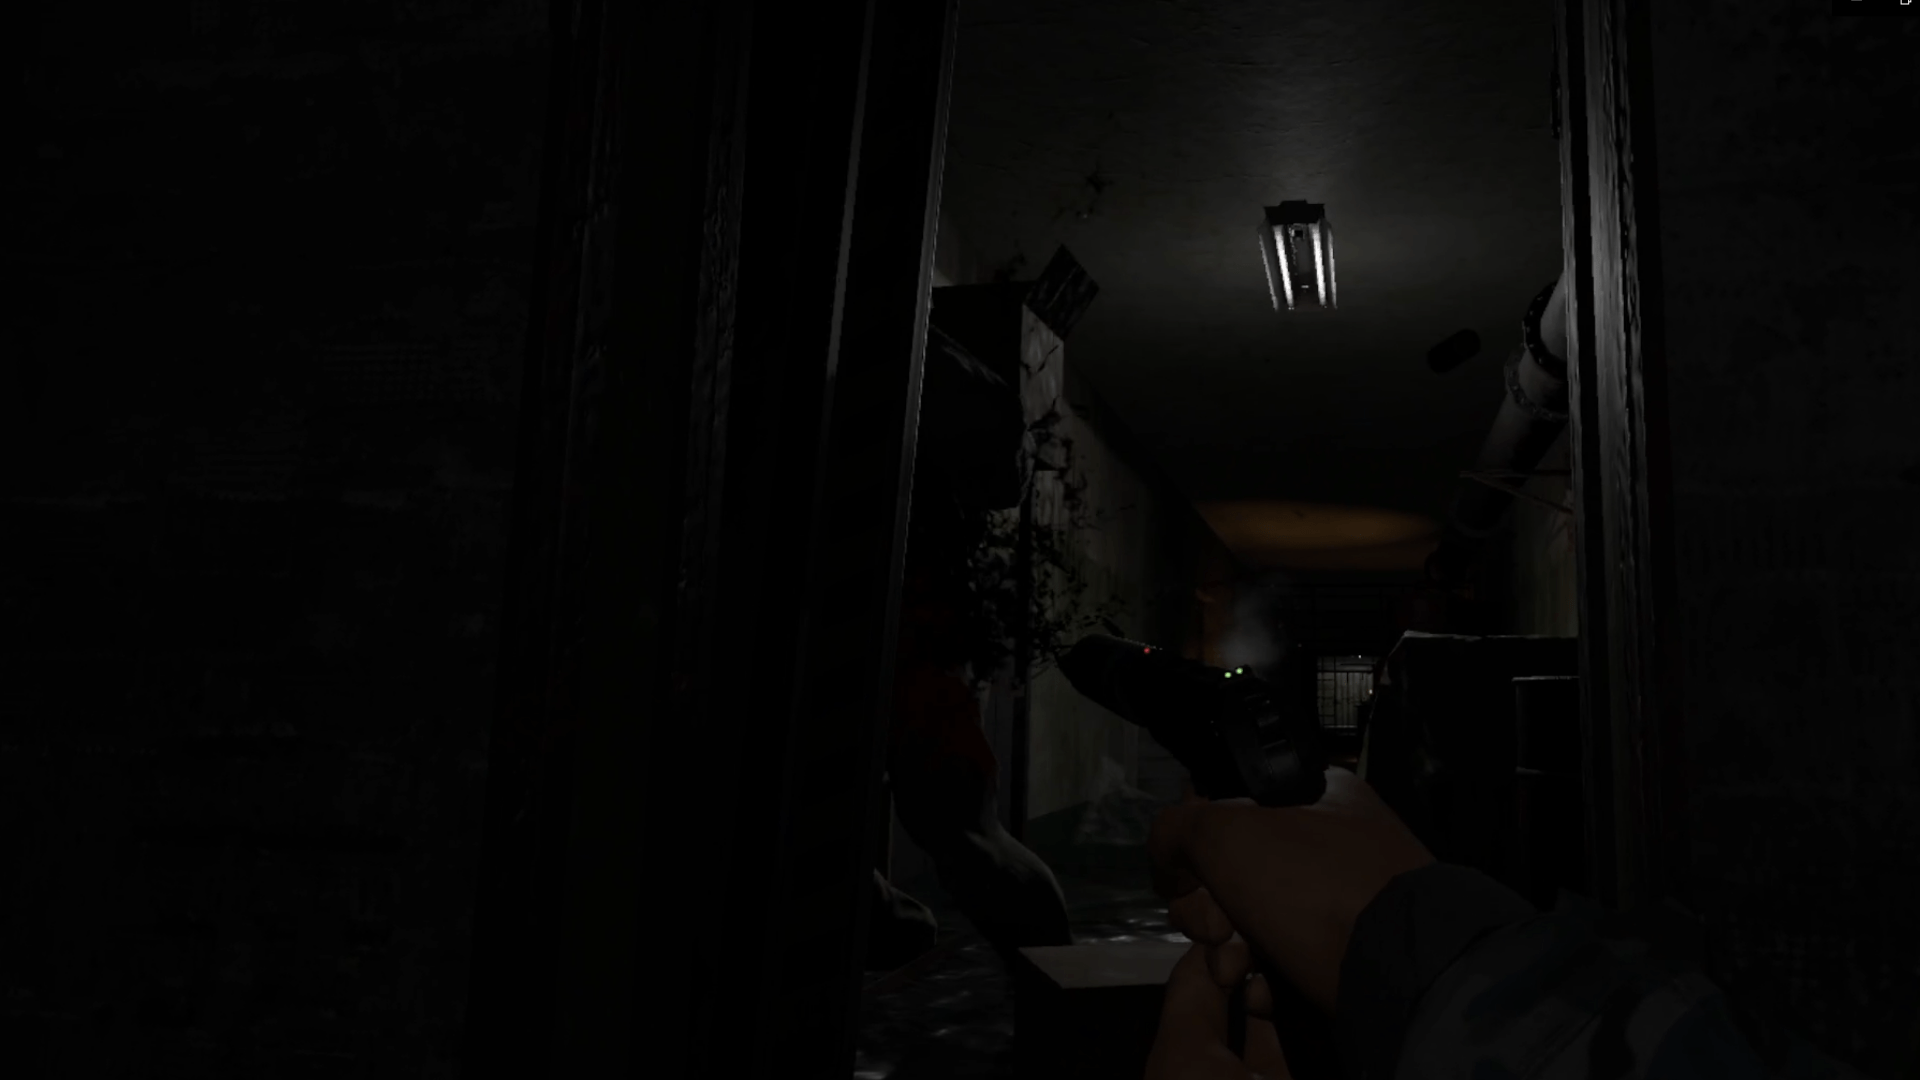
- Keep your ears and eyes alert of the humanoid mutants. If there is one nearby, you will hear it’s growling and that will let you know you need to sneak. Always peak around corners to make sure you aren’t walking into one, as when they notice you they will pounce. The humanoid mutants are extremely quick and deal great amounts of damage, I counted 5 hits and I died. So, because of this, it is preferable to sneak by. Always crouch walk if you see an enemy.

- At all costs, avoid enemy interaction. Always try to find a way around enemies. The humanoid mutants are blind, so you are actually able to sneak by them as long as you do not make too much noise. Try not to engage though, as you will spend more money mag dumping into them and losing your health, both of which are very valuable to you.
- Water section- if there is water, sneak!! Water is extremely loud and can get you into some pretty bad danger if you are walking in it or running.
Tip 2: Scavenging
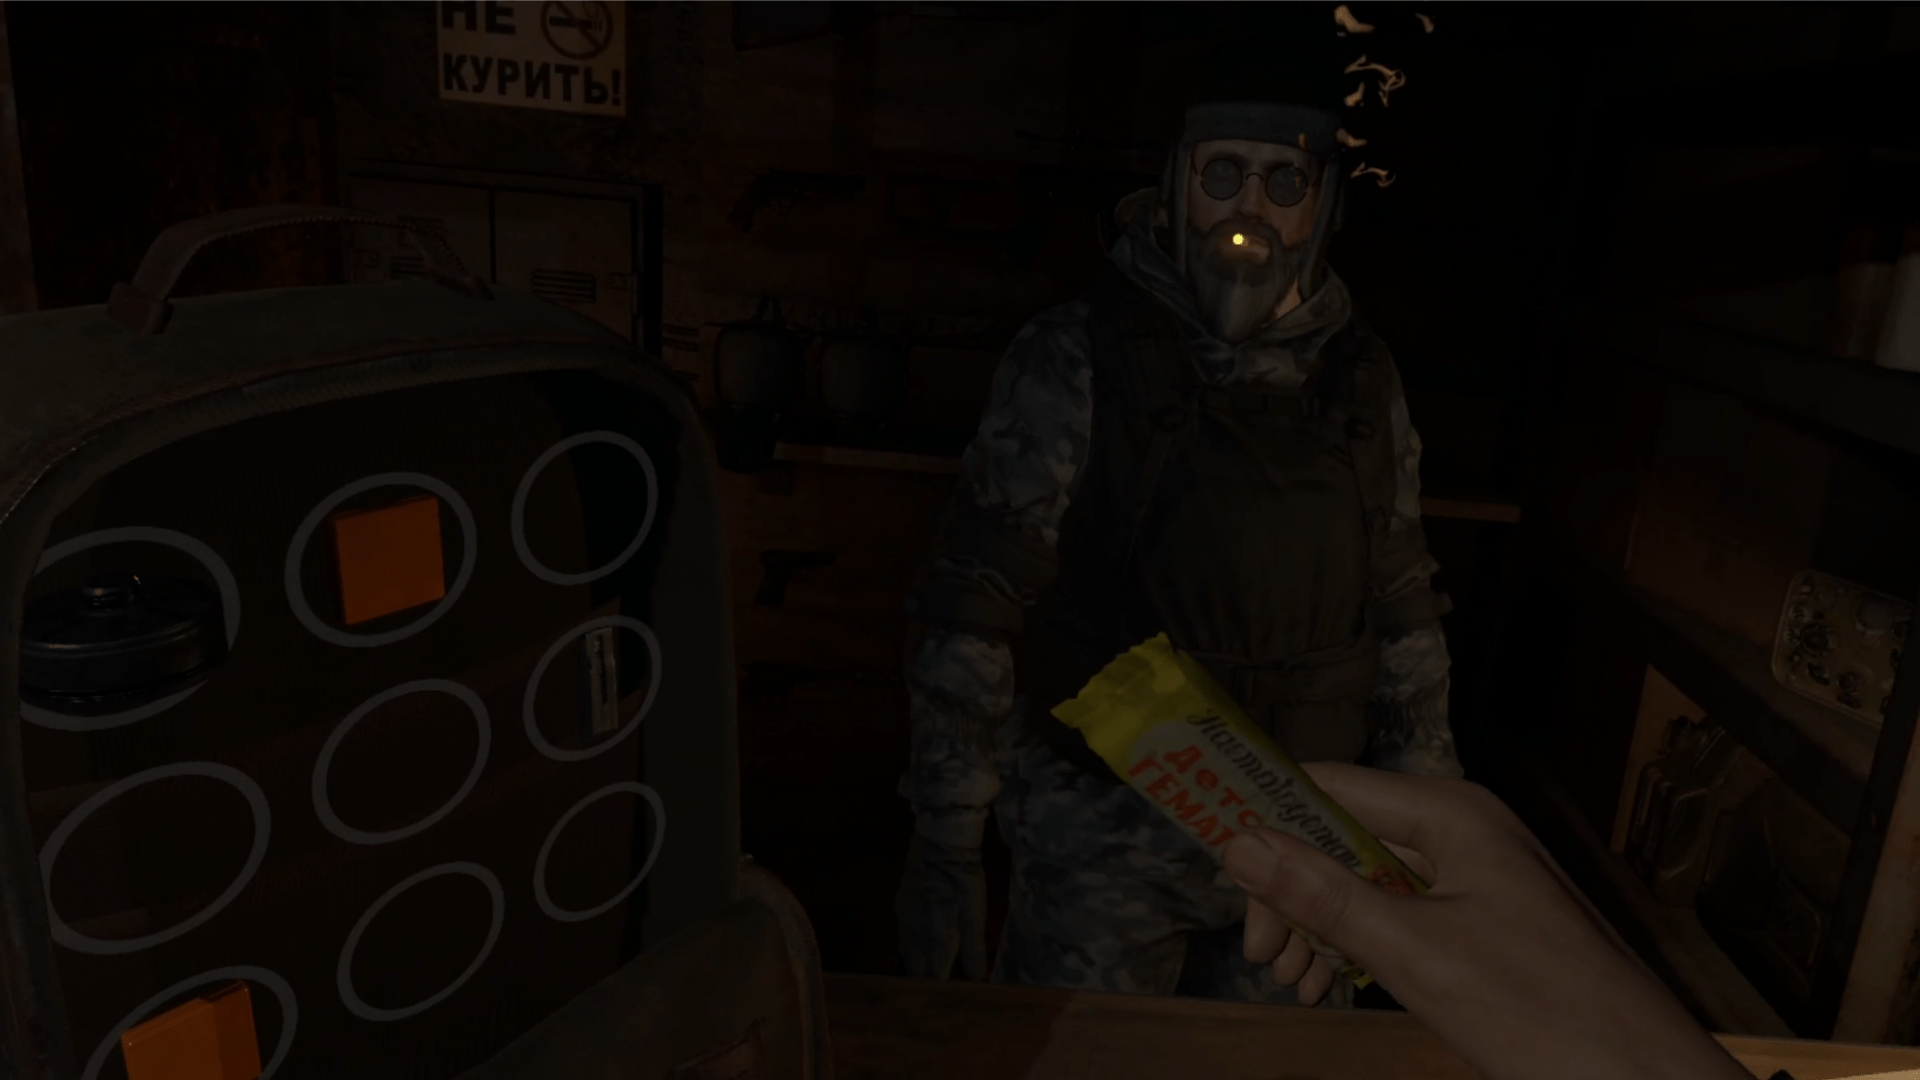
- When exploring try to be on the lookout for loose items laying around, From day 1, you need to be picking up these items and throwing them in your backpack. When you get back to camp, bring them to the merchant and drop them off on his desk. This is the only way currently to get money, and it is extremely important as you need to do this to buy your weapons and needs.

- I will be uploading a guide on the exact prices that each item gives you but from my experience, search for the clock, baking powder, and creamed milk. These three items make you big bucks, but either way, if you cannot find them don’t worry. Everything adds up, even if you have a ton of random items it is better than nothing.
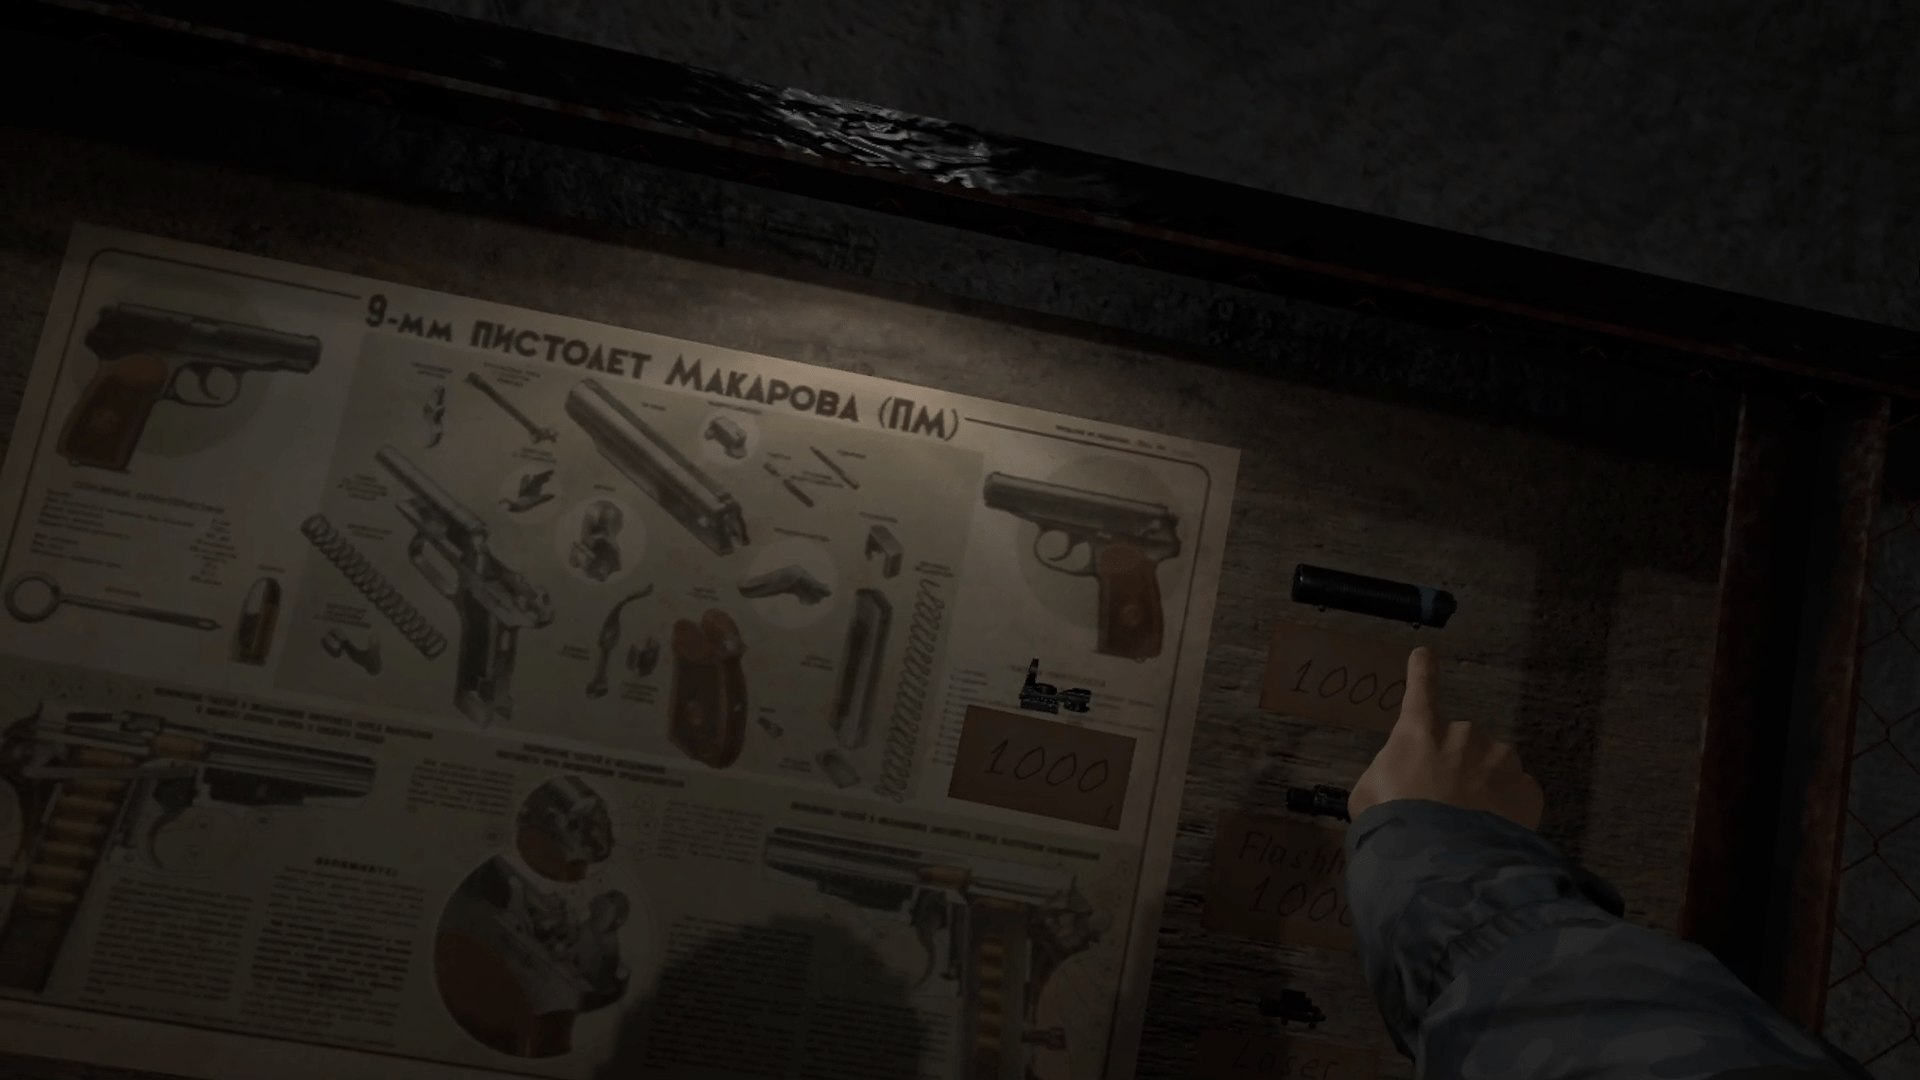
- On the first raid, the first challenge is to find 3 items (for me it was toilet paper). I have found, that if possible, hold off on turning these items in, and continue scavenging until you save up enough money so you have the flashlight attachment which is 1000 rubs, and the silencer, also 1000. Save up for 2 magazines, an ammo box, a medkit, and a gas mask filter. These are things you want to be carrying around.

- Take advantage of the storage crate in your room. These can be used to hold important items like medkits, weapons, ect, that you might not have the space for.
Tip 3: Gear up
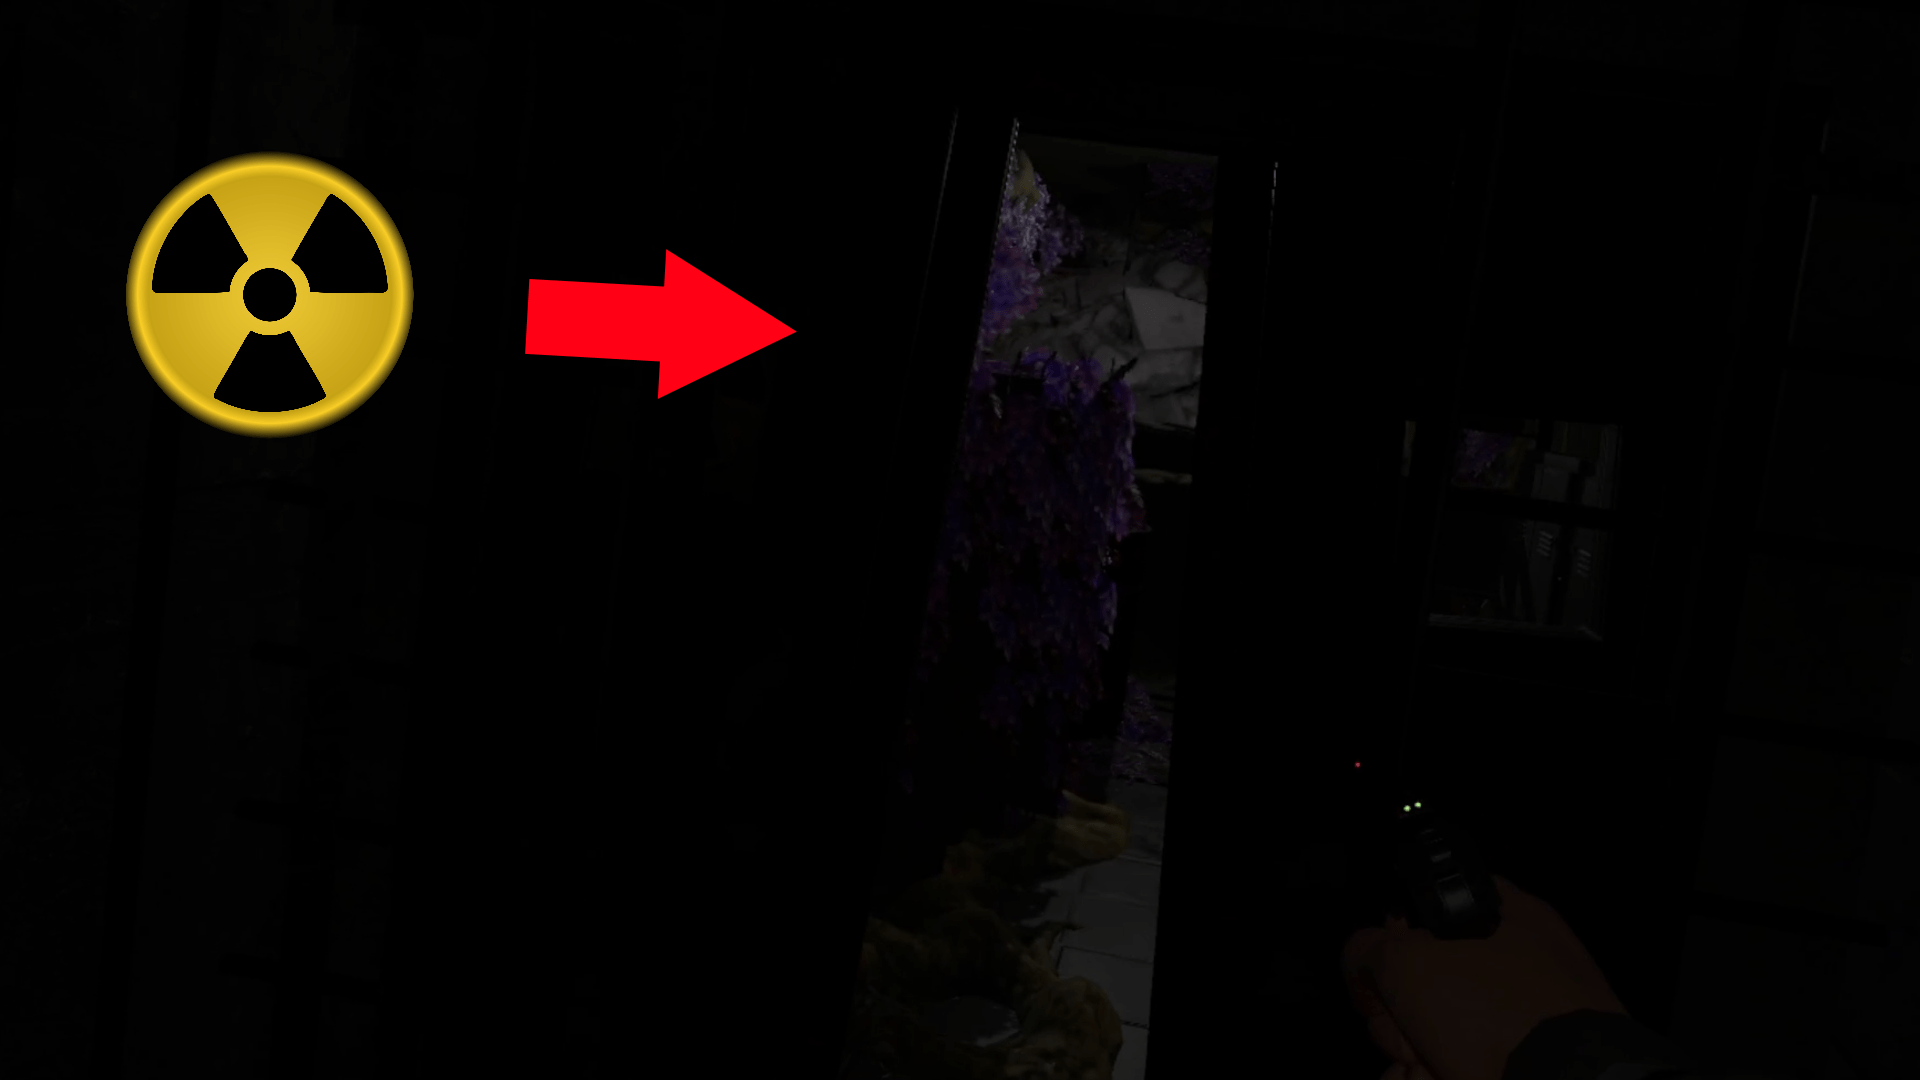
- Gear up first before getting to the spider raid. I talk about this a little later too, but I cannot stress how important it is to be properly geared up. On the second raid you will get access to the radiation suit: USE IT! There are areas of the map that are inaccessible without it. You will see these purple glowing vines covering the door, and that means you need a gas mask and a radiation suit. I always carry one gas mask filter on me just in case I come across this.

- I also highly recommend saving up for the ak47 by about the third or fourth area you get to. Get the ak47, get the flashlight, and load up on some ammo because your gonna need it. The spider part is hell, but I’ll get to that in the next part.
- Also, another thing I didn’t mention is that you carry around a knife on you, and it actually comes in handy a lot in stressful situations. You will have to get the hang of frantically stabbing your knife into enemies, but when you are all out of ammo you are going to cling to that knife like it’s the love of your life.
Tip 4: Guns
- Always carry 2 mags on your belt, fully loaded, and one in your gun. This way, if you need to switch fast due to multiple enemies, you are prepared and can quick load your weapon.
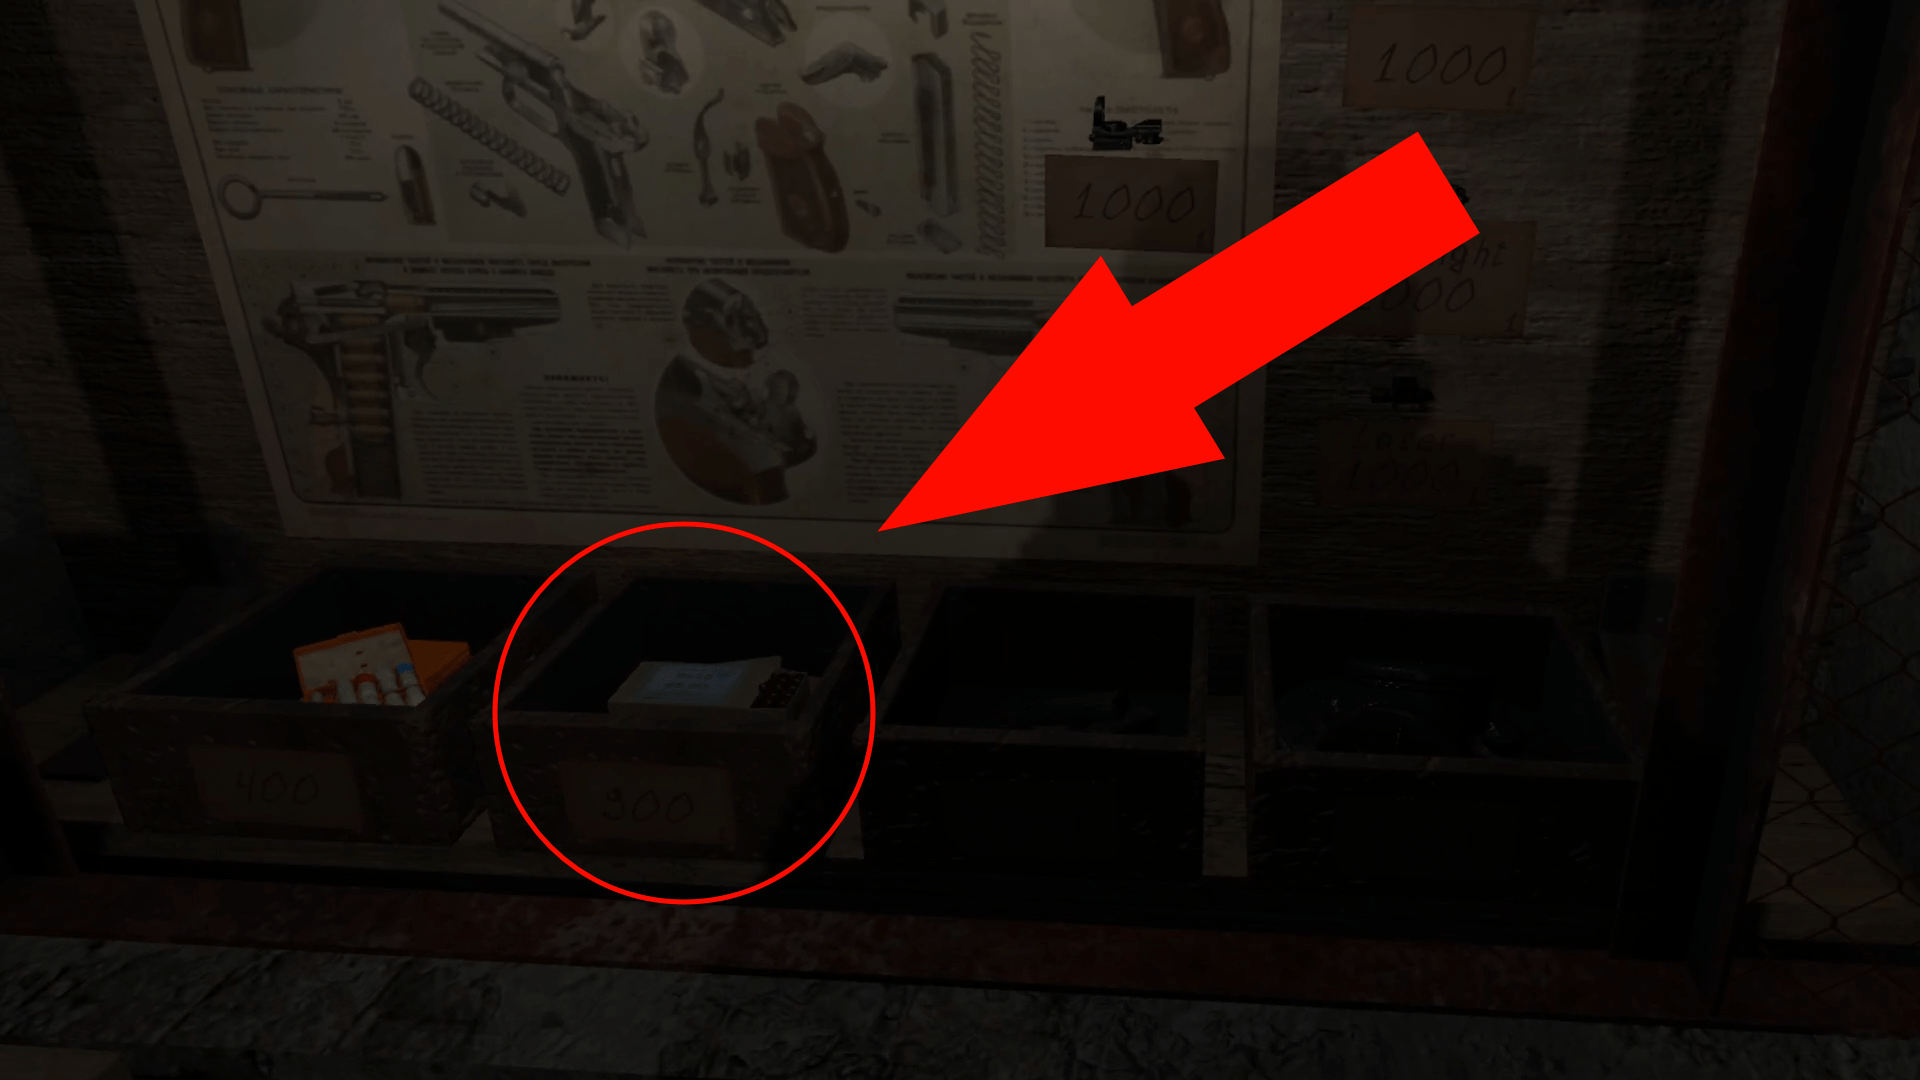
- Ammo is very scarce, and I recommend buying an ammo box to load your magazines with, keep it in your inventory as it is cheaper, that way you don’t have to buy more magazines. This will help you in the long run. An ammo box can be purchased for 900 rub.

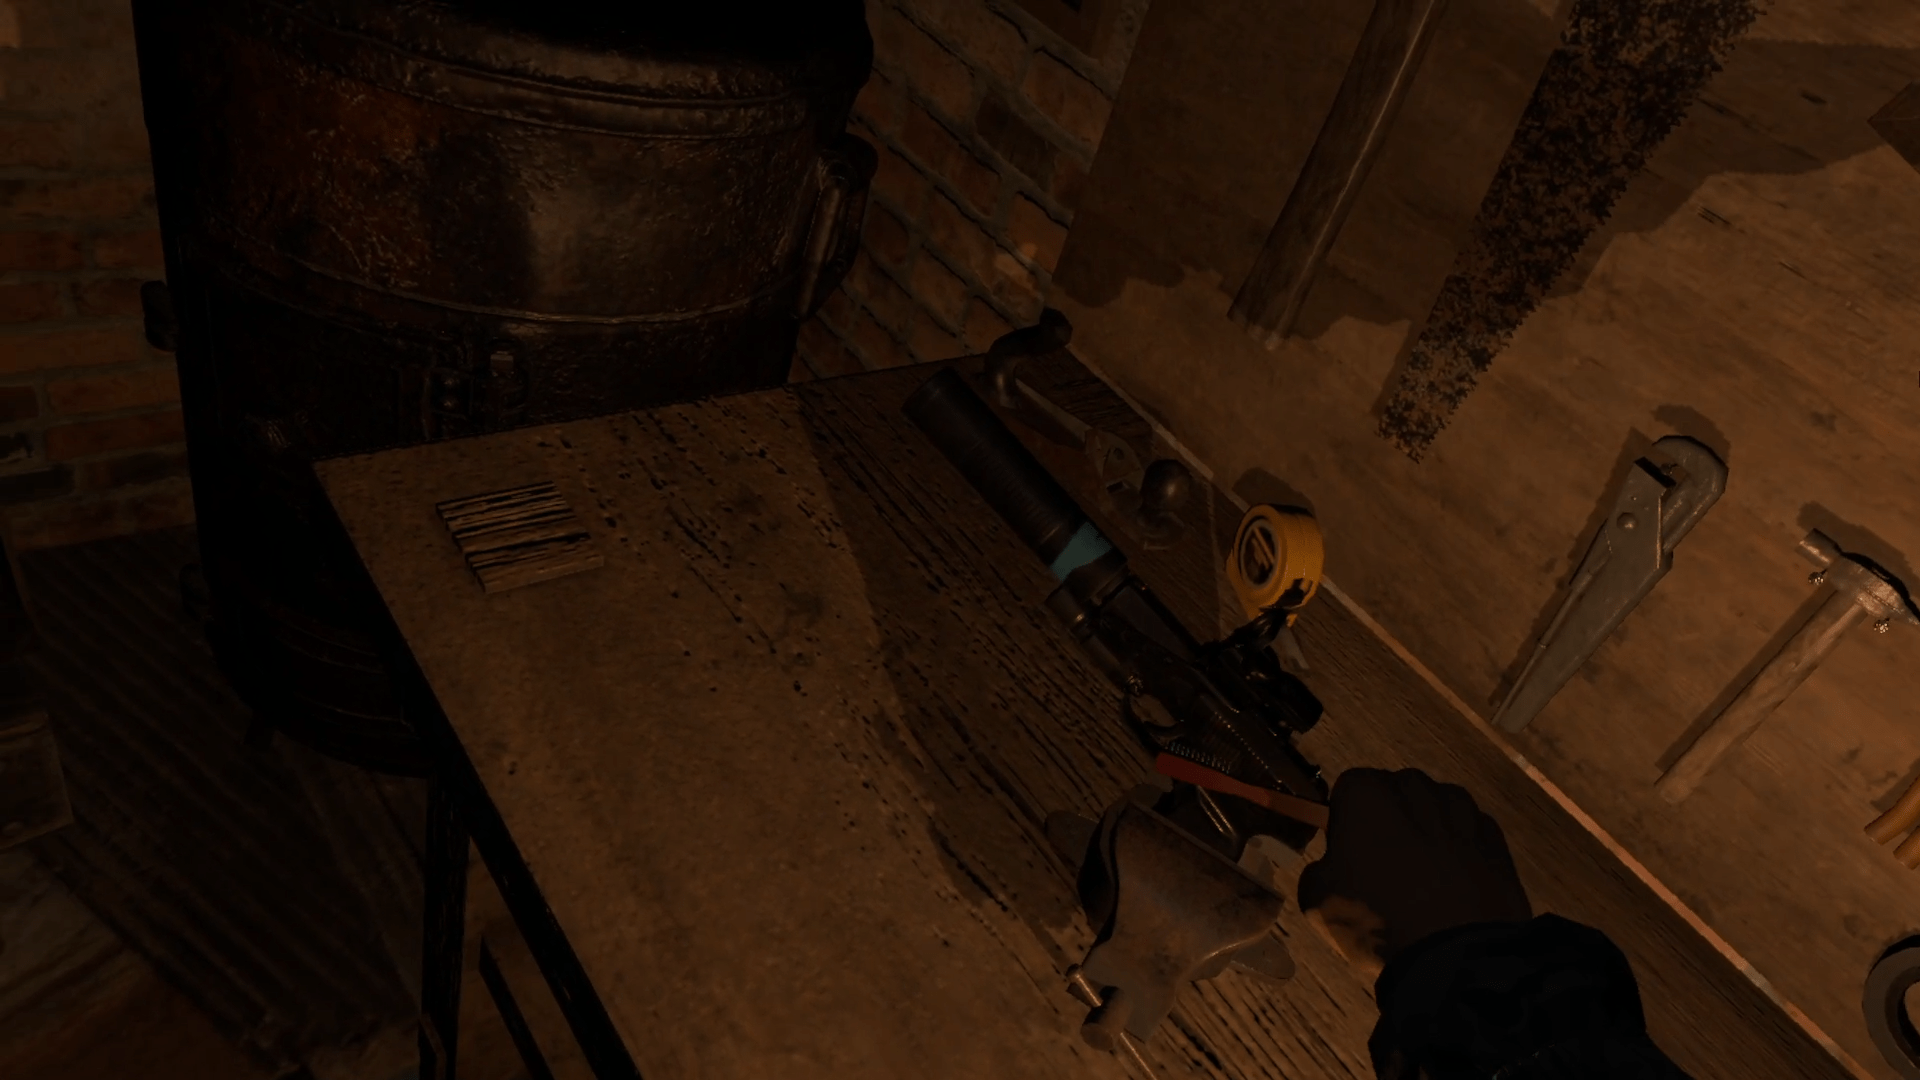
- Always, ALWAYS, clean your weapon. There is a toothbrush in your room on your workbench, scrub your weapon with it every time you come home from a raid. This may seem over the top, but it is not as you need your weapon to function to the best of it’s ability.

- Also, as soon as possible, buy the silencer. The silencer is extremely important for all your weapons as when you get into a fight, you will not be alerting the surrounding mutants of your location. This is important because you have low ammo and you must preserve your fights as much as you can. It can be purchased for 1000 rub
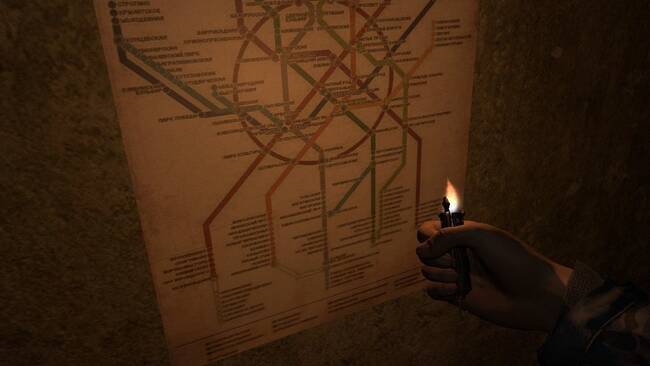
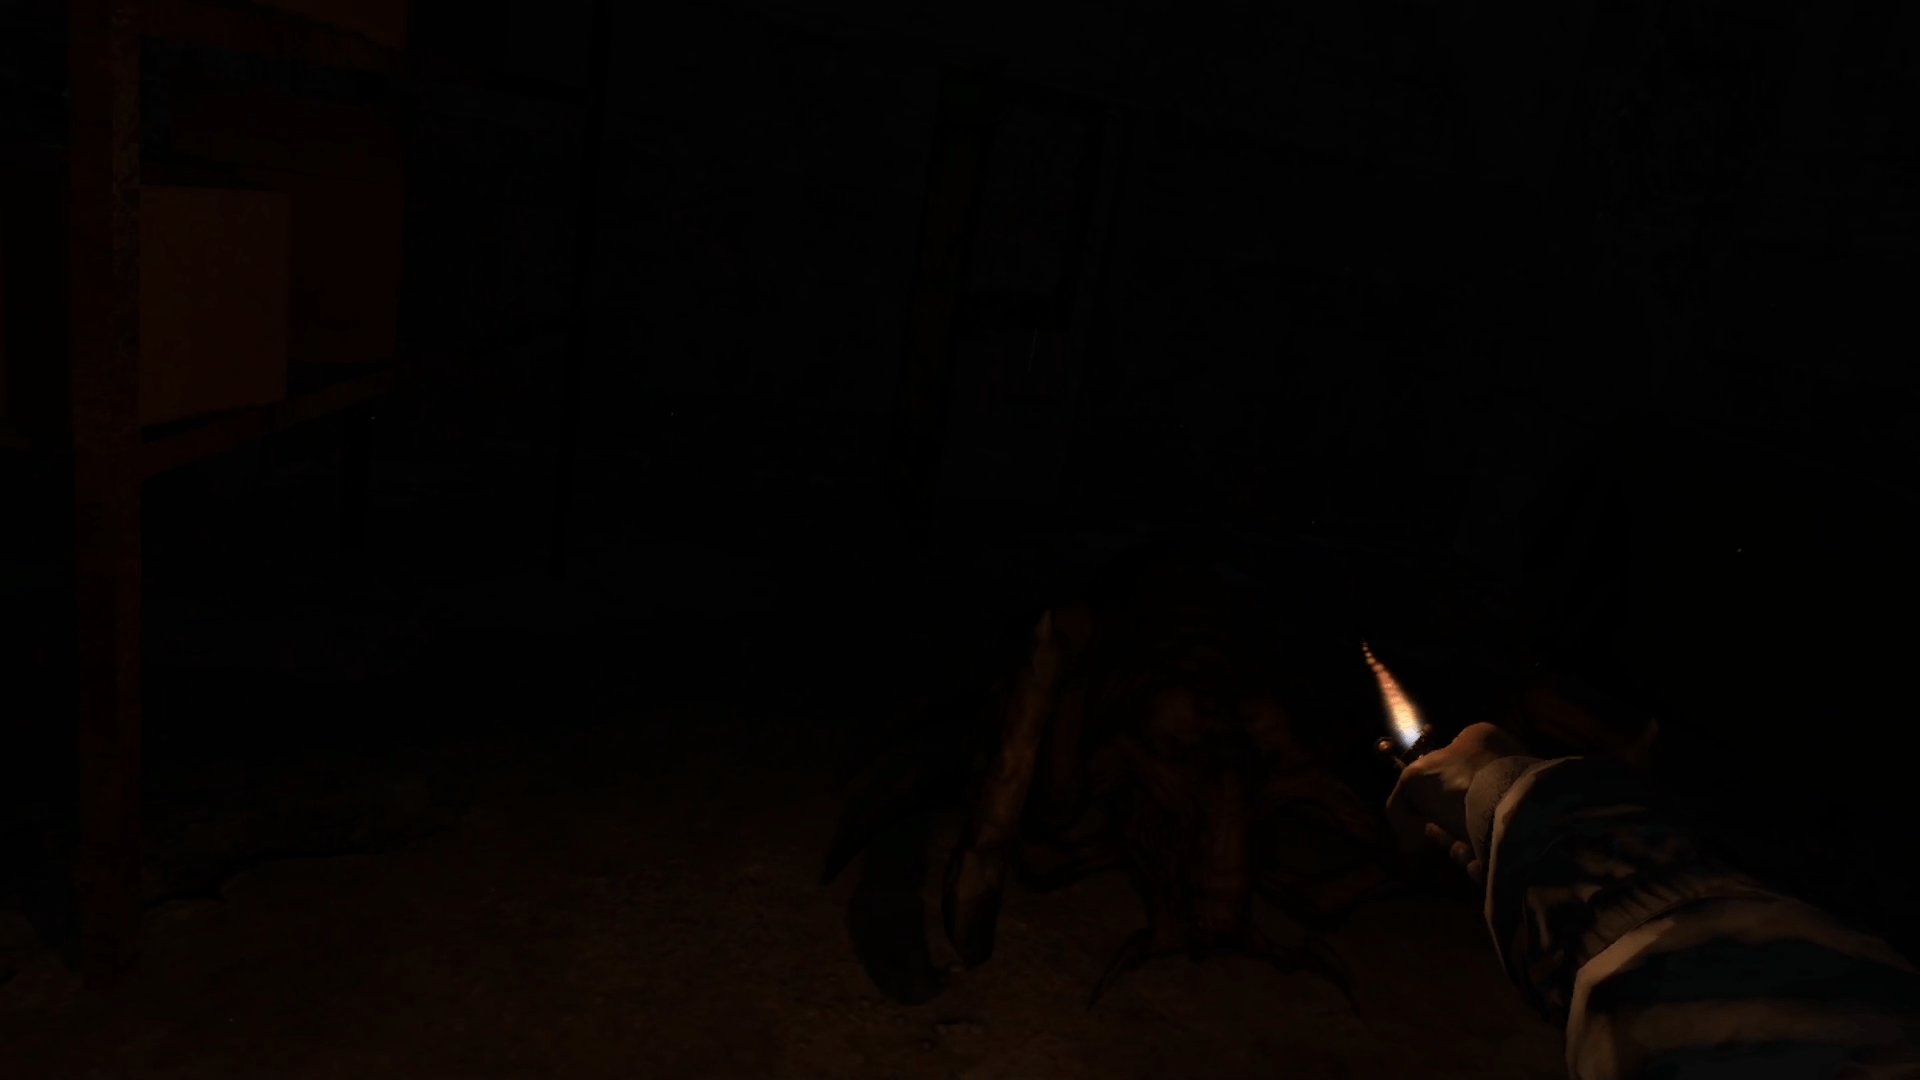
- The second raid act is spiders. Be extremely careful with these guys as they will take huge chunks out of your health. Their weakness is fire and light, so keep that lighter on you at all times. I recommend moving quickly, and trying to find a fire pit to light, to keep the spiders away from you. This is their one weakness. Flashlights also work.

Tip 5: Stalker Stashes
- Last but not least, be on the lookout for stalker stashes. Stalker stashes include extremely good loot and are always worth looting. On my first play through, I even found a ak47 in one (which costs about 4000 rub, not a cheap weapon).
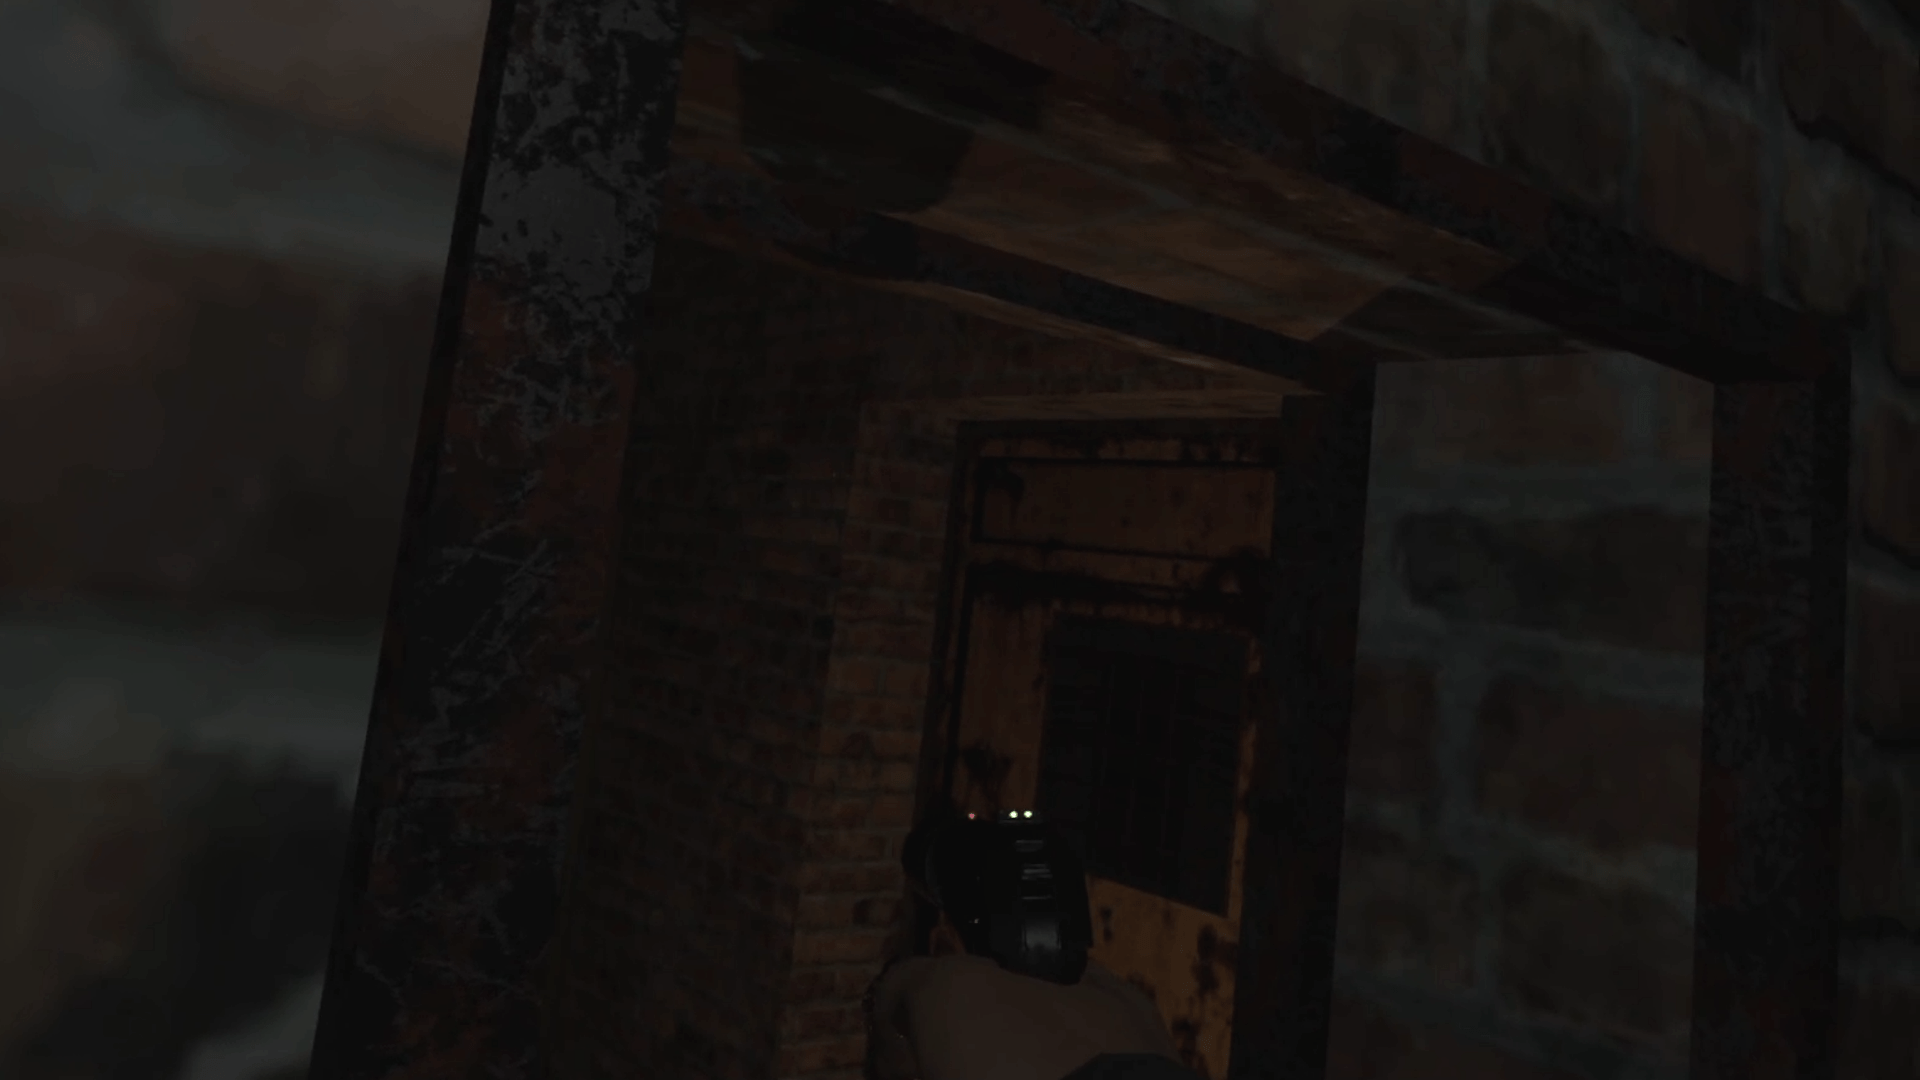
- To locate a stalker stash, look for a door that you cannot open. If you try to open it, it will make a locked noise indicating that it is locked from the other side. Walk around along the edge of the wall until you get into the other hallway by it and there should be a small open square on the adjacent wall. Simply look into the square window, aim for the lock, and shoot if off.

 – And there you go, now you have found one of the most op loot stashes in the game 🙂

 – And there you go, now you have found one of the most op loot stashes in the game 🙂