Secluded Lodge Walkthrough
Note: You’ll come to this location later as part of the quest Witch Hunt. Stripped of its quest-related content, it’s a pretty simple area, but there’s no harm in exploring – and looting – it early if you are so inclined.
From the Monster Den follow these directions:
- South
- East (path bends northeast)
- Northeast
- East
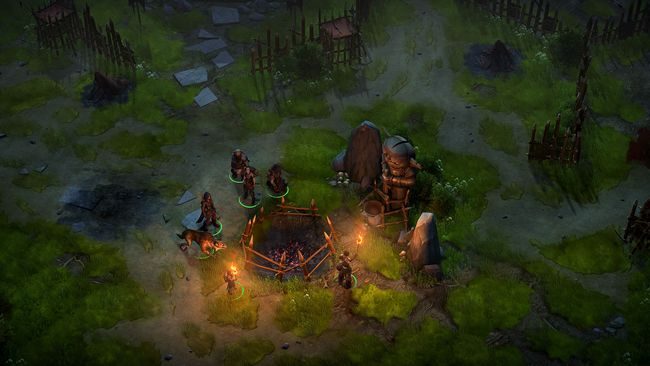
With any luck, you should arrive at the Secluded (Hunting Lodge) Lodge area. Make your way northwest to find a bar tended by an elderly dwarf named Dumra, who believes in a more “don’t bother me” approach to running her lodge. You can chat with her to learn about why she chose such an unprofitable location for her lodge, and you can purchase items from her. Don’t expect much and you wont be disappointed, as this reclusive huntress will sell little of interest aside from Camping Supplies and Rations and a Torag’s Pendant. It’s expensive, but your antiquarian will refund you if you bring it to him.
Do whatever business you wish with Dumra, head through a door into a back room, then turn southwest to reach another storage room. This room is packed with boxes and sacks you can loot, unlike the previous room, in which you could find only milk. One box contains some Camping Supplies and Rations, two lengths of Rope, three doses of Alchemist’s Fire, a Potion of Cure Moderate Wounds and a Potion of Bear’s Endurance. The rest of the containers contain various foodstuffs. If you pass a [Perception 25] check you’ll find a barrel you can plunder for 250 GP, the Hostess’ Room Key and a Masterwork Kukri.
Return to the large room to the southeast, then head up some stairs to the southwest. Rather spacious for a secluded hunter’s lodge, eh? If you were looking for a bunch of quick loot that took very little trouble to get, this place is for you, as there are numerous locked doors upstairs (the keys to which you can find in a later quest), behind which invariably lies a locked chest filled with treasure.
The room nearest the stairs on the southeastern end of the hallway has one hell of a good lock, requiring a [Trickery 30] check to open. Inside this room you’ll find a small chest containing Papers from Dumra’s Chest and 23 GP, but otherwise little of interest, unless you pass a [Perception 25] check. Succeed and you’ll find a loose floorboard to the southwest you can interact with, in which you’ll find a whopping 1,922 GP. Hunting in these lands pays well, it seems.
Pick the door [Trickery 20] to the central room along the southeastern end of the hall to gain access to a chest [Trickery 28], inside of which you’ll find 250 GP and a variety of gems.
The room further from the stairs along the southeastern end of the hall is the only room without a lock on this entire level. Just waltz in, open a chest [Trickery 23] and loot it for a Masterwork Shortsword, a Masterwork Light Shield and two Acid Flasks.
Next turn your attention to the room further from the stairs on the northeastern end of the hall – opposite of the last one you entered – and once you get through the doorway [Trickery 15], plunder the chest [Trickery 25]. Inside you’ll find a a variety of treasure, including 100 GP.
Finally, turn your attention to the last door, the one just opposite the stairs. If you picked up the key from downstairs, it’ll come in handy now, otherwise you’ll need to bypass a [Trickery 28] check to unlock the door. However you manage it, once inside turn your attention to the large chest within [Trickery 25], which contains 78 GP and a Cloak of Resistance +1.
Relieve Dumra of her worldly possessions, then leave her abode. Time to move on to the Kamelands.
