A complete walkthrough of Bozo’s Race Into Space with all secrets and poster unlocks.
Bozo’s Race Into Space
Poster #1: Bozo’s Race Into Space
Basically proceed through the beginning of the game as usual until you reach the first zero gravity section. You will be floating around and be able to propel yourself by farting.
You will see a series of timed electric gates.
Carefully propel yourself through until you made it to the end.
Turn around and you will see this poster on a wall.
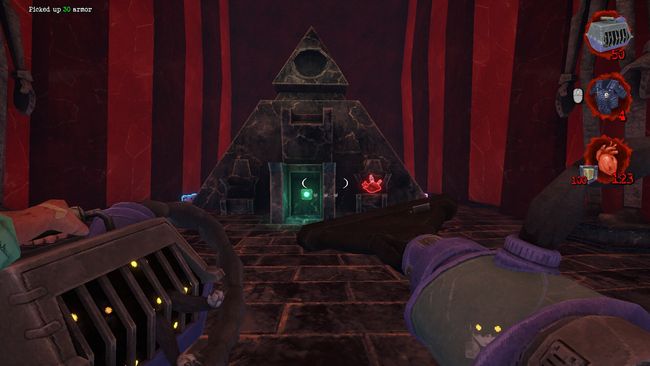
Secret #1: Suspicious Moonshine
Once you have grabbed the pistol, you’ll make it to an area with four spark engines.
You’ll need to hit a target to deactivate their armor shell for each one. Be wary that destroying an engine will spawn a few death star enemies.
After you have opened the door, look to your left.
There’s a small opening near the top left that you can enter to get the secret.
Rocket ammo, health, and a Suspicious Moonshine powerup are here.
Secret #2: Steroids / Secret #3: Ammo Box
Soon you’ll make your way into a cabin box with a group of enemies.
There should be a few barrels in a room that you need to blow up.
Go down it and you will be in a room with corrosive acid.
Grapple your way to this middle area with steel pillars.
The last steel pillar will have an interactable panel.
A button will appear and you can press it.
A Steroid powerup on a pillar will rise from the acid pool.
Jump onto this pillar and you should see a button that’s on the edge.
Pressing this button will cause an Ammo Box to rise up near the initial button you pressed earlier for the secret.
Who’d knew that there would be two secrets in one?
Poster #2: Pink Eye Tower
Proceed through the level until you get a red key.
You’ll use this on a red door that’s near the kitchen entrance.
Walk through the door and you should see this stairway.
The poster will be on the wall near the start of the stairs.
Poster #3: ♥♥♥♥♥ Blower
Upon reaching the top, you’ll be in a lounge area with enemies all over the place.
Deal with them and drop onto the lower section, you’ll see a small hallway with a blue door.
Ignore the door for now and go left of it to find a red button to press.
This button will activate the grapple rings above the room.
You should see an empty room right across one of the grapple rings.
Grapple towards this room and you should see this poster on the wall.
Secret #4: Health Pipe & Portable Armor
THANKS Icip for sharing this secret!
You will proceed through the level until you get to the section that involves flipping.
Shoot all sequential targets to unlock the door that leads to another cabin area.
Continue to walk through the level until it suddenly gets flipped and zero gravity activates.
You’ll soon see two meteors crash into this section.
Now open the door of the second-to-last cabin and drop down.
You’ll see a crawlspace here, so crawl through and rise up into a secret area.

In one of the rooms that you can drop into, there’s a Health Pipe and Portable Armor.
Drop into it and you should have this secret unlocked.
Poster #4: Dominatrix
Eventually, you’ll make it to the last section of the level that involves electric gates.
I’m sure that this is self-explanatory but you should proceed through this part until you are able to enter this room with the bridge and two pink levers.
Before you pull on the levers, drop down below the bridge.
You should see this poster right underneath the bridge.