Table of Contents Show
This is to help others in finding all secrets and posters in the second level, The Bareback Redemption.
Some secrets and posters are found together, so be mindful of that as you journey along, you psycho.
Secret #1: Hot Sauce
This is literally right in the beginning.
You will see a poster of a woman, though it won’t count towards your poster total.
Interact with it to enter your neighbor’s cell and take the Hot Sauce.

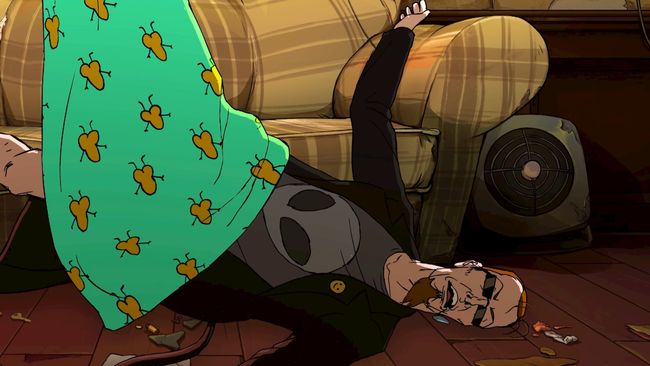
Secret #2 / Poster #1: Monkey from Hell
The next secret comes when you drop down into the sewers and fight enemies throwing poo at you.
I highly recommend saving and NOT killing the prisoners, but you should get rid of the enemies on the walkway before you even attempt to get this secret.
I’m not sure if I just suck at slide jumping, but I found it pretty much impossible to access the secret unless I did this trick.
You will want to scare one of the prisoners into going to the edge of the walkway by peeing on them.
Once you get them into a position like this picture shows, walk a decent distance away from him.
Whip out your Super Hooker Shotgun to grapple onto the dude while holding jump.
You should be zooming over the dude and into the secret.

Once you are here, PICK UP THE POSTER. This one is the most tedious one to get so far and it’d be best to not have to repeat it.
Secret # 3: Crack pipe
Continue down in the sewers, but keep on the left side.
You should see this slightly ajar opening. Crouch down and walk into it to find a crack pipe.

Poster #2: The Bareback Redemption
I’ll assume you fought the really annoying monkeys, fought a cop, did a piss toll, and have ended up fighting a cage monster.
Basically just follow the jump pads into the glowing green room in which a cop is beating on a prisoner. The poster should be next to the door.

Secret #4: Minigun
Remember the jump pads?
Well there is a pipe on the right side of the pad that launched you onto the walkway that had two cops.
Use the jump pad, but strafe towards the right, but too much will cause you to overshoot the pipe.

Once you are on the pipe, use the pink lever to activate a door in this area. Go to the door that just lit up and you will find a minigun. Have fun.

Secret #5: Top of Guard Tower
Continue to progress through the cafeteria onto this area with a huge tower and grapple rings.
To get this secret, you will need to fall from a high enough height then aim your grappling shotgun vertically at a ring to propel yourself towards the top.
It may take a few tries but you should eventually get to it.

Poster #3: Brain ♥♥♥♥♥♥ Gun 69000
In the same area, just drop down to the bottom of the tower.
Go into the center area and the poster should be on the wall.

Secret #6 / Poster # 4: Prisoner
In your quest to retrieve both the yellow and blue key, the secret is found in the room with the blue key. Once you are in the library area in which you fight two robots and a gunslinging mustache, be sure to interact with the bottom shelves of the left bookshelves.
There should be a secret room that you can crouch down to enter, you should also be able to pick up the poster in that room too.

Poster #5: Cage Monster
Once you have both yellow and blue keys, return to the tower to unlock the blue and yellow lined door. There will be an elevator waiting for you, so take it up.
There will be ammo, a machine gun, and a poster for you up here.

Poster #6: Prison Guard
After I forgot to warn you about the upcoming waves of enemies and you beat the hell out of them.
There will be a gate that requires two piss tolls, do it and continue onward. Kill the prison guards and press the red button in the room to unlock the rooms. Be wary of the two butt monsters that are released.
In one of the rooms, there should be a poster along with a few prisoners.

Poster #7: Nailbiter Gun
I think by now, you should have a red key, so you’ll be returning to a hallway to use that key to enter the showers. The poster will be on a wall, but you’ll be ambushed by Burger Boys and Prison Guards.
Once you beat all of them, the floor will collapse and a Cage Monster will appear. Don’t worry though since there’s a launch pad that spawns so you can cheese him or be able to get the poster if you were preoccupied by the ambush.
