Table of Contents Show
Raft Chapter 2 Walkthrough Guide: Caravan Town, and Tangaroa.
Raft Chapter 2 Walkthrough Guide: All Notes & Blueprints
Caravan Town Walkthrough
There are many caravans everywhere on the island with materials and food inside the drawers. There are lots of Puffer-Fish in the water and they will respawn after a while.
- There are 10 documents.
- There are 6 blueprints to find: one for the Metal Detector, one for the Firework, one for the Zipline, one for the Zipline Tool, one for the Battery Charger and one for the Engine Controls.
- You need to find 3 zipline parts to be able to get to the Infirmary and the Mayor’s house which are required to find the post-it with the coordinates.
- You get the coordinates for the next place in a locked chest inside the Mayor’s house.
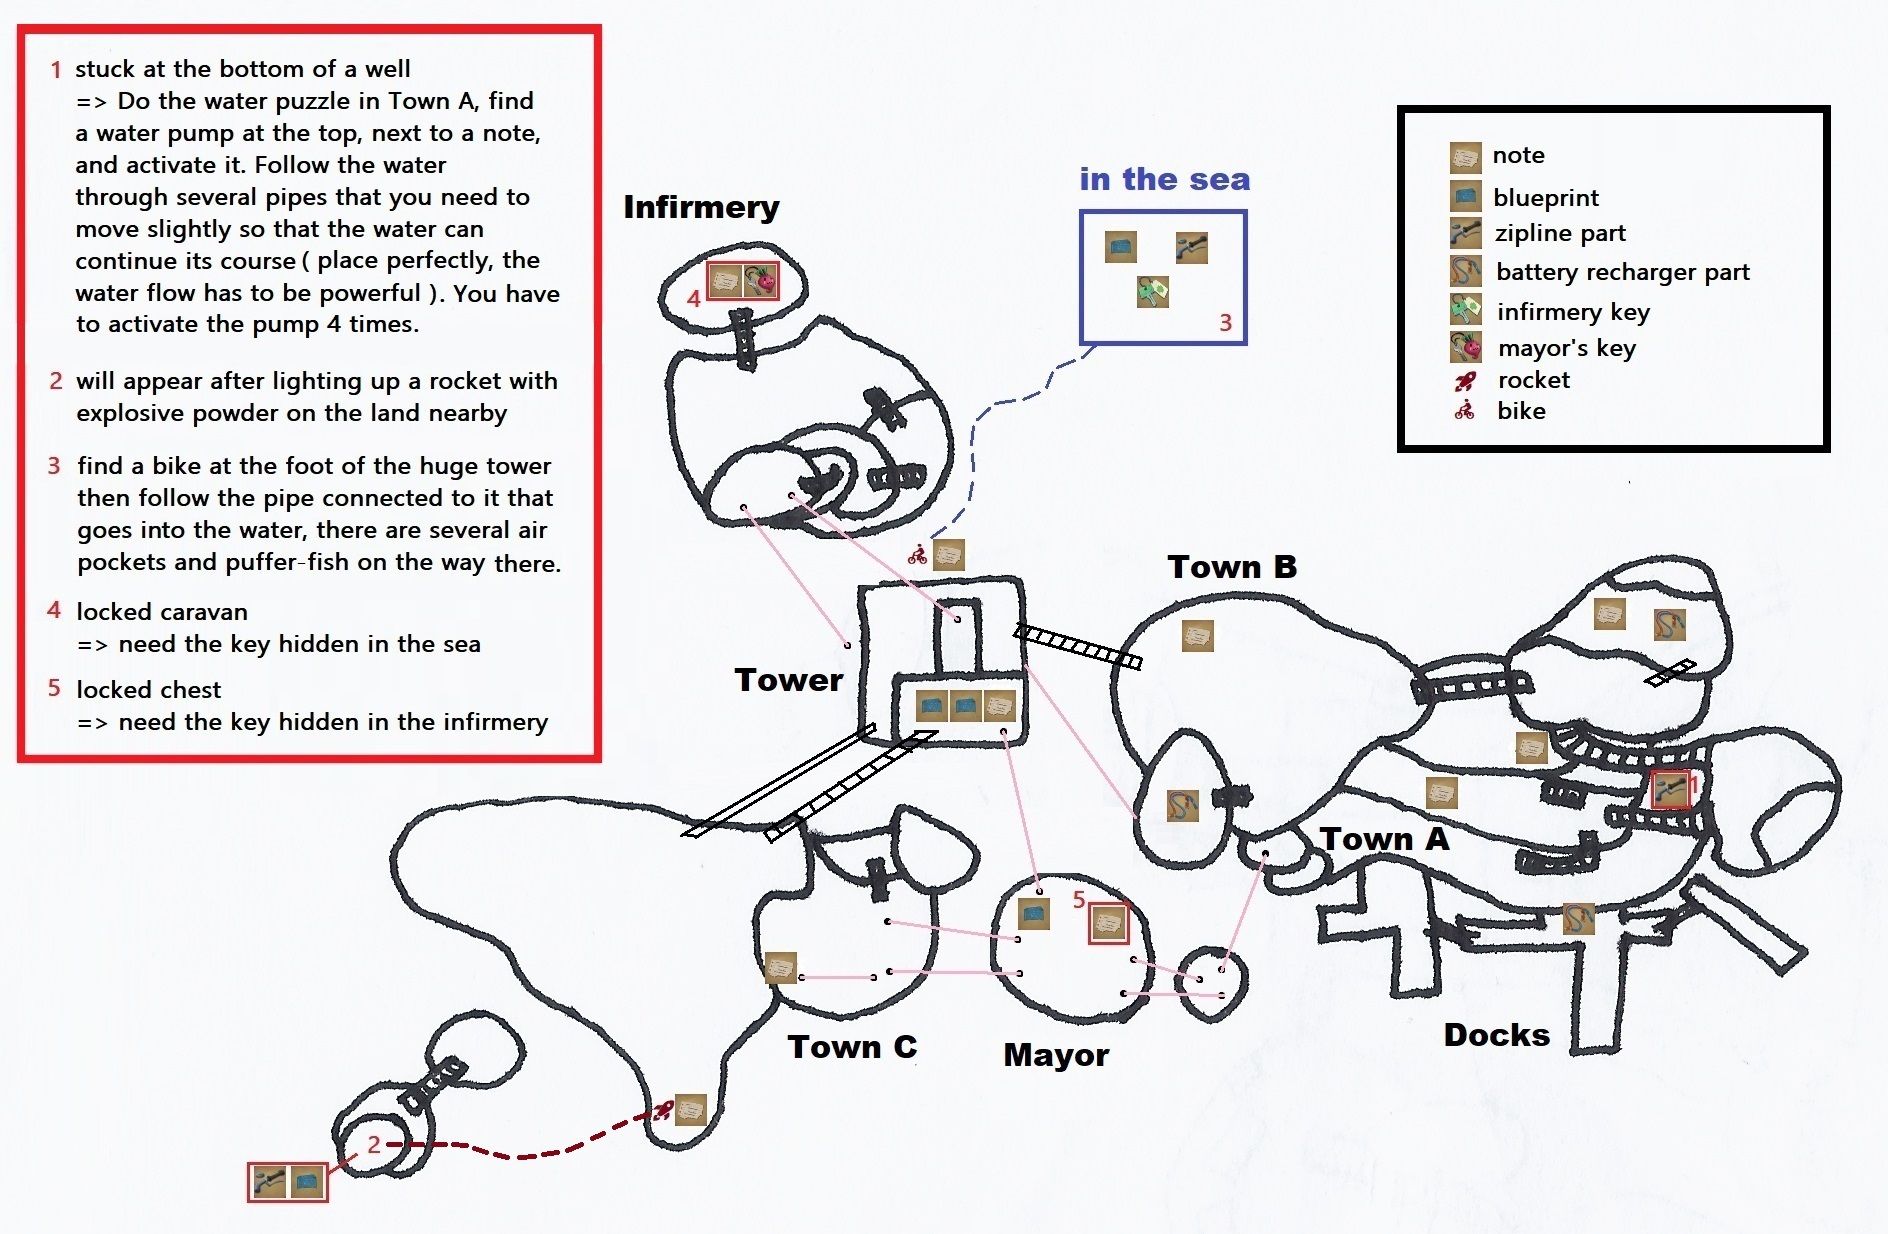
Arriving at the Island: There are many ways to climb the island, this guide will always start from the Docks which are the easiest to spot.
The Docks:
=> The moment you set foot on the Docks, you should notice a yellow plastic square with “Port Office” written on it. Pick up a [Battery Charger Part] on the ground, just in front of it.
=> Then continue towards the cliffs towards Town A, the part of the town just next to the port.
Town A:
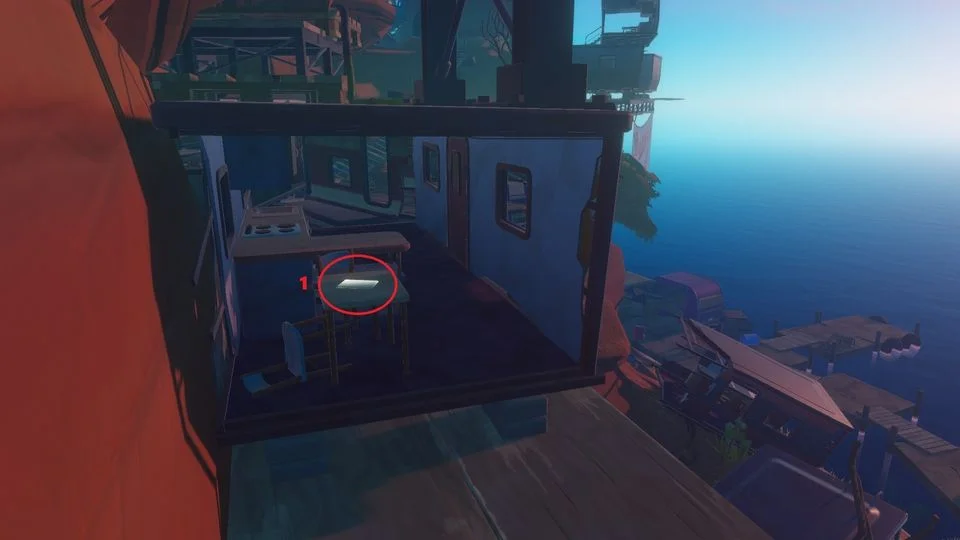
=> Climb the stairs on the left side of the beach (next to the docks). After the stairs, look on your right for a caravan with a blue ladder, climb it. There you will find an open caravan with a [Note].
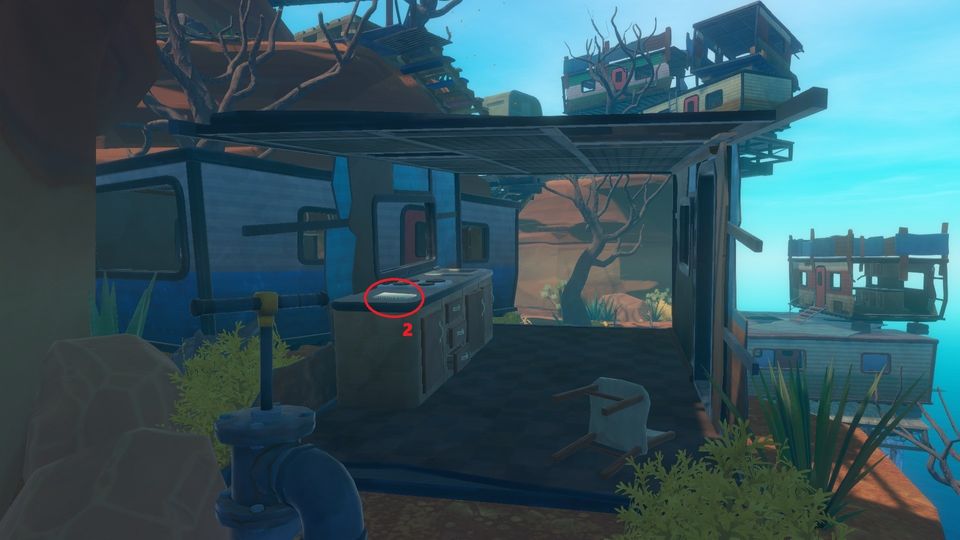
=> Cross the 2 caravans until you see a wooden pallet on the left with a blue ladder on it, climb it. You should see a stair in front of you, on the right, go climb that too. You will then reach a [Water Pump] and a [Note].
=> Water Puzzle (see video):
Press the [Water Pump] to see the water’s trajectory. You’ll have to move 3 pipes to let the water reach a [Well]. If you don’t place them well, the water flow could be too weak. In any case, once the pipes are placed, you’ll have to go up again to press the [Water Pump] at least 4 times (it can be more or less depending on how well you’ve placed the pipes). The [Well] should be filled now, you can go down again to pick up inside a [Zipline Part].
=> Go all the way up again, where you saw the wooden pallet with the blue ladder leading to the water pump. But instead, look on your right for a broken staircase. You should be able to climb it even if it’s broken, just stay close to the wall. Take another set of 3 staircases then yet another staircase on your right. You’ll see a blue caravan with a blue ladder, climb it and you’ll find a [Battery Charger Part]. Walk inside the caravan just next to the battery charger part, where you will find a [Note].
=> Go back down, take the single staircase, ignore the set of 3 staircases you took and instead take the small wooden bridge towards Town B, the part of town with caravans in circle and shops.
Town B:
=> Inside the circle of caravans, you should see a sign with “Canned Goods” written on it. On the right of this sign, you’ll see a brownish caravan with a red door, open it to find a [Note].
=> Go back outside and take the blue ladder on the caravan behind the “Canned Goods” sign. Once on the caravan, look on your left for yet another blue ladder and climb it. There you will find a [Battery Charger Part].
=> Go back down and cross a big wooden bridge towards the huge [Tower].
Tower:
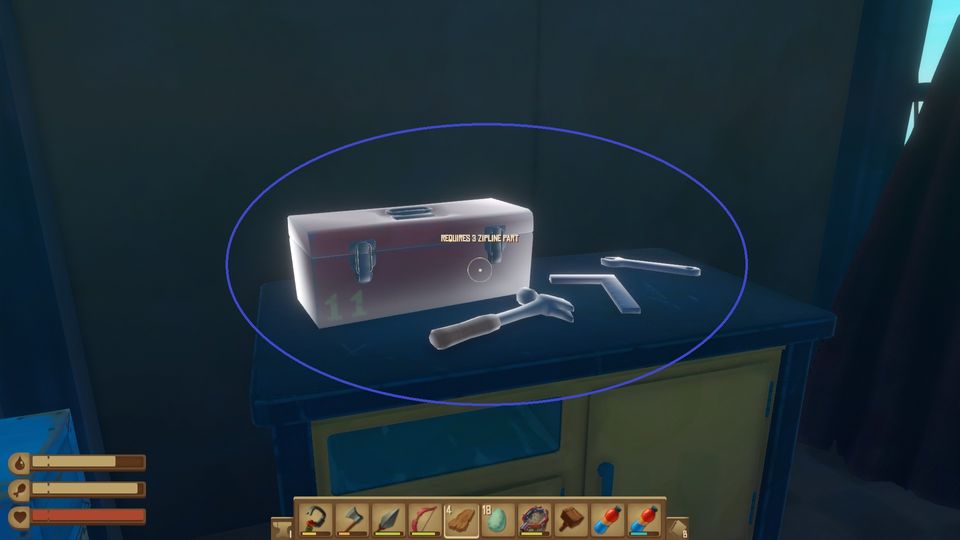
=> Climb the Tower and go inside the only room at the top. There, you will find a [Note] and a workstation to make a [Zipline] out of 3 [Zipline Parts] but you don’t have them yet so ignore it.
=> Go out and take the grey ladder on the side of the room to reach its roof. Careful for the White Screecher which should be attacking you soon. It won’t leave you alone until it’s dead so just take care of it now while you’re high up. It doesn’t have much health.
=> Next to the flag, you should see a huge metal rope going to an island and a wooden bridge with holes going to that same island. Take either.
Big Island next to Tower and Town C:
Go on the right side of the island and cross it until you find a big red canister next to a wooden pallet. On the pallet you will find a [Note]. Use [Explosive Powder] on the cannister which is actually a [Rocket] to make it launch (you can get explosive powder by putting explosive goo in a smelter, you can get the explosive goo from the many puffer-fish around Caravan Town).
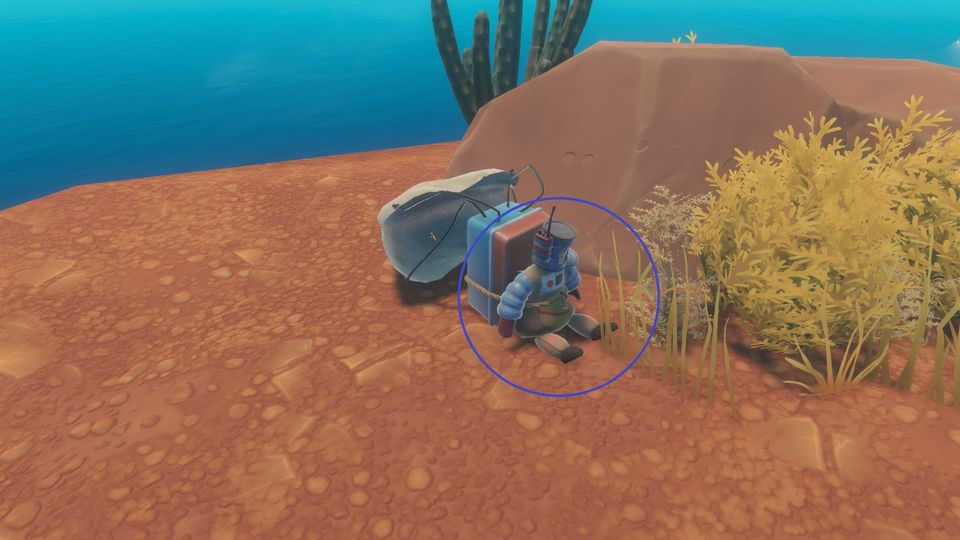
=> Follow the rocket to a lonely small island next to you. Use the caravans in the water to reach the island. Then take the wooden bridge, climb another caravan to reach a grey ladder then a blue ladder on your right and you will reach the top of the island where the contents of the rocket are waiting. Pick the doll up to get a [Blueprint] (Firework) and [Major Tomb] (a decorative item). Then pick up the box to get a [Zipline Part].
=> Face the cliffs on the other side (where you launched the rocket) and jump in the water. Swim towards the right side of the cliffs until you reach Town C, the part of the town on a beach.
Town C:
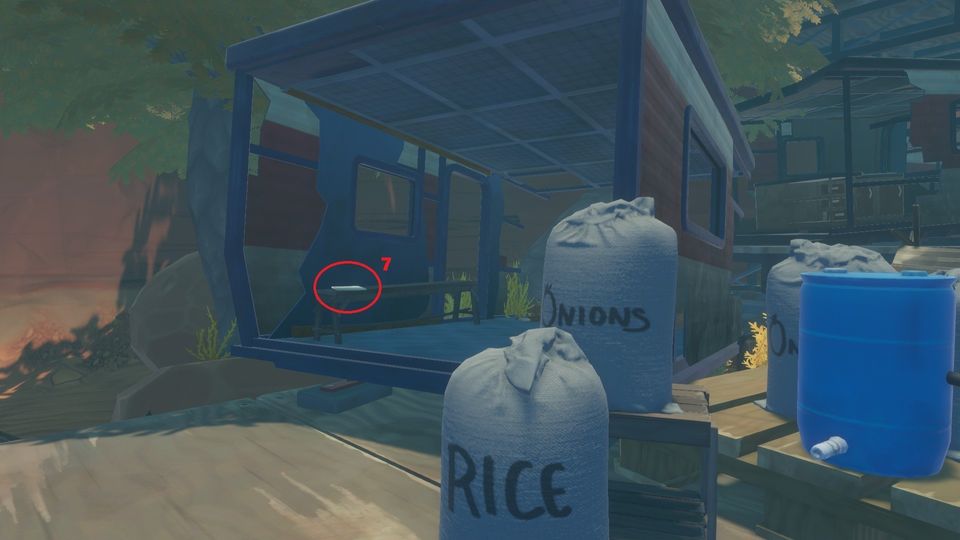
=> Just next to the sea, on the beach, in a caravan with big white bags next to it labbeled “Onions” and “Rice”. Here you’ll find a [Note].
=> You can just ignore the rest of Town C and instead on the right side of the beach to reach to the bottom of the Tower.
Tower Bottom
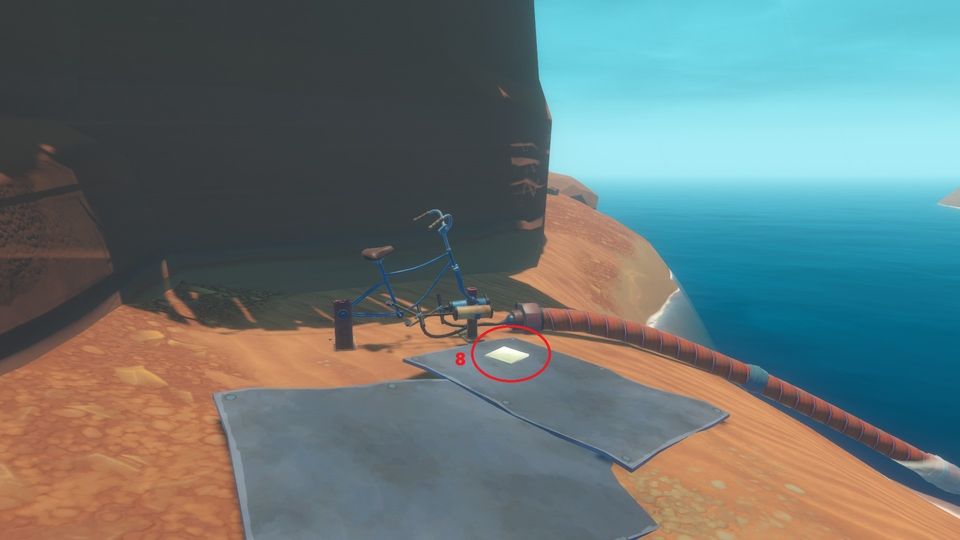
=> If you’re coming from Town C’s beach, you should find a [Bike] on the left side of the Tower Bottom. And a [Note] next to it.
=> There’s a pipe connected to the bike, follow it underwater. Careful it’s a long way to go and there are lots of puffer-fish blocking your way.
Underwater:
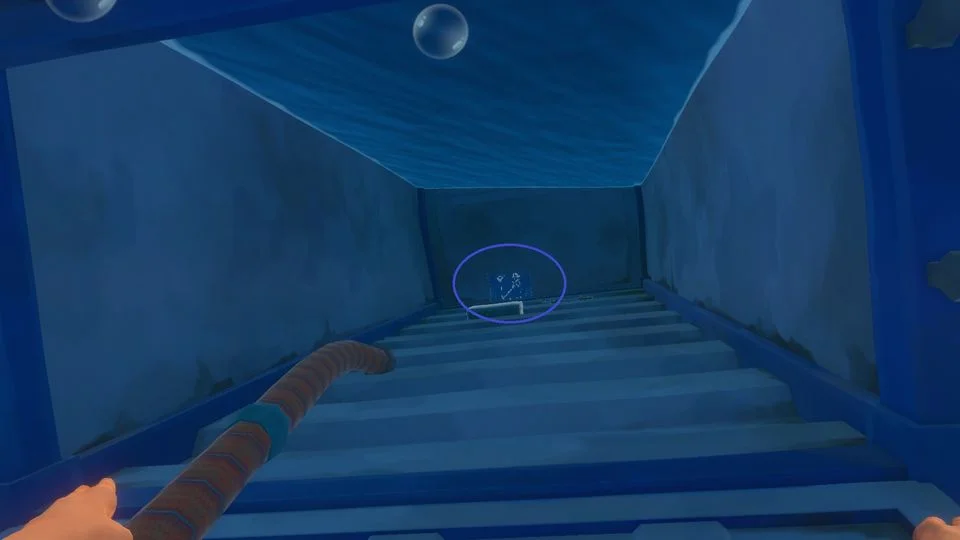
=> Follow the pipe underwater, you can do it without an oxygen bottle but you’ll have to hurry. You have 2 checkpoints on the way where you can get some air + the last air spot with a [Blueprint] (Metal Detector), a [Zipline Part] and the [Infirmary Key].
=> Follow the pipe back to the surface. After reaching the bike, you’ll see a stair on your right. Climb the caravans to reach it. Then a blue ladder. Then another stair, then 2 more blue ladders then a wooden bridge to reach the Tower that you can climb.
Tower:
=> Inside the Tower you can exchange your 3 [Zipline Parts] at a workstation against 2 [Blueprints] and a [Zipline Tool].
=> Equip your [Zipline Tool] and go on the roof to take a Zipline towards an island with pigs and “Infirmatory” written on a roof.
Infirmatory Island:
=> Go to the set of caravans and climb them until you find a locked door that you can open with the [Infirmatory Key] you’ve found underwater. There you will find a [Note] and the [Mayor’s Chest Key]. Go back to the Tower and take another Zipline, this time to reach a small island with Mayor written on a roof.
Mayor Island:
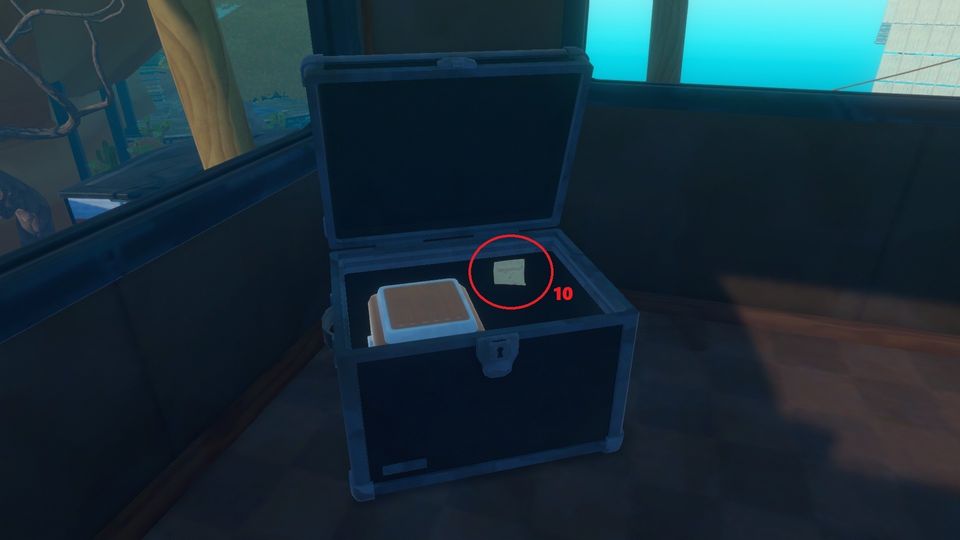
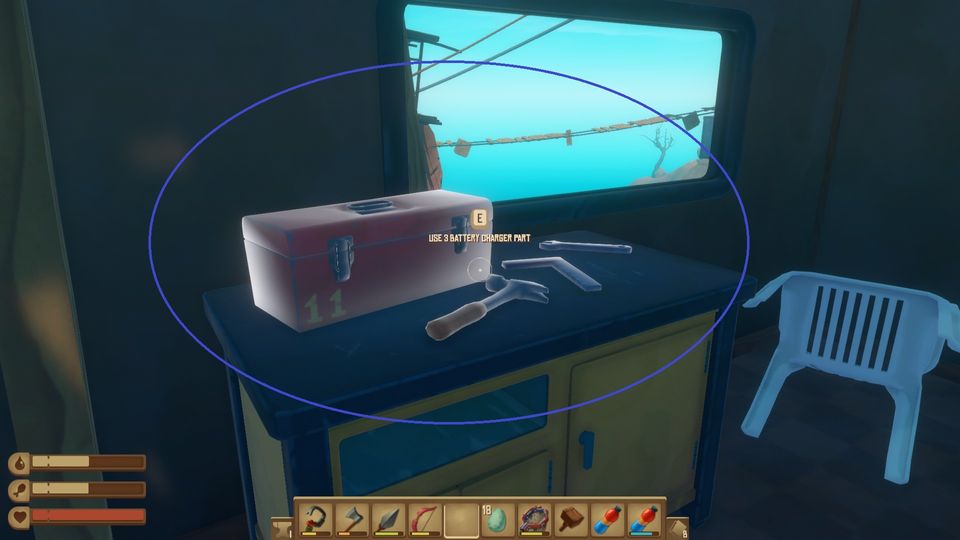
=> There you can find a [Mayor Hat] (decorative hat), exchange your 3 [Battery Charger Parts] against a [Blueprint] (Battery Charger) and open a locked chest with your [Mayor’s Chest Key] to find a [Note] with the coordinates for the next story place.
Caravan Town (Notes/Blueprints)
Notes
The 1st document is on the left side of the town from the port ( while the sea is behind your back ).
=> [DETTO’S SCIENTIFIC JOURNAL-CLASSIFIED-…] – Page 19
The 2nd document is at the top of the town from the port, next to the water pump.
=> [DETTO’S SCIENTIFIC JOURNAL-TOP TOP SECRET-…] – Page 19
The 3rd document is just after reaching the top of the town from the port, on the right. You need to climb a caravan.
=> [Pa says we have to go…] – Page 23
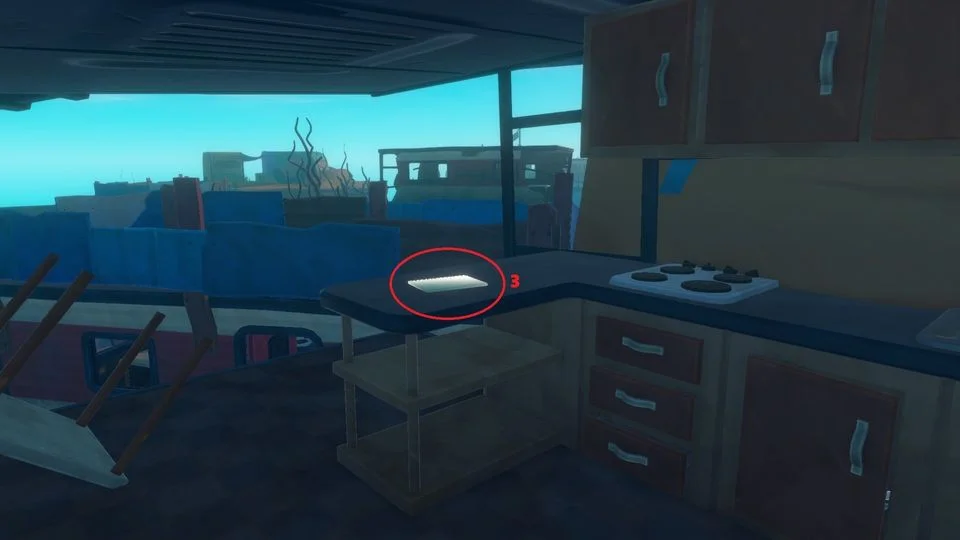
The 4th document is in one of the caravans that form a circle. It’s the one on the right of the CANNED GOODS sign.
=> – Page 24
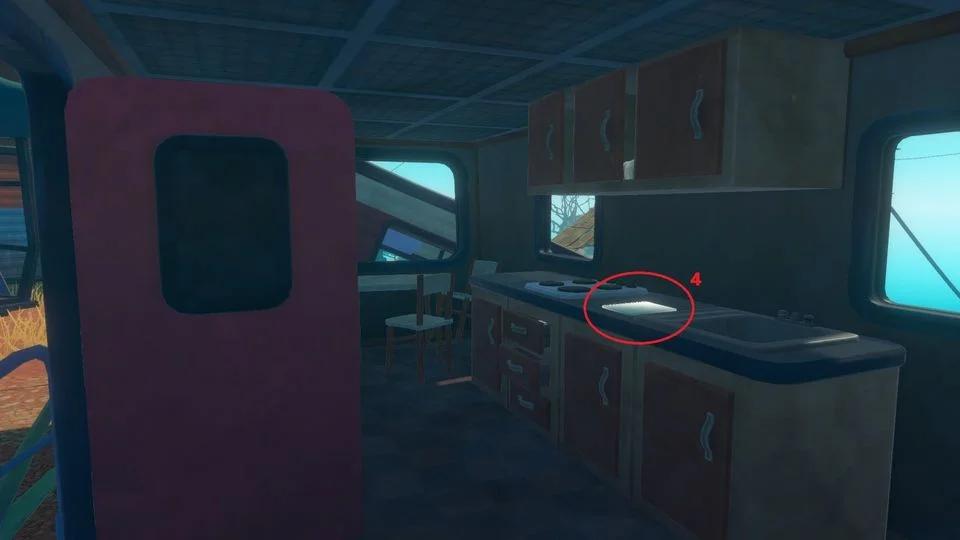
The 5th document is at the top of the tower.
=> [SAILING AS ONE…] – Page 25
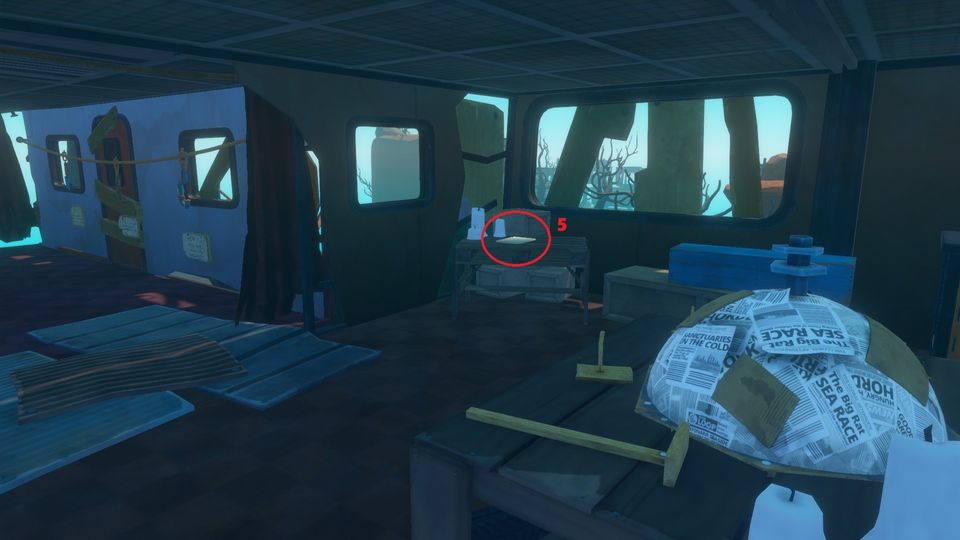
The 6th document is on one of the islands you can reach through the tower. It’s next to the rocket.
=> [DETTO’S EXPERIMENT JOURNAL-ATTEMPT #733…] – Page 22
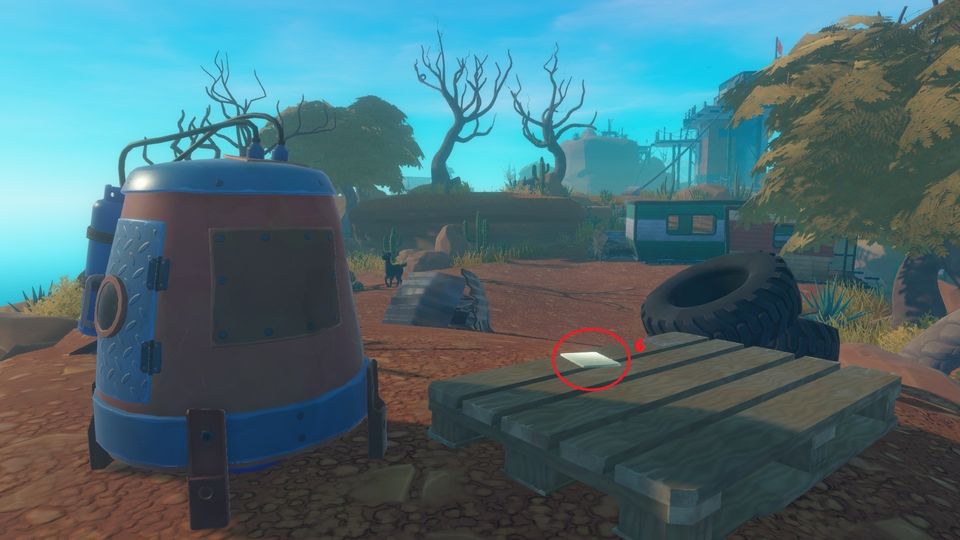
The 7th document is inside a caravan that’s just next to the sea, on a beach with many other caravans. There are two bags in front of it with “onions” and “rice” written on them.
=> [DETTO’S WILLPOWER JOURNAL…] – Page 21
The 8th document is at the foot of the tower, next to a bike.
=> [My name is Sanjay…] – Page 20
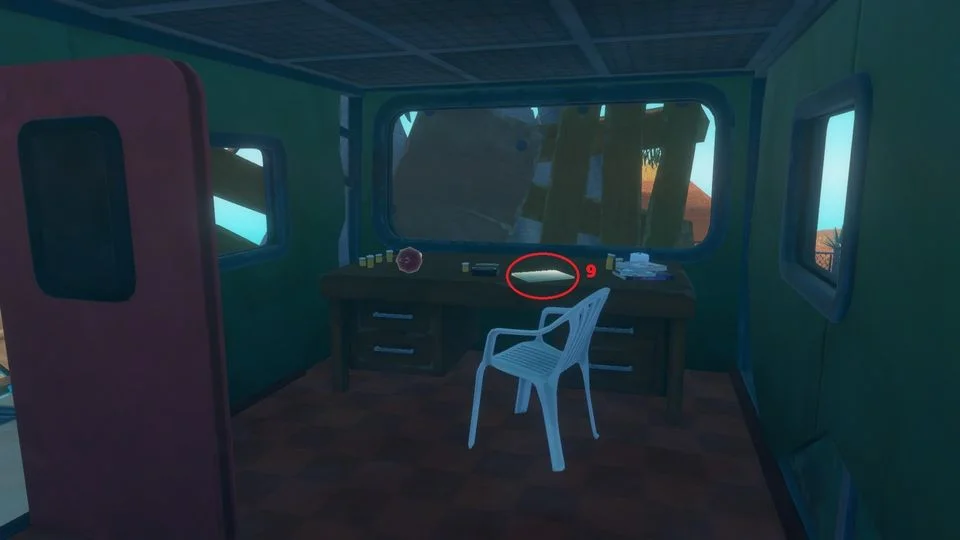
The 9th document is inside the Infirmary. From the tower you can see the Infirmary sign on top of a building which you can only reach through a zipline.
=> [It’s been three days stuck…] – Page 26
The 10th document is inside the Mayor’s safe. You get the key for the safe inside the Infirmary.
=> [Tangaroa?] – Page 26
Blueprints
- The 1st (firework) is on a small island. You have to launch a red rocket located on the big island facing the small one.
- The 2nd (metal detector) is underwater. Follow a pipe connected to a bike located on ground level next to the Tower.
- The 3rd and 4th (zipline and zipline tool) are at the top of the Tower. Find 3 Zipline Parts around Caravan Town then interact with the workstation.
- The 5th (battery charger) is inside the Mayor’s house. You need to use a zipline from the Tower to reach it. Find 3 Battery Charger Parts around Caravan Town then interact with the workstation.
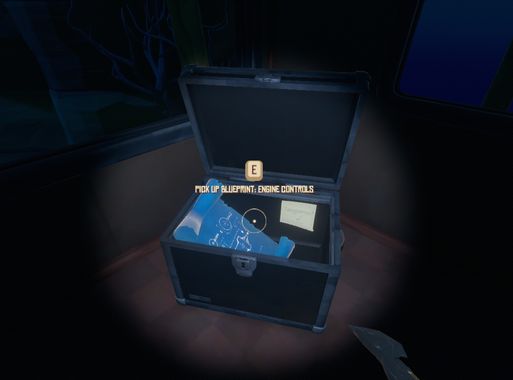
- The 6th (engine controls) is also inside the Mayor’s house, inside the chest with the coordinates for the next place.
Tangaroa Walkthrough
There’s an entry to the dome at water level. Park your raft between that entry and the huge
door which you will be able to open from the inside later on.
- There are 10 documents.
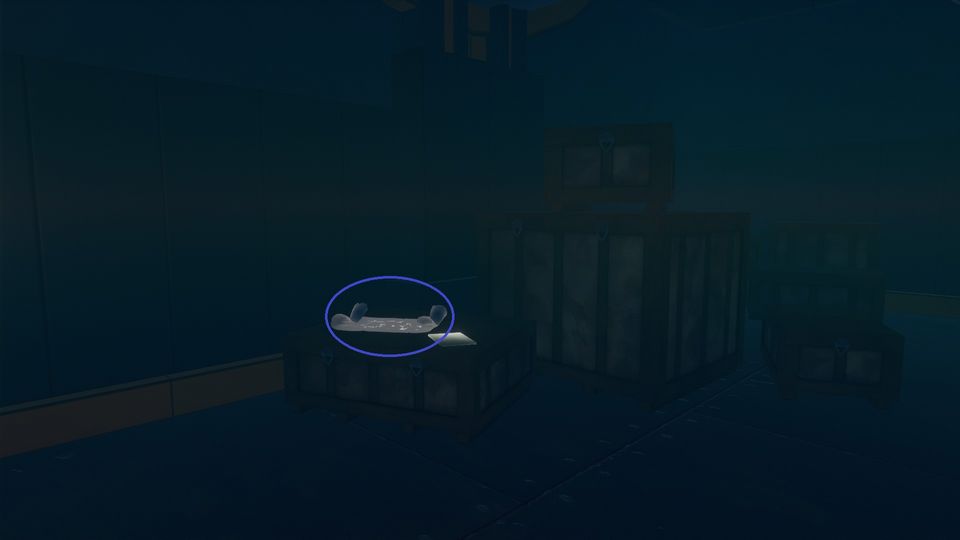
- There are 4 blueprints : one for the Water Pipe, one for the Electric Purifier, one for the Large Storage and one for the Water Tank.
The coordinates for the next story place are inside the top of the tower which you need to detach by entering a code so that it will fall in the water where you can reach the inside.


Arriving at the Island: You’ll see a huge dome when you arrive with 5 enormous locked doors on the sides that you will be able to open from the inside. Try to find an opening on the sea level, this is how you can enter the dome for the first time.
Sliding Puzzle:
Tangaroa (Notes/Blueprints/Tokens)
Notes
The 1st document is on a counter inside the Cafeteria, in the underground area.
=> [Tulley has been making us…] – Page 27
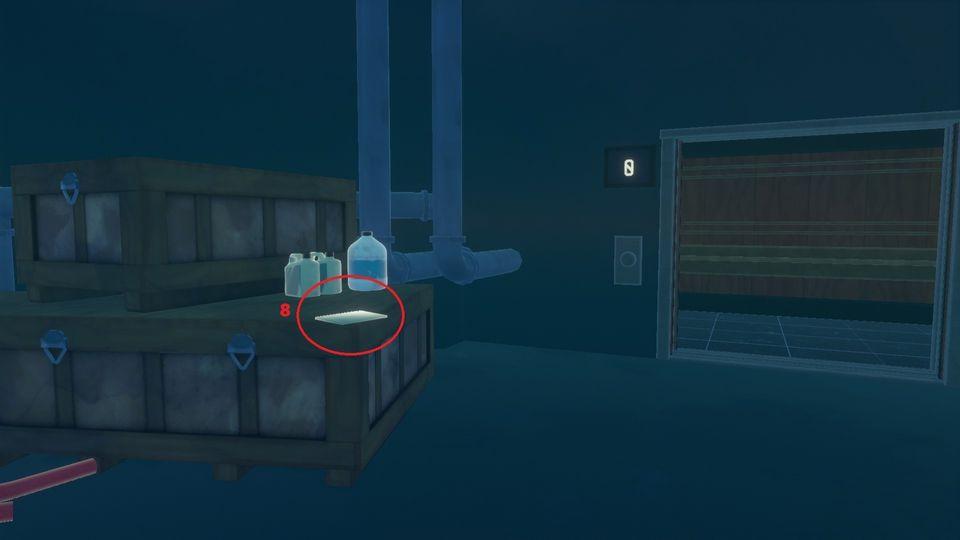
The 2nd document is next to a blueprint and the ladder for the surface area ( where it floods the place when you open the latch at the top of the ladder ).
=> [The engines started burning…] – Page 27
The 3rd document is in the room above the Storage Area, you can reach it by climbing on the containers when the room is flooded to reach the broken ladder.
=> [We headed for the habitat after…] – Page 28
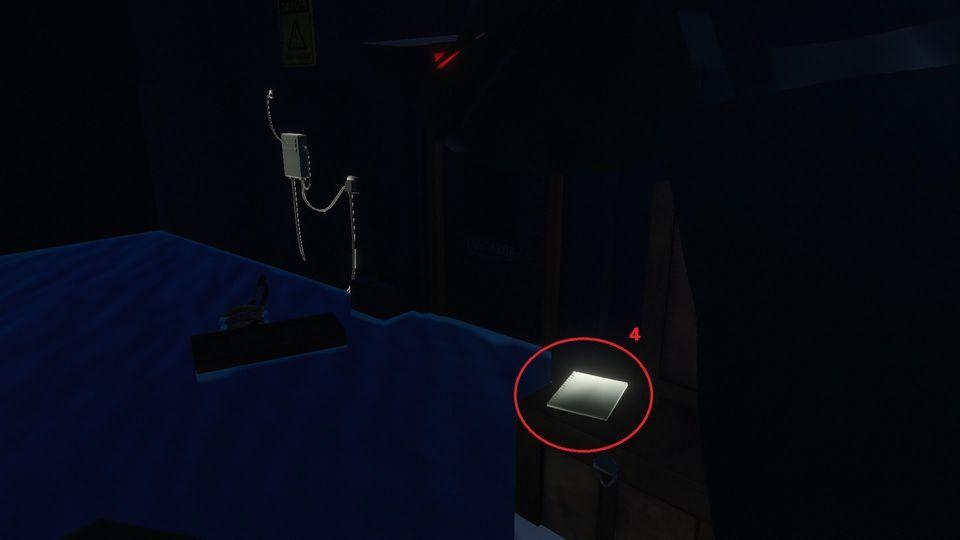
The 4th document is in the plantation, in the underground area. It’s just next the first door you have to open by fixing the wires with tape.
=> [We’ve got a major beetle…] – Page 30
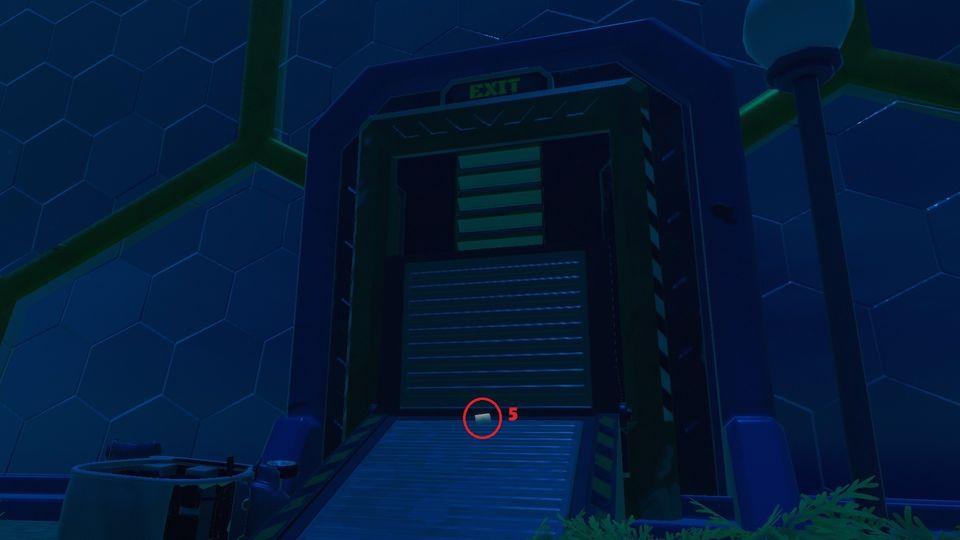
The 5th document is at the surface, in front of one of the huge exit doors : the one just behind the underground exit.
=> [We finally managed to find…] – Page 29
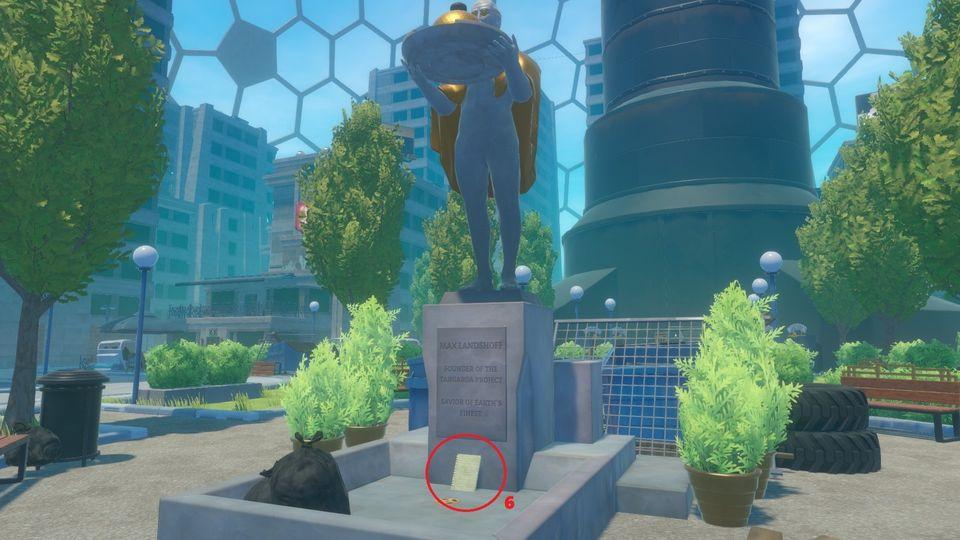
The 6th document is at the surface, in front of the man’s statue, just in front of the underground exit.
=> [Things have gotten quiet…] – Page 29
The 7th document is on the 2nd Floor of the Tower, just next to the panel where you have to enter a code.
=> [Tranquil st. ___] – Page 31
The 8th document is on Floor 0 of the Tower, you should find it when you try leaving the tower.
=> [(Transcribed) -No sir, they haven’t…] – Page 30
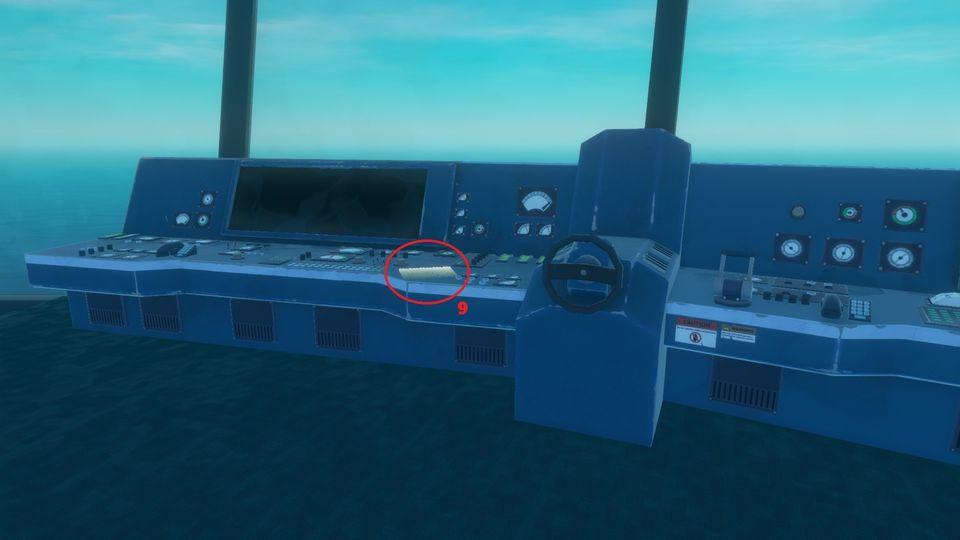
The 9th document is on a control panel inside the tower top you’ve detached from the rest of the tower by entering the panel code. You can find the tower top in the water not far from one of the huge door exits.
=> – Page 32
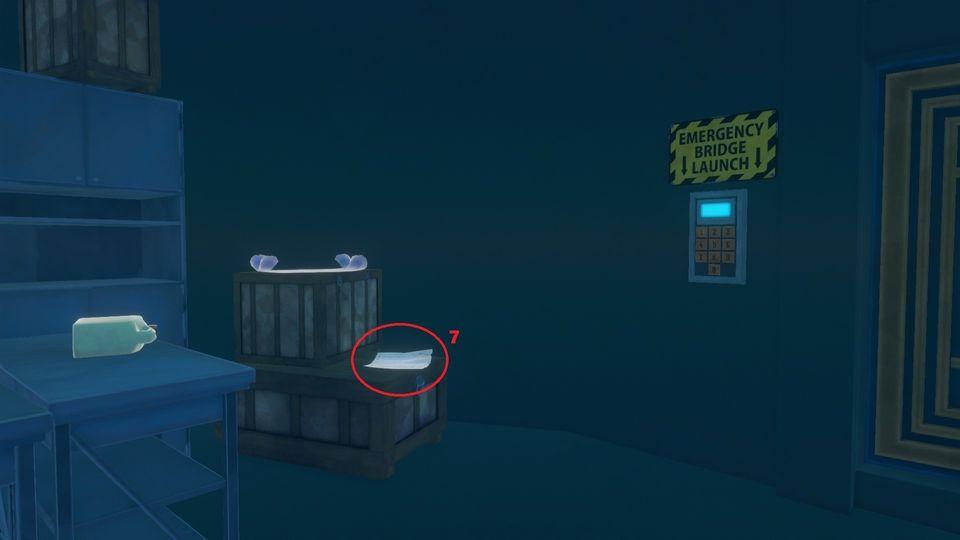
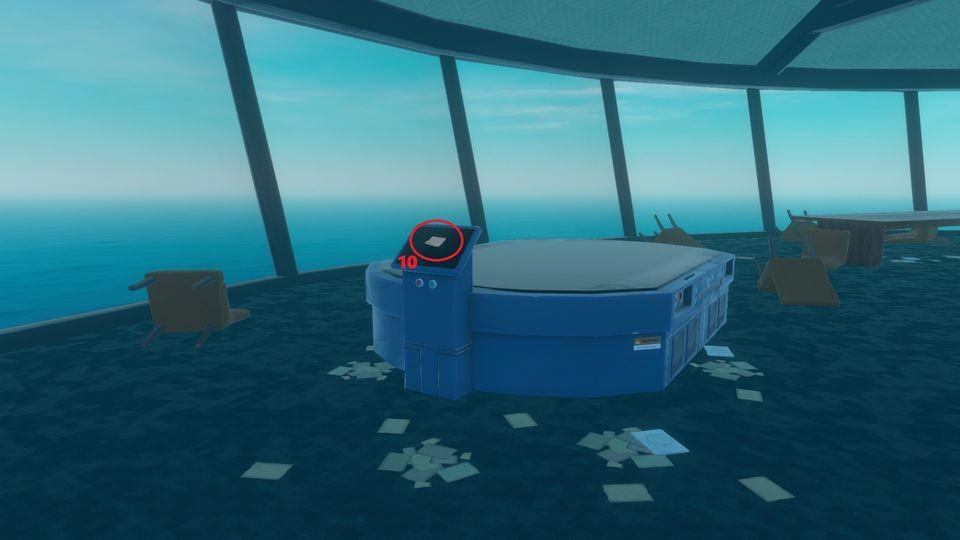
The 10th document is also inside the tower top. It’s a post-it easy to miss, just next to where you’ve found the blueprint.
=> [Varuna Point] – Page 33
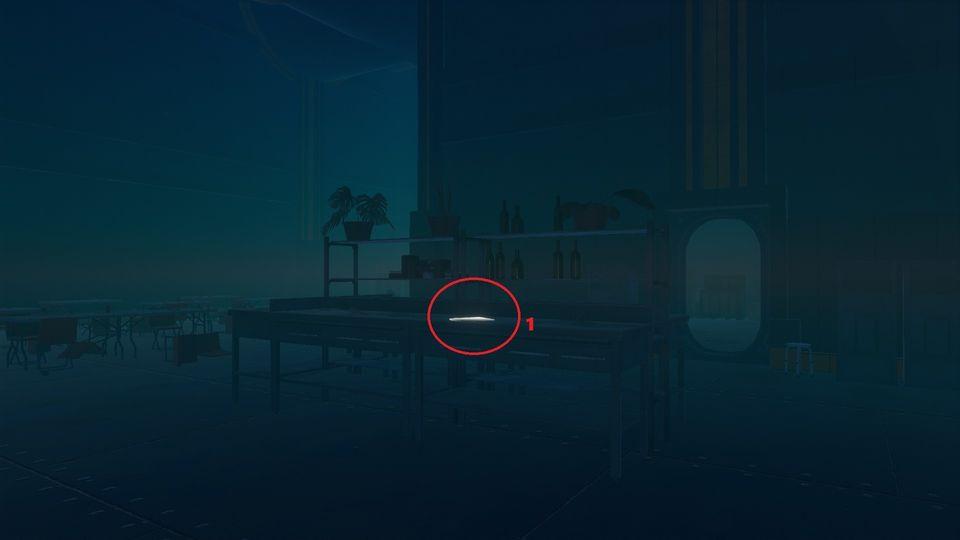
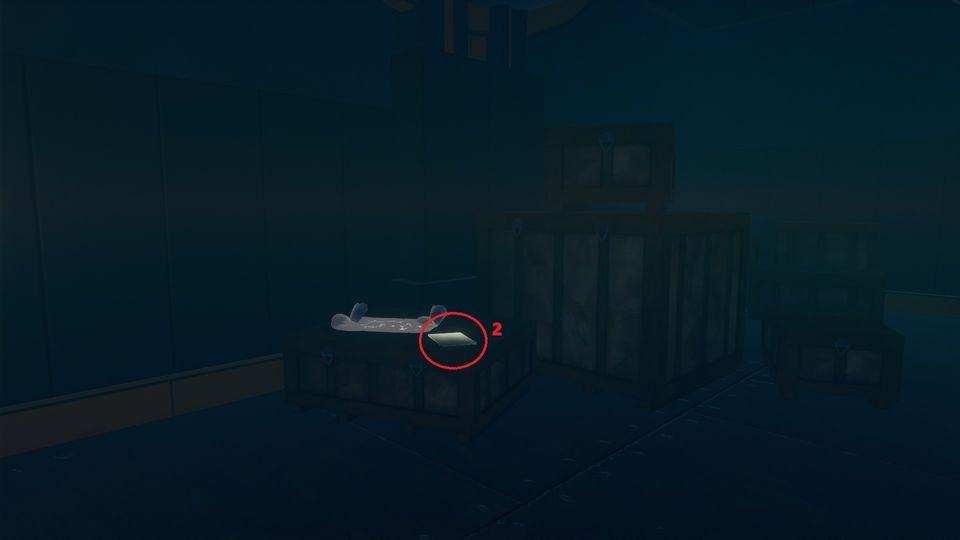
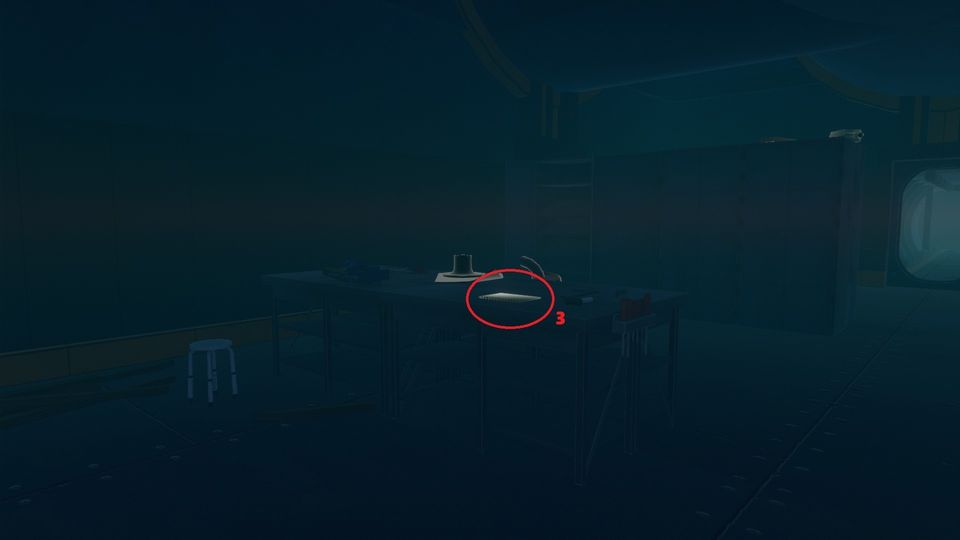
Blueprints
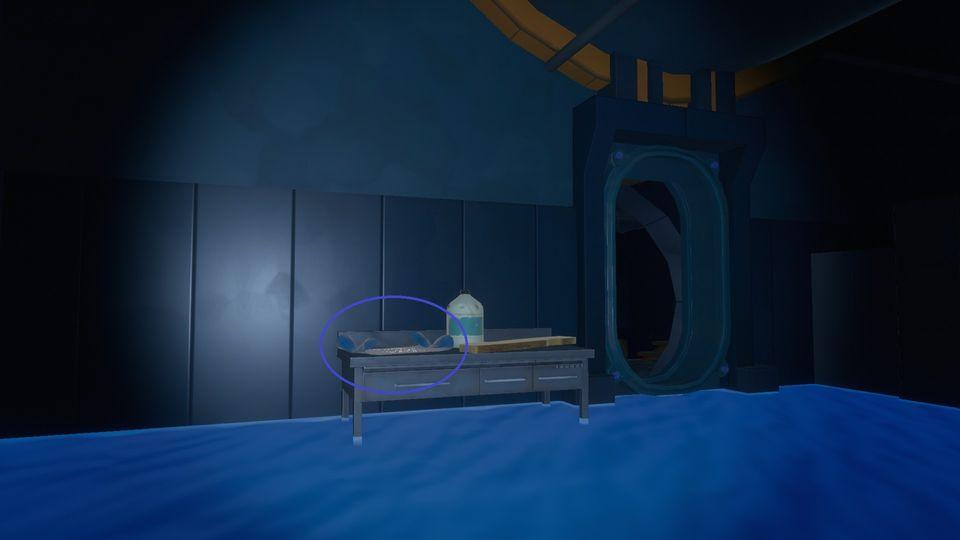
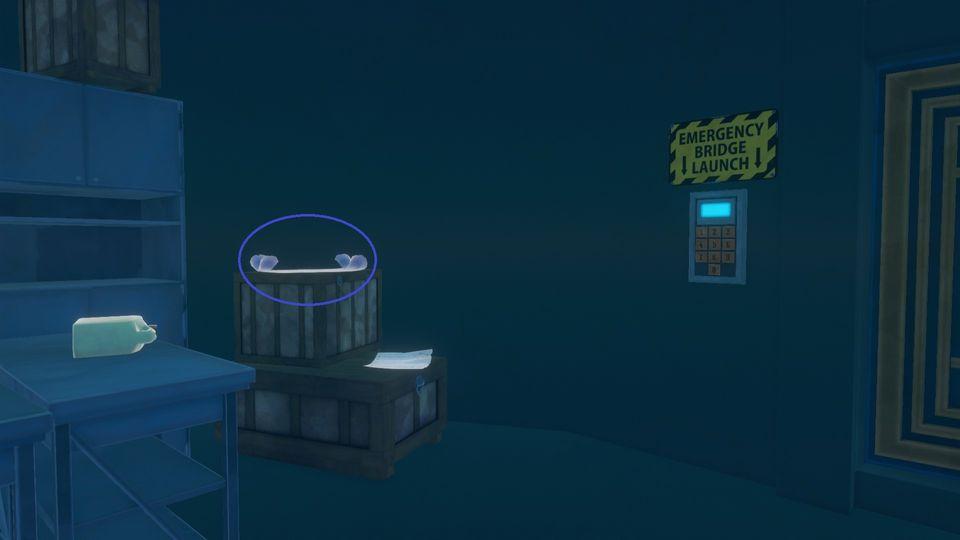
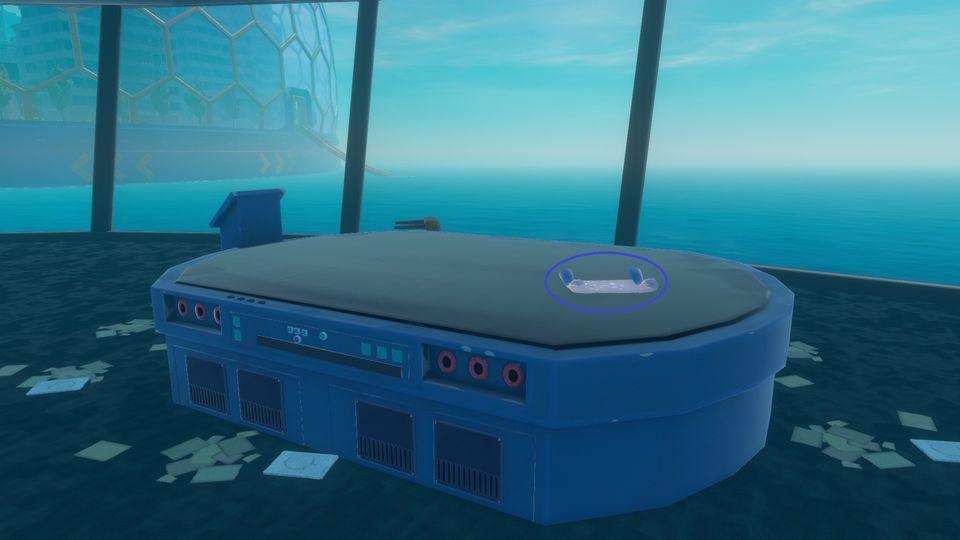
Token Locations
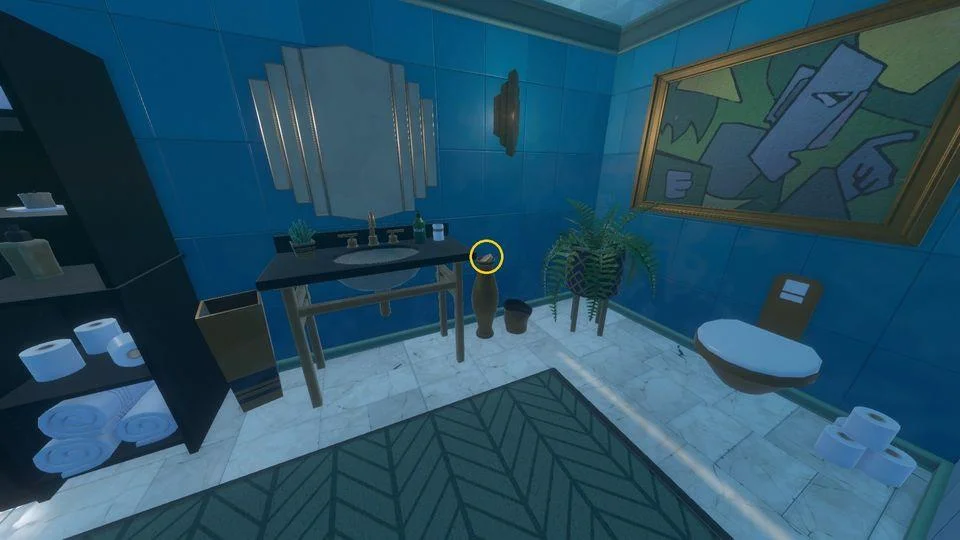
Tokens: There are 33 tokens that you can find. They all respawn when you come back to Tangaroa and you can use them on the vending machines at the bottom of the tower.
Building 1 – Floor 8 [4 Tokens]

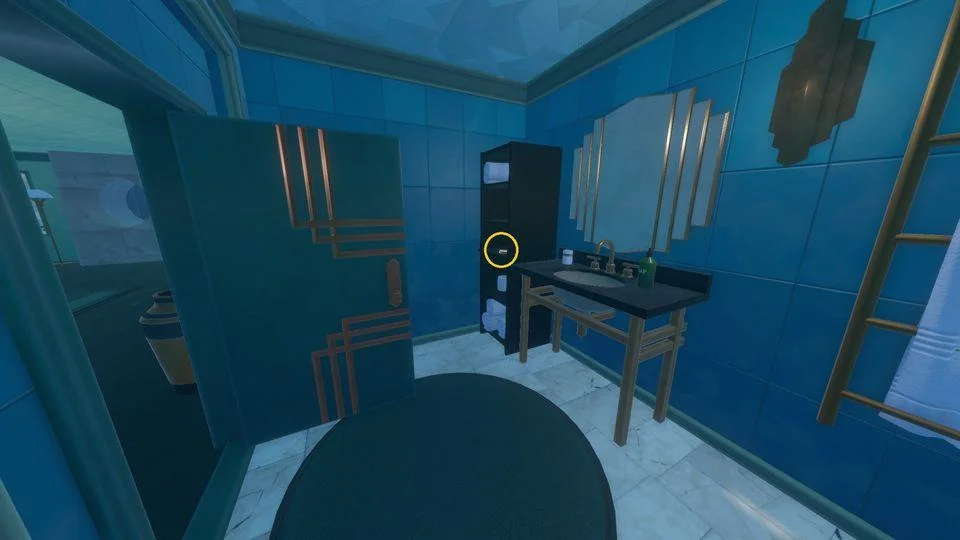
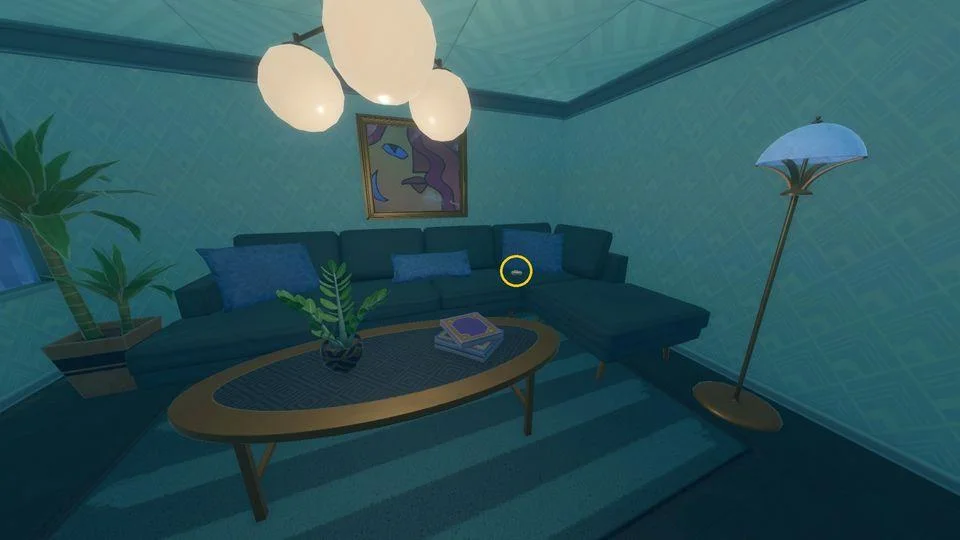
Building 2 (Exterior Lane) – Floor 8 [2 Tokens]
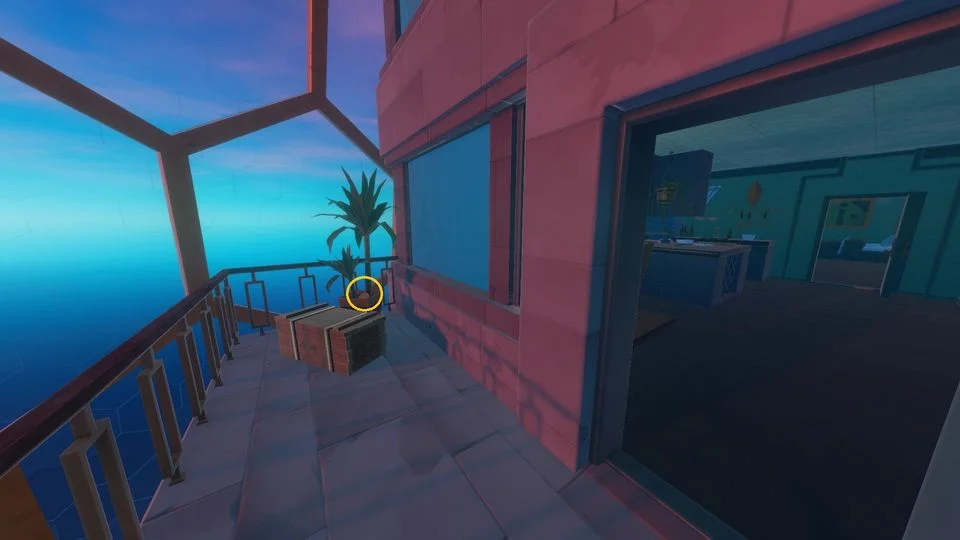

Building 5 – Floor 8 [4 Tokens]
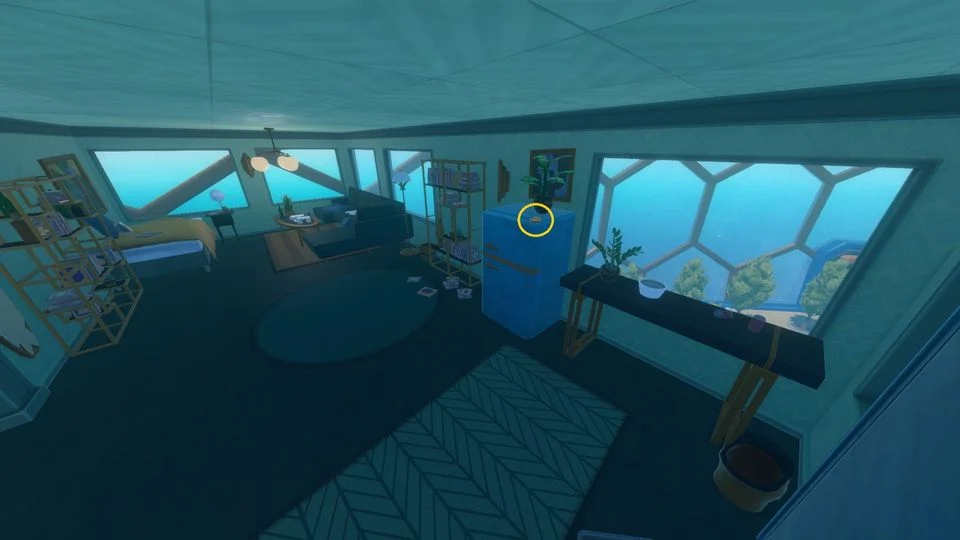
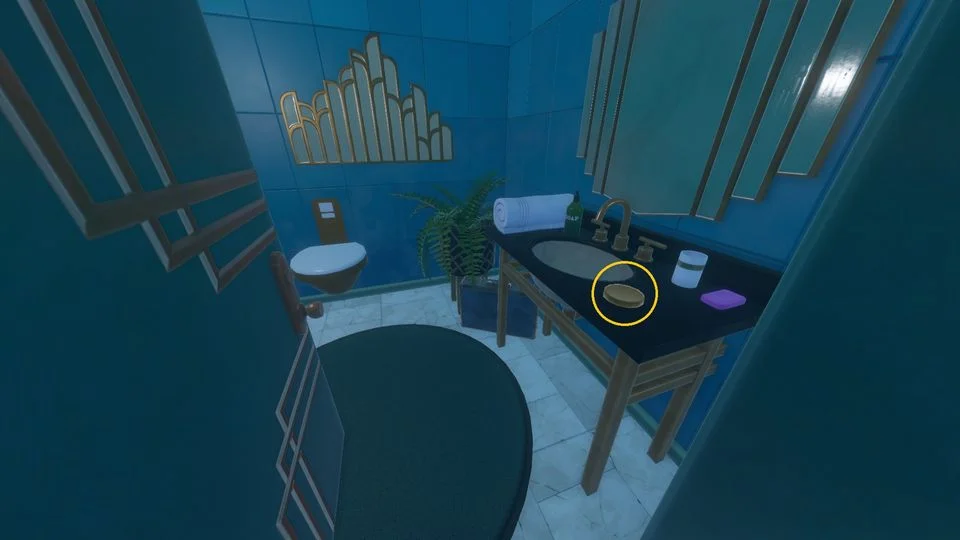
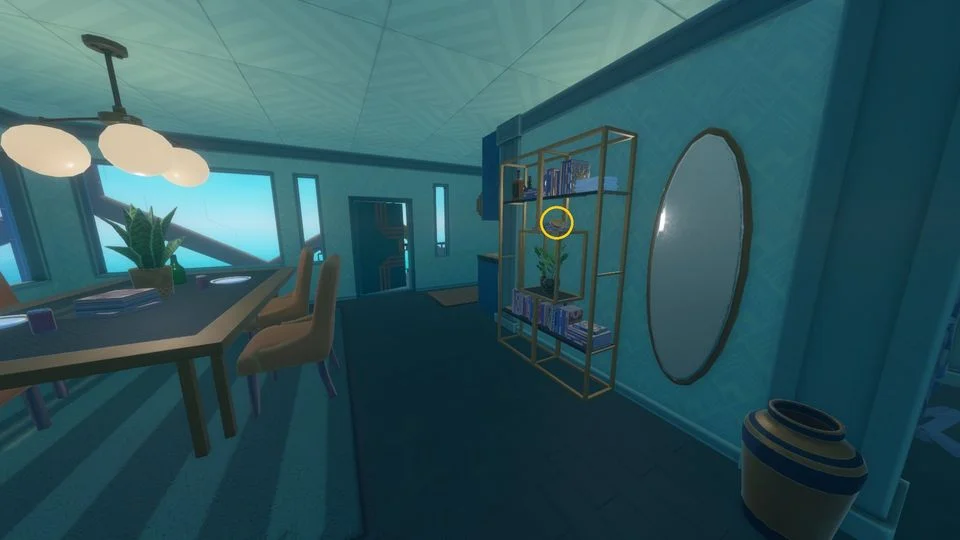
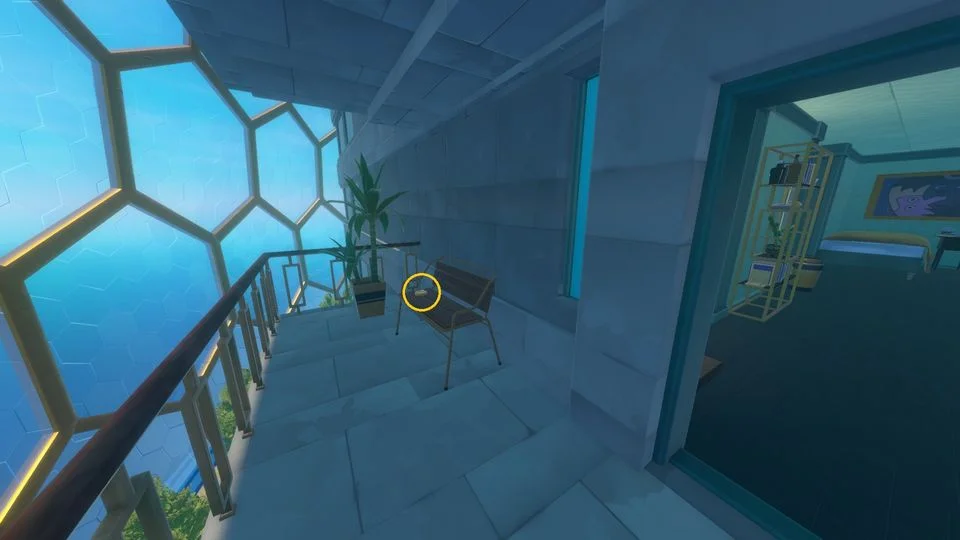
Building 9 – Floor 11 [2 Tokens]
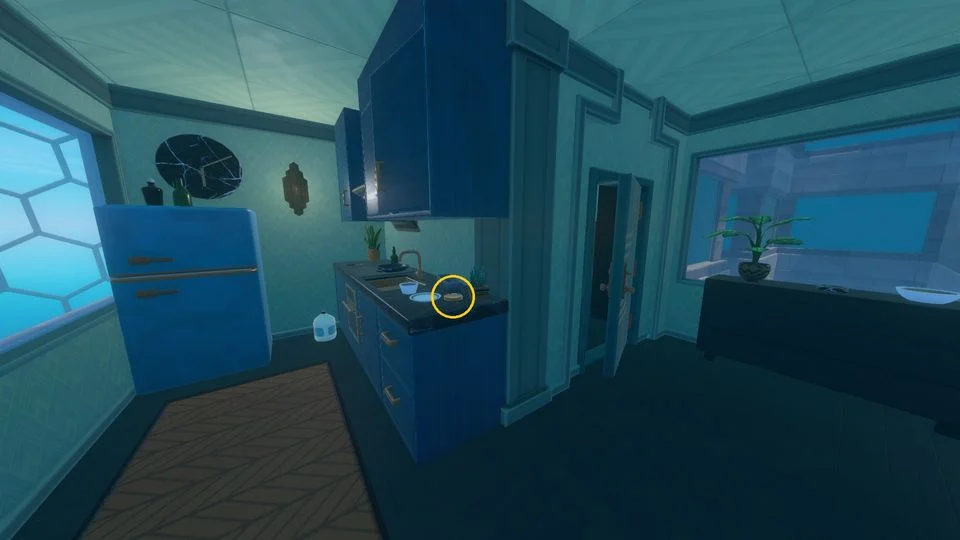
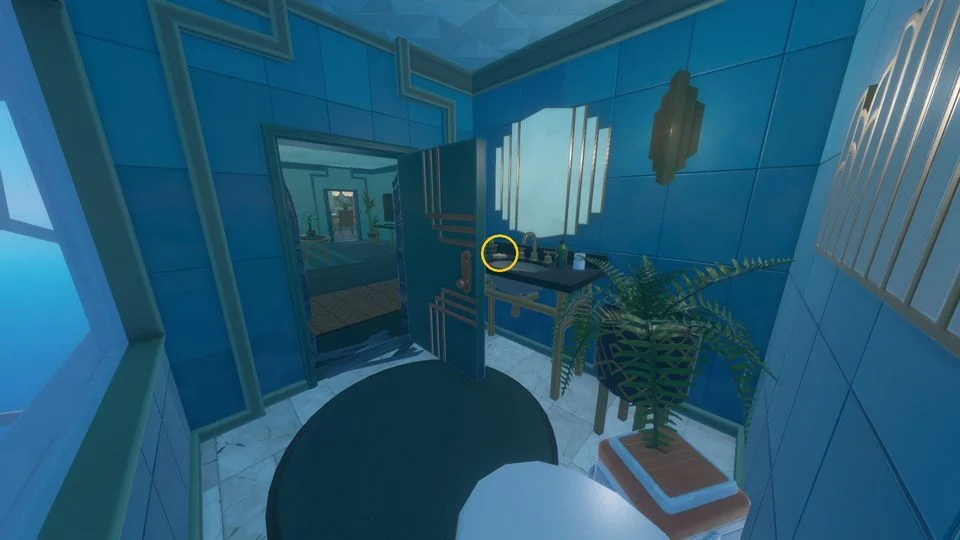
Building 9 – Floor 13 [3 Tokens]
![Building 9 - Floor 13 [3 Tokens]](https://www.yekbot.com/wp-content/uploads/2022/08/1648718375_preview_Tangaroatoken13.jpg.webp)
![Building 9 - Floor 13 [3 Tokens]](https://www.yekbot.com/wp-content/uploads/2022/08/1648718375_preview_Tangaroatoken14.jpg.webp)
![Building 9 - Floor 13 [3 Tokens]](https://www.yekbot.com/wp-content/uploads/2022/08/1648718375_preview_Tangaroatoken15.jpg.webp)
Building 8 – Floor 12 [3 Tokens]
![Building 8 - Floor 12 [3 Tokens]](https://www.yekbot.com/wp-content/uploads/2022/08/1648718375_preview_Tangaroatoken16.jpg.webp)
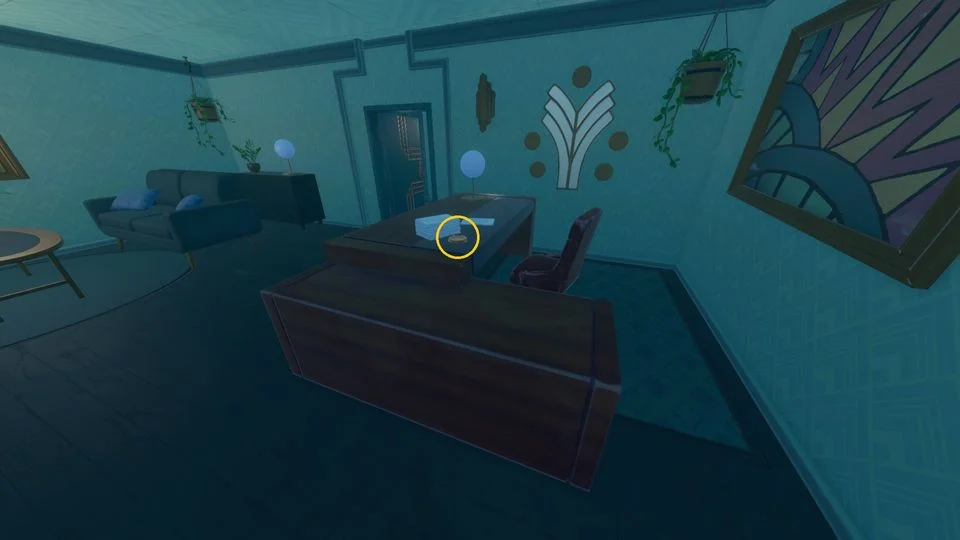
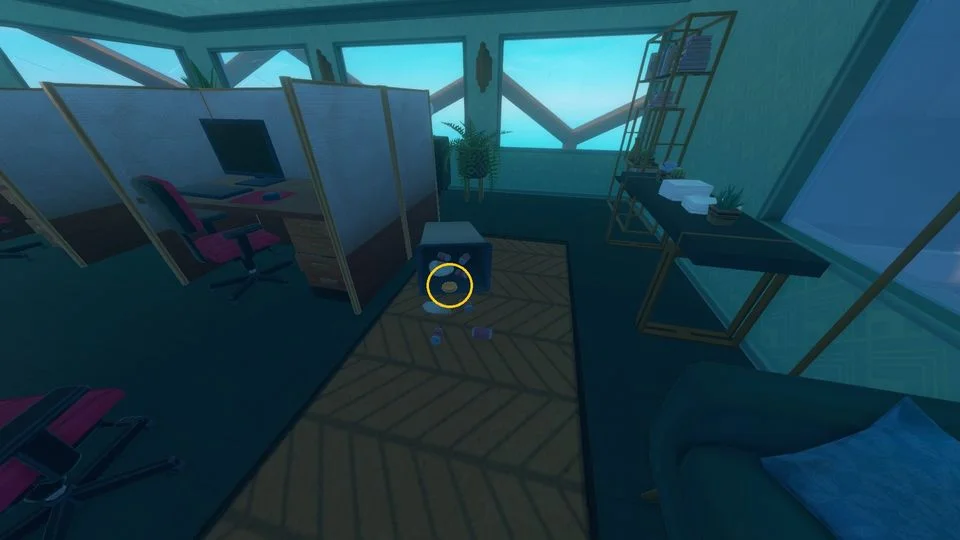
Building 8 – Floor 14 [1 Token]
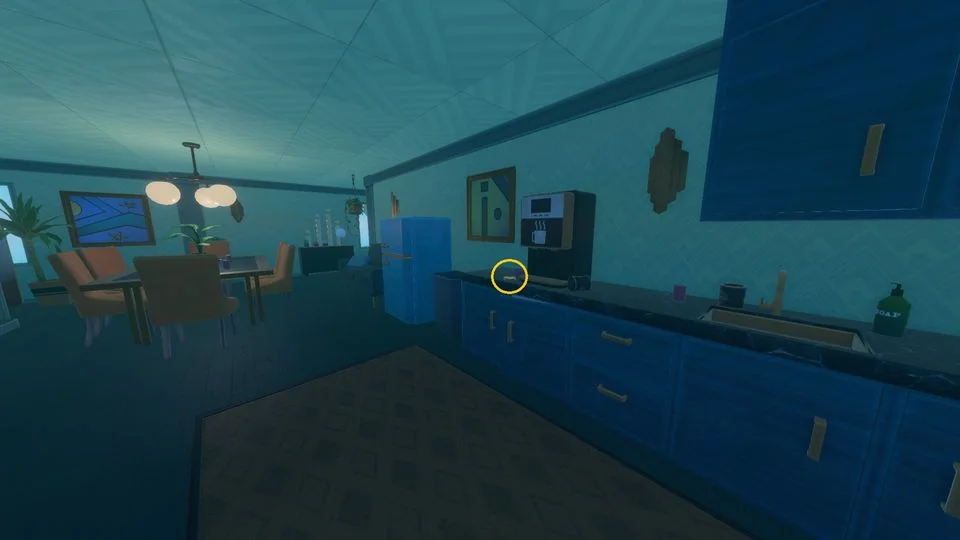
Building 3 – Floor 8 [3 Tokens]
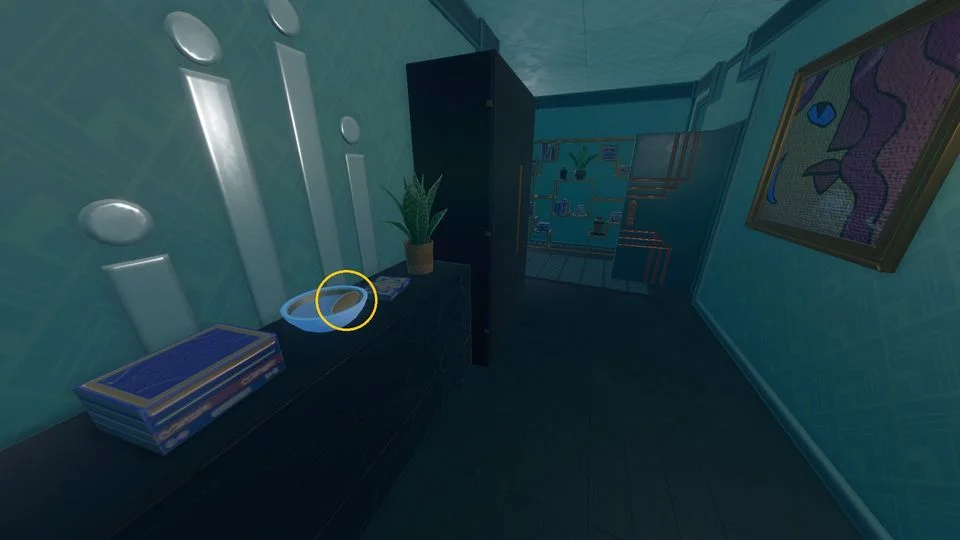
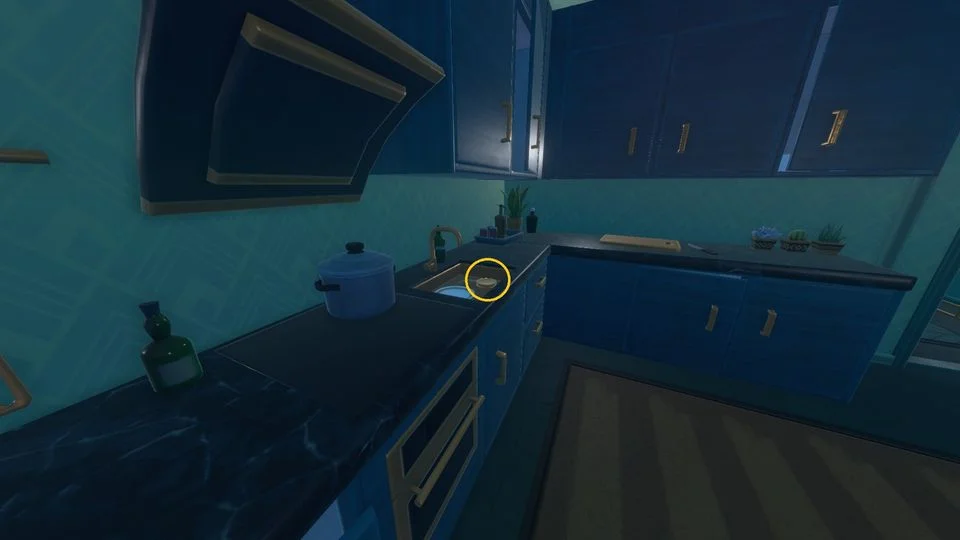
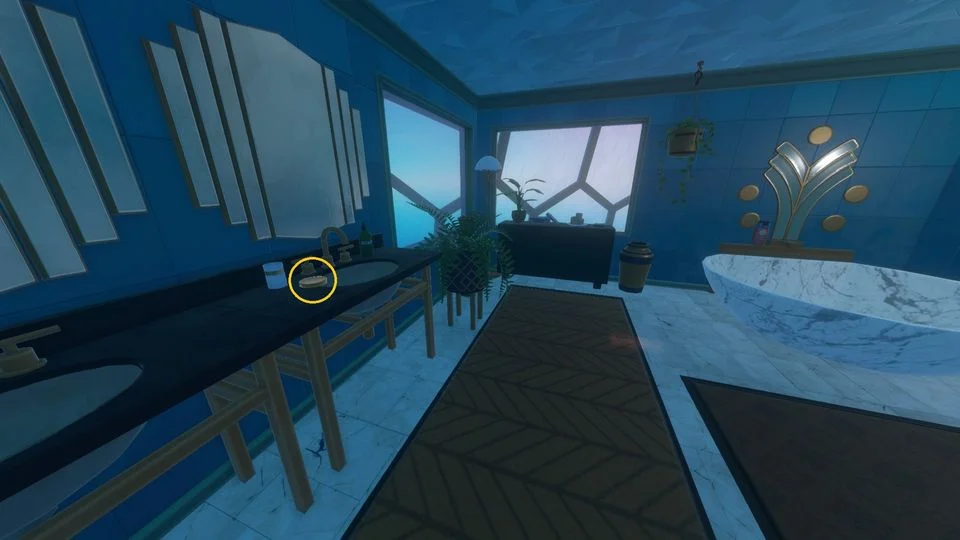
Building 6 – Floor 8 [7 Tokens]
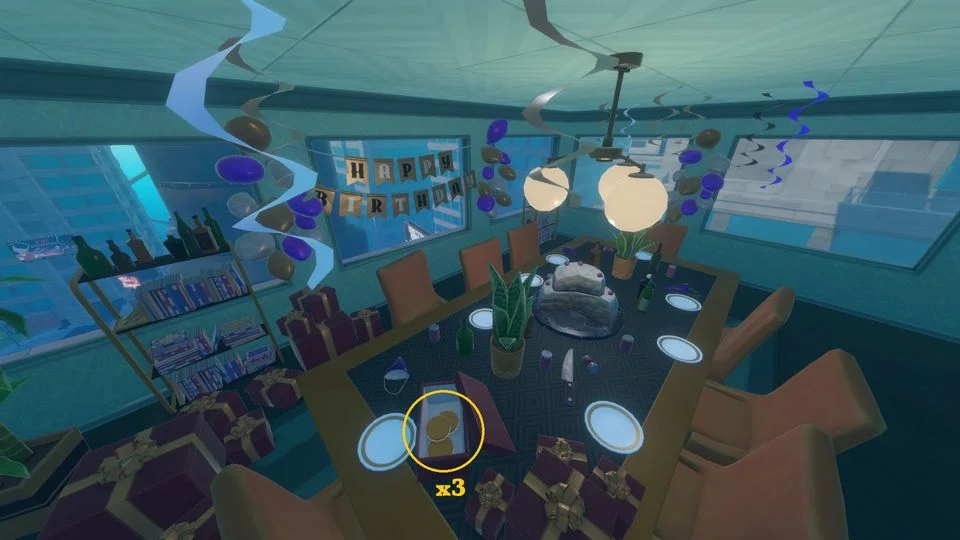
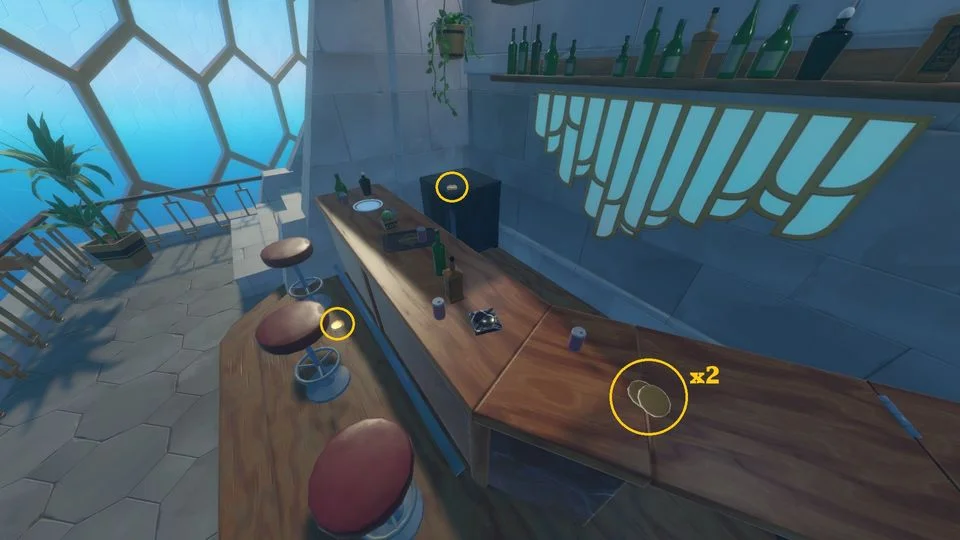
Building 2 – Floors 12 to 15 [4 Tokens]
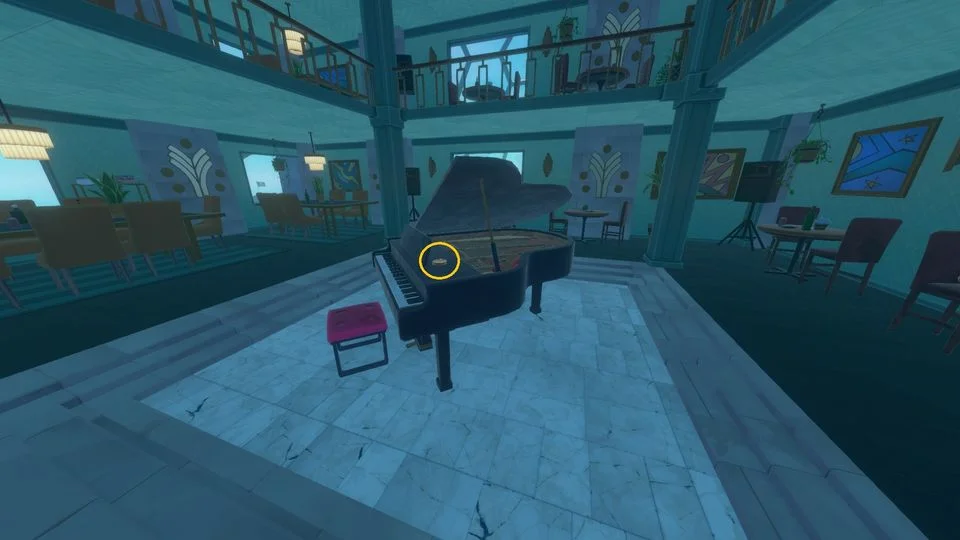
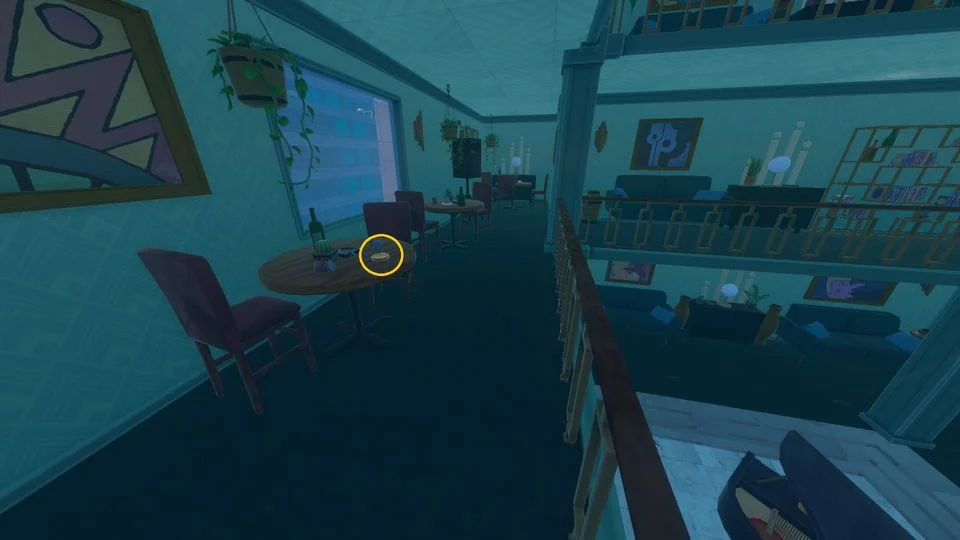
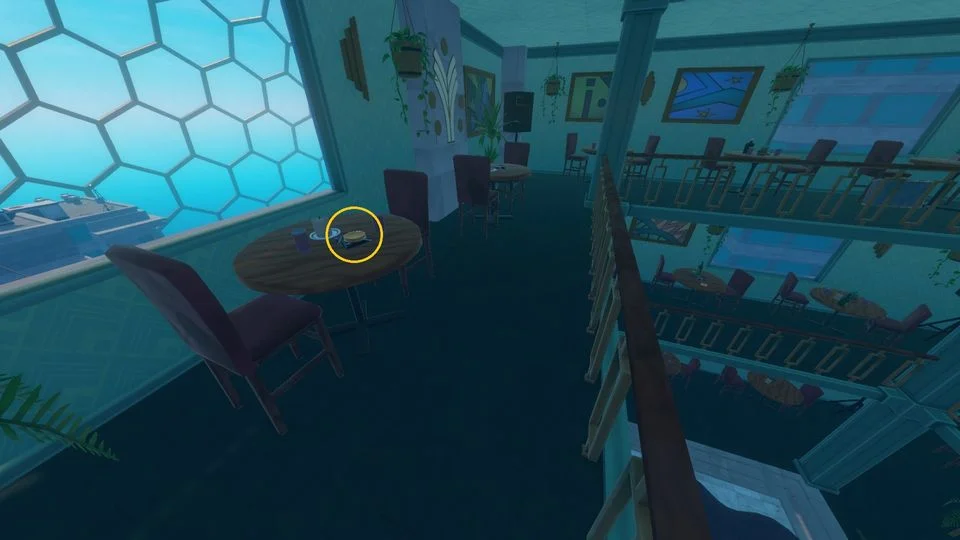
Unlockable Character:
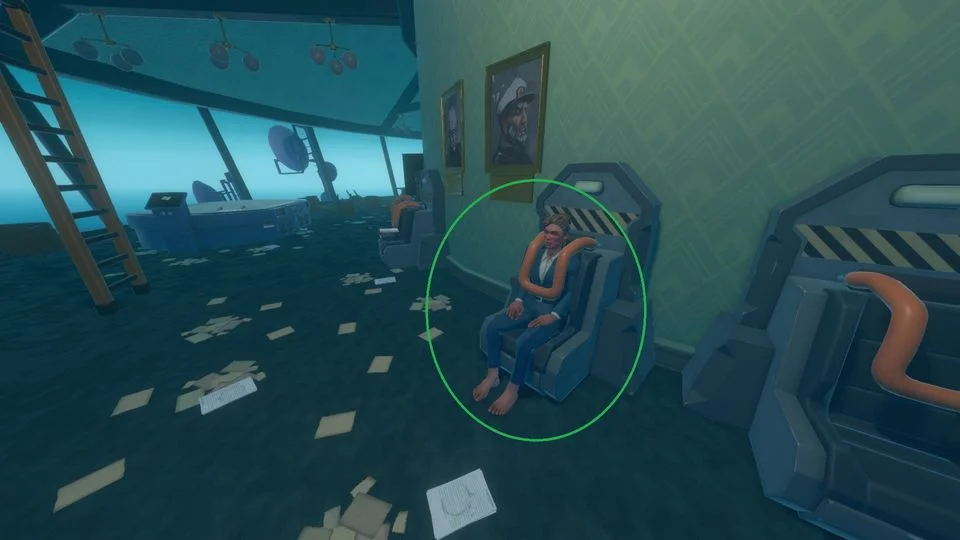
The unlockable character Elaine can be found at the very end, inside the Tower Top.
When you enter a code [4813] at the top of the tower, the tower top will detach itself and be launched in the water where you can reach it.
