Table of Contents Show
Remnant From the Ashes Eastern Wind
Note: The game features procedurally generated levels, which means that you probably won’t find all the items that we’ve located in the same place. Instead, this item could be somewhere else, or you’ll pick another thing. This mostly concerns intermediate dungeons. Besides, you could meet other bosses in these dungeons. However, the other part of the game, including main bosses, is not procedurally generated.
Other Remnant From the Ashes Guides:
- Remnant From the Ashes Ring List
- Remnant From the Ashes Amulet List
- Remnant From the Ashes Weapon List
- Remnant From the Ashes Armor List
- Remnant From the Ashes Key Items
- Remnant From the Ashes Traits Guide
- Remnant From the Ashes Character Stats
- Remnant From the Ashes Boss Guide
Eastern Wind Walkthrough
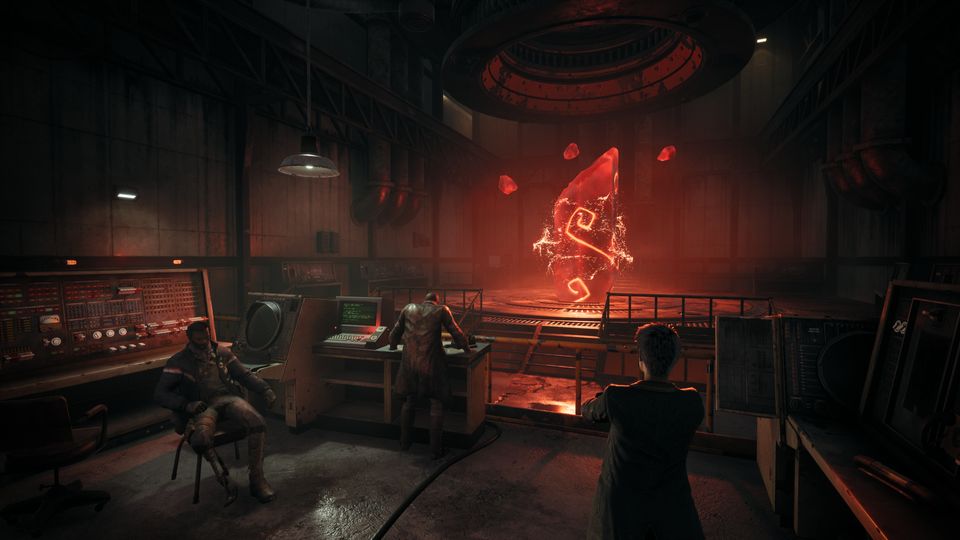
Three paths lead from the crystal in the labyrinth. If you go left and then right, you can find locked portals. To activate them, you need a key. Go ahead and move into the world of Nui, where an immortal king Ezlan rules. He is the person you need to find. Activate the large crystal The Eastern Wind. You will also discover a new trait – World Walker, which reduces stamina consumption.
This world is filled with completely different enemies. Try to aim for their heads to deal maximum damage. Dodge flying spears and especially shimmering boomerangs of shamans that will inflict you with radiation. After 1-2 throws, spearmen will pick up daggers and rush towards you. Dodge their attacks and use melee weapons to save ammo.
Instead of usual boxes, there are stone containers. Open them by searching every house in the first settlement. Here we found our first amulet. On the left is the entrance to a dungeon where you can activate a small crystal. If you go through this dungeon, there will be large gates at the end. You need to activate them and hold your position until they open. Some good weapon is hidden behind them.
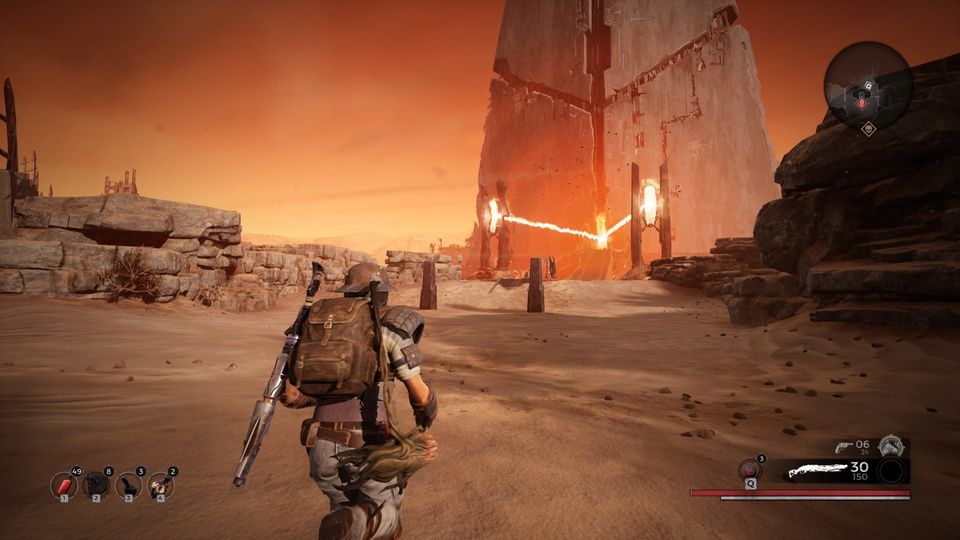
Fight your way through a desert settlement, killing enemies, until you discover the next large crystal, The Monolith. Go to the tower on the left, where rays point. There is a mechanism in front of it, and something needs to be inserted into it. We’ll come back here later.
Move further through the location, through the other part of the settlement, until you find a descent into a new dungeon. Go there and activate a small crystal The Shining Temple. Inside it, there will be the same enemies as in The Halls of the Sun, however here you can find a glowing rod (quest item). But it does not fit the device in front of the Elzar Tower. If you go deeper into the shining temple, you can find a transition point to a new room with a small crystal. Here you will fight with Shatter and Shade.
How to Beat Shatter and Shade
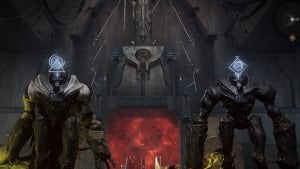
These is a duo you face in the Hall of Faithful on planet Rhom. This is an interesting fight because both wield a weapon but Shade will shoot projectiles out of it while Shatter will use it to perform melee strikes. If this wasn’t enough, there will be the minions who’ll spawn and make this fight tougher.
Shade will then slam his weapon down to create a green forcefield protecting him while also emitting projectiles that will follow a downward arch from where they’re released. It’s best to find cover in this situation and continue to damage the shield so the move is halted.
There’s an additional attack by Shade, where he once again sticks his weapon into the ground to send out a highly damaging green blowing orb at your direction. Roll sideways quickly when the orb is released. All the while, keep aware of Shatter who will rush at you with his melee weapon.
It’s best to focus damage at the head regions of the two bosses to deal the most damage. If you’re carrying explosives or grenade launchers, you can whittle down the health of the duo very quickly.
How to Beat Claviger
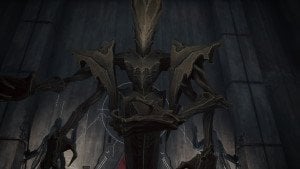
Situated in The Spindle past The Scouring Waste, Claviger is a root boss which can inflict Radiation status effect. This calls for carrying Heavy Water Elixir consumable in your inventory to remove the Irradiated status effect and boost resistance to Radiation.
At the start of the fight, Claviger will be shielded thanks to the two pillars at each of its side. Shoot down the orbs at the centre of these two pillars to bring down the protective shield. Now empty as many bullets as you can to take out a chunk of Claviger’s HP.
Immediately retreat when you see Claviger hold its hand over the heart region as it charges a laser beam. Roll to your side when the beam is unleashed. This is followed by a slam attack that can be dodged by rolling backwards. The shield is restored and you’ll have to repeat the process of destroying the pillars again.
In the process of fighting Claviger, the boss will rotate the circular platform you’re fighting on to make you lose balance. Stand on your feet at the earliest to continue shooting at the boss enemy. Take cover behind the obstacles on the platform when projectiles are released by Claviger.
Now take care of the guardians of Claviger as they shoot at you. Continue disabling the shield that protects Claviger and dish damage until you’ve brought down the boss for good.
Claviger Alternative Kill Method
Defeat the boss before it absorbs any of the other enemies.
After the victory, you will receive a new trait – Recovery and a howling key. Get out of here, go to the tower and insert this key into the device. Go inside and talk with the Undying King on all topics. After this, decide what to do. We’ve agreed with the King. Enter the portal to go after the beast’s heart.