Ashina Castle Gate Walkthrough
With the defeat of Gyoubu the Demon, the path through the castle gate is now within reach. However, before opening the Castle Gate next to the Sculptor’s Idol, look for the long stairway at the other end of the battlefield. It leads to several dead shinobi and a large tower. Bypass the tower for a moment to find more stairs around the corner where you can find a Ceramic Shard and another Memorial Mob. The Battlefield Memorial Mob merchant has different wares than his counterpart – including a Dragon’s Blood Droplet and a Gourd Seed!
Inside the tower, you’ll come to a very deadly looking character, but he won’t attack you. He is the Tengu of Ashina, and after being impressed by your stoicism, he’ll ask you to hunt “rats” with him. Be sure to accept his request, and you’ll get the Rat Description – which clues you into the enemies you’ll be hunting.
In fact, these enemies are the miniature Senpou Assassins you’ve seen a few times before, the gremlin-looking guys with the large hats, and they are somewhere nearby. Before leaving, there’s a few things left to do. Look at the rear of the building for a Pellet, the door back to the earlier courtyard full of enemies, and an old woman with a candle whose surprised you killed Gyoubu.
You can also head upstairs to find a Light Coin Purse – but keep looking upwards into the rafters to find another level to grapple to where a short wall is. Looking up at the ceiling, you can see it’s caved in a bit – so move around until you can wall jump up into the attic space. Up here is a chest you can open to receive a Prayer Bead!
Now back to the Castle Gate – open the large door and continue your journey up the main path. A Rifleman waits for you along the road to the next gate, but note that there’s an alternate path you can grapple to on the left that lets you climb up around the gate’s walls.
From atop the sealed gate, look down to spot two Soldiers patrolling the path, but beware of a small alcove on the right where three Attack Dogs and their retainer wait to ambush you – a Shinobi Firecracker can stun all of them though.
More importantly, if you turn around from the top of the gate, there’s a small field above the path you took where a few of the Senpou Assassins have gathered. You can eavesdrop on them to hear them chatter about Isshin Ashina’s condition, as well as a mission involving “Blackhat Badger”.
These are in fact the “rats” that the Tengu of Ashina wants dead. However, hold off charging in where they sit by the tree – there’s another Senpou Assassin watching them behind the large tree to the left. Take out the one on the left first, and then focus on the other two. They are different than the other ones you’ve fought in a slight way: their hats are reinforced and will block all of your attacks – much like a shield, making them hard to bypass. Unless you want to start dodging around behind them, you should use the Shinobi Axe gained from the Hirata Estate to do the job.
Kill the crew of assassins, and loot the Pellet at the foot of the tree before returning to the Tengu of Ashina. He’ll reward you for your efforts with the Ashina Esoteric Text, which allows you to invest skill points in the new Ashina Arts Skill Tree.
Heading back to the castle gate path, clear out the Soldiers and Dogs on the way up the stairs and grab a Ceramic Shard at the base of the stairway. A rifleman will come to the doorway to support his friends, and on the other side is a large field where a Soldier watches a Taro Troop Brute pound the ground with his hammer. It may be tempting to try and ambush them – but hold off for a moment.
Go back down the stairs and look to the side to spot a path going around the gate to a ledge you can climb. From here you can grapple up to a tall tower that holds a Light Coin Purse. Look behind you and you can spot a platform to jump to with a Spirit Emblem, and from this rock you can grapple to a tree on a ledge below the castle wall.
Be sure to look carefully from the tree at the items – there are several Crawling Geckos on the wall above it, and will ambush you if you aren’t careful, so use shurikens to take them out from afar. Once they’re dead, grab the Gachiin’s Sugar and Scrap Iron before heading back to the tower.
The tower has some impressive views thanks to the balcony. Carefully get to the edge and look straight down into the field below where the Brute is tolling away to see he’s not alone – another Brute was hiding just around the corner to come join him in his work, and another Soldier waits further up. Get the drop on one of the Brutes to even the odds, and dispatch the Soldiers before taking out the last Brute. There’s not much else to find in this area, with the exception of a small ledge below the wall where the entry gate is holding Ako’s Sugar, and you can also check behind the farthest building to find a Fistful of Ash and Scrap Iron.
Hop onto the gate at the end of the path where two Soldiers talk at the bottom of the stairs leading to a long open corridor. Eavesdrop to learn that whatever lies in this corridor is not friendly, and incredibly dangerous. Make sure you’re stocked up and ready before moving inside.
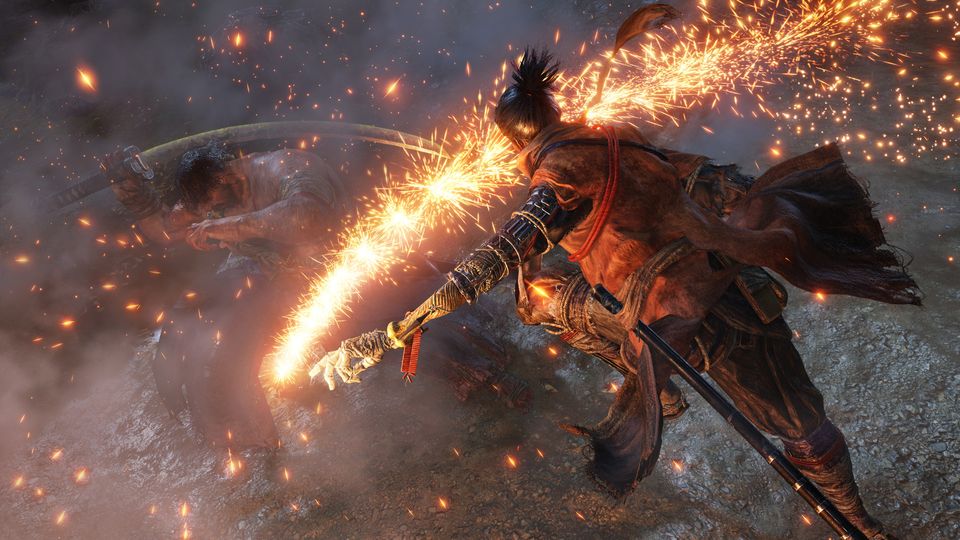
Boss Battle: Blazing Bull
Next up is: Abandoned Dungeon Entrance