Explore late 1500s Sengoku Japan, a brutal period of constant life and death conflict, as you come face to face with larger than life foes in a dark and twisted world. Unleash an arsenal of deadly prosthetic tools and powerful ninja abilities while you blend stealth, vertical traversal, and visceral head to head combat in a bloody confrontation.
How to Beat Lone Shadow Vilehand
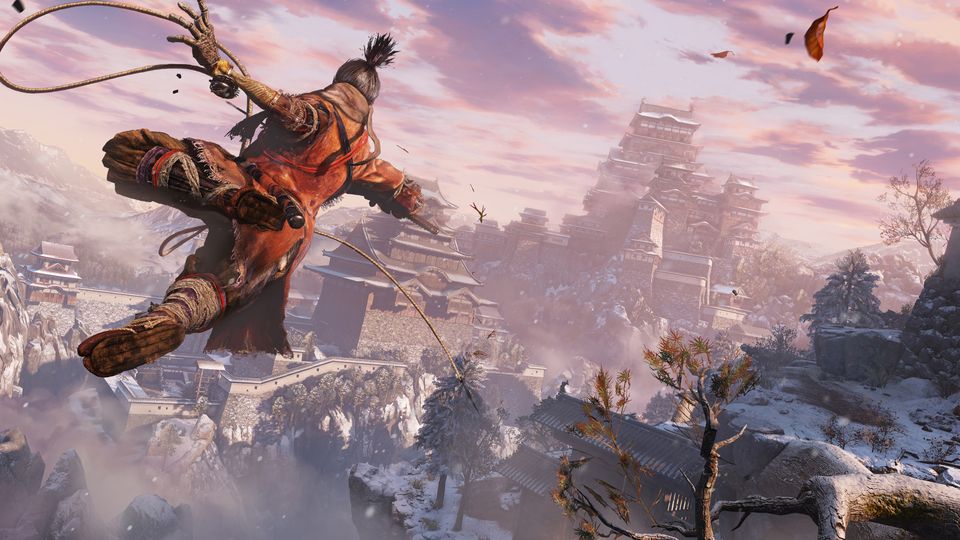
Location: Ashina Castle – Upper Tower – Ashina Dojo
After killing the Corrupted Monk and Guardian Ape, backtrack to Ashina Castle through the Abandoned Dungeon. You must reach the tower roofs, on your way there you encounter Lone Shadow Vilehand in the room where previously the Ashina Elite Jinsuke Saze miniboss fight took place.
Strategy: Make sure you have the Puppeteer Ninjutsu equipped. As you enter the Dojo, you’ll want to crouch and get behind the mob on the left side (the non-boss enemy). Backstab him and press R1 to trigger the Puppeteer skill, thus he will fight the boss for you! Now it’s you two versus the boss. Your guy will likely die within the boss’s first health bar, but at least you can get some good damage done in the meantime. After he is dead, you use the same strategy as for the Lone Shadow Longswordman miniboss – whenever Vilehand is about to attack you dodge forward with a slight degree to the left (side where he holds his sword) and then do the Whirlwind Slash Combat Art L1 + R1. Rinse and repeat. Forward dodge whenever he starts an attack, do Whirlwind Dash, repeat.
Reward: Lump of Fat Wax (Prosthetic Upgrade), Prayer Bead