The Headless and the Demon Bell Walkthrough
There’s a quick detour you can take here if it interests you. On the far right side of the courtyard past the large doors is some Divine Confetti and a note on a shrine:
- “Turn back if you value your life. You can’t behead the headless. Our swords and pikes did nothing.”
This warning, coupled with the Divine Confetti, should alert you to the fact that a supernatural forces lies up ahead. These unholy things cannot be damaged by normal means – you need something that can make them vulnerable, like Divine Confetti.
Run around to the other side of the shrine and look for a tree to grapple to below, then look along the right cliff for a small ledge you can reach out to when jumping to grab and shimmy across until you reach some Gachiin’s Sugar. Drop down and you’ll find the entrance to a foreboding cave.
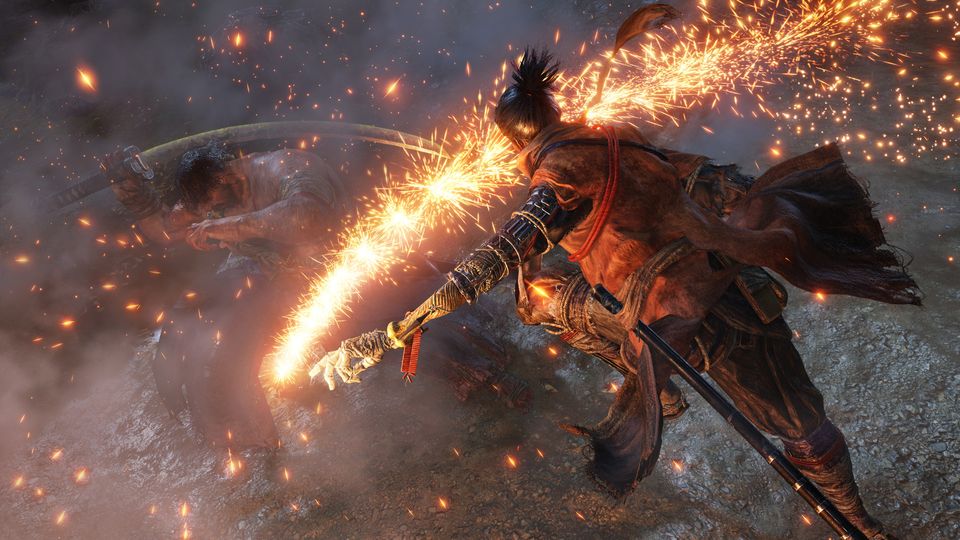
Luckily, the Wolf has pretty good night vision, and the cave will be a bit easier to navigate thanks to this. When you reach a ledge as the cave opens up, you can peer down to see the Headless creature below.
Before you decide to explore the bottom of the cave, note that there’s another passage out leading to some Spirit Emblems, and you can grapple up several branches back to the right side of the Stairway area where you fought the Chained Ogre. there are a few Crawling Geckos here that will spit poison – but a Shuriken can stop them quickly. Look for a Gachiin’s Sugar in the corner by the second Gecko, then grapple up to the nearby room to grab Antidote Powder and Divine Grass – and you can then unlock the door hear that leads back to the courtyard past the stairway.
As for the cave with the Headless, at this point in the game, it’s not really worth taking him on – you only have one Divine Confetti, and the Headless will terrify you to the point that the Wolf will not be able to run and jump to his fullest extent. Many of his attacks will also deal Terror damage – and if you get too much, you’ll instantly take a huge amount of damage and likely die from Terror. The Headless can also teleport around the arena at will in a cloud of fog, and can send more spooky hairlike tendrils of projectiles at you.
The real goal isn’t the Headless right now, it’s getting up on the ledge behind him – it leads to a secret small passage ending with a Shinobi Escape Route door. This leads to an entirely new area, the Senpou Temple, Mount Kongo – but only a fraction of this new region. Enter the other room to find a strange Centipede Assassin with claw weapons sticking the wall – and throw a Shuriken to knock him down and kill him before he can start flinging fire across the room.
Grab the Black Gunpowder here, and note the locked door on one side, before taking the stairs up to the Bell Demon’s Temple Sculptor’s Idol. The eponymous giant bell is located nearby, and note pleads with you not to ring it.
If you do ring the bell, you’ll gain a Sinister Burden, manifested by a Bell Demon in your inventory. This item will essentially make the game harder by having enemies deal more damage to you – but also increasing the amount of items and Sen you get from killing them.
If this seems like a pretty bad trade-off, you can simply “use” the Bell Demon item to get rid of it – and you can also ring the bell again at any time to regain the item and the increased difficulty.
Next up is: Underbridge Valley
How do I get through the Shinobi escape route door?