Table of Contents Show
Chapter I
Interact with the basket and talk with grandma.
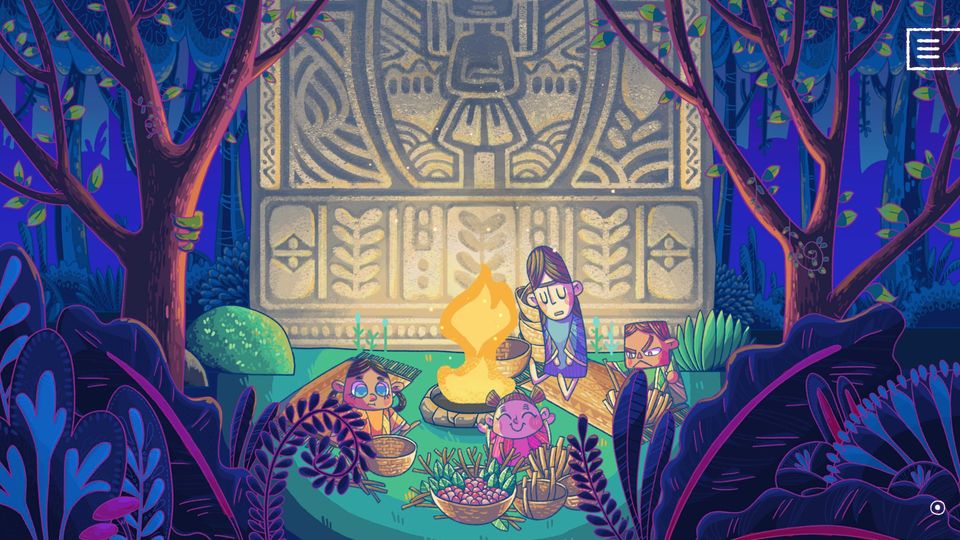
Once Upon a Story
completed chapter 1
Chapter II
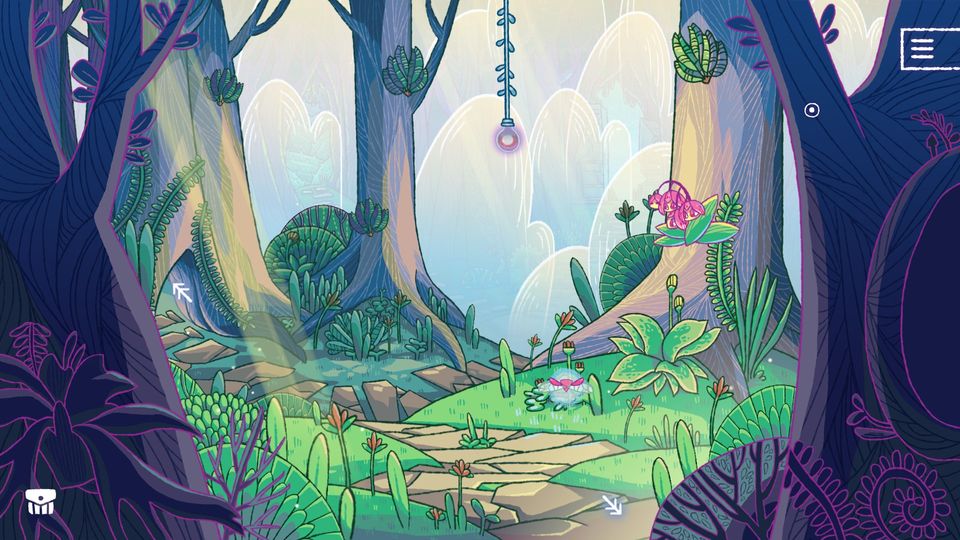
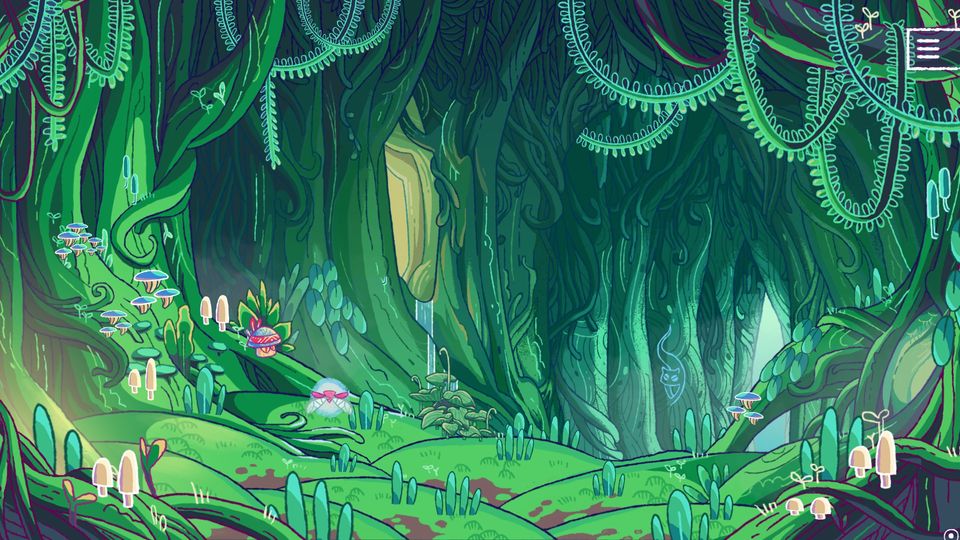
- Take the bag and go into the forest.
- Speak with the flowers about the light orb test.
- Go left and take a snail shell as well as the light bulb.
- Head back to the flowers and use the ligh bulb with the vine.
- Click on the light bulb.
- Obtain the jar from the flowers.
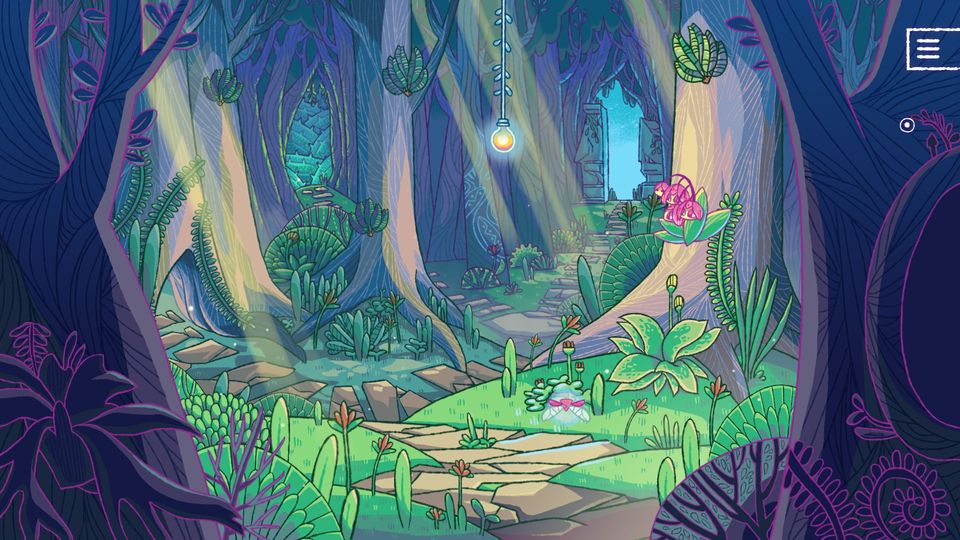
- Leave the forest and use the jar with the flower.
- Back in the forest, interact with the light bulb again and click on all four bushes.
The First Who Bore the Light
completed light ‘n orb test
- Speak with the flowers.
- Try to give them the snail shells.
Afraid they Become
scared orchid with snail
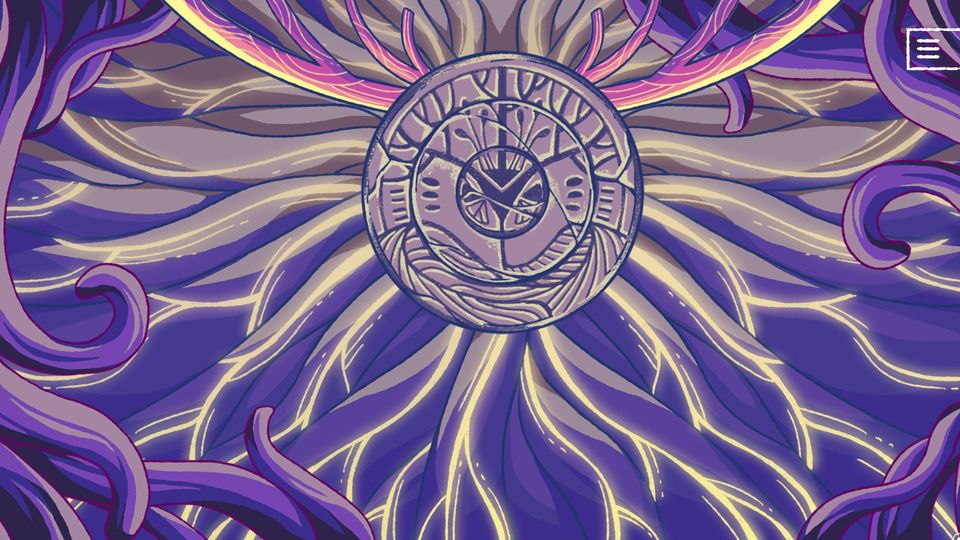
- Find the first carving:
- Continue your journey.
Nothingness Gave Birth to Hope
completed chapter 2
Chapter III
- Take another snail shell.
- Speak with the mushroom and take the three trials.
- Try to give the warriror medallion to the mushroom, ten times.
In Anger in Pain
slapped by mushroom 10 times
- Use the warrior medallion to remove the central thorny roots.
- Walk to the pond, take another snail and speak with Reed, ask him to give you the riddles.
- Head back to the flowers and walk to the left.
- You’ll discover a stone pole, approach it and interact with both red cloths several times.
- Click on the roost, the fruit and the nut.
- Go back to Reed, answer his riddle: “Tree” and let him give you the second riddle.
- Fly to the mushroom and use the warrior medallion with the right thorny roots.
- Visit the potatoe, take another snail shell and inspect the second stone pole.
- Click on the cotton, the green leaf and the leaves on the pole.
- Go back to Reed, answer his riddle: “Fire” and let him give you the last riddle.
- Inspect the stone pole, click on the floating cookie and on the pole.
- Wait until you have seen all reflections.
- Answer Reed’s riddle: “Sky and Earth”. Take his treasure.
Yet to Harvest an Answer
answered all riddles
- Fly back one scene and pick up the cucumber.
- Go right and speak with the potatoe to wake him up.
- Give him the cucumber and take his treasure.
Sower of the Seeds
used cucumber on potato
- Head back to the flowers and remove the last thorny roots.
- Walk along the new passage.
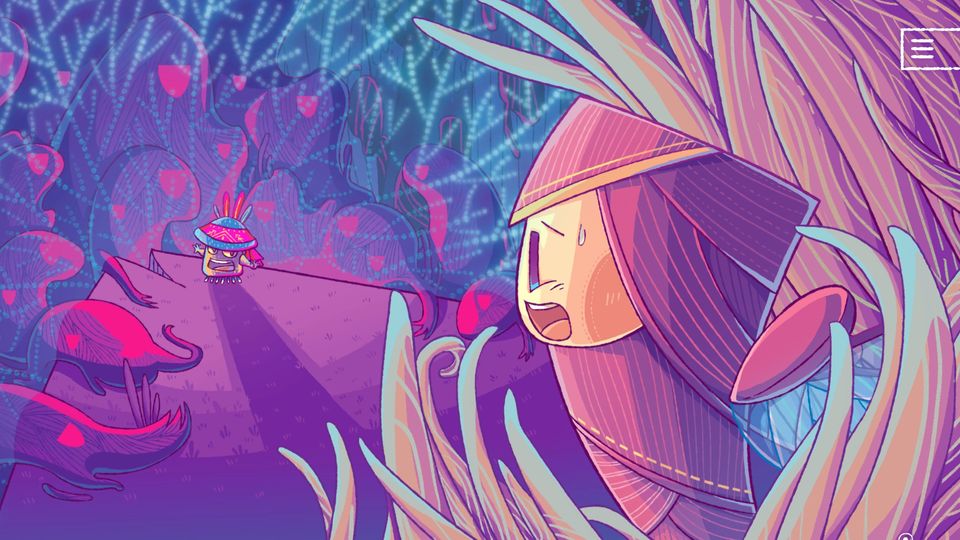
- Go left to surprise Gloomy. Help him.
- Take the spearhead, and another snail shell.
- Give the jar to Gloomy and illuminate it.
- Interact with the second carving:

- Go back to the flowers and talk with them about the sculpture.
- Give them the spearhead and the stone.
- Leave the forest and take the last snail shell.
Collector of the Precious
collected all snails
- Back to Gloomy’s place, give her the snails and the sculpture.
- Give all three treasures and gifts to the angry mushroom.
- Use the wisdom medallion to open the huge door.
Before you proceed, interact with the third carving:
Go deeper into th forest and use the warriror medallion to open the second door.
Continue your journey.
Crowned with Wisdom
completed chapter 3
Chapter IV
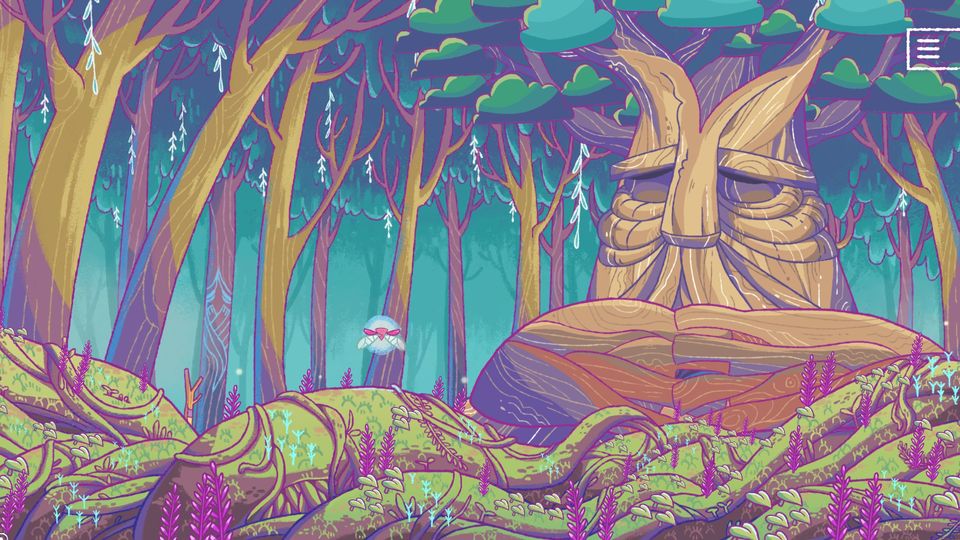
- Talk with the tree, your choice doesn’t matter.
- Before interacting with the twig, click on the last hidden drawing:
The Sky Is Crying
found all secret carvings
- Click on the twig.
- Go south and interact with the hand-shaped fungus.
- Remove it and speak with the nut.
- Fly through the hole.
- Interact with the central plant and try to catch the berry three times.
- Speak with the berry and click on the tree trunk several times.
- Talk to the flowers and fly through another hole.
- Interact with the leaves several times and talk to the special leaf.
- Click on the roots.
A Sacrifice Was to Be Made
witnessed mushroom sacrifice
- Walk around the potatoe and follow the trail upwards.
- Give all four little creatures to the tree.
- Inspect the bow and solve the music riddle:

Continue your journey.
Armed with Purpose
completed chapter 4
Chapter V
- Interact with the left gleaming spot and repeat the light sequences.
- Go northwards and illuminate all three light bulbs.
- Fly upstairs and click on the light bulb. Head back.
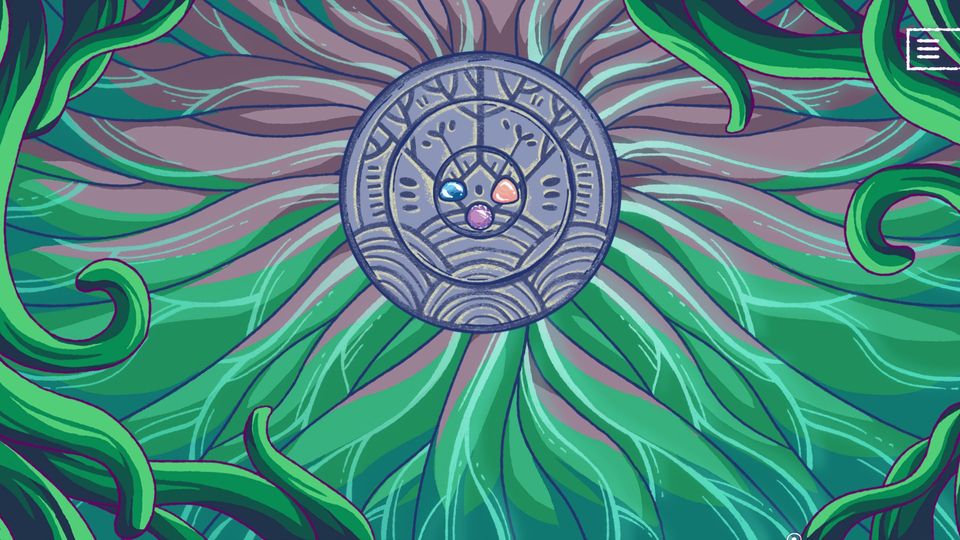
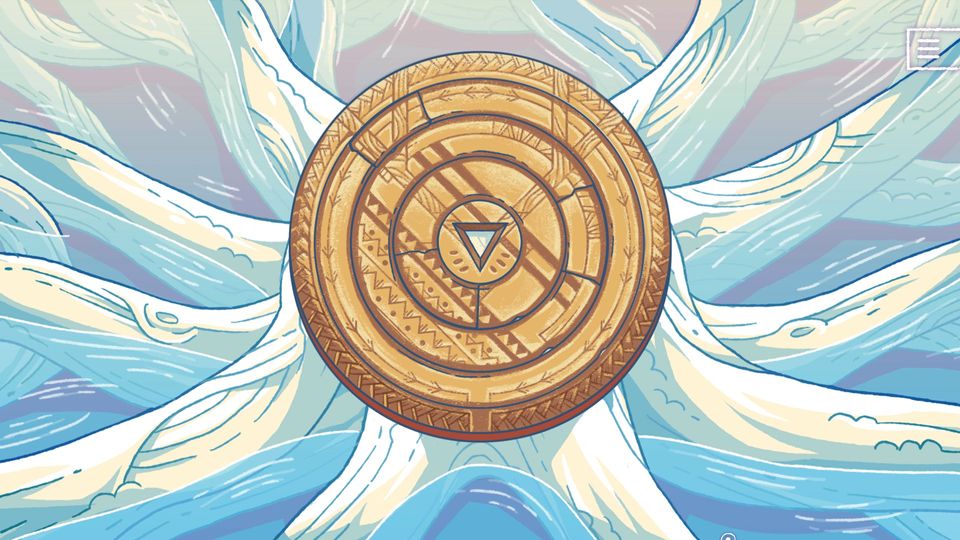
- Inspect the small tree stump and repair the wooden disk:
- Go upstairs again and interact with the mask.
- Wake up.
- SAVE at this scene:

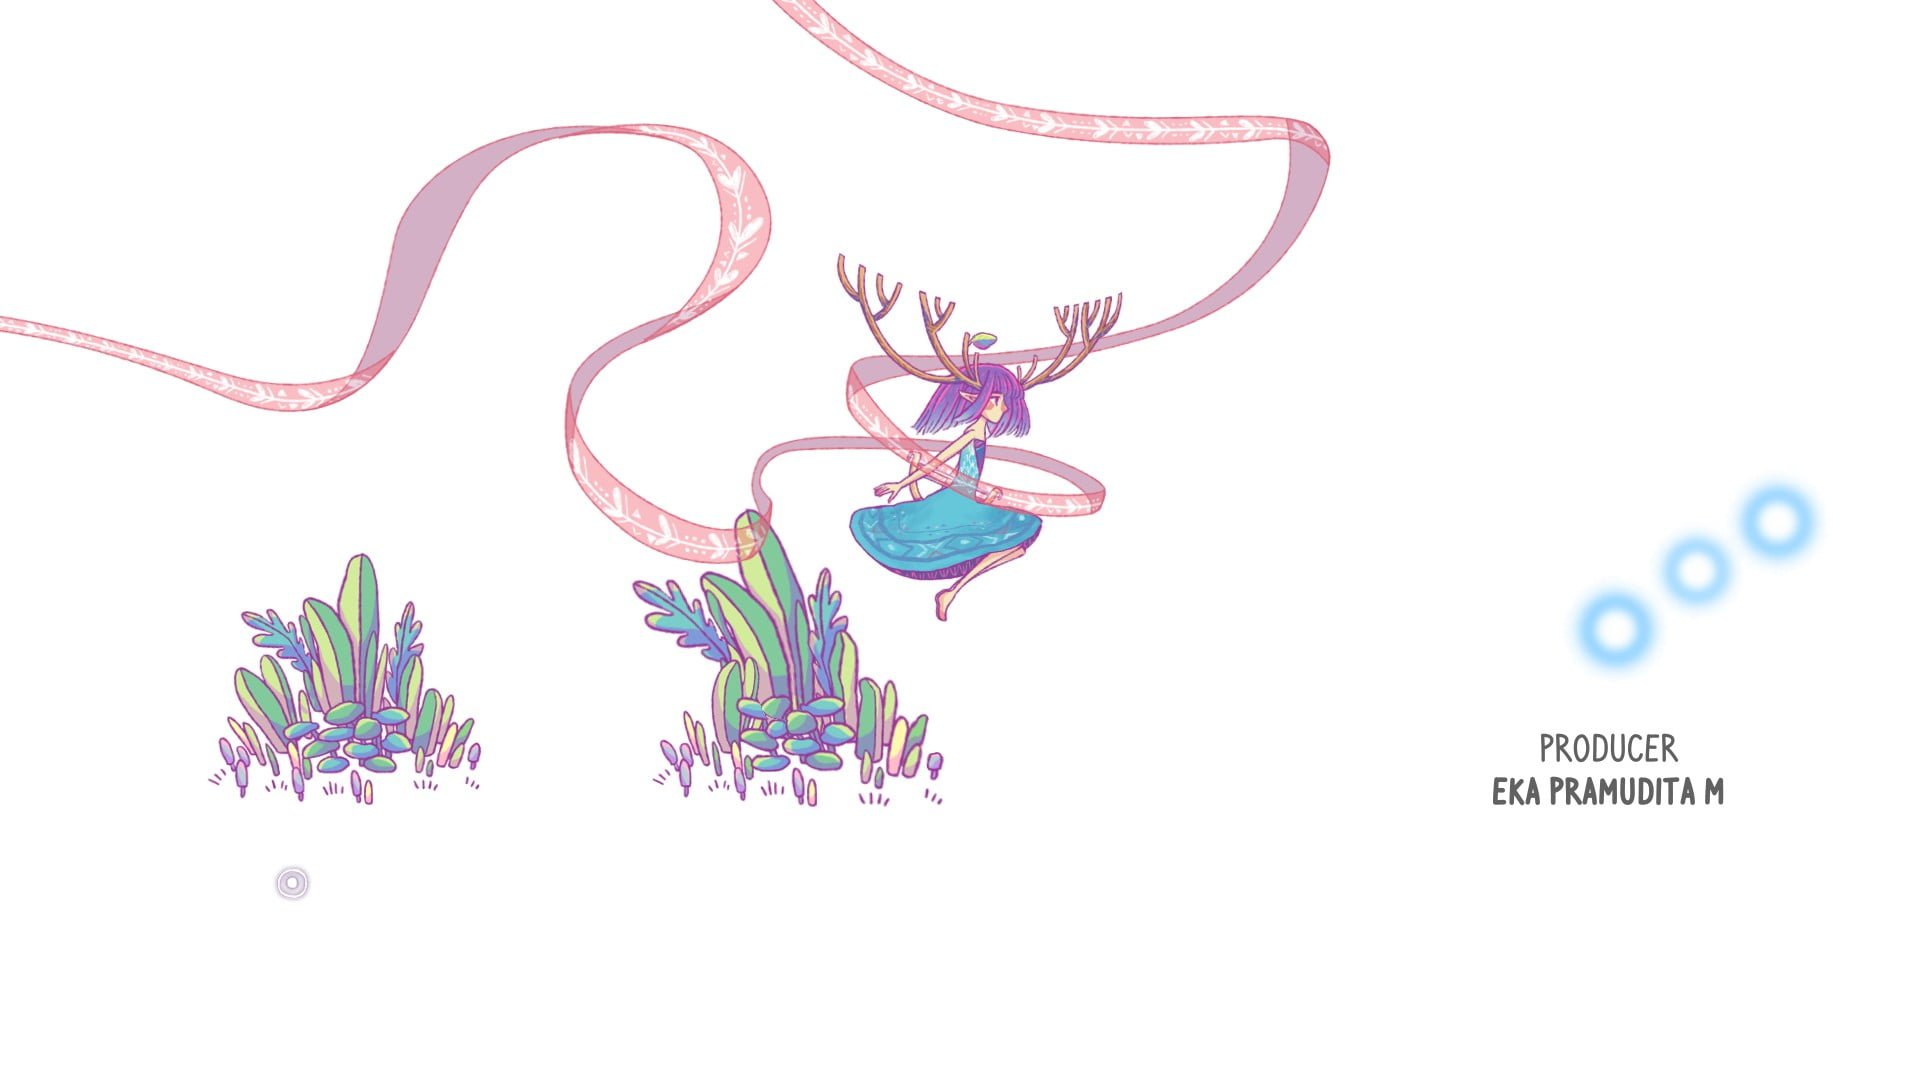
Move the triangle into the shape and collect all blue light beares during the credits.
And Mother Is the Name
completed chapter 5
Till the Lost Are Reunited
collected all light bearers in credit scene
The Missing Piece Awaited
all achievement