Table of Contents Show
Every base will be different depending on many different factors, team mates, game modes, difficulty level, and defensive location.
Not saying these are the best defenses that will win you 100% of your games, as everything seen here is MY experience of defenses that worked fairly well in the past few days with organized squads.
I’m sure that theres multiple other strategies people have, and will be willing to add to the list.
Build Layers
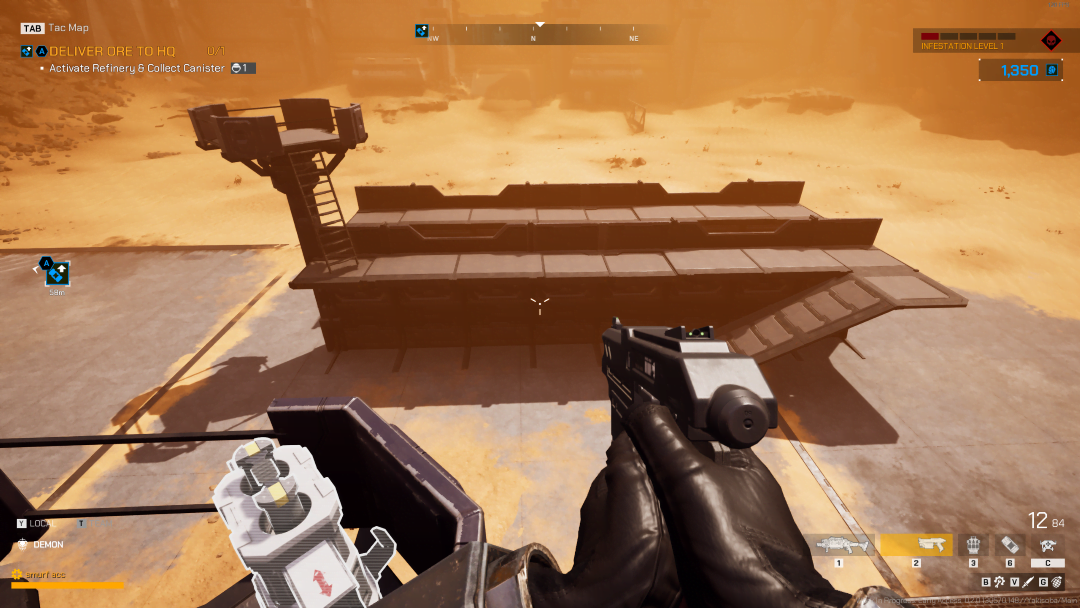
One layer of defenses will go down quickly, leading to a breach if not enough manpower or attention is given to an area. Having a second fallback line assists in the chance of slowing the bugs down and rebuilding when possible.
- First Row: Ramp wall – Regular Wall
- Second Row: Ramp wall – Regular Wall – Tower
Of course everything is interchangeable, small/large gates, walls, ramp walls, electric fences can all be switched or removed depending on situation and ore availability.
Have heard that gates have more health than regular walls, although only through spoken word. Used especially on ORE/Gas run missions, gates are needed for supply runners on major routes, instead of forcing them to take long ways around which could mean life or death.
Small Walls behind the gate openings allow for troopers to cover the rear of anyone retreating, while also giving cover from gunners and a small distraction if the bugs make it that far.
Protecting your ARC
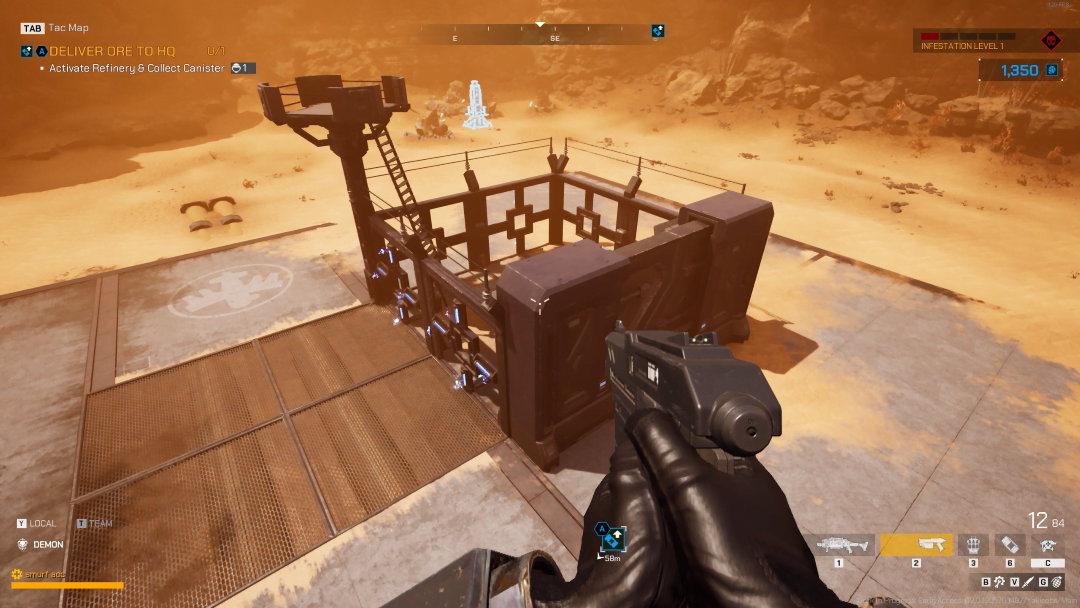
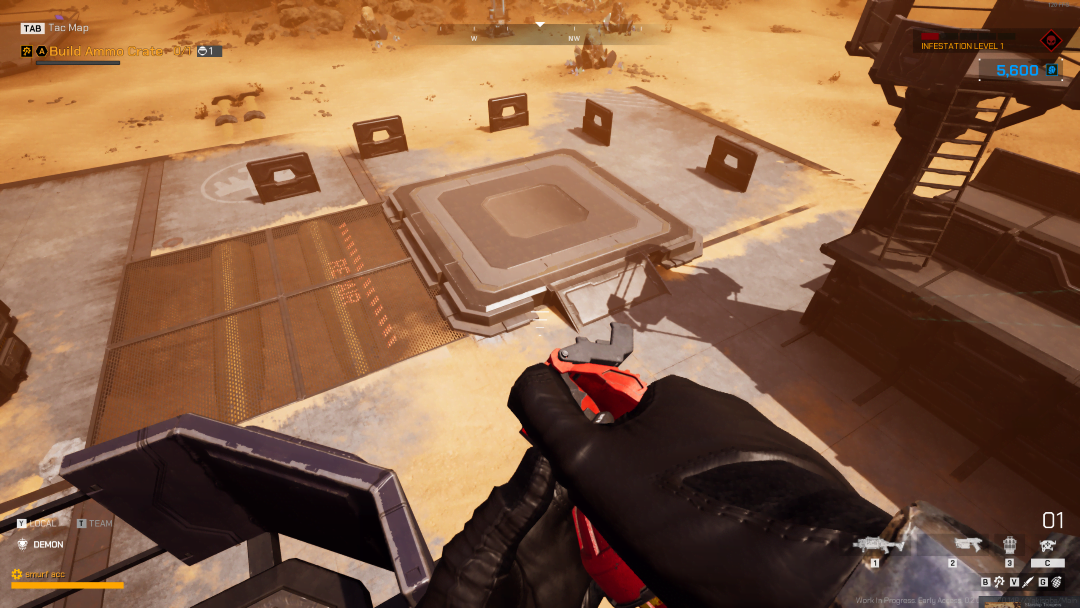
When in mission, always wait until the ARC dropzone is located to begin building defenses. Commonly seen throughout missions is 3 electric fences + one small gate surrounding your ARC. Gate allows for troops to move in and out of the area to make repairs, while also preventing anyone from becoming stuck.
A watchtower placed on any corner or reachable area does wonders when a trooper with heavy ordnance can bombard any bugs who get too close.
Bunkers
Remember to rotate your bunkers! Dont be that guy who makes the entrance to the bunker face the same side the bugs come from!
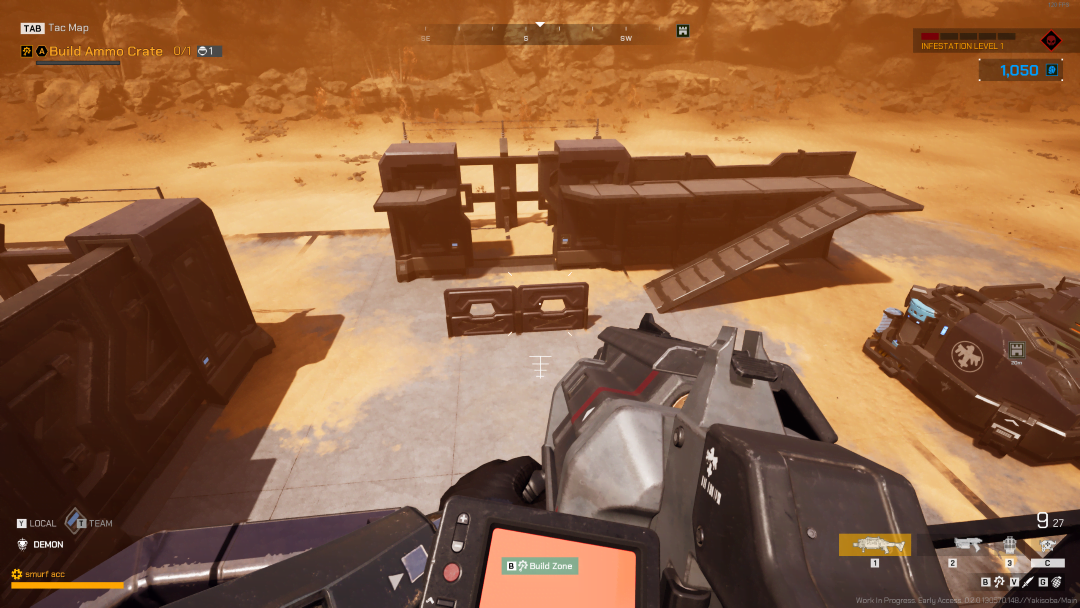
Small walls staggered around the bunker (and anywhere else in buildable areas) help slow down the bugs, distracting them while you and your team take them out.
Some points have large tunnels / chokepoints that bunkers excell in. I’ve held massive waves of bugs alone with 1 squad alone, an ammo crate, and fallback lines of an electric fence and gates.
Remember that you can climb on top of them! Jumping onto the first low section, then again vaulting to the roof.
Other Tips/Miscellaneous
The Operator Class gains access to a Powered-Up Build-Tool, doubling build/repair speeds.
Builds cannot be repaired while a bug is attacking said defense, indicated with a red symbol when holding repair tool out.
Holding right click dismantles a build when holding your repair tool, make sure to get the foundation too!
Use small walls to fill awkward corners or open spaces where bigger walls cannot fit.
Stop screaming “AMMO AMMO” if there’s no more ammo crates in your base! BUILD ANOTHER! If an ammo box is destroyed, a new one can be placed as long as you have sufficient ORE and not at build cap of 4/4.
Rocket launchers can be equipped in your secondary slot, equip your secondary for the launcher if you want to keep your primary weapon.
PLEASE stop strafing left and right into peoples lines of fire. Im sure we all have this habit from other games(including myself), but the bugs dont have bullets to shoot back at us with (yet). If you are engaging melee bugs, try and move as little as possible or COMMUNICATE with your squad/team. Its a pain to be any class defending an area, when teammates keep running out into the already limited ammo that you may have.
