Table of Contents Show
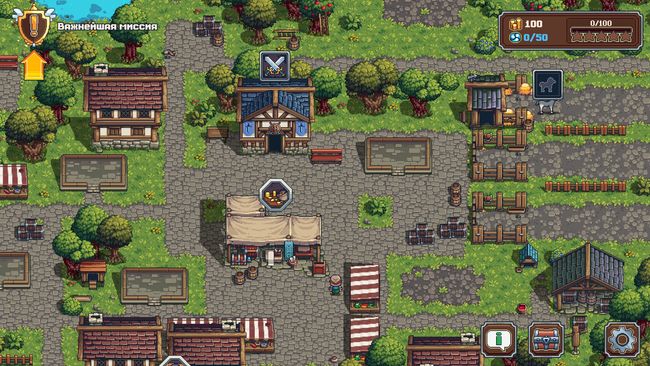
Grind for resources, manage your own fantasy village, create and equip your heroes and send them to collect swag in Swag and Sorcery – a new streamlined RPG from the creators of Punch Club and Graveyard Keeper.
Other Swag and Sorcery Guides:
- Swag and Sorcery: How to Make Gold
- Swag and Sorcery: All Events and Quests
- Swag and Sorcery: All Buildings
Swag and Sorcery Crafting Guide
A simple, short guide to crafters, picking the best crafter for your buck and what crafting does for you.
Not Just Any Crafter Will Do
Crafting equipment is the core of Swag and Sorcery. Forget about costumes, fighting monsters and casting spells– if you want to succeed, you need to craft well, craft often and craft effectively. And to craft, you need good knowledge of the mechanics behind crafting and how you can optimize your Crafters without missing out on damage output, allowing for effective and quick farming.
The very first things you need to pick are your crafters. There’s one dedicated crafter in the game– Aiden, the 6th hero unlock. But to get to him, you’re going to need a lot of gold and will probably already have two crafters, maybe even three, ready and roaring to go.
Your goal is to get your crafters to 250 in their crafting stat as quickly as possible. At 250, you have a 100% chance to craft triple output on resources, you’ll always make high quality gear, and your chances of making legendary gear will considerably improve– it seems to happen 50% of the time for me, so I surmrise the numbers for highest quality gear are between 25-50% of your chance to get high quality gear.
Noel, Hoshi and Aiden are my three crafters right now– although anybody can be made to craft anything, you should really pay attention to their primary stat before dedicating them to crafting. You’ll never be able to make a strength crafter on purpose due to the severe lack of strength-increasing gear, so I recommend you just focus on Stamina for Hoshi or Eddie, Intelligence for Aiden or Hoshi, and Agility for Noel– but any character can be made into a crafter, as long as you pay attention to their primary stat.
Stat Packing Sandwiches
It may be a shock to some of you, but the best traits in the game are NOT damage– they’re actually stat increasing traits. Having your characters reach 250 is a very important threshold in the game, one that makes crafting more profitable than random events and random events actually more punishing than crafting something with those materials. As your stat grows higher, it becomes stronger and stronger until you have a 100% chance to TRIPLE the output of every material craft you make.
So, what to keep and what to sell? Anything you make that increases a stat is a keeper. While that may suggest you should ditch equipment that doesn’t produce +AGI/STR/INT/STA, hold on for a moment there. The best equipment boosts actually come from random traits on equipment. The drawback to this caveat, of course, is that these traits are… well, random and unpredictable, and can’t be relied on. So, what’s the best method?
Step 1: Identify the stat-boosting equipment in each category. Your Cluck-Clucks, your Bandit’s Pants, your Simple Crossbow– all of these things include +AGI as one of their base traits. A +10 in AGI is a +4% to crafting, so every little bit that you can get out of these guys helps. You want to craft stat-boosting gear until you produce one with close to maximum stats. For example: a Simple Crossbow has 4-16 AGI. If I produce a gear with 4 AGI, I equip it and try until I get one with more than 4 AGI or 16 AGI.
Step 2: Make High Quality versions of those same equipments. HQ doesn’t increase the stat cap for equipment, but it DOES add random traits– and those random traits frequently include bonus stats. The ideal HQ equipment ‘double dips’ into the stat you’re trying to raise– Noel’s current Cluck-Cluck for myself has +22 AGI, +3 STA and a whopping +49 AGI from the bonus traits it rolled.
Step 3: Reach 250 through leveling. You should be leveling your characters anyways, but don’t just level them up– level their individual skill up too. Remember, +10 is equal to 4% better crafts, so spending ~2000g can get you +4% more efficient crafting really early on.
Step 4: Sell any goods that just increase damage. Not only do stats give you effective damage, you’ll always need more and more stats until all your characters reach 250 in all 4 categories. Until that point, any goods which purely increase damage are only there to be sold or be worn as a costume. The more money you have, the more stats you can permanently increase your character with.
Step 5: Start from Step 1 again. You need to enter this gameplay loop if you want to have a good time! Picking up flashy equipment is fun, and hanging onto it for boss fights can be a good idea, but all this stuff is really just fuel for crafting. Holding onto stuff you won’t use, that’s outdated, it won’t bring you joy. Free stats and high levels? Those will bring you joy.
Best Bang For Your Buck (And Spa Treatment Too!)
You might notice that crafting in different ways produces a lot of different efficiencies. What’s important are two things: craft time, your time and resting.
You don’t want your main team to be held back doing nothing while Hoshi or Noel are crafting 50 different leathers. When possible, send out a 2 man team to a lower level dungeon or have all 3 members of a team work on their own crafts. This way, you can give yourself something to do while waiting for a 10 minute crafting session to finish and have some things you can micromanage while doing other things.
Second, use the spa frequently. Someone crafting in bulk will get very unhappy, very quickly. If you’ve got people out in the field, remember to deselect them– unfortunately, the behavior for a spa treatment reselects them right after deselecting them, but it’s fine to close the spa and open it again to keep someone fresh. A bar of missing happiness can cost 1%, 10%, 100% craft efficiency if you let it dip too low, and the 3 gold of upkeep per craft is nothing when each craft pulls in 10000 gold. Refreshing them in the middle of batch crafting is essential for efficiency.
Lastly, value your own time, too. Yes– I’ve done the math. Technically, for a craft you just need to squeeze out a few more advanced materials for, it’s more efficient to do the crafts one at a time until you’ve reached the amount you need. But for gods sake, you only live one life, man. Value your time more and just craft in bulk. Listen to a podcast and relax while playing this game– it’s an excellent way to catch up on news, learn more about science or have a good laugh listening to the McElroy brothers! This isn’t a game you should play to ignore everyone around you– this is a game you should play to busy yourself with something between chats, or while edifying yourself (to give your hands something to do). I care about you, and you should too. Have a good game!