Table of Contents Show
Sanjar Nandi Quest Guide
Sanjar is the leader of Monarch Stellar Industries at Monarch. wants to get Monarch Stellar Industries back into The Board. He can also tell you more about the planet, that used to be called Terra 1, and the reform that he and Monarch Stellar Industries tried to achieve to give more humane working conditions for everyone within.
Sanjar Nandi Location
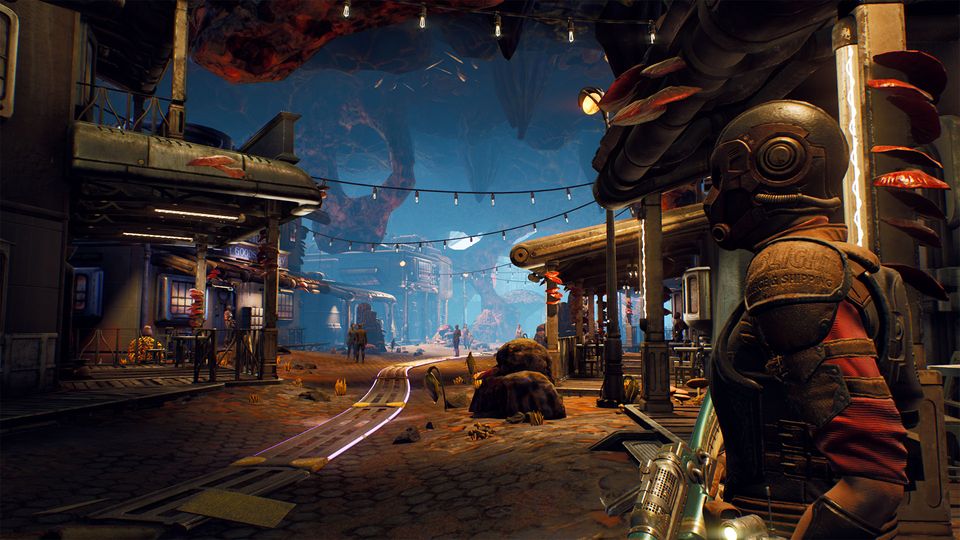
He can be found at his office on Stellar Bay at Monarch
Sanjar Nandi Related Quests
- Radio Free Monarch
- BOLT with His Name
- Errors Unseen
- The Stainless Steel Rat
- Canid’s Cradle
1. Radio Free Monarch
2. BOLT with His Name
Speak to Sanjar Nandi, at Stellar Bay in Monarch to begin this quest. Sanjar will confide that the 10 years of isolation have been hard on Monarch, and they want to get back into the mainstream. He will reveal a plan to get MSI back into the board. Ask him about it and he’ll share details of his two-phase plan that begins with proper defenses for the planet. You can also learn more about the planet, that used to be called Terra 1, and the reform that Sanjar and MSI tried to achieve to give more humane working conditions for everyone within.
Head out into Monarch Wilderness and make your way to the objective building by a large bridge. There’s a Raptidon Behemoth here, and you can loot an Iconoclast corpse for ARMS Building Key and Leaded Armor.
Go inside the ARMS building and you can loot several items including Purpleberry Liqueur, Stogie Slims, Adreno, Spectrum Vodka and Light Ammo by a terminal. Read the report within to learn that Sanjar is bad with jingles and slogans, and instead includes numbers and statistics in his report. In addition, he completes work instead of delegating it – not a desired trait for promotion. You can use Hack (20) to read the files of Graham Bryant, who is apparently “subversive”. Lastly there’s Dora Erickson, who is recommended for the promotion thanks to her delegation skills. It is now obvious why Sanjar wants you to delete the terminal contents – do it or not it’s your call! (5625xp for deleting)
Go upstairs and approach a locked door, someone will talk to you via intercom. This is Huxley who is stuck and needs help unlocking the door. This gives you 5625xp. Say you want into the room as well and Hux will comment that his friend had a key. This is the key you picked up earlier, but you can use this time to ask some questions about the Iconoclasts.
You can also ask Huxley to open the door from inside, it takes Perception, or Engineering (35), Intimidate (55) or Persuade (55). The door will open and Huxley will come out and you’ll get Iconoclasts reputation. You can ask her for a reward, and obtain some Iconoclast reputation. Inside the room, loot Mag-Pick, Ammo and Bit Cartridge and the BOLT-52 Cartridge.
Return to Sanjar and tell him you saw the review. He will mention he even gave a kidney to the company in order to improve his chances of being promoted. You can encourage him for the part he plays now.
Give him the BOLT-52 and you’ll get 5625 and 15000xp , MSI Elite Helmet, 3000 Bit Cartridge and Monarch Stellar Industries Reputation. He reveals the plan is to blackmail The Board into letting them back to the table. Sanjar will reveal he believes another corporation is operating illegally within Monarch, granting you the quest Errors Unseen. He will tell you Catherine is likely supplying them from Fallbrook. He wants you to infiltrate the secret facility and bring back evidence – be it an item or staff.
3. Errors Unseen
Talk to Sanjar after completing BOLT with His Name. He reveals the plan is to blackmail The Board into letting them back to the table. Sanjar will reveal he believes another corporation is operating illegally within Monarch, granting you the quest Errors Unseen. He will tell you Catherine is likely supplying them from Fallbrook. He wants you to infiltrate the secret facility and bring back evidence – be it an item or staff.
Head to Fallbrook, south of Stellar Bay, and talk to Catherine Malin. She will say “maybe” one of her teams were hired for a drop-off and have gone missing, and offer to pay you handsomely if you find them. You can also get this information by pickpocketing her keycard and using her terminal.
Head north from Fallbrook and you will find the Drop-off point along the road. The road is a dead end – there will be two Mantiqueen and several Mantisaur on the way. You’ll meet Weston Sloan by the broken bridge heading north. The drop point is on the lower level under the broken bridge – this unlocks the location “Blown Bridge”. Inspect the loader to gain 5625xp and then follow the trace of blood west toward the Smuggler Tunnel.
Within the tunnel, beware of several electric traps and mines, and make your way to Arthur. You can use medical (40) to have a look at his wounds, and some Sublight Salvage & Shipping reputation. You can then ask him what happened, or reveal Catherine told you to come. He will say there ambushed by Marauders, who seemed to know where the meeting would take place. He’ll tell you which way they went, and you can get 5625xp for this step.
The Marauders headed West from this location, up a hill past some Mantisaur and Mantiswarm. You will arrive at UDL Lab location. The Marauders have a group of scientists rounded up, and promptly kill them. Defeat the Marauder and Canid enemies. Inside the building, several more Marauders await alongside their Ringleader. You can pick up UDL Lab Weapons Terminal Keycard from a table on the second floor, where you kill the ringleader. Access the terminal on the other room of the second floor and transfer files to external tape to bring evidence of UDL’s Lorem Ipsum project. Gain 5625xp and UDL Research Data quest item.
You can bring the UDL Lab Weapons Terminal Key Card to the 1st floor and interact with a terminal. You can unlock the weapon they have been developing with Hack (55) or answer: Protect the Chairman, answer: Berate him relentlessly to defend the Chairman’s honor, answer: Arrest your spouse and admit your children to a reeducation program. You can now pick up Gloop Gun, a Science Weapon part of the Weapons From the Void Quest.
Go northwest and you’ll come to a closed Gate. Unlock it with the nearby terminal to make access easier in the future. Go North toward Stellar Bay and you’ll come across a Marauder Camp. Kill them and then talk to Lenora Talley, who is a prisoner here. This will unlock her as a vendor near Fallbrook.
Return to Stellar Bay and talk to Sanjar Nandi at his office. Ask him what the reformations are, and he will reveal he is planning to reformat The Board, but slowly and from within. Nyoka expresses concern about what will happen to Amber Heights and Fallbrook.
If you give Sanjar the data, the quest will complete, giving you 15000xp, 2188 Bit Cartridge, MSI Elite Armor and Monarch Stellar Industries Reputation.
Return to Catherine Malin at Fallbrook and tell her about Arthur in the cave – you’ll get SunLight Salvage & Shipping Reputation.
4. The Stainless Steel Rat
Go near the large building on the bottom center of the Stellar Bay map, and you will find Talmadge Kerr, who will be shouting someone has been killed inside the apartments. Go into the building to unlock the quest The Stainless Steel Rat.
You can examine the apartment and note a Hastily-Packed Suitcase, as well as a Tossball Betting Slip. This will give you 5625xp and update the objectives.
Head over to Left Field Tossball Betting, that is located northwest in town, and talk to Nell. Ask her about it and she will reveal the victim is named Isaac, and that Elijah and other grunts were pushing him around. They can be found loitering in the alley behind The Yacht Club. You’ll get 5625xp and your quest will update.
Make your way around and take a narrow alley to find Elijah and his group of thugs. You can accuse him of the murder outright, and he’ll say Isaac had it coming, and you have no proof (You can find proof in a bin at the docks. In the bin is a Broken Tossball Stick with a purple tooth stuck in and Elijah’s name on it). You can Intimidate (55), try to leave, or if you have the Broken Tossball Stick then you can use that top bypass the first Intimidate (55) check. They will attack you if you leave. If you pass the first intimidation check, a second one (35) will appear. Pass it and you’ll get 5600xp for forcing them to leave the town.
Make your way to Sanjar Nandi at his office and inform him of what has transpired. You’ll get a further 5625xp, and 15000xp for completing the quest. You’ll also get Monarch Stellar Industries Reputation for running them out of town, and 625 Bit Cartridge. You’ll get the same reward for killing them.
5. Canid’s Cradle
When you flip the switch to restart Devil’s Peak Station during the Radio Free Monarch quest, this quest gets triggered. Make your way to Sulfur Pits and Gunship Crash Site will be unlocked.
In the nearby terminal, you will get information about how the crash was a human error. Eject the Gunship Captain’s Key and it will be added to your inventory and now, you have access to the rest of the ship.
Upon retrieving the Cantankerous Canid Targeting Module and you gain 3428XP. Now you either talk to Sanjar or interact with Graham
Sanjar:
Tell him to call it a truck and ask him to work with Zora. He’ll ask for her review which you’ll export from Cascadia. Give him her review seeing which he will be impressed by her and will ask you to convince her.
Zora:
On your way inside Amber Heights, Zora will stop you and will tell you about getting a new leader for Iconoclasts, and proposes deposing Graham. You agree with her and go with Zora to Graham. He will refuse to back down so you’ll have to kill him for which you’ll receive 3425 XP.
Ask Zora to work with Sanjar, use Persuade or you can use intelligence and perception. She will agree to it and you will gain 3425 XP.
The Negotiation:
Go to the OSI church by fast traveling to Stellar Bay Ruins. When both Sanjar and Zora agree to work with each other, you receive 3428 XP and the Peace of our Time trophy/achievement. Completing the quest gives you 16000XP, the unique weapon Soft Speaker, and 2118 Bit Cartridge.