Sulfur Pits Quest Guide
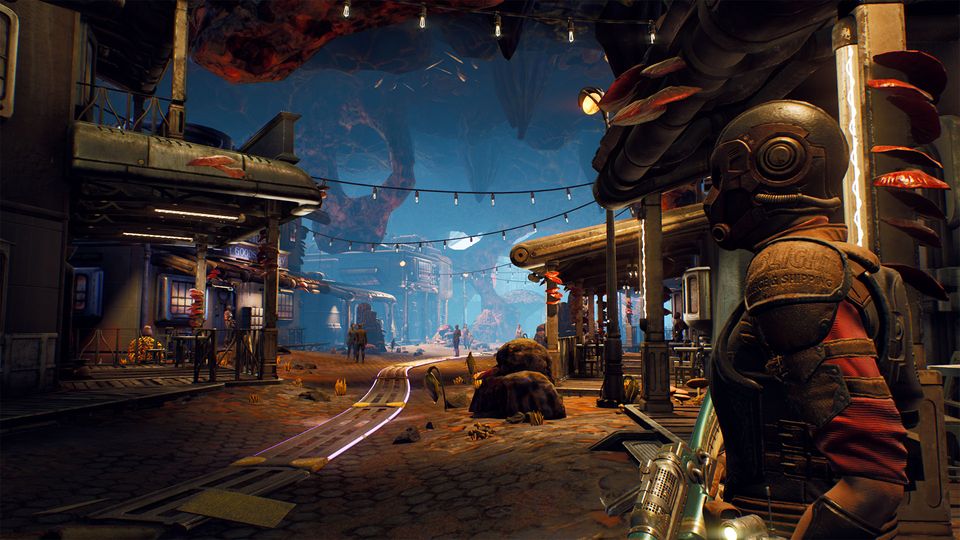
Sulfur Pits is one of the Locations in The Outer Worlds. Sulfur Pits is a raptidon-infested location in the western Monarch Wilderness..
Canid’s Cradle Walkthrough
This quest is triggered automatically when you flip the switch to restart Devil’s Peak Station during the Radio Free Monarch quest. The crash site is just south from the Sulfur Pits, a location on the south-west of Monarch Wilderness.
Make your way there and a new location will unlock: Gunship Crash Site. As you enter, you can loot some corpses and then read the nearby terminal to gain some knowledge about the crash. You’ll find out their crash was human error. Eject the Gunship Captain’s Key and it will be added to your inventory. You can now access the rest of the ship.
Retrieve the Cantankerous Canid Targeting Module and gain 3428xp. The quest will update giving you two separate options: side with Monarch Stellar Industries (talk to Sanjar) or side with the Iconoclasts (talk to Graham).
Talking to Sanjar
If you talk to Sanjar Nandi, you can ask him if he can call a truce, and point out that you read his reviews, and he can’t do this alone. If you insist and point out he is good at details, he will ask who you’d expect him to work with. Offer Zora, as she has demonstrated to be rather level-headed. Sanjar says he’s willing to consider it if he sees her review first – accept and you’ll have to go to Rizzo offices in Cascadia to procure them. Head over to Cascadia and find the HR terminal on the ground floor of a large building to the right of the entrance. Read Executive Review – Zora Blackwood to find out she is highly praised and recommended employee of the month. Export it to obtain the Zora’s Executive Review quest item. You can now return to Sanjar at Stellar Bay.
Sanjar will be very impressed by Zora’s credentials and say that if you convince her, he’ll be willing to discuss terms.
Talking to Zora
Travel to Amber Heights and Zora will stop you on your way to Graham. She thinks the Iconoclasts need a new leader, and proposes deposing Graham. Agree to support her confronting Graham. Go upstairs and Zora will tell Graham it’s time to step down for the benefit of everyone. He will counter that his people are believers, not soldiers, and ask you why you’re supporting this “mutinous blasphemer”. Answer as you see fit, and Zora will bring up what you found out during the Sucker Bait quest, that Graham is to blame for the massacre. Graham will refuse to stand down and say you’ll have to kill him. Kill Graham for 3425xp. You’ll get negative Iconoclasts reputation and increased The Board reputation.
Talk to Zora, who is not thrilled about what happened. Tell her that her and Sanjar should negotiate. You’ll need Persuade (55) or you can use intelligence and perception. Persuade works well, and she’ll agree to meet him. You’ll get 3428xp
The Negotiation
Fast travel to Stellar Bay Ruins (South) and head to the meeting point, the OSI church. You can push Sanjar by saying that Zora is ready to storm the city, or mention the Iconoclasts can support supply lines for Stellar Bay. A back-and-forth about Graham ensues, but you’re pretty sure Sanjar was not involved. Eventually they will agree, rewarding you with 3428xp and the Peace of our Time trophy / achievement.
Completing the quest gives you 16000xp, the unique weapon Soft Speaker, and 2118 Bit Cartridge.