Table of Contents Show
Zora Blackwood Quest Guide
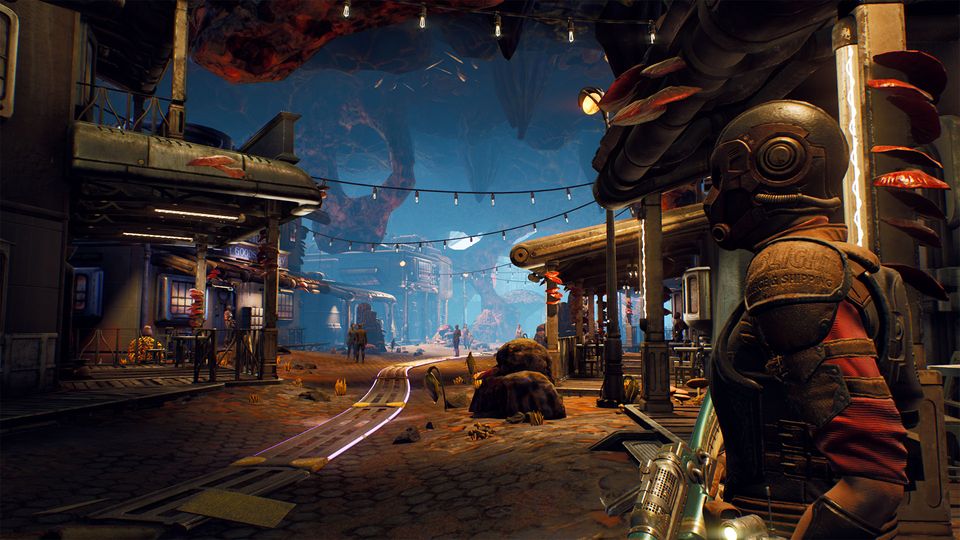
Zora Blackwood is one of the two leaders of the Iconoclasts, based out of Amber Heights. She is known to be the backbone of the Iconoclasts, keeping the group together through thick or thin. If the player sides with MSI, they will be tasked with killing her. If the player earns her trust, they can instead convince her to make peace with MSI.
Zora Blackwood Location
She can be found at Amber Heights on Monarch.
Zora Blackwood Related Quests
- The Commuter
- Pay for the Printer
- Sucker Bait
- Canid’s Cradle
1. The Commuter Walkthrough
This is the first Faction quest for the Iconoclasts, and it’s picked up in Amber Heights, Monarch. You can meet Graham Bryant and Zora Blackwood at their command center which is the largest building in Amber Heights, to the right side of your map.
Go inside and talk to Graham, then accept to pick up the delivery to begin the quest. Having Vicar Max on your party during your meeting with Graham can yield some interesting dialogue!. There’s also a terminal in a nearby room that has some information on what transpired between Graham and Sanjar Nandi. You can also learn that he finds Zora to be materialistic, since she’s focused on the needs of the body such as shelter, health and food.
Head to the building near the one you’re in and talk to Zora to get her take and find out what happened at the ruins. You should then head to Bayside Terrace Warehouse to continue the quest. As you arrive, you’ll meet Niles, who is blocking access. You can Lie (55), Persuade (55) or Bribe him for 2877 bits to get access. The SubLight crew that was hunting Carlotta will leave and you can continue the quest. You can kill them, but you will gain negative Reputation with SubLight Salvage & Shipping. An easy way to do this is to head into the first building on the left past Niles and Hack (55) the terminal to vent gas and kill everyone.
Approach the locked door at the edge of the facility and use the intercom. She will open the door and you can go in. There’s a Vending Machine inside if you need it!. Talk to Carlotta, she will give you Printing Press Parts and you’ll earn 7500xp. You can then ask her some questions about what happened, and you can opt whether you want high-capacity data cartridges, or food and medicine.
Pick the one you agree with and earn 7500xp.
Return to Graham and you’ll find him arguing with Zora about the Van Noys, a unit of the Iconoclasts that is MIA. Inform Graham that you got his rollers, and food and medicine if that was your choice. You’ll receive 7500xp and Zora will ask when the next drop is. Inform her that Sanjar has made it illegal to trade with the Iconoclasts. Graham will say they must spread the word, and it unlocks the next quest: Pay for the Printer.
This completes the quest, granting you 15000xp, 2900 Bit Cartridge, Iconoclast Apostle Helmet and Iconoclasts Reputation.
2. Pay for the Printer Walkthrough
This quest is obtained after turning in The Commuter, by talking to Graham about next steps. Graham wants to continue preaching. A discussion between Zora and Graham will reveal that Graham committed their best unit to the printing mission rather than putting them on the ruins, where they are apparently needed.
You can now set off toward the northwest to find the Terra One Publications. It’s most easily accessed from Stellar Bay’s Southwest exit. You’ll come to a battle between Canids, Marauders and August & May Van Noy. Defeat the enemies and talk to the Van Noys. Before you can escort Zora’s team to safety, you’ll be informed they have lost track of their medic.
Approach the facility, and a group of Raptidons will attack you. Defeat them and take the right path up a hill to go toward the medic. There are two Raptidon Colossi defending the medic’s corpse, so prepare for battle. After defeating them, go into the residence and loot the medic to obtain the Unique Weapons: Euthanasia Kit, as well as the Iconoclast Trauma Kit quest item. The Iconoclast Armor and Helmet she is carrying can also be used for the Task: Makes Space Suits, Won’t Travel.
Return to May Van Noy and tell her of the fate of her medic. You’ll get 7500 xp and they will head home to Amber Heights.
You can now go into the printing building. There are several Raptidon enemies that you’ll want to defeat, and a resignation note from Caden Shuster that highlights the many dangers of frontier work. Behind the notice, a locked office contains a terminal with some corporate requests and a high level lockbox that requires 60 to unlock.
Head through the last door on the 1st floor, past a Raptidon Colossus, and up to the 2nd Floor. Access the door with the room overlooking the press and use the terminal to activate the rollers. The quest will update and you’ll earn 7500 xp.
Head back to Amber Heights and go to the second floor to talk to Graham, who is in a heated dispute with Zora. If you helped the Van Noys you’ll get 7500 xp and Iconoclasts Reputation.
Completing the quest gives 15000 xp and Iconoclast Reputation as well as Iconoclast Apostle Armor and 2900 Bit Cartridge.
Follow Zora to the medical building and talk to her. She will reveal that she thinks the Amber Heights Massacre was engineered by someone who gave the pirates access to the gate codes. This unlocks the quest Sucker Bait, which should be completed before advancing the main story; Otherwise, you may lose the option of getting Stellar Bay and The Iconoclasts to join forces.
3. Sucker Bait Walkthrough
You will obtain this quest after completing Pay for the Printer. Follow Zora Blackwood to the medical building and talk to her. She will reveal that she thinks the Amber Heights Massacre was engineered by someone who gave the pirates access to the gate codes. Agree to help and you’ll unlock the quest Sucker Bait.
Note: In order for Zora to offer you this quest, you must have chosen to spend the extra funds on medicine and supplies in The Commuter. You must have also saved the Van Noys in Pay for the Printer.
Make your way to the Abandoned Relay Station, found west from Fallbrook. The area is populated by Mantisaur, Mantipillar and even a Mega Mantisaur. Defeat them and then approach the terminal. Unlock it and you’ll earn 7500xp.
(Iconoclast Apostle can be found in a container in the sealed relay station. )
Inside you’ll find the Unique Armor: Hemlock’s Eyepatch and an Old Data Cartridge. This will net you 7500 XP and will update your quest. Login to the terminal and read for lore about the region. Return to Zora for your reward of Iconoclasts Reputation and 15000 XP, 750 Bit Cartridges.
You’ll learn Graham gave them the gate codes, and orchestrated the attack. You can confront him after this and he will allude to a “lesser man than he is now” having made such a call, and tell you that the ends justify the means. (You can then make both factions agree at the end of this planet’s primary mission.)
Canids Cradle Quest Guide
Faction: Monarch
When you flip the switch to restart Devil’s Peak Station during the Radio Free Monarch quest, this quest gets triggered. Make your way to Sulfur Pits and Gunship Crash Site will be unlocked.
In the nearby terminal, you will get information about how the crash was a human error. Eject the Gunship Captain’s Key and it will be added to your inventory and now, you have access to the rest of the ship.
Upon retrieving the Cantankerous Canid Targeting Module and you gain 3428XP. Now you either talk to Sanjar or interact with Graham
Sanjar:
Tell him to call it a truck and ask him to work with Zora. He’ll ask for her review which you’ll export from Cascadia. Give him her review seeing which he will be impressed by her and will ask you to convince her.
Zora:
On your way inside Amber Heights, Zora will stop you and will tell you about getting a new leader for Iconoclasts, and proposes deposing Graham. You agree with her and go with Zora to Graham. He will refuse to back down so you’ll have to kill him for which you’ll receive 3425 XP.
Ask Zora to work with Sanjar, use Persuade or you can use intelligence and perception. She will agree to it and you will gain 3425 XP.
The Negotiation:
Go to the OSI church by fast traveling to Stellar Bay Ruins. When both Sanjar and Zora agree to work with each other, you receive 3428 XP and the Peace of our Time trophy/achievement. Completing the quest gives you 16000XP, the unique weapon Soft Speaker, and 2118 Bit Cartridge.