Table of Contents Show
Story Related
Main Bosses
These achievements cannot be missed, as they are required to progress the game.
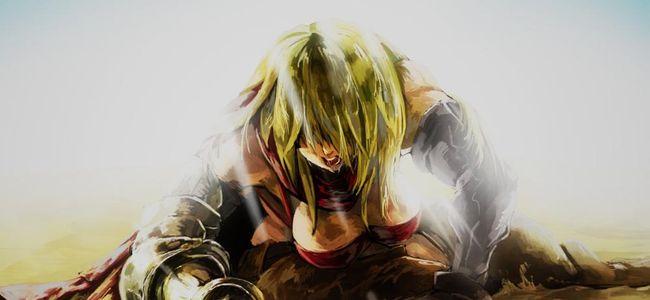
Soulreaper
Fight Soulreaper
The very first boss “fight” in the game, and the only one you’re expected to lose.
Esgonian general
Defeat Esgonian general
The main boss of Brocleyshire.
HMWV
Defeat HMWV
The “mid-boss” of Mid Mythrilia. Not recognized as a boss on map.
Maximillian II
Defeat Maximillian II
The first boss of Mid Mythrilia.
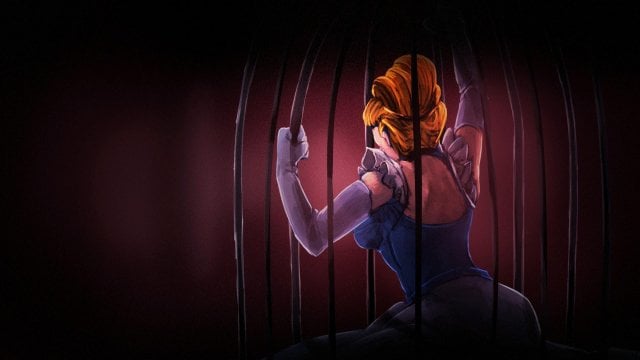
Kumasith
Defeat Kumasith
The second boss of Mid Mythrilia.
Headless horseman
Defeat Headless horseman
The first boss of the Wesandyth Kingdom.
Santiago
Defeat Santiago
The second boss of the Wesandyth Kingdom.
Duel
Stop Soulreaper
The second boss of the Northern Border. The second fight with the Soulreaper.
Ground shaker
Defeat Ground shaker
The first boss of the Glizzian Area.
Shroom prime
Defeat Shroom prime
The second boss of the Glizzian Area.
Valerie
Defeat Valerie
AKA Dragon Bones. The second of The Void’s three final bosses, after the Soulreaper’s third fight.
Endings
In addition to the game’s proper normal and true endings, there are also five bad endings corresponding to specific bosses listed above.
If you already defeated any of the bosses without reaching their respective bad ending (assuming you saved past their fight), you won’t be given another chance to get their bad ending until New Game+.
The count of piety
Failed to defeat Santiago
Dying to either form of Santiago will give this bad ending. Although Santiago’s attacks are generally easy to read and dodge, the Count of Piety’s homing lightning pillars, giant electric spheres, and The Devourer’s electricity beam can easily kill you and net this achievement.
Kumasith rampage
Failed to defeat Kumasith
The bear doesn’t have an attack that hits nearly as hard as Maximillian II’s bone wave, so this bad ending is easy to miss.
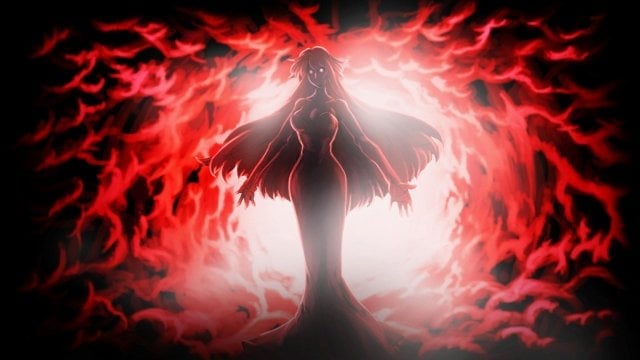
Soulreaper reborn
Defeat Soulreaper
You will get this bad ending if you manage to defeat the Soulreaper on the very first fight against her. It’s possible, albeit potentially time-consuming to get this achievement without New Game+ due to her bulk and high damage this early in the game.
As for what happens next?
Dominator Holborn
Failed to stop Soulreaper
This bad ending is obtained by dying in the second fight against the Soulreaper. It’s very easy to achieve as the Soulreaper can potentially one-shot you with many of her attacks in her second phase, or even in the shockwave transitioning to it!
Evolving fungus
Failed to defeat Shroom prime
Shroom Prime is a relatively passive boss, and doesn’t hit particularly hard at this point of the game. Unless you stay inside the left mushroom’s poison clouds long enough, this bad ending is the easiest to miss.
Note that you must die in the plot-mandated fight versus Shroom Prime; you cannot use its Rift fight, as that will just give the normal game over.
Family reunion
Achieve normal ending
Defeat the final bosses without going through the required steps for the true ending. The normal ending is distinguished by the post credit scene where Vivian’s parents, Valerie, and Vivian disappear from the family dinner memory.
Seed of life
Achieve true ending
To summarize the process of obtaining the true ending:
- From three rooms to the left of the Living Quarter Stela (the room right before the camp preceding Shroom Prime), there is a doorway elevated on the very top left corner. Enter it (you may need Heaven’s Fall or Power Upper to reach the doorway), go right, and defeat the Evil Rag harassing the bear and bear child. You will get a seed from them as thanks.
- There’s an elevated doorway in the room before the Coffinhead Stela. Interact with the gate inside the next room; the game will tell you that you must hunt down the King of Flames, the Lord of Judgement, and the Frozen Queen to open the sealed gate.
- Each demon lord is actually the true form of one of the three brats seen earlier in Broceley and Wheatawn. The King of Flames is to the right of the Throneroom Stela and adjacent to its Rift; the Lord of Judgement is two rooms left from the Seudor’s Church Stela (this is the camp preceding the Headless Horseman), and the Frozen Queen is two rooms right from Bluereel Village’s Stela. These bosses can be tackled in any order.
- After obtaining the Heart, Club, and Diamond Keys, go back to the sealed gate in The Void and unlock it. Navigating to the end of this section of The Void will lead you to a fight against the Wraith of Kumasith. Defeat it, and she will bless the seed you got earlier.
- Finish the game as you normally would.
The true ending is distinguished by the post credit scene where Vivian is brought back to life from The Void because of the Mother Bear-blessed seed’s sacrifice, which is then planted and grows into a sapling.
Fallen Kumasith
Defeat Fallen Kumasith
Aka Wraith of Kumasith. If you’re going for the true ending, you can’t miss this achievement.
Very hard mode
Clear the game in Very Hard difficulty
The game has four difficulties as of this writing: Normal, Hard, Very Hard, and Lunatic. These difficulties change how much damage enemies inflict, but otherwise don’t appear to do anything else. With some patience, it’s possible to finish a fresh game on Very Hard; another option is to change difficulties to Very Hard on New Game+, as the damage difference won’t be game-changing until The Void. I’m not sure if Lunatic saves can unlock this achievement; given the wording, it’s better to assume not.
Collection (Lists)
Achievements related to filling out parts of the in-game Note section, or completing a collection.
Explorer
Activate all Stelas
The ‘Stelas’ are one type of the save points scattered through out the game. Once you interact with a Stela (exploring a room with a Stela is enough to count towards the achievement), you can warp back to that room from another Stela. The majority of the game’s Stelas can’t be missed as they’re positioned along the main story path, with the exception of the Dungeon of The Decayed and the Shadow Path. There are 18 Stelas found across the game’s 6 regions:
- Brocley: Starting village.
- Esgonian Junction: The room below the border to the Wesandyth Kingdom.
- Throneroom: The room with HMWV.
- Wheatawn City: Right outside the city’s gates and before the Northern Border.
- Deep in the Cemetery: Two rooms to the left of the Headless Horseman’s camp.
- Seudor’s Church: The room after defeating the Headless Horseman.
- Church Tower: Deep inside the Church, two rooms to the left from the freefall.
- Halindle Cave: Along the path to Bluereel Village (5 rooms to its left).
- Bluereel Village: Borders the Glizzian Territory and the path to the Magnus Workshop.
- Magnus Workshop: The room after defeating the Colossus.
- Glizzian Territory: Along the long path towards the Pantry.
- Living Quarter: The room to the right of the gate to The Void.
- Deathforest: The room on the upper-left of The Void’s first large, vertical room.
- Coffinhead: The room right before village of ghosts.
- The Living Hell: Along the path to the final boss fights, 5 rooms away.
- Dungeon of The Decayed: Right before the eponymous boss rush. Requires the Joker Key to access.
- Shadow Path: Along the way towards the Dungeon of The Decayed. Requires the Joker Key to access.
- Wall of Origin: Right before the final boss fights.
True runeswarden
Acquire all skills
With the exception of Impulse Blade and Dimensional Swords, all skills are learned by acquiring their corresponding Stone Plate. There are 10 skills in total:
- Impulse Blade: You start with this skill.
- Heaven’s Fall: Stone Plate: Spiral. On a side path in the Brocleyshire battlefield: from the battlefield’s camp, go up, right, up again, then left.
- Power Upper: Stone Plate: Rising. In the fork that leads up to the Throneroom, go left into the library. The Chest is tucked away on the top right corner of that room.
- Force Unleash: Stone Plate: Overflow. On the right, Rusty Key-locked door in the room with lever-locked blockades.
- Shining Assault: Stone Plate: Assault. A reward for defeating the Headless Horseman.
- Wyvern Attack: Stone Plate: Aerial. In the very top-left corner of the “middle” section of the large vertical room of the church. This skill tends to be forgotten because its chest is unreachable without some clever use of the Double Jump, Air Dodge, and either Heaven’s Fall or Power Upper:
- Mirage Storm: Stone Plate: Mirage. In a small cave near Bluereel Village: from the village, go down, then enter the cave as you move left, then keep going right.
- Tornado Slash: Stone Plate: Tornado. The room connected to another room off to the middle-left side in the Pantry’s large vertical room.
- Polar Strike: Stone Plate: Strength. Connected to the mid-left room by the large vertical room to the right of Coffinhead.
- Dimensional Swords: Fully max out the Runeswarden Ability at level 10, which costs 99999 Mana (after paying the doubling mana costs for the other 8 levels).
Gourmet
Acquire all recipes
To unlock a recipe, you must purchase the food from a chef. There are 12 recipes distributed among the 6 regions’ chefs:
- Fried Egg: Brocleyshire
- Salad: Brocleyshire, Wesandyth Kingdom
- Fried Bacon: Mid Mythrilia
- Magnus’s Poached Egg: Mid Mythrilia, Wesandyth Kingdom
- Glizzian Sausage: Wesandyth Kingdom
- Joint Roast: Wesandyth Kingdom, The Void
- Grill Plater: Wesandyth Kingdom, The Void
- Tomahawk Steak: Wesandyth Kingdom, The Void
- Burger Patty: Northern Border
- Beef Tartare: Northern Border
- Crumble Pie: Glizzian Area
- Mythrilian Salad: The Void
Slayer
Unlock all entries in Monsterpedia
There are 80 different monsters to kill in the game, including the 19 bosses, a few monsters that spawn exclusively from bosses, and the Hen. You can always go back to fight some of the bosses again through their Rift; this is particularly helpful with filling in the Groundshaker Grub’s entry, as it can glitch out and spawn in an ‘unkillable’ state in the normal Groundshaker fight, which never happens in Groundshaker’s Rift (mind the Rift grubs’ bulk).
- Esgonian General (Boss)
- HMWVictory (Boss)
- Maximilian II (Boss)
- Spirite of Kumasith (Boss)
- Headless Horseman (Boss)
- Count of Piety (Boss)
- The Devourer (Boss)
- Colossous (Boss)
- Groundshaker (Boss)
- Master Shroom (Boss)
- Wraith of Kumasith (Boss)
- Soulreaper (Boss)
- Soulreaper (Devil Form) (Boss)
- Dragon Bones (Boss)
- Holborn, The Dominator (Boss)
- Hen
- Raven
- Piglet
- Boar
- Stag
- Jackal
- Alpha Wolf
- Lone Wolf
- Skeleton Warrior
- Blood Champion
- Holy Bones
- Border Guard
- Male Zombie
- Female Zombie
- Bloat Zombie
- Esgonian Soldier
- Esgonian Archer
- Executioner
- Esgonian Armored Knight
- Pit Dog
- Plague Bomb
- Freed Sinner (Maximilian II spawns these)
- Long Shank
- Exotic Corpse
- Fire Elemental
- Ice Elemental
- Lightning Elemental
- Turned Maiden
- Turned Lady
- Groundshaker Grub (Spawned by…Groundshaker, but tends to glitch in the normal fight)
- The Eternal Mourner
- Floating Head
- Evil Rag
- Rat
- Plague Rat
- Blood Mouse
- Demonic Brute
- Grim Champion
- Ghost
- Wraith
- Bat
- Vampire Bat
- Hell Bat
- Evil Eye
- Arcane Eye
- Legion
- Blazing Claw
- King of Flames (Boss)
- Frost Raven
- Thunder Beast
- Lord of Judgment (Boss)
- Homunculus
- Burned Man (Colossus spawns these, but they’re also found in The Void)
- Golem
- Lonely Heart
- Demented Brain
- Torn Stomach
- Abandoned One
- Ice Queen (Boss)
- Paralyzing Shroom
- Spiky Shroom
- Vicious Shroom
- Mad Bear
- Parasitic Bear
- Vivian’s Shadow (Final boss of the Dungeon of the Decayed)
Runecraft master
Unlock all abilities
This includes all of Runeswarden’s levels; without extensive mana farming (see Mana collector), you’ll likely have some locked Abilities when you reach the final bosses.
Noted
Unlock all entries in Note
Specifically, the Journal part of Note. You can’t miss this achievement as you finish the game with either ending.
Collection (Misc.)
Other collection-based achievements focused on obtaining specific items, gold, or mana.
Wealthy traveller
Collect 1000000 gold
Mana collector
Collect 1000000 mana
These two achievements can be done concurrently by grinding early game at the Throneroom, mid game in the Magnus Workshop Rift and Shroom Prime’s Rift, and late game at two specific rooms in The Void:
Enhanced
Acquire a max ranked weapon or armour
To clarify, this means any weapon or armor drop that’s already at the max 5 star rank. You’ll inevitably get this achievement as you play, whether from monster drops or opening chests. It doesn’t matter if there are runes inside the equipment or not, only the ‘natural’ drop rank matters.
The truth
Acquire Sword of verum
The Sword of Verum is the final reward of the Dungeon of the Decayed, after defeating Vivian’s Shadow. At max rank, it has 400 attack and the fastest attack speed of all weapons in the game.
Enhanced
Acquire a weapon or armour with 4 runestones
The older ‘brother’ of Enhanced. As with that achievement, you must find a weapon or armor drop that is already at max rank, but the equipment’s slots also have to contain 4 runestones in it already. If this sounds like an obnoxious RNG achievement, that’s because it is.
Miscellaneous
The rest of the achievements that don’t fit anywhere else.
Gone waste
Keep drinking potions
You know how there’s a potion ‘cooldown’ that severely reduces the effect of potions consumed in that timeframe? If you keep drinking potions in spite of the cooldown, you’ll unlock this achievement.
Potion fever
Consumed 100 potions in total
Self-explanatory.
Demon hunter
Slay 666 monsters
Also self-explantory. You could speed up this achievement’s progress early on with enough farming.
Mastery
Achieve 100 combos
Mastery
Achieve 500 combos
Chain burst
Achieve 999 combos
These three combo achievements can be slowly, but safely obtained by wailing on the infinite health training dummy in Bluereel Village. (Advanced) Mirage Storm helps a lot with the combos as it does a sizable number of multi-hits overtime, and has a lower rage cost than Tornado Slash.
I killed the chicken
Slay the chicken
Just kill one of the (abnormally bulky) Hens wandering Brocley village. They don’t fight back and only run off after being attacked once, and any attack will juggle them. If you’re trying to unlock Slayer, you can’t miss this achievement. No, nothing else happens after killing one of the Hens.
Onion!
Acquire an onion from the chef in Brocley village
At the very beginning of the game, keep talking to the man outside the door to Brocley village’s cafe, and he’ll give you a free onion and this achievement. You can only do this before the first fight against the Soulreaper!
The Vagrant
Unlock all achievements
Unlock every other achievement in the game. Good luck!