Contract Here Comes the Groom Walkthrough
Start Location: This quest can be acquired via a notice posted on the Svarlag Notice board in on Spikeroog, the northwestern island of the Skellige Isles.
After grabbing the side-quest from the notice board in Svorlag, you can start it by heading out to the objective marker just outside of town and speaking with an NPC named Kevan. You’ll learn that his broseph is missing and it’s up to us to find out what happened.
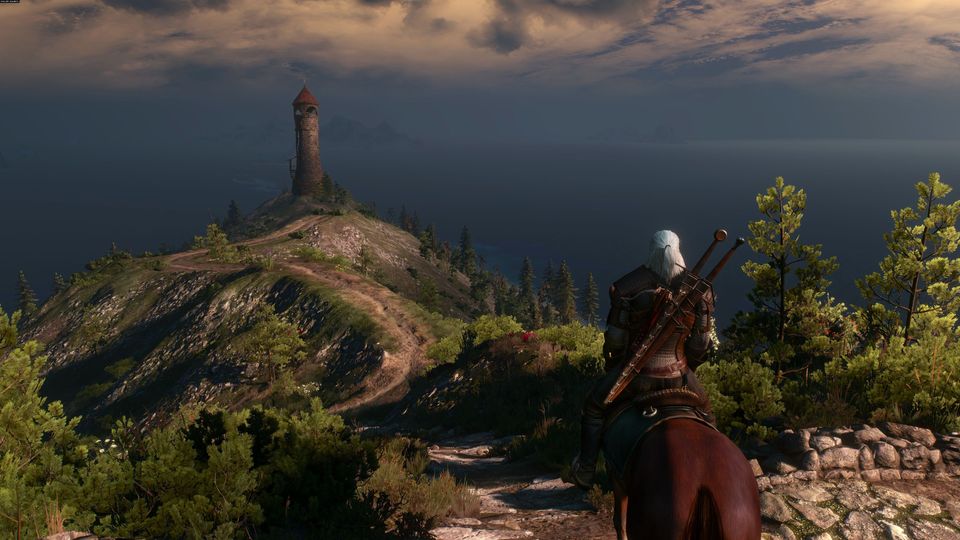
Following the conversation, we’ll have a new objective marker on the map. Hop on your horse and ride to the next point of interest north of town. Here we’ll have another brief chat with an NPC named Britt who’ll give you a new objective marker to investigate.
With all the chatting out of the way, it’s time to get down to the monster hunting. We’ll need to follow the path leading to the south from the town of Svorlag and past the ‘Old Watchtower’ fast travel marker until we reach the beach in the southernmost part of Spikeroog island. Here we’ll find a cave.
Enter the cave and once inside, switch on Geralt’s Witcher Senses to locate a trail on the floor. Examine this and follow it a short distance into the cave. As you work your way along the initial tunnel and reach the first open room you’ll encounter numerous Drowners (I counted six, but there may have been more!) so clear them as you go.
After arriving in the first cavernous area after the initial tunnel, examine the investigation area. Activate Geralt’s Witcher Senses and explore the area. You can inspect the following points of interest:
- The large red altar in the centre of the area.
- The scales on the ground behind the altar.
- The monster tracks on the floor a short distance down the tunnel behind the altar.
Follow the monster tracks a short distance further into the cave and you’ll come across another group of four Drowners. Dispatch them before climbing up the successive ledges to the passage leading back outside.
Upon exiting the cave, prepare yourself for a fight. When you are ready to continue, use Witcher Sense to find the body nearby and inspect it to trigger the boss fight.
Boss: Melusine (Ekhidna)
Melusine is a bigger, larger form of the Ekhidnas we’ve fought before. She’ll spend most of her time in the air swooping at you and performing melee attacks that will poison Geralt if they make contact.
As with most flying monsters, the Ekhidna can be knocked from the sky with a blast of AARD. She’s also quite weak to both the IGNI sign and Grapeshot Bombs, so feel free to throw those in her general direction once she has been knocked to the ground. You can also use your crossbow for some middling amounts of damage when she flies out of range of your other attacks.
The trick to defeating the boss is to avoid her attacks (that poison is nasty!) and knock her to the ground with AARD before exploiting you silver swords and her other weaknesses to dispatch her as quickly as possible. Repeat as necessary.
Once the Melisune is dead, loot the body for the Ekhidna Trophy, Ekhidna Mutagen and any other goodies it was carrying. With the boss now pushing up daisies, we can return to Kevan near Svorlag once again and speak with him to end the side-quest.
Note: For completing the side-quest, you’ll earn 200XP and 186 Crowns.