Jim runs the Bait Shop. Jim will give you specifications for fish to catch and will pay you a bounty for catching the fish. If you have already caught a fish that meets the qualifications you will not need to find and catch a second one.
To fish click on the water and select a lure. There are three fish to catch at any one time. Saving your game will get you some new fish, as will leaving the area and coming back.
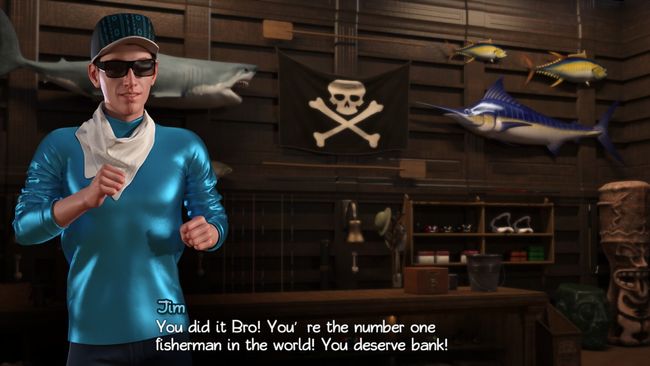
Treasure of Nadia Fishing
Fishing lures come in two levels, the base level and the heavy level. The heavy lures will give you a better chance of catching a larger fish. You can catch all the fish you need with three lures: Heavy Natural Jig (Hammerhead Shark, Seaperch, Rockfish), Heavy Green Squid (Marlin, Rockfish, Seaperch, Tuna), and Heavy Pink Plug (Great White Shark).
Here are the fishes’ preferred lures. This doesn’t mean that they won’t hit another lure, just that they are more likely to go after this one. Rockfish and Seaperch aren’t very picky. The green squid lure works for everything except the Great White Shark and Hammerhead Shark.
You can also take a look at our Treasure of Nadia Walkthrough & Guide page, where you can find everything about the game in detail.
| Fish | Lure |
| Great White Shark | Pink Plug |
| Hammerhead Shark | Natural Jig |
| Marlin | Green Squid |
| Rockfish | Green Jig |
| Seaperch | Natural Plug |
| Tuna | Pink Squid |
If you cast directly on top of a fish it will swim away from the lure. you want to cast close to, but not on a fish.
Here are the fish types and weights that you will need to catch to collect all of Jim’s bounties.
| Fish Type | Fish Weight |
| Seaperch | 5 Pounds |
| Rockfish | 28 Pounds |
| Tuna | 105 Pounds |
| Hammerhead Shark | 1,000 Pounds |
| Marlin | 1,000 Pounds |
| Great White | 3,000 Pounds |
Here are the bounties that you will collect. If you’ve already caught a fish that meets the requirements the bounty will be paid, you don’t have to catch it again. So, you could catch fish that meet or exceed the fish in the chart above and collect all of the bounties.
| # | Fish | Weight | Reward |
| 1. | Seaperch | Any | $30 |
| 2. | Rockfish | Any | $60 |
| 3. | Tuna | Any | $100 |
| 4. | Seaperch | 3lb | $120 |
| 5. | Rockfish | 6lb | $150 |
| 6. | Tuna | 40lb | $300 |
| 7. | Hammerhead Shark | Any | $1,000 |
| 8. | Marlin | 50lb | $1,400 |
| 9. | Seaperch | 5lb | $1,700 |
| 10. | Rockfish | 28lb | $2,500 |
| 11. | Tuna | 80lb | $4,000 |
| 12. | Hammerhead Shark | 600lb | $7,000 |
| 13. | Marlin | 300lb | $10,000 |
| 14. | Great White Shark | 500lb | $14,000 |
| 15. | Tuna | 105lb | $15,000 |
| 16. | Hammerhead Shark | 1,000lb | $25,000 |
| 17. | Marlin | 600lb | $40,000 |
| 18. | Great White Shark | 2,000lb | $60,000 |
| 19. | Marlin | 1,000lb | $80,000 |
| 20. | Great White Shark (Bruce) | 3,000lb | $100,000 |
Trivia time. Bruce was the name of the mechanical shark in Jaws.
After you have caught all of the fish and collected all of the bounties purchase any lures you are missing to unlock Puzzle 35 in the Ancient Temple. You must have all of the lures in your inventory to unlock the puzzle. So, if you lost one fishing you will need to purchase it again to unlock.