
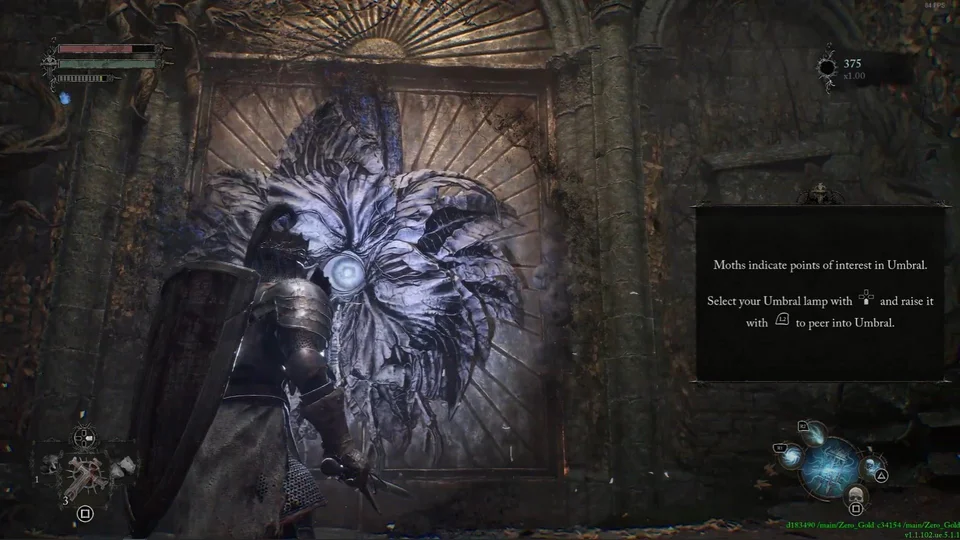
Lords of the Fallen Umbral Rift Walkthrough Guide
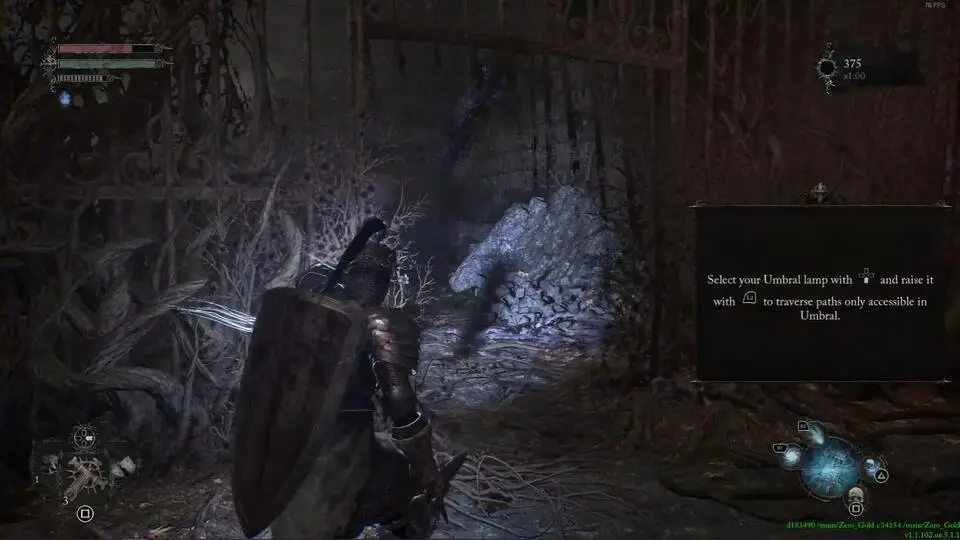
Move forward until you reach a short bridge. You’ll be given a tutorial on how to fully transition to Umbral through Umbral Rifting, as opposed to just being able to see a perspective of Umbral through the lamp. You’ll be appropriately warned that if you do transition to Umbral, you’ll be stuck in Umbral until you reach specific points where you can exit. Transition to Umbral to reveal large hands that extend the wooden bridge, allowing you to cross over. Grab the three Wither Wards on the corpse before you move forward.
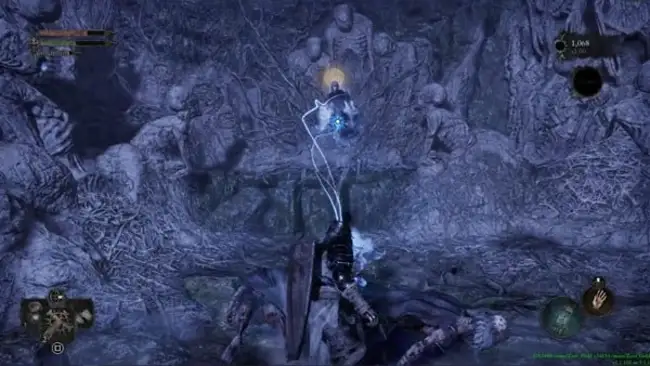
While in Umbral, there will be points marked by a distinct blue marker. This indication means you can use Soulflay on them by using your Umbral Lamp. Drop down to the left of where you got the Wither Wards to find one such point behind the eerie creature. After getting rid of the obstacle, drop down to the lower platform it was blocking off, and then drop down again onto a path. Follow that path down to get a tutorial on Soulflaying Enemies this time, and you’ll have another Corrupted Penitent to practice on.
Afterward, head up the slope and Soulflay the obstacle in front of you to move forward. You’ll get another tutorial on recovering Soulflay charges after using them up on Enemies, and there’ll be a few Umbral blisters around to practice on. When you’re done, drop down to a lower area past the blisters. You’ll get a tutorial on Withered Health this time along with a few Corrupted Penitent Enemies to defeat. Afterward, Soulflay the Umbral Belly jutting out of the wall to pick up an item called the Saintly Quintessence, which will be very important later on.
Move forward to the end of the path to get a tutorial on executing a plunge attack. There’ll be two Remnants below you to try it out on. Head up the path formed by a large spine to get another tip on using your Soulflay, and another Remnant to practice it on. Keep heading up the path to eventually reach some Umbral Eggs blocking your way, along with information regarding the fact that you’ll face more dangerous Enemies the longer you stay in Umbral. However, this will also increase the amount of Vigor you get from defeating them, as indicated by the multiplier below your Vigor count on the top-right corner of the screen. Destroy the Umbral Eggs to have a couple of Remnants come out for you to defeat. Behind them will also be a Shrouded Remnant who’ll join the fight, depending on how long you’ve been in Umbral.
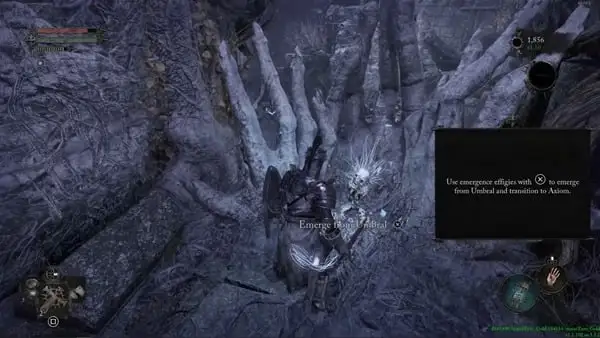
Continue up the path and then up the ladder. Proceed past the hole and you’ll find a dead end. Hang a right to reach a ledge outside. To your left will be a Soulflay target. Soulflaying it will disintegrate the Umbral Tumor on the door that was previously blocking your entry. Head back toward the dead end to find it open now and proceed past it. At the end of the path, you’ll find an Emergence Effigy which you can interact with to exit Umbral and transition back to Axiom, which is the normal realm.
Once you’re back, there’ll be some stairs on your left where the effigy was. Head down and follow the path to find a Corrupted Penitent and then jump down to find yourself in front of the door from before. Open it to officially finish your tutorial through the Defiled Sepulchre, and enter the Abandoned Redcopse.