A complete walkthrough of Sniffing In The VIP Area with all secrets and poster unlocks.
Sniffing In The VIP Area
Poster #1: Illuminati
You will start off in the lobby area with a new enemy that can prove challenging to hit.
There are also a lot of lasers involved, so be very careful when engaging.
After you dealt with the enemies, you’ll be led to the upstairs area with a bar.
The poster will be right behind the bar near the fish tank.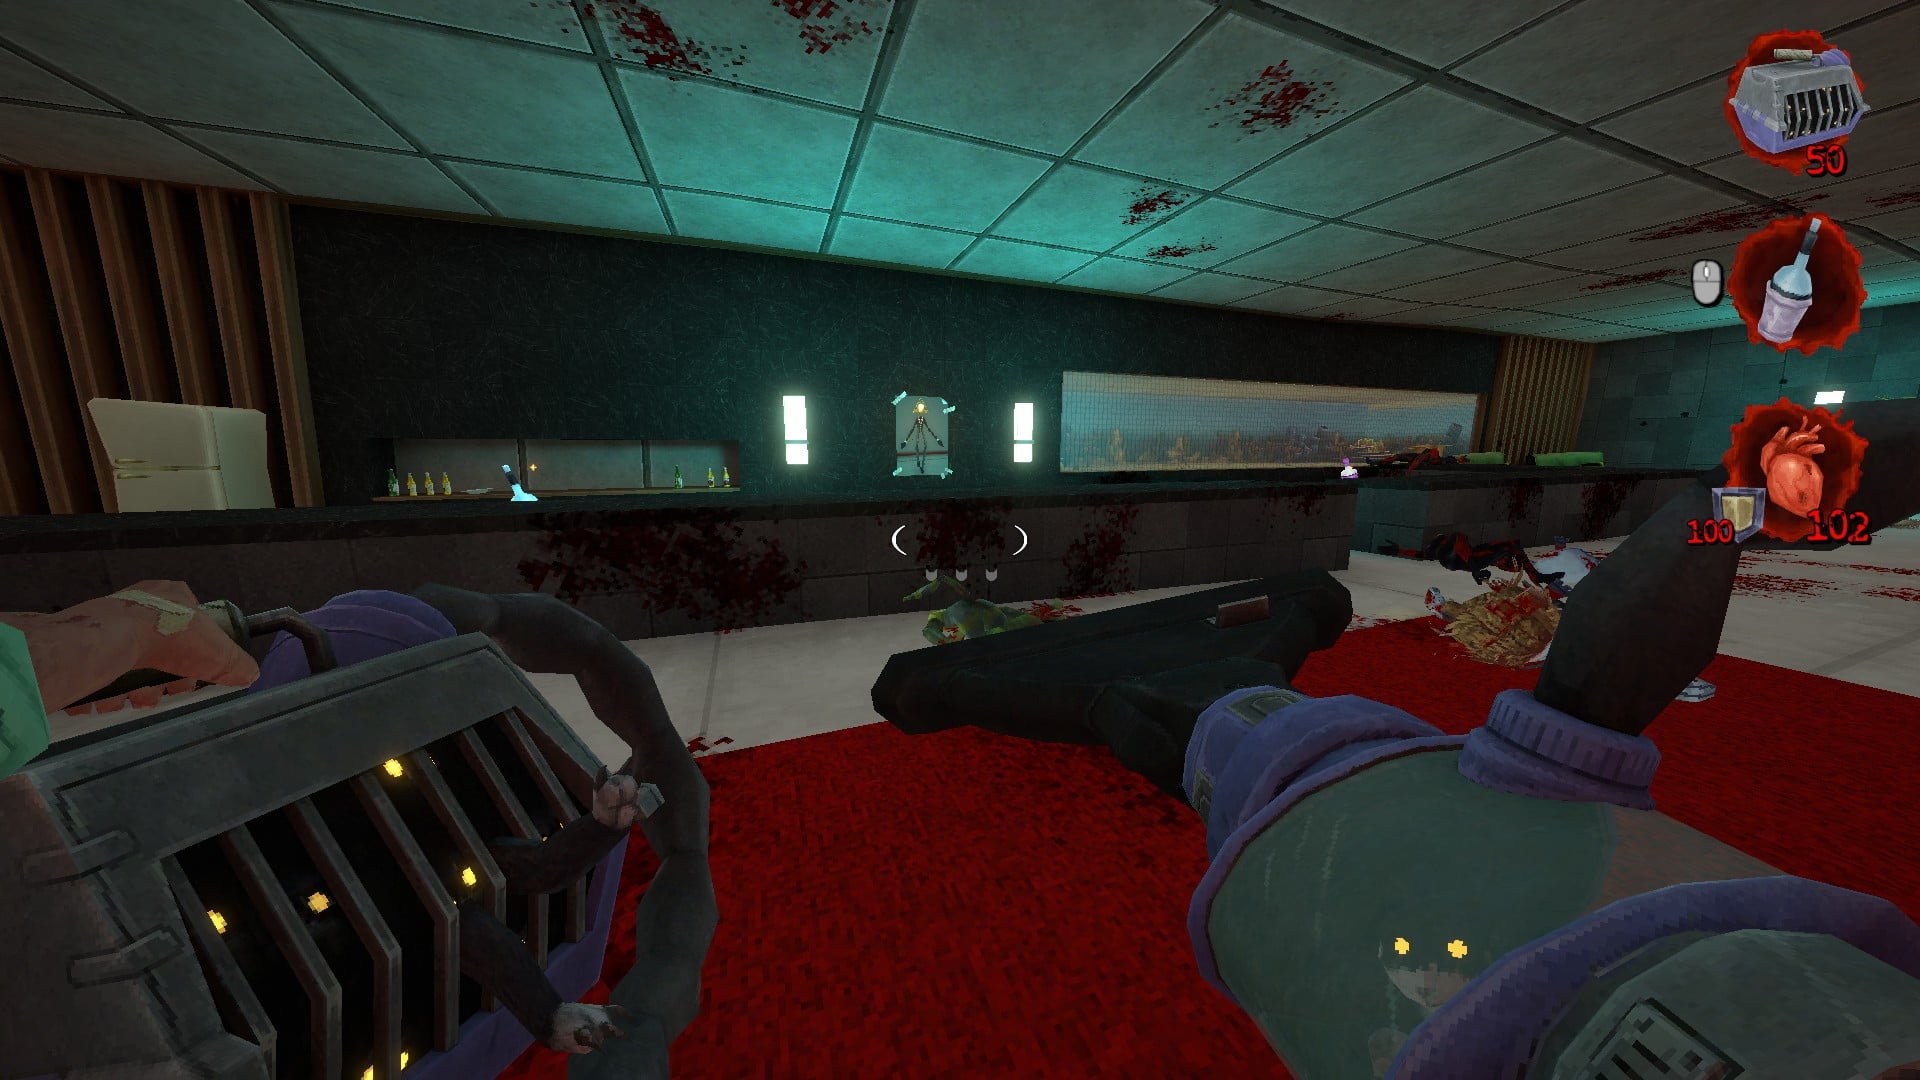
Poster #2: Leon Dusk
Next, you will soon see some sort of audience area that’s gazing at the rocket launching.
Guess who’s in that very rocket and be prepared for a huge group of enemies.
Go up to the window and look at the right side of it, there’s a poster next to some file cabinets.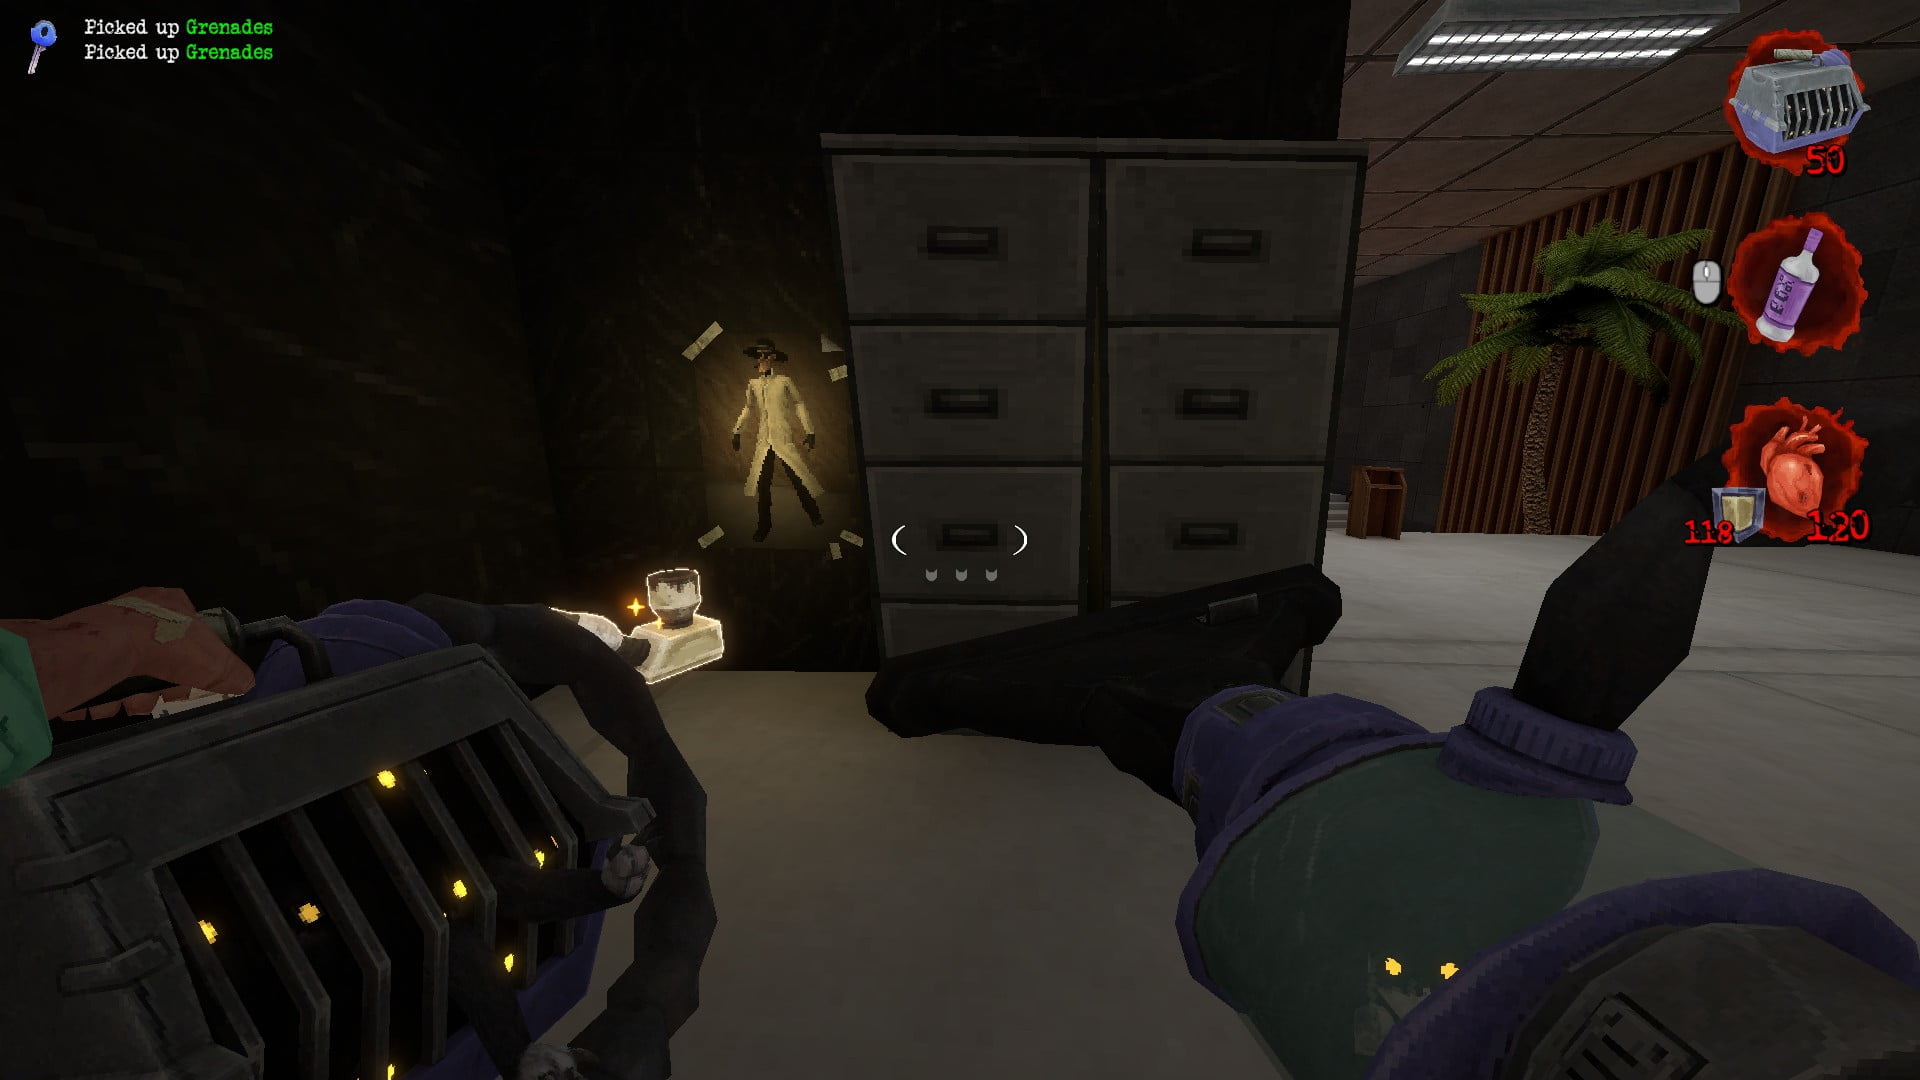
Poster #3: Sniffing In The VIP Area
I will assume that you entered another lobby area that has a door requiring “Bozo’s DNA”.
You will make your way downwards until you get to a bathroom that drops you down to a sewer.
In the sewers, you need to turn all three wheels to turn on the water so you can reach the ladder above you.
Soon you will climb into a room that has a button that deactivates the electric gate in the hall.
If you look back at where you entered the room from, the poster is right underneath it.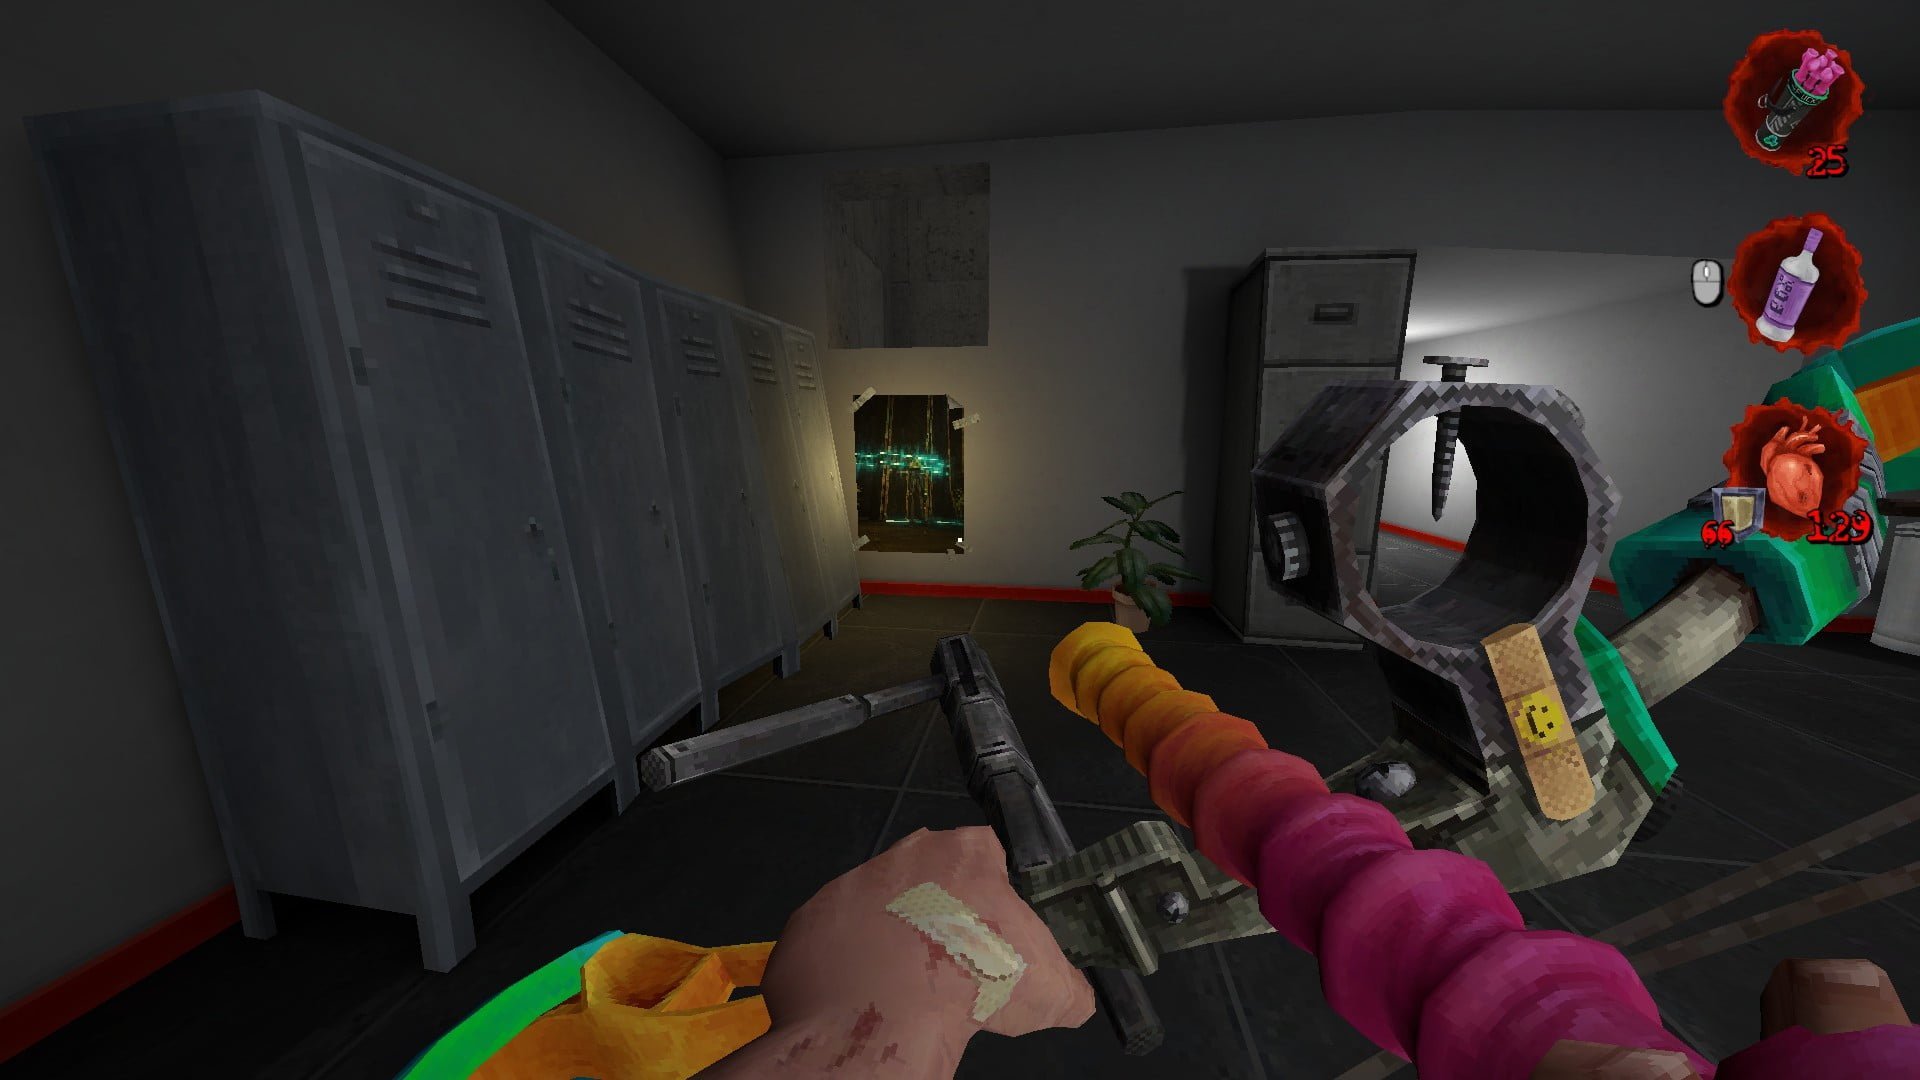
Secret #1: Half Life 3
Afterwards, you’ll walk through the hallway into a bank vault area.
Once you manage to open the vault, you will be rewarded with this majestic scene.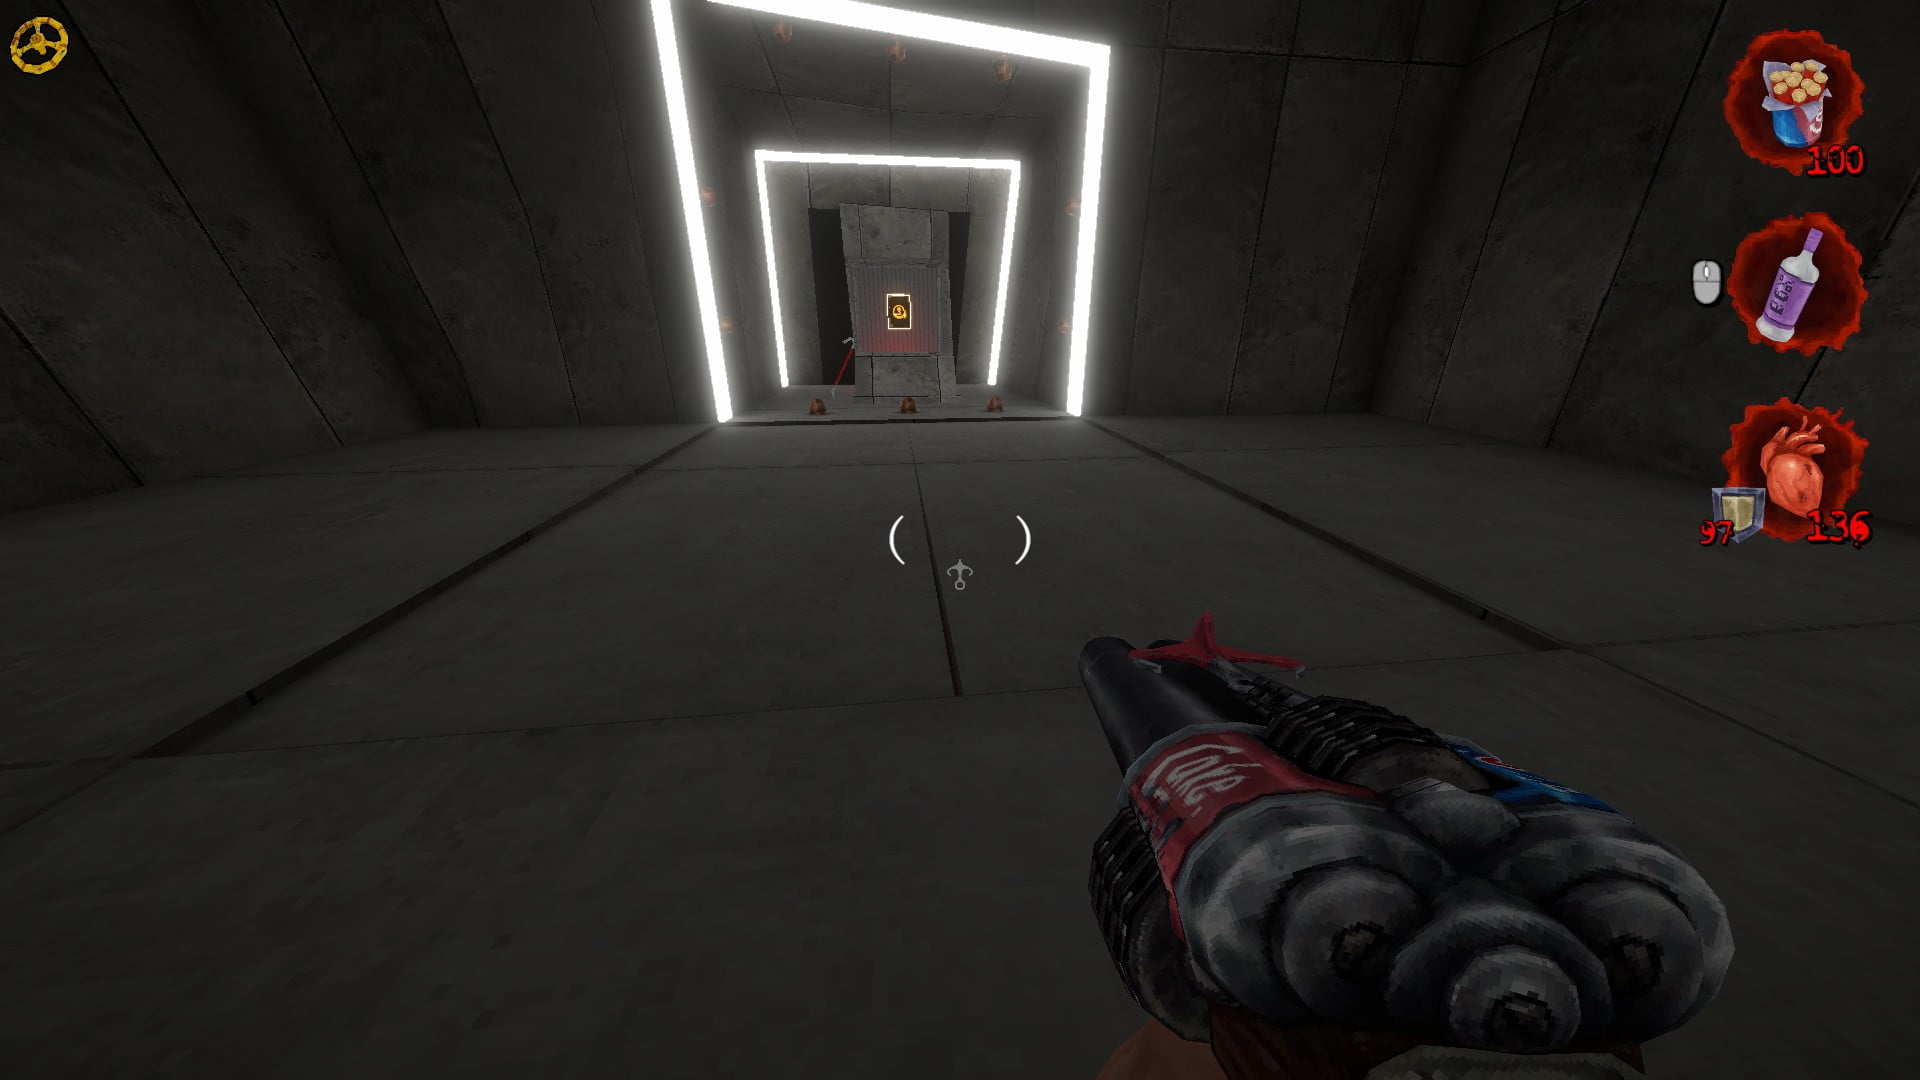
WAIT, it may be tempting but make sure to avoid the obvious trapdoor.
Go around and jump the corner which will cause the secret to be blocked off for now.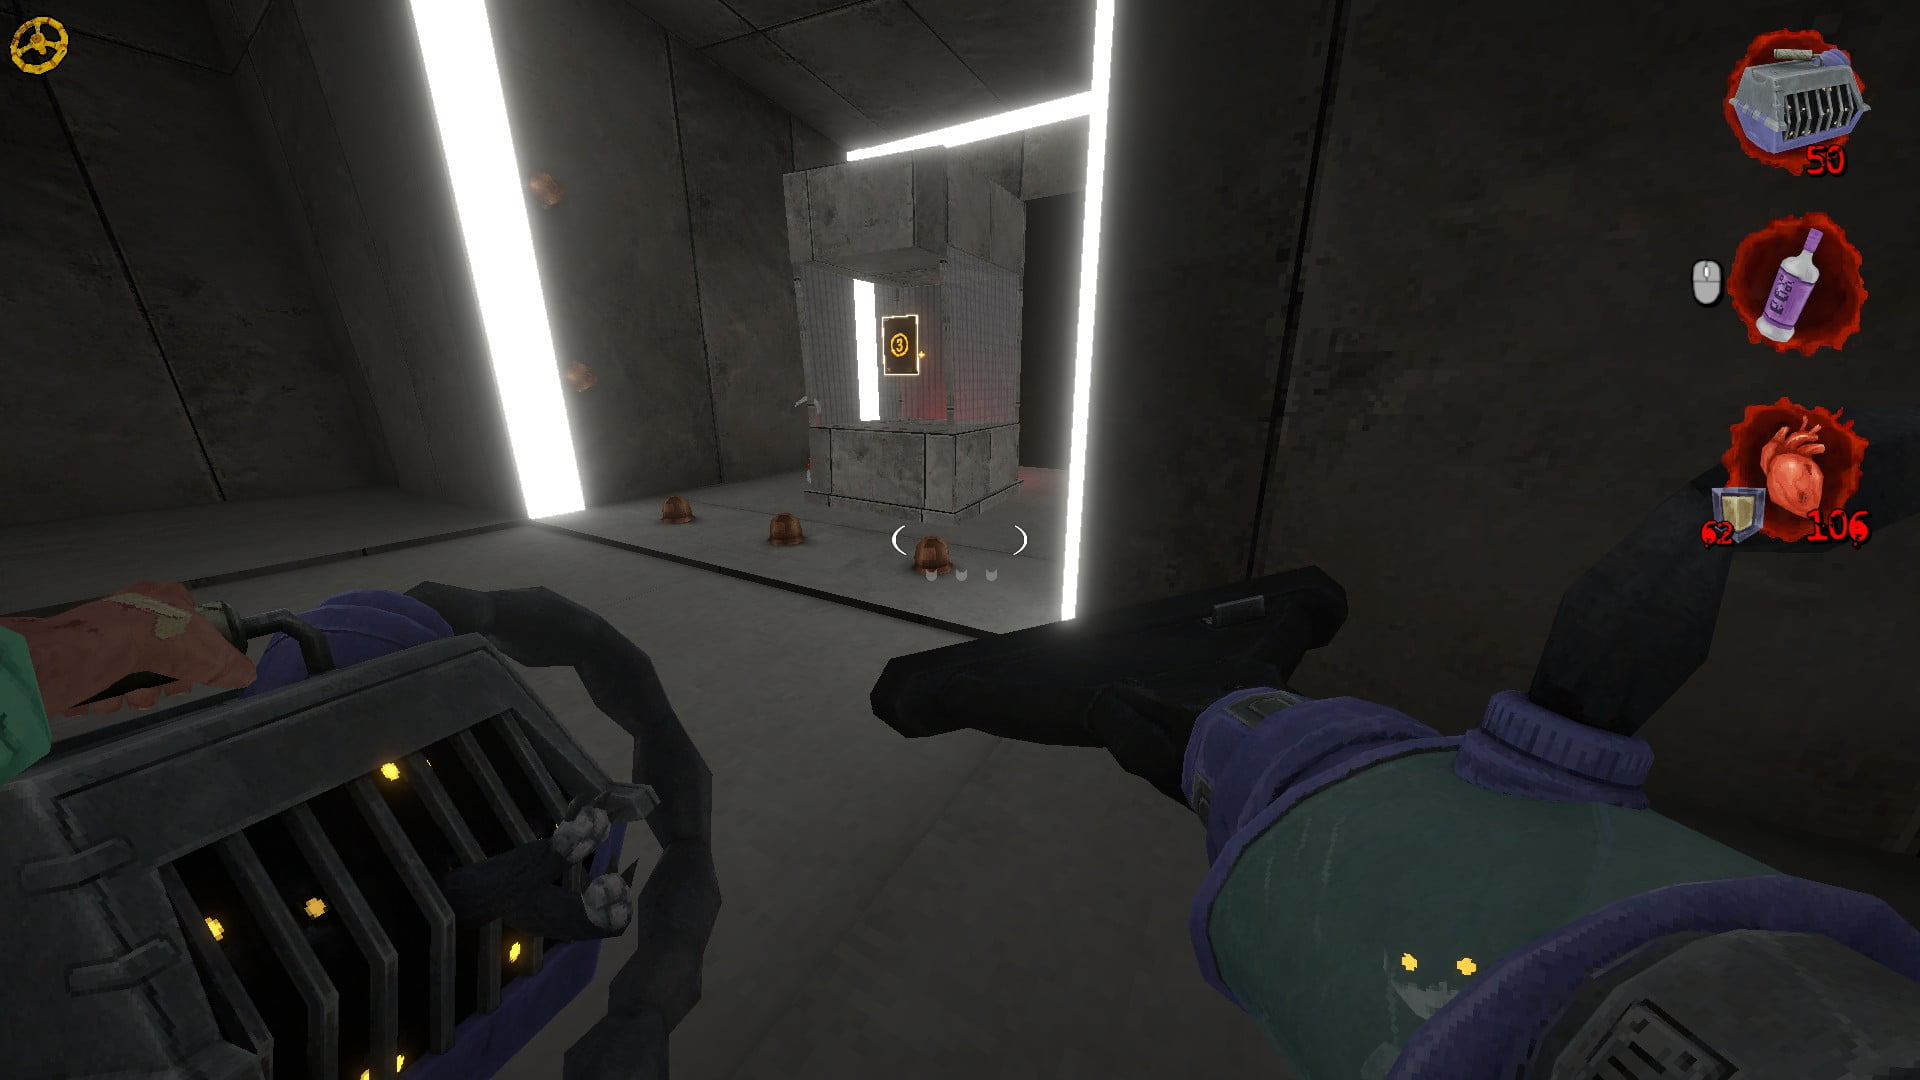
Turn around to see the trap door open.
Notice those two openings in the trap door? Well, I’d save here if I were you since this is very missable.
Jump while moving forward towards these openings to get into it.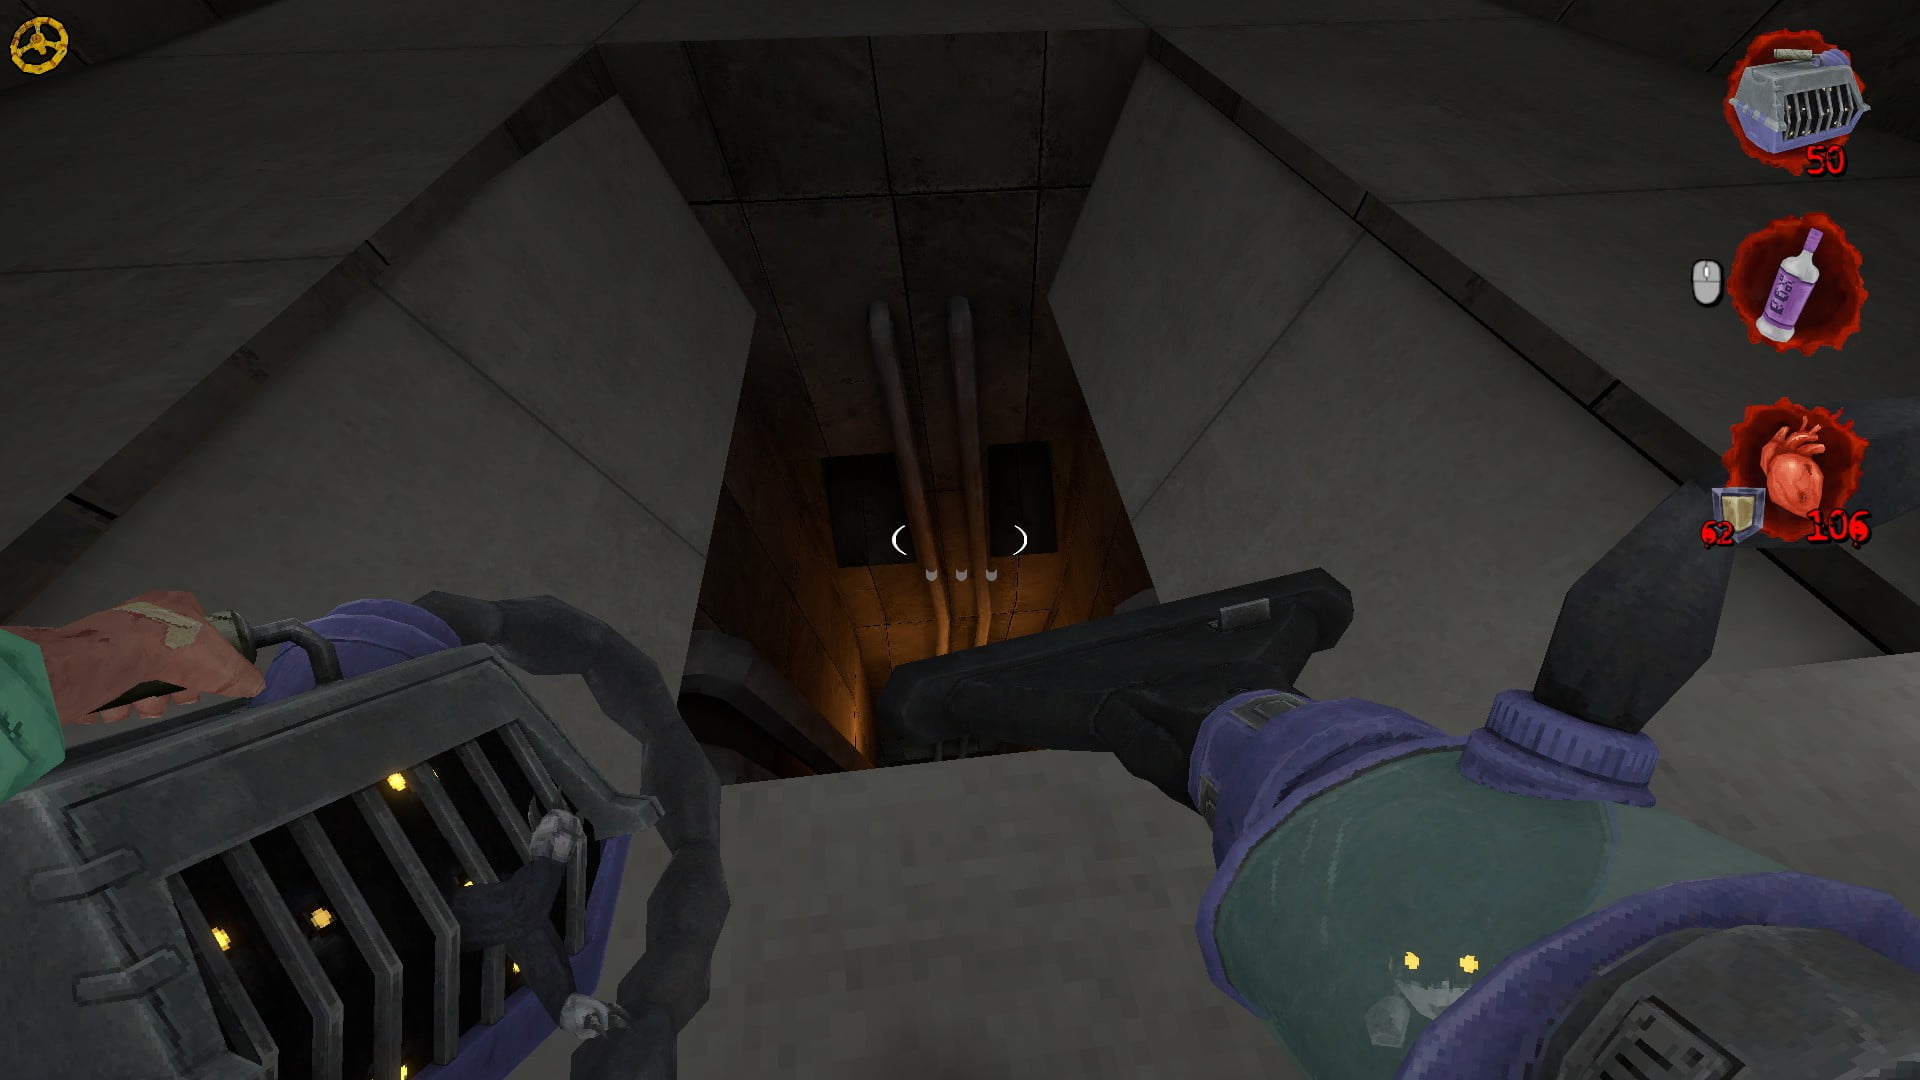
Make your way through the vents and up the ladder to reach a room with three levers.
Pull all of them to make three buttons appear on the box.
Press the 1st and 3rd buttons to open the door back to the glass case with HL3.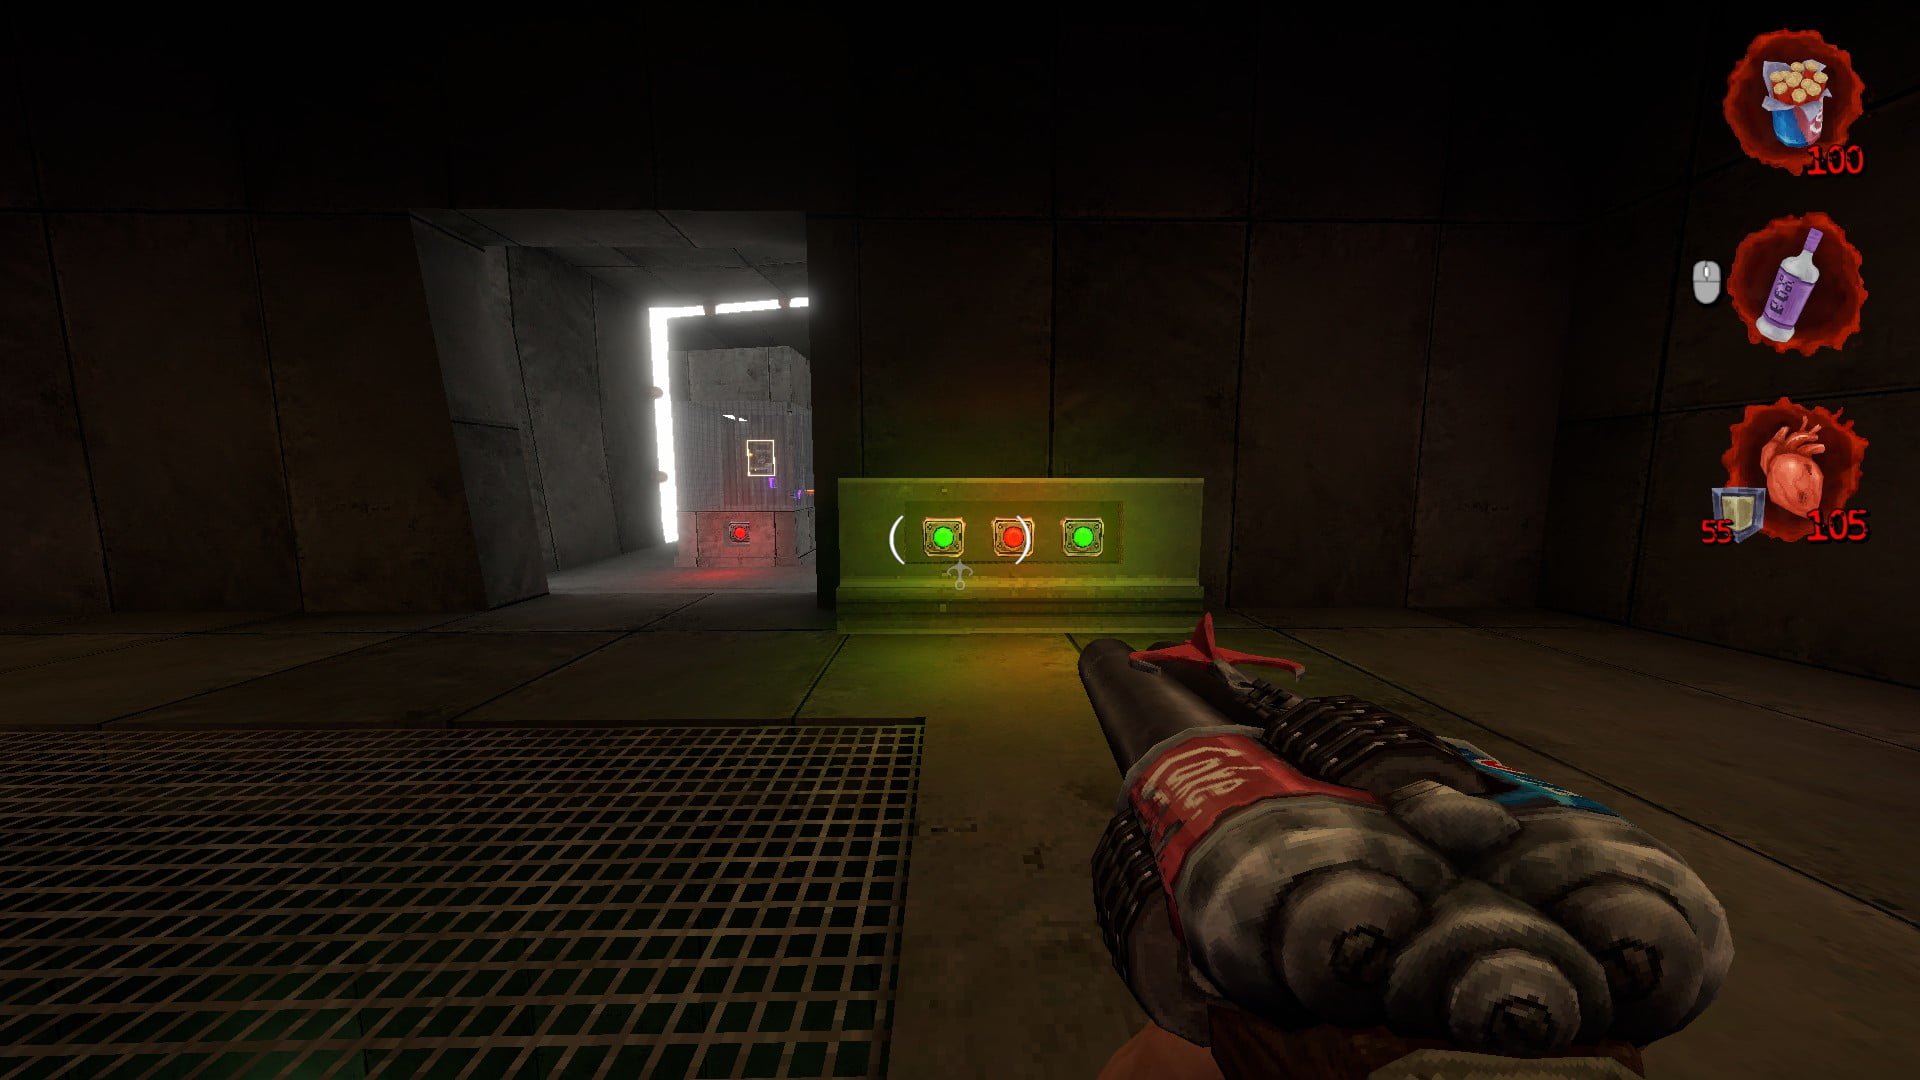
Press the back button and you should be able to retrieve the mythical game.
Watch out for the timed electric gate that is now activated.
Secret #2: Double Akimbo
Go down the trapdoor to reach this pool area.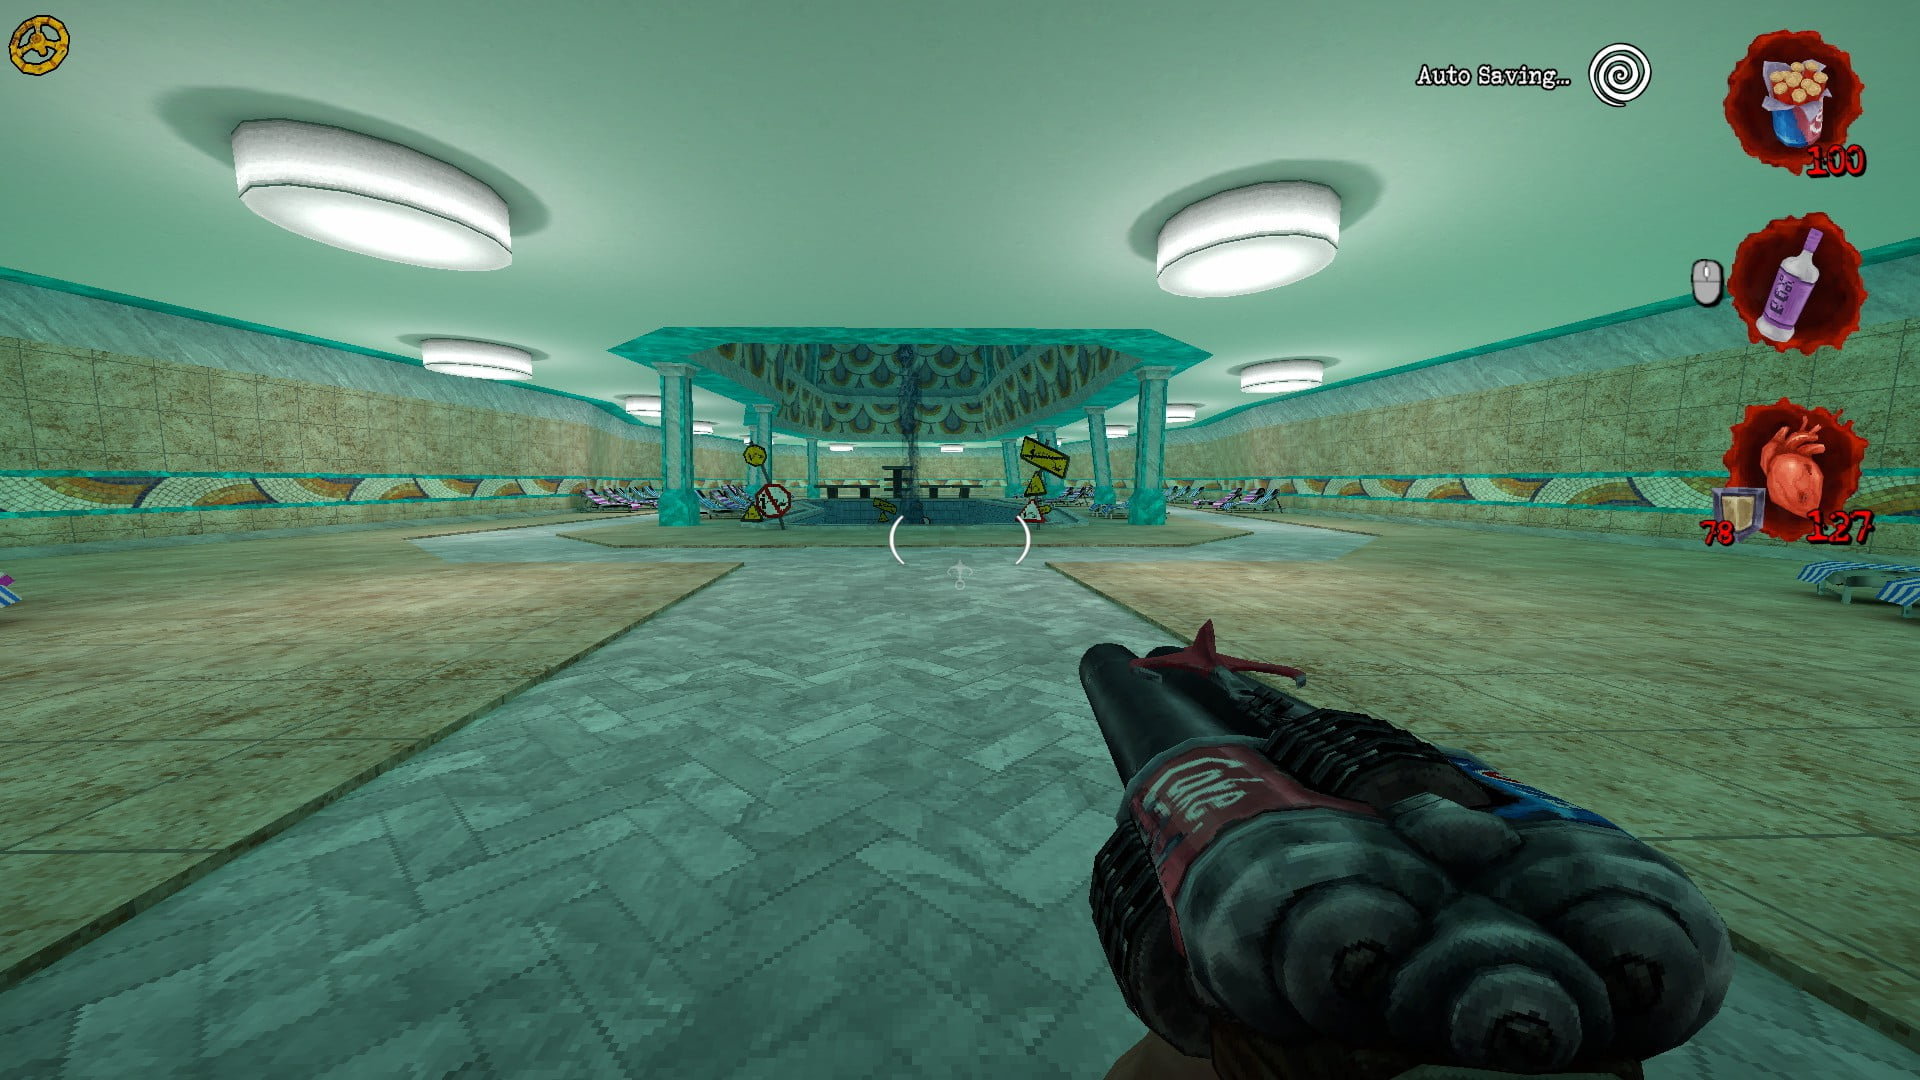
You will need to make the water rise to reach a shark’s mouth.
It’s done by simply peeing in the pool, simple yet effective.
Next after you are able to enter the shark’s mouth, you will be in the aquarium system.
Once you approach your first fork, take the left path.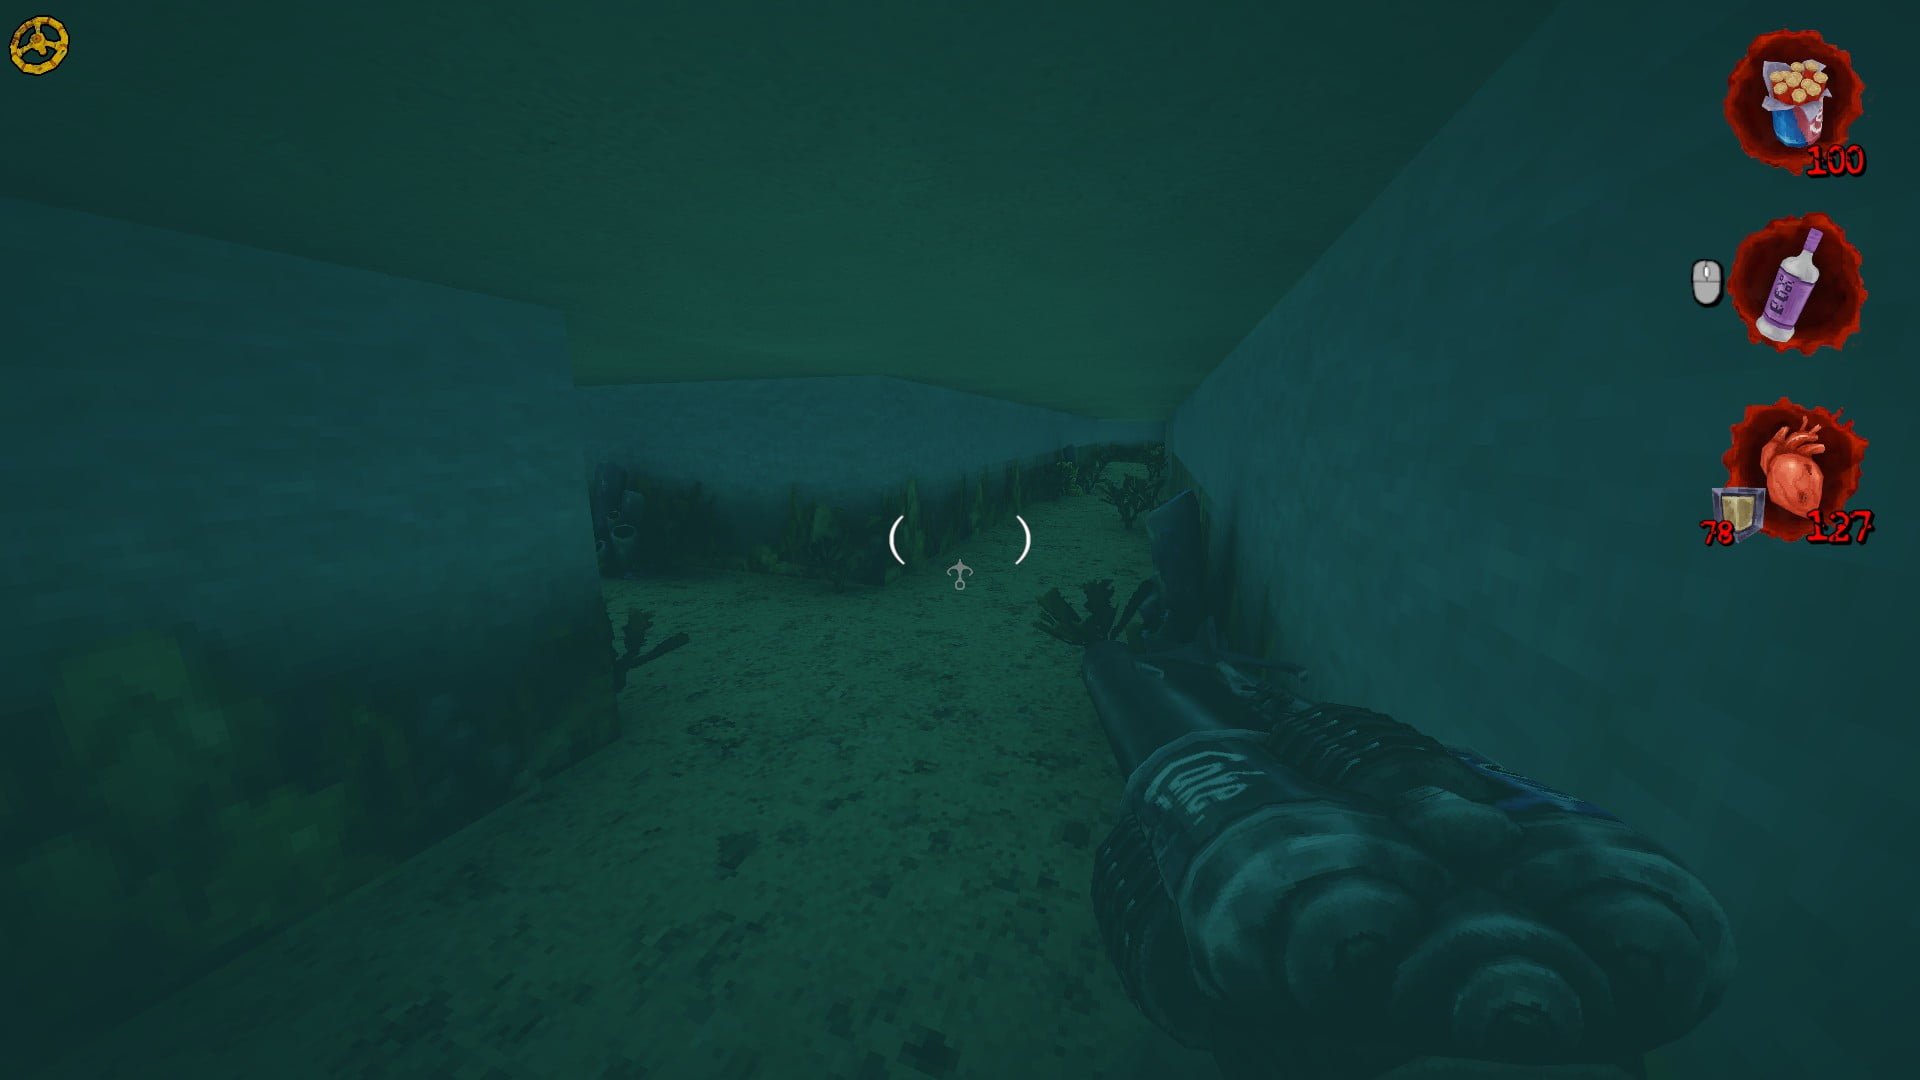
It will lead back to the fish tank of a room you previously visited.
Remember this room.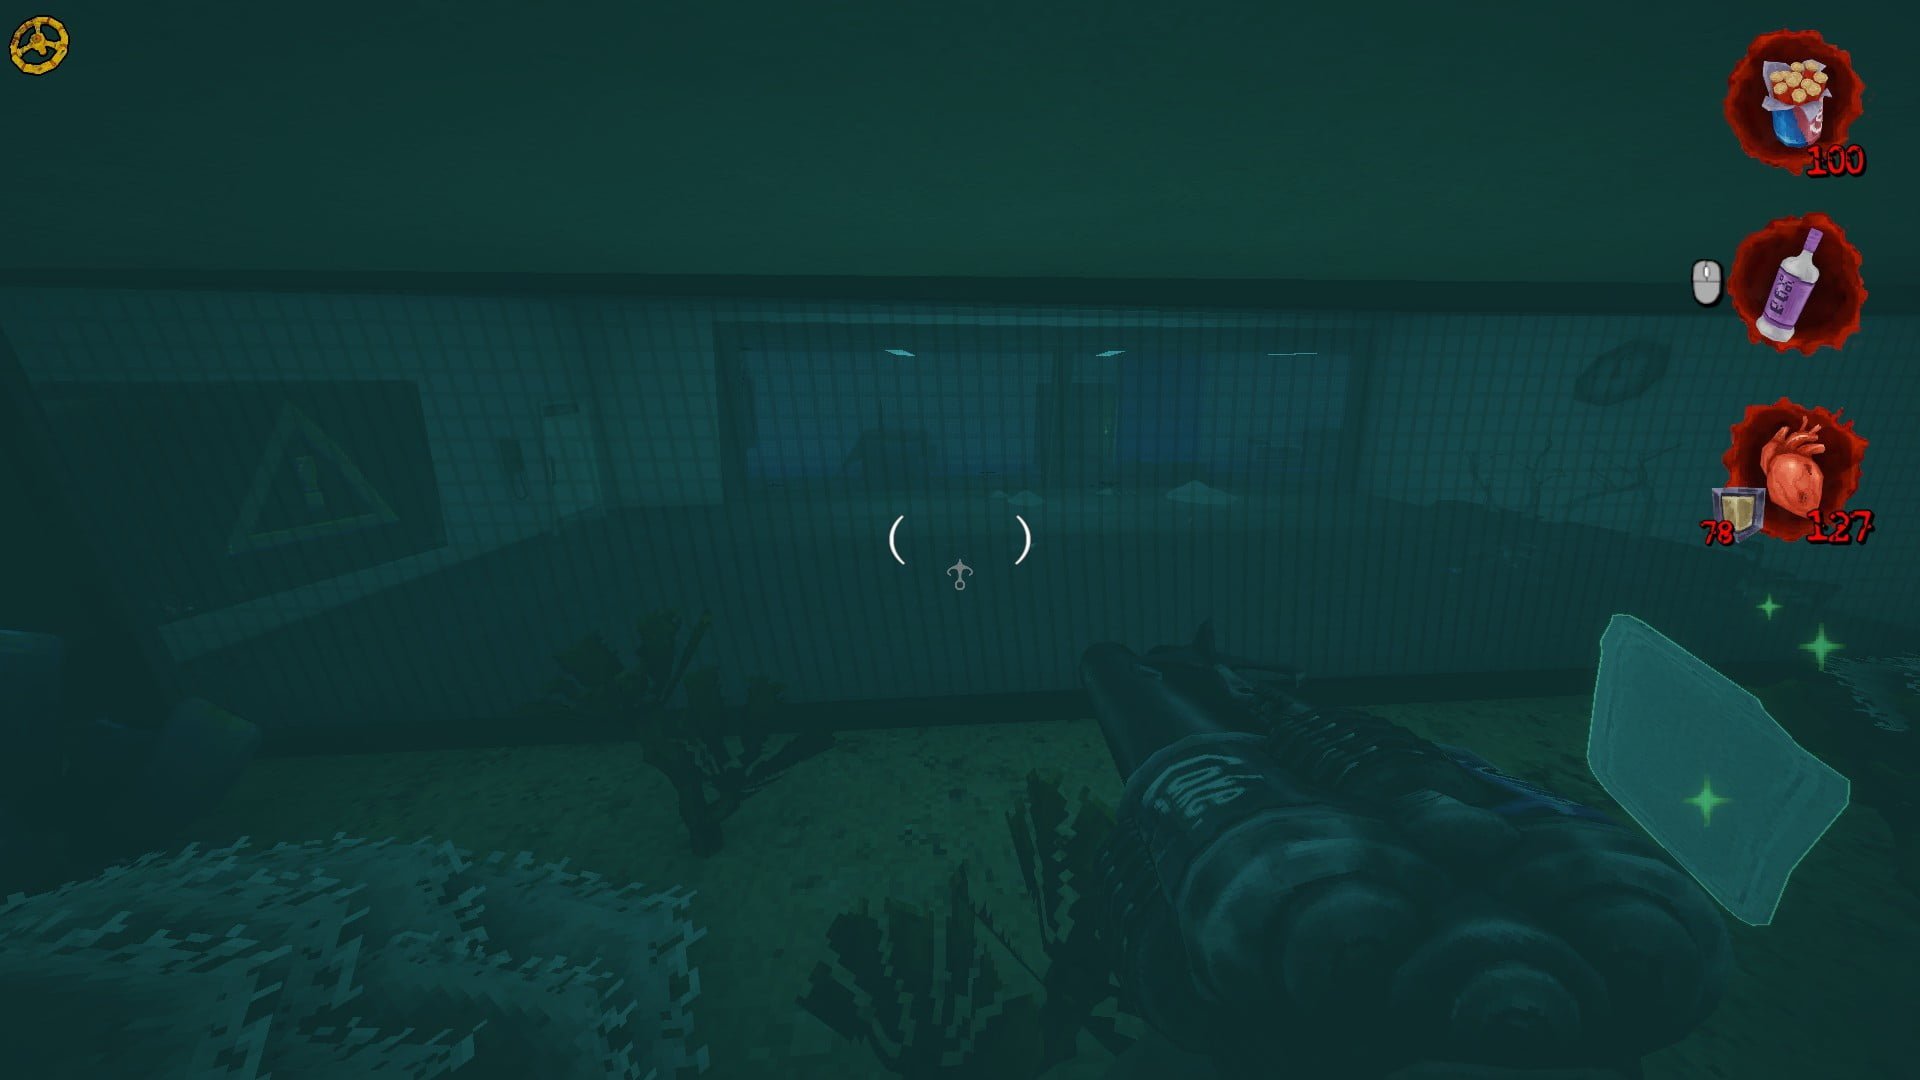
In the fish tank, there’s a hidden button that you need to press.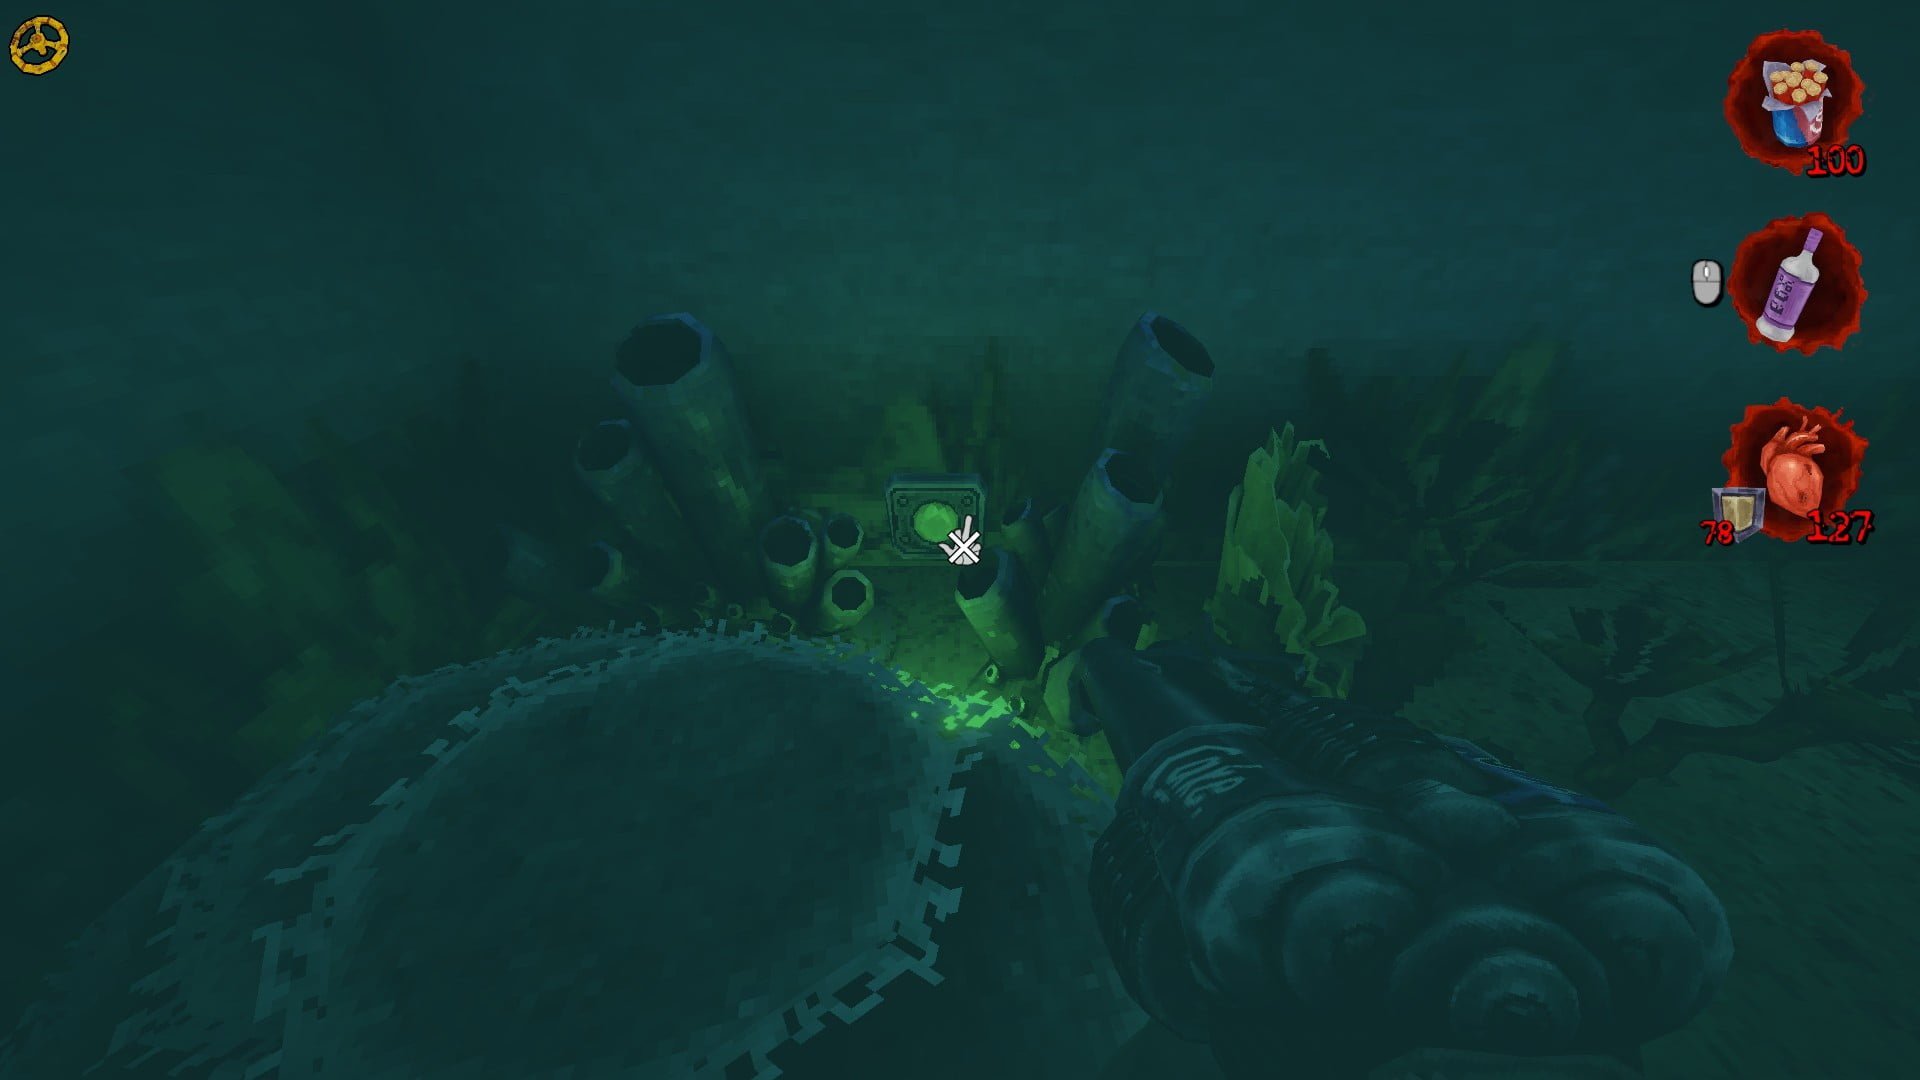
It is important that you press this button now because once you get out of the fish tank area, you cannot return to this area.
Soon you’ll make it back to the door that required Bozo’s key, but you can go down to the room with the red screen.
A Double Akimbo powerup will be revealed, collect it to get the secret.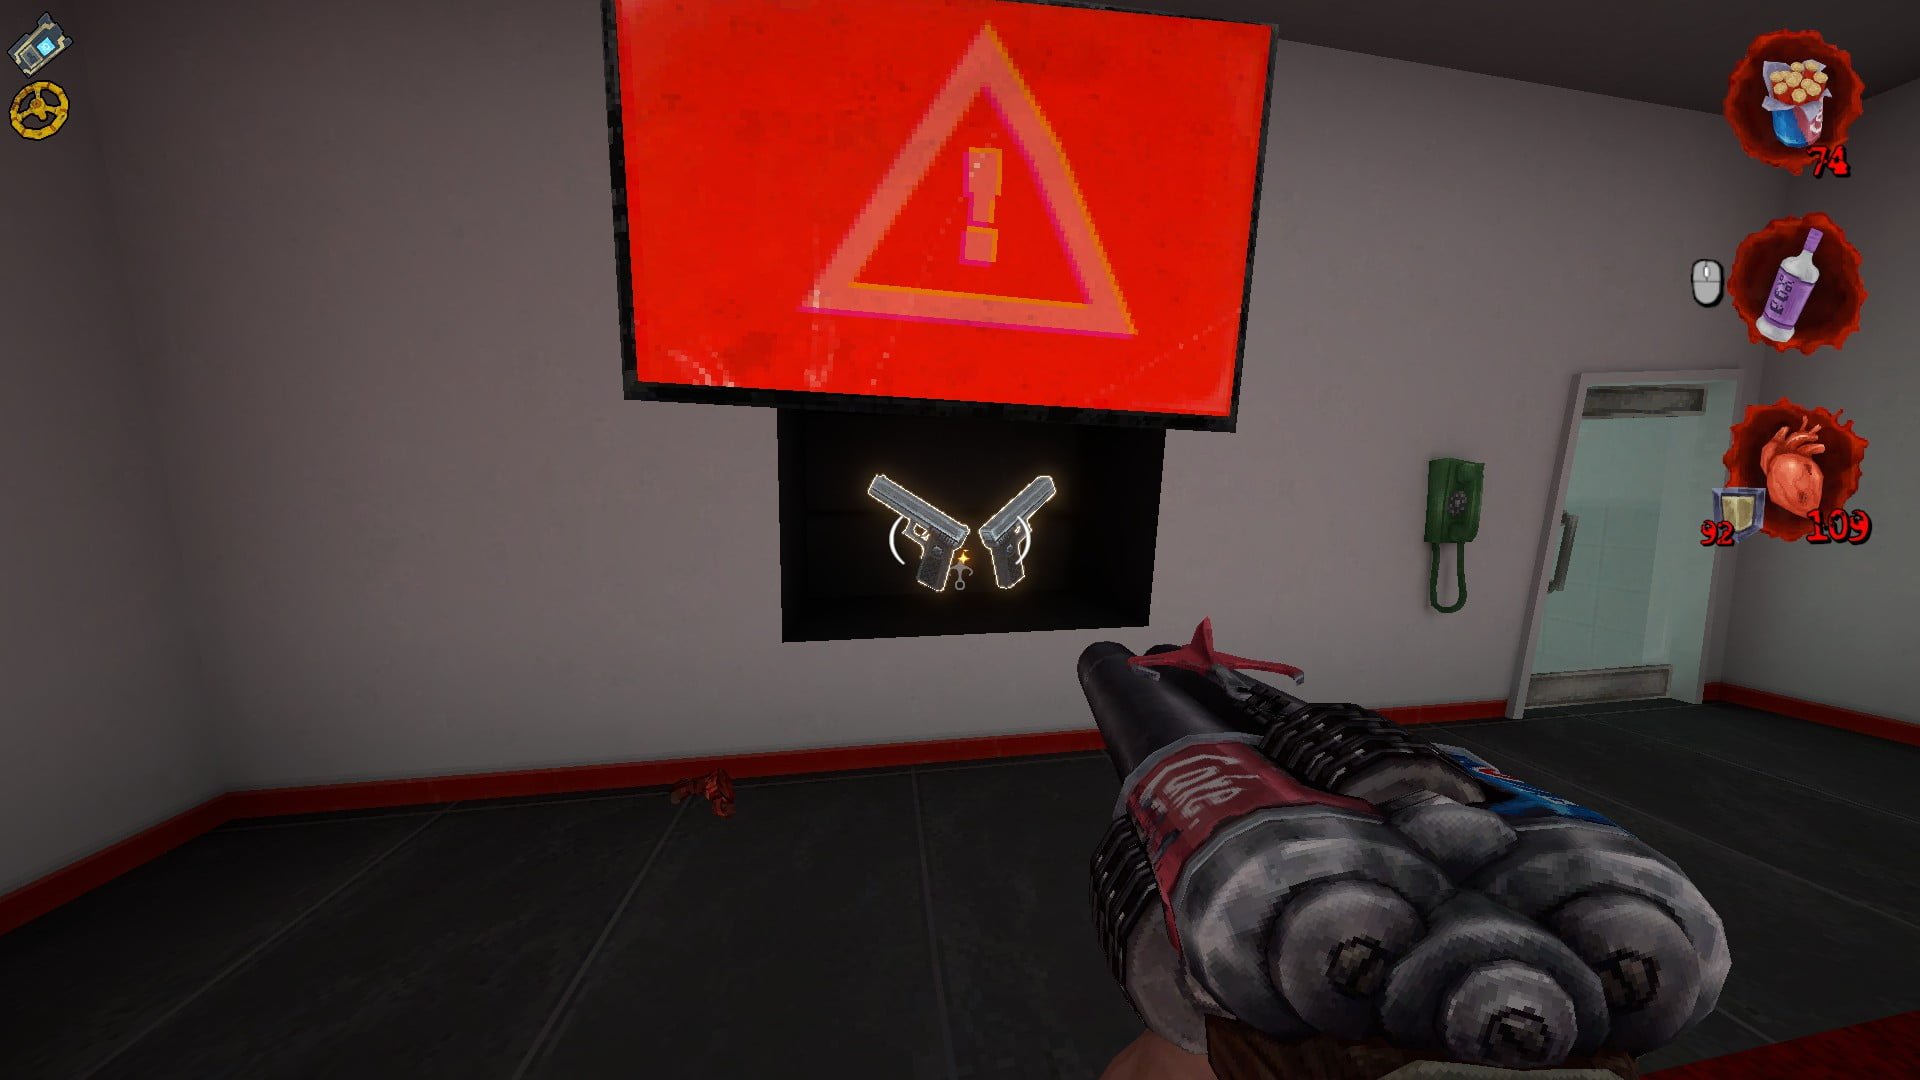
Poster #4: Gojira Wanker
Use Bozo’s key to enter his personal room. Play through the area until you retrieve Bozo’s DNA.
A large group of enemies will spawn, so kill them as you see fit.
Once all of them are defeated, a door will open up.
A Farty Pants will be to the right where the poster is located.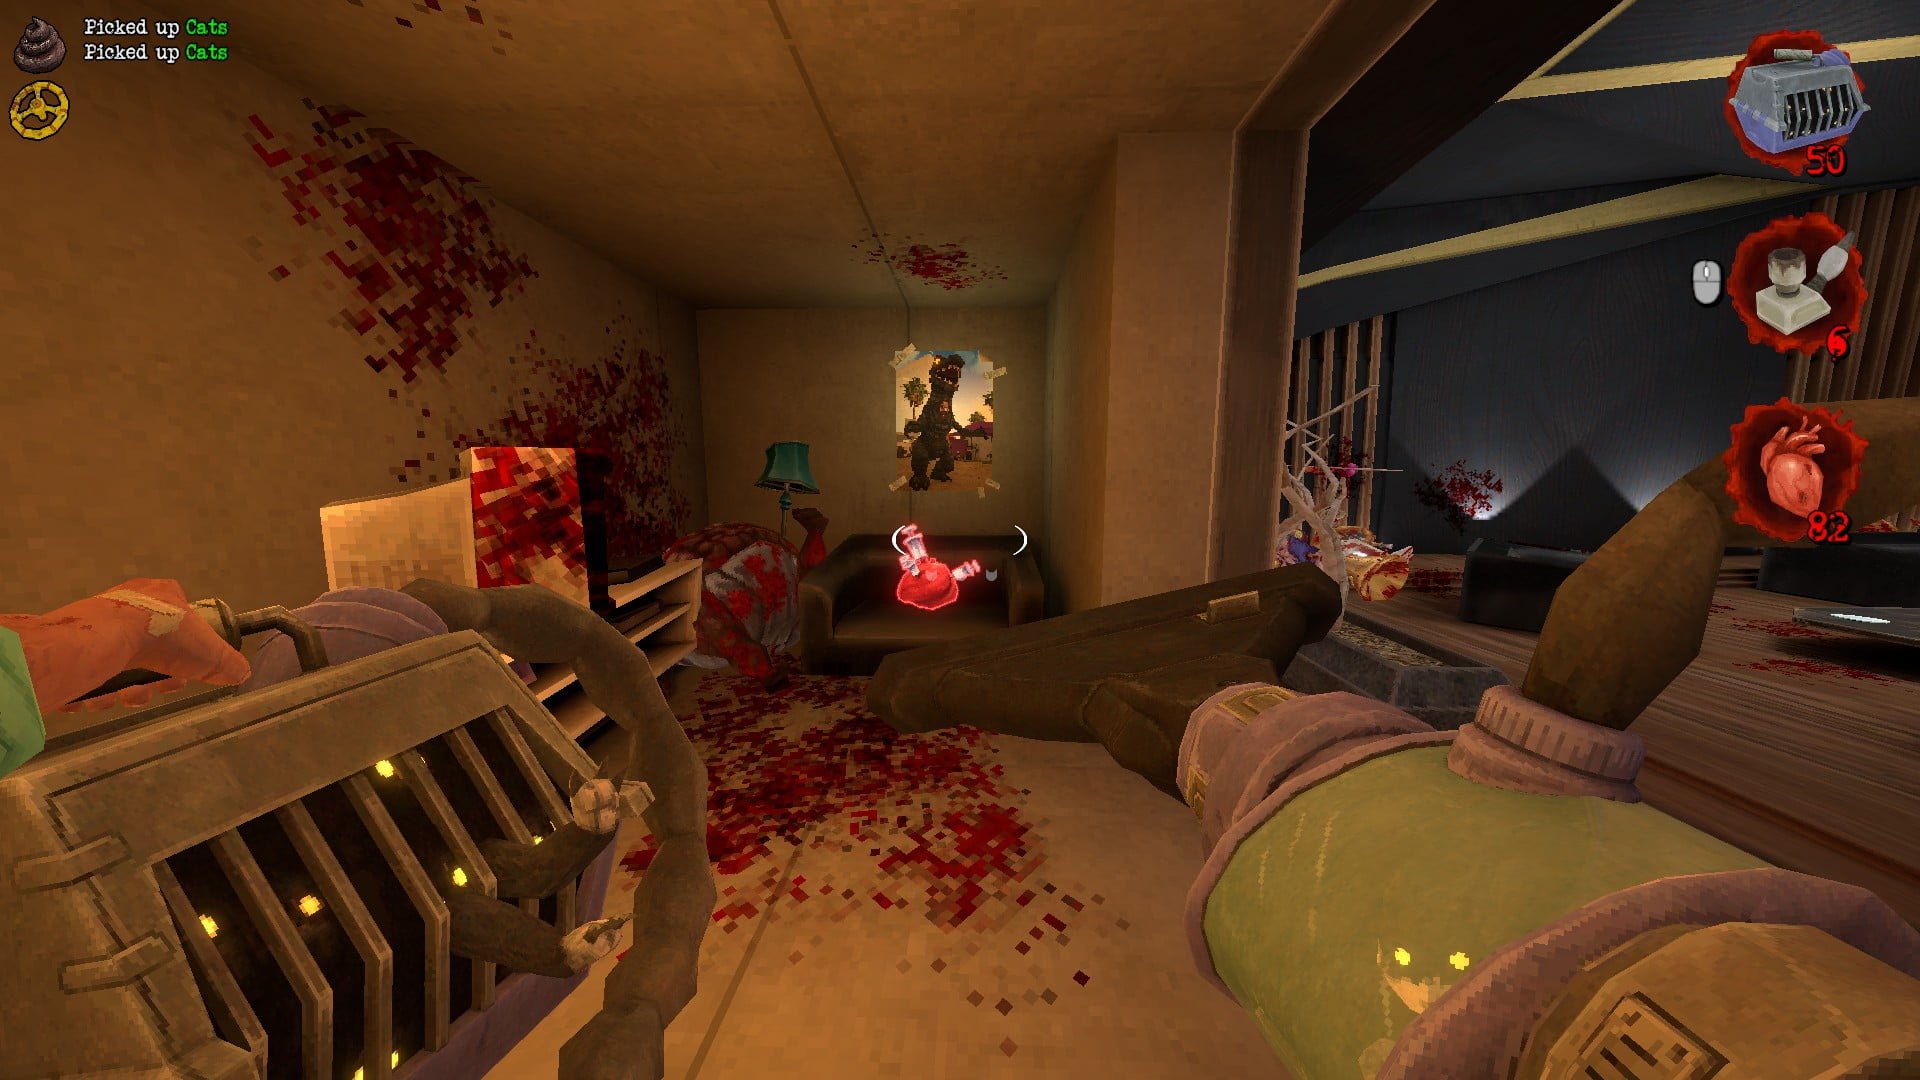
Secret #3: Ammo Box
After getting the poster, you will go into a vent back into a room that had a red door.
You’ll see that small crevice up in the silo, we’ll go there in a bit.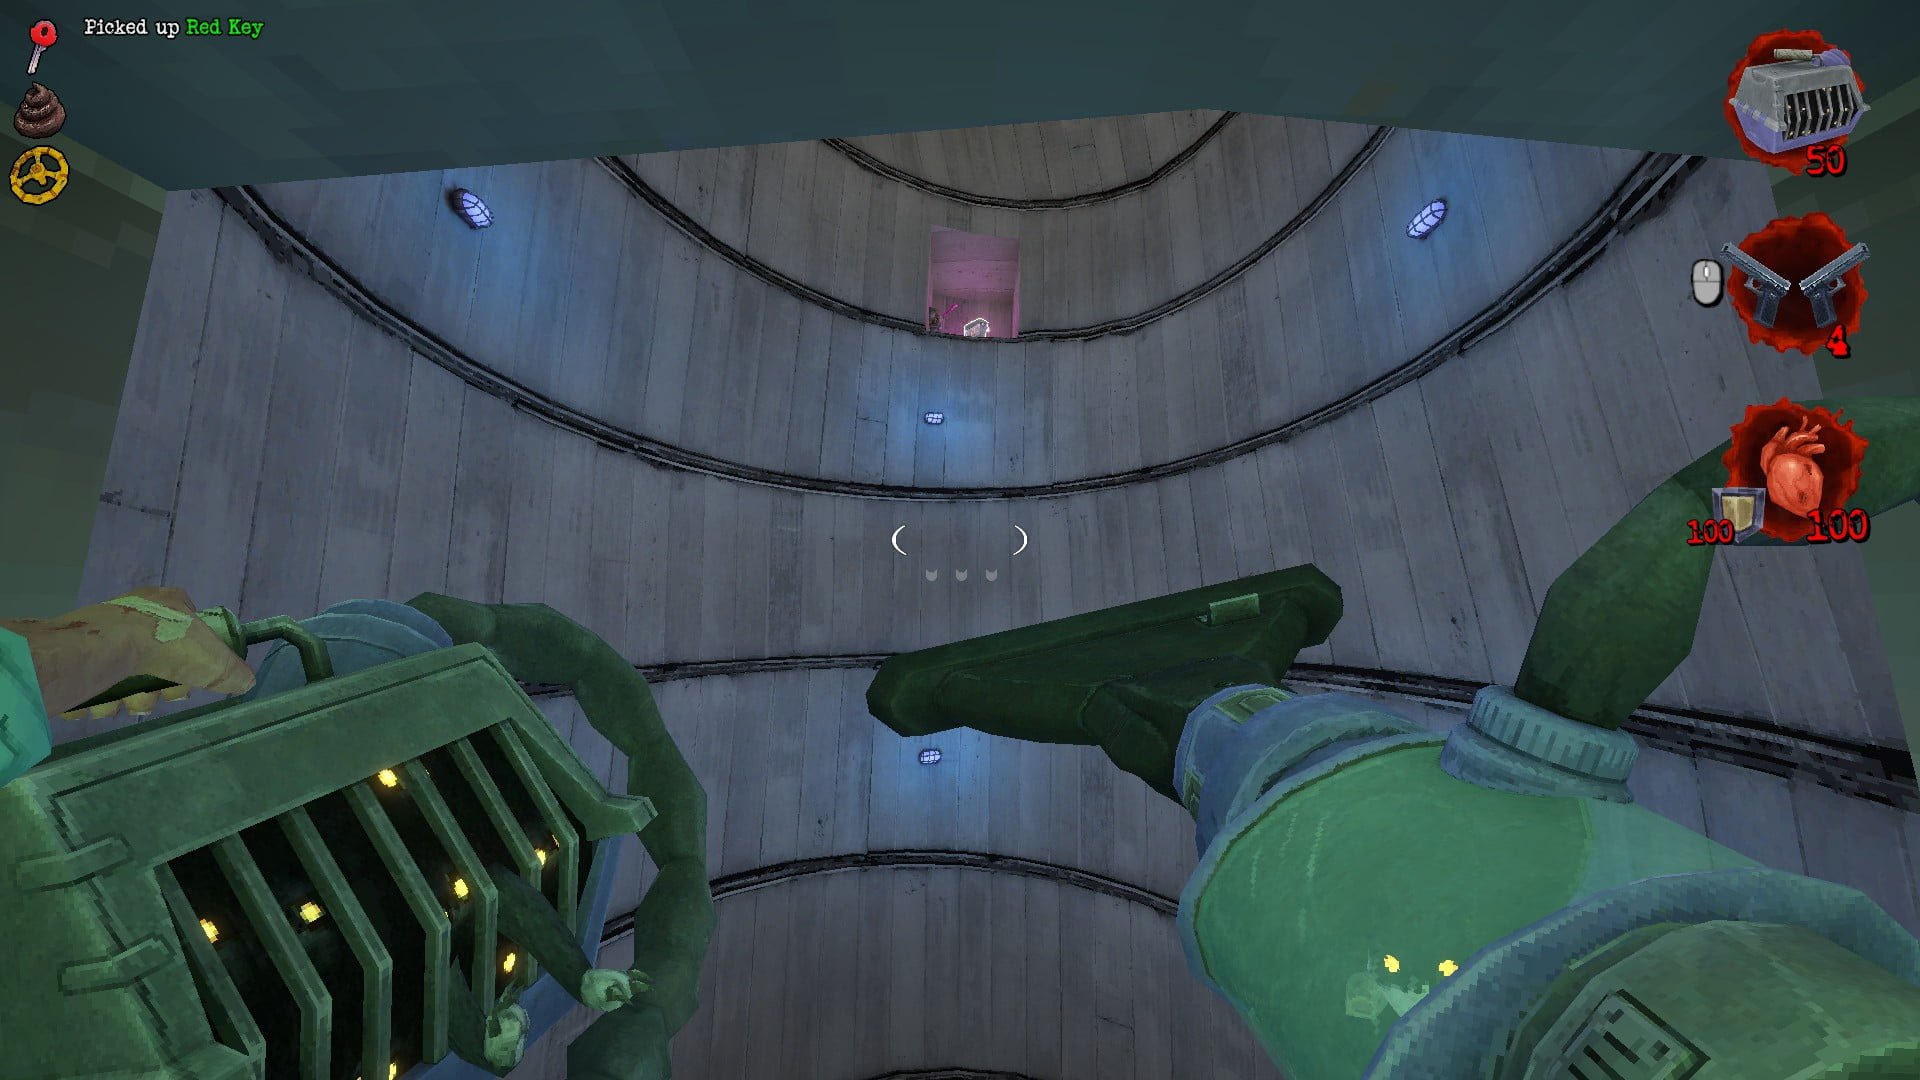
Drop down and unlock the red door. Be wary of three Furry Friends in the way.
There is a small vent on the right side of the red door.
Hit to lock to unblock the vent and crouch inside it.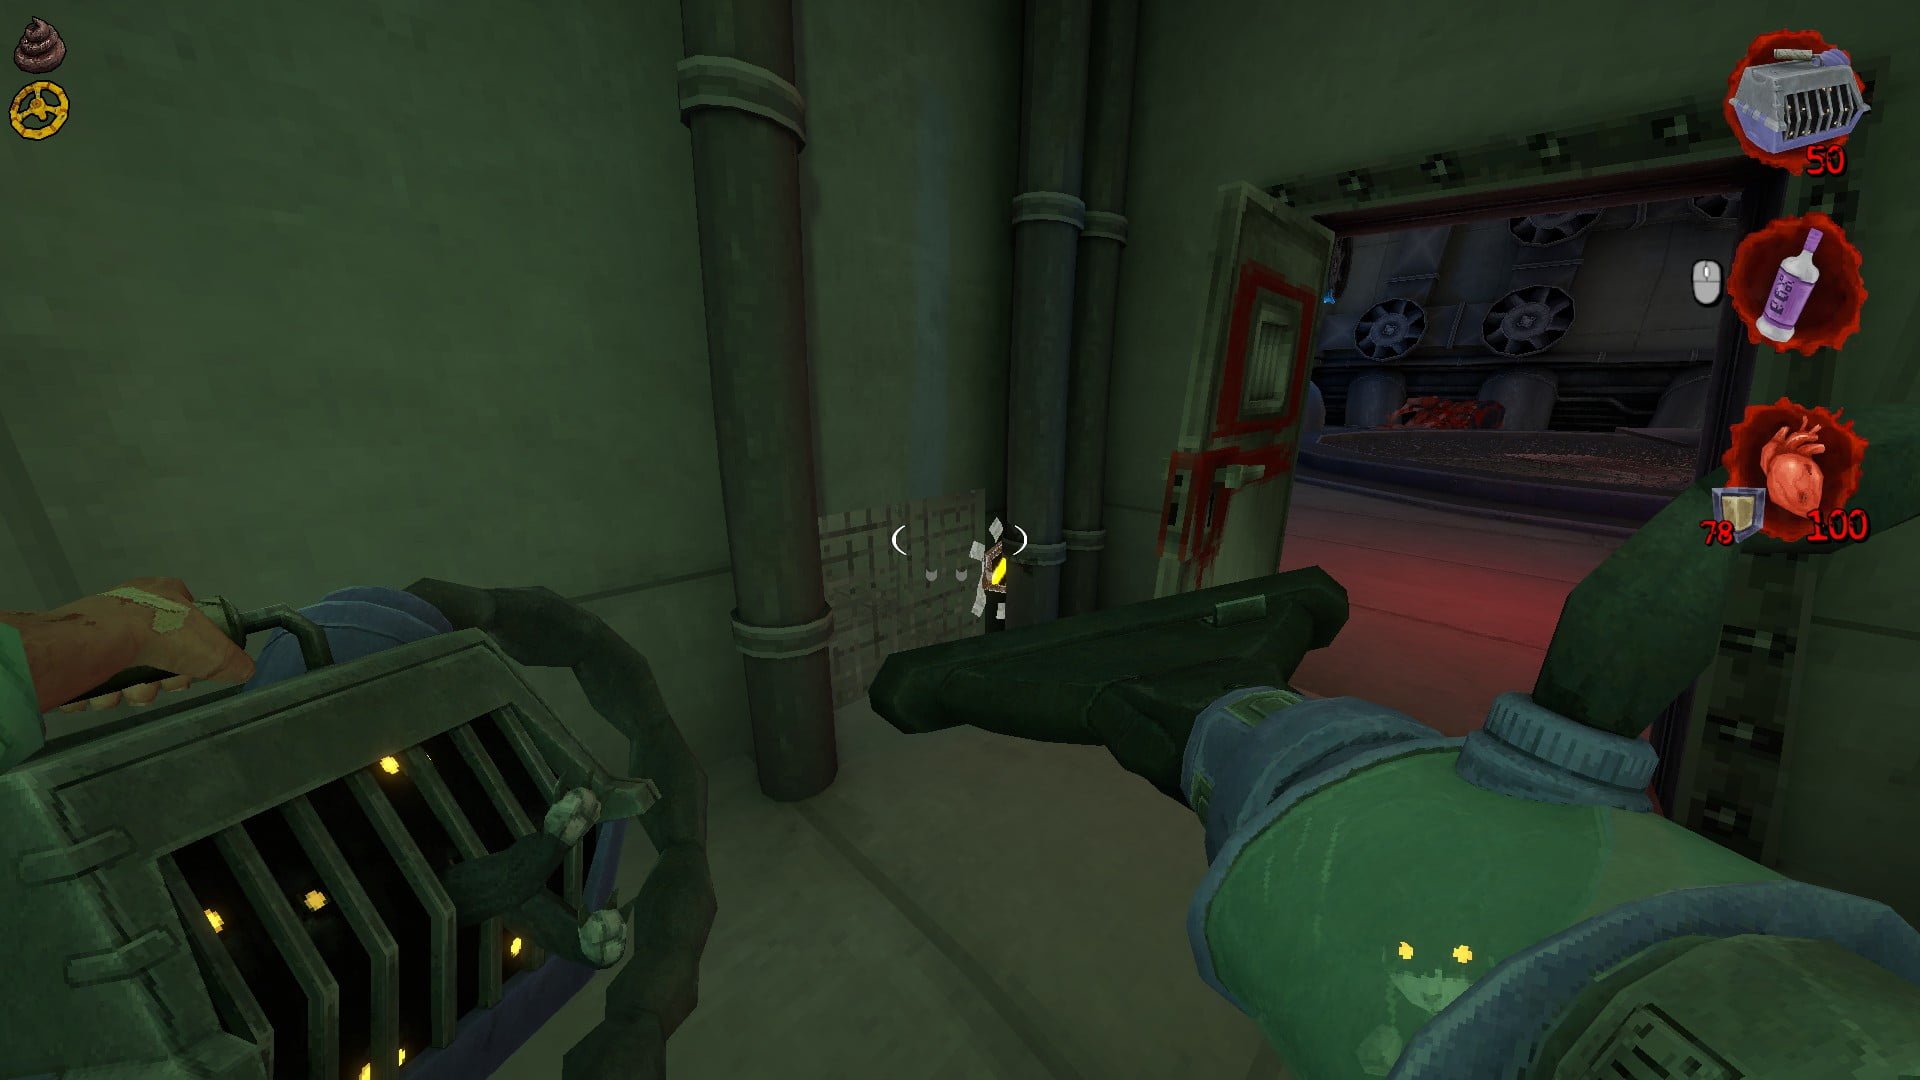
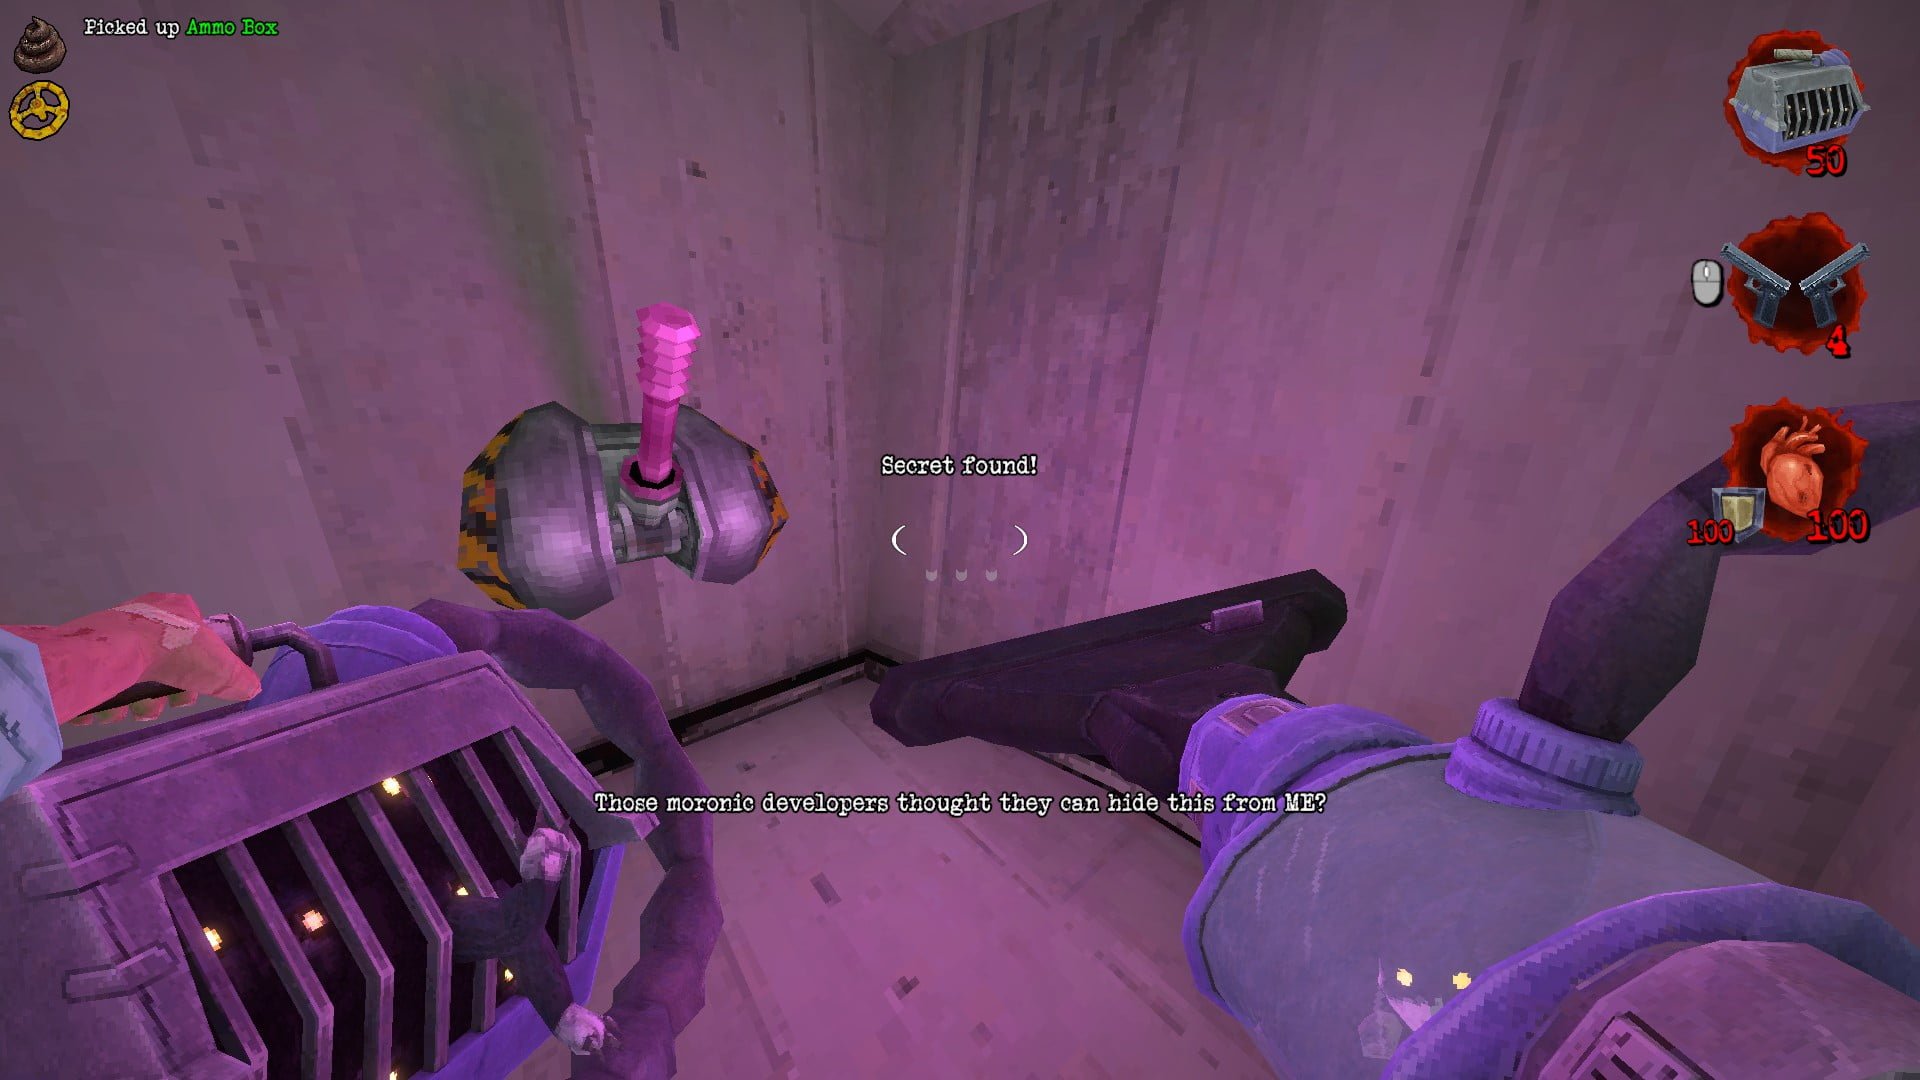
You will reach to a room that has this pink lever. Switching it on will activate the fan in the silo room, causing air to blow upwards.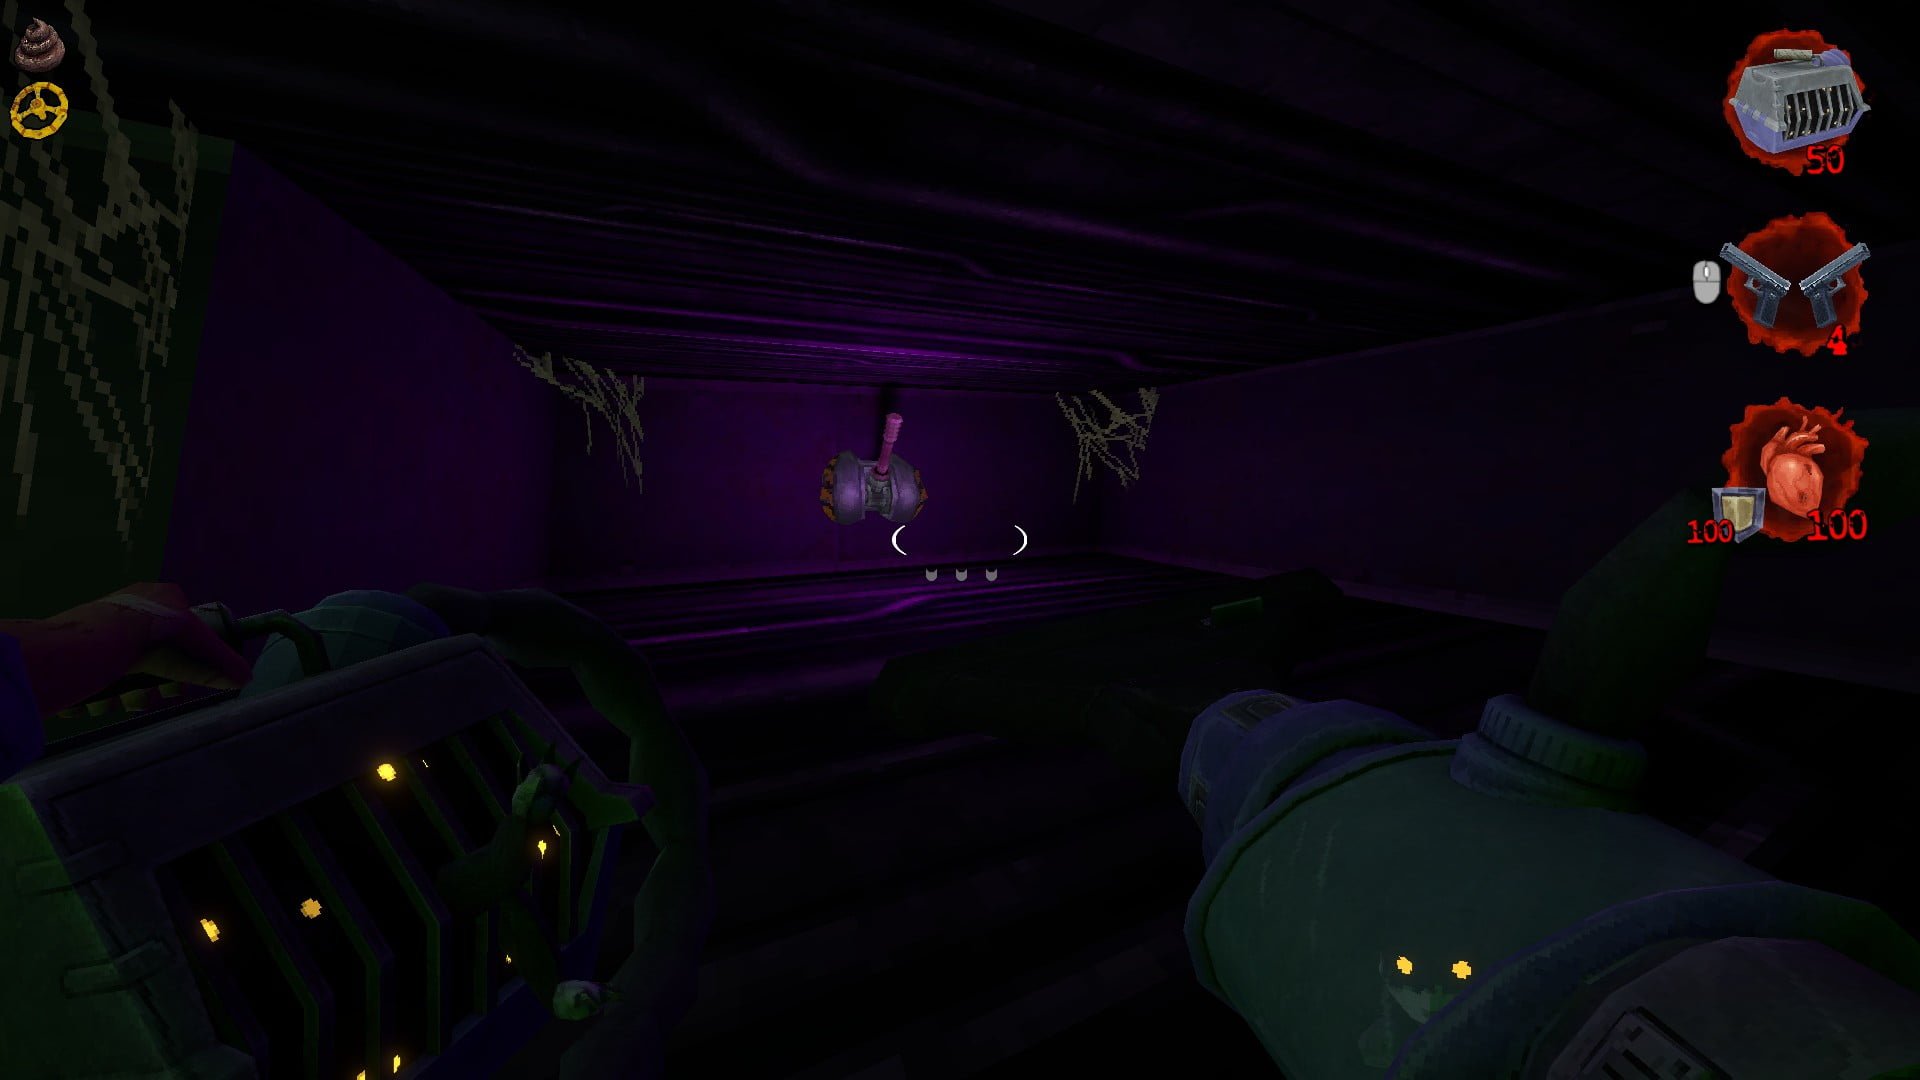
Return to the room and float upwards into the small crevice that has the Ammo Box.
You will get the secret and a pink lever that deactivates the blowing air.