The Long Dark: Episode 3 – Chapter 2: Fallen Star Walkthrough & Guide.
The Long Dark: Fallen Star Walkthrough
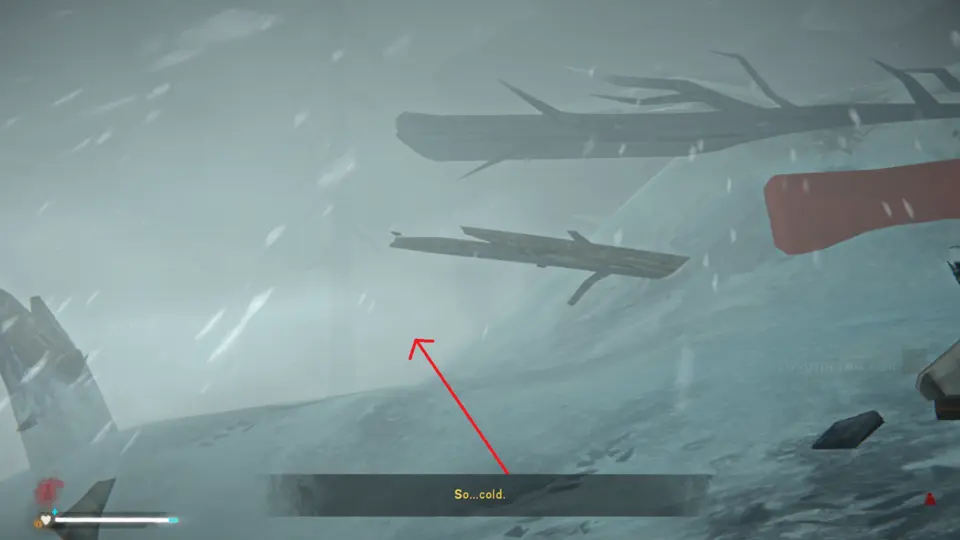
So it looks like Will’s plane wasn’t the only one knocked from the sky during the Aurora. Even though Astrid isn’t a medical doctor, she’s clearly had some medical training and has offered to help check on the other survivors.
There are six survivors you need to examine. Each of them will have a name and percentage pop up when you look at them. It doesn’t really matter what order you choose so just check on them all.
- One is dehydrated, so you just have to give him water. If you don’t have any, use the magic fire to boil some up
- Four are suffering from concussions or hypothermia, both of which can be treated with rest, warmth, and time.
- Finally, one man is a diabetic, which means he needs insulin. Unfortunately, that’s not something Astrid is carrying with her at the moment.
Once you’ve looked at all six survivors and helped the one you can, talk to Father Thomas (who magically teleports to in front of the fire).
Okay, so things aren’t exactly looking good for the diabetic of the group. Not to mention the “fun” task of searching an airliner crash site for information about who was on the plane and didn’t make it.
Once you’re ready, head out… and be interrupted by a phone call. Turns out it’s Molly, who has a good read on Astrid despite only 10 minutes of conversation between the two. Anyways, she’s left us a gift, which we might as well grab.
Now, let’s actually leave, and immediately get attacked by wolves. But not just any wolves, as the pop-up tells us. These are the new Timberwolves (sorry for the lack of pictures. I was too busy trying to not get eaten).
The infographic tells us that Timberwolves have “morale”, which is somewhat vague (right in line with The Long Dark’s philosophy). What this actually means is that Timberwolves act mostly like real-life wolves. They work in groups/packs where one member will generally try to distract you while the others come in and attack. You can chase them off by scaring, injuring or even killing one of the timberwolves.
When a timberwolf pack attacks, you’ll see this bar appear at the bottom of the screen.
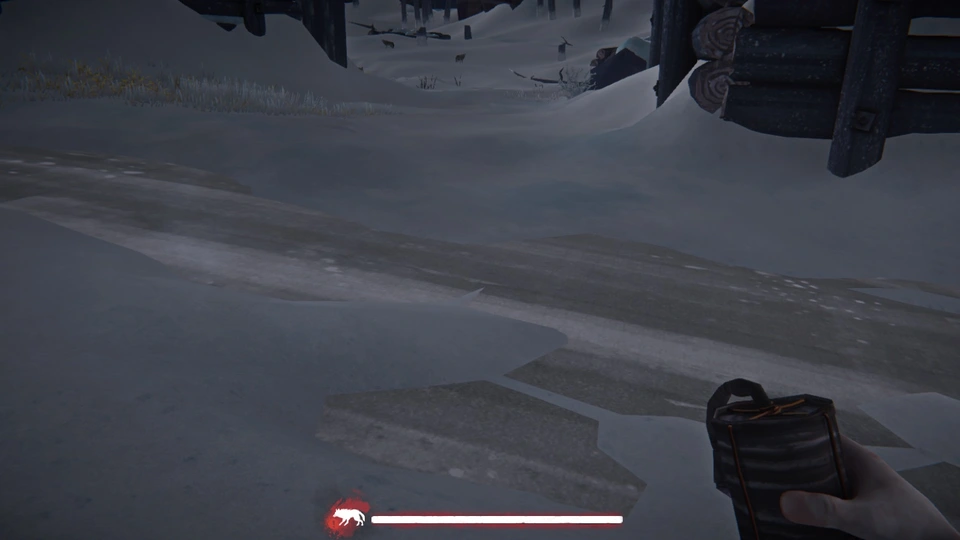
The bar indicates the pack’s morale. By decreasing it, you can drive off the timberwolves. Now it’s hard to tell, but I think bigger packs have a longer morale bar. In any case, a larger pack size means greater morale so it’s harder to drive them off; a group of five timberwolves won’t be as easily dispersed as a group of two.
The main ways to decrease pack morale are to scare, injure or even kill one of the wolves. Obviously killing decreases morale more than injuring or scaring. You can use any weapon, even rocks (although I wouldn’t recommend it since rocks are pretty hard to aim and aren’t fatal). Firearms are the best because the noise will scare the wolves and lower morale, even if you don’t hit one. Personally I recommend the revolver, especially for smaller groups where you just need to injure one of them. It’s easier to hit the wolves when you don’t have to properly aim the weapon.
The other way to keep timberwolves at bay is the new marine flare item. This is a blue flare (which we don’t have yet but can get soon) that decreases pack morale when thrown. It can also keep the timberwolves at bay, similar to how a campfire affects regular wolves. They don’t last long and aren’t very good at dispersing packs on their own, but the flares can keep timberwolves away from you long enough to get in a shot that kills or injures one of them.
Anyways, back to the story. The downed plane is pretty close to Skeeter’s Ridge, so go ahead and start the sidequest Church Artifact while you’re in town. You can also search the rest of the town like Father Thomas suggested and gather everything in one place. Not to mention you can unlock three more sidequests.
And don’t forget to pick up the gift Molly left for Astrid. This is technically a sidequest, but it’s so short I’m not going to bother giving it a separate section. Just head towards the Thomson’s Crossing church, and on the opposite side of the road is a playground and abandoned car.
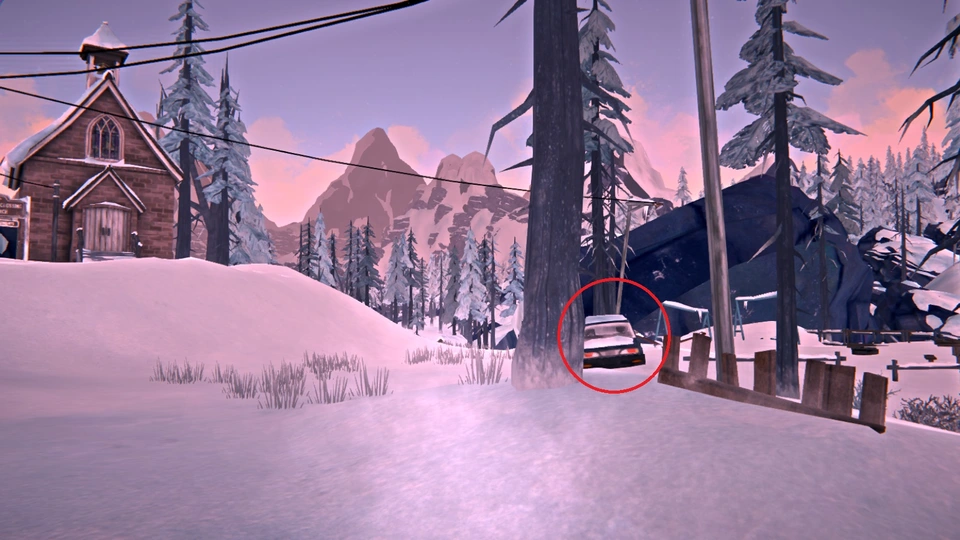
- Check the trunk of the car for some marine flares, which we can use against timberwolves.
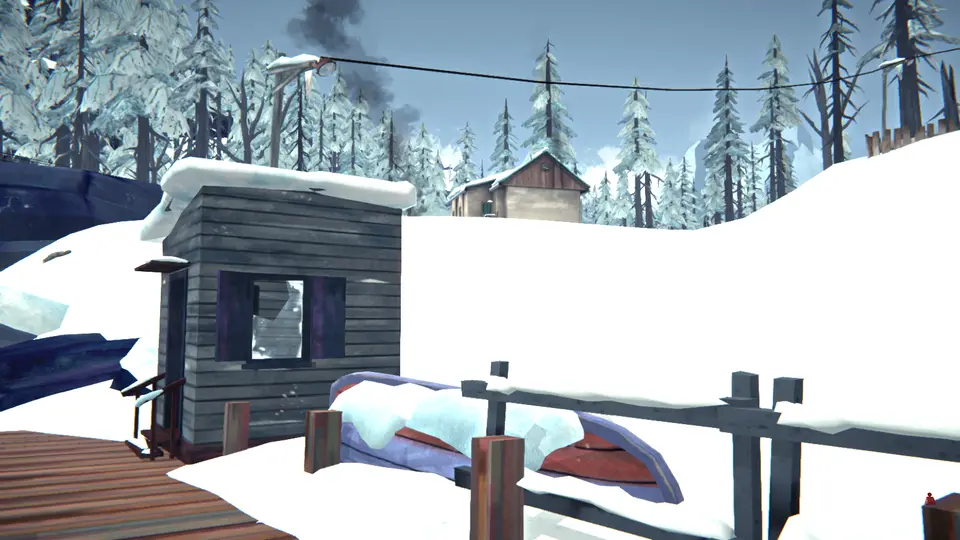
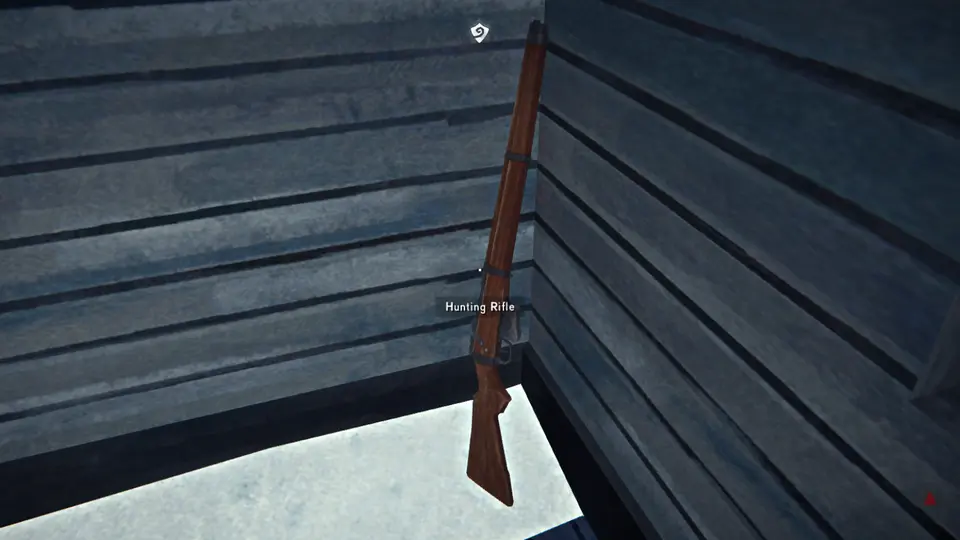
- Finally, you can pick up a rifle in the small shed behind the Community Hall.
Once you’re ready, advance the story. As for finding the plane crash, well that’s easy.
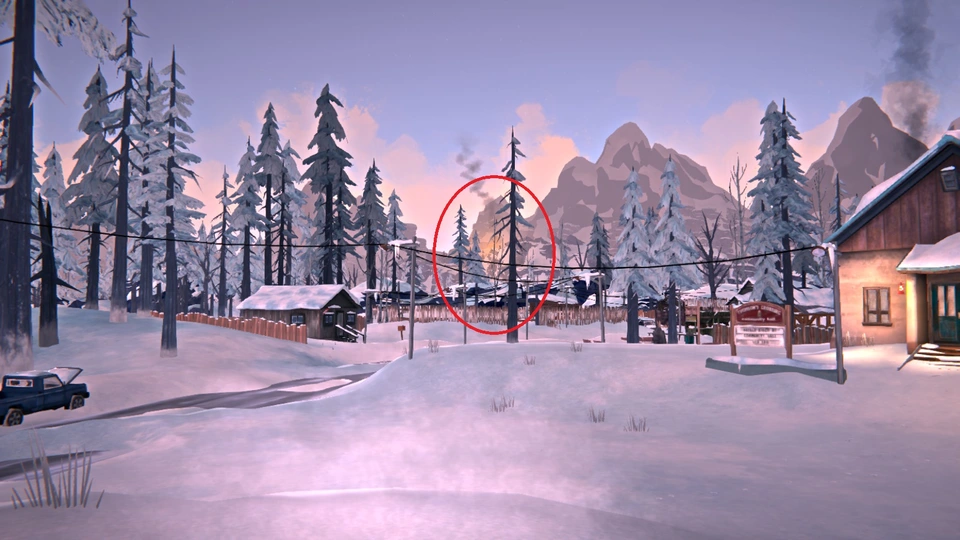
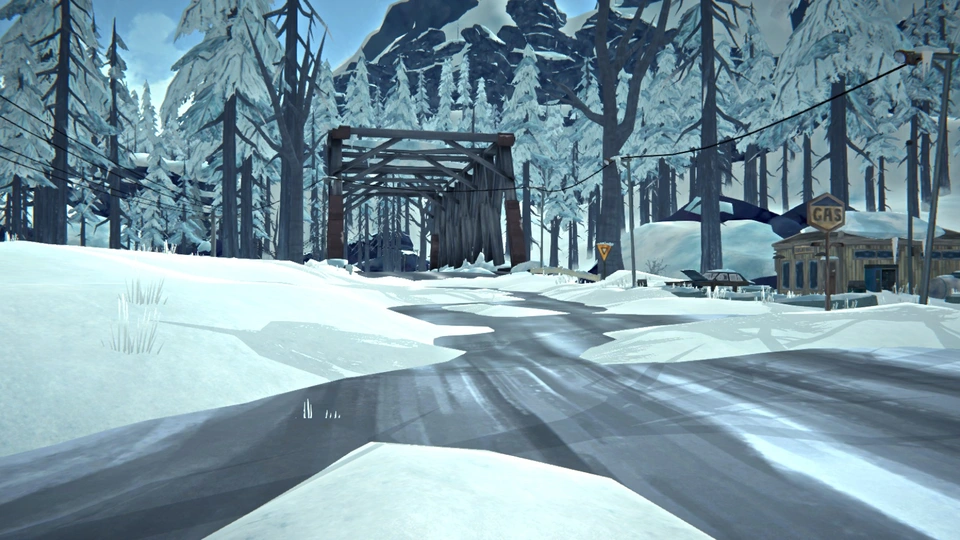
Just aim for the smoke plume in the sky. There are a number of ways to get up towards the crash site. My preferred way is to follow the road. Just turn left after leaving the Community Hall, and you’ll see this bridge.
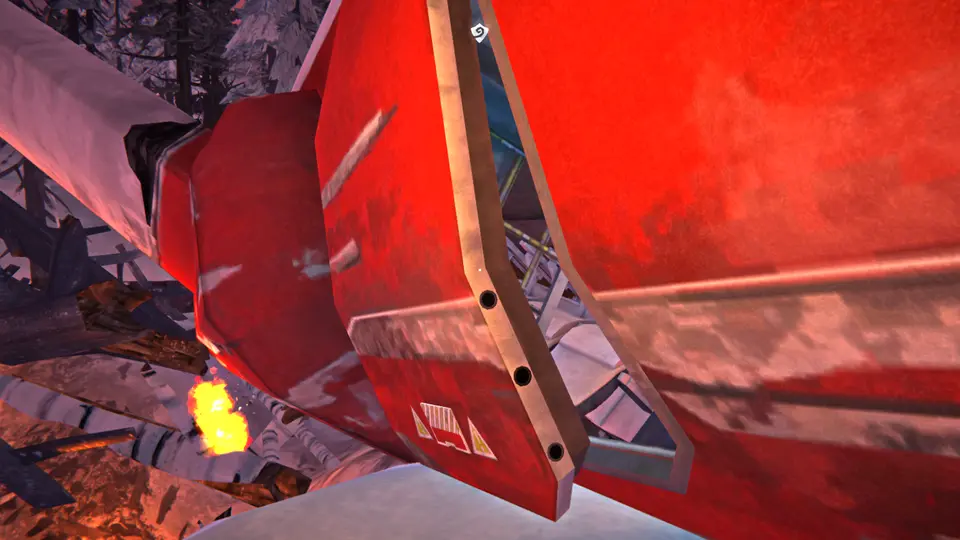
From there, just follow the road. Eventually the actual paved road will disappear, but there’s still an obvious path. After a while, you’ll see blackened trees and from there, just look for the smoking airplane. You can actually enter the plane by interacting with this door.
Once you come out the other side of the plane, Astrid will comment on how unlikely it is that anyone survived. From here, you now have two new quest objectives: find the insulin for the diabetic back at the Community Hall and find 10 ID cards.
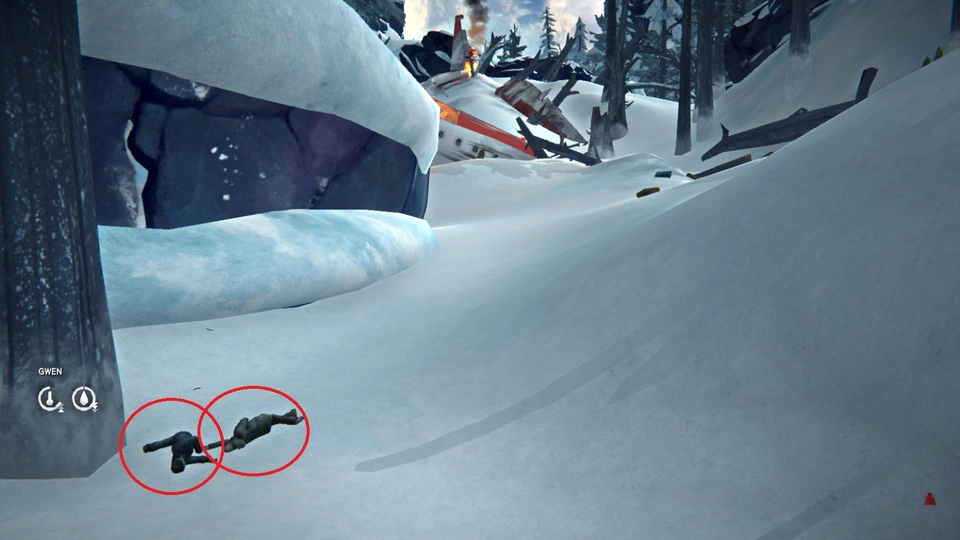
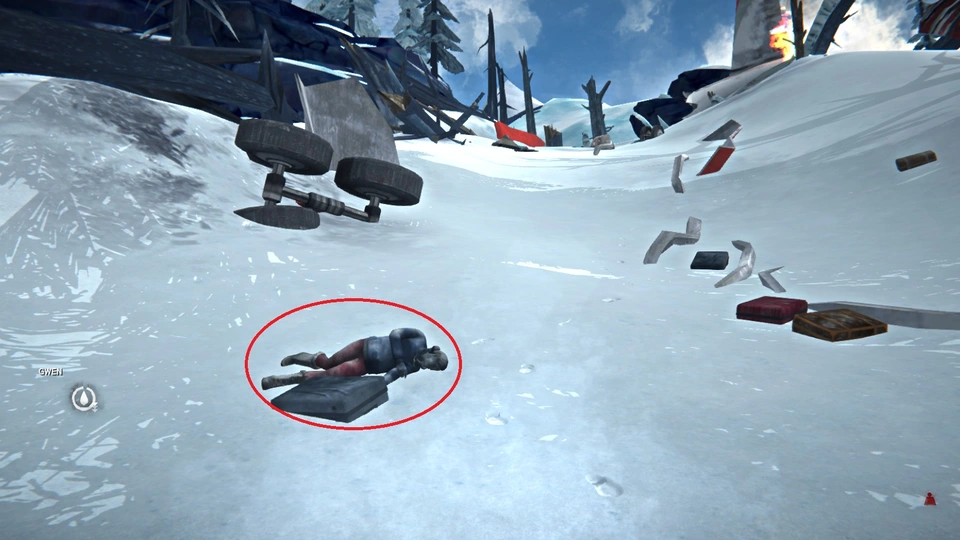
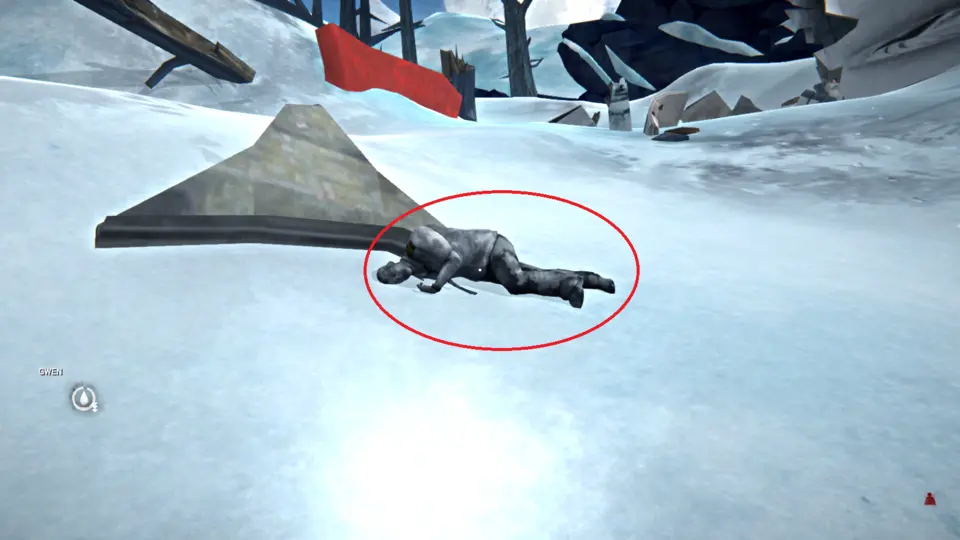
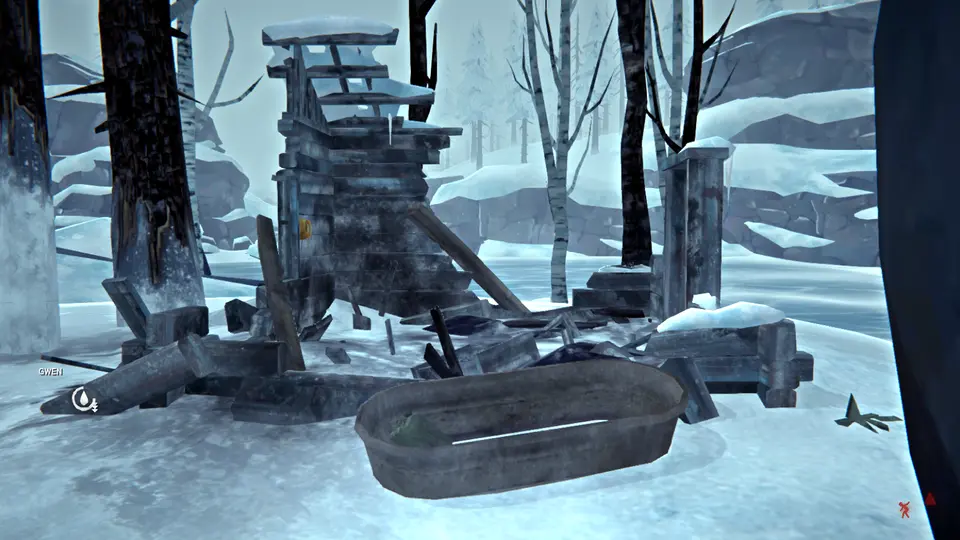
Okay, so all the ID cards are on the bodies scattered about the crash. After all, the whole point of this is to confirm who has died in the crash. The following pictures contain all of the bodies that you need to search to find the 10 ID cards (Also, the woman by the fire is Gwen; I took these pictures after rescuing her).
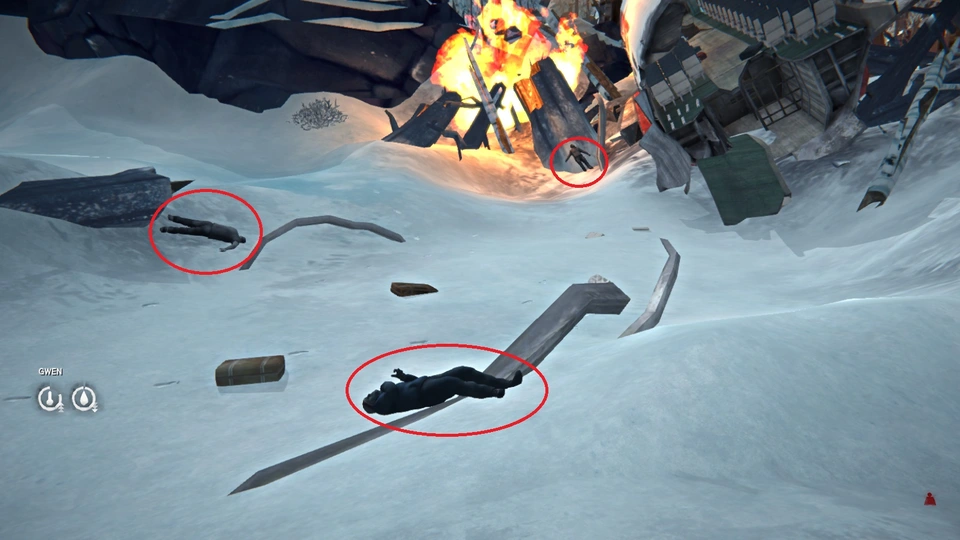
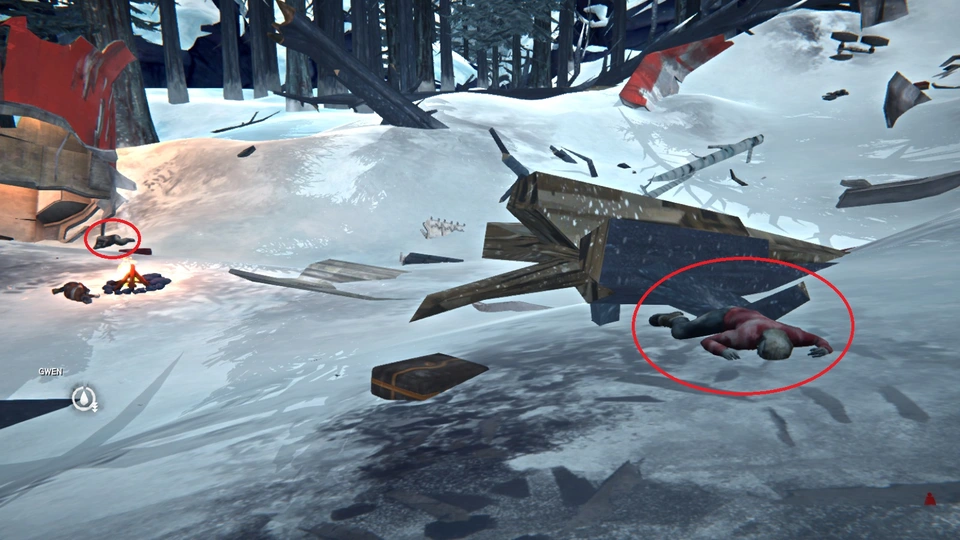
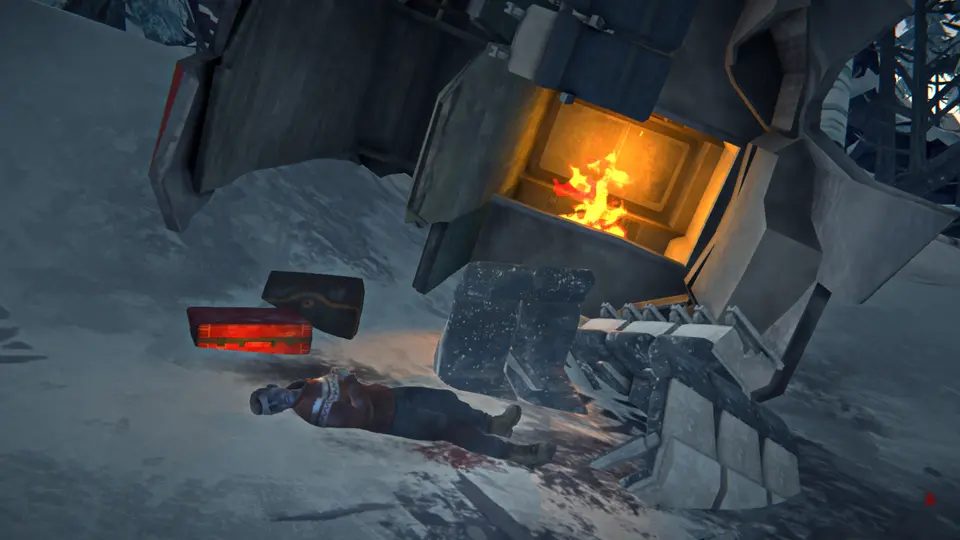
The woman in this last picture is actually still alive (the picture is from after pushing the rubble off of her). Interact with her to get a cutscene and flashback that hints as to why Astrid is heading to Perseverance Mills in the first place. Anyways, before we can help out Gwen, we need to find that insulin. Thankfully, it’s in the red suitcase right next to Gwen. Search that, and then we get our next objective: get Gwen back to the Community Hall.
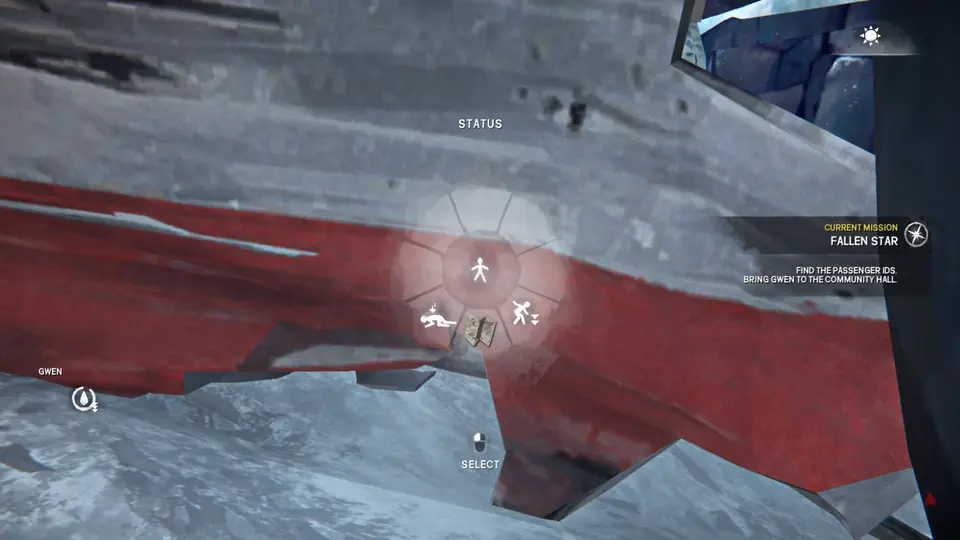
Now we start the annoying part of this Episode. We need to treat Gwen’s afflictions and get her back to the Community Hall. In the previous pictures, you may have noticed a second status bar which belongs to Gwen. Until you get her to the Community Hall, Astrid is responsible for keep Gwen warm, hydrated, and uninjured. Click on Gwen to get two options: carry and diagnose.

Carry is rather self-explanatory, and diagnose is how you treat any injuries or dehydration. To combat hypothermia, you just need to leave the survivor near a fire for a little bit. You should actually do this with Gwen and then search the crash site for the flare gun below (it’s in the fuselage next to the body in the 3rd picture).
Once Gwen is warm, it’s time to get her back to the Community Hall. Unfortunately, you can’t go the way we came in since Astrid is now limited in her movement. While carrying a survivor, you can’t sprint or crouch. You also have to drop the survivor if you want to interact with anything in the world. There are two options for putting a survivor down: drop will just place the survivor at your feet (useful during wolf attacks) and place will act similar to when you put down a fire.
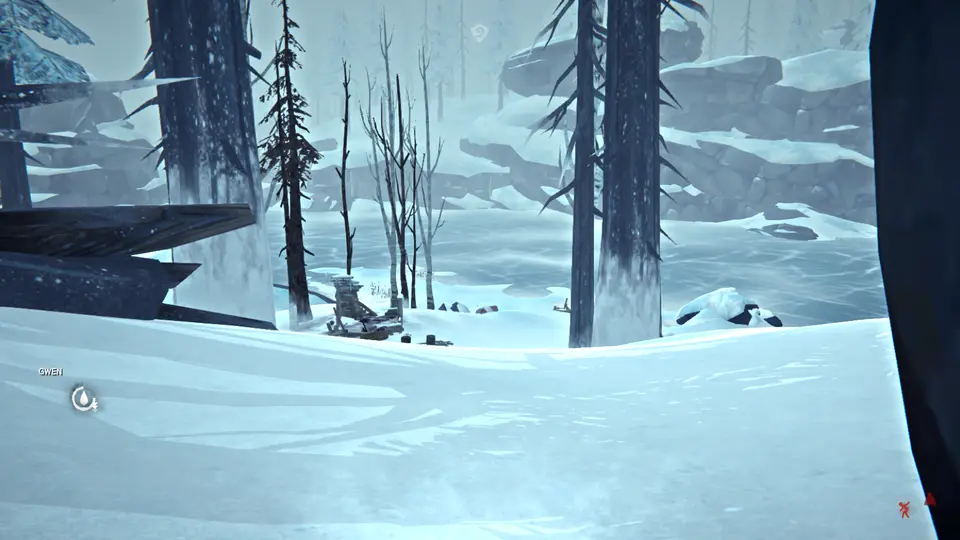
To get back down the mountain, you’ll want to take a side path, which is just a little below where you found Gwen. If you’re coming up the mountain from where you first entered the crash site, it’ll be on your right.
From there, the path is pretty clear. If you’re not sure, just follow the stray luggage. Eventually, you’ll come across a broken down house… with a still working phone?
Go ahead and answer to phone to have an interesting conversation with Molly. I kind of like her, but she’s also being a bit stalker-y. Not to mention Astrid could definitely use some help in transporting Gwen back to Community Hall.
Anyways, you’ll see the river behind the broken down house. From here, you can just follow it back to Community Hall. Get back and place Gwen on the empty cot that has just appeared. Then you’ll get the final objective for this chapter.
Now it’s time to deliver the IDs to the remaining survivors. To do this, just interact with each of the survivors to see a short scene where Astrid informs that that she found the remains of their loved ones. For a couple of them, Astrid will tell them that no body was found, in which case they plead for her to look for them. If you’re having trouble, make sure to target each survivor’s head in order to properly interact with them.
After this is done, talk to Father Thomas to end the chapter.
| The Long Dark: Episode 3 Walkthrough | |
|---|---|
| Main Missions | Side Missions |
| Chapter 1: Trauma | Blackrock |
| Chapter 2: Fallen Star | Forest Talkers |
| Chapter 3: Coming Storm | Church Artifact |
| Chapter 4: Aftermath | Joplin’s Bunker Raid |
| Tall Tales | |