Table of Contents Show
The location of all 24 Prometheus sparks. The ones that let you skip puzzles, not the ones that give you a star. There’s already other guides for those.
The Talos Principle 2 All 24 Prometheus Spark Locations
East 1
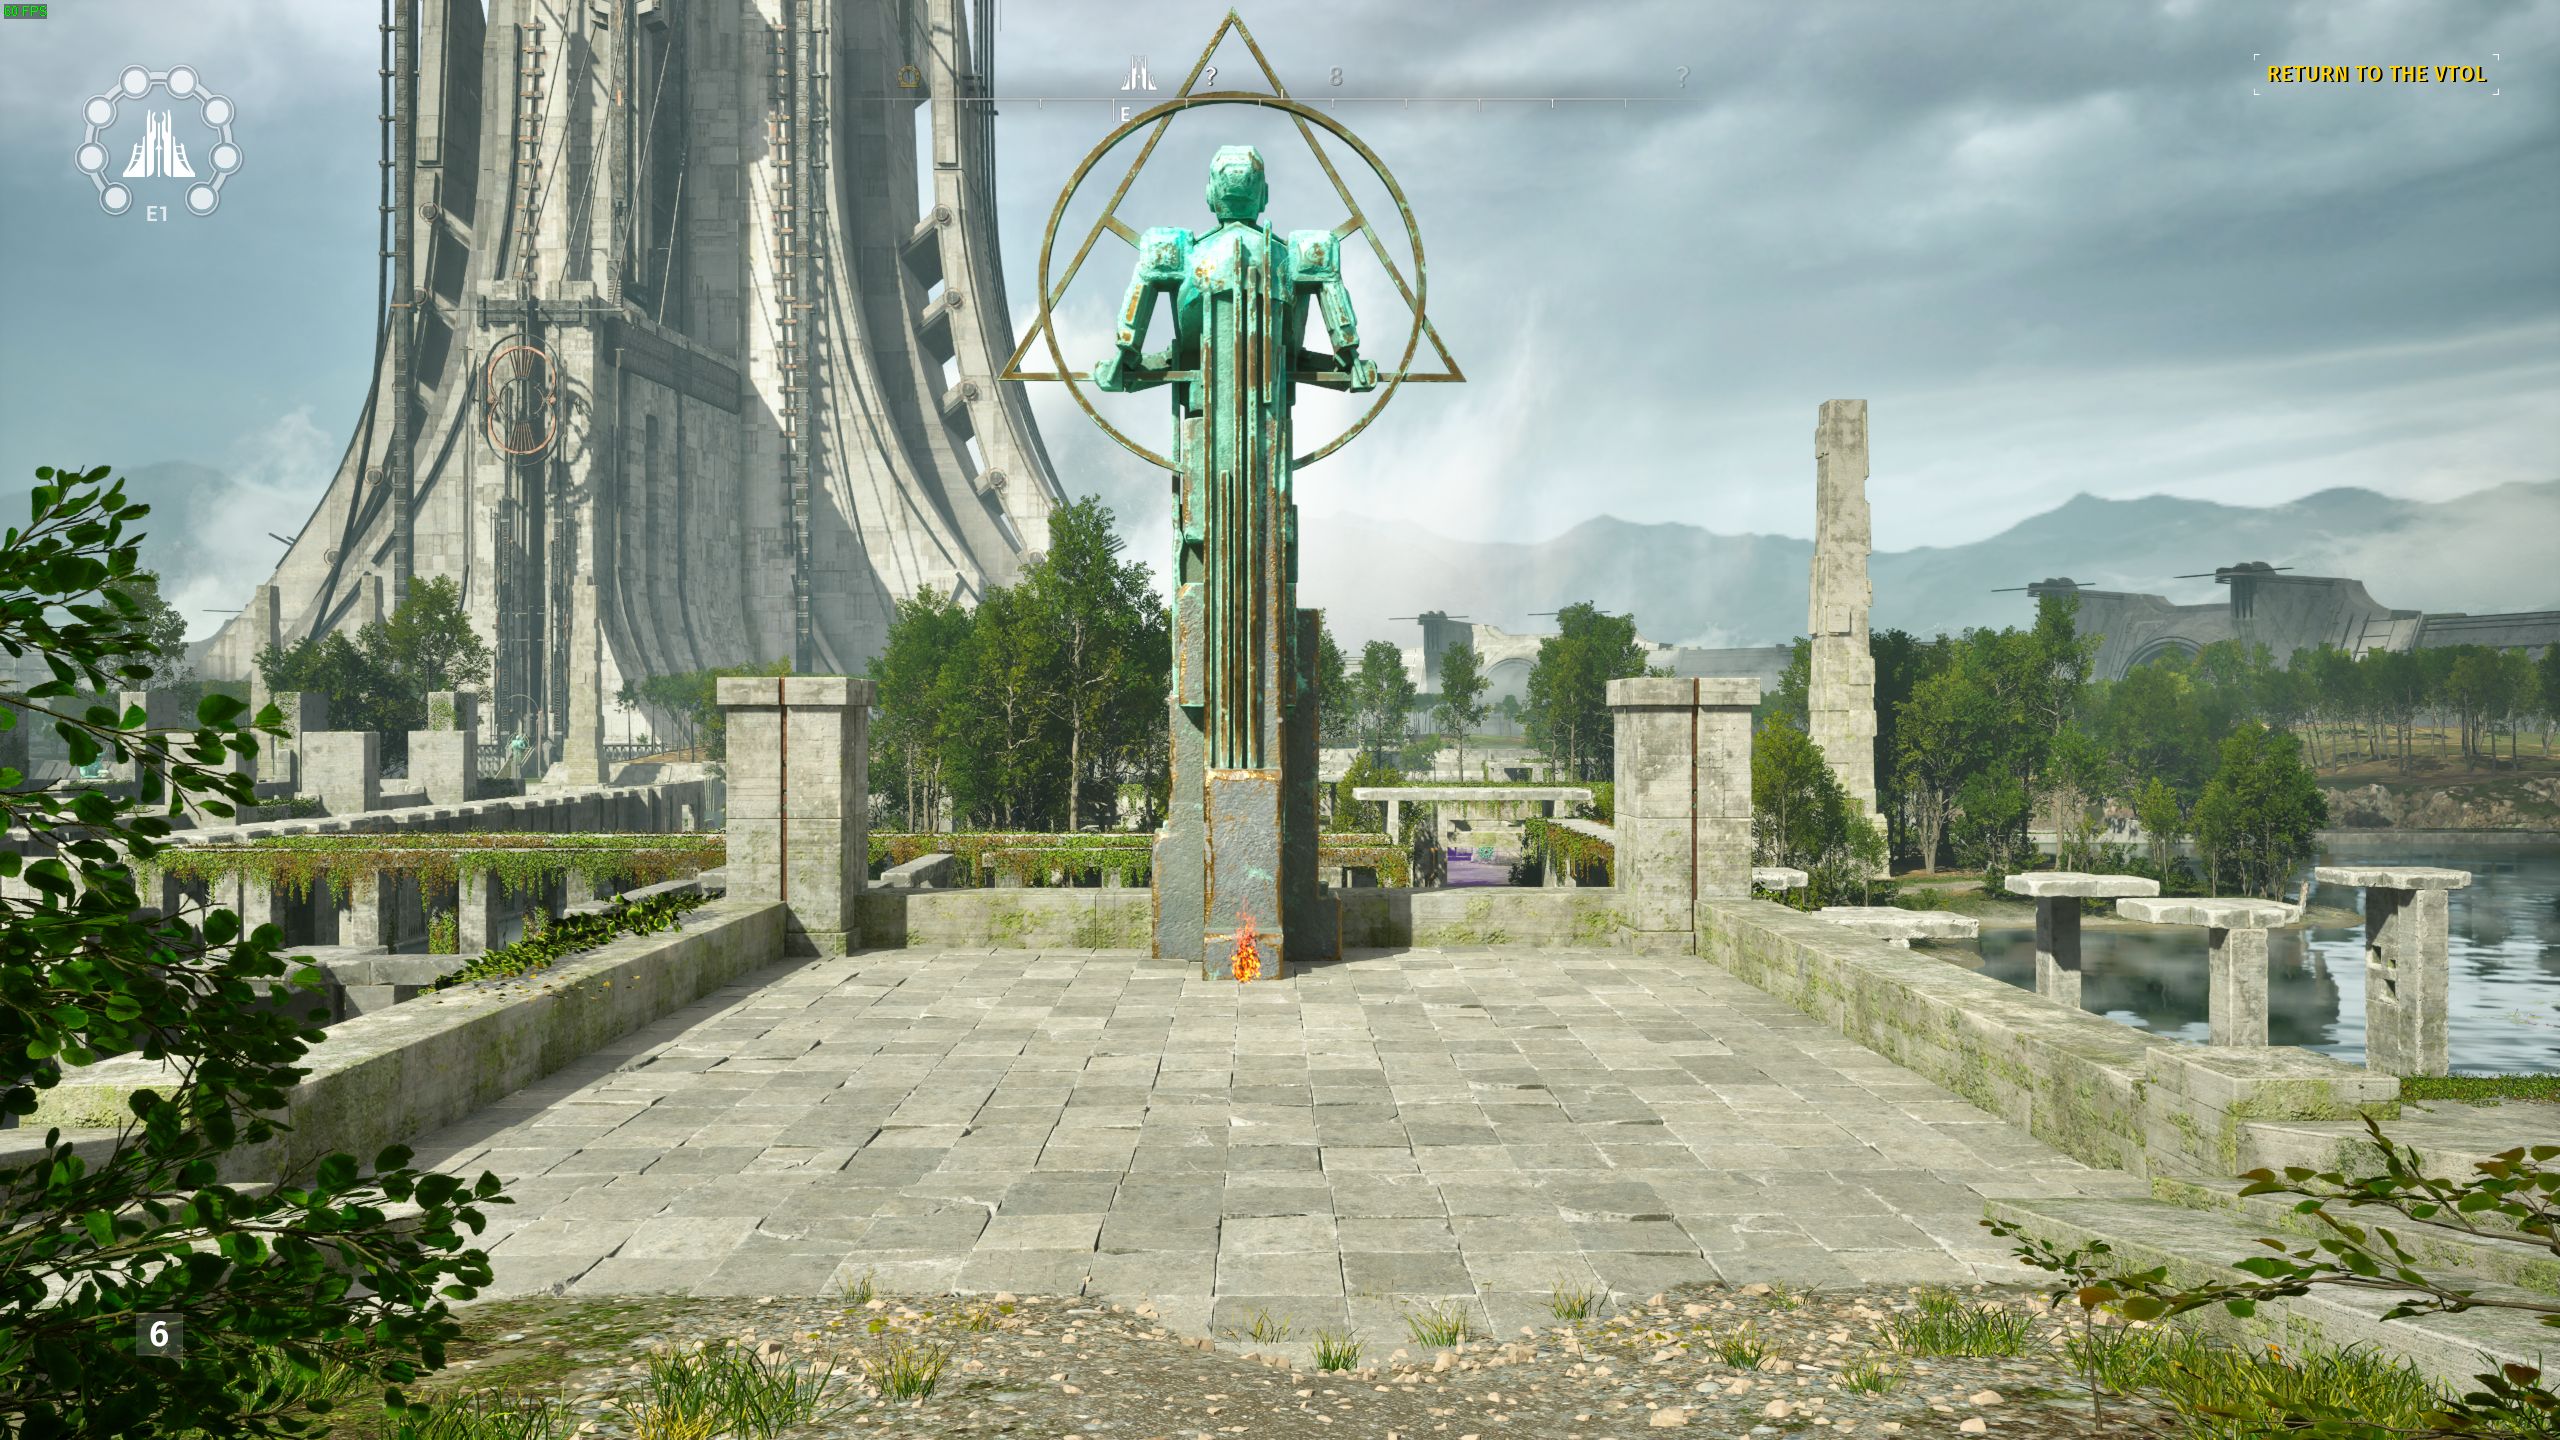
Exit puzzle 3 and you can jump down off the ledge to the south east to reach the first spark.
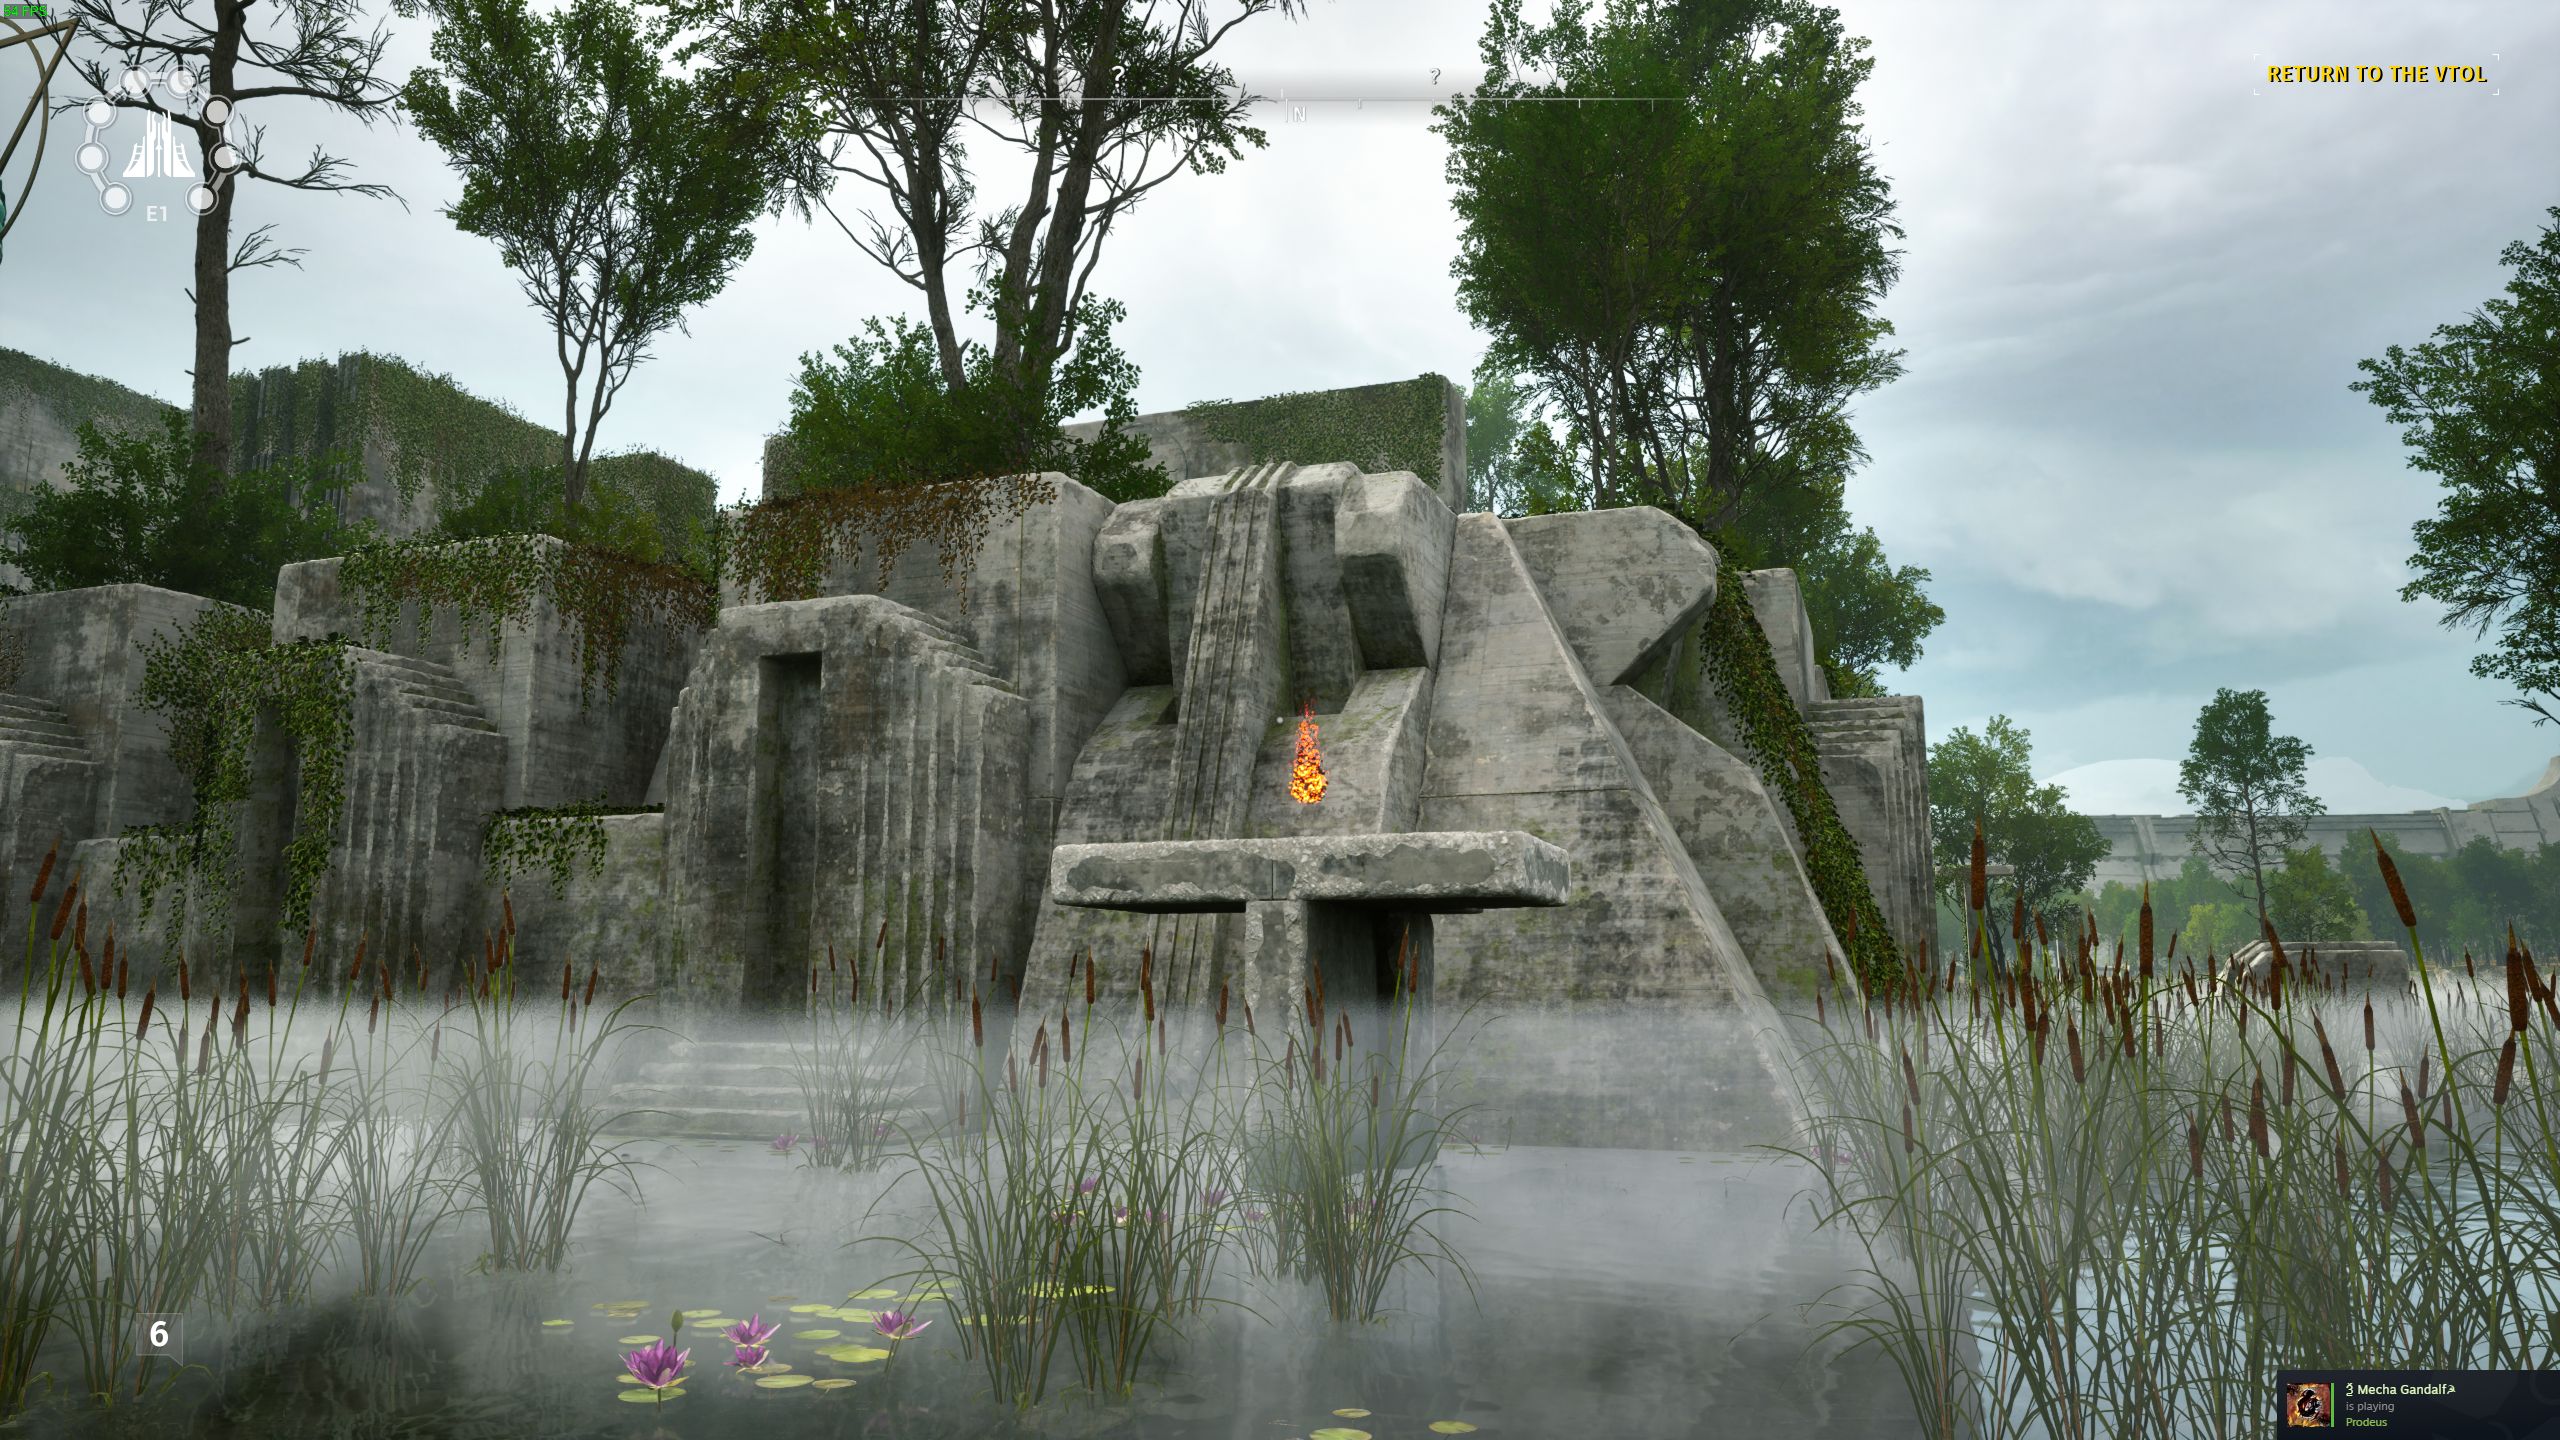
Exit puzzle 6 and go around to the back of the puzzle. Keep going and you’ll see a statue with the spark in front of it.
East 2
The first spark is just south of the station.
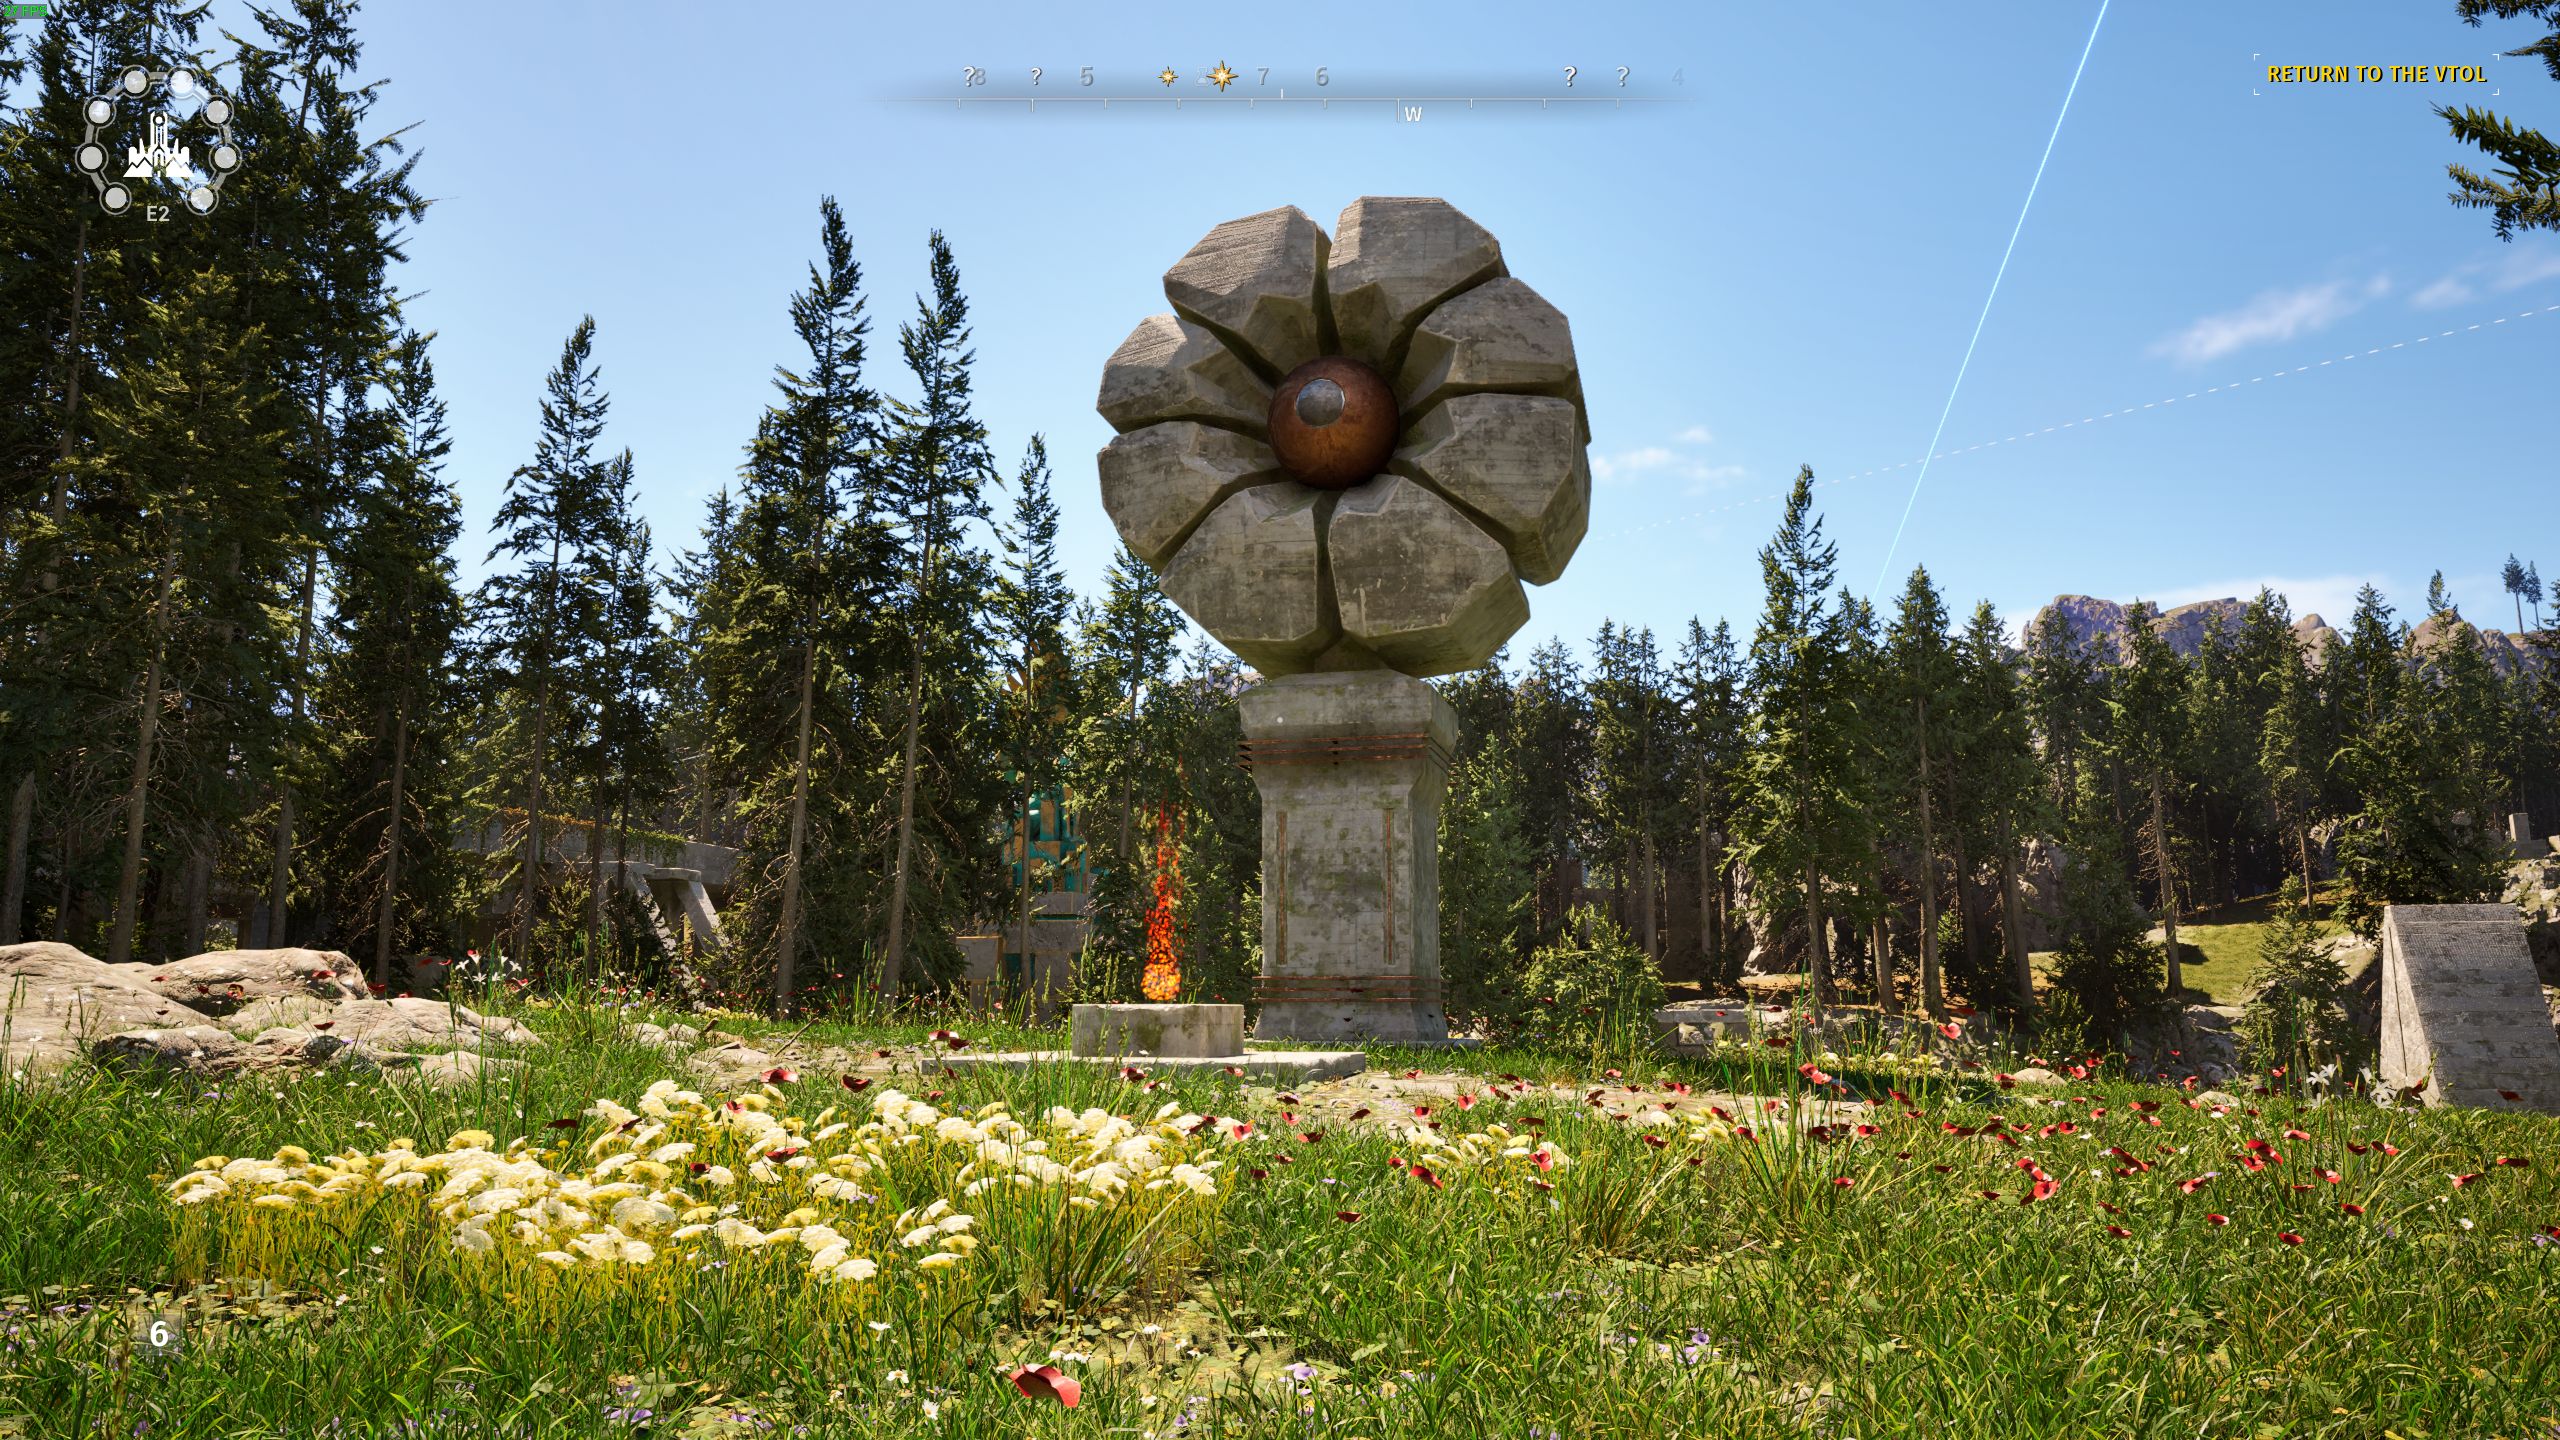
This next one is north west of puzzle 3’s entrance. There is a higher path and a lower path, take the higher one and hug the left wall. You’ll reach the cliff edge, follow it and you’ll run into the spark.
East 3
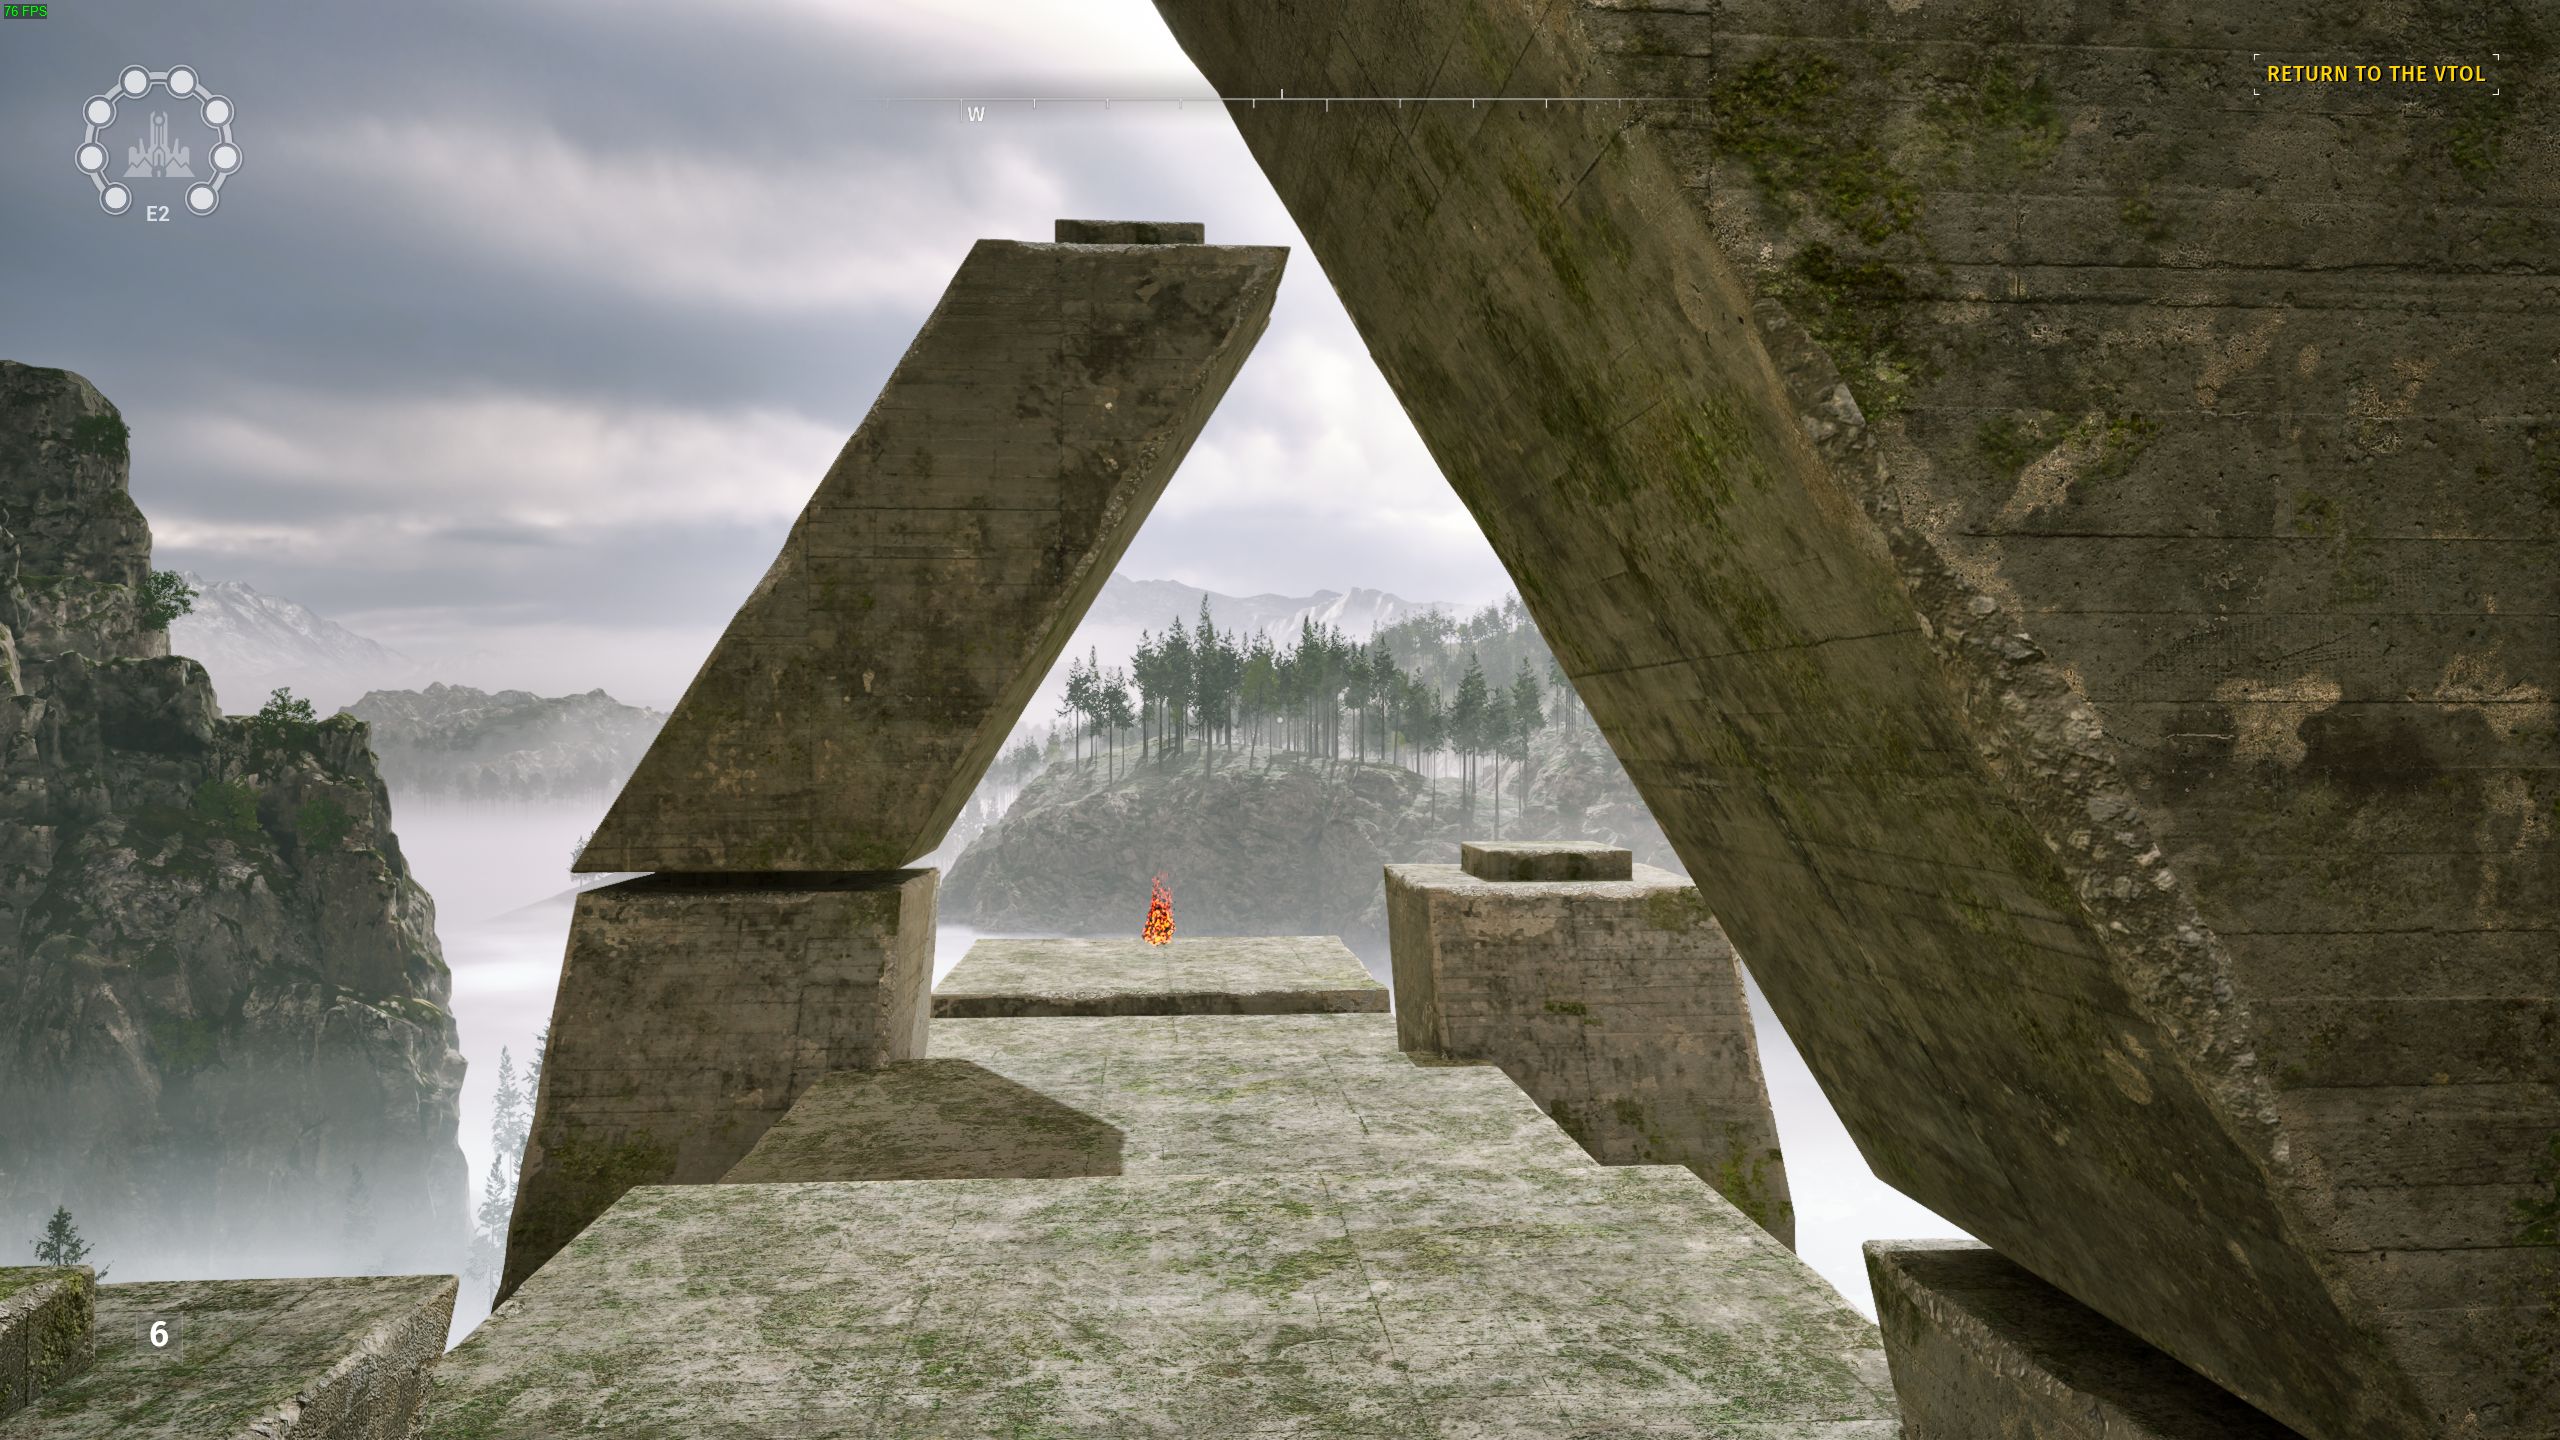
Exit puzzle 2 and follow the rock fact in front of you around to the right. There is a gap in the rock face, go inside and follow the path. Jump up the platforms to the spark.
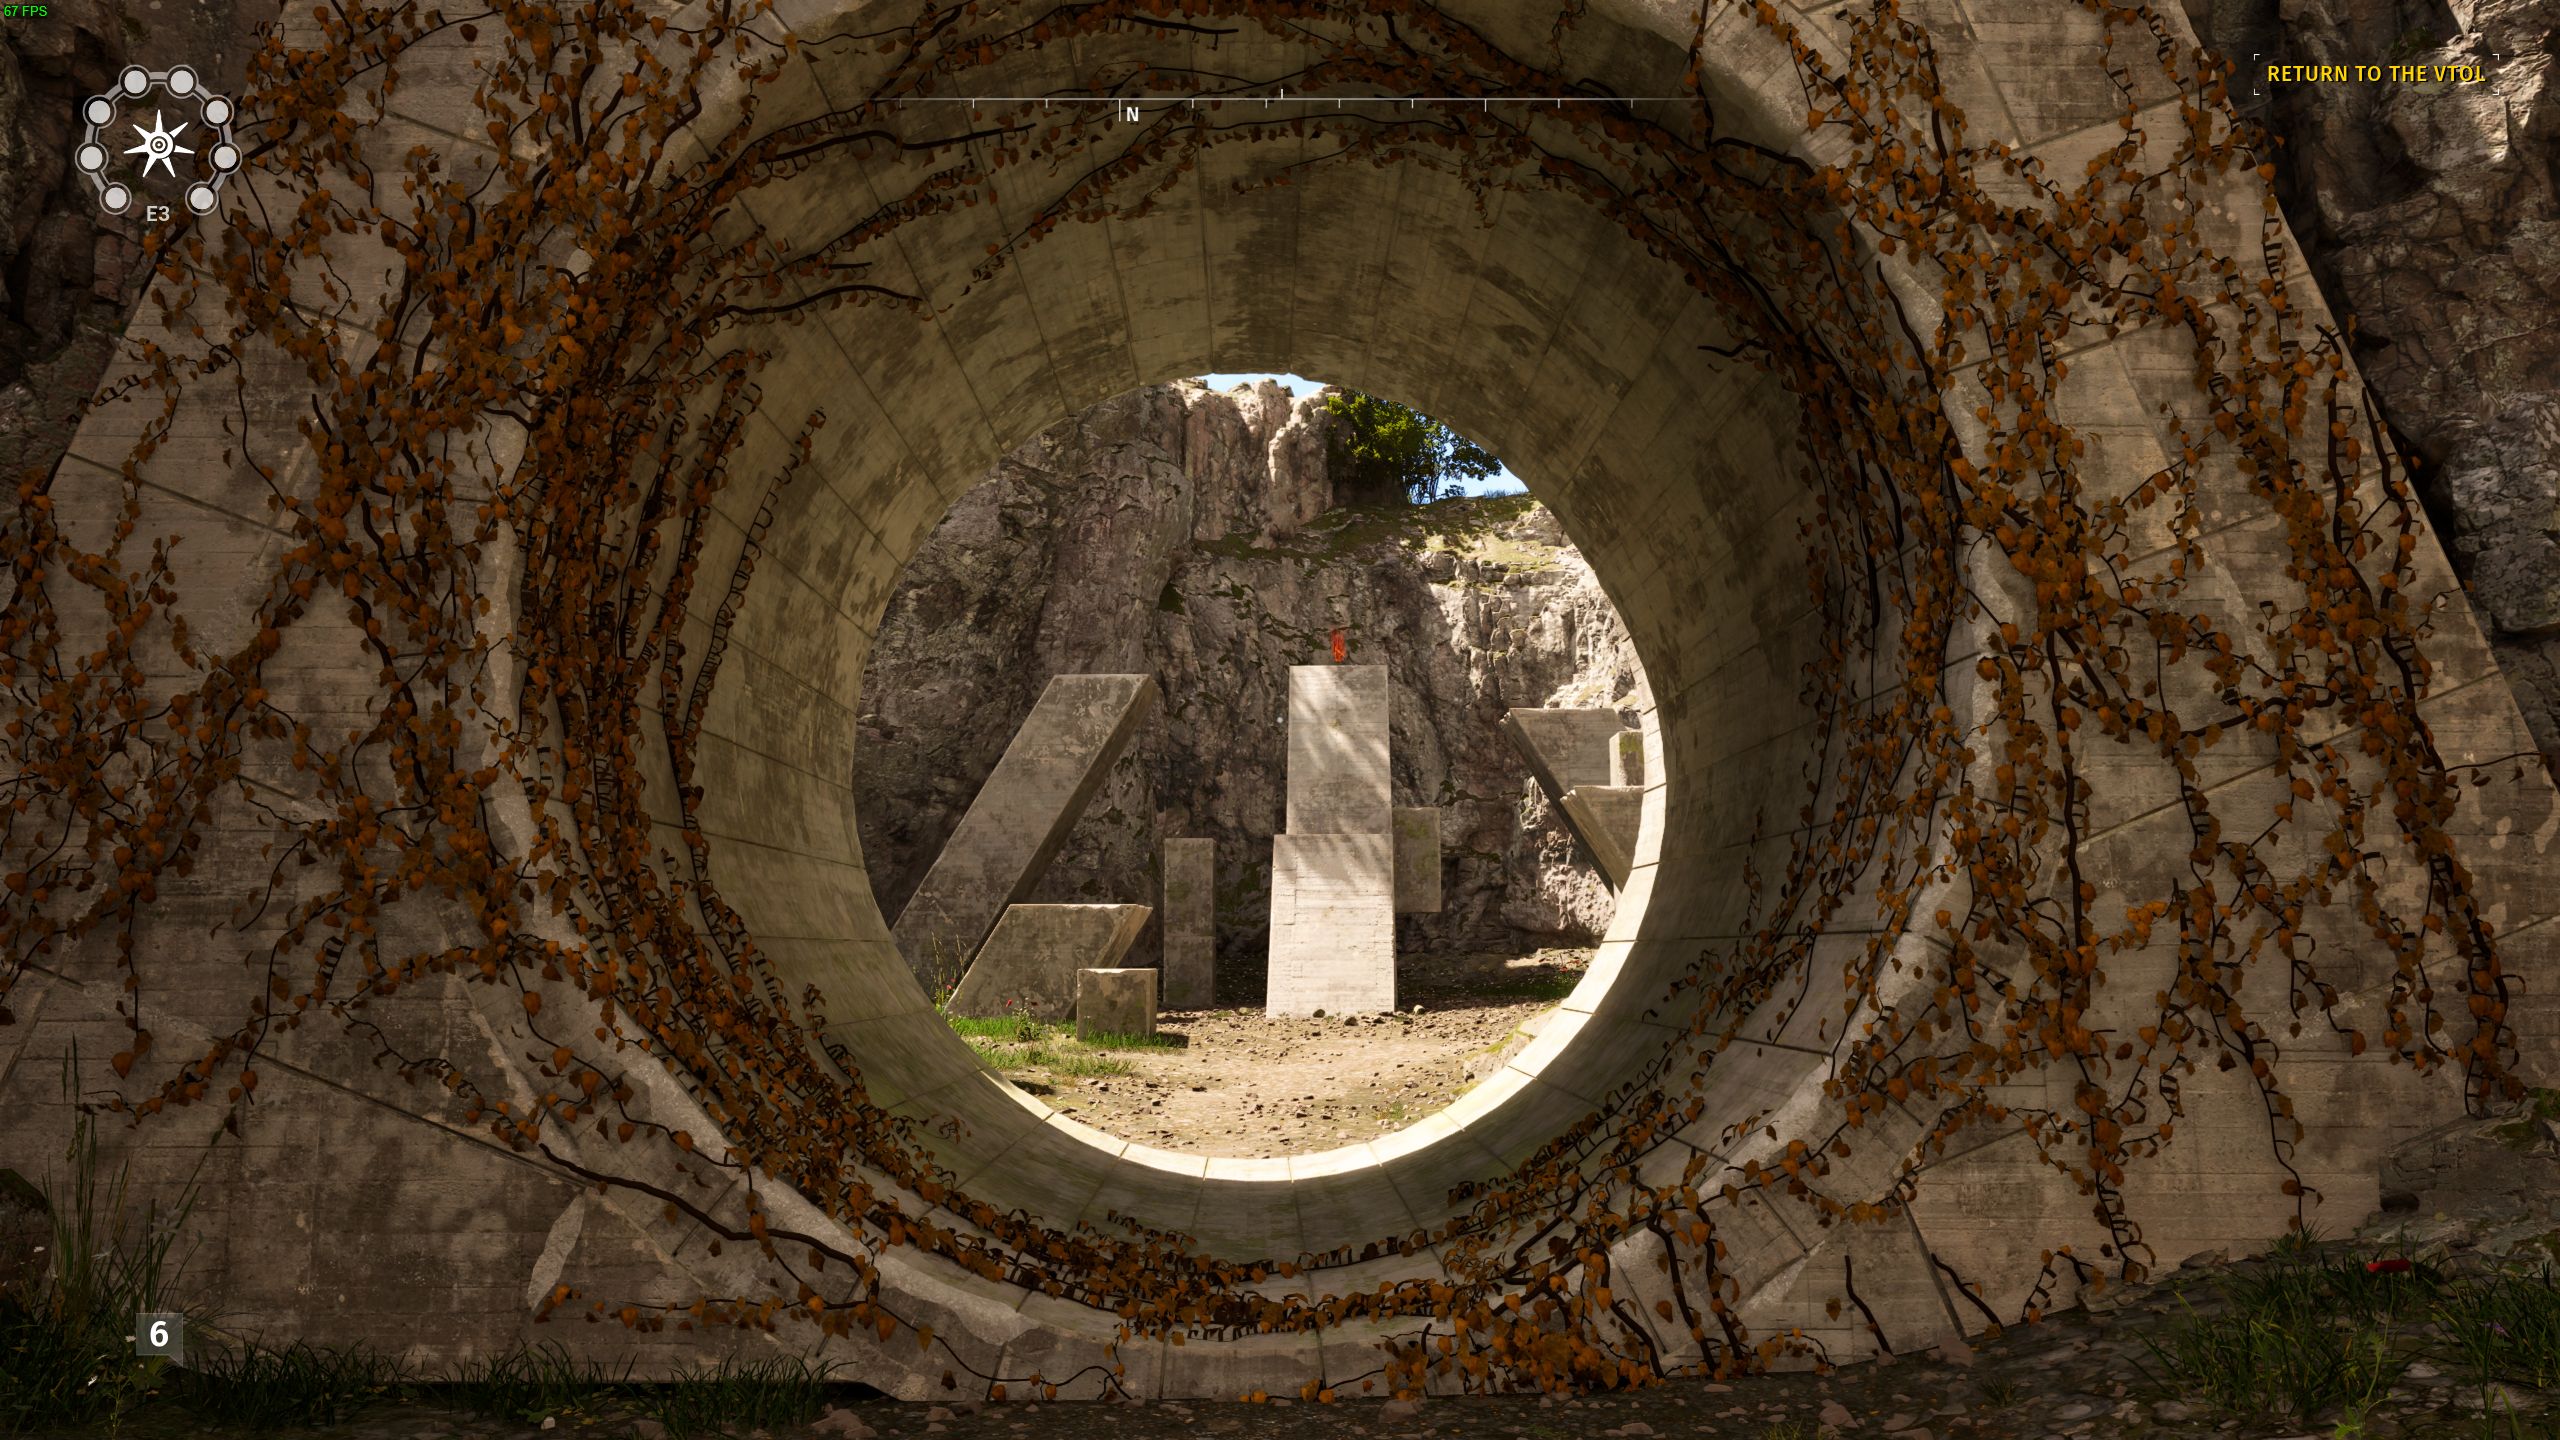
This is one the trickiest to describe. Starting at the pandora statue (the one inside the small maze of walls) go south east. You’ll keep a rock wall on your right and end up in a clearing once the wall curves aray, with forest ahead. A small shrine is in these trees.
North 1
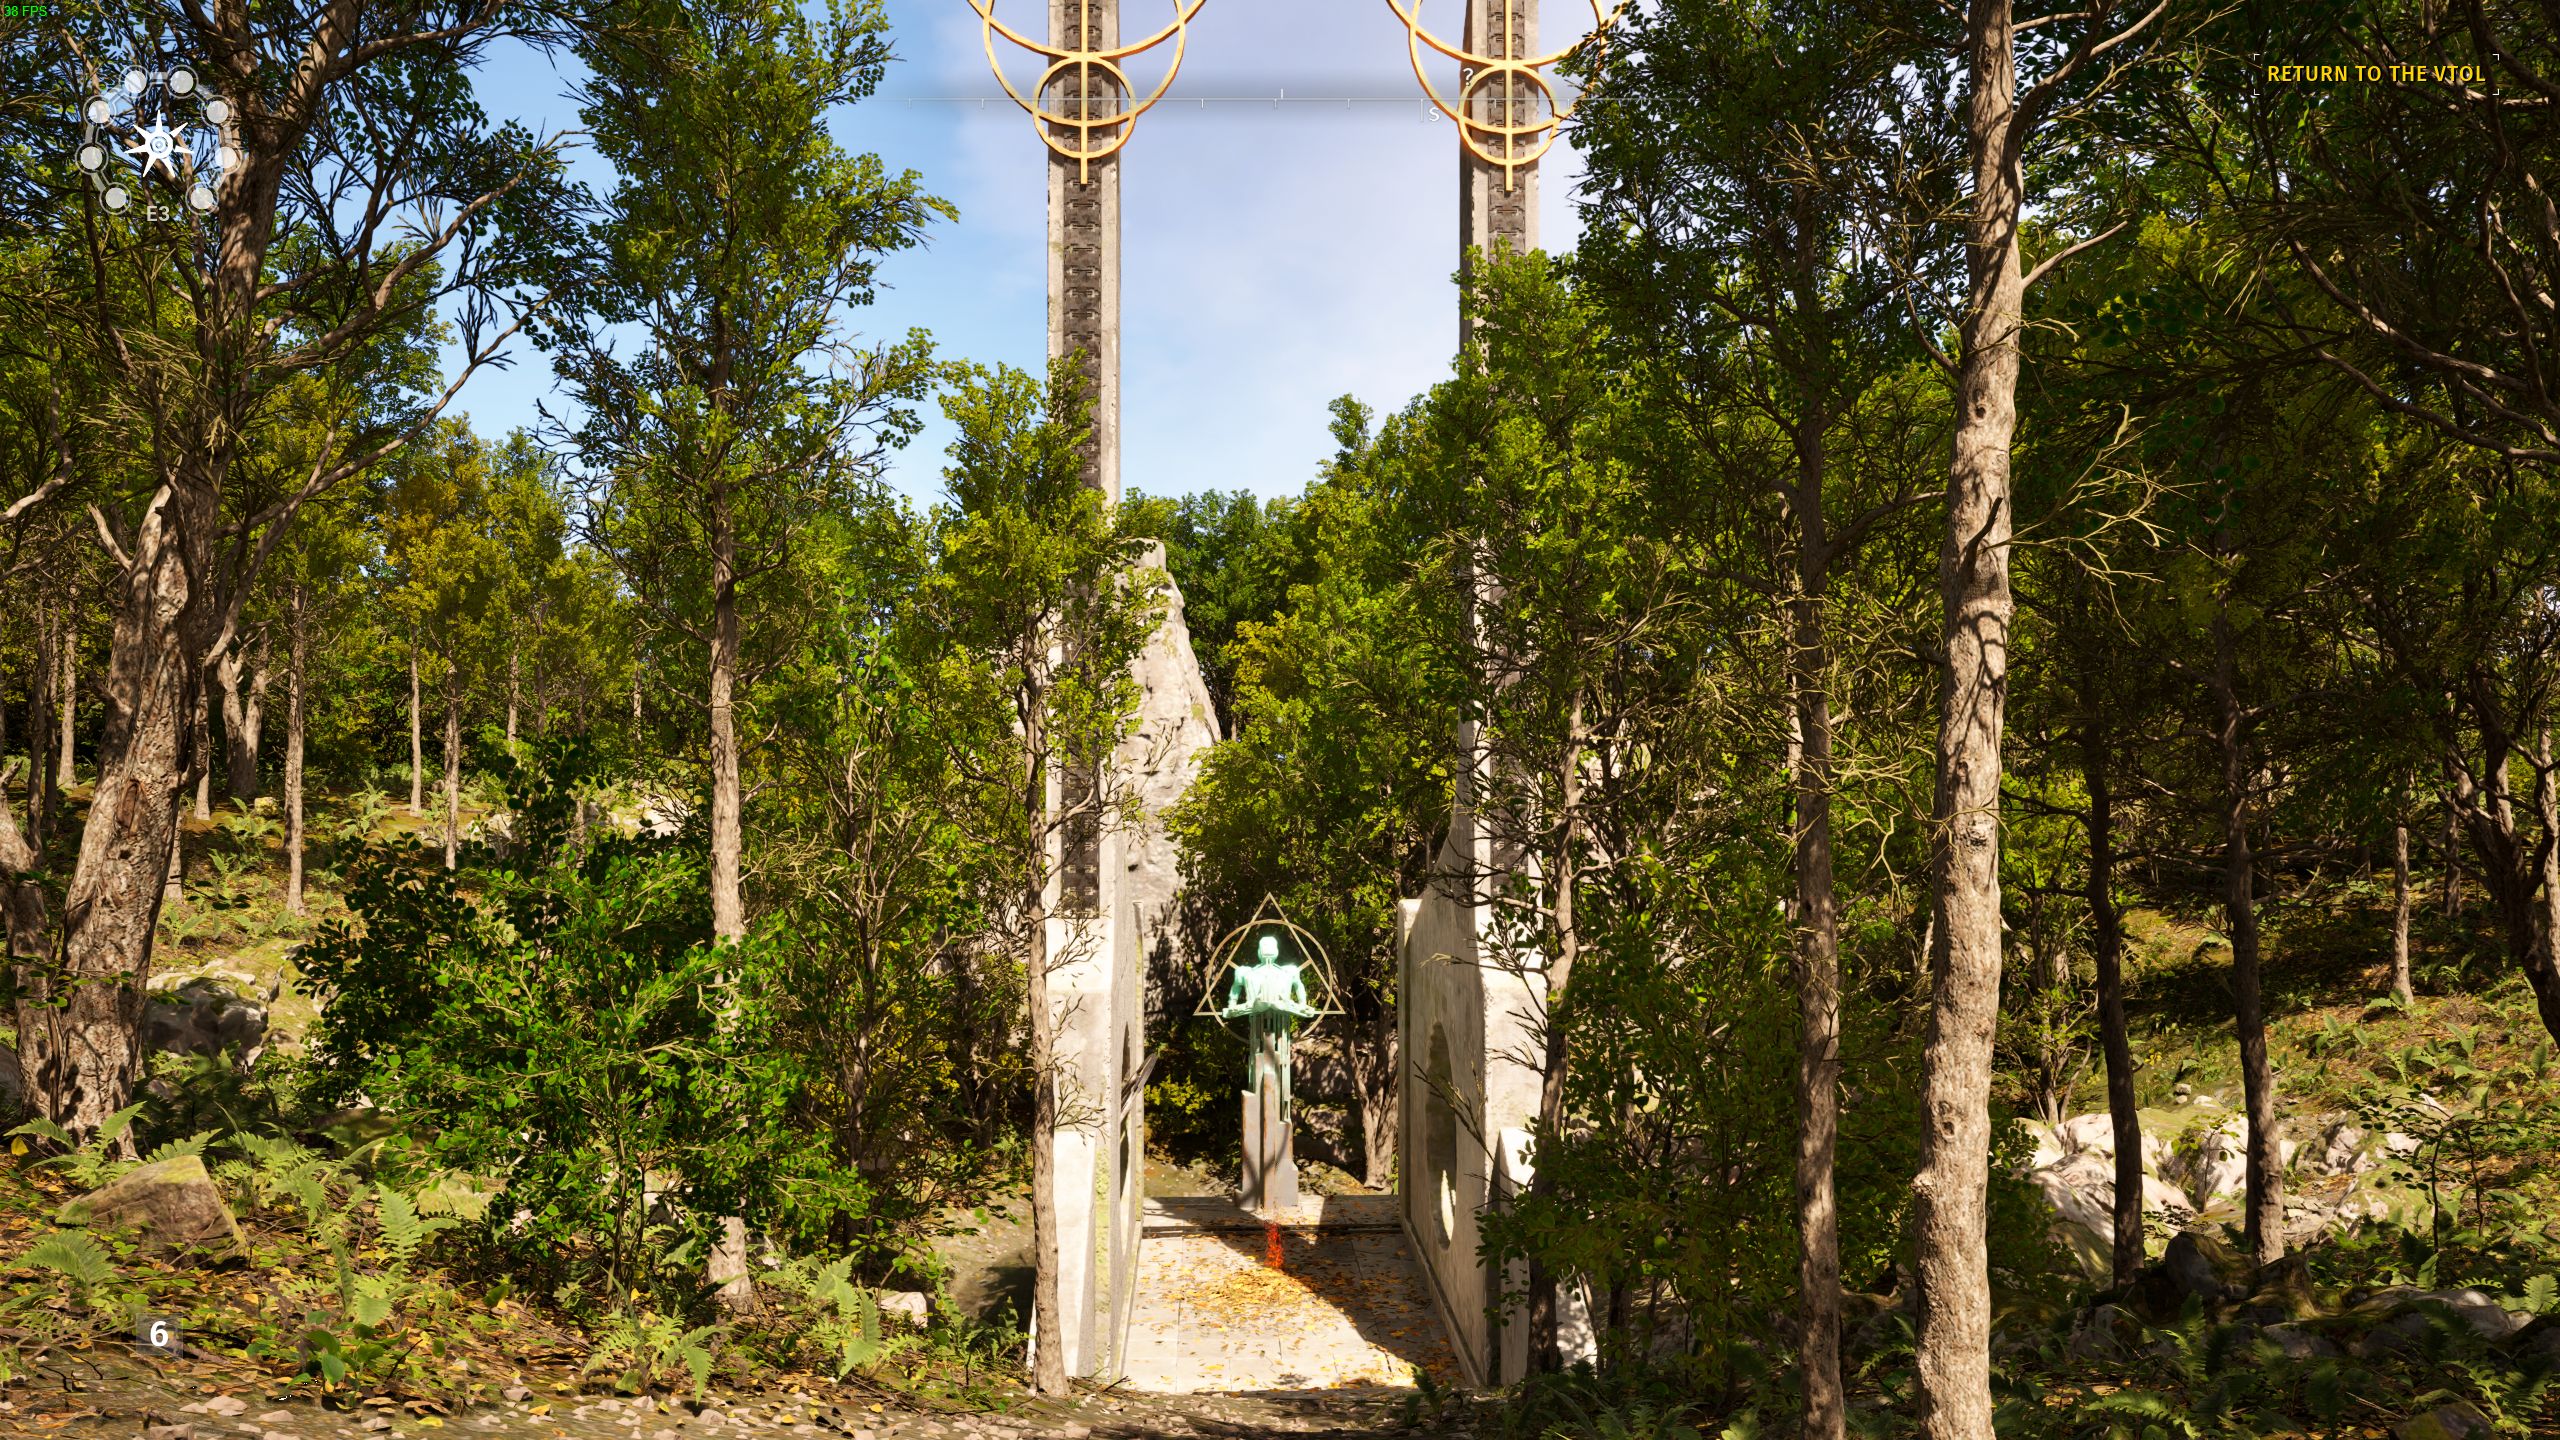
On the south east corner of the main structure. Go the east staircase down, look south east from the top of it to see this spark.
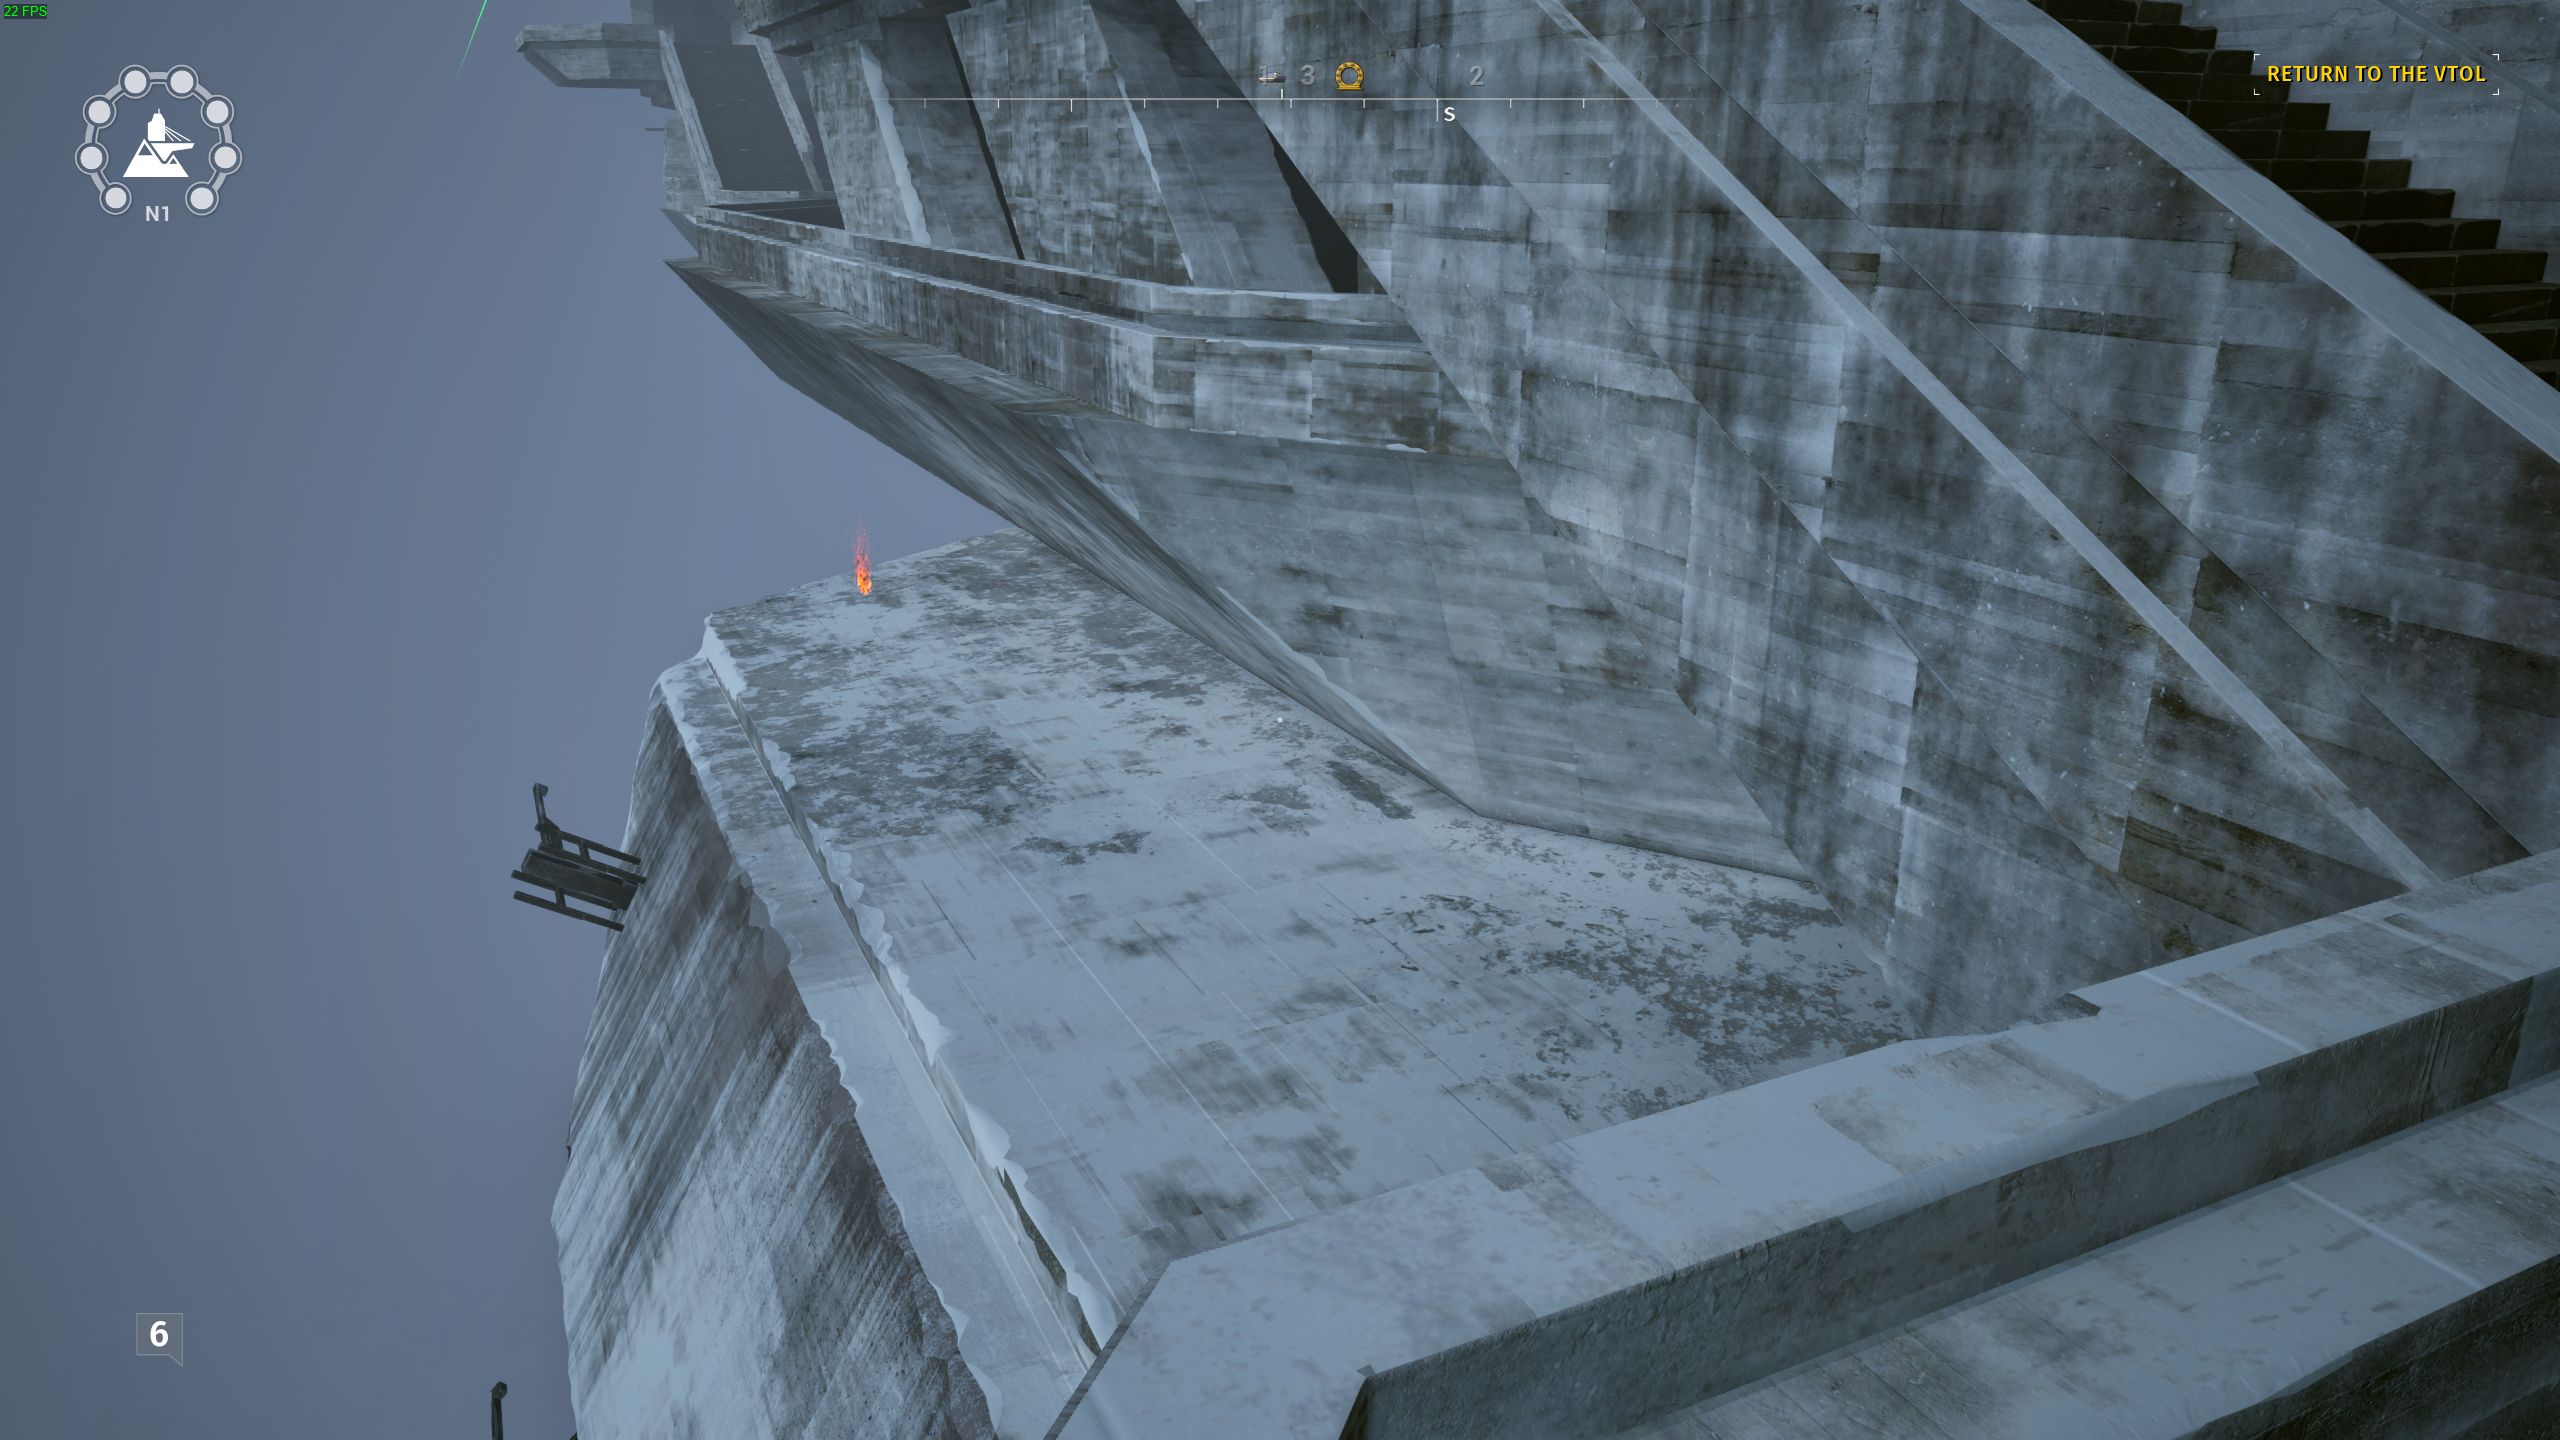
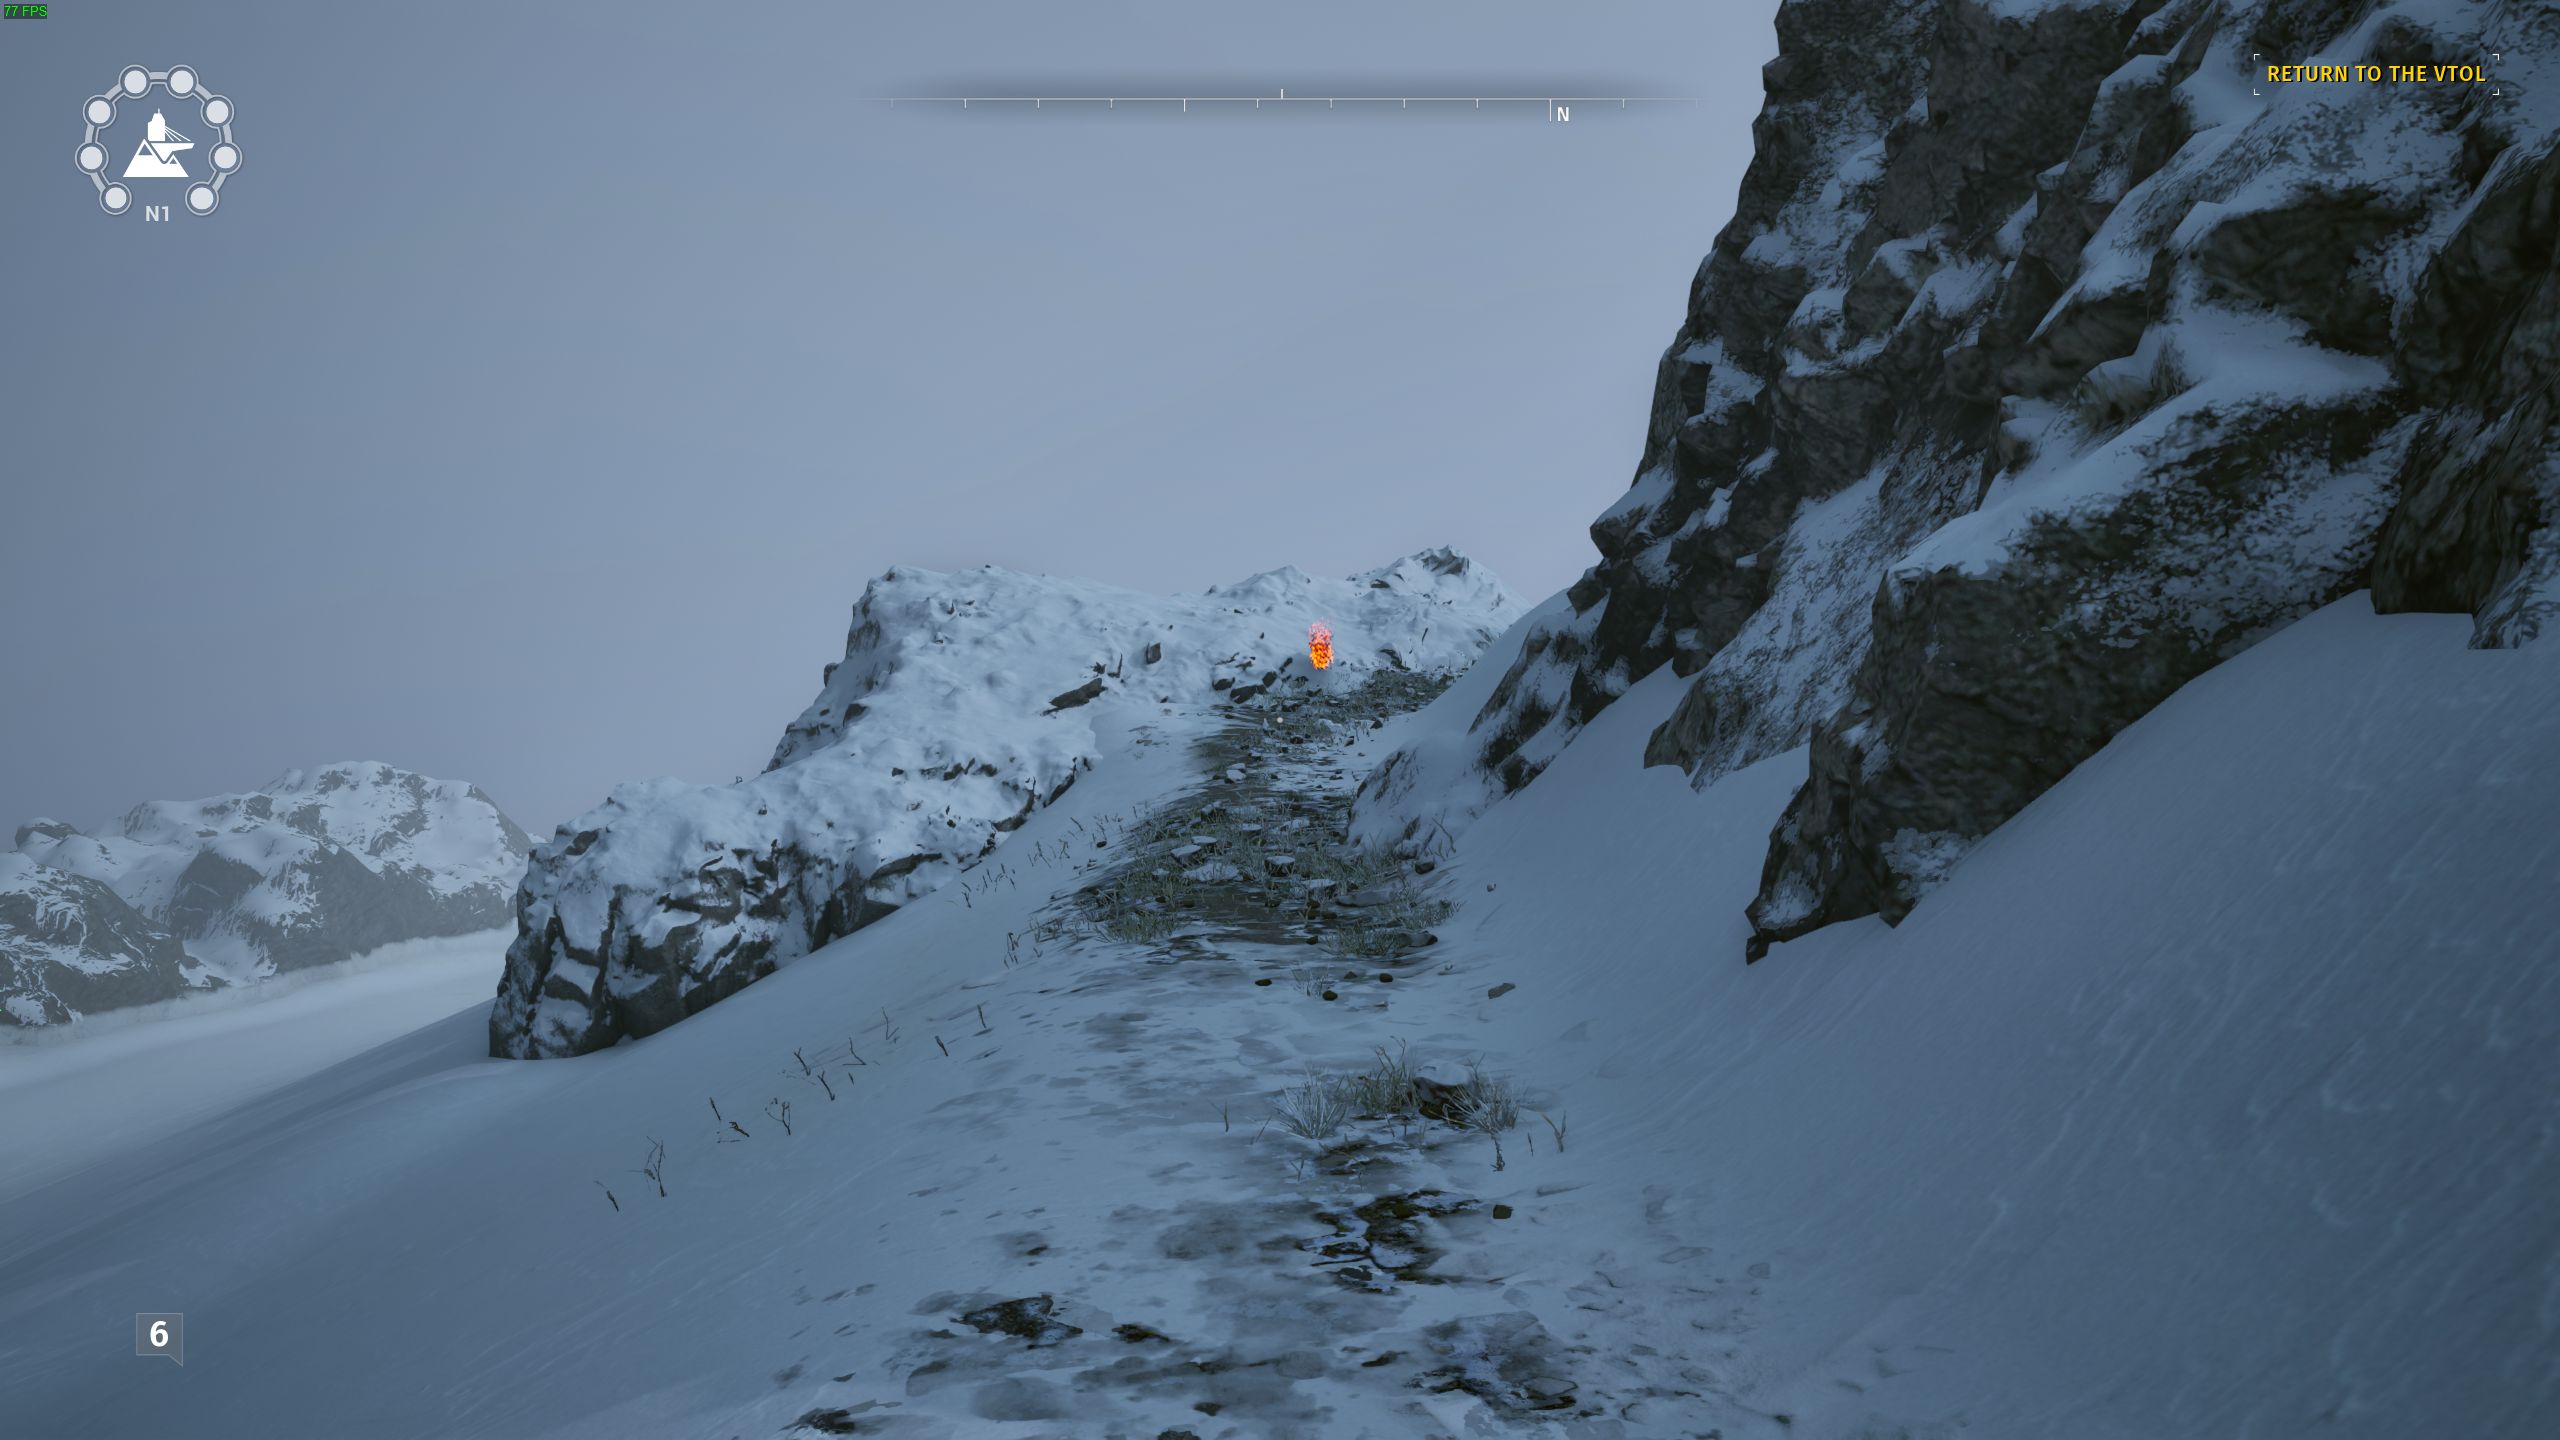
Facing the front of the golden puzzle, follow the path around the puzzle to the right. The spark is at the end.
North 2
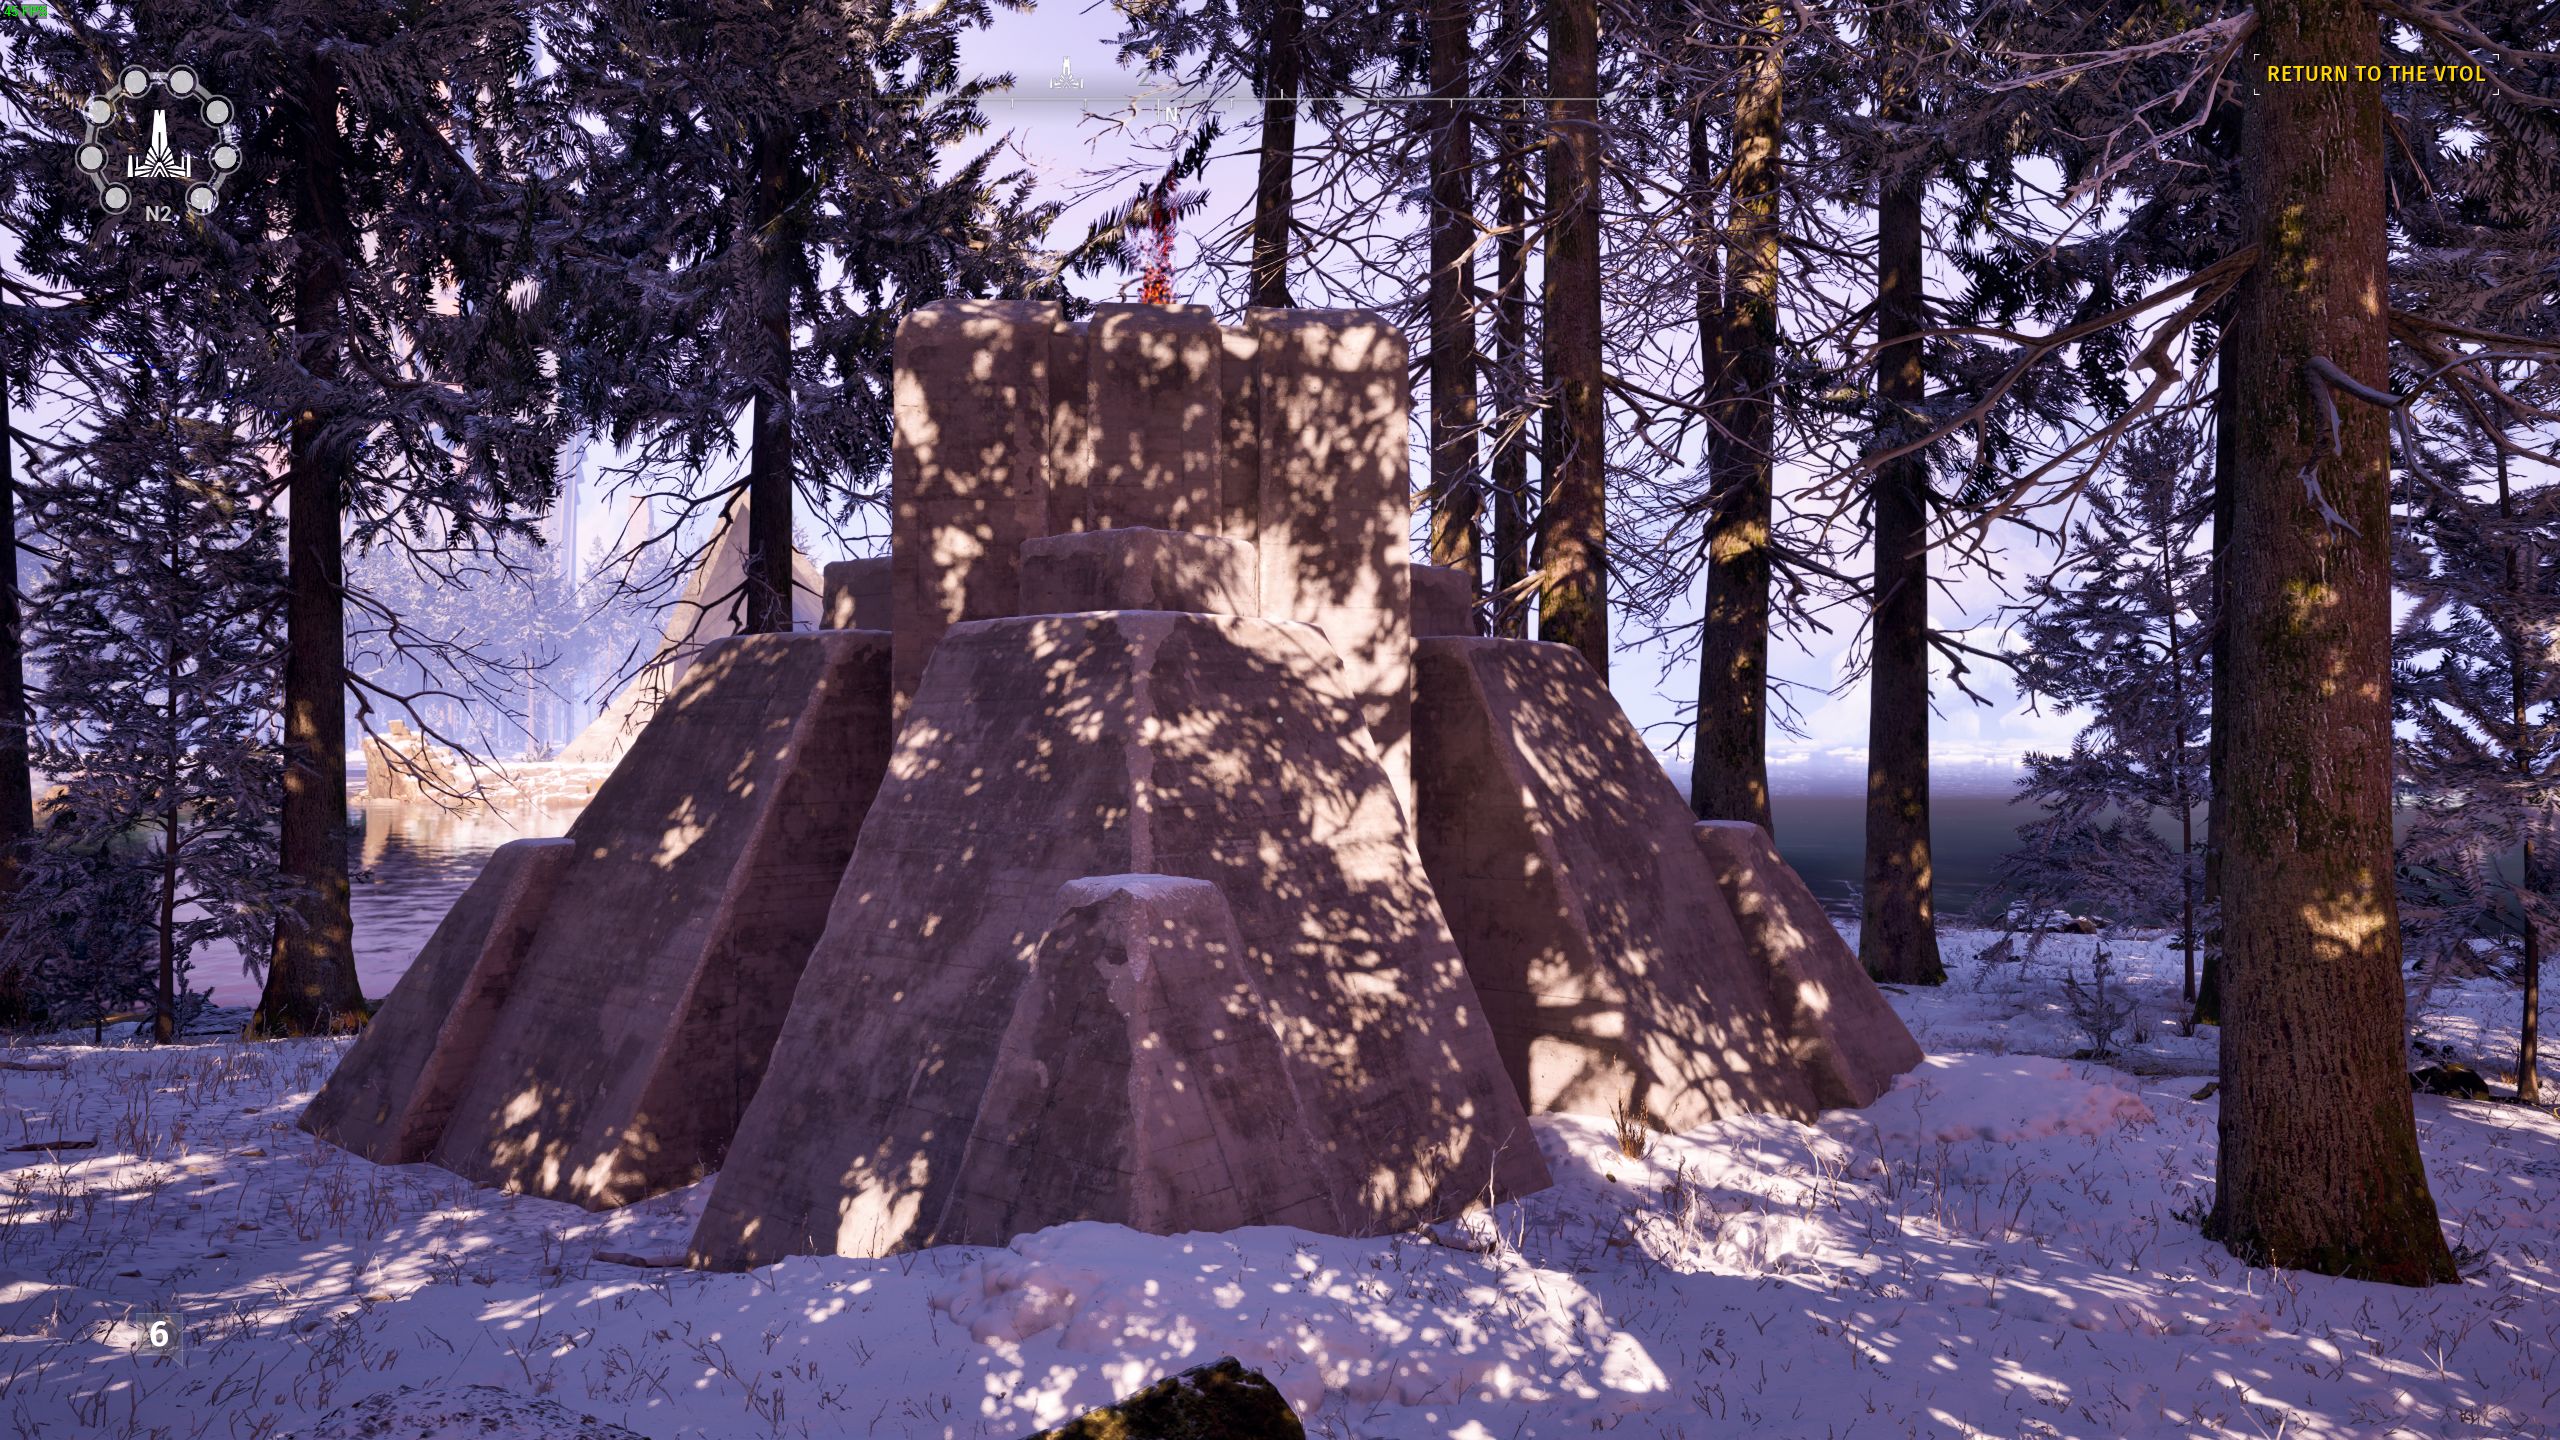
At puzzle 3, go north east to find this spark.
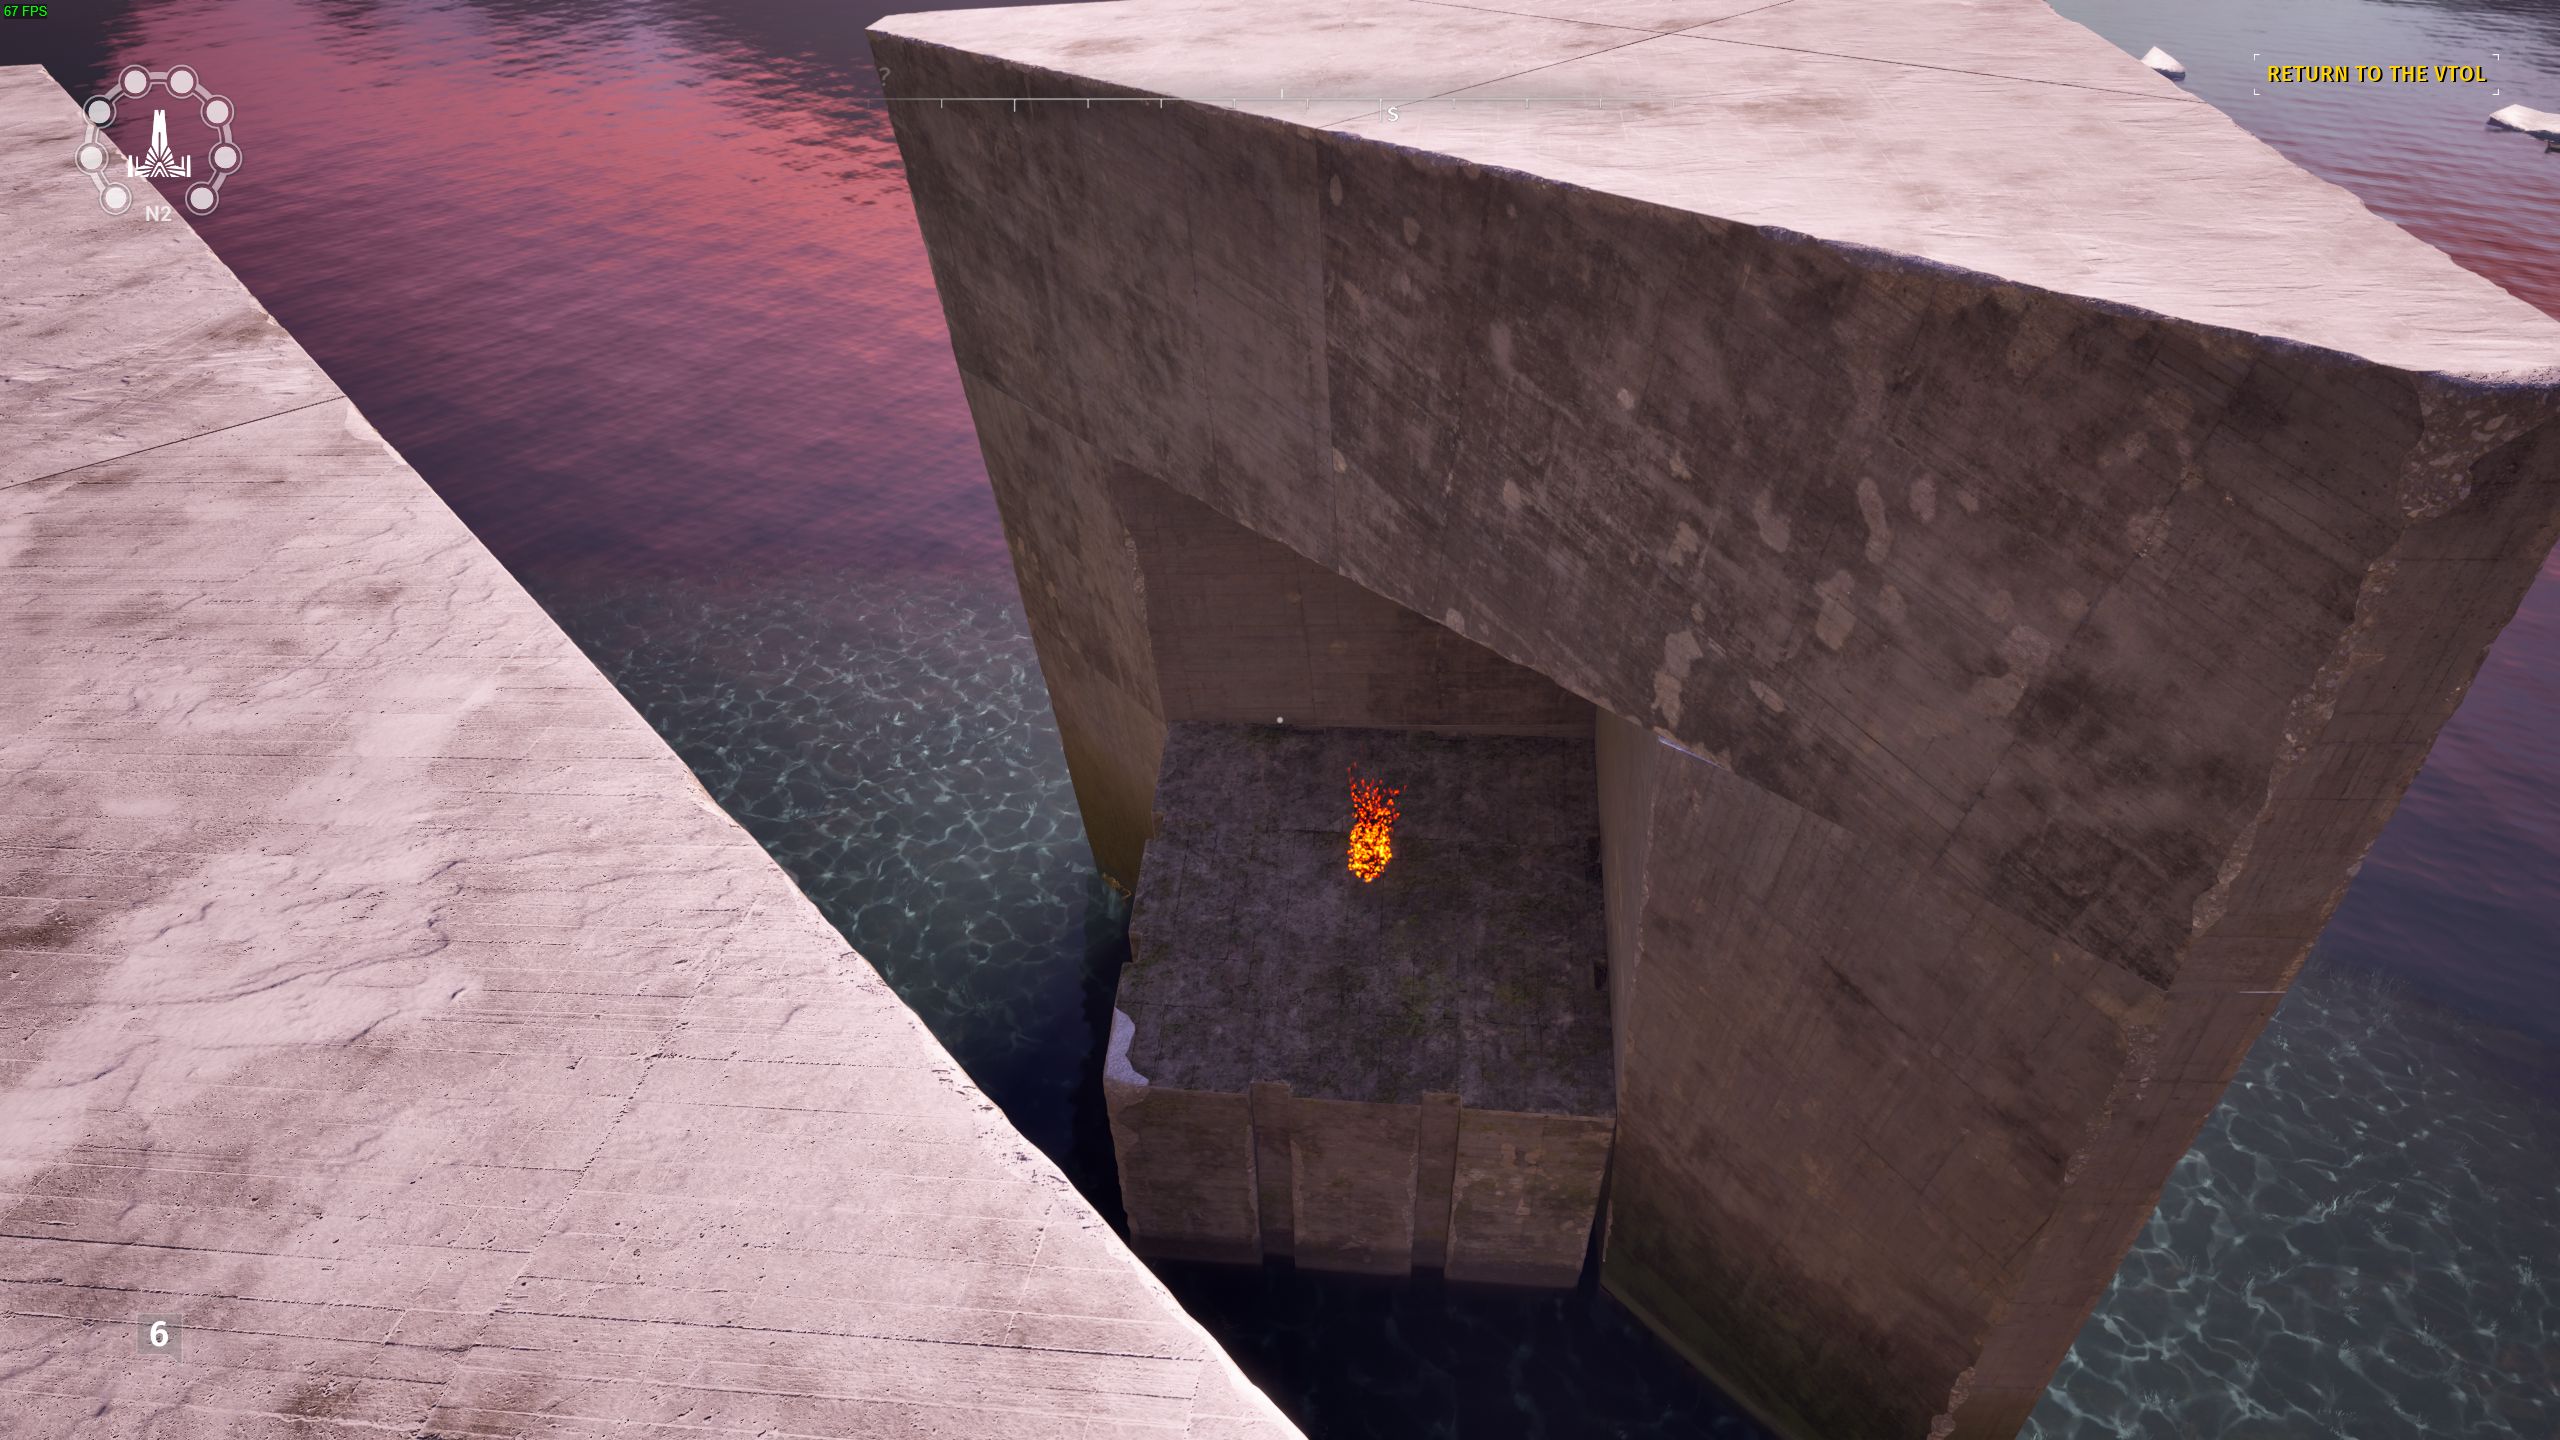
At puzzle 6, go west to the shore and you should see a submerged structure nearby. Go inside it andon the east side there is a path up. Jump over the gaps in the roof and jump down to the spark.
North 3
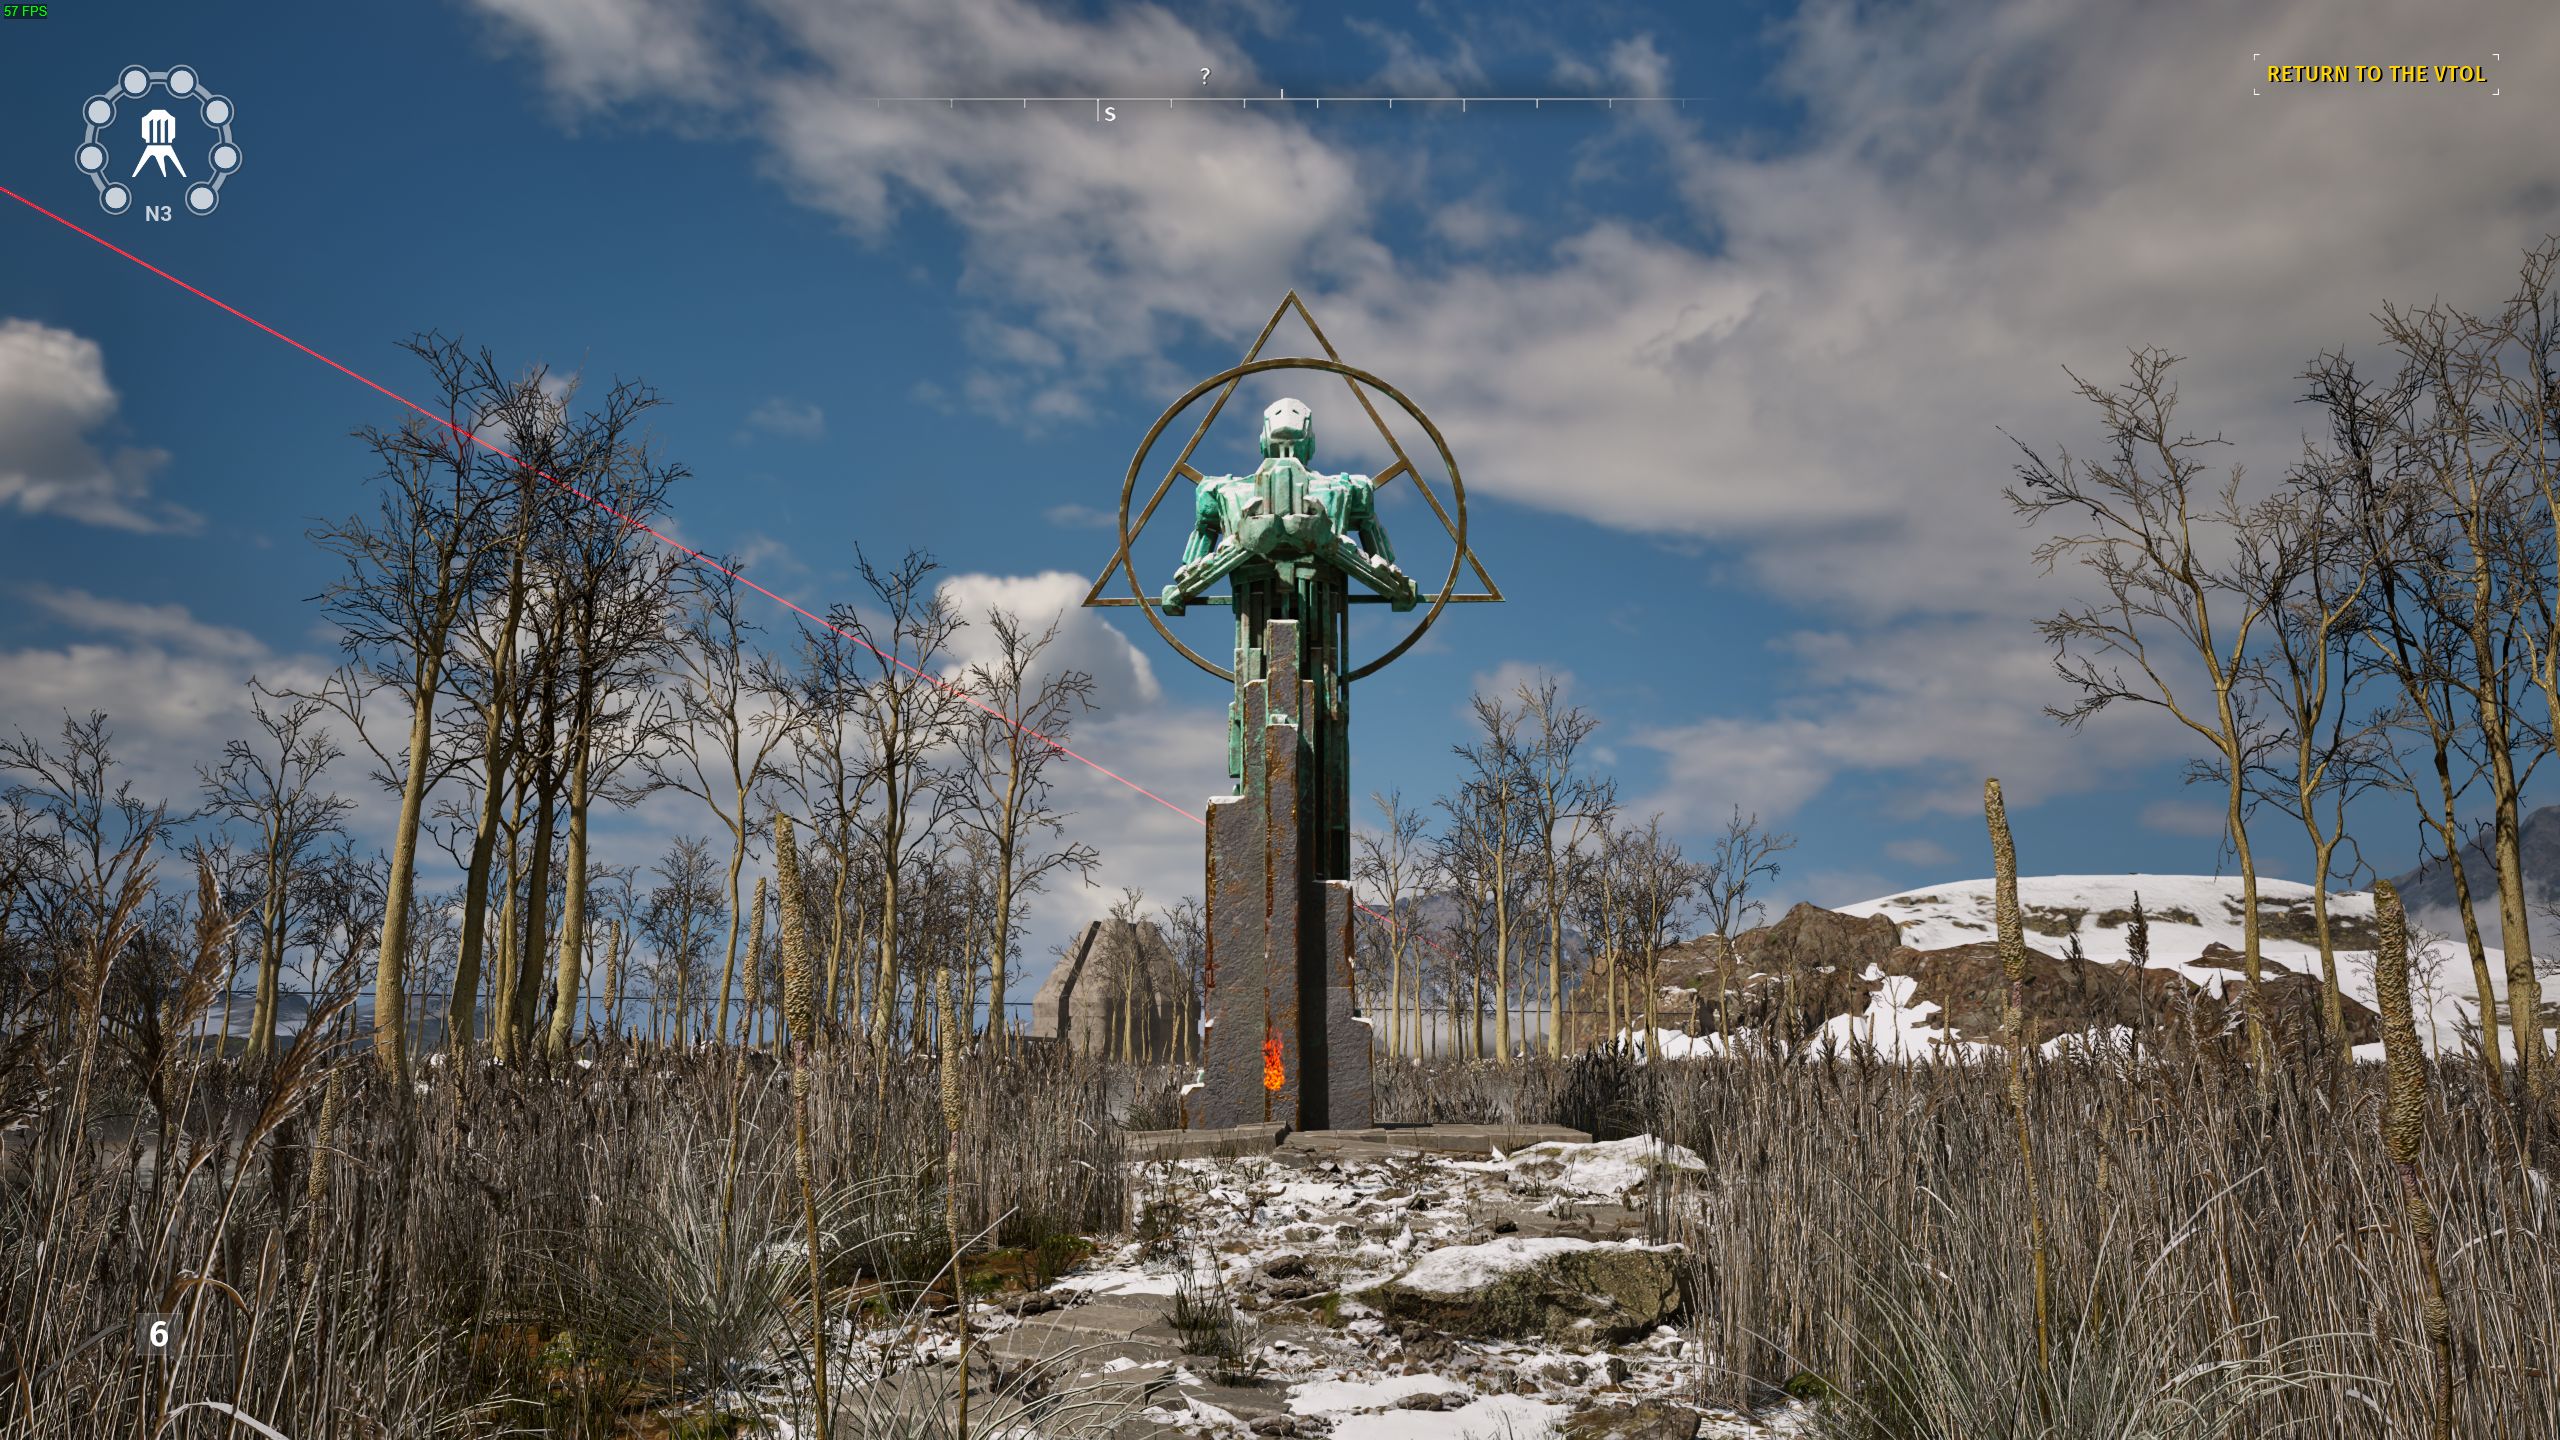
At puzzle 3, look out west of it and you’ll see a statue in the water. You’ll need to swing around north to avoid drowning (shorting out?) on your way there. The spark is in front of the statue.
At puzzle 6 go east and you’ll find a structure with a spark which needs a button pressed to activate a fan to reach. Facing the front of the structure (the side with the button) go back through the left door and you’ll see a wind-up toy between two rocks. Activate it and wait on the fan for it to push the button for you.
You can also smuggle a connector out of puzzle 4 if you want instead I suppose, It’s not too hard to figure out how. In that puzzle you already used the boxes to go over one wall, what’s one more?
Incidentally the wind up toy is not present if you’ve already gotten the spark.
South 1
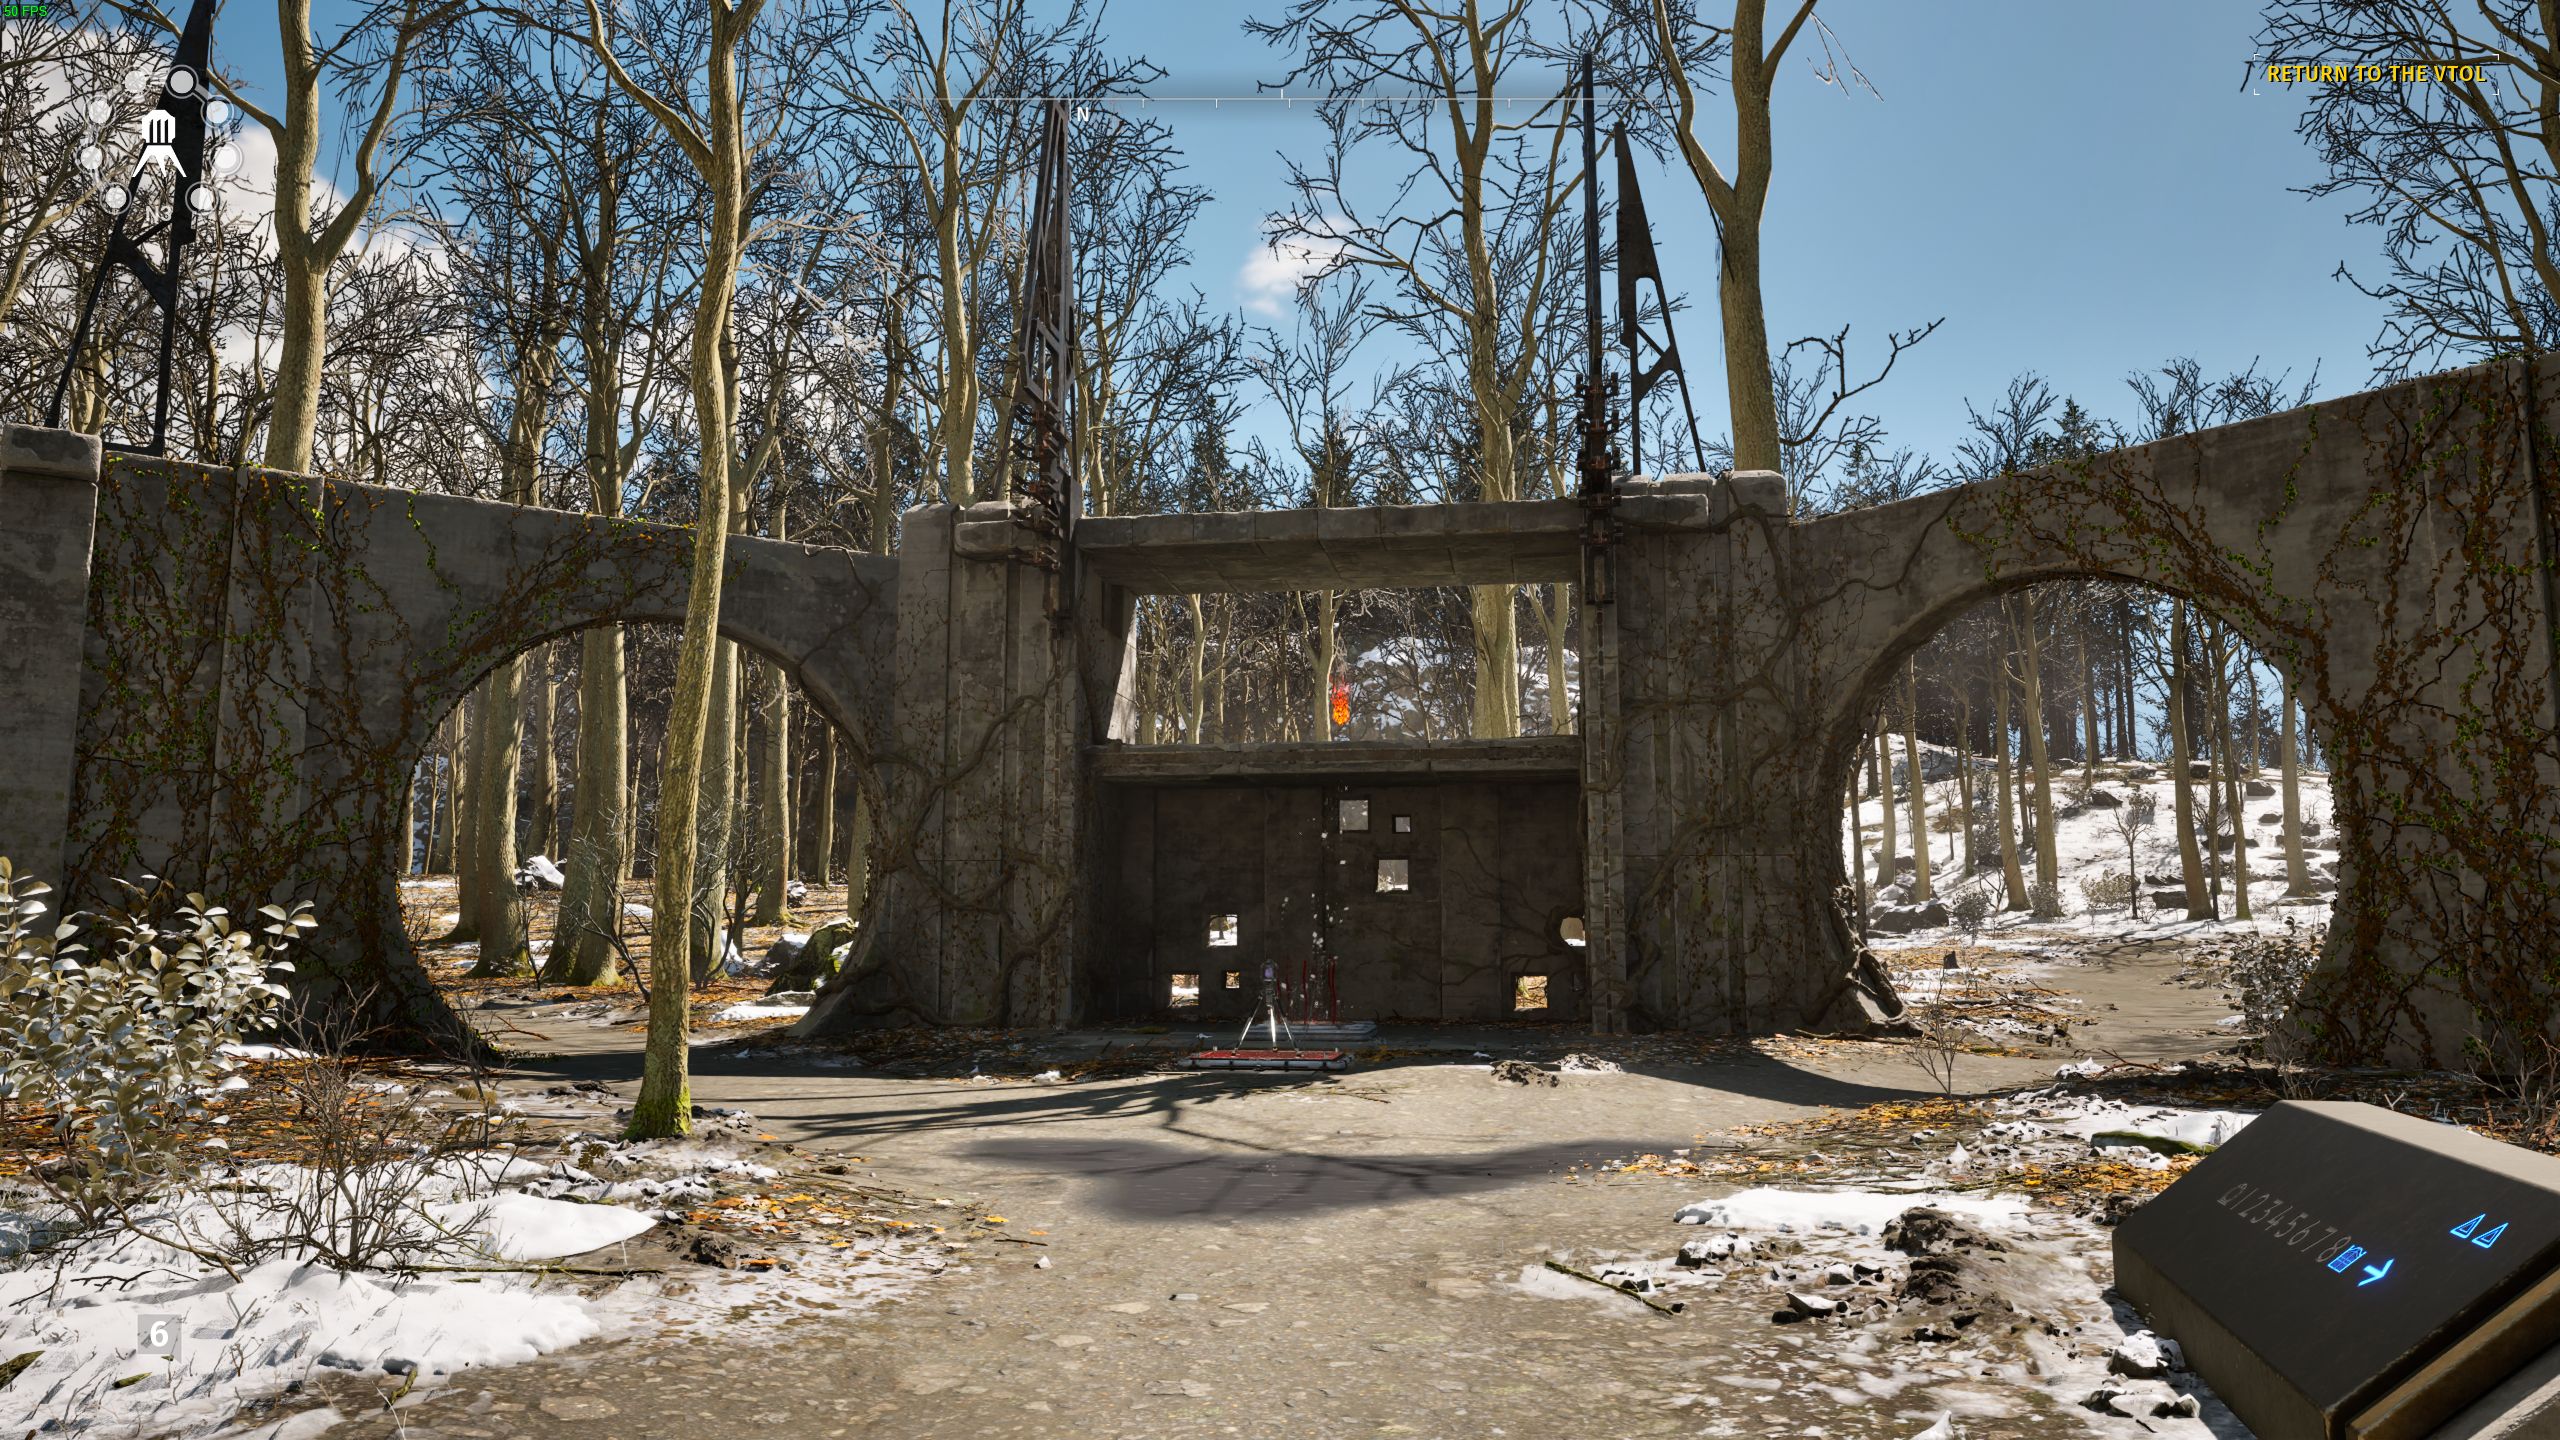
Travelling from puzzle 2 to puzzle 3 you’ll walk along a horseshoe-shaped cliff. Fall into the inside of the horseshoe and you’ll find a spark on the hill there.
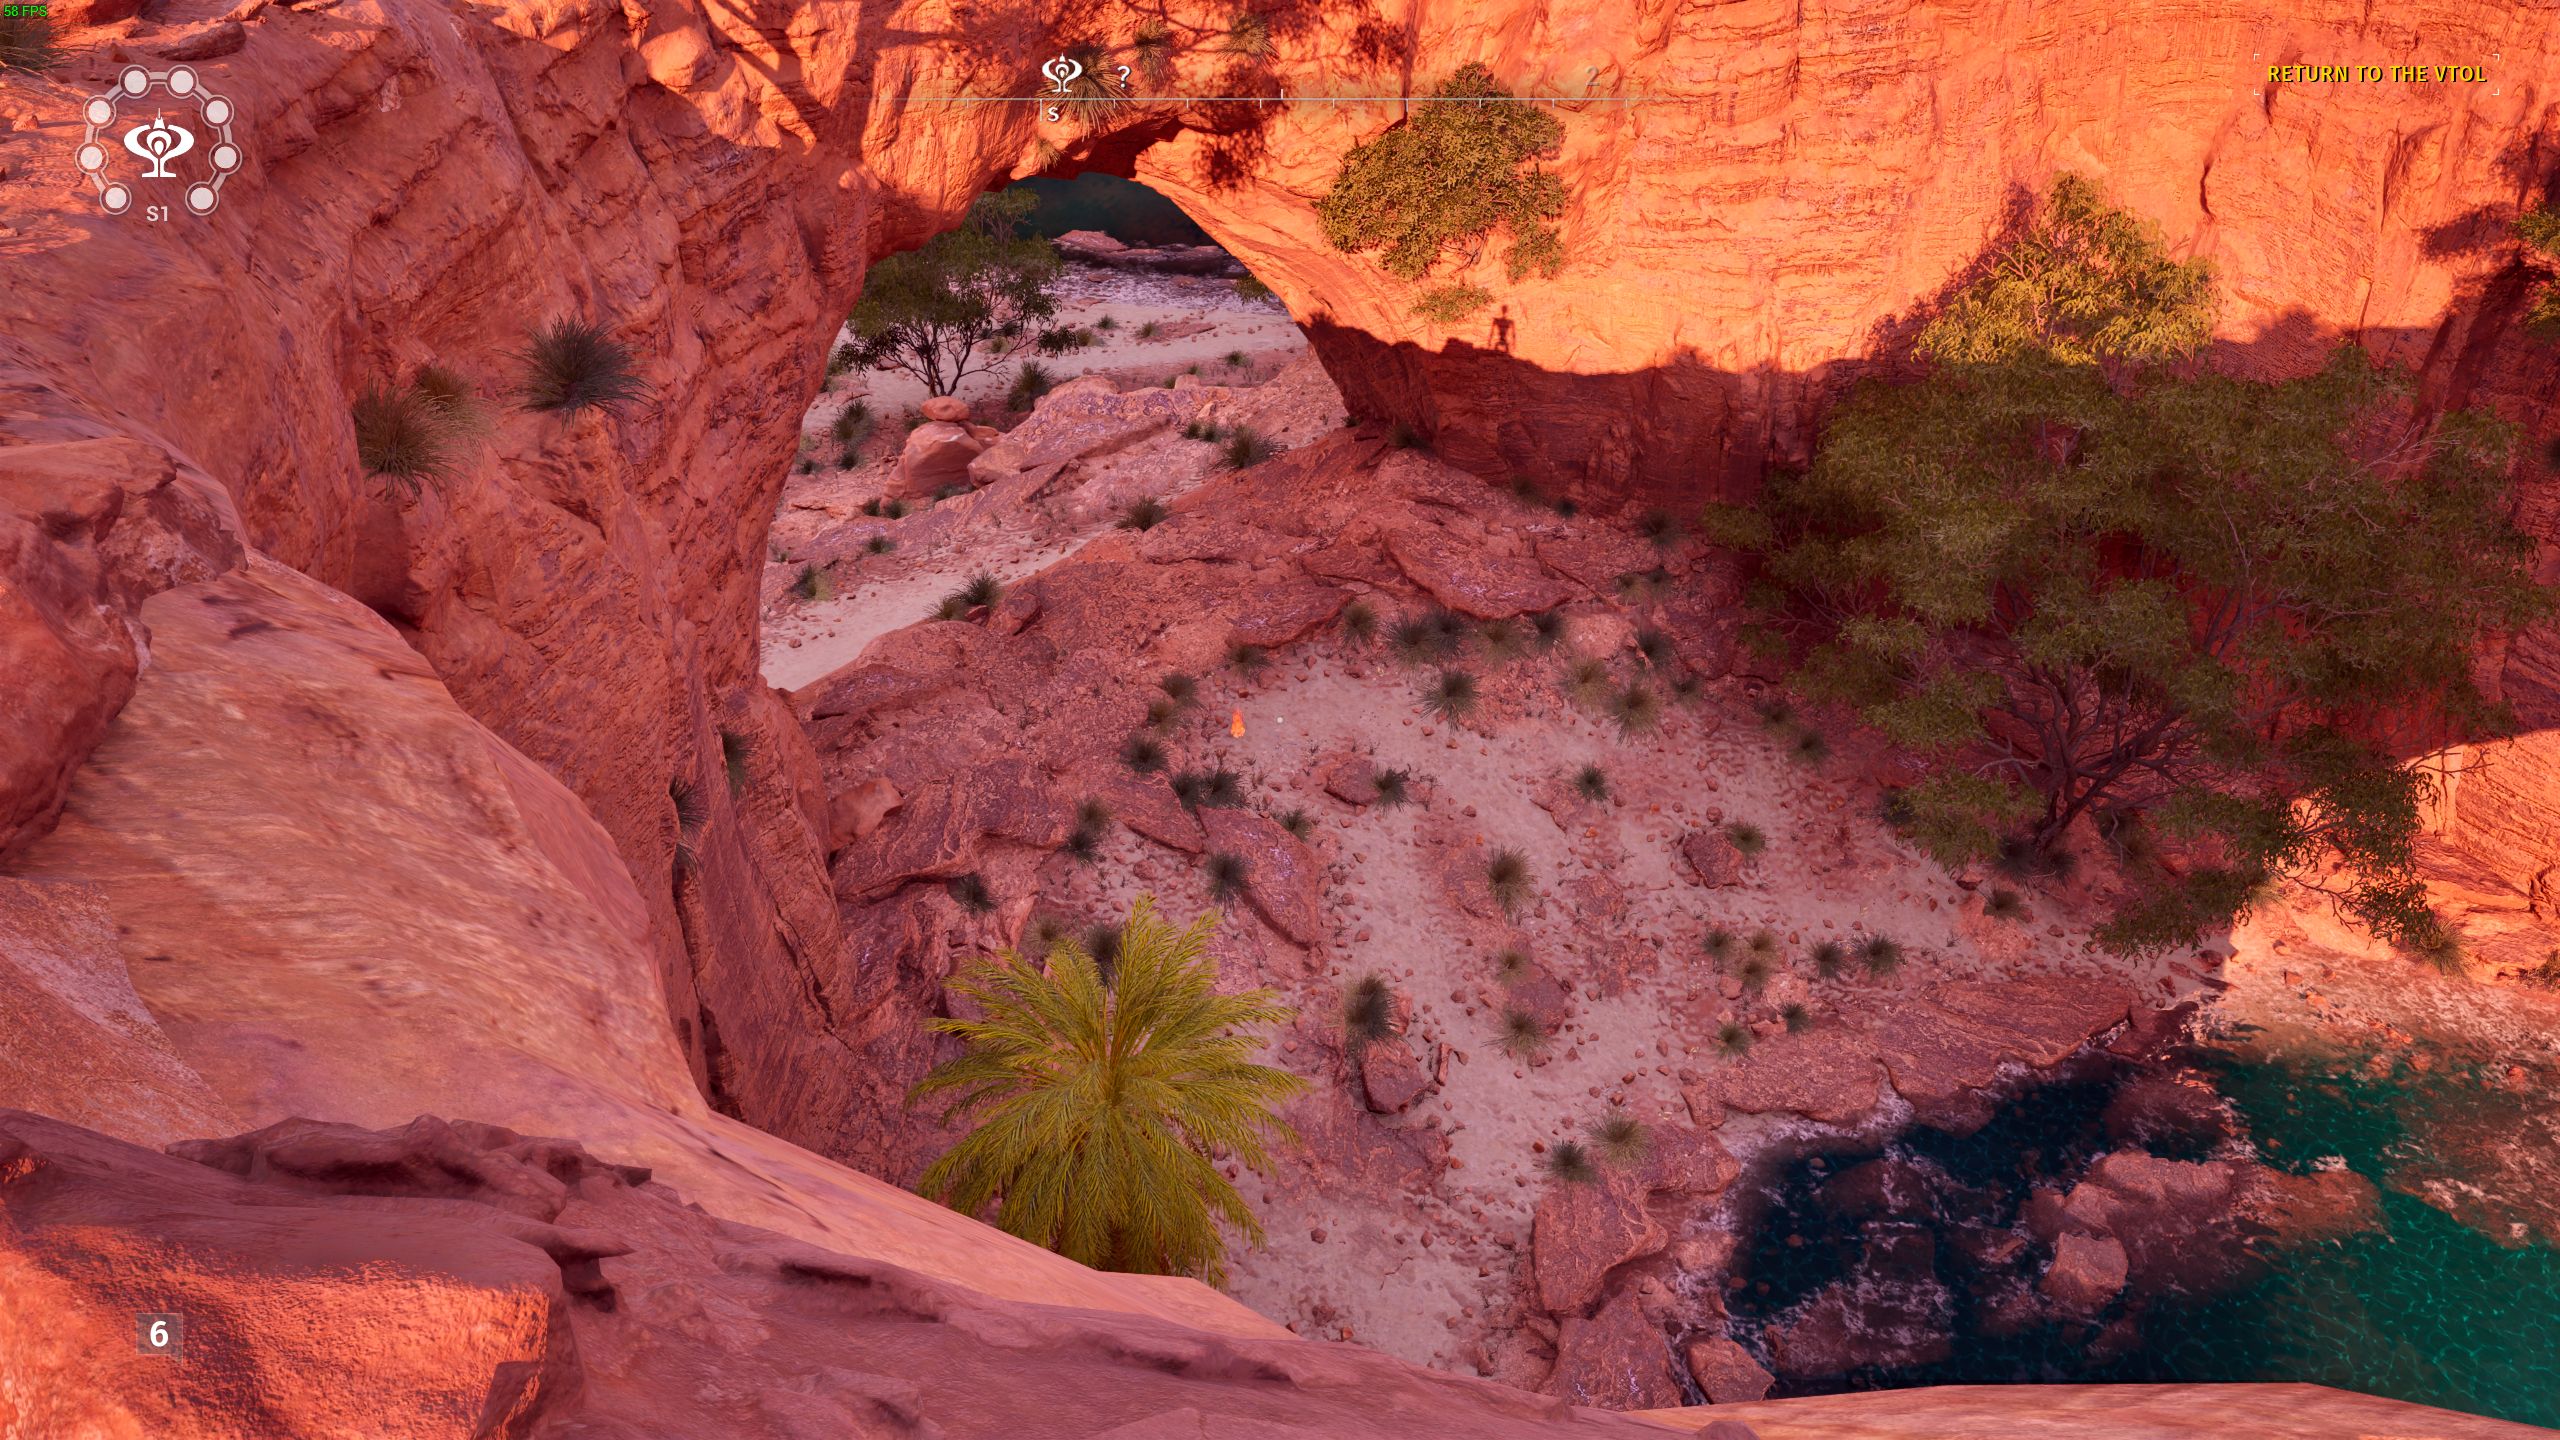
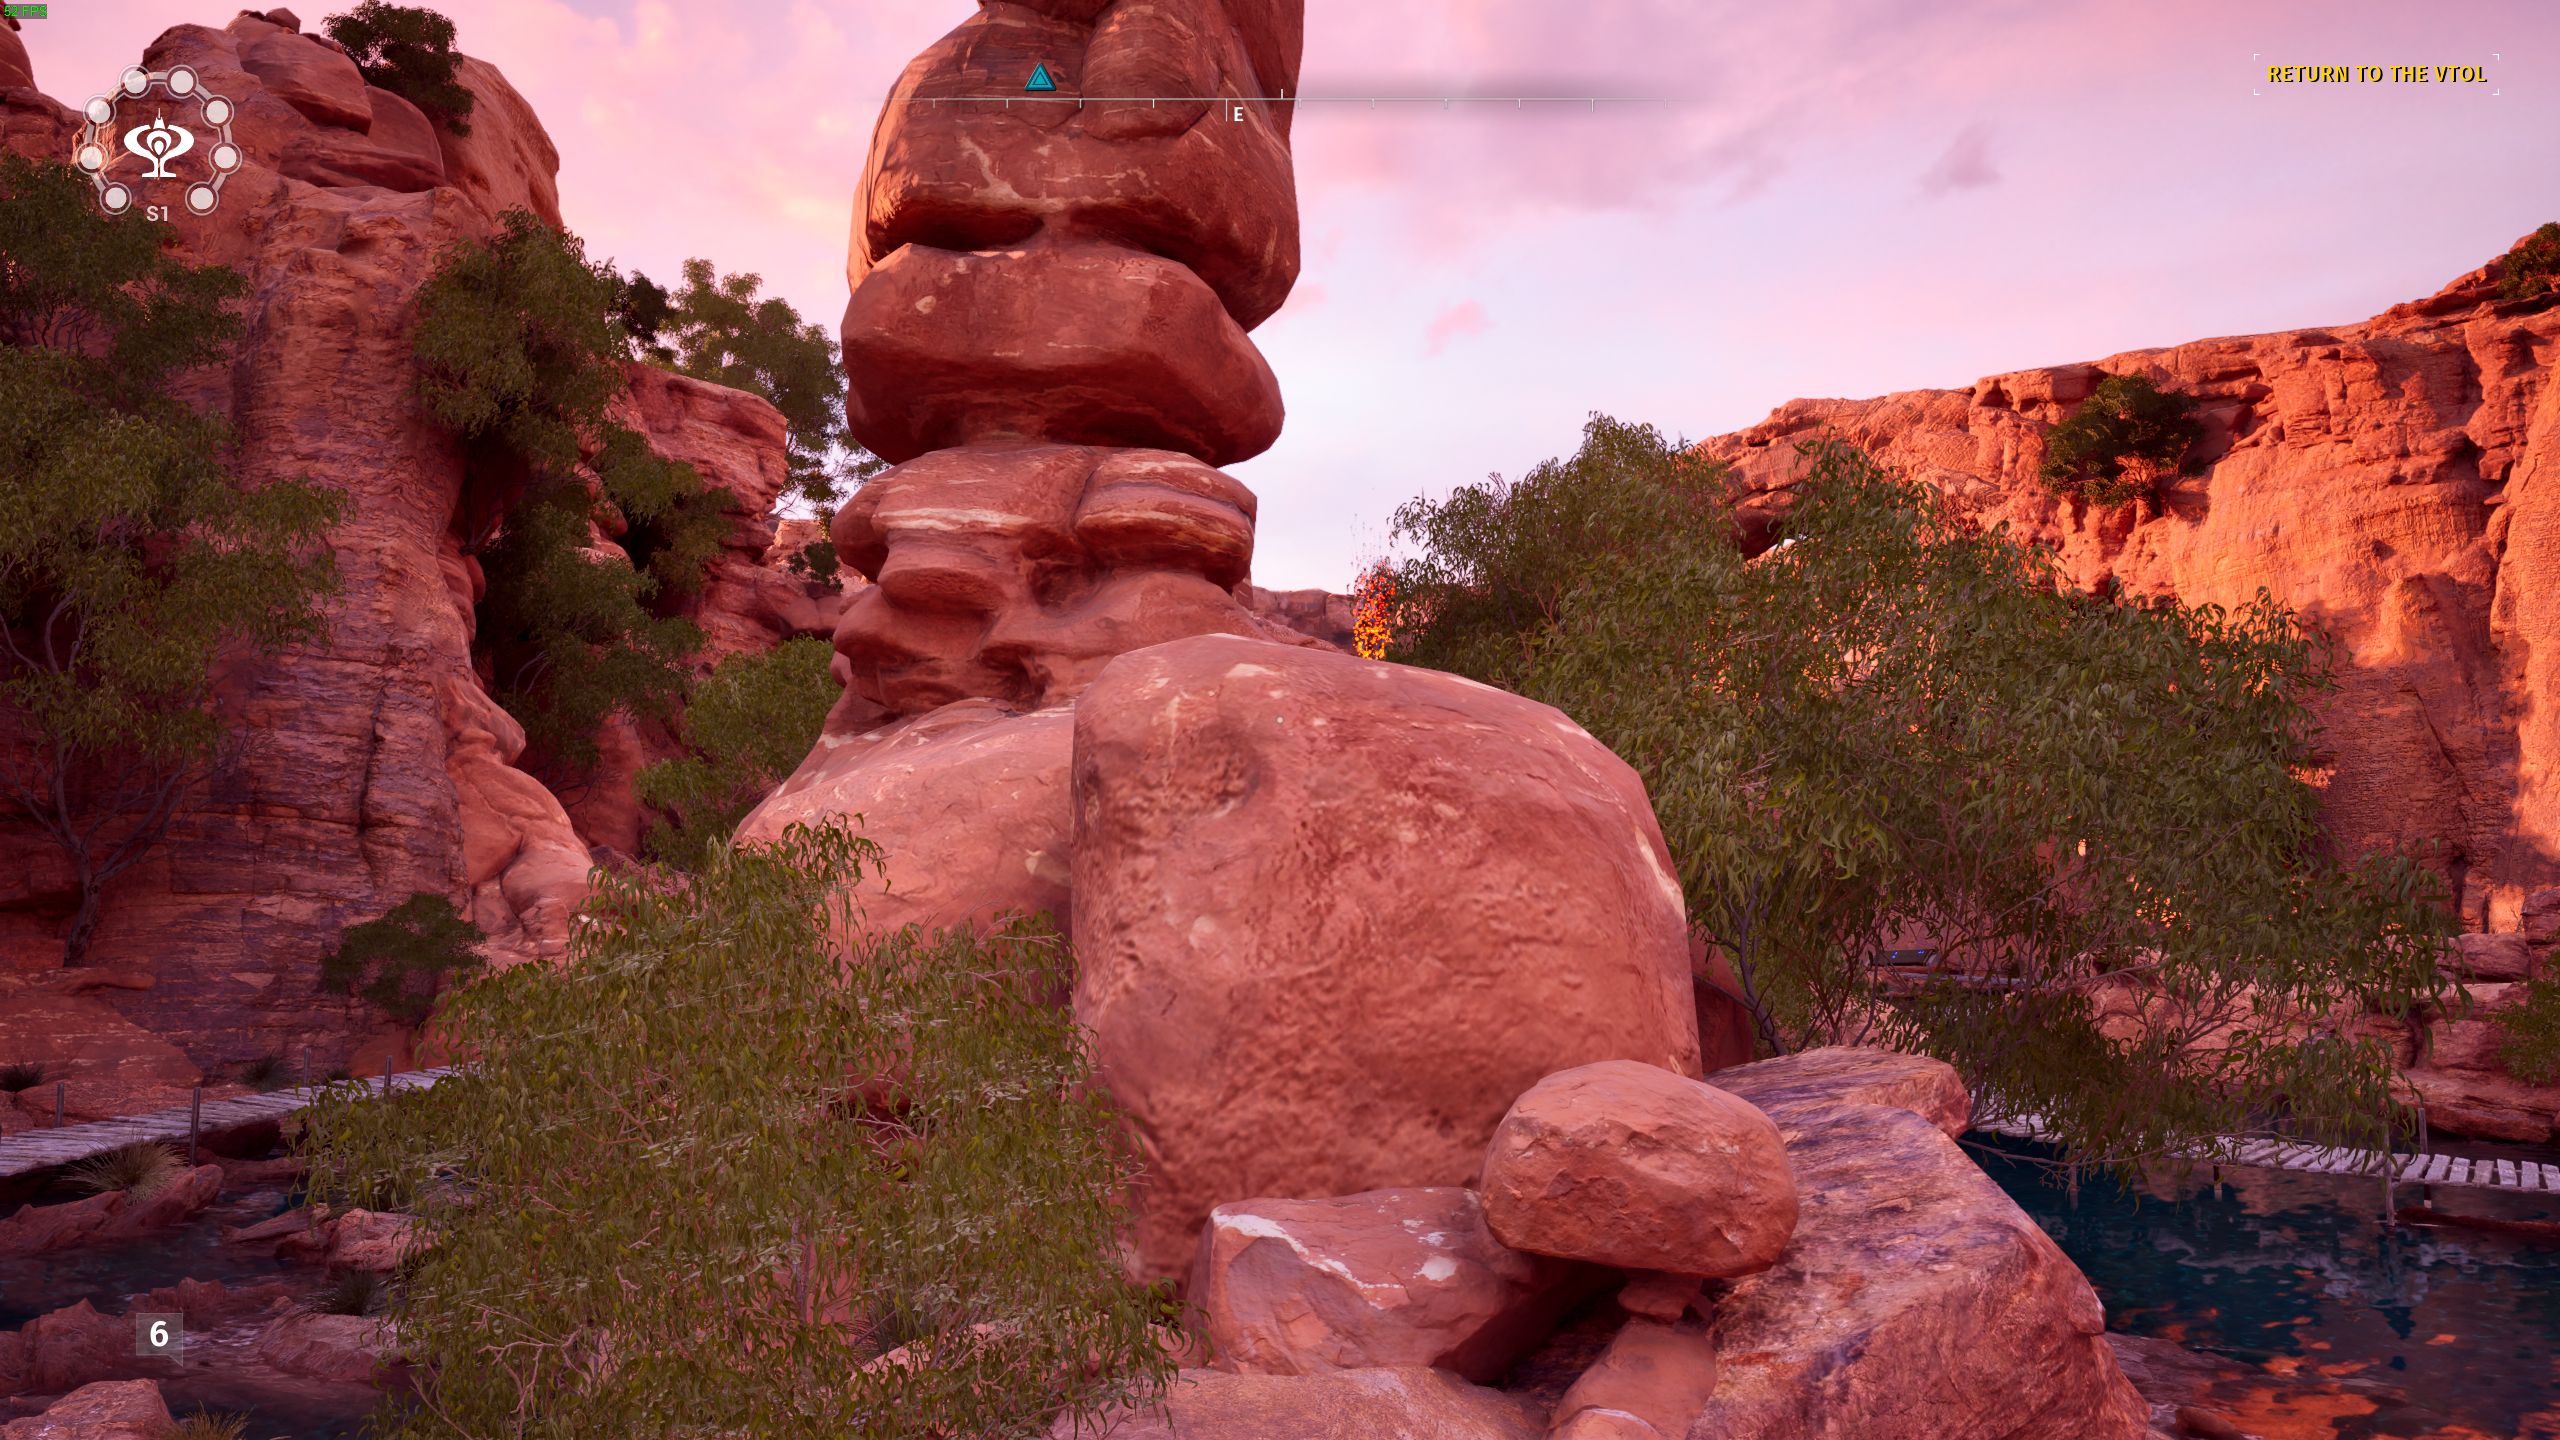
Travelling from puzzle 7 to puzzle 8 you’ll walk on a boardwalk around the edge of some water with a large rock structure in the middle. The spark is on top of this structure.
South 2
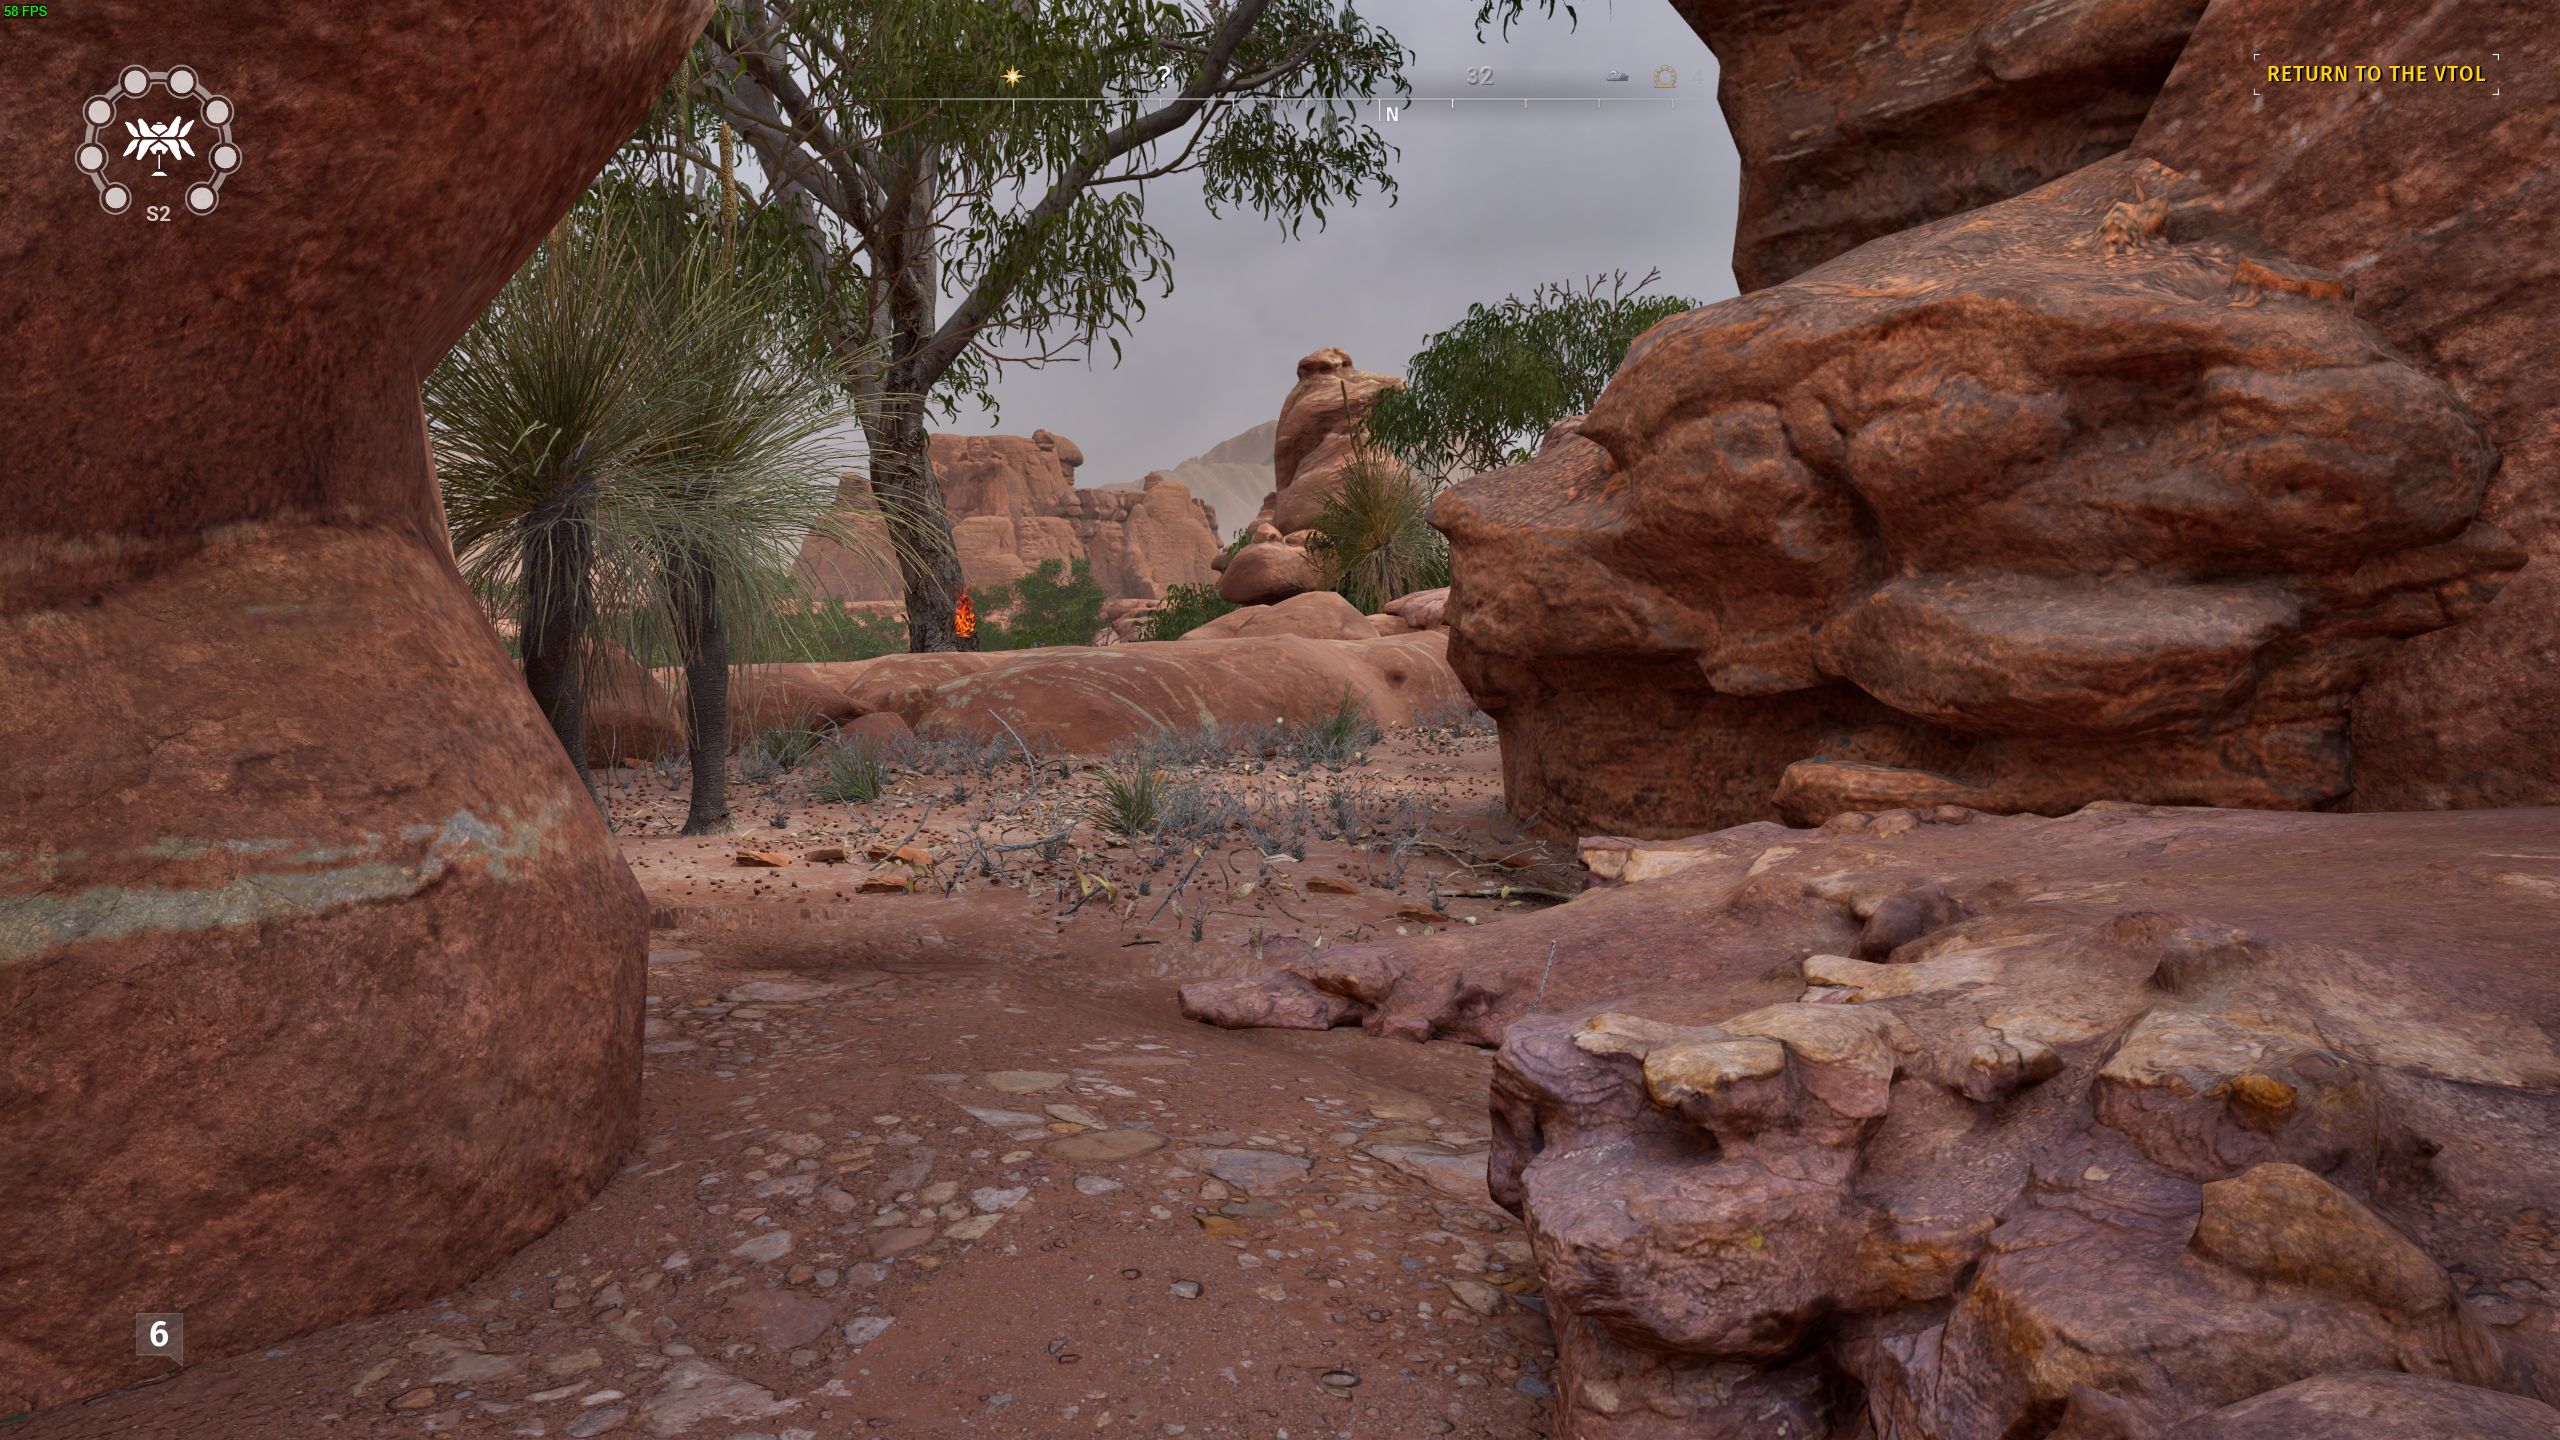
Check behind puzzle 1.
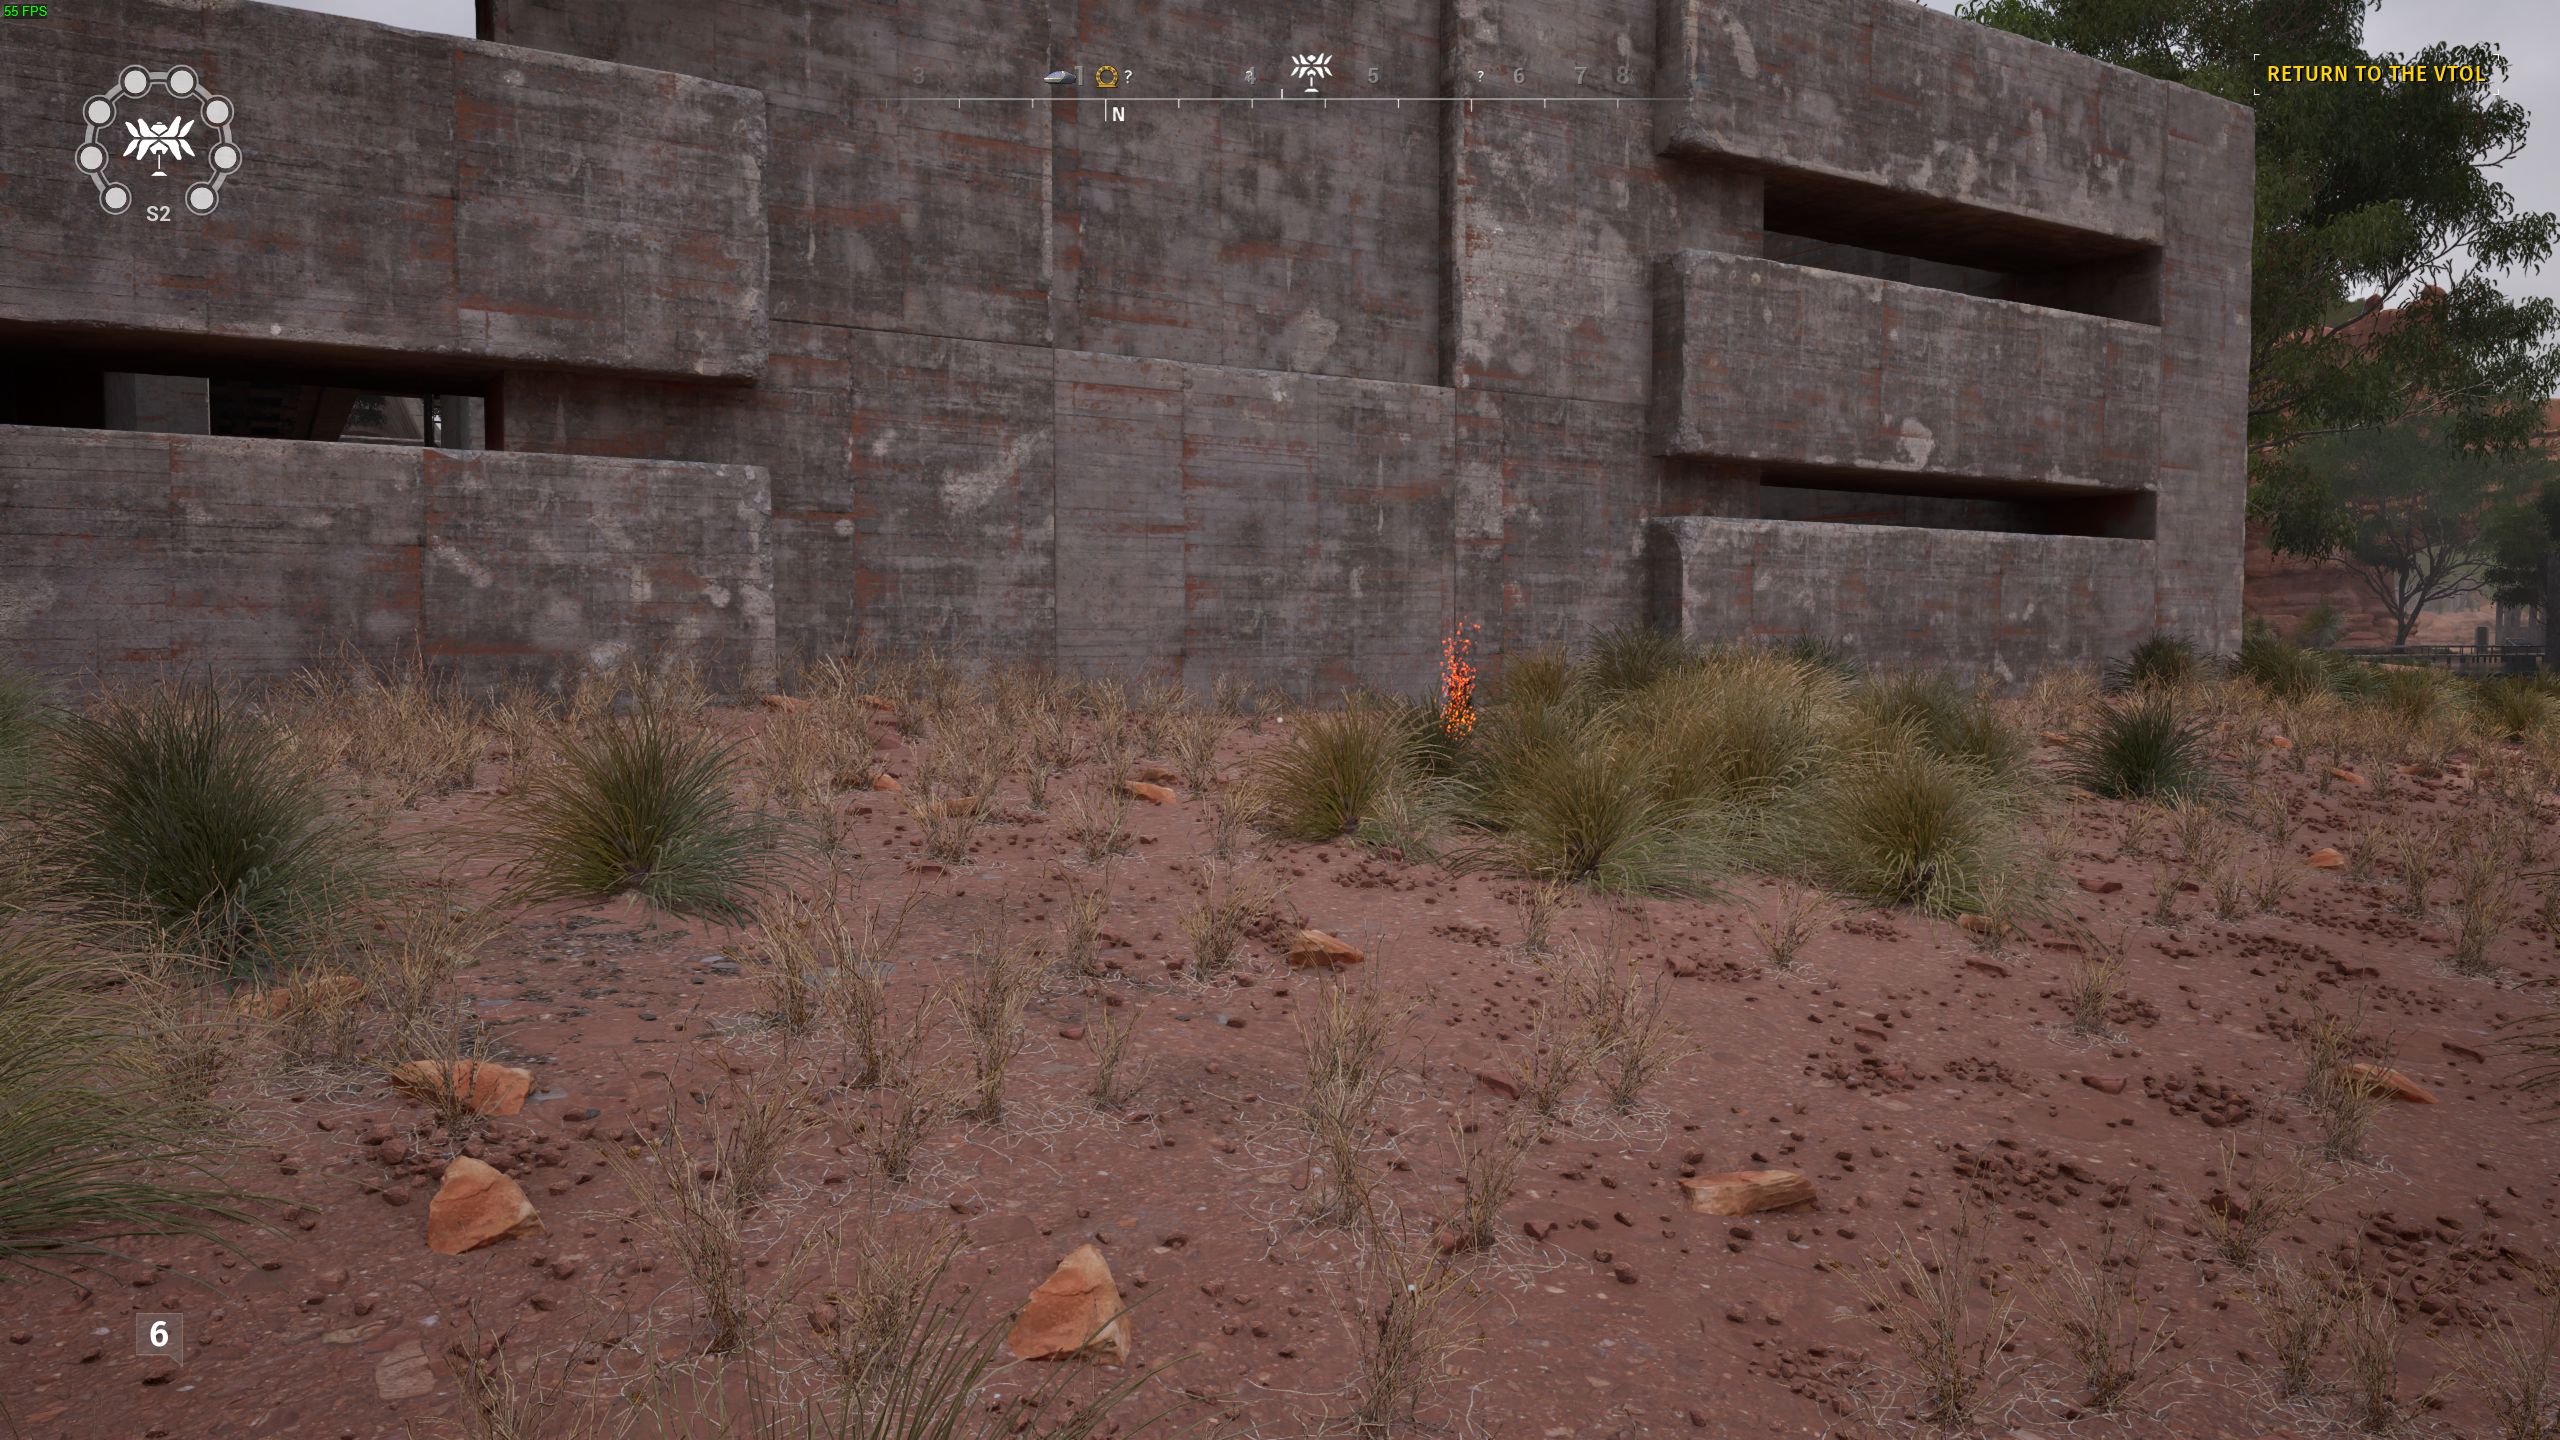
There’s a south-most corner to this area (maybe a bit west too). Go there and look north to see gravity plating. The spark is at the top.
South 3
There is a rear entrance into the structure housing puzzle 2, the spark is in there.
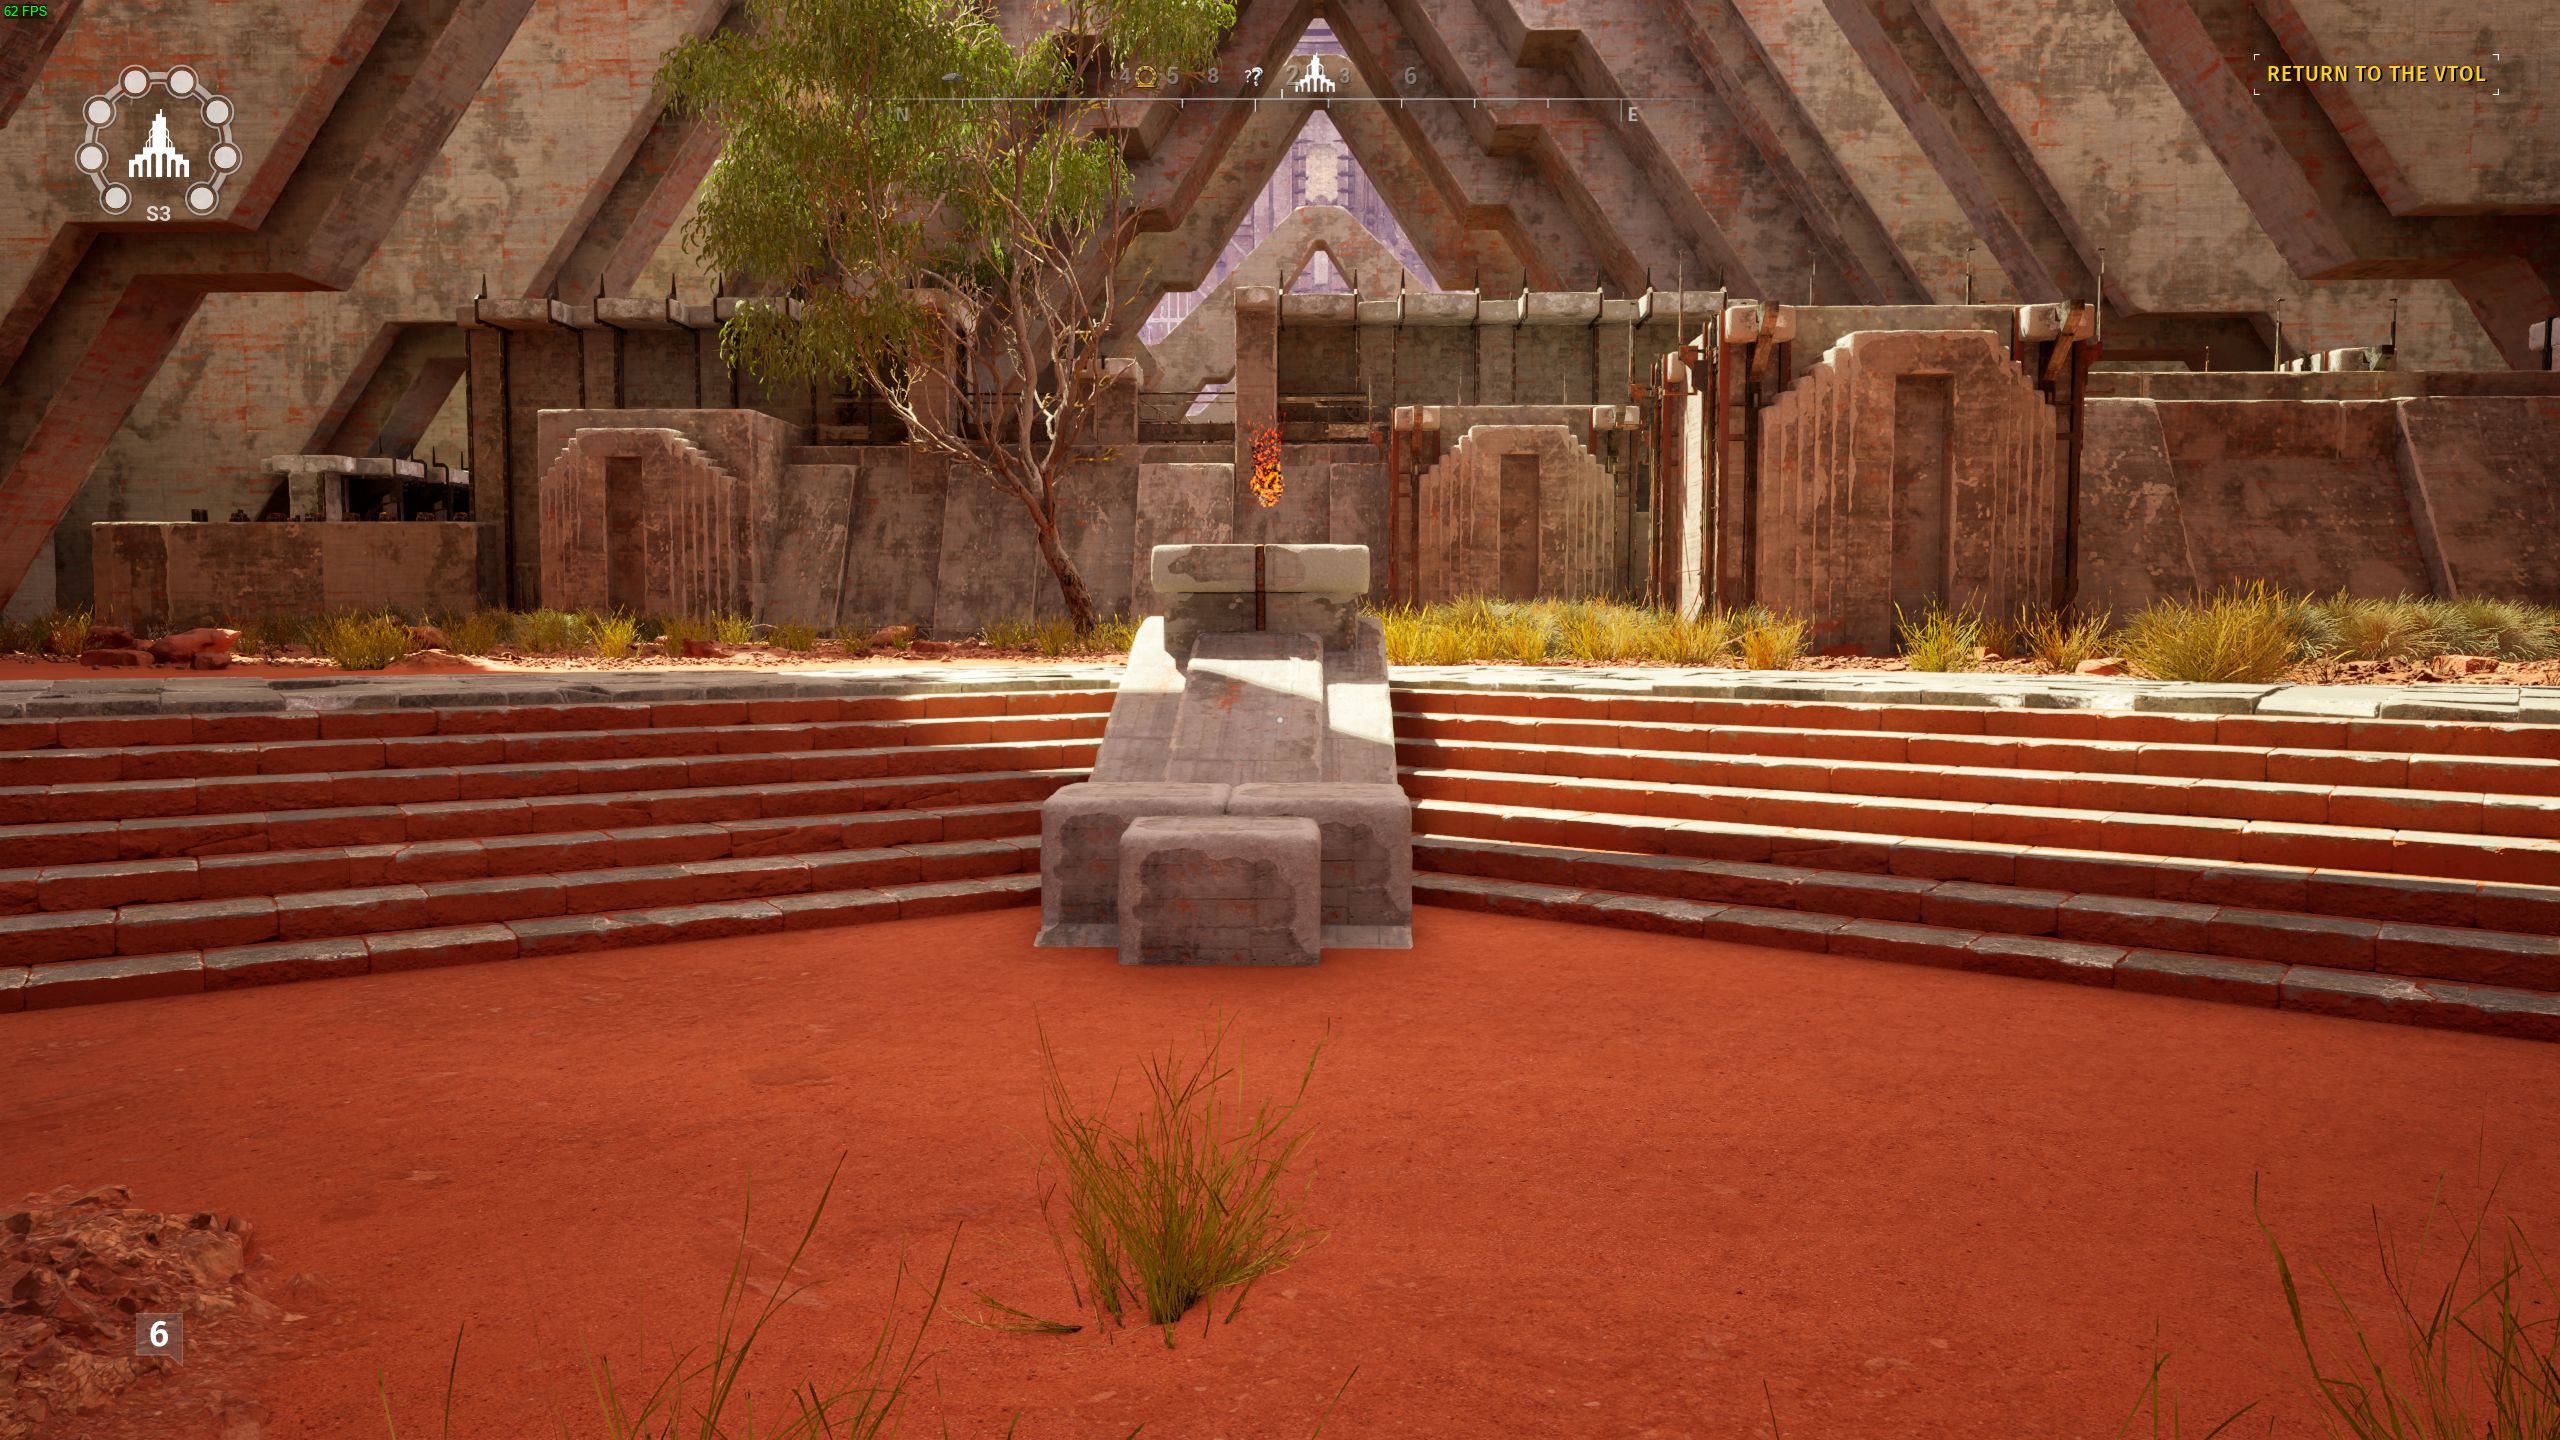
There were so many better places to hide sparks on this map. But no, check behind puzzle 5.
West 1
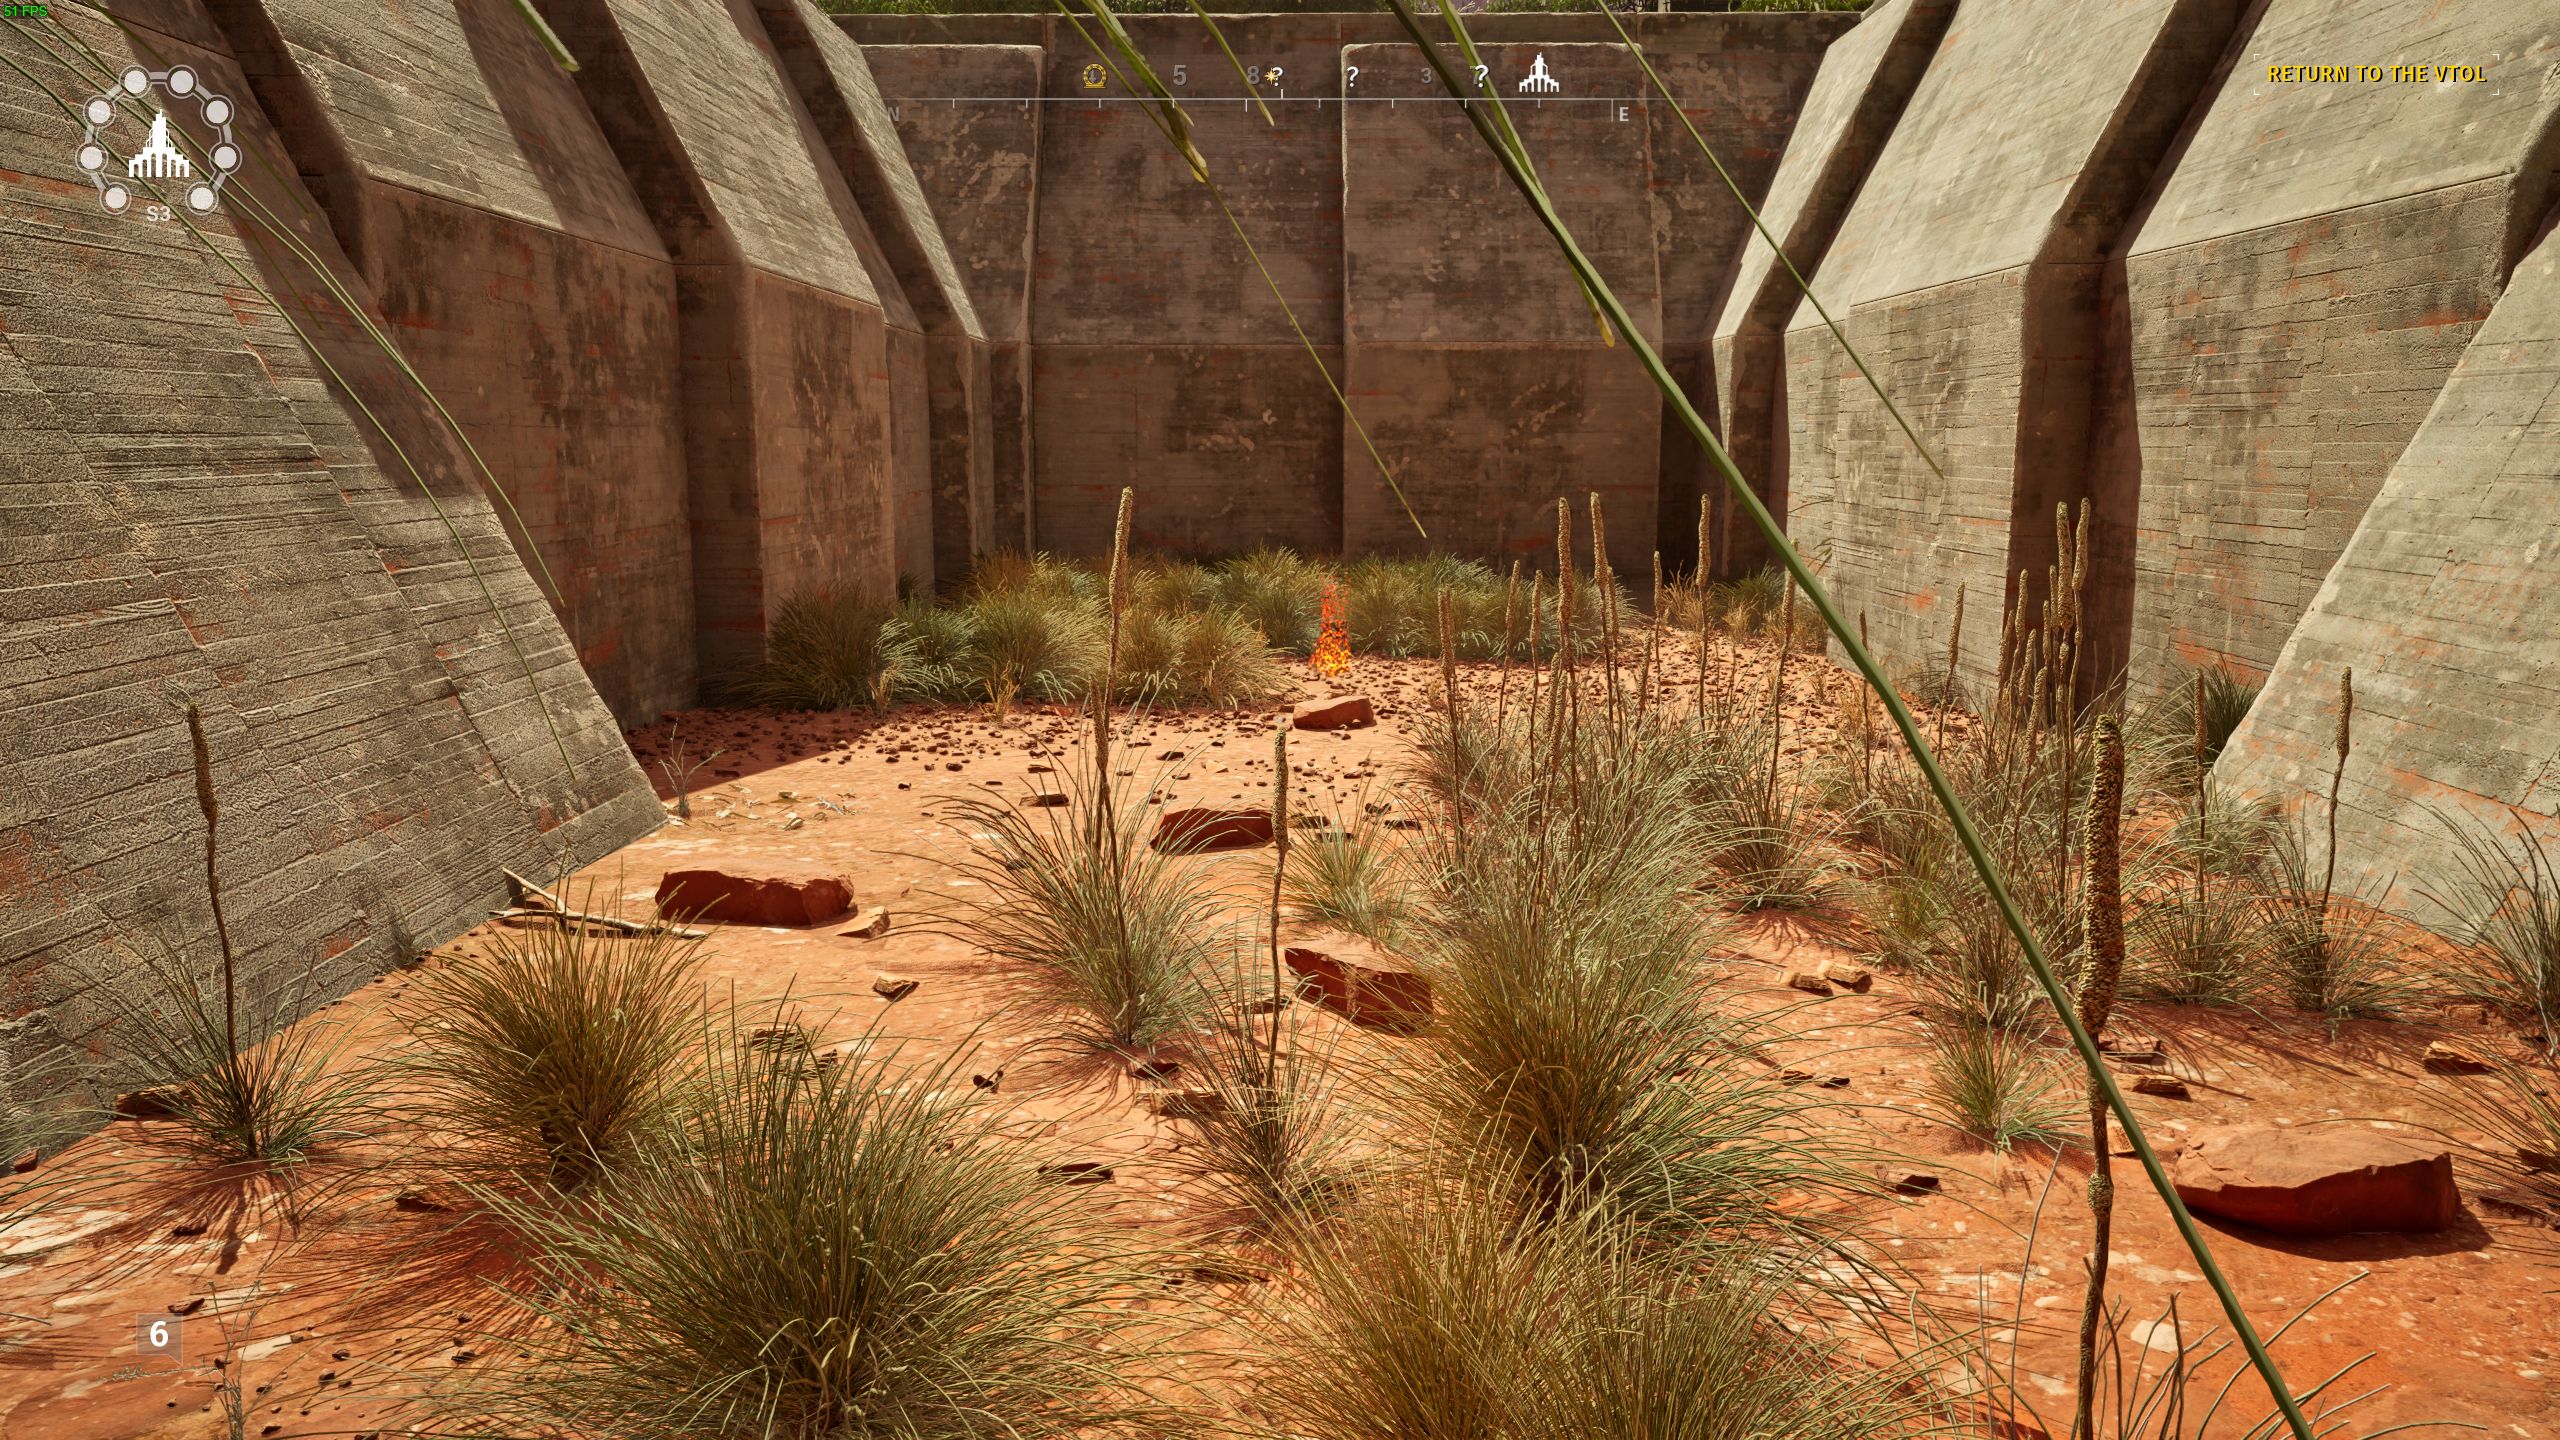
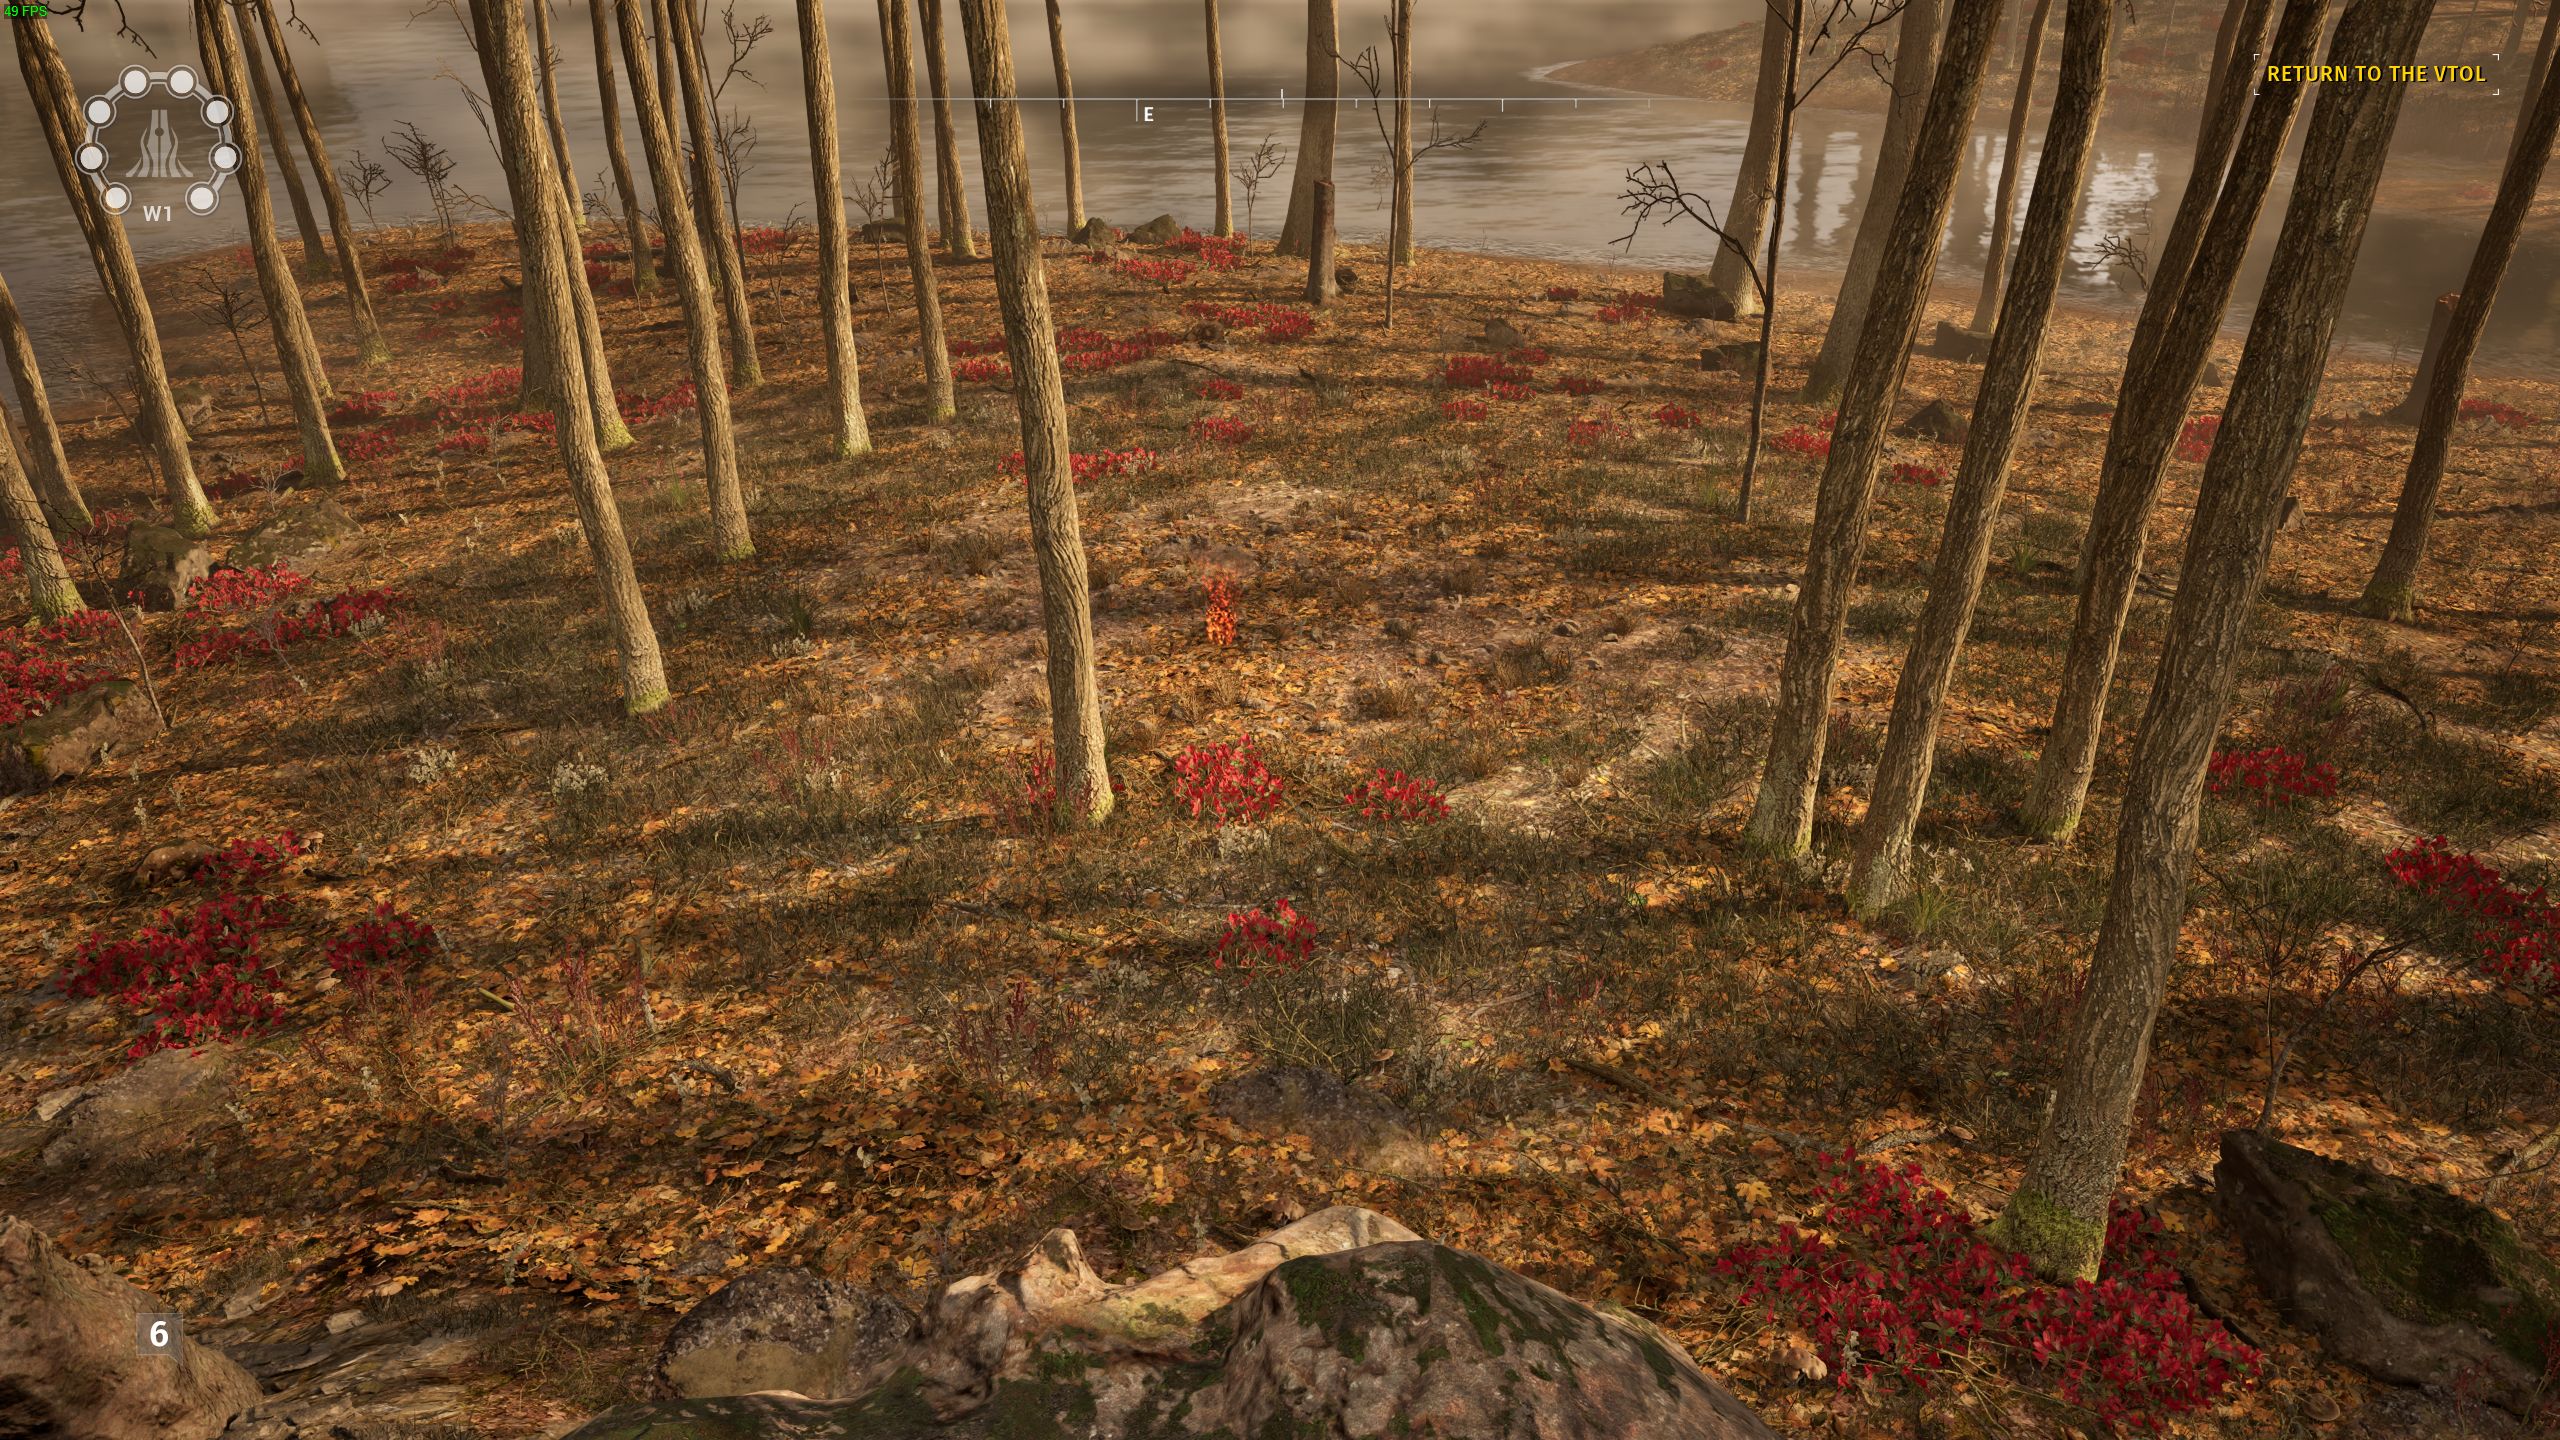
First off I want to say the ground color matches the sparks so this map is really terrible for finding them. Listening for their weird sounds might actually be a strat here. Once again shout out to that video.
At the golden puzzle, go south onto a tiny peninsula for the spark.
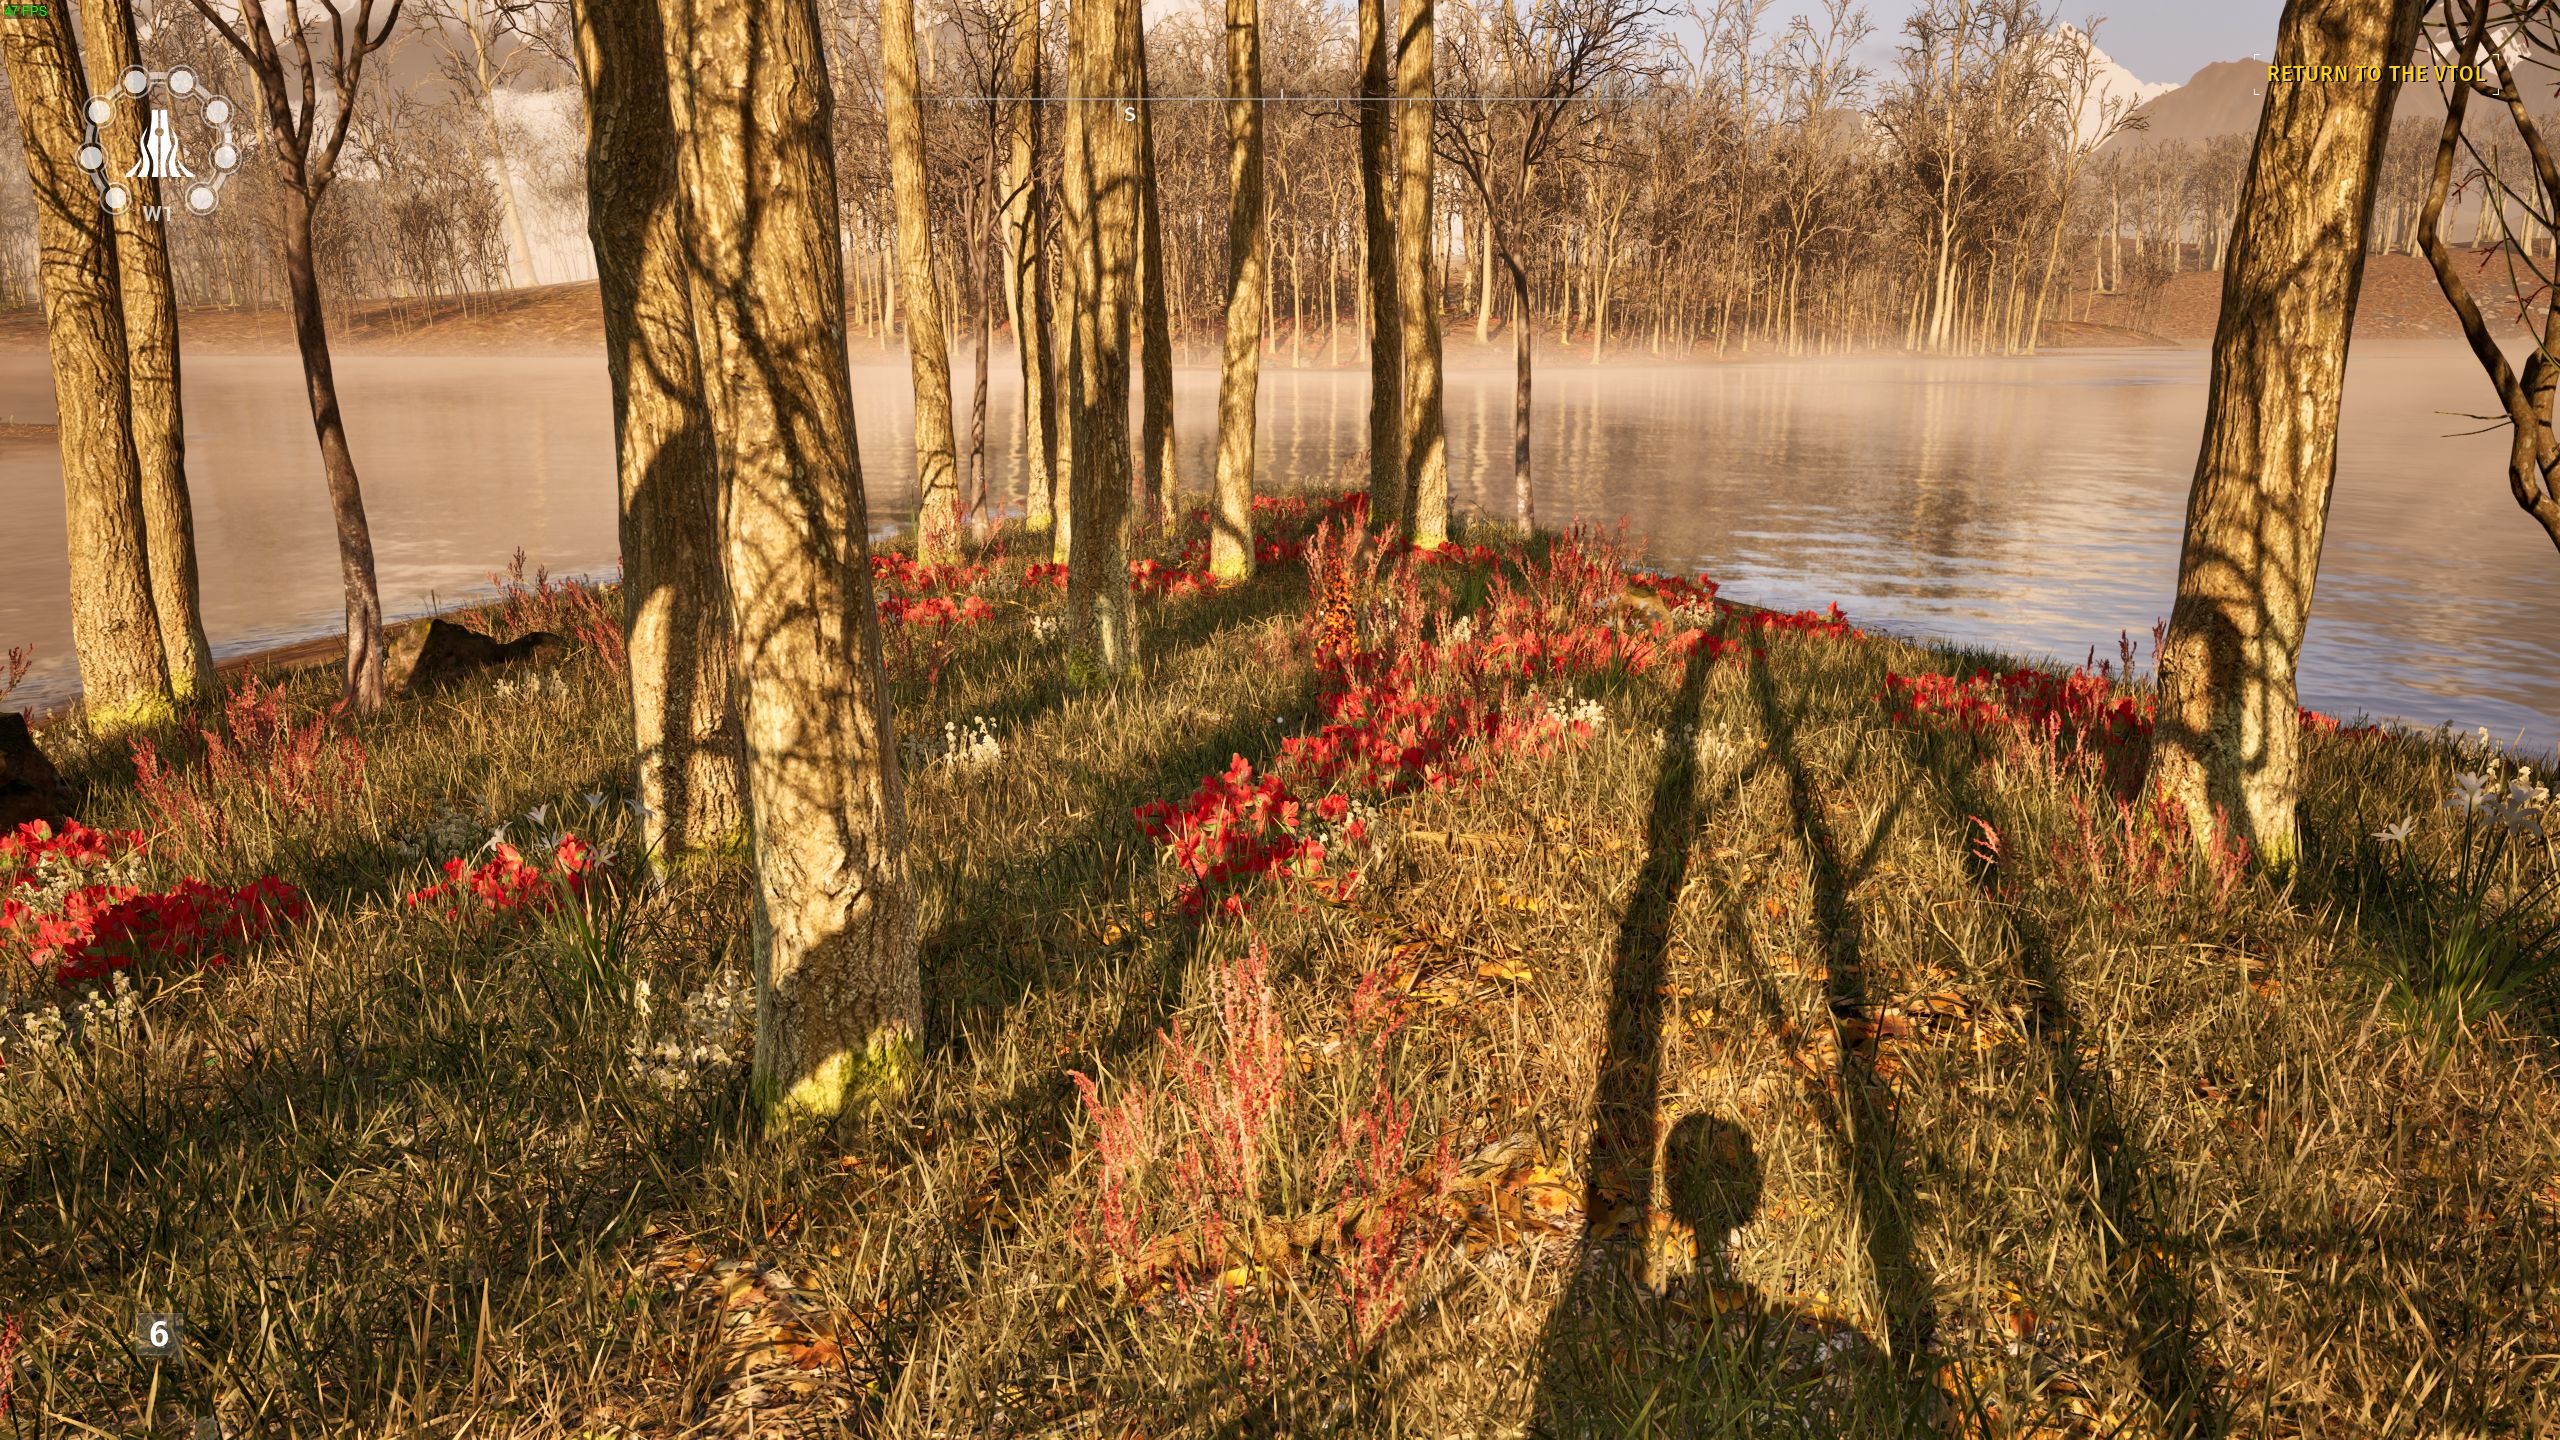
Facing the entrance to the lab, go around the rock structure the lab entrance is built into to the back. The spark is almost exactly behind the lab entrance near the structure (but not on top of it).
West 2
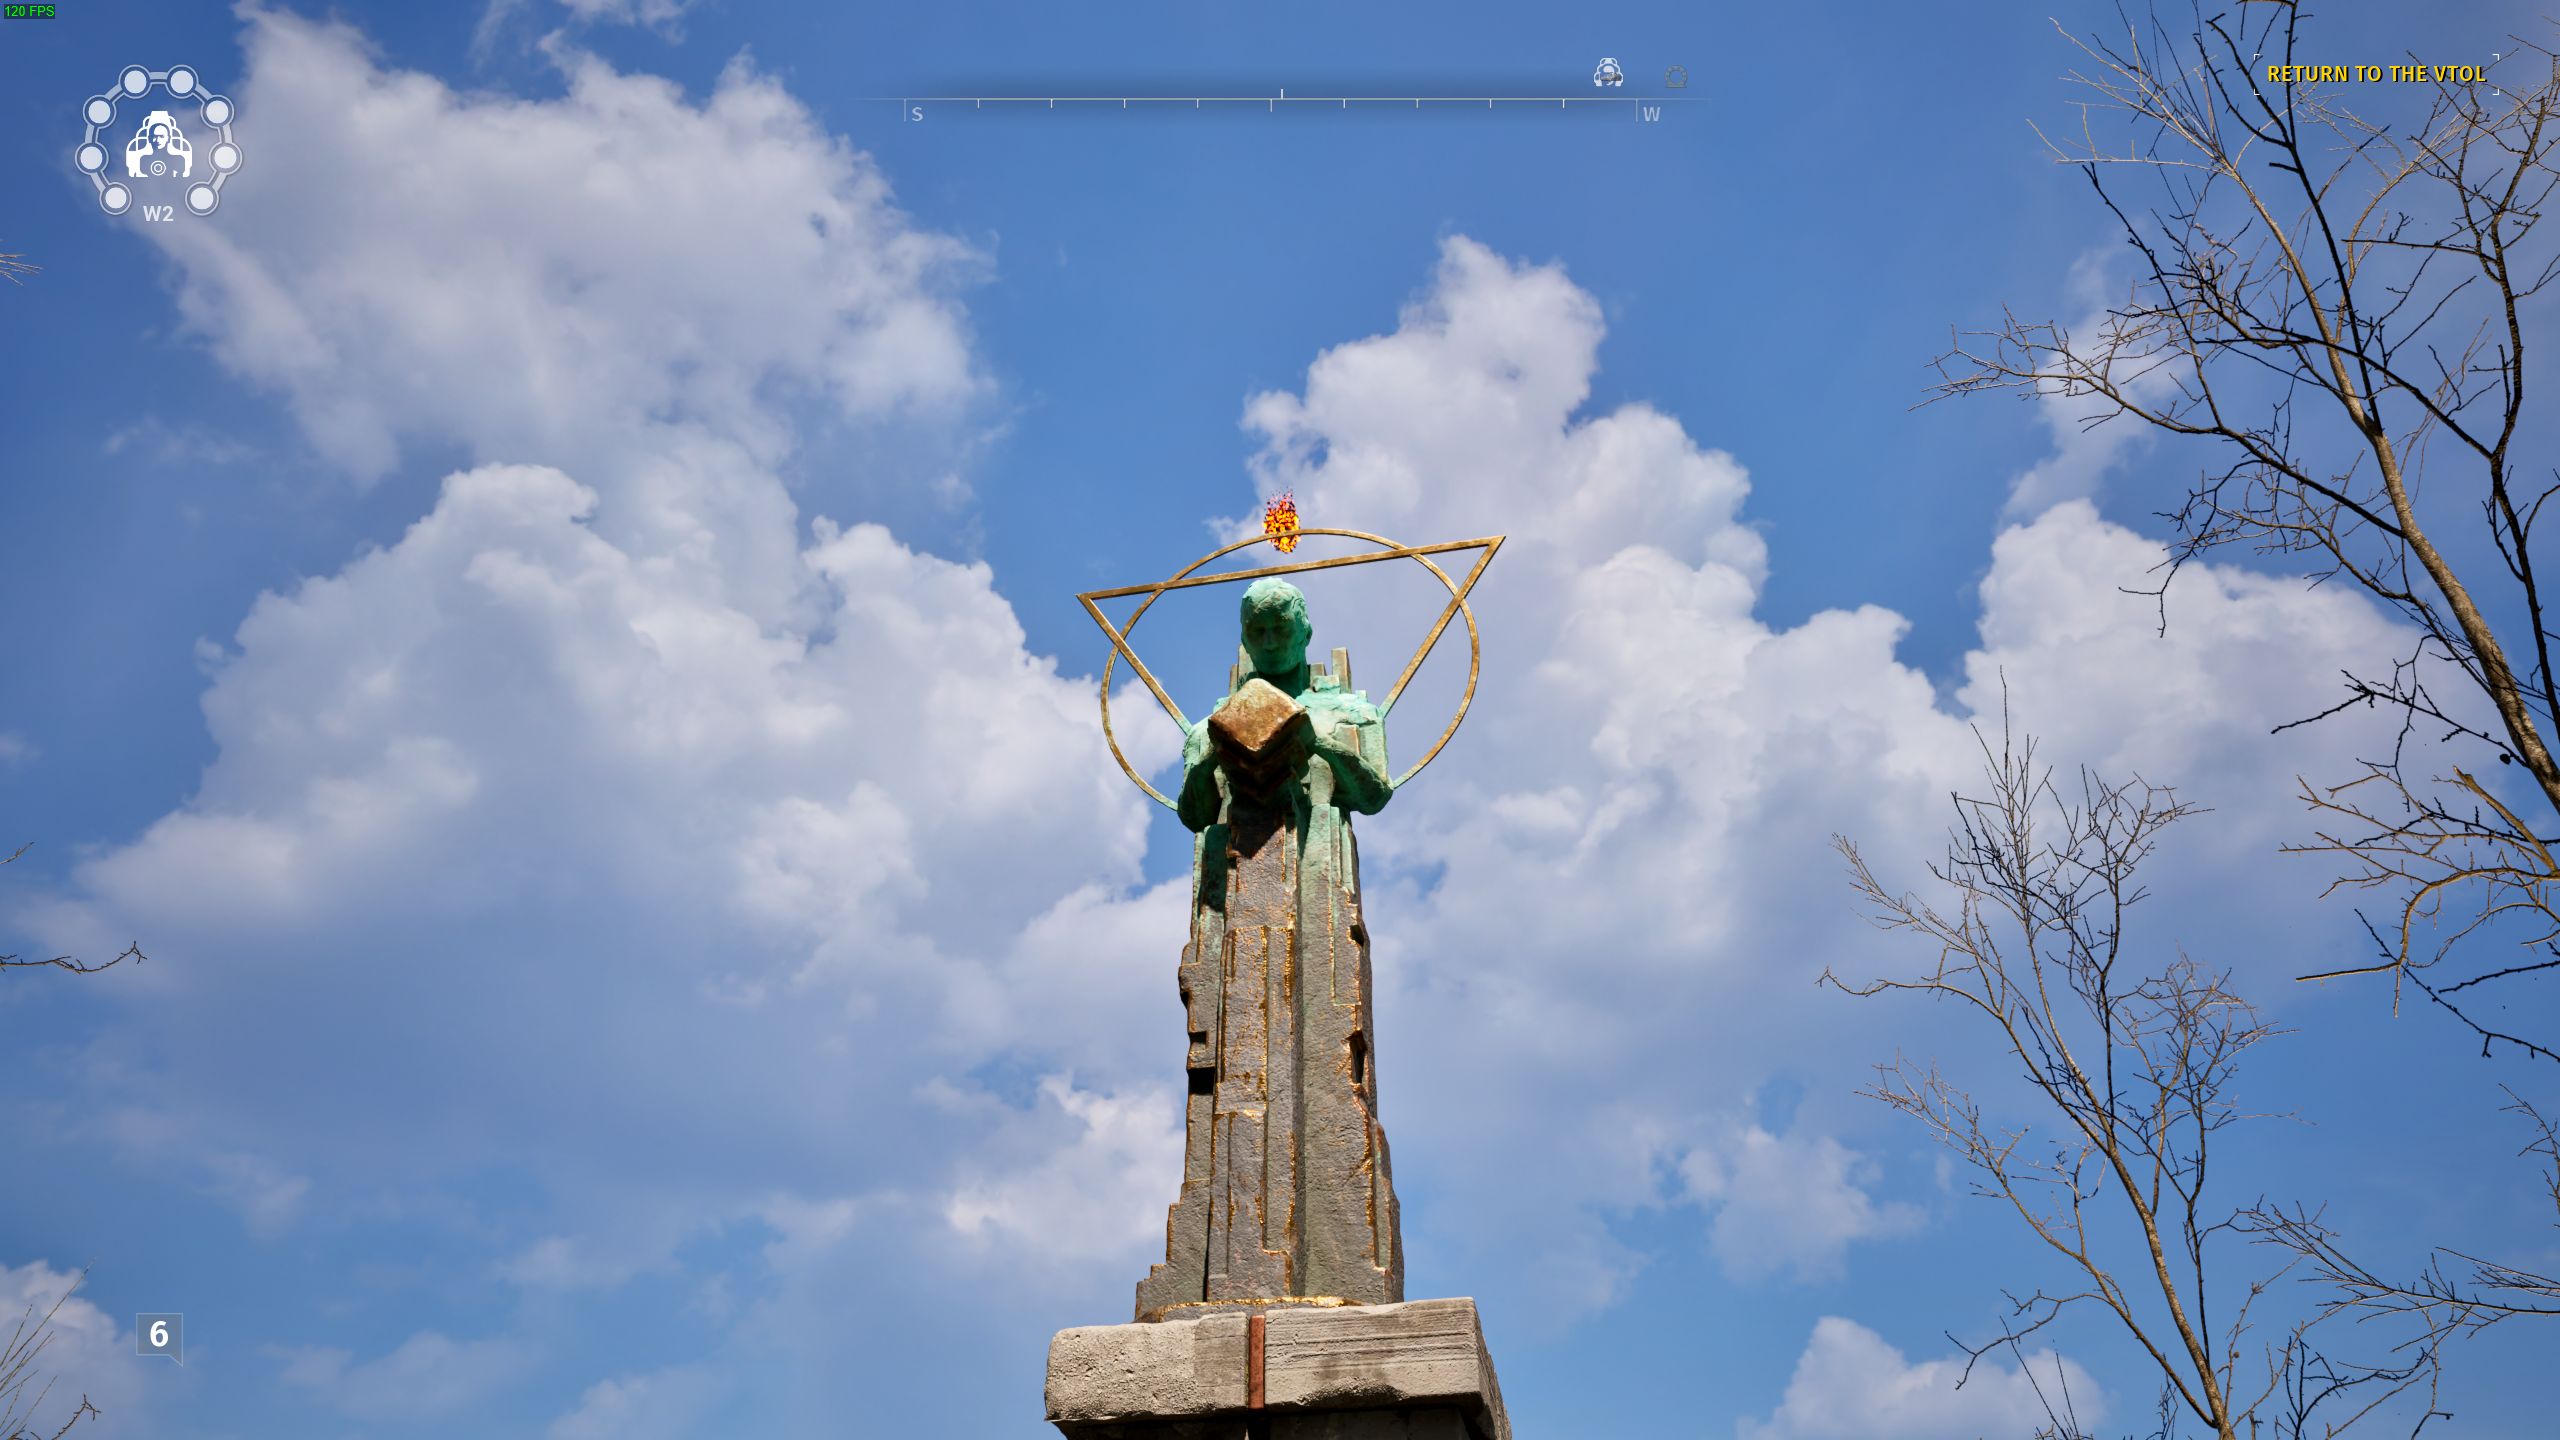
From the station, turn right and go towards the mountains. Go up the outstretched hand, but jump off to the right at the last chance onto a ledge. You’ll see a small structure with a fan, jump on the fan. From there, follow the left wall and you’ll find another fan. This one will launch you right into the spark if you don’t hold any directions.
BONUS STRATON: He’s hanging out near the second fan, ignore it and keep following the wall to the leeft.
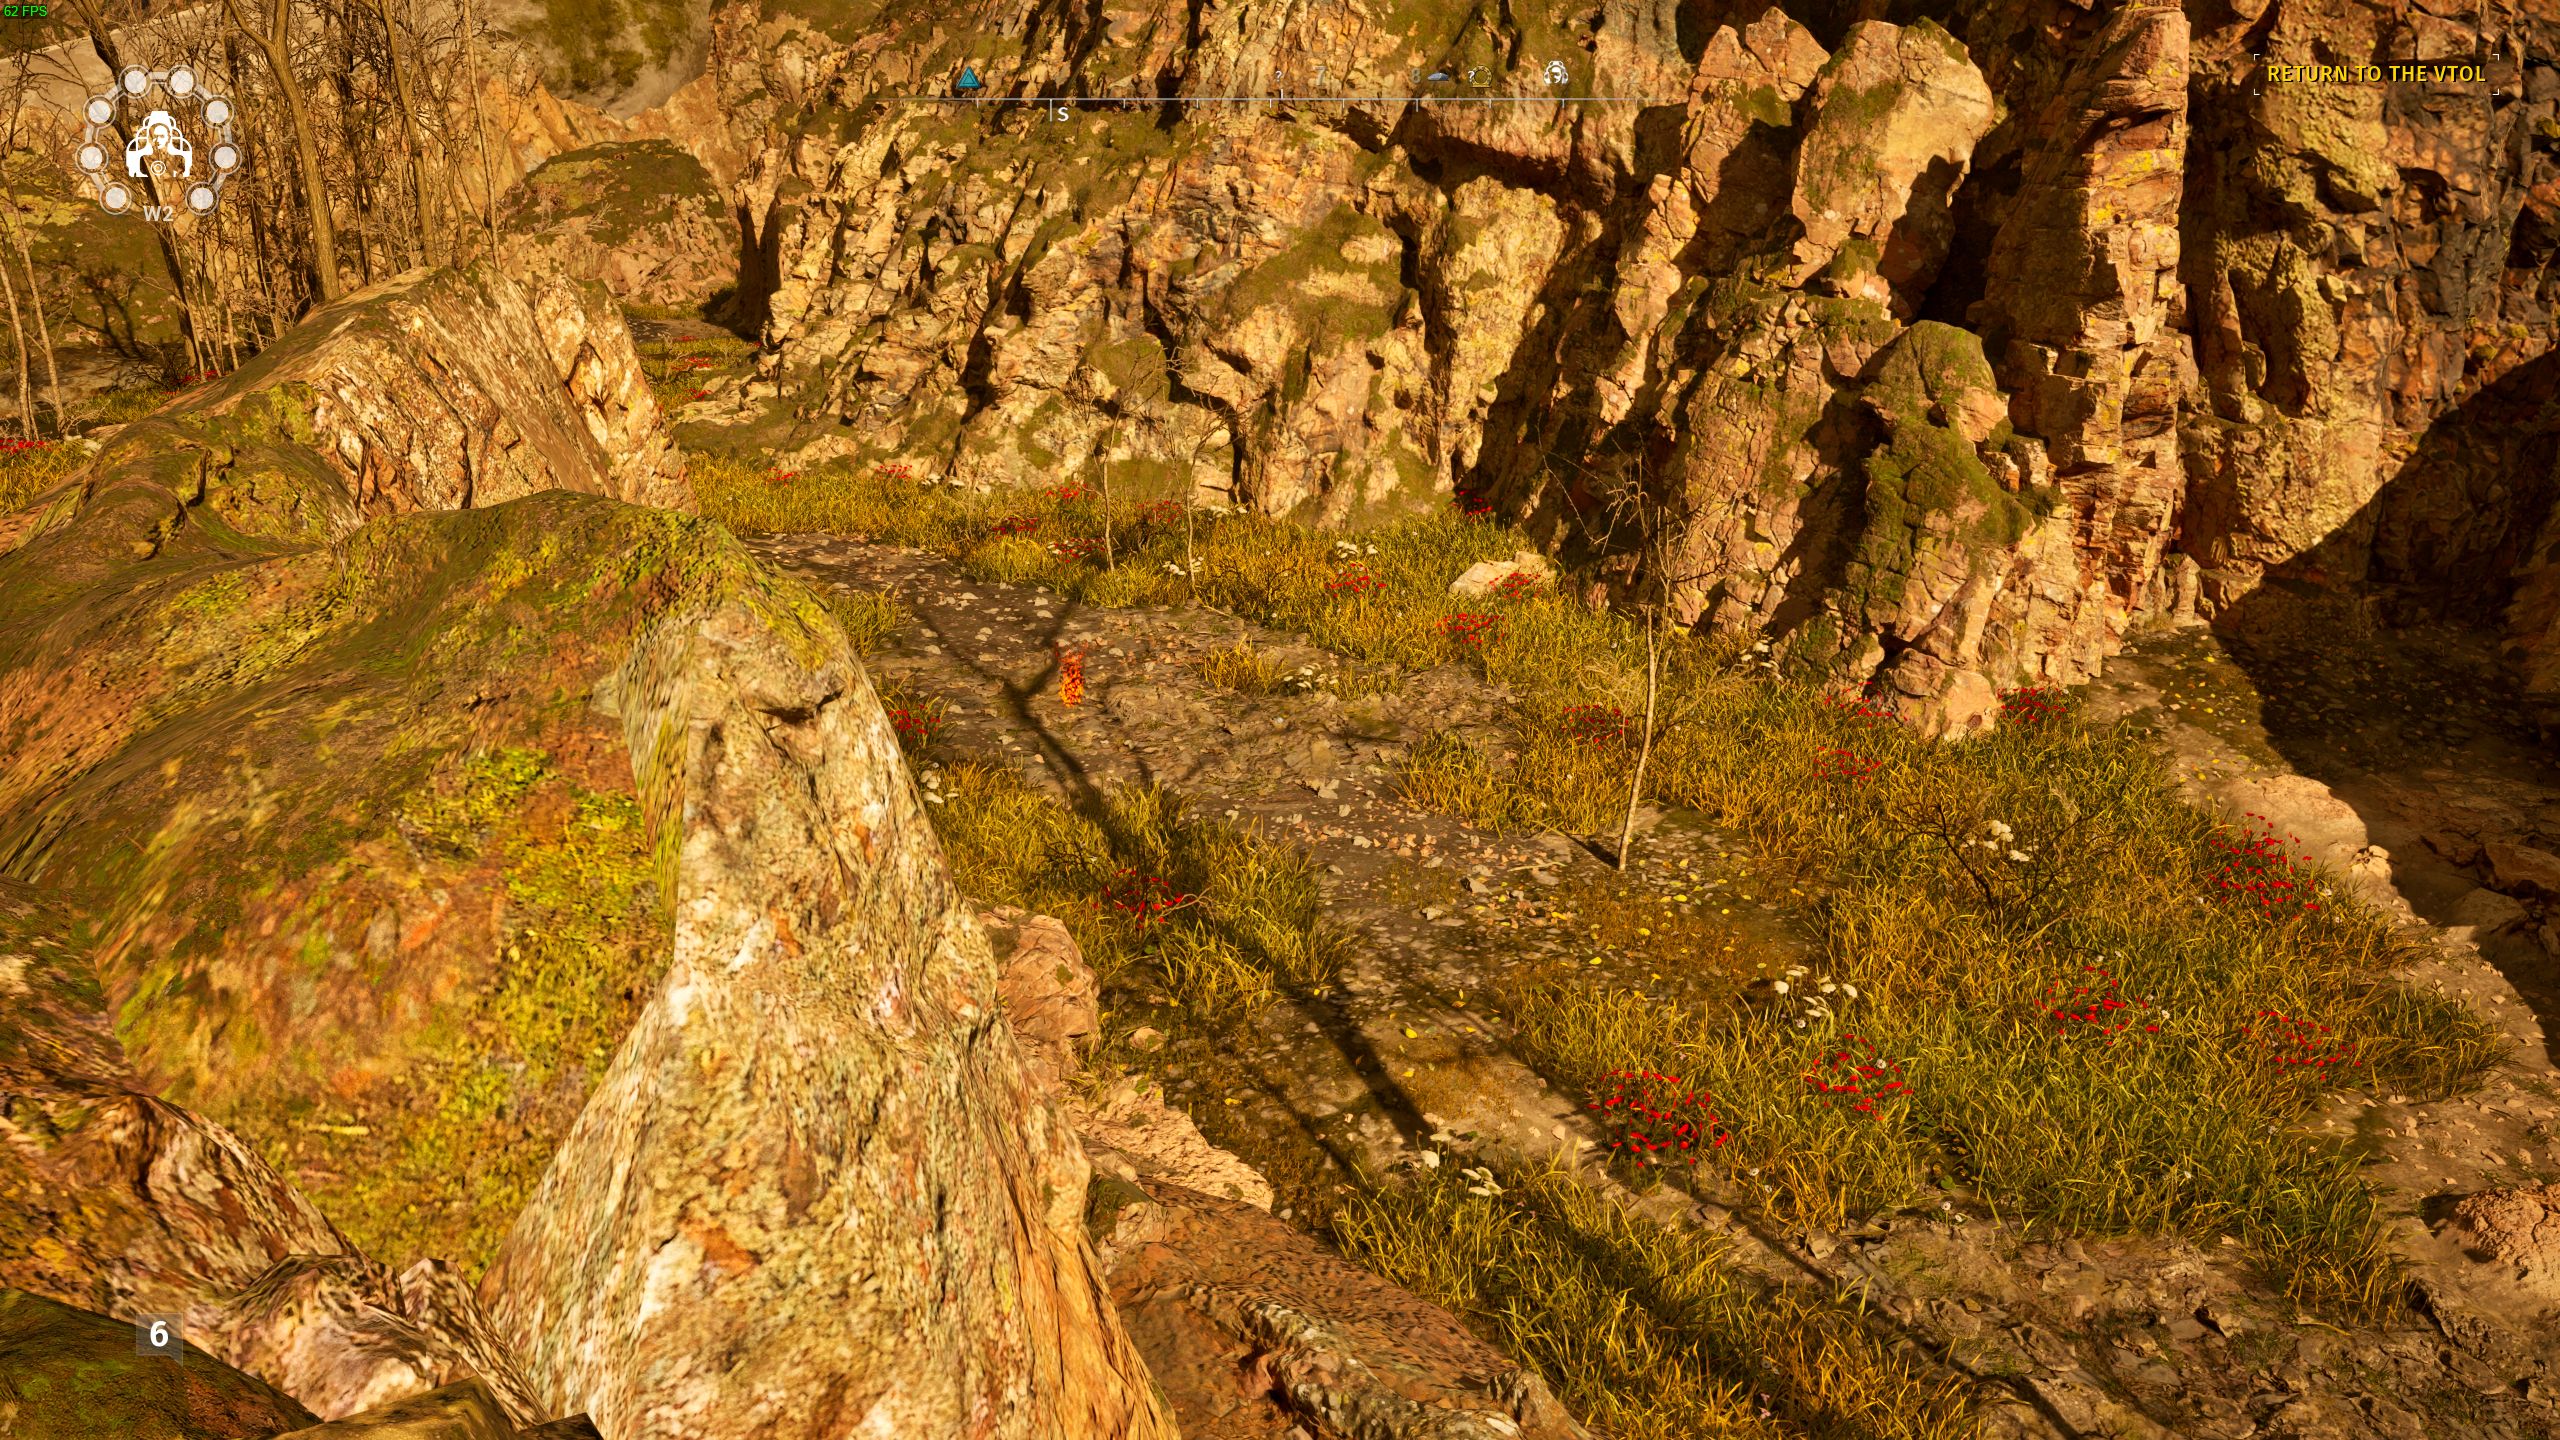
Leaving puzzle 6, walk forward until you reach a small drop. Drop down and turn left. The spark should be a small walk away.
West 3
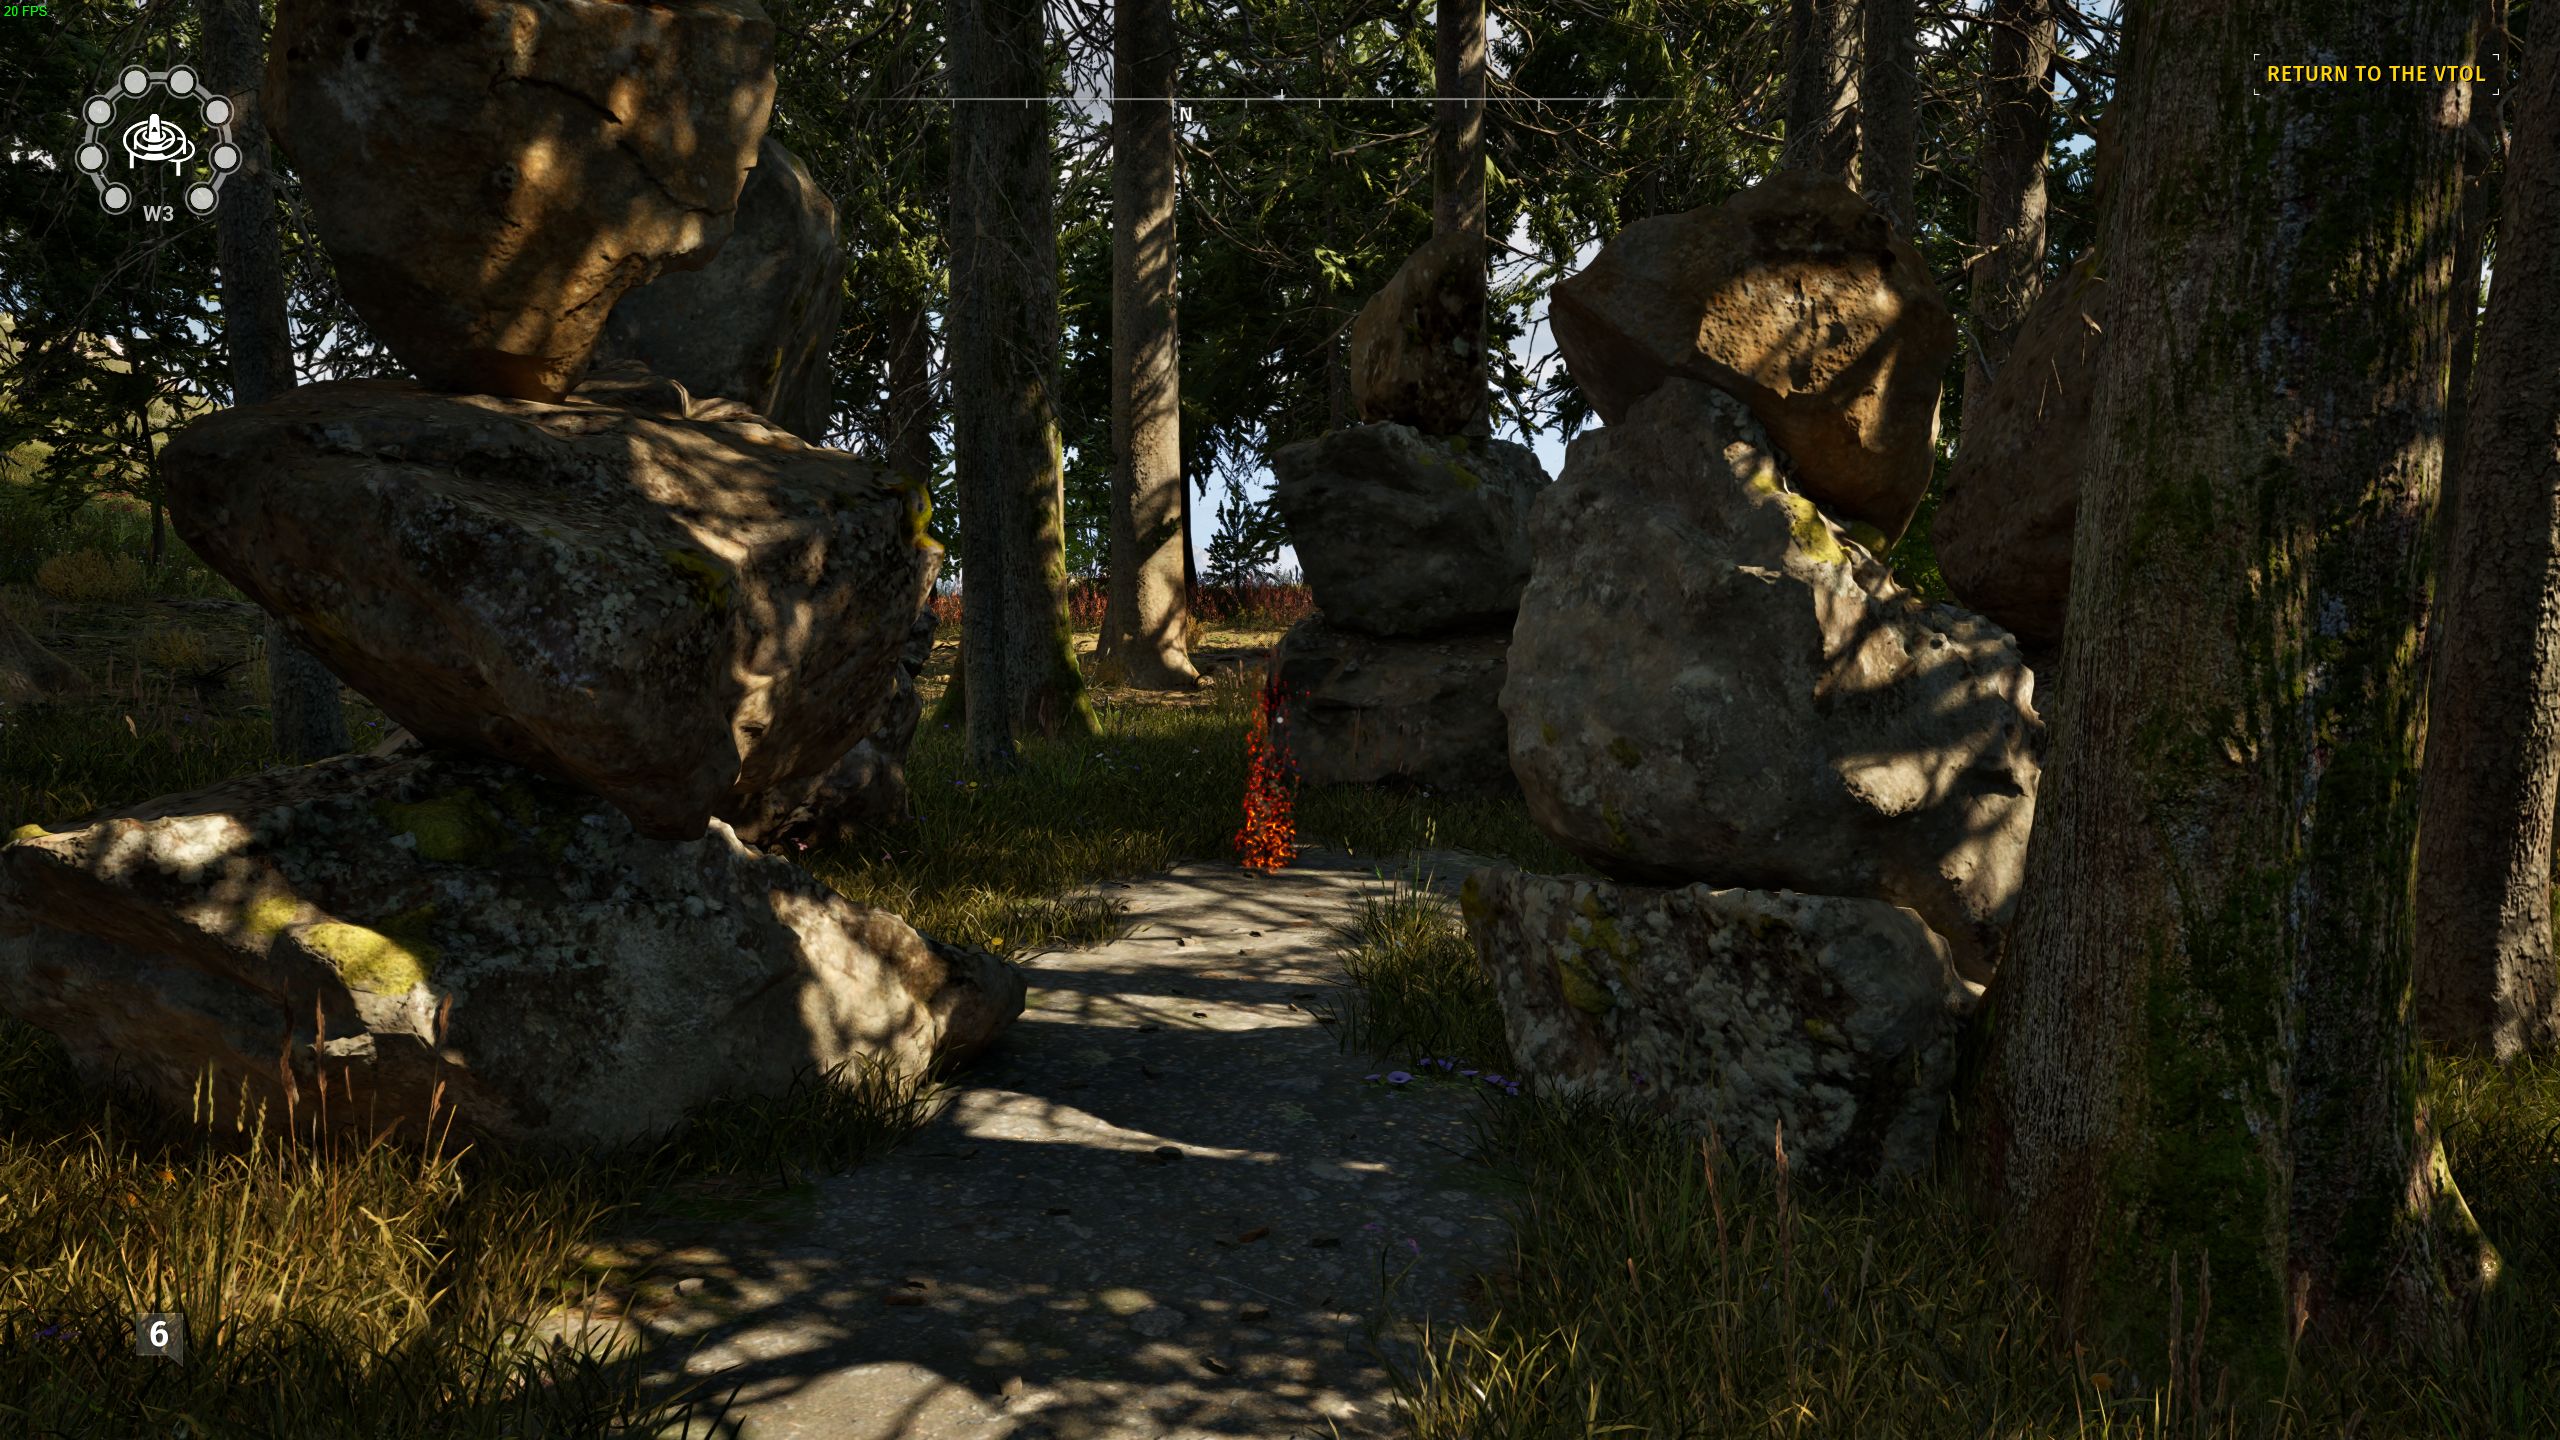
From puzzle 4, go to the north edge of its outer ring. You’ll see a path going through some broken circular arches. Take it, and it’ll curve left to avoid a small forest of trees. Walk into the trees instead and you’ll find the spark.
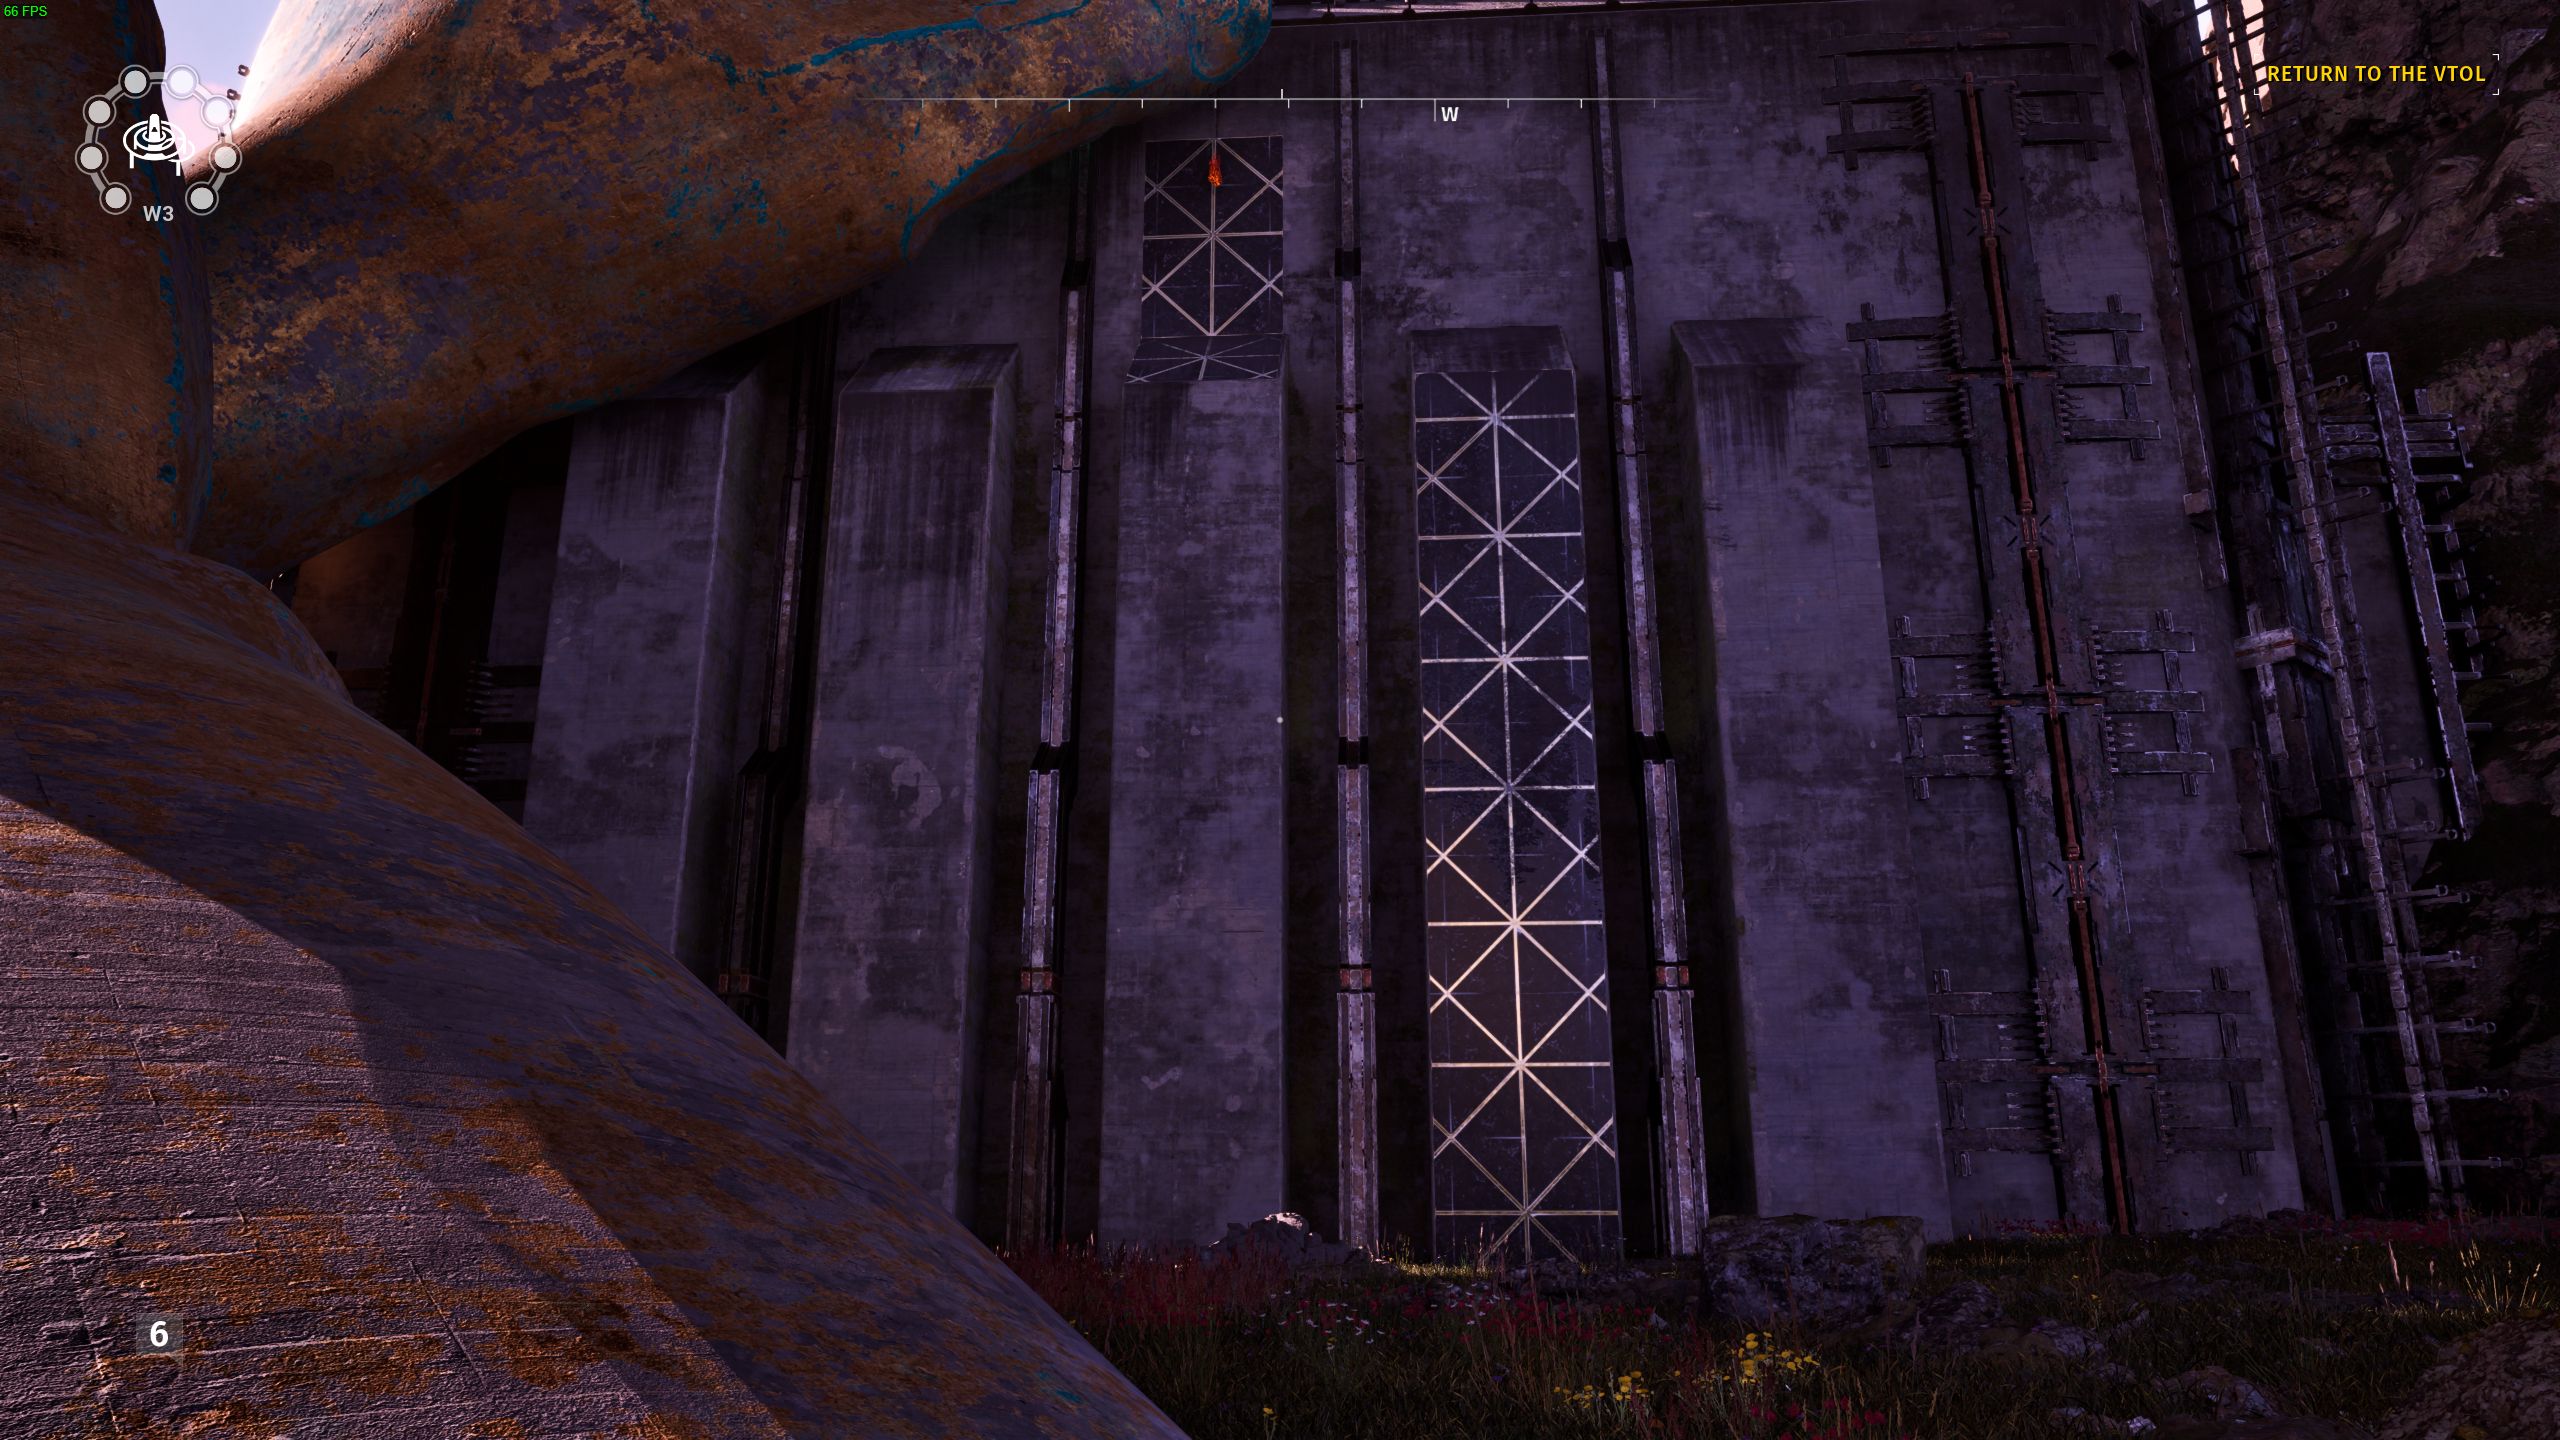
At puzzle 6 go west. You’ll see bronze hands next to some gravity plating on a building. Take the plating to get to the spark.
The End
Congrats, you have a cool 24 in your HUD now, unless you spent them on puzzles.
Maybe that’s a speedrun strat and you’re speedrunning, in which case I’m going to question the wisdom of reading a guide while the timer is going.
For the rest of you, go solve those puzzles and get your 24!
Also no achievement tied to this or anything, so I hope the intrinsic value of this accomplishment will sustain you. Except you had to use a guide so maybe not.
Whatever. You do you. As for me I’m off to play some Halo or something. Goodbye.
