Table of Contents Show
Ever wanted to waste time making a level for Broforce? Now you can! With this easy guide, I’ll show you how to make the stupidest level designs ever designed by a human being!
Some General Tips Before We Start
1. Left click to draw out the terrain, right click to delete it. This goes the same for covering whole areas by holding down Left Shift.
2. You can change the time of day and the map theme anytime by going to the Meta tab. You can also change the way you spawn into the map.
3. Continuing from the end of 2, spawning in with the truck will take up the first few squares where the truck drives in, meaning it will destroy any blocks that are places there. The helicopter will come down from the sky and drop you about a square away from the edge of the map, maybe a few more.
4. By using the Auto spawnpoint and placing down a spawnpoint doodad, you will spawn where said point is placed. (This can be used in correlation with the destroyed helicopter from TutorialObjects in the Doodad section to make it seem like the helicopter crashed with the Bro’s in it.
5. The easiest way to make a map quickly and efficiently while also making it look good and realistic is to start with the skeleton of the map and add in details after the basis layer is finished.
6. By using the Meta tab, you can also choose whether or not you want specific Bro’s to be in play, have wooden crates sometimes become ammo crates, ambience and initial ambience (upon spawning in the map), some probability sliders, and a few extra options at the bottom, such as Bloom.
7. You can resize your map at any time via the Campaign tab. You also use this tab to add, delete, and reorder levels in your campaign.
8. USE THE PARALAX DOODADS! They add so much depth and life to your level! For example, a good way to use them with the Forest Theme enabled is to place the tree parallaxes in the background while using the pipes and water towers as extra little effects at different heights to give some life to your level. Use the Foliage Doodad and the Tree Brush to add in some up close trees and foliage. Don’t go ham and cheese, though.
9. A great way to give depth to your ground below your Bro’s is to have a few tiles be Earth, then Cave Earth, and then have the last one or two tiles before you reach the bottom of the map be sand. Mix in some of the Doodad tab’s big and small boulders and you’ve got a pretty definitive underground!
10. Make your level more than just linear. Have a big bunker stretch up into the sky! Make part of the map go underground, then come back up at the top. Always make sure your map has more than one path to get to the Pure Evil at the end of the map.
Extra Tip! In order to END A LEVEL, you must either place down a Pure Evil doodad next to a Checkpoint doodad, OR (a much more complicated but fun way to end a level) is to use the Trigger Area in a certain place and add a Level Success action at the bottom of the Trigger Action.
Humble Beginnings
As soon as you hit the Level Editor button in the main menu, you’ll be brought to this defiling, taunting screen! Instead of punching it in the face (like you normally would) we have to be a “civil human being” and go to the tab on the right.
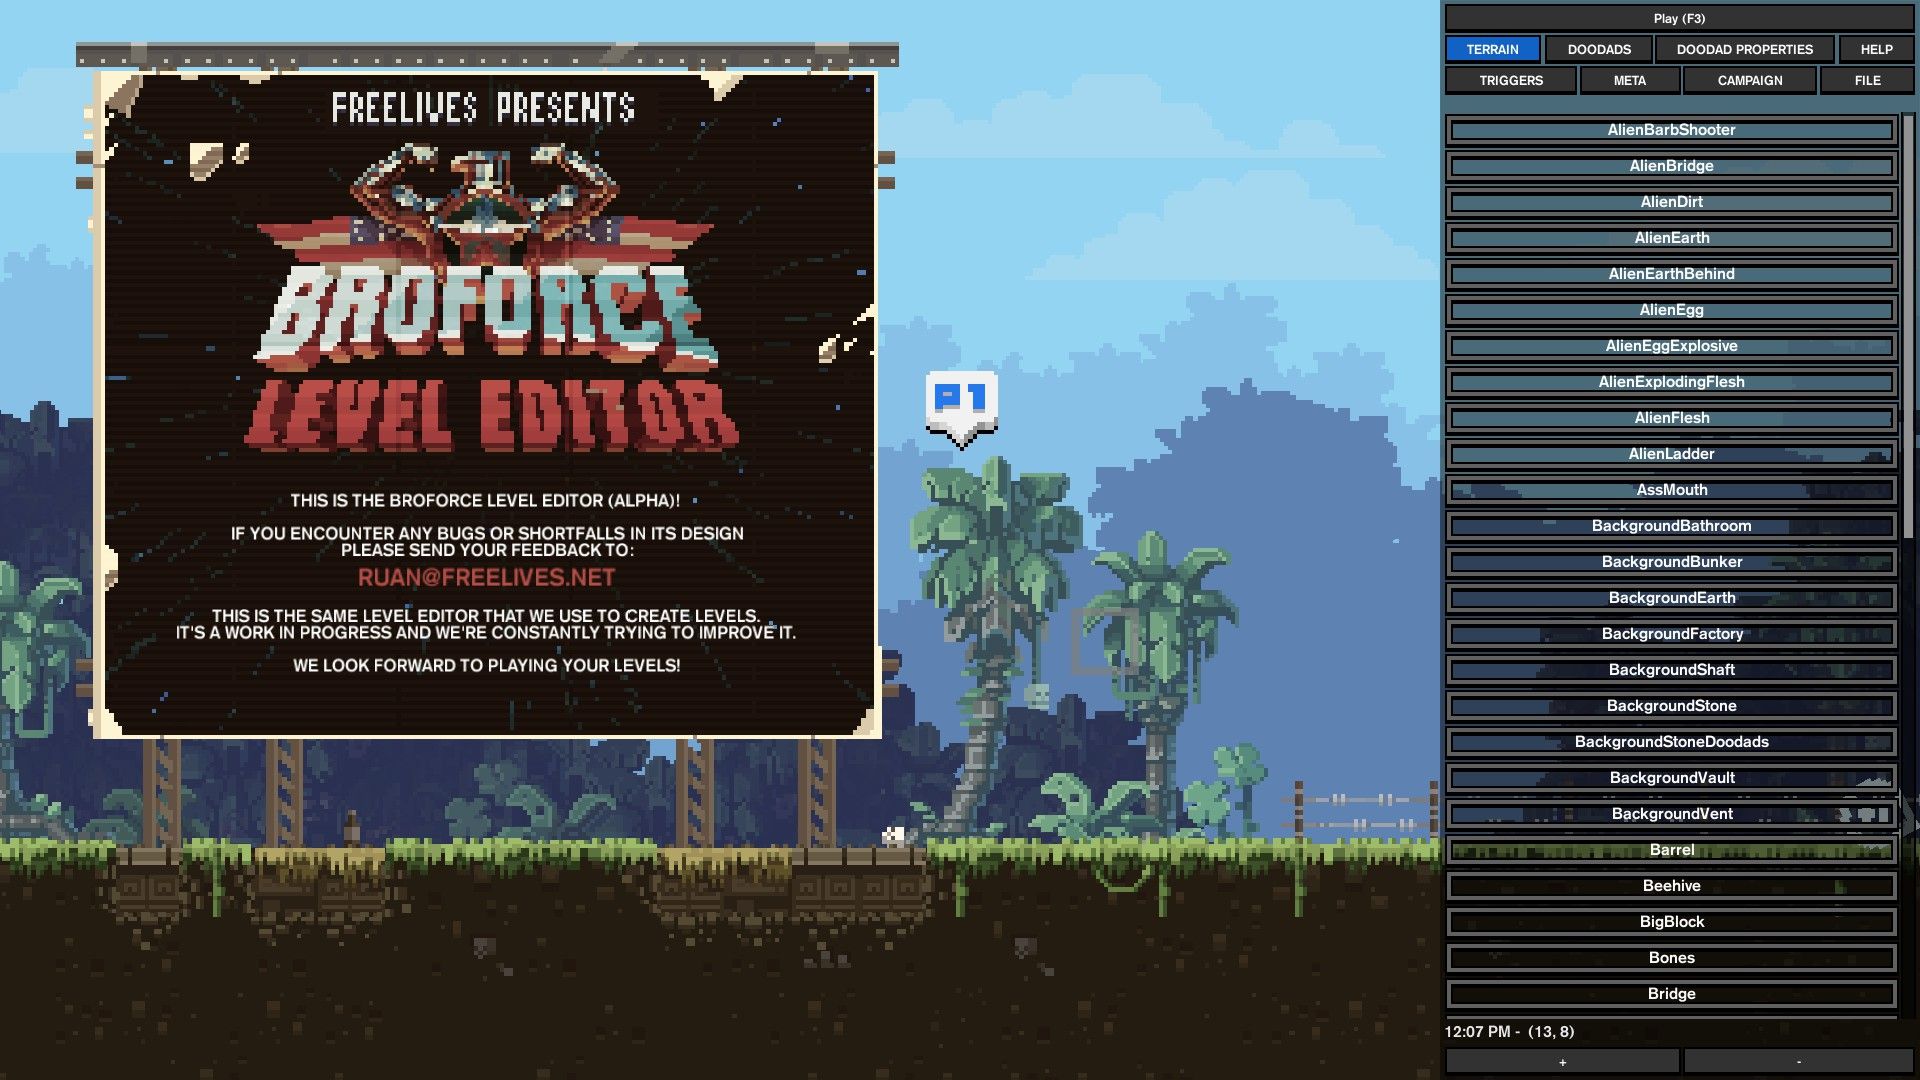
Go to the top right corner of this taunting tab and click on the File button. From here, click the New button underneath Publish. Congratulations! You’re doing something.
The First Step
The First Step consists of a simple, easy, yet effective task of choosing your map type. What do I mean by this? I mean, of course, by hitting the Goddamn buttons that tell you to!
NAME YOUR CAMPAIGN!
Slide your name underneath it for some sneaky self advertisement…
I myself like to extend the map’s length and height all the way to 256 in the beginning. This is because it’s hard to tell what length and height the map’ll turn out to be!
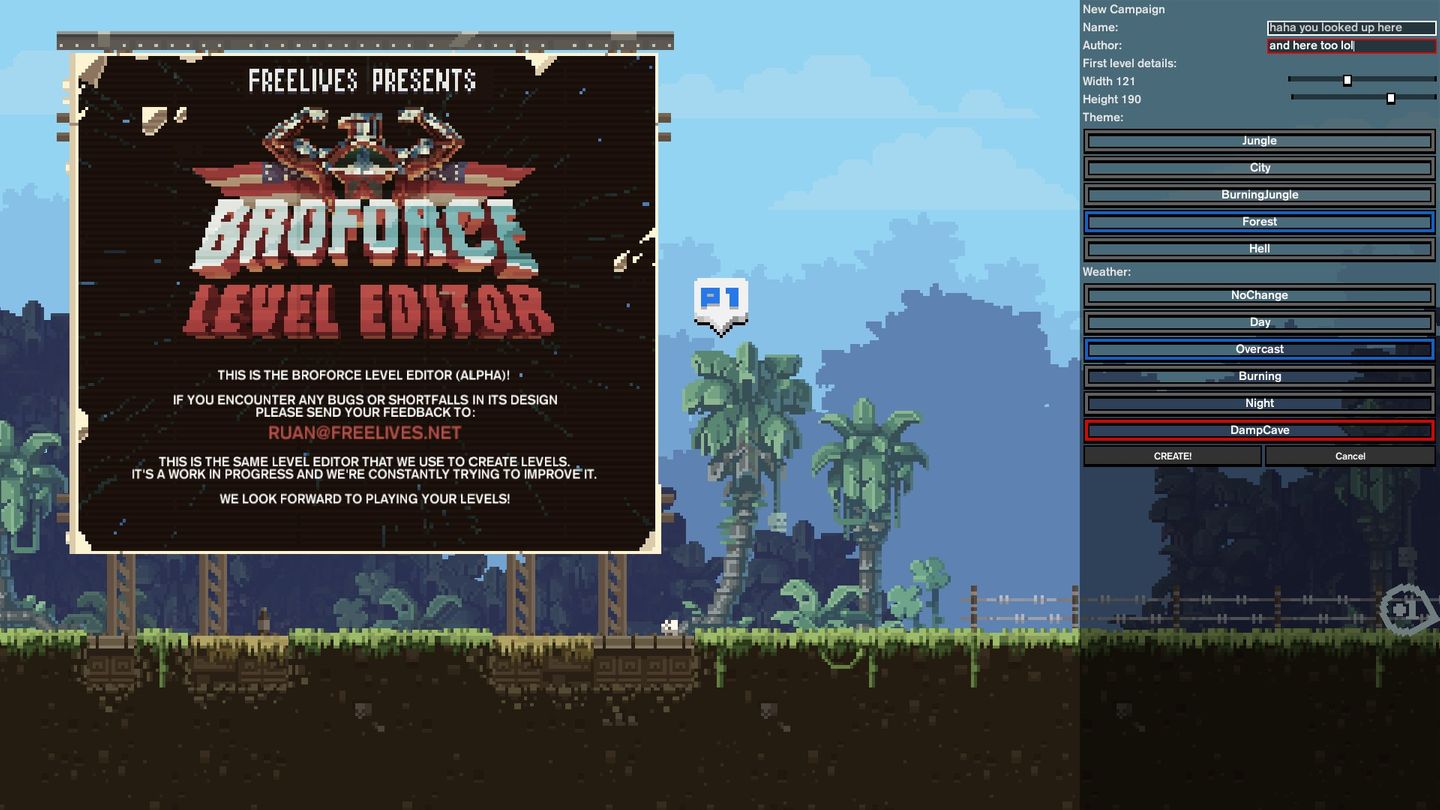
CHOOSE A MAP THEME!
(I personally like forest..)
CHOOSE THE WEATHER!
(you’re god during this stuff, so it’ll be easy to change it later)
GOOD WORK! MOVE ON!
The Skeleton
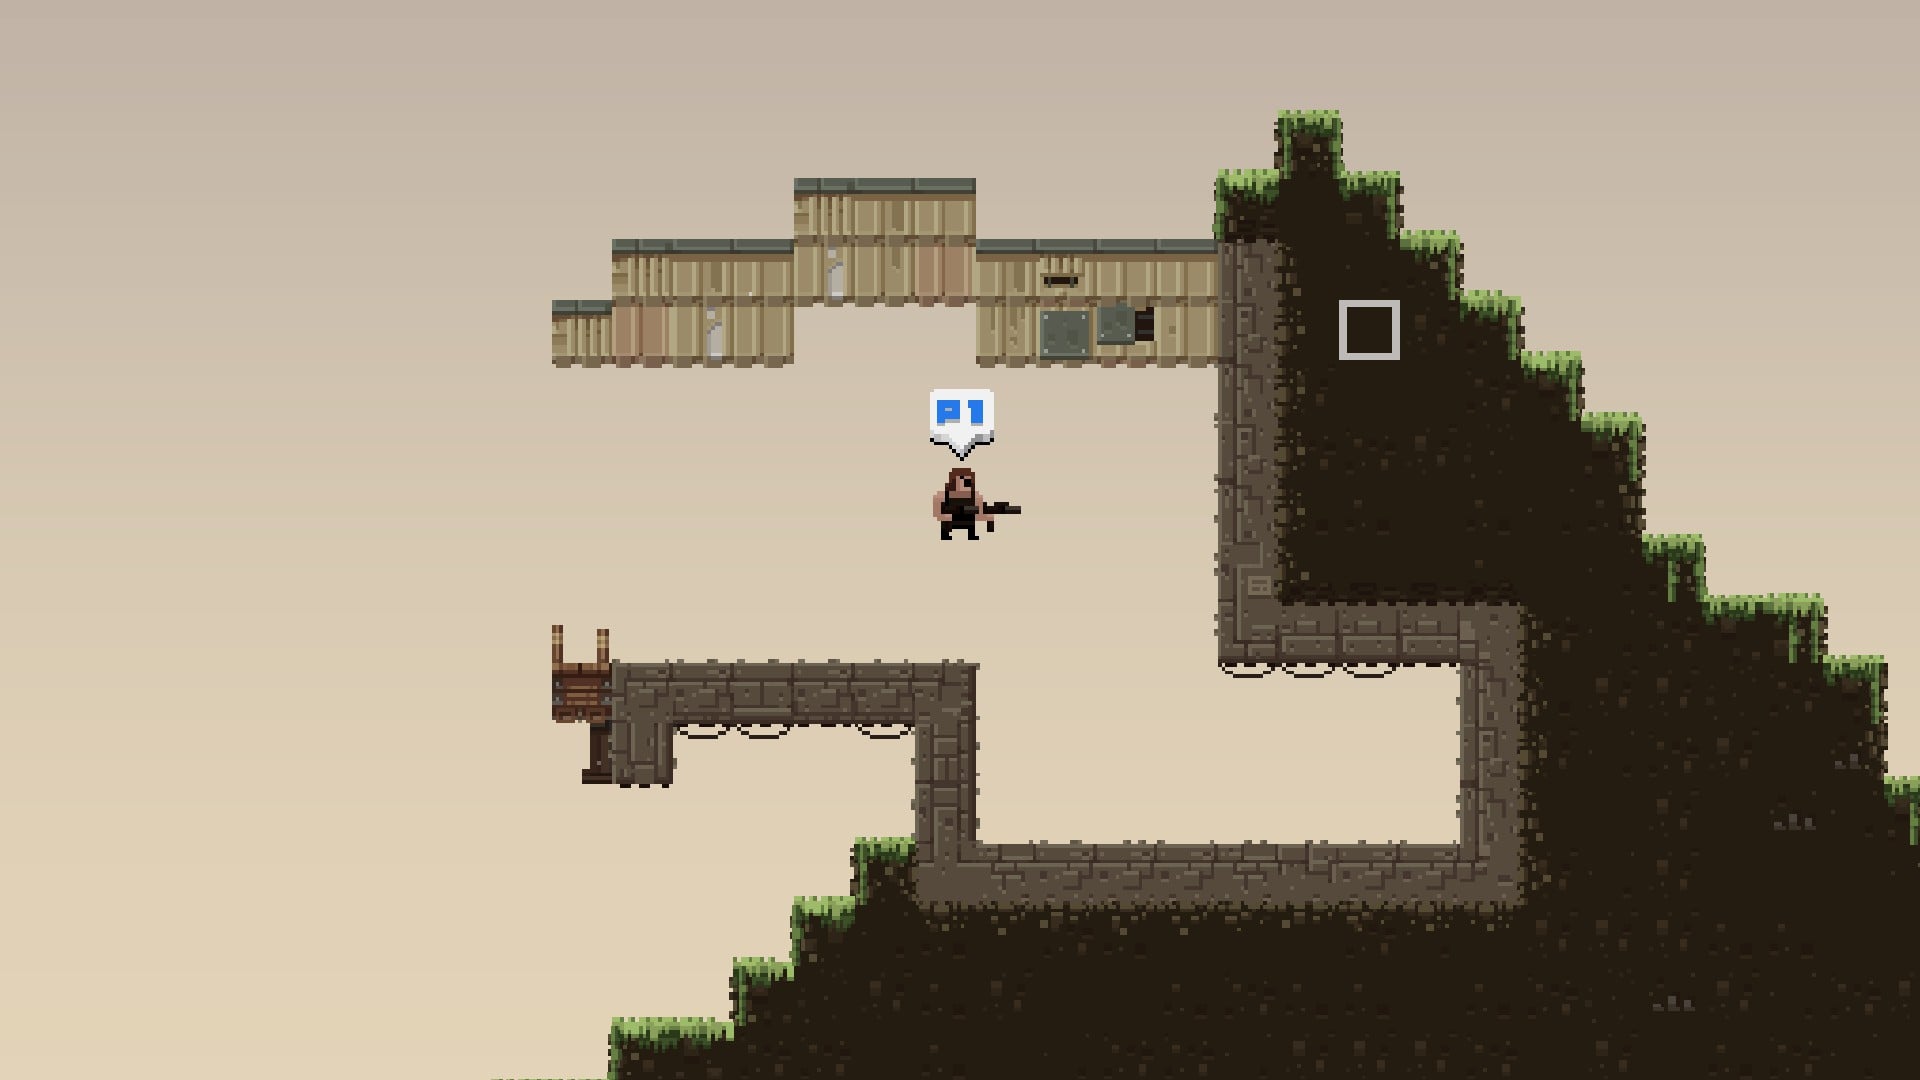
The Skeleton, as I like to call it, is the first layer of your very own map! Head back to that devious tab on the right after loading into your map and head to the Terrain tab.
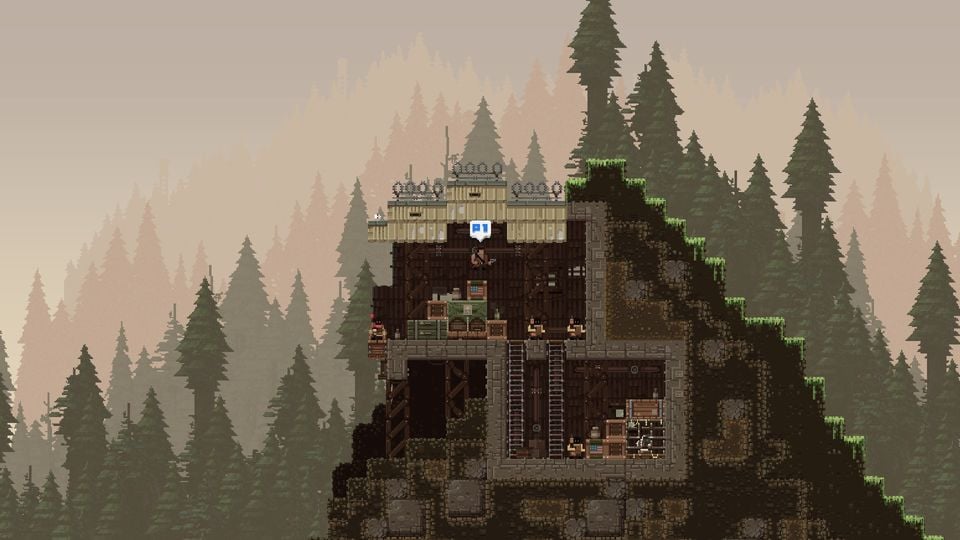
As soon as you load into your map you may find that the terrain is a little… wonky. This is an easy fix. Just head over to the Terrain tab, scroll down until you find Earth (the Terrain tab is in alphabetical order), hold shift, left click, and drag out the small white box to a few tens of squares until you have enough land to build on. Now start building your level! Just for an example, I’ve built a basic, small watch tower built into a mountainside. Continue building the entire Skeleton of your level using the different combinations of blocks you can find in the Terrain tab until you’re ready to move on to the next section.
The Muscles
Using another metaphor, we’ll continue on to the Muscles, probably the most lengthy part of making a level. If you’ve completed the Skeleton, it’s time to throw in the details, the muscles. Start by filling in your buildings with the backgrounds in the Terrain tab. If you’ve already done this, then cool. Good job. Continue reading.
For your interiors, make them more than one story, whether its underground or high in the sky. Add in ladders or elevators, depending on the type of building. Elevators fit more in the City Themes, while ziplines and ladders fit more in the Forest and Jungle themes.
Add in some doodad’s for the insides of your buildings. You’ll want to choose the BackgroundWindow(your building’s type) doodad and run through a few of them, placing them evenly and in good spots for your building.
Throw on in some IndoorDoodad’s to give the place a little more detail. Then move on to the Crates. As you can see in the image, I placed a cage in the bottom portion of the bunker covered by wood and ammo crates. In the top, in order to block the two Mooks’ view from the RPG Mook, I placed some more crates, with an ammo crate nearby for the RPG Mook, and a few liquor bottles around in order to make it seem like they had been drinking earlier before.
On top of the roof, I used the Fence Doodad (1) in order to toss some barbed wire on top, so no cheeky Bro’s can climb onto the roof without a fight.
At the edge of the watchtower I threw down one single bridge and connected it to the Bunker walls with one block of scaffolding. You can do this by drawing a bridge and then drawing directly underneath it again. Finally, I patched up the bottom with some Earth background and some scaffolding doodads.

Extra Detailing
It’s time for my favorite part: EXTRA. DETAILING.
Let’s start with the underground. To give your beautiful, Broforce soil some uniqueness, mix in some CaveEarth and Sand, as I mentioned in the General Tips section. Throw in some Boulder Doodad’s as well and you’ve got a fairly unique underground.
Now, it’s time for the surface, my favorite.
We’ll start with Parallaxes. What are they? They’re huge chunks of background foliage that serves as a way to give depth to your level. They come in three layers: Foreground(1), Middleground(2), and Background(3).
Start with the Foreground, or the First Parallax. These should go with the terrain, meaning that if there is a mountain nearby, they should crawl up the base of the mountain before petering off. Use different variations in order to give your level some pazzazz. Now let’s move on to the Middleground.
The middleground parallaxes depend on where your foreground parallaxes are, and your map type. Because I’m using the Forest Theme, I can place my middleground parallaxes above my foreground, giving an extra layer to the thick forest my level is set in. Finally, for the Background, just throw in some above your Middleground, as it’ll be barely visible anyway.
Now let’s move on to the final bit of detail: TreeFoliageBackground. You’ll find foliage at the bottom of the Doodad list. Use this Foliage to add in some real-close Foreground decorations finally, throw in some TreeBrush in the Doodad section and prepare to end your level.
How to End a Level
To end your level, you must place down a Checkpoint with a Pure Evil Doodad next to it, just like in the already-made campaign. Once you kill the Pure Evil, you can then raise the Flag, hop onto the chopper, and GTFO. This is a simplistic yet effective way to end the level. However, if you’re looking for a more story-driven way to end your level, you can end the level using a Trigger. Now, just the word seems to scare half of this game’s fanbase, but don’t worry: they’re quite easy to understand. Let’s get on it.
Go to the Trigger’s tab and select New Trigger. Then hit Area and Shift-Left-Click-Drag to cover a portion of the level, however big or small. When you’re done, release the button, and you’ll see the area flash yellow and white. Now, as far as I know, you can make as many Area Triggers as you want. They can be done to do cool things like making bridges collapse or setting explosions. Play around with them; they’re fun, and add some spice to your level.
Some General Tips After We End
Now that you know the basics about the Level Editor, let’s look at some tips that’ll help you out.
1. Don’t go ham and cheese with Indoor and Outdoor Doodads. Place them scarcely; they’re things that help bring the level to life. They’re not to be used one after the other, unless they’re meant to be.
2. Use all of the different themes. Using the different themes changes parallaxes, Doodads, certain terrain, and the overall feel for your level. Try em out.
3. If you ever wanted to make a level have rain, just go to the Triggers, set an area, and then choose the Add New Weather Action button at the bottom. You’ll find the rain in that section.
4. Make your campaigns have a story to them! Don’t just make a level for no reason, unless you’re just dicking around. Make a level that has a story, whether it be Bro’s that are captured, an invasion into enemy territory, or defending the homeland. Whatever it is, make it great!
5. Spread out Mook’s in good areas. Don’t just throw down five mooks because you can. Put them in places they’d be in real life. (i.e. placing RPG Mook’s at the edges of towers or cliffs.
6. Use ammo crates and POW cages for ammo and lives respectively. Throw down some ammo crates in corners, or out of the way places where they aren’t directly in your face but you can still see them. Likewise with the cages, place them in places where you’d think real prisoners would be held. (i.e. inside a bunker guarded by a Mook or two.
7. Use propane tanks and explosives barrels. They’re pretty damn fun to shoot and demolish an entire building using them.
8. Use some Boss doodads to give your level some strong enemies. Be aware, though, that killing a boss will cause the level to end.
9. Make terrained levels. What I mean by this is to have hills or large skyscrapers that take up the entire skybox. Make the level enjoyable every time a person plays it.
10. Let me know if you want another guide!