Table of Contents Show
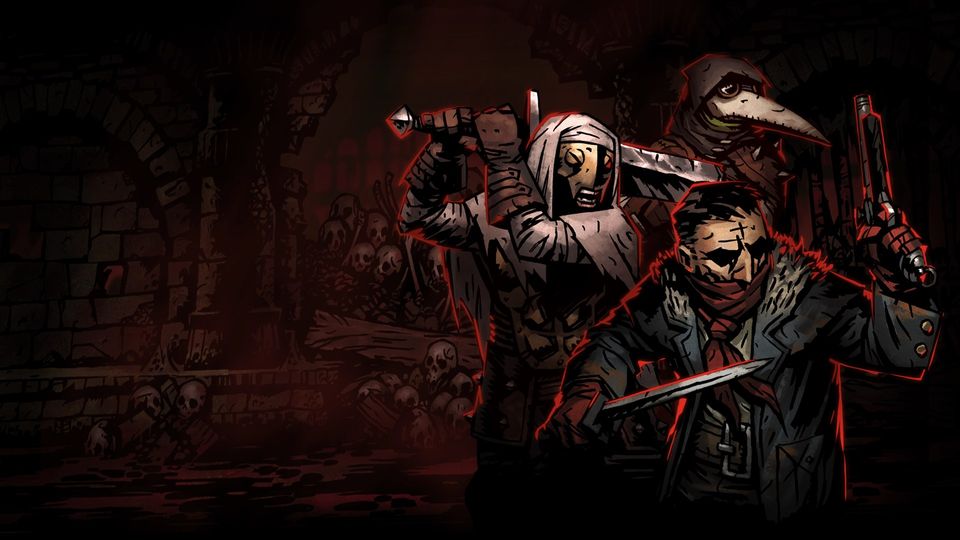
Lightning the Way Walkthrough
Congratulations on your first real “victory”, but don’t get cocky yet for this mission is the hardest you will have to take on. But if you manage to beat it, then you can consider the game defeated.
On this mission you are tasked to activate three iron crowns; for this you will have three hands of glory. The size of the dungeon is long so you will be granted two firewood, but uses them only when needed since you will be facing multiple “bosses” on this dungeon. This map is a little more complicated than the previous one, so I highly suggest you to search a map on the internet, so you spare yourself from a long, bloody and miserable campaign.
On this dungeon expect both bleeds, blights and debuffs so you need to bring a lot of bandages, anti-venom and holy water. Also there is a new gimmick; the bosses on this dungeon uses a skill called “revelation”, this skill hits really HARD but thankfully you can avoid the damage (both in HP and stress) by using the talismans of the flame, but since you only have three one of your heroes will have to enter the dungeon unprotected.
The Templars
On this dungeon you will face two new mini bosses; the Templar impaler and the Templar warlord. These half scorpion half human monsters shouldn´t be taken lightly since they can dish MASSIVE damage to your party with their normal skills or with revelation. They will guard each iron crown, so in total you will face one Templar impaler on one room, one Templar warlord on another room and both of them in another room, so you really want to keep your firewood for when you really need them.
Boss fight: The Templar impaler
The Templar impaler has the eldritch / beast type, it has a large size (it occupies two ranks) and it has two turns per round, so debuffs and marks are quite ineffective against it but bleeds do wonders. It´s main gimmick is that it has a skill named “revelation” which, if your heroes are not protected with the talismans of the light, will do some MASSIVE damage and will stress A LOT your heroes, so you really don´t want to be caught off guard by this skill. He also has the highest HP pool of the two Templars, making it a beefy boi. He also loves to be on the front row, so moving it to the back row can disrupt it a little so the fight is easier for you.
The main strategy against this boss is to try and move it away from the front row so he won´t be able to use one of its skills (stinger stab). Also try to stun it on its first turn, so in the next it will use revelation. By doing this you are almost guaranteed to have a run with no damage done to your heroes (assuming you have the talismans of the light and someone with guard). For the skills it has:
Torment: With this skill the Templar impaler will attack both position 1 and 2 with its claws, doing quite a lot of damage and it has a good CRIT mod.
Stinger stab: With this skill the Templar impaler will use its stinger to attack one of your heroes and inflict a nasty blight (like the bleed of mister crab… 10 damage per turn). Be aware though that the Templar impaler can only use this skill when he is in position 1 and 2 (which is redundant due to his size), so if you move him he won´t be able to use this skill.
Body slam: With this skill the Templar impaler will charge at one of your heroes, moving it forward 2 ranks, dealing a lot of damage and with a chance of stun it.
Revelation: With this skill the Templar impaler will give the “evil eye” to one of your heroes, and it can occur two things; if your hero has a talisman of the light (or is protected by one who has it) the skill will do no damage and will be a wasted turn by the templar impaler or… if your hero doesn´t have a talisman of the light (or is not being protected by one who has it) it will receive MASSIVE damage and will receive A LOT of stress. Believe me when I say you don´t want to get hit by this skill.
It will appear protecting one of the iron crowns with another two mobs in the back row that will love to move you, so is recommended to kill them first before giving your full attention to this boss, and will appear on another room protecting another iron crown with its brother, so this is your real test. Also this boss is weak towards bleeds but resistant towards blights, so try to grind him down with bleeds.
Boss fight: The Templar warlord
The Templar warlord has the eldritch / beast type, it has a large size (it occupies two ranks) and it has two turns per round, so debuffs and marks are quite ineffective against it but bleeds do wonders. It´s main gimmick is that it has a skill named “revelation” which, if your heroes are not protected with the talismans of the light, will do some MASSIVE damage and will stress A LOT your heroes, so you really don´t want to be caught off guard by this skill. He has the lowest HP of the two Templars, so it is recommended to focus him down first. He also loves to be on the back row, so moving it is crucial to disrupt it.
The main strategy against this boss is to try and move it to the front row so it won´t be able to use two of its skills (stinger shoot and doomsday). Also try to stun it on its first turn, so in the next it will use revelation. By doing this you are almost guaranteed to have a run with no damage done to your heroes (assuming you have the talismans of the light and someone with guard). For the skills it has:
Torment: With this skill the Templar warlord will attack both position 1 and 2 with its claws, doing quite a lot of damage and it has a good CRIT mod.
Stinger shot: With this skill the Templar warlord will launch its stinger to attack one of your heroes and inflict a blight and debuffs (-DMG, -CRIT). Be aware though that the Templar warlord can only use this skill when he is in position 3 and 4 (which is redundant due to his size), so if you move him he won´t be able to use this skill.
Doomsday: With this skill the Templar warlord will launch spikes towards your party, inflicting moderate damage and with a chance to blight. Be aware though that the Templar warlord can only use this skill when he is in position 3 and 4, so if you move it you will disrupt it a lot.
Revelation: With this skill the Templar warlord will give the “evil eye” to one of your heroes, and it can occur two things; if your hero has a talisman of the light (or is protected by one who has it) the skill will do no damage and will be a wasted turn by the Templar warlord or… if your hero doesn’t have a talisman of the light (or is not being protected by one who has it) it will receive MASSIVE damage and will receive A LOT of stress. Believe me when I say you don´t want to get hit by this skill.
It will appear protecting one of the iron crowns with another two mobs in the front row that will attack your party and might even blight them, so is recommended to kill them first and dispose of the corpses before giving your full attention to this boss, and will appear on another room protecting another iron crown with its brother, so this is your real test. Also this boss is weak towards bleeds but resistant towards blights, so try to grind him down with bleeds.
Heroes
In this dungeon you NEED a hero that can protect the poor soul who will go without a talisman of the flame, while also someone who can reliably stun the mini bosses so they use revelation, guaranteeing an easy run.
Occultist: The occultist becomes important on this dungeon since he can heal your party against the massive damage these two monsters can dish, or he can lower their damage so you have to rely less on his heals.
Man at arms: The man at arms becomes a must on this dungeon since he can (and must) protect the poor bastard who won´t be going without a talisman of the flame. Also he can use riposte so you can damage further its turn (especially thanks to the guard.
Bounty hunter: The bounty hunter, with the proper trinkets, might be able to stun the Templars so you can easily dispatch them. Or if you don´t want to rely on a gimmick then he can also dish a lot of damage.
Houndmaster: The houndmaster is especially good on this fight since he can protect the poor soul against revelation. He also deals extra damage towards beast types and, combined with the Scooby snacks, he can do good damage. He can also stress heal.
Witcher (MOD only): While geralt is a mod, thanks to his stun you are almost guaranteed to stun the Templars on its first turn. Also his damage is ridiculously high, so he can make the fight even shorter.