Table of Contents Show
Starter Guide for New Players in Payday 2.
Payday 2 Starter Guide
Every contract in PayDay 2 follows the same general flow of events, so knowing how the missions are laid out and how the game works can help you plan your heists accordingly.
The Safe House

When starting up the game the first time, a pop-up box will invite you to the Safe House. You can skip it if you wish, but it serves as a basic tutorial, and will introduce you to a couple new concepts. If you do skip it, you can go there from the main menu.
The safe house will allow you to practice with skills and new weapons. There are rooms to practice opening doors, opening safes and shooting enemies. You can also slowly see your pile(s) of cash grow as you complete more and more contracts.
Accepting a Contract

To accept a contract, you will need to visit Crime.Net, a service from within the game. You can visit it via the laptop in the basement of the safe house, or simply from the main menu. If you choose “Crime.Net Offline,” you will play alone, but still have the option to let the AI help you.
When you open Crime.Net, you will see an overhead view of Washington DC. On this screen contracts will pop up in various locations. You can mouse over the icons to hear Bain describe what the contract is about.
Difficulty
In PayDay 2 there are currently 5 difficulties going up in order like this:
- Normal
- Hard
- Very Hard
- Overkill
- Death Wish
- On the higher difficulties the enemies will have more health, deal more damage and be stronger in general. Some enemies are exclusive to certain difficulties.
The reward, cash and experience, for completing contracts will scale with the difficulty.
Professional Jobs
In PayDay 2 there are the so called ‘professional’ jobs or pro jobs that heisters can take on to gain more experience. Pro jobs cannot be restarted like normal jobs if a day of a contract is failed which makes it more challenging to heisters. Some heists have a normal and pro version, but some only have a pro version like Big Oil and Ukrainian Job.
Viewing Intel

After selecting a contract from Crime.net, you will have a chance to check your current setup, including whether you want to play with the AI backup or play solo. It is possible to complete a contract by yourself, but it can be incredibly difficult!
After pressing ‘Start Heist’, you will see the intel screen. You can view any pictures, blueprints, or other information that your contacts have managed to acquire. For a fee, you can also purchase additional bits of intel, which can make your mission that much easier. Still, the best intel will fail if your Skills aren’t up to par, so don’t rely too heavily on it. Besides, many missions are heavily randomized, so you can’t expect every mission to go down the exact same way.
Completing the Heist

After viewing the intel screen, it’ll be time to perform the heist itself. The general layout of a given heist will always be the same no matter how many instances of it that you do. (For example, the Four Stores heist always involves the same map, the same layout, and the same traps.) The difficulty and your skill set can determine how exactly the heist goes down, so coordinate with your team to get through it cleanly and efficiently. Remember: the longer you’re in the heist, the greater the chance you’re going to fail, especially for the more difficult ones.
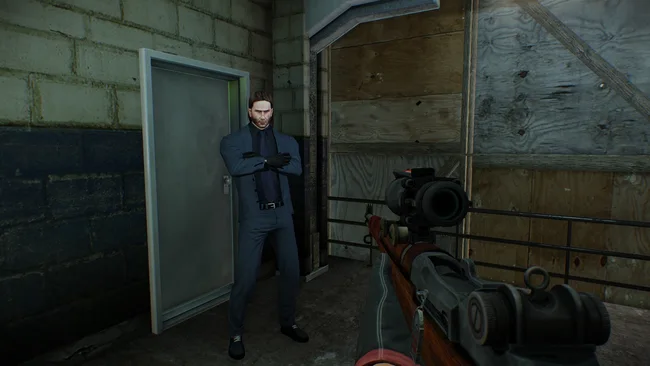
You’ll start off most jobs in “Casing Mode,” (although this varies between jobs and the heists involved within the various jobs such as Framing Frame) where you’re just walking around as a normal civilian. If you stray too near to cops or cameras, you’ll arouse suspicion. Try to take a wide path around them, but definitely look around; unless your uniform and equipment are registering as “high visibility,” you’ll have some time to get a feel for the place. See if there are any alternate entrances, or if you can see a high value target immediately. Also, remember that just because a camera can see you, it doesn’t mean the police will be instantly alerted; someone has to actually press an alarm or call the cops, and if you can deal with witnesses quickly and quietly enough, you might delay a police response.
When you’re ready to start the heist, hold the G key to put on your mask. (Alternatively, if the heist is forced to start due to an alarm being tripped, you’ll don the mask automatically.) Once the mask is on, it can’t come off; you’ll be committed. Act quickly, and try not to push your luck.
Payday

After completing the last day of the heist, or if you were completely defeated, you’ll be taken to the summary screens of your loot and experience points. After that, every player will be presented with a series of three cards, and you’ll each get to select one. The cards contain either a cash bonus, a mask template, a weapon, or a weapon accessory. Other than the cash bonus, you’ll still need to buy your new item in order to actually use it. This card game only unlocks the right to purchase it; it doesn’t unlock the item for actual use.

