Table of Contents Show
Placing a Bridge over a Koi Pond in House Flipper.
House Flipper Placing a Bridge over a Koi Pond
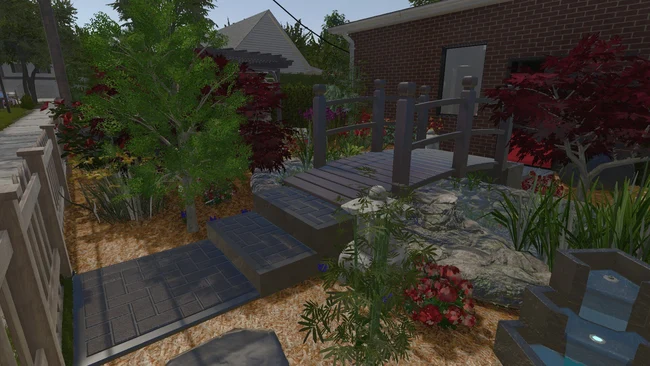
I am here today to show you all that with a little effort you CAN place a bridge over a Koi pond!
Choosing and Preparing the area for your pond and bridge
I’m using the starting house for this guide, so everyone can more or less measure how much space you need.
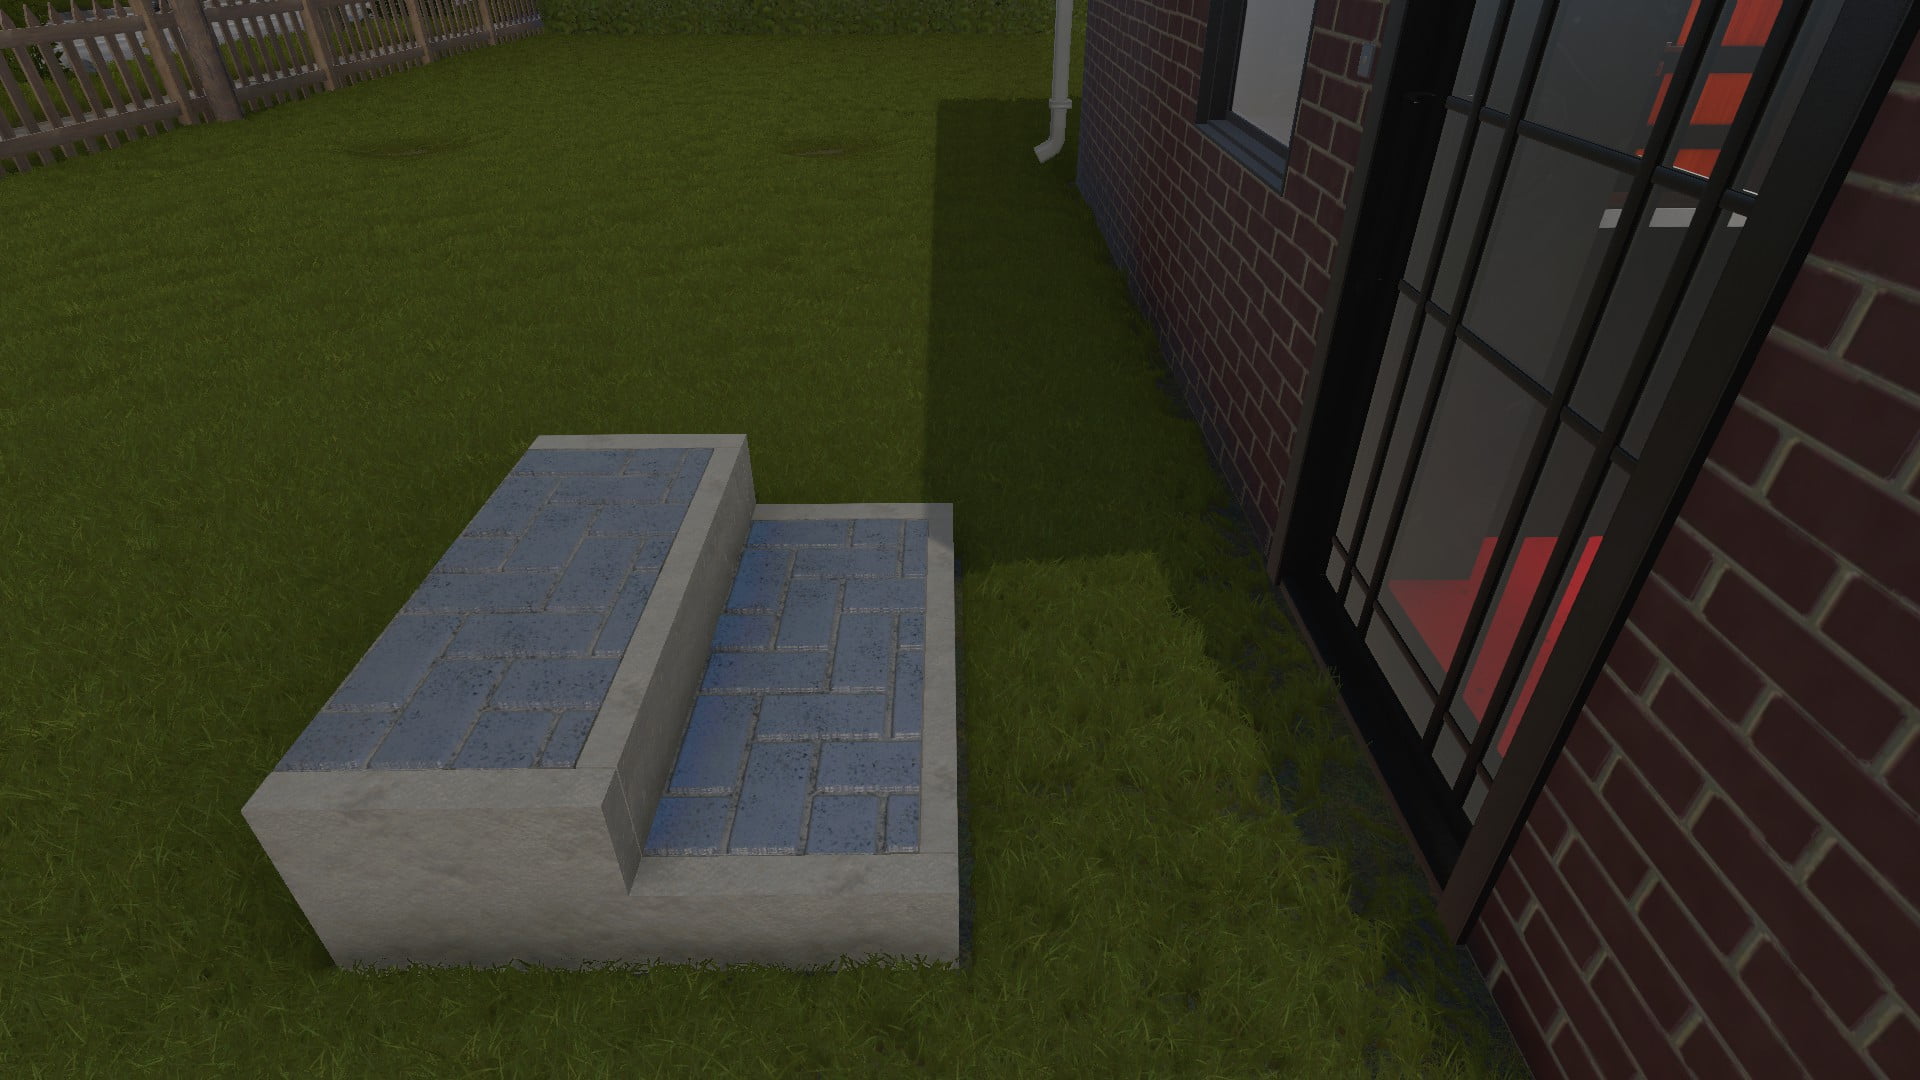
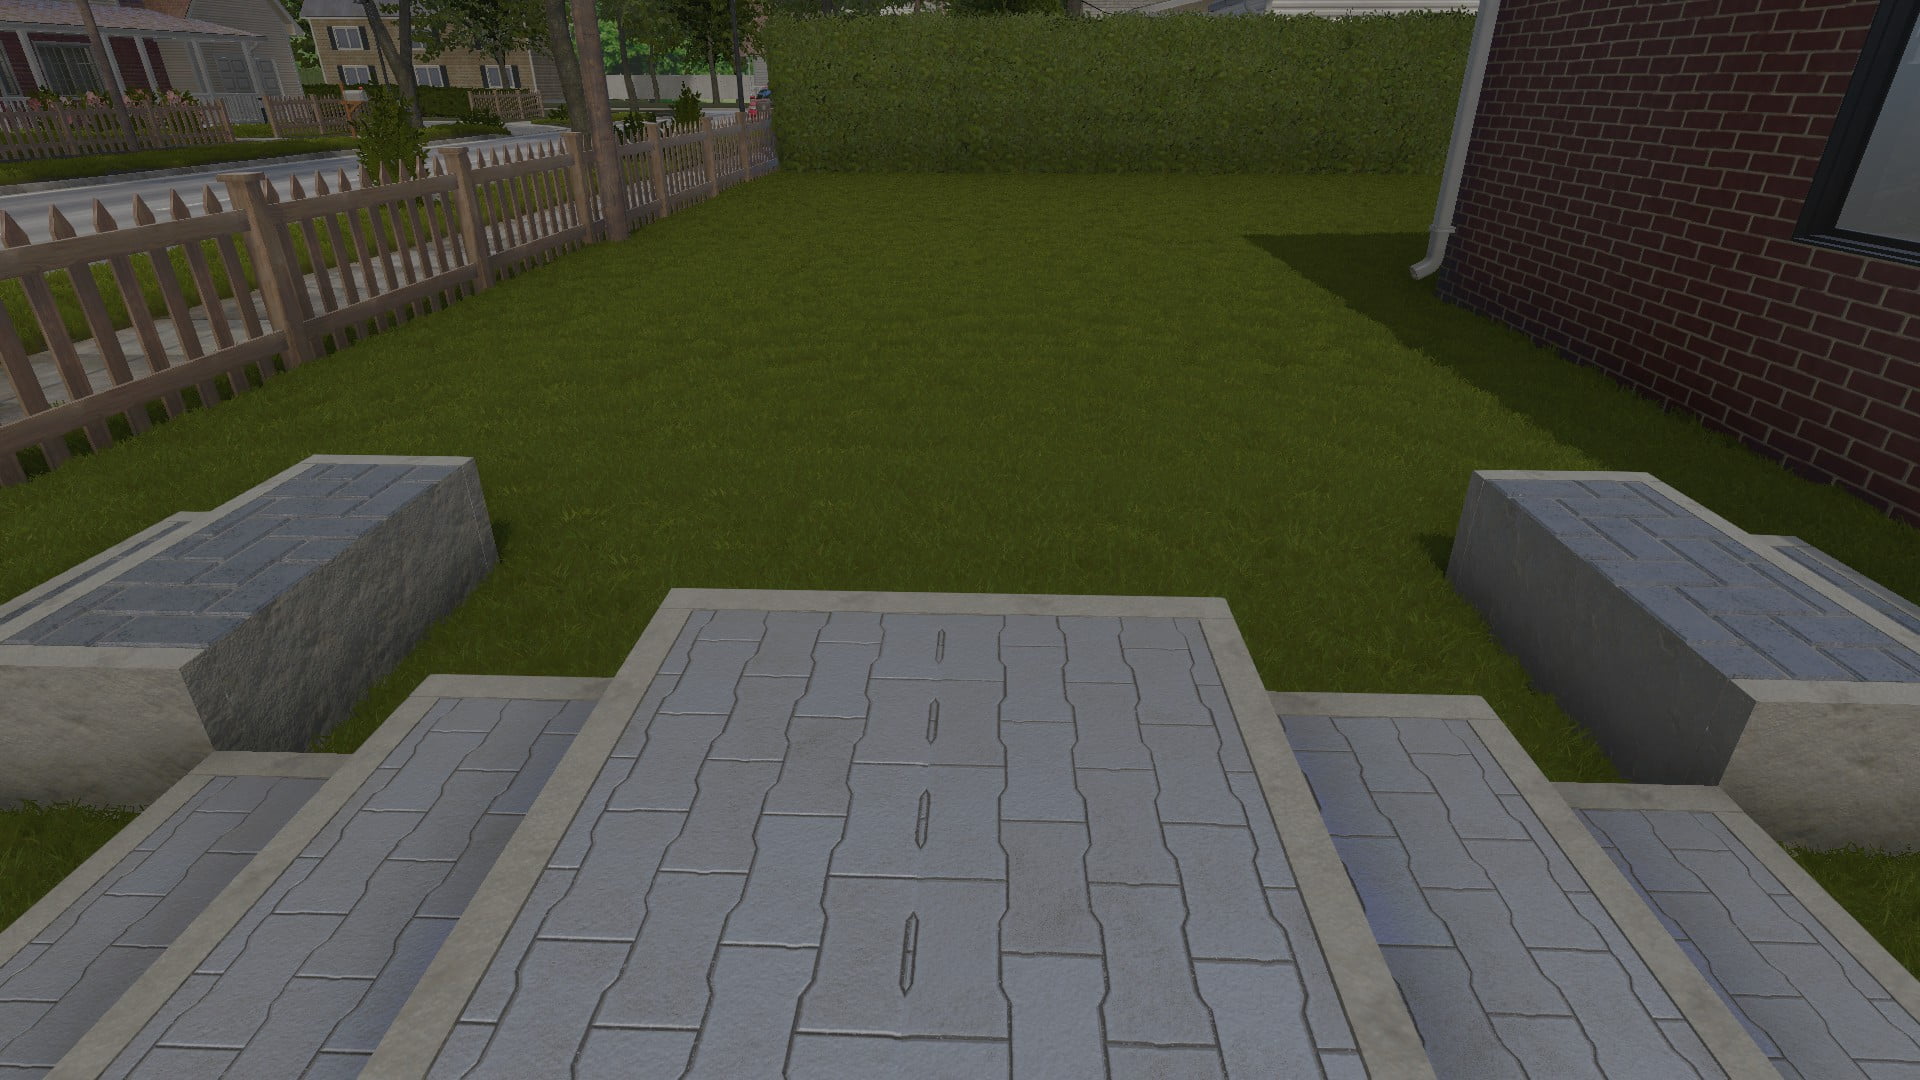
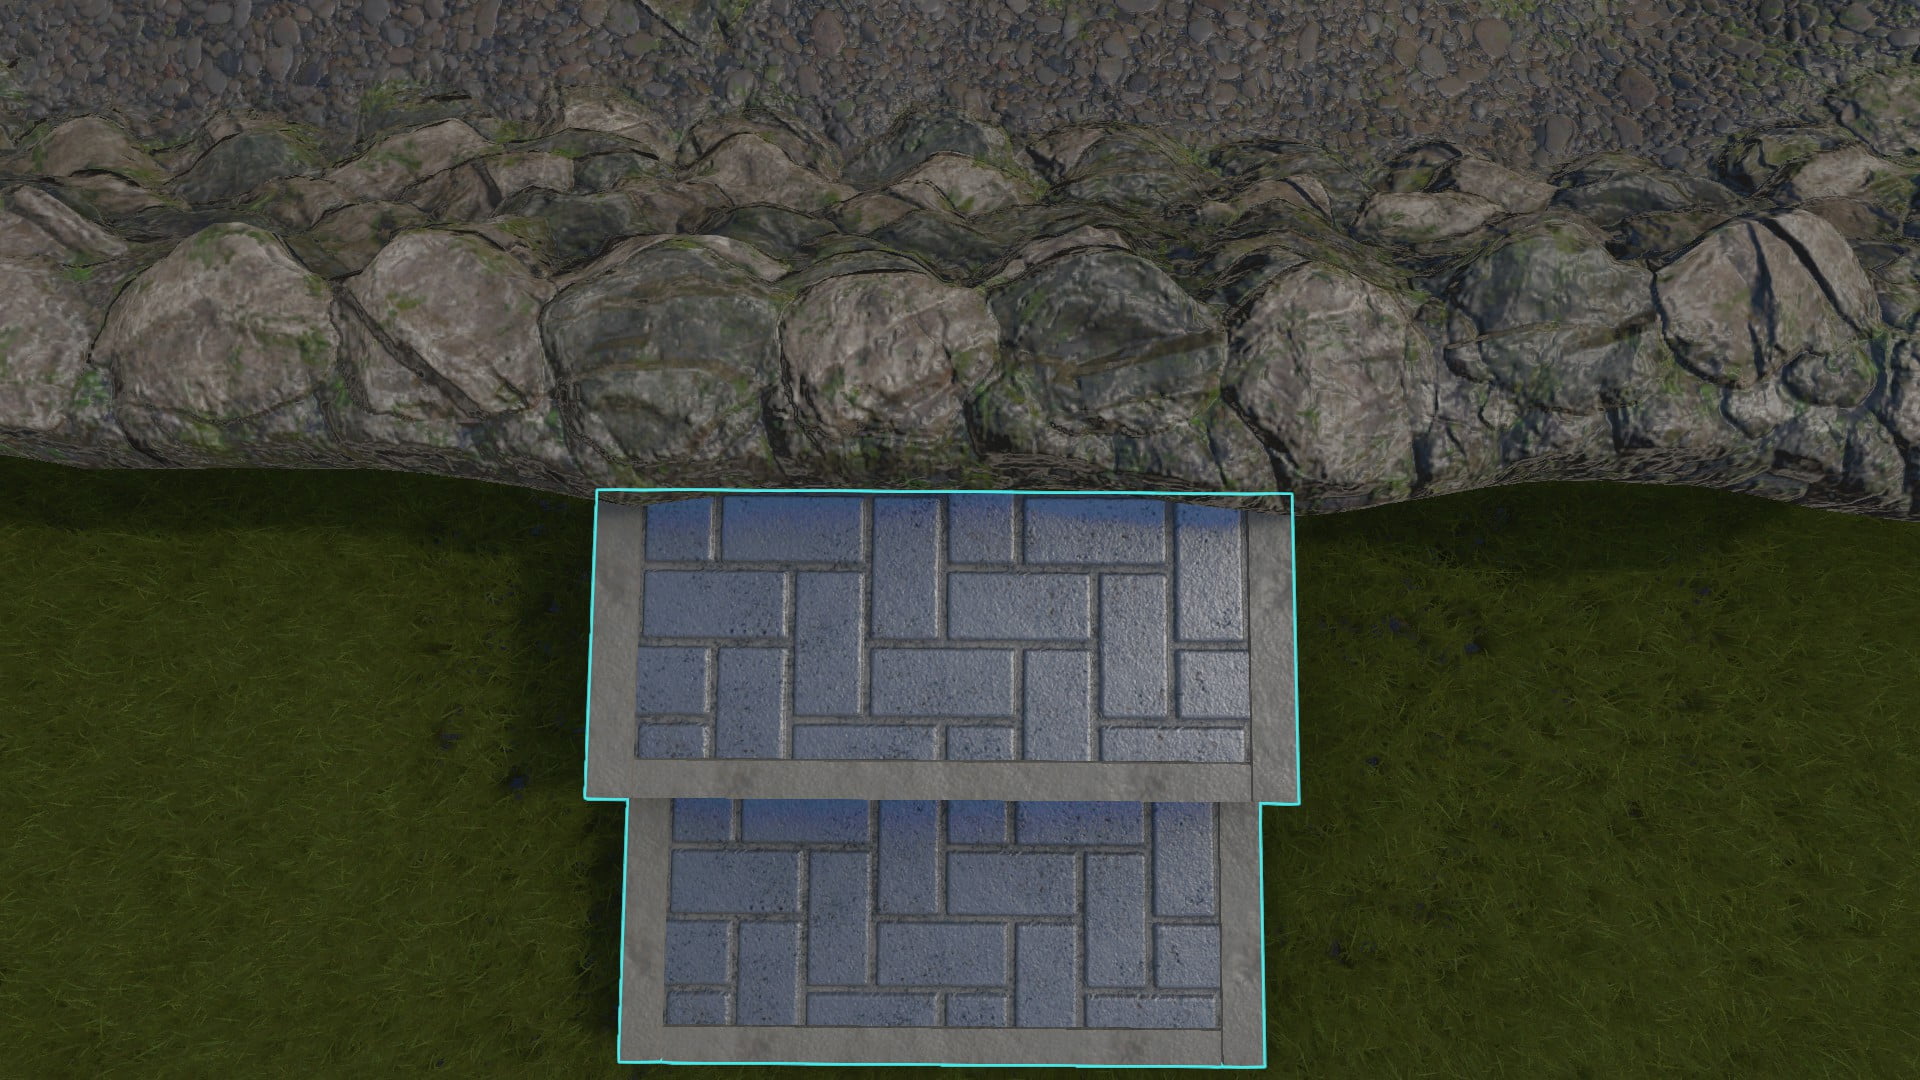
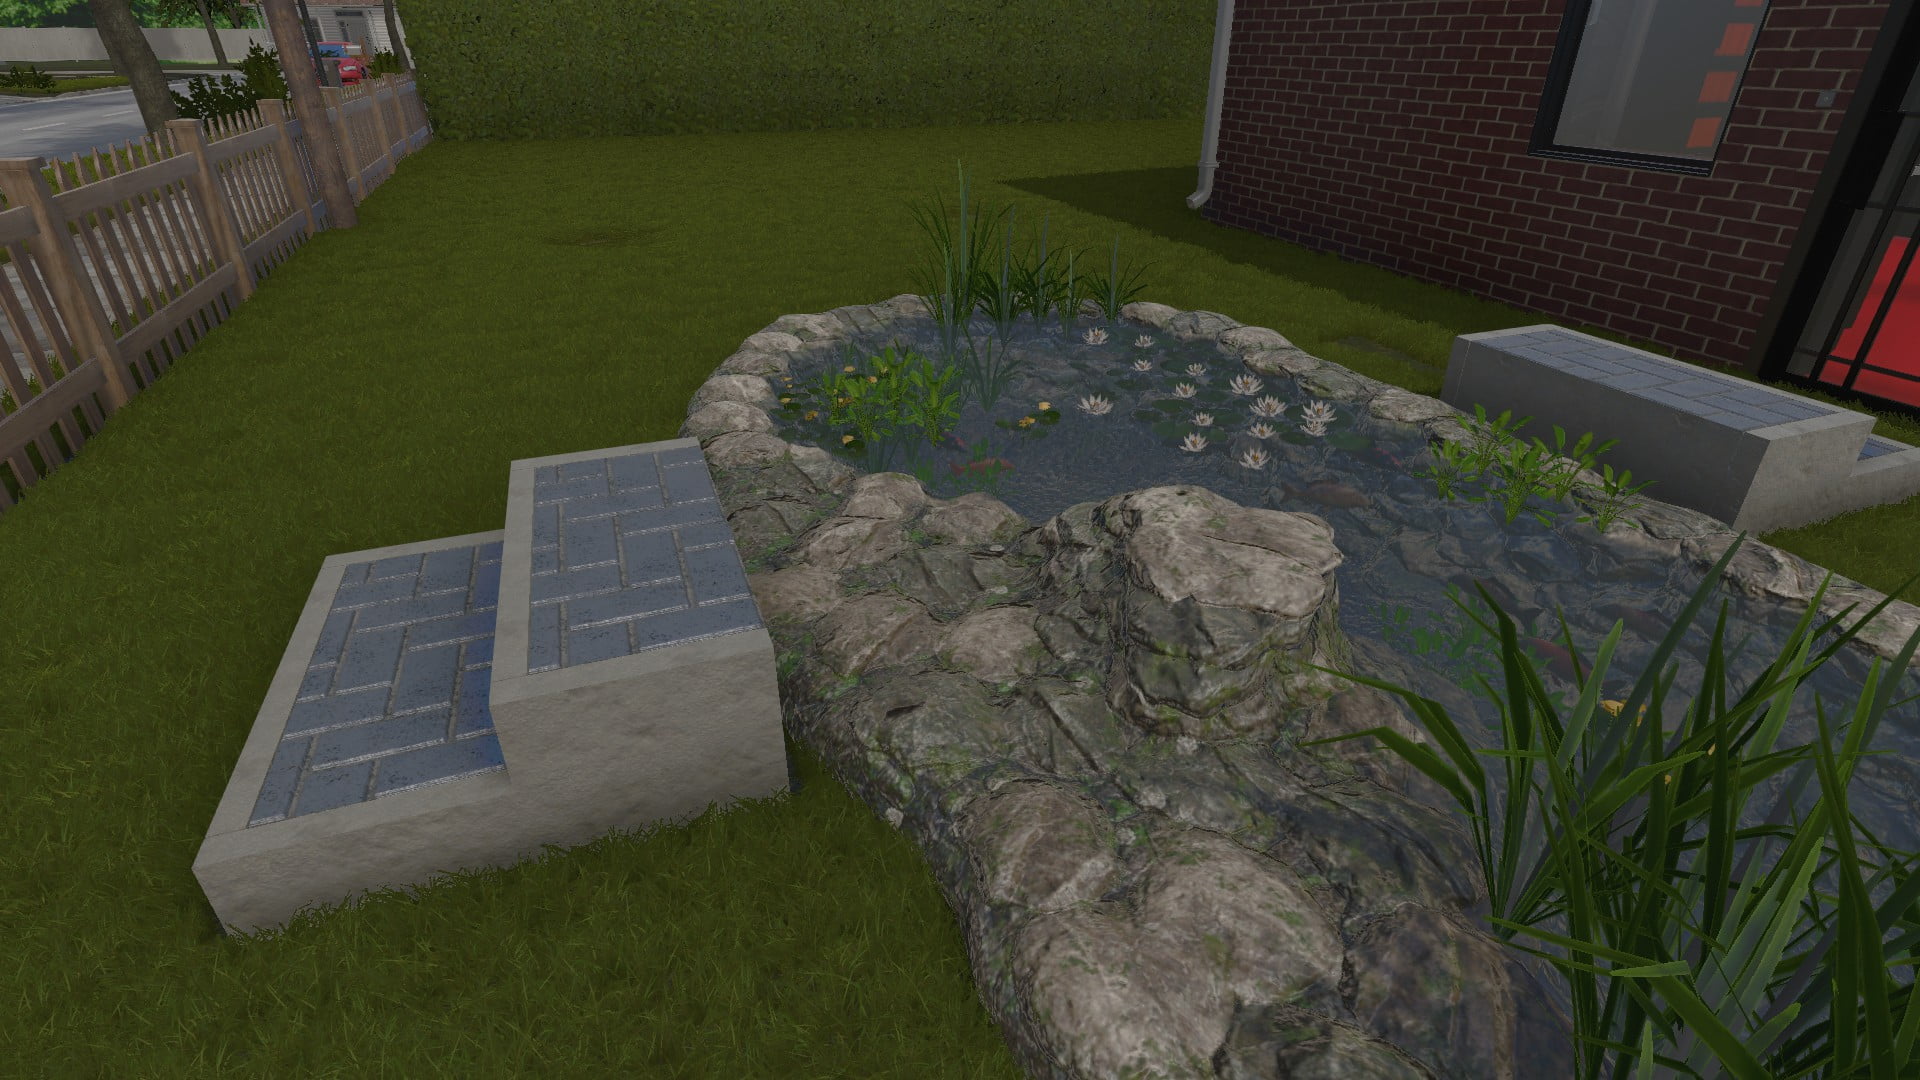
Start by placing a 2-Tier stairs of your personal choice right where you want your bridge to start.
For reference in the above image i started with the one on the right, because i wanted to align it with the door.
Note: You can also use 3-tier stairs, but this will make the bridge higher and you will need to adjust a small portion of the build process later to compensate.
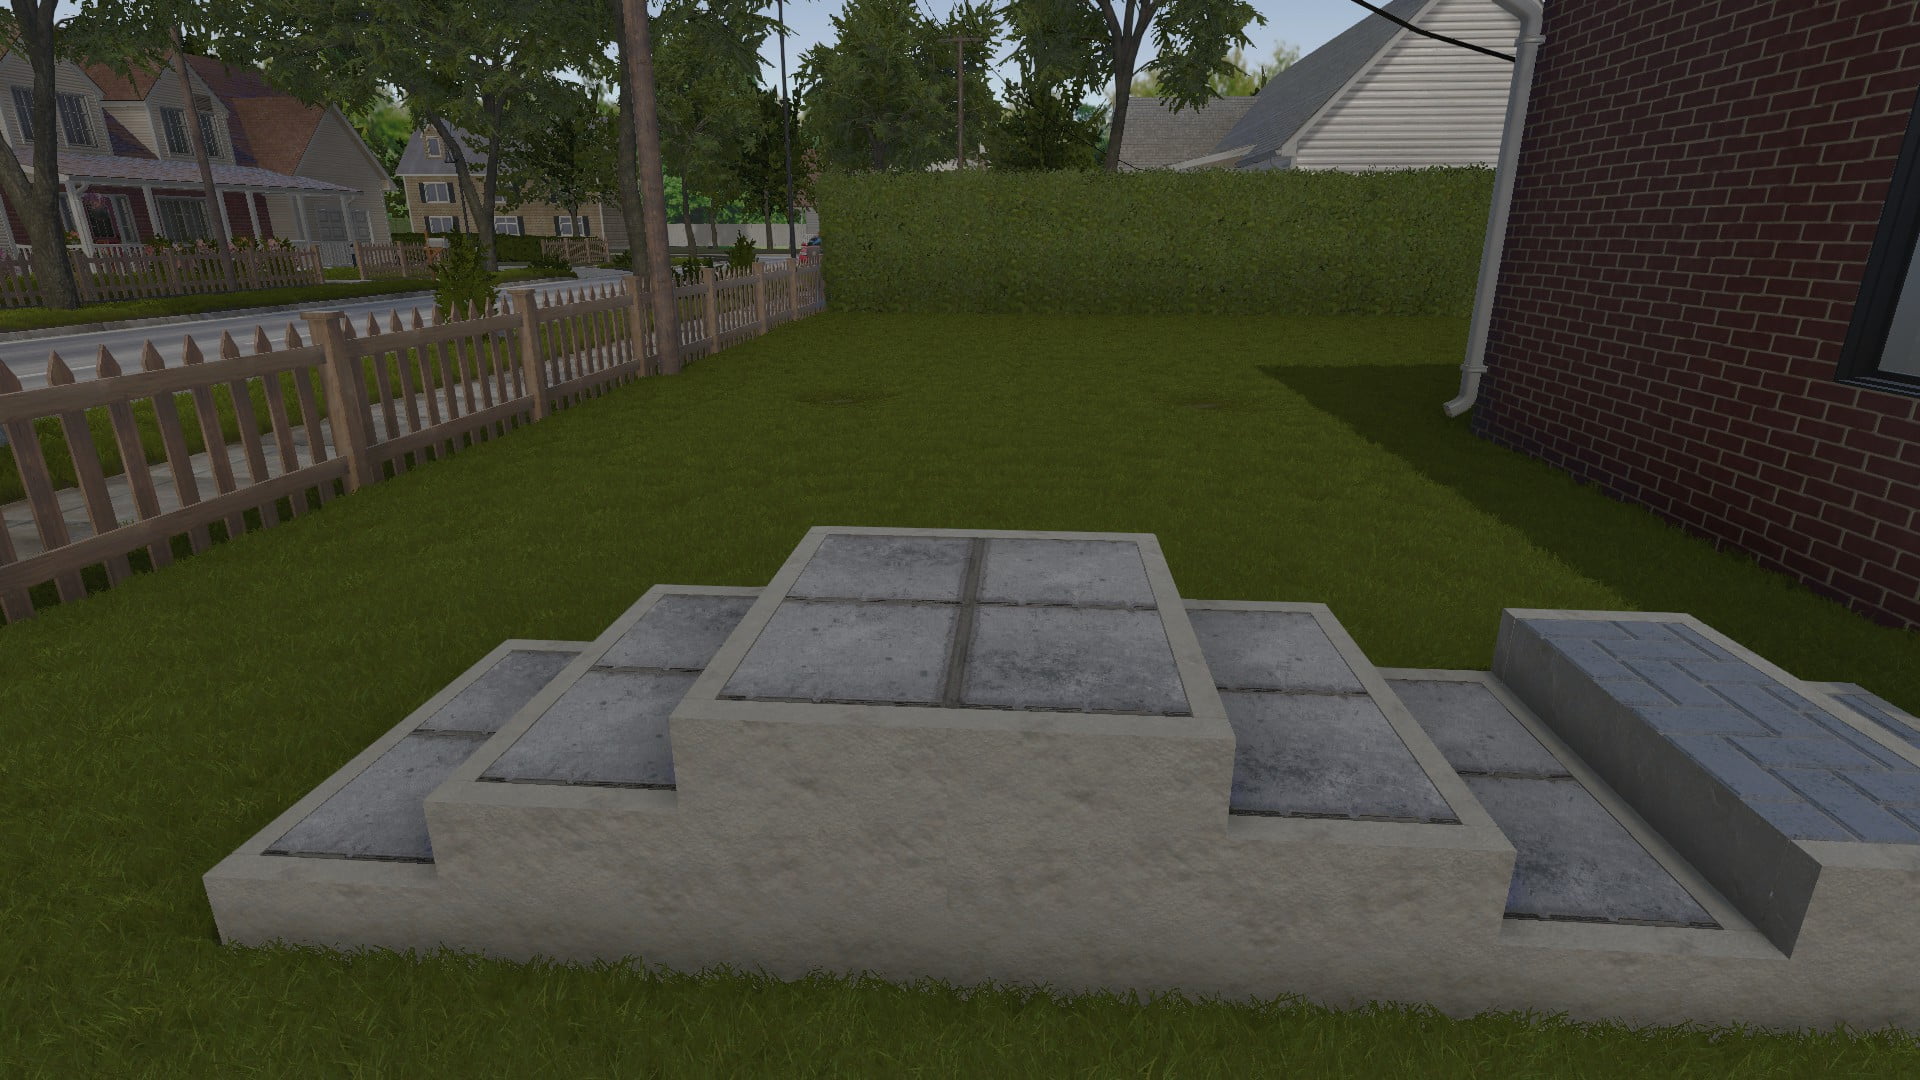
After you place the 2-Tier staircase, place 2 3-Tier stairs in directly next to it
(they don’t have to be precisely flush with the 2-Tier but it makes it easier if you do)
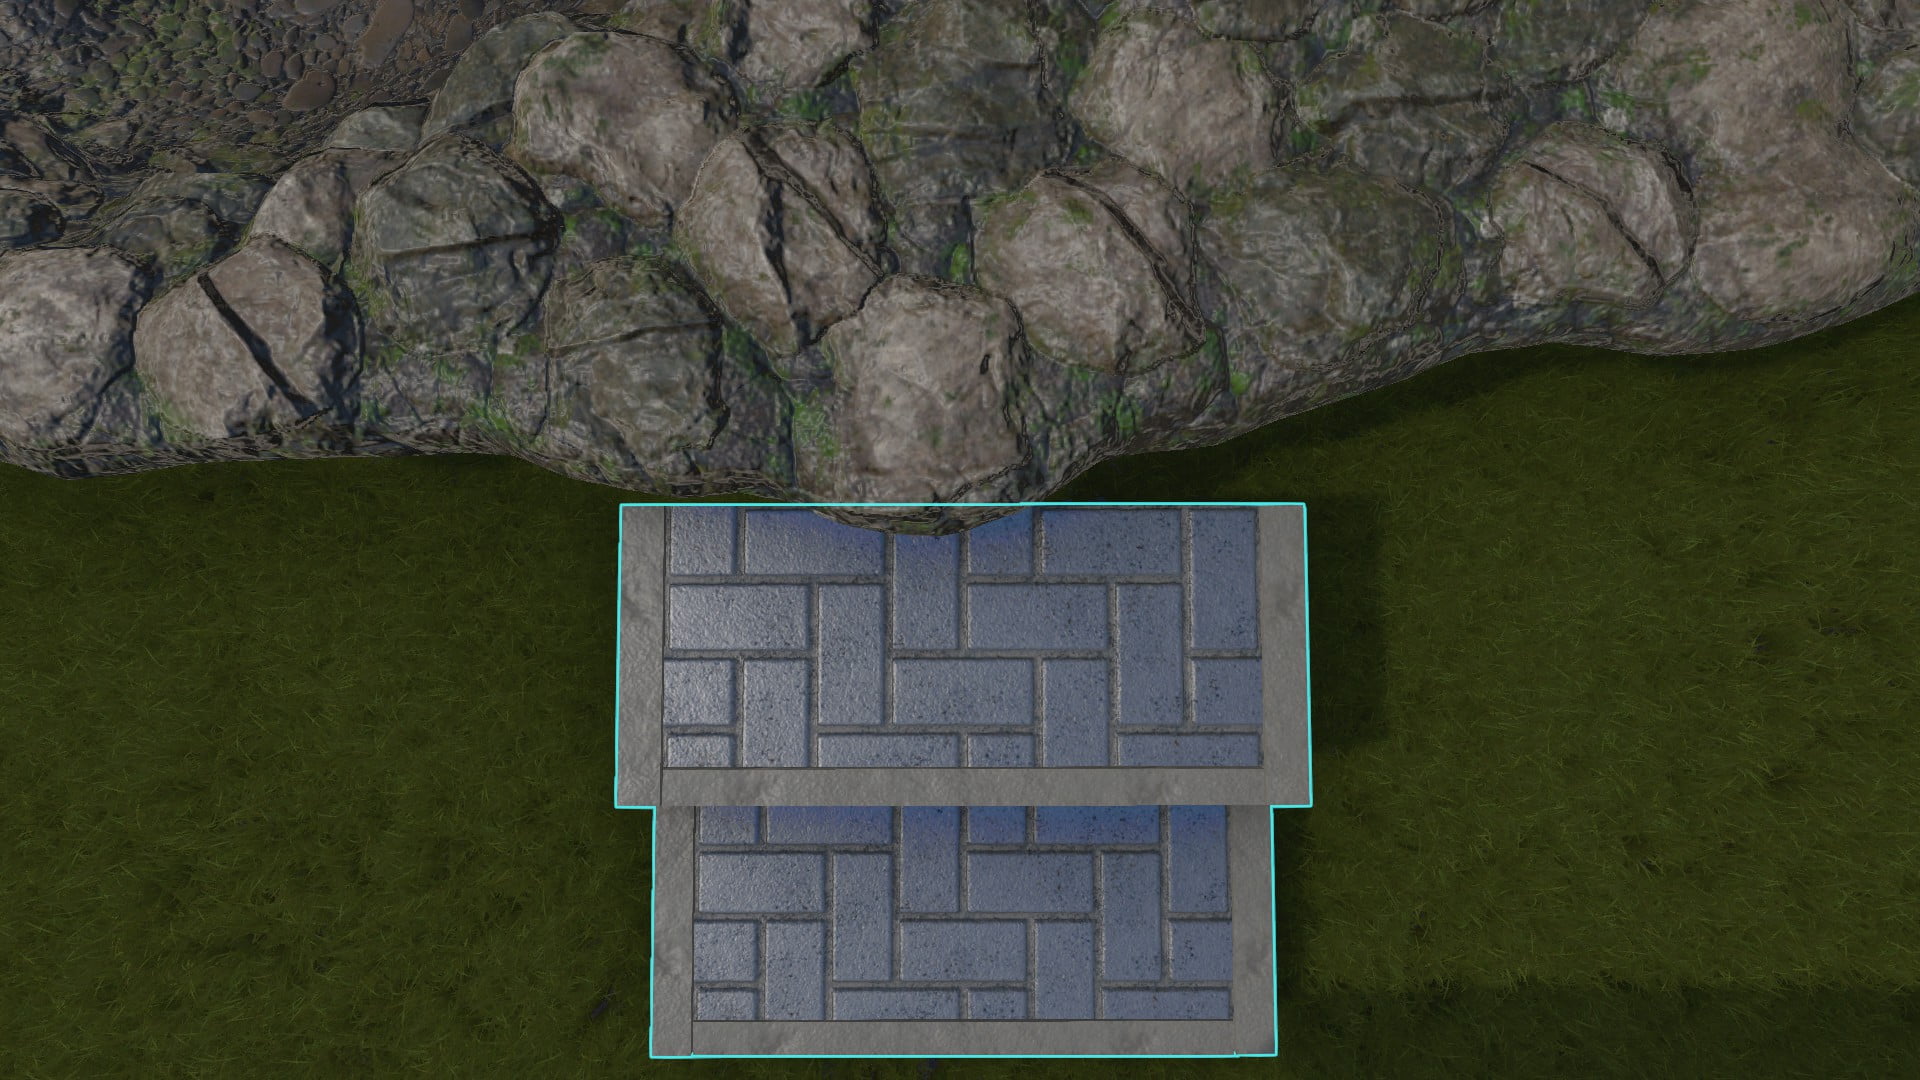
Then after this you place another 2-Tier to the left of this setup and you are ready for the next step
You can either use the 2 stairs in the middle as a temporary guide for the next part or sell them.
If you want to use them as a “guide” move them out of the way so they still align with the middle, but are offset to the outside
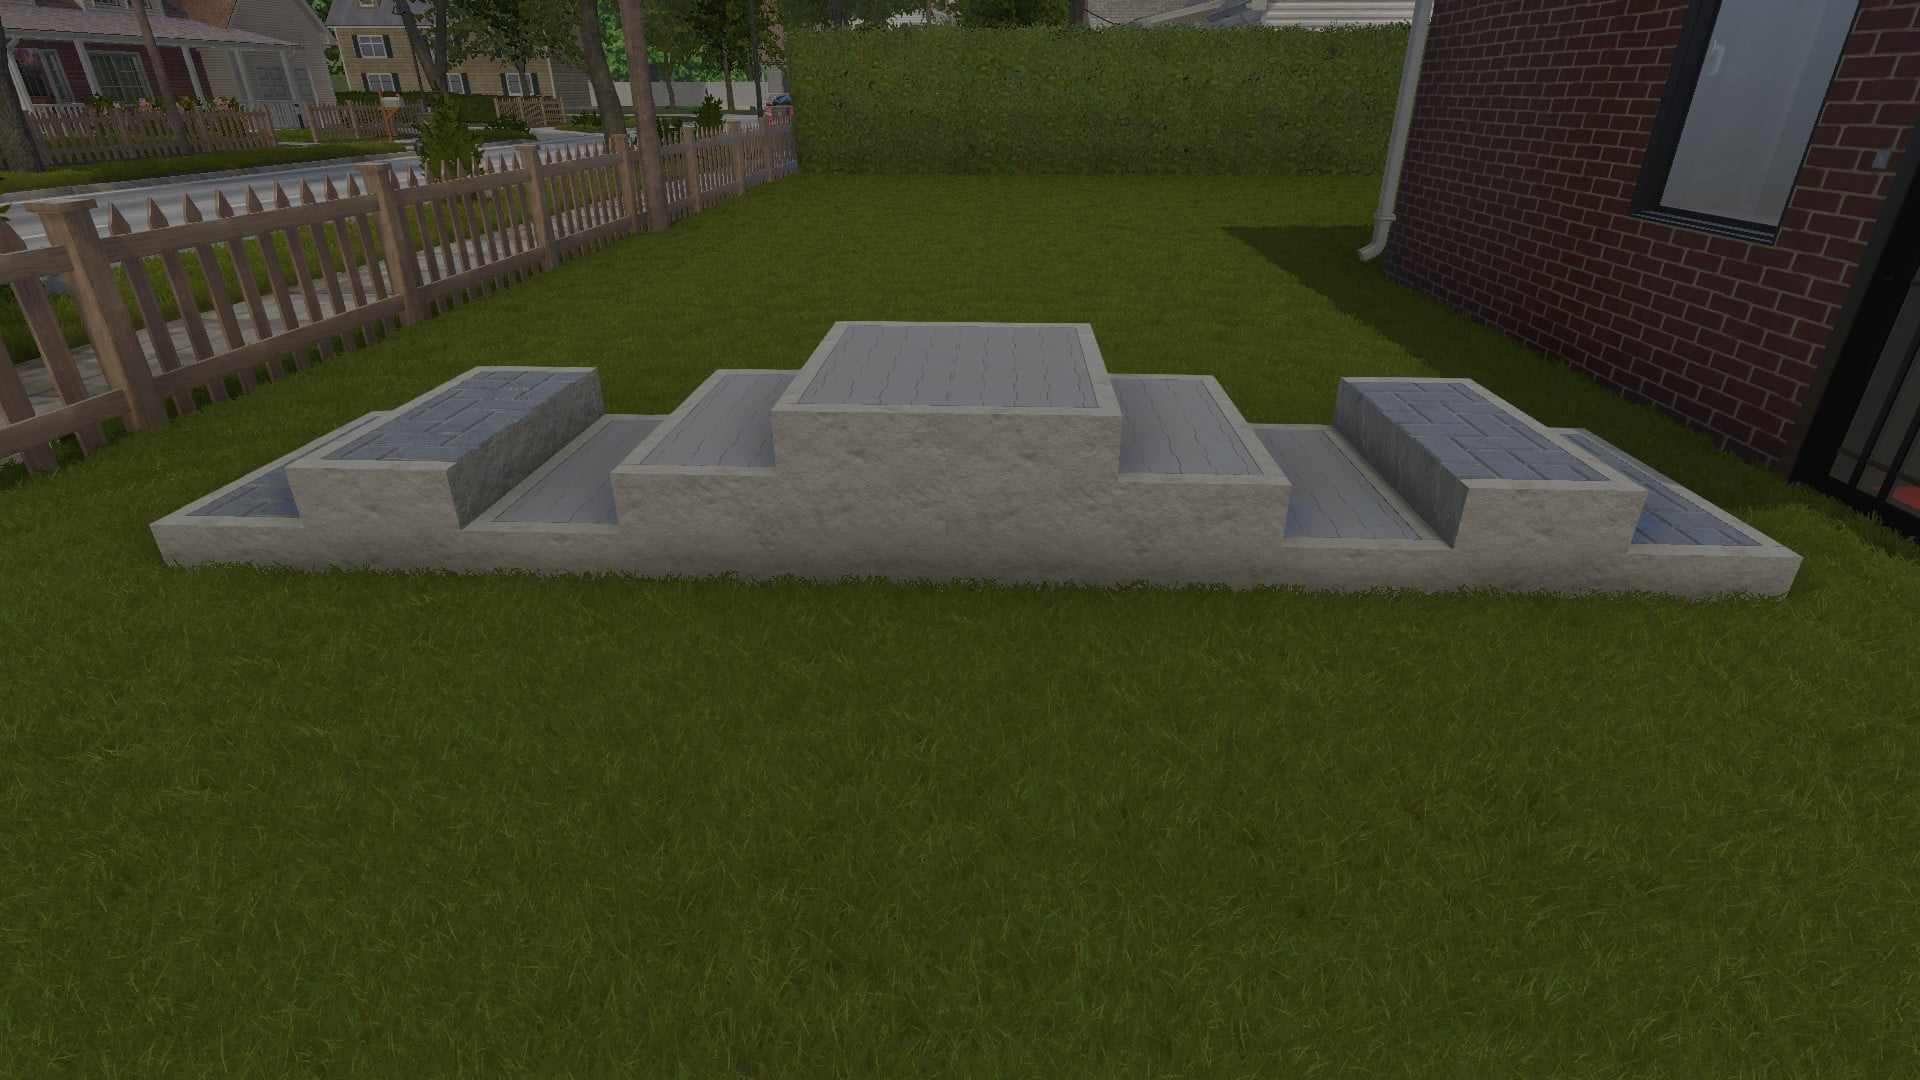
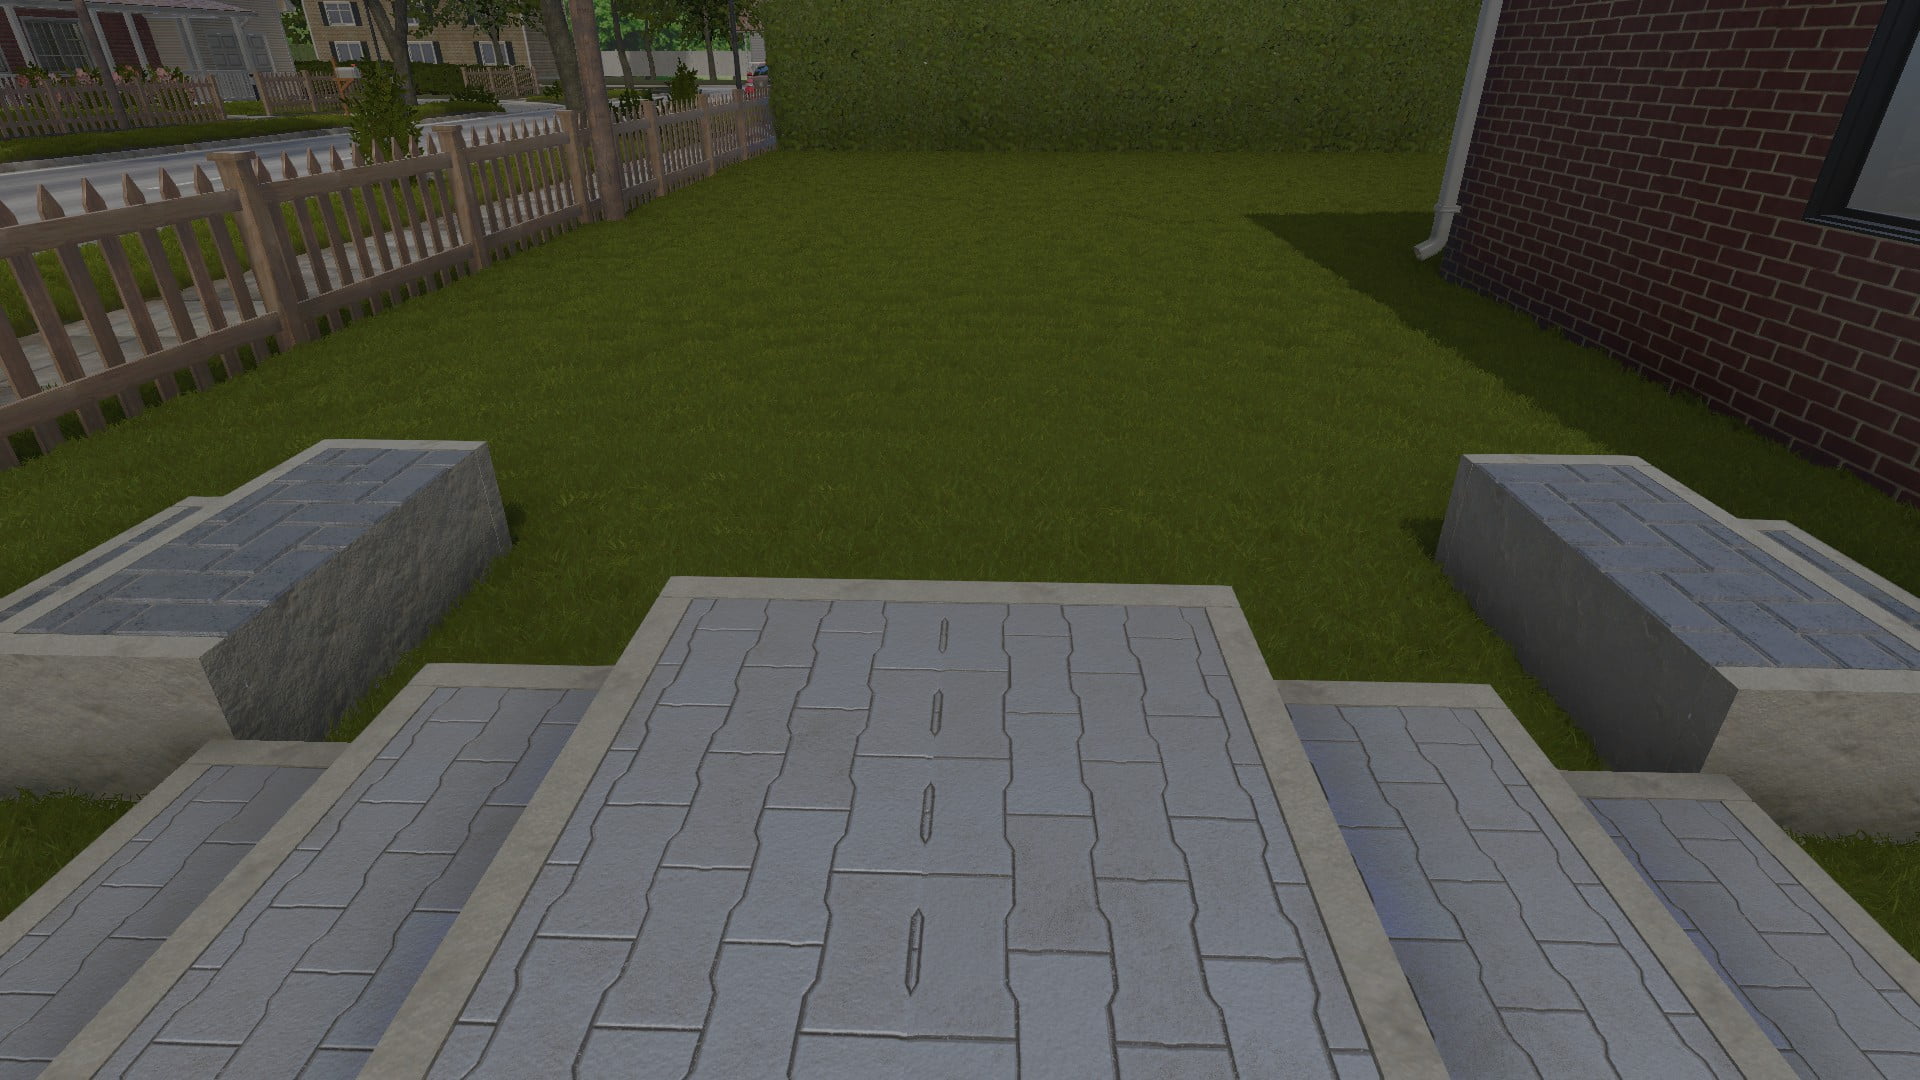
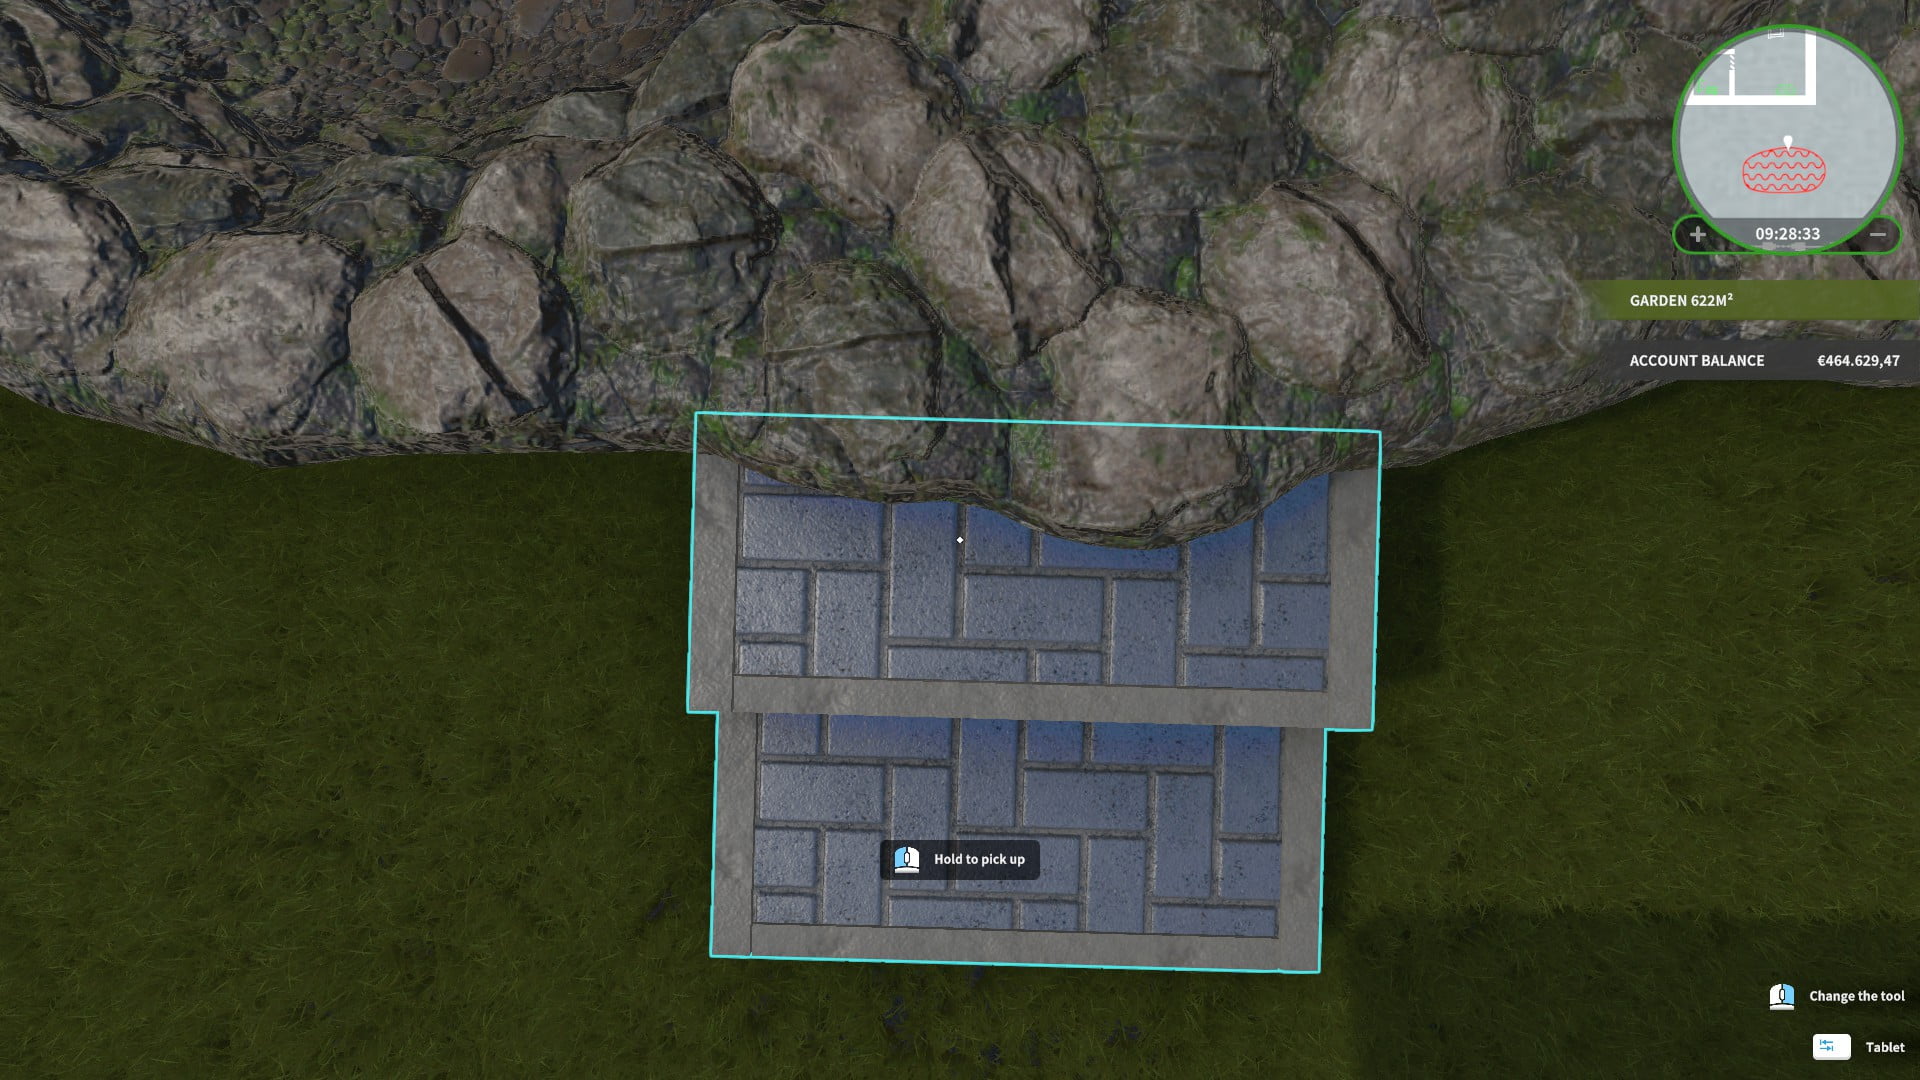
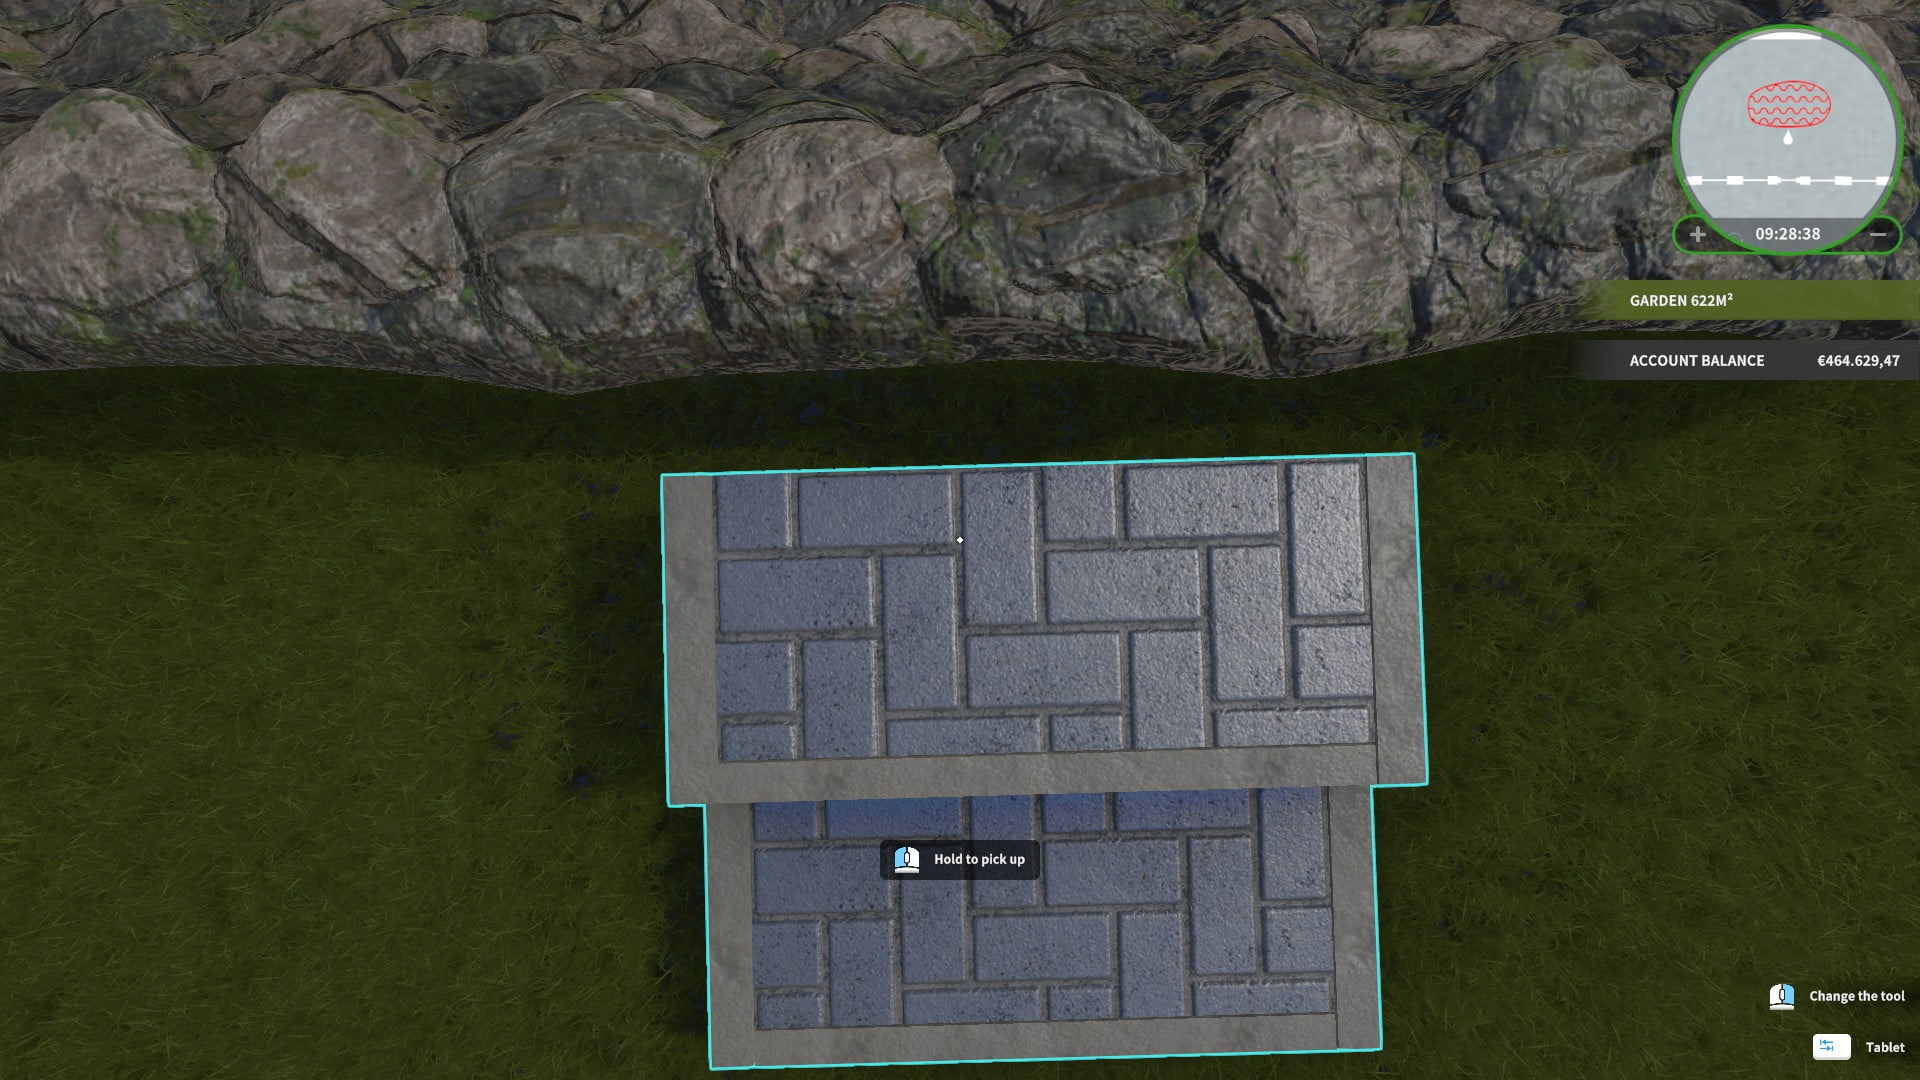
After this step take the 2-Tier stairs and move them towards the middle a tiny bit, if you are using the 2 middle stairs as a guide like i did it will look something like this:
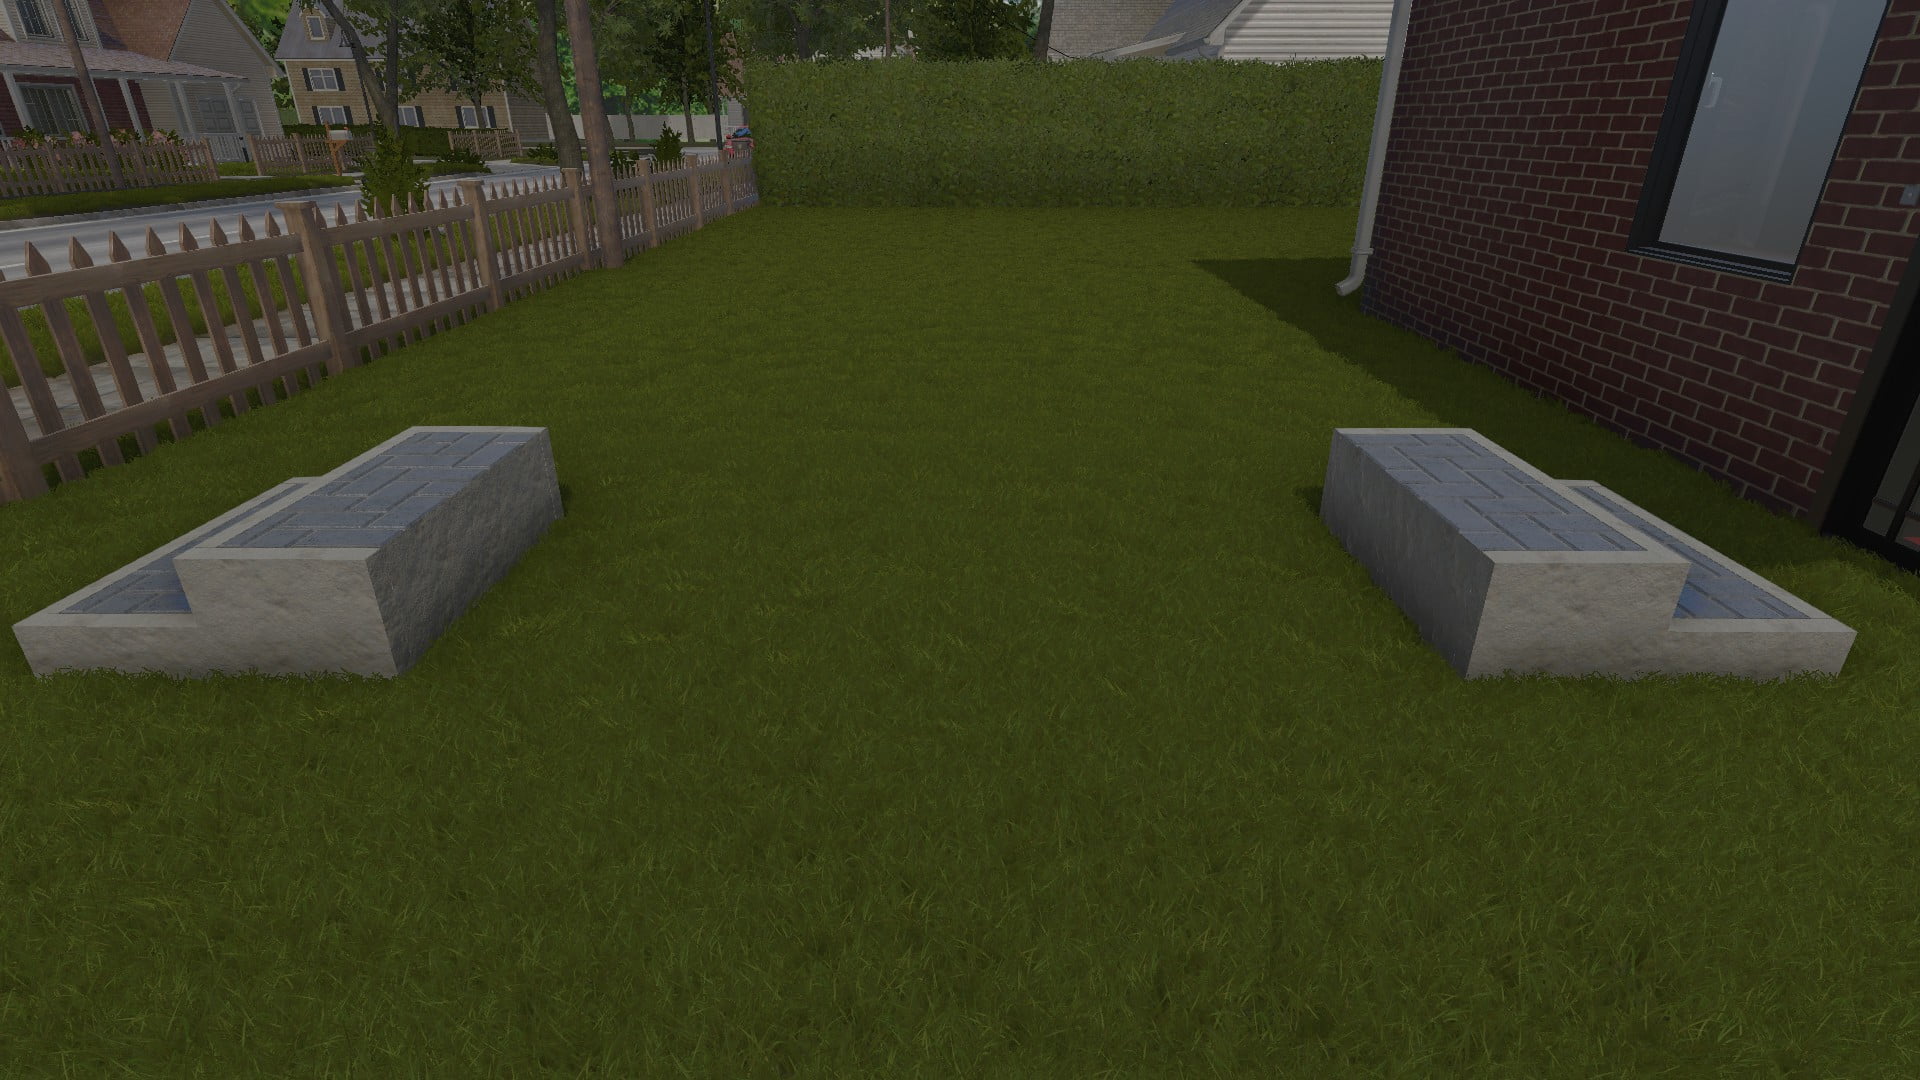
After this you can sell the 2 middle stairs and your bridge ramp is done.
Placing the Koi Pond
This part isn’t hard, but depending on your personal preference (and perfectionism) this make take a few tries.
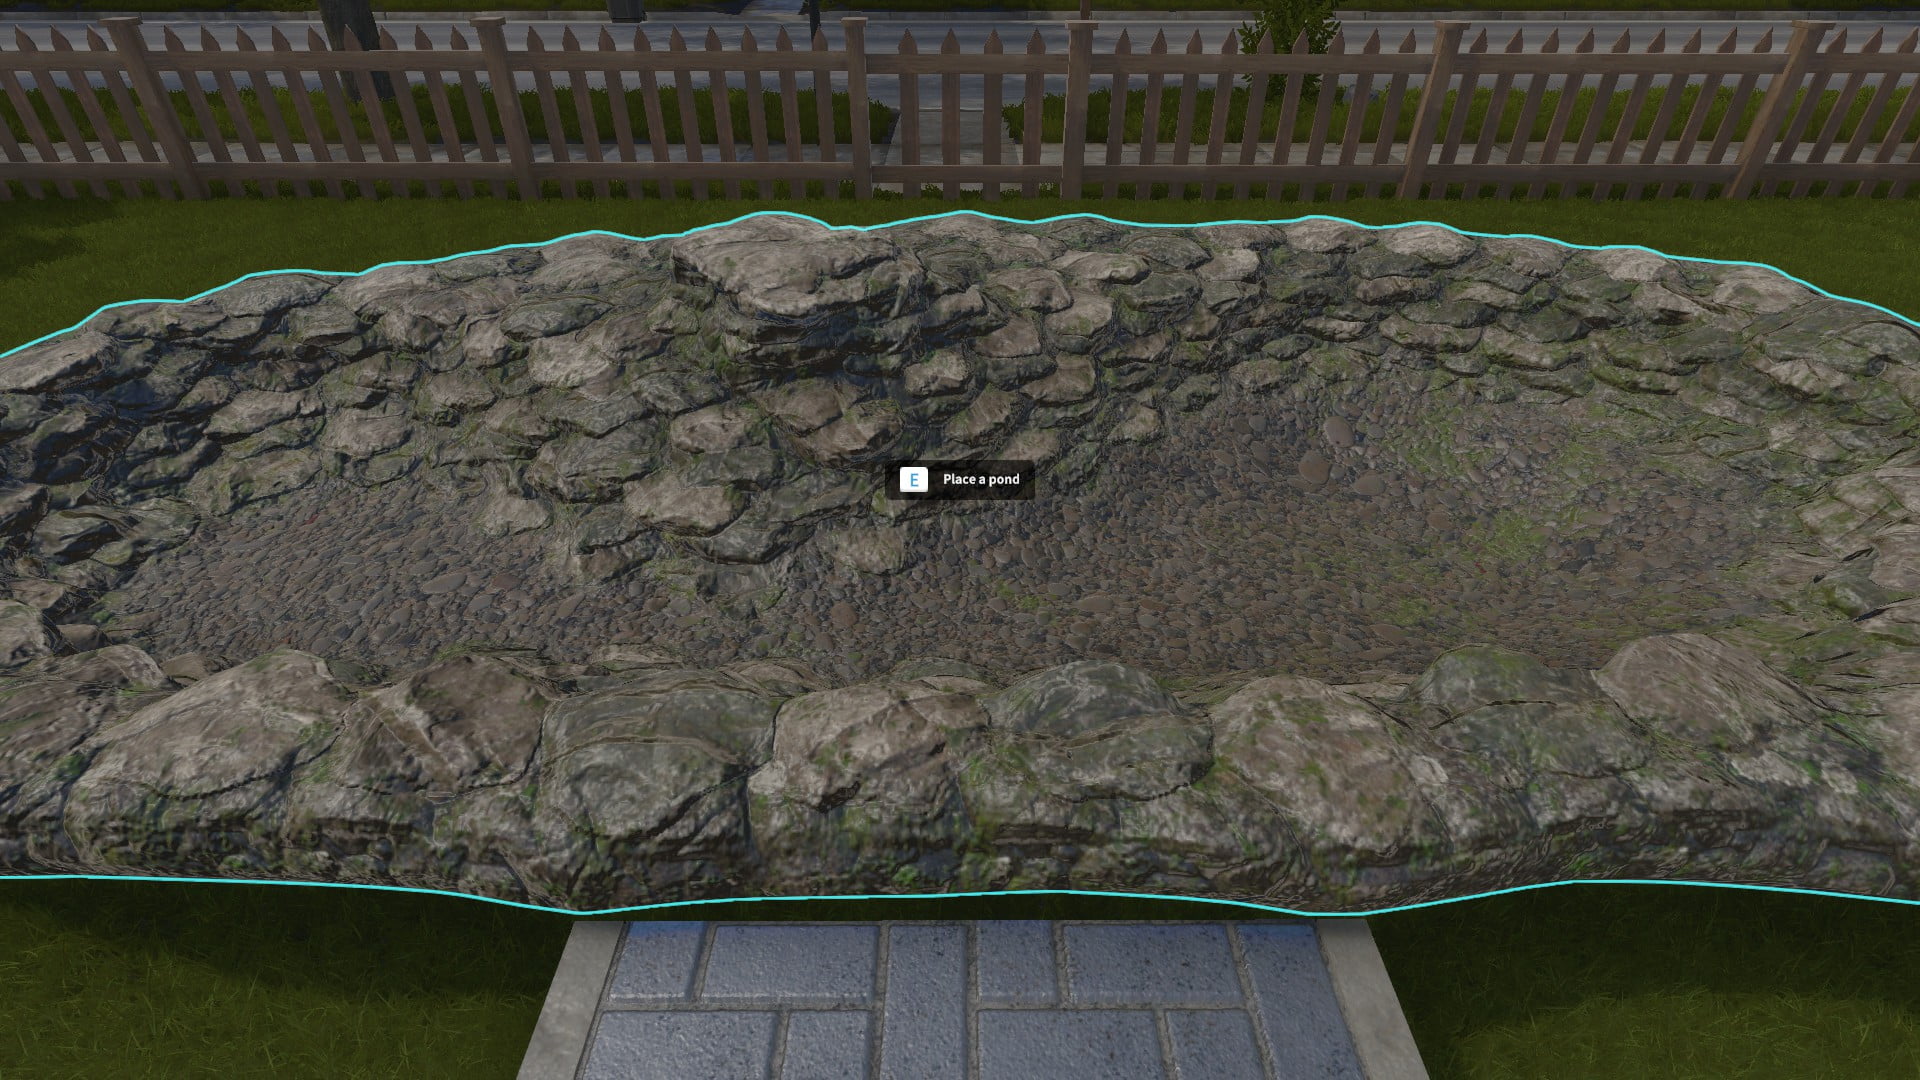
Get the Koi pond (i recommend the large one because it will look so much better) and while holding it walk up one of the 2-tier stairs and position the koi pond so the game tells you you can place it.
Place it down, but do not start digging it into the ground yet!
Doublecheck both sides to see if you agree with the placement of the pond
This is how my sides looked and i’m ok with this placement.
Some people might want to place it differently and the game gives you a bunch of freedom and you can even clip the pond partially into the stairs if you wish.
Which might result in you having space left over between the stairs and pond like this:
You can either move the pond so it’s closer to the stairs on both sides, OR you can move the stair closer to the pond. (this will impact how your bridge will look on top of the stairs later, keep this in mind)
When you are comfortable with the pond placement, put it in place and fill it with water.
Placing the Bridge
Now for the next step you need to find the side of the pond that is the most “straight”, we will be starting our next step there.
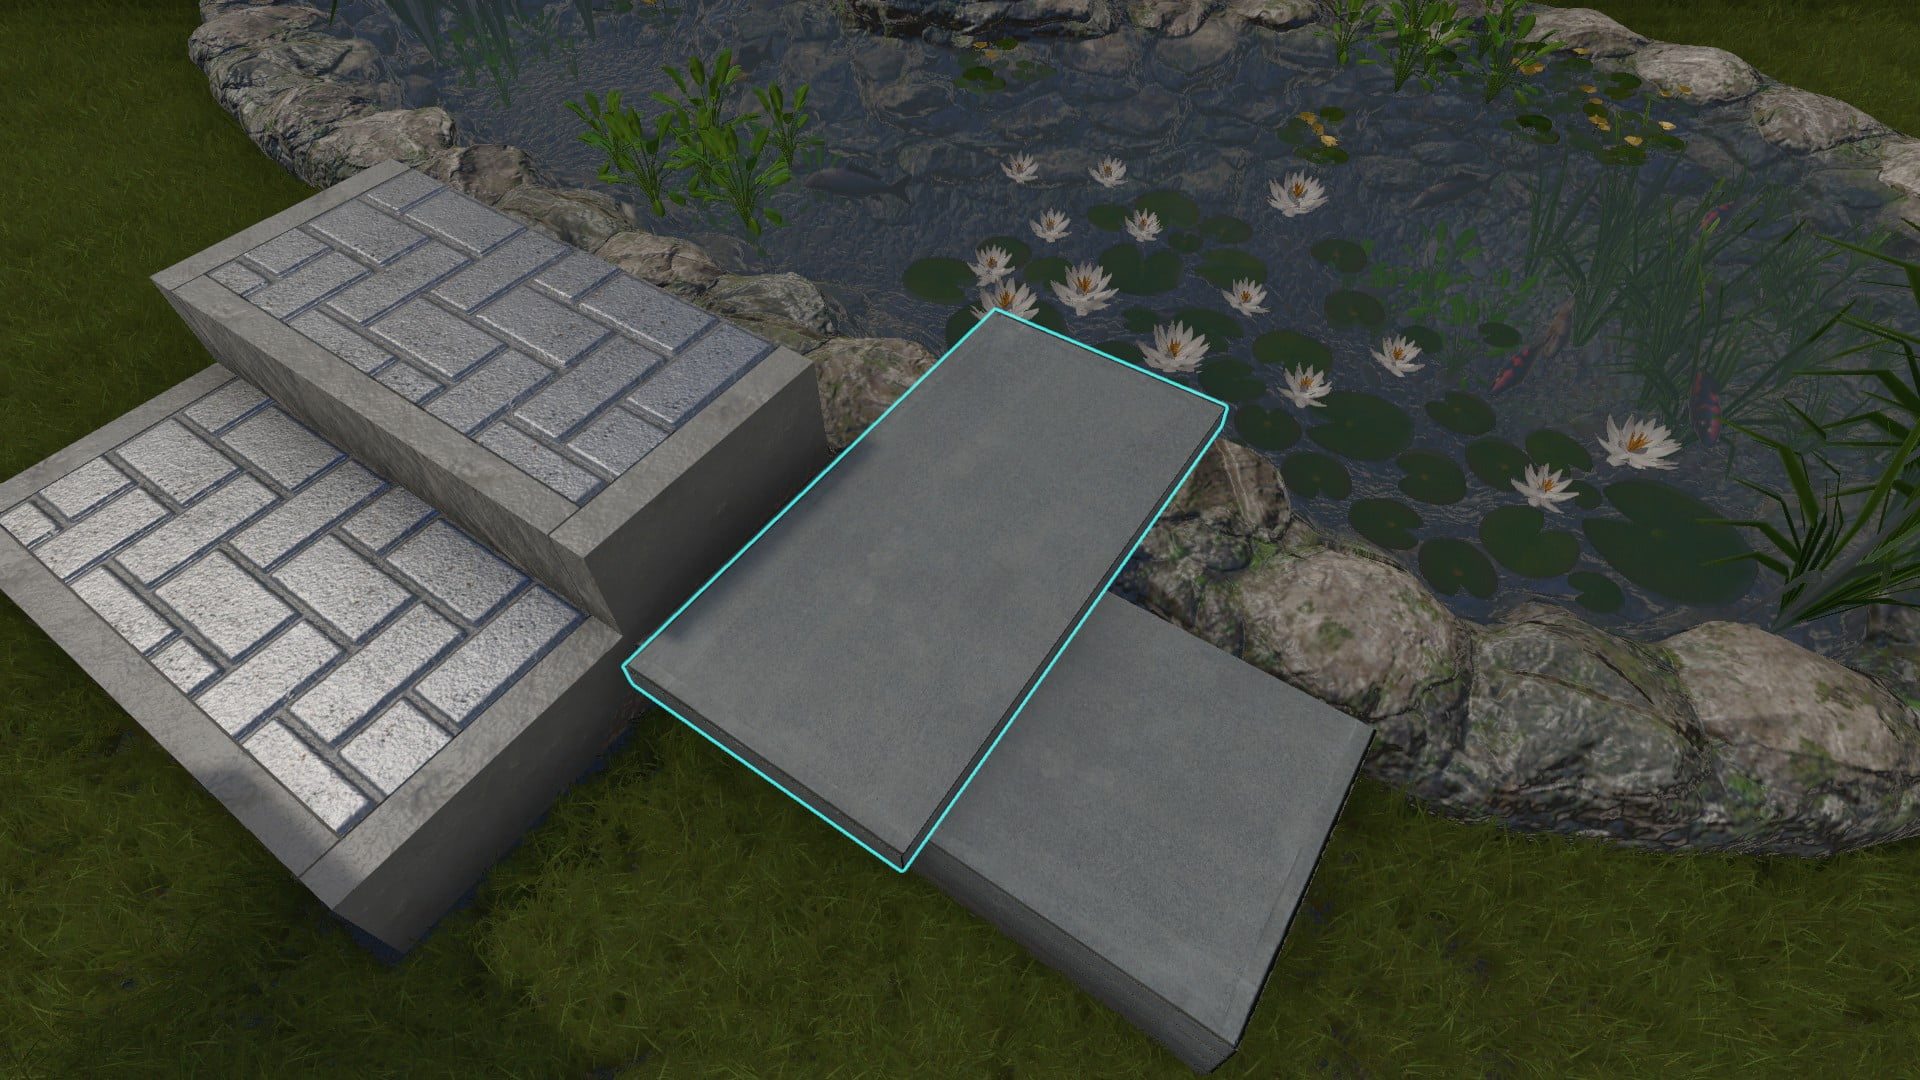
Start by grabbing a 50x100cm curbeless slab (for reference, i’m using the Jascson)
and place 4 of them on top of eachother paralel to the pond as close to the stairs as you can like so:
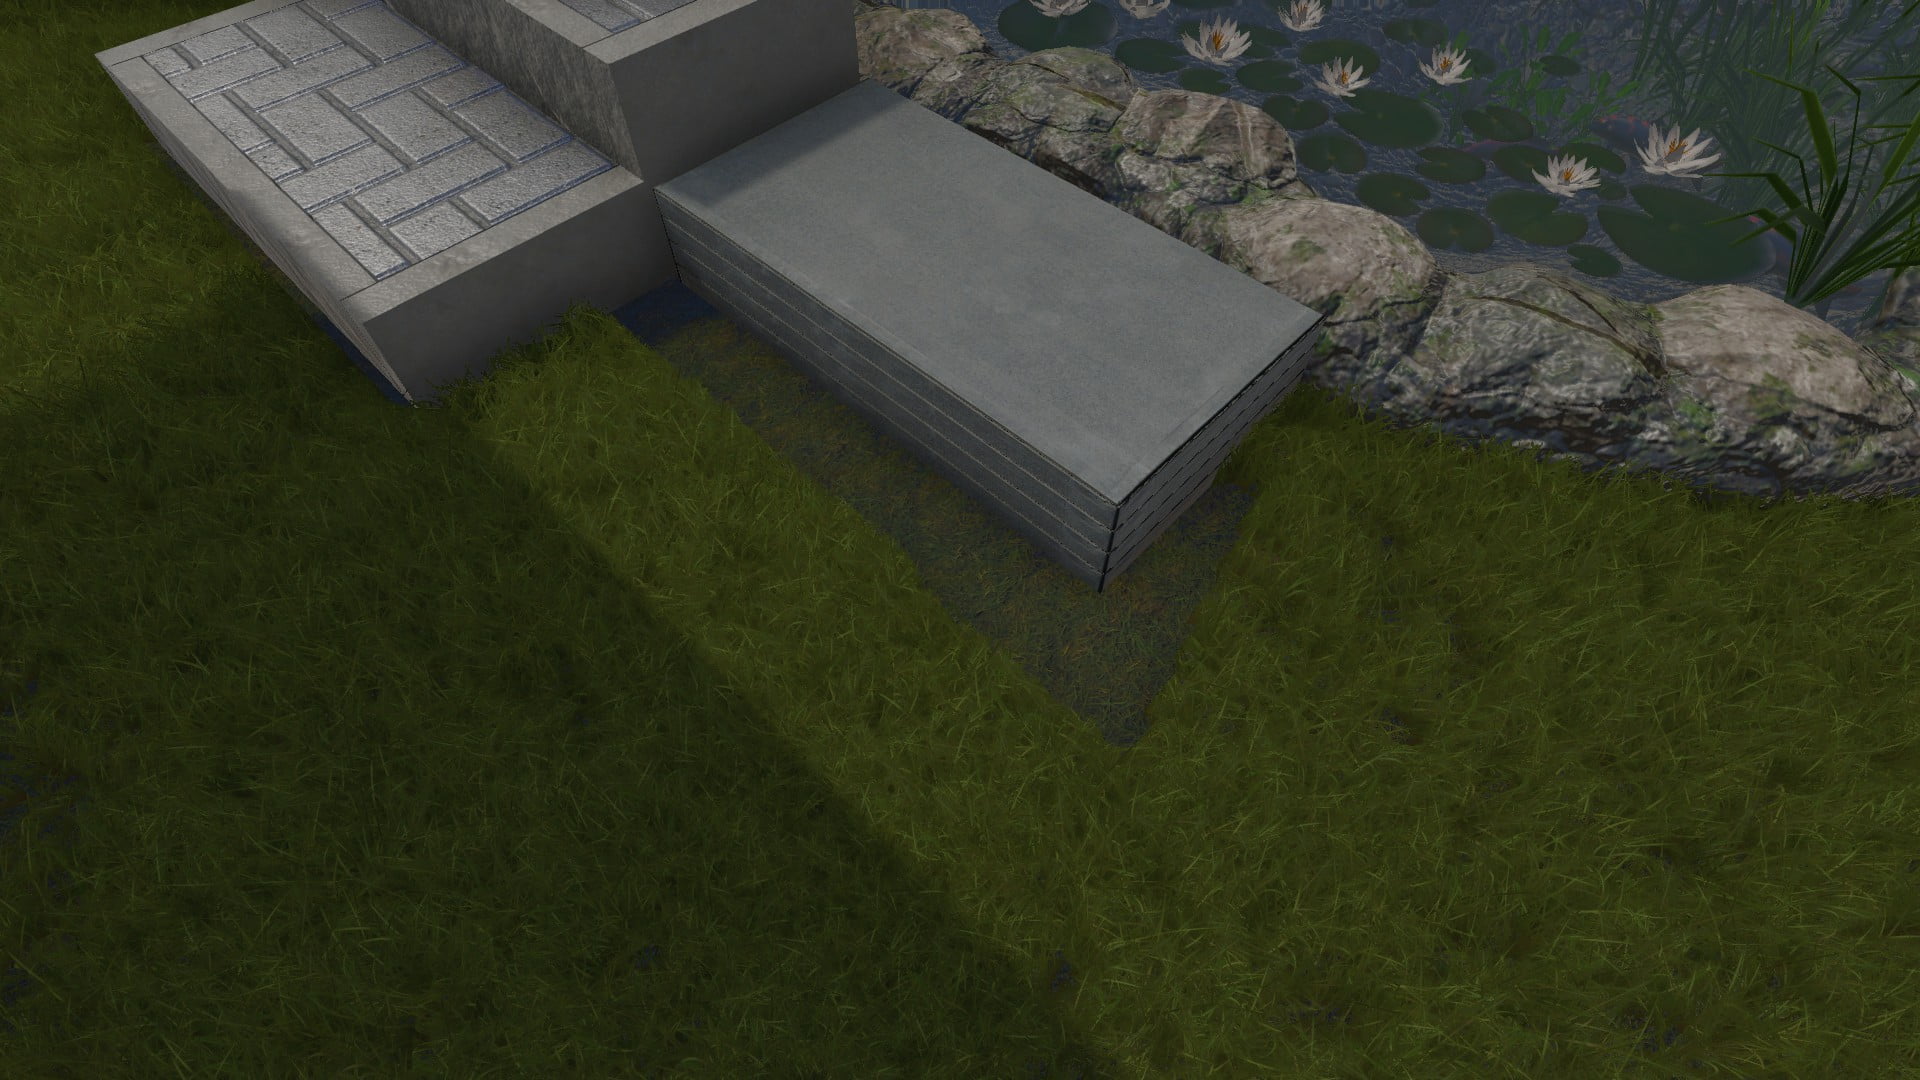
(i removed the grass so it’s easier to see, you don’t have to do this :P)
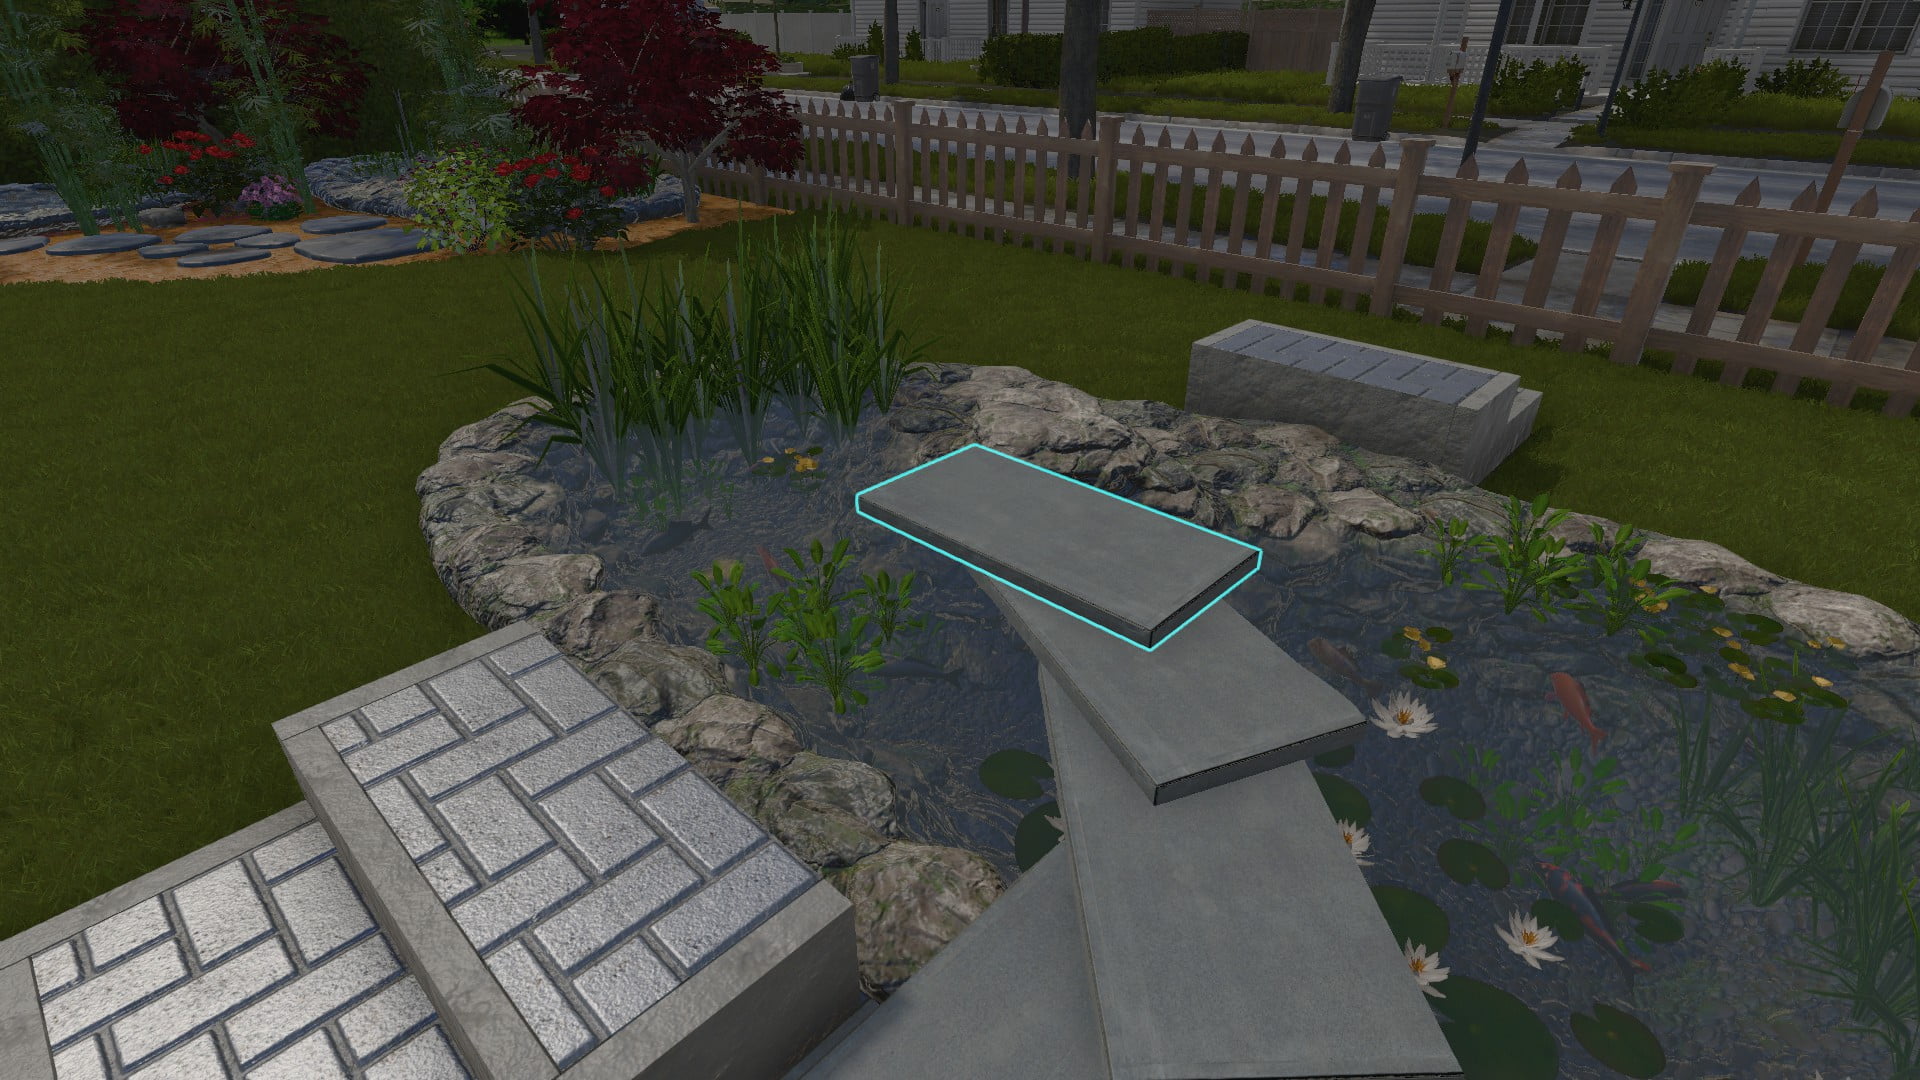
Next place a slab at 90 degrees like so:
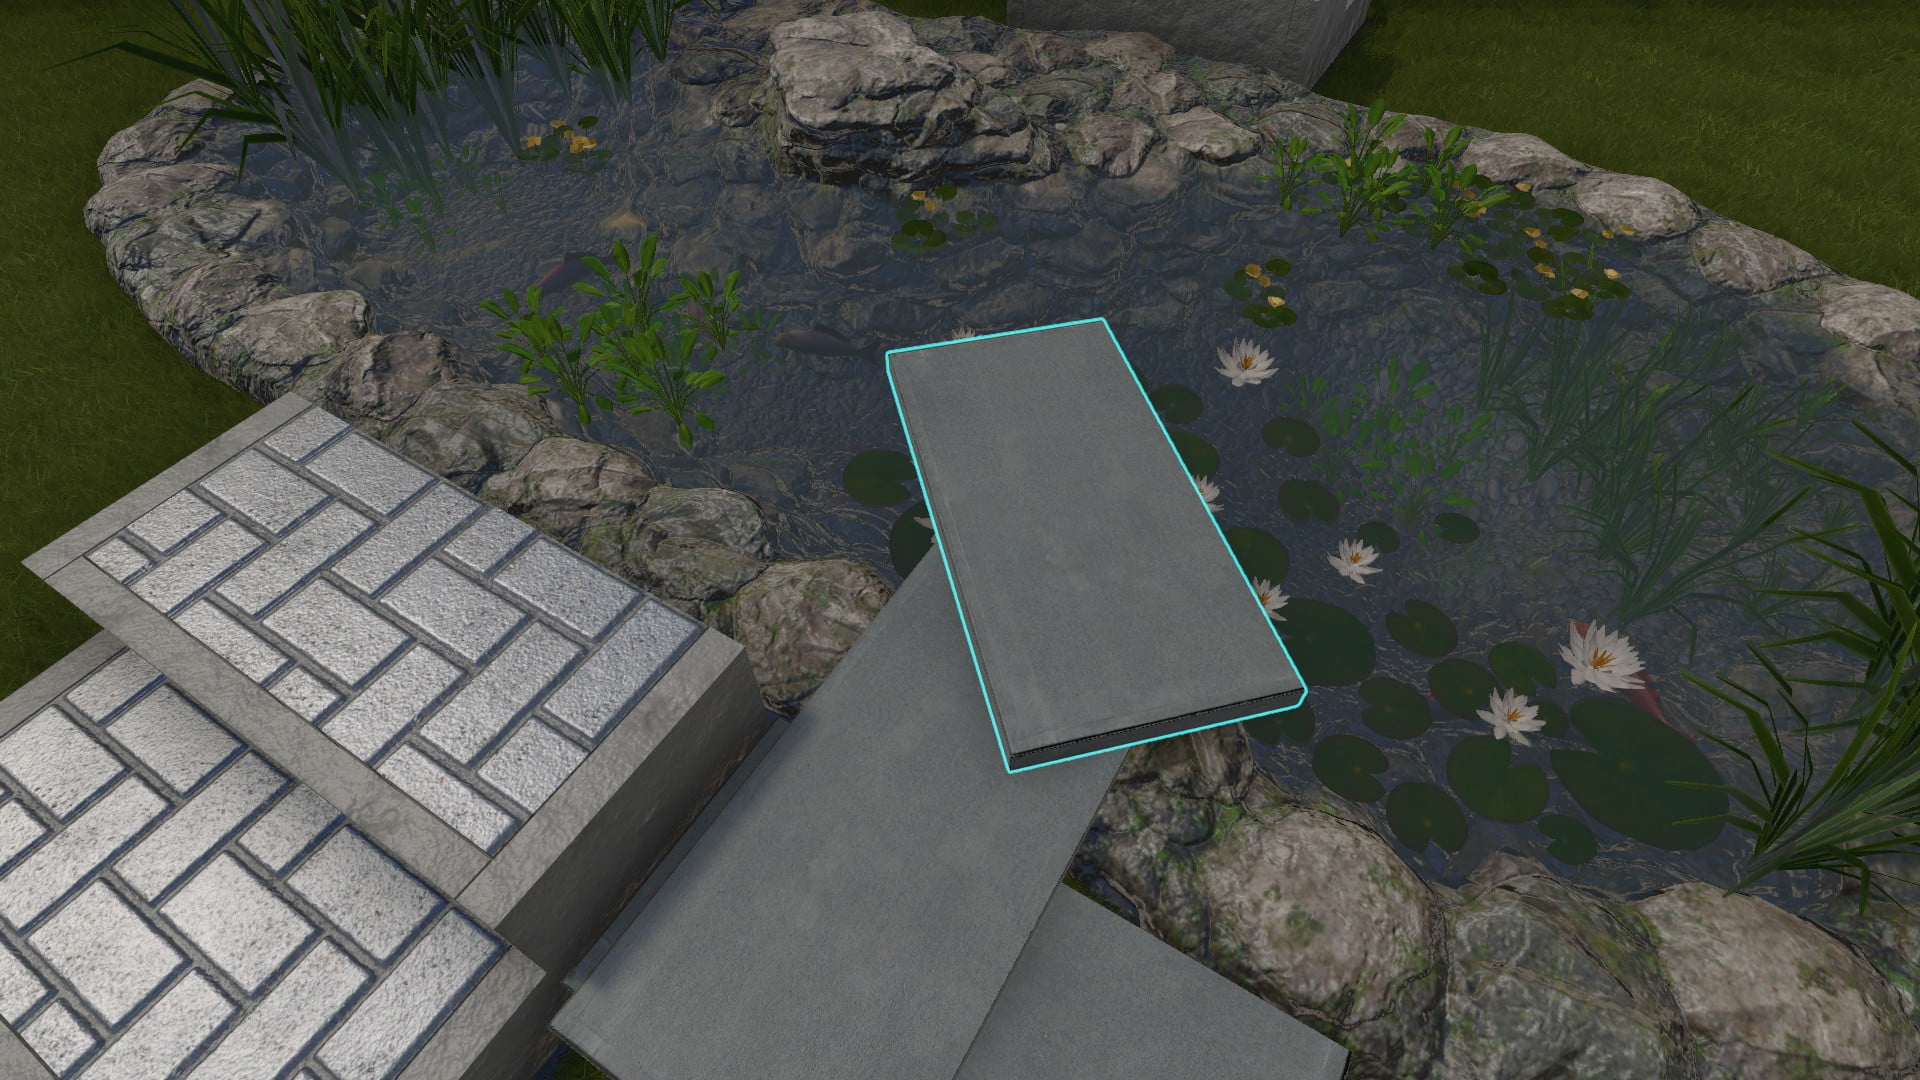
After this place another slab at about 45 degrees like so:
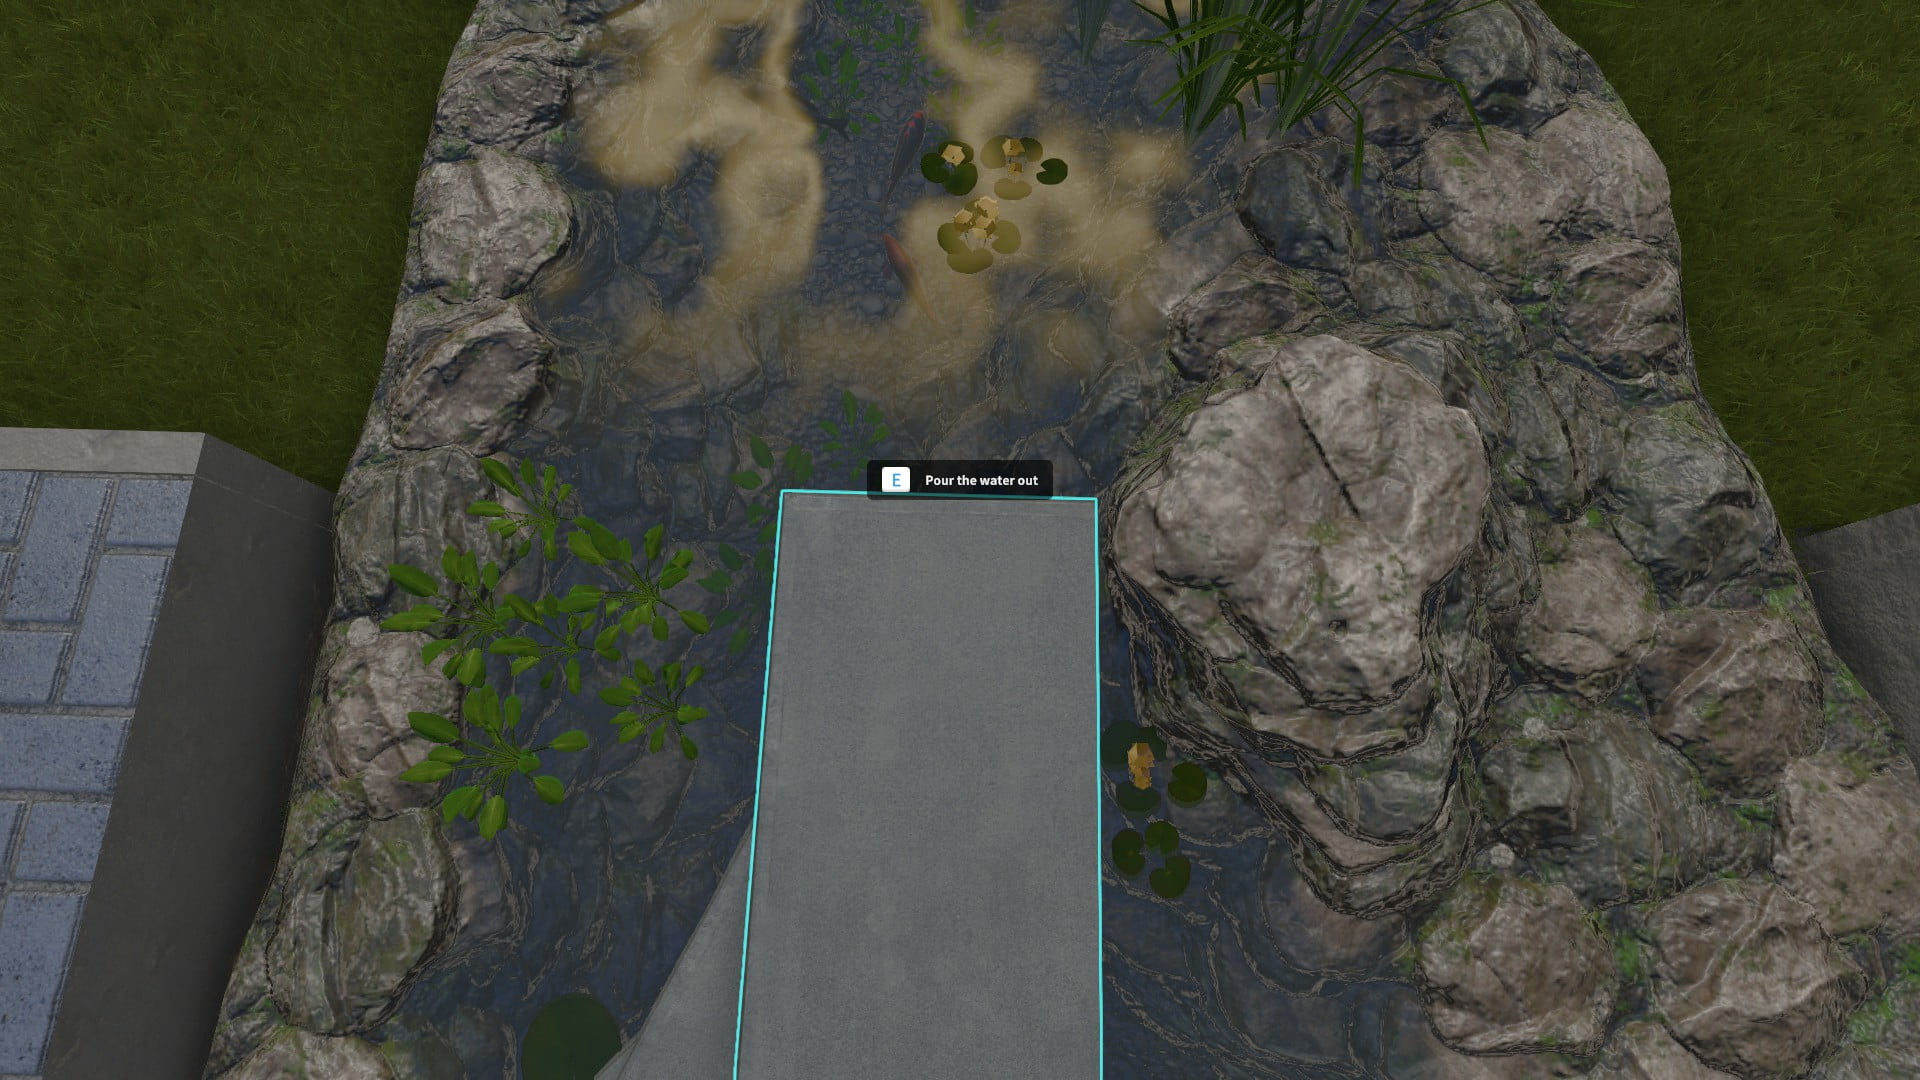
and finally place another slab on top of this so it’s nestled between the plants on the left and the rocks on the right like so:
If you are somehow not capable of doing this, double check how i placed the stone slabs and try again.
The end result should look something like this:
Now for the finishing touches!
Grab the bridge of your choice from the store, i’ll be using a Doro Wide in my examples, but you can pick whatever you want.
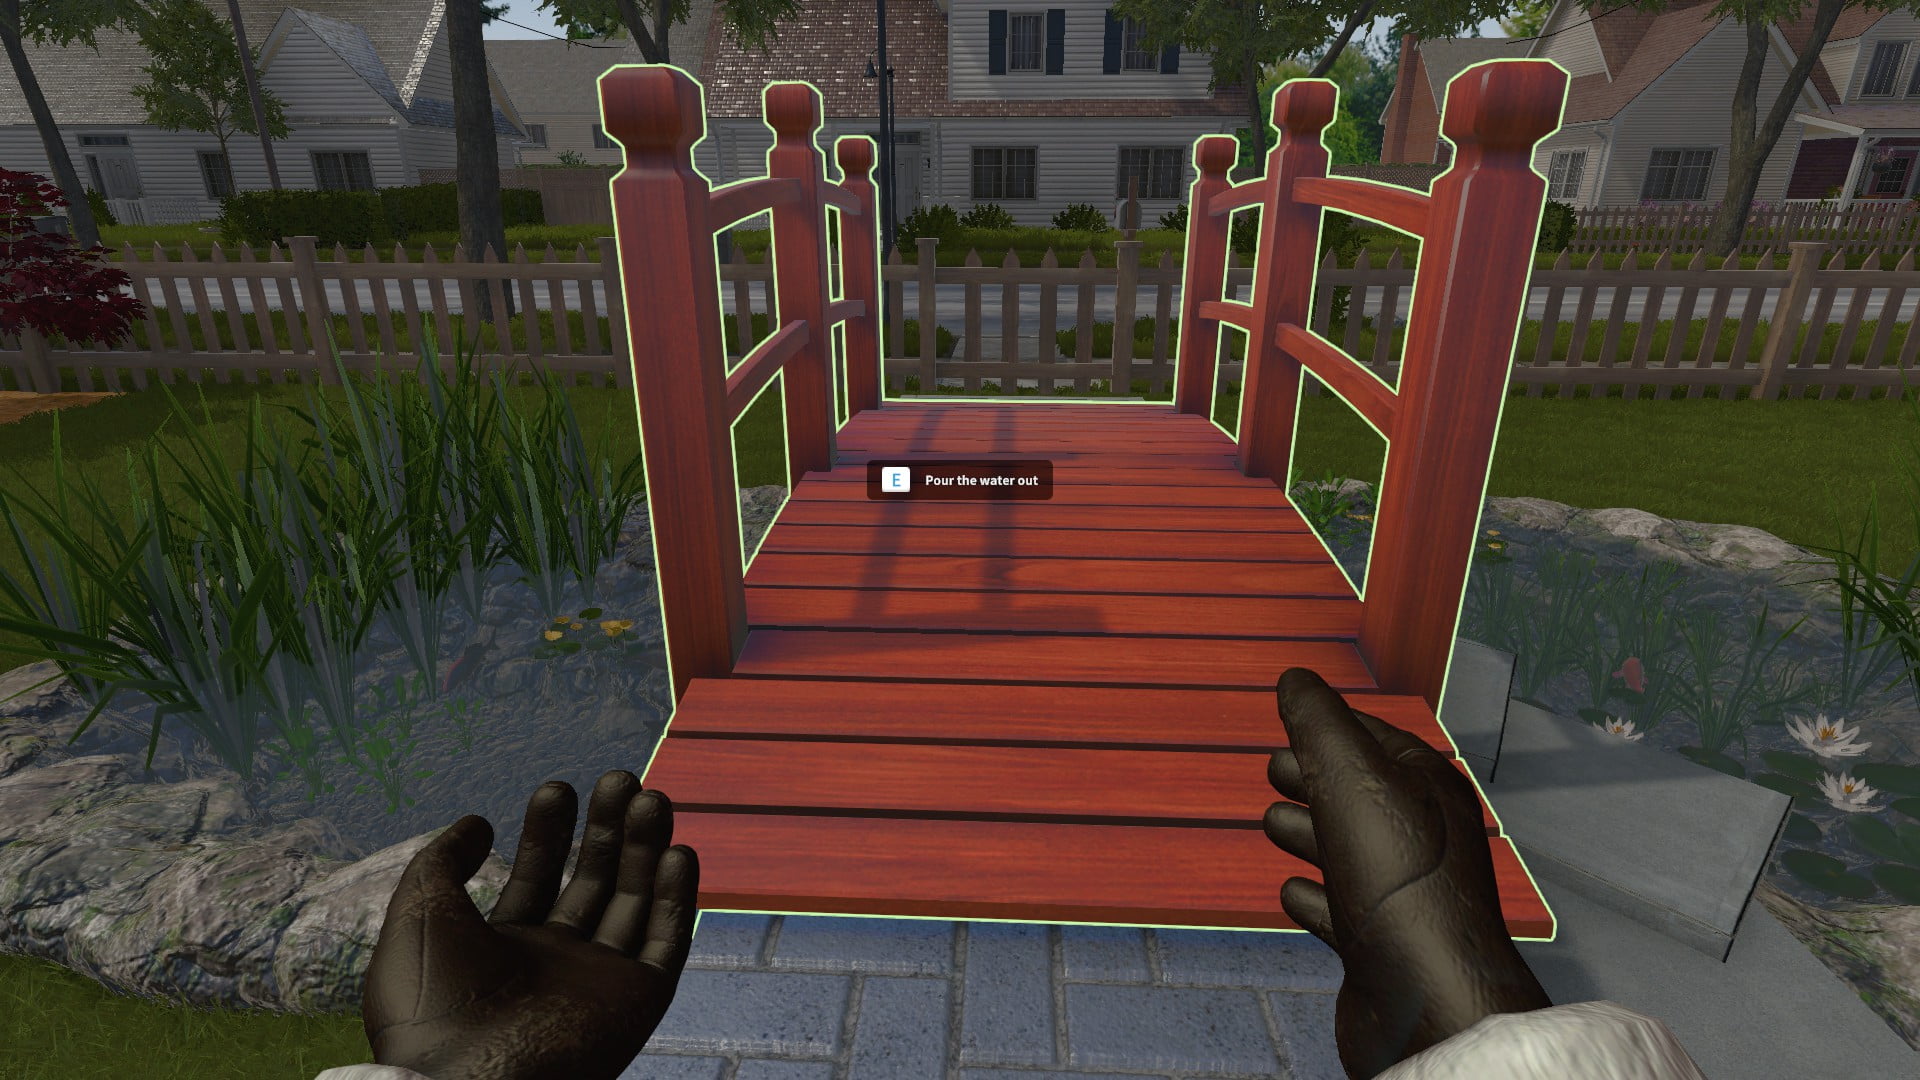
Grab the bridge and walk onto one of the stairs and start moving the bridge around (point at the last slab you placed) until the game tells you you can place the bridge down.
Place it down and look if you are happy with the placement of your bridge, if not move it about until you are happy.
This is what my placement looked like when i finished placing the bridge:
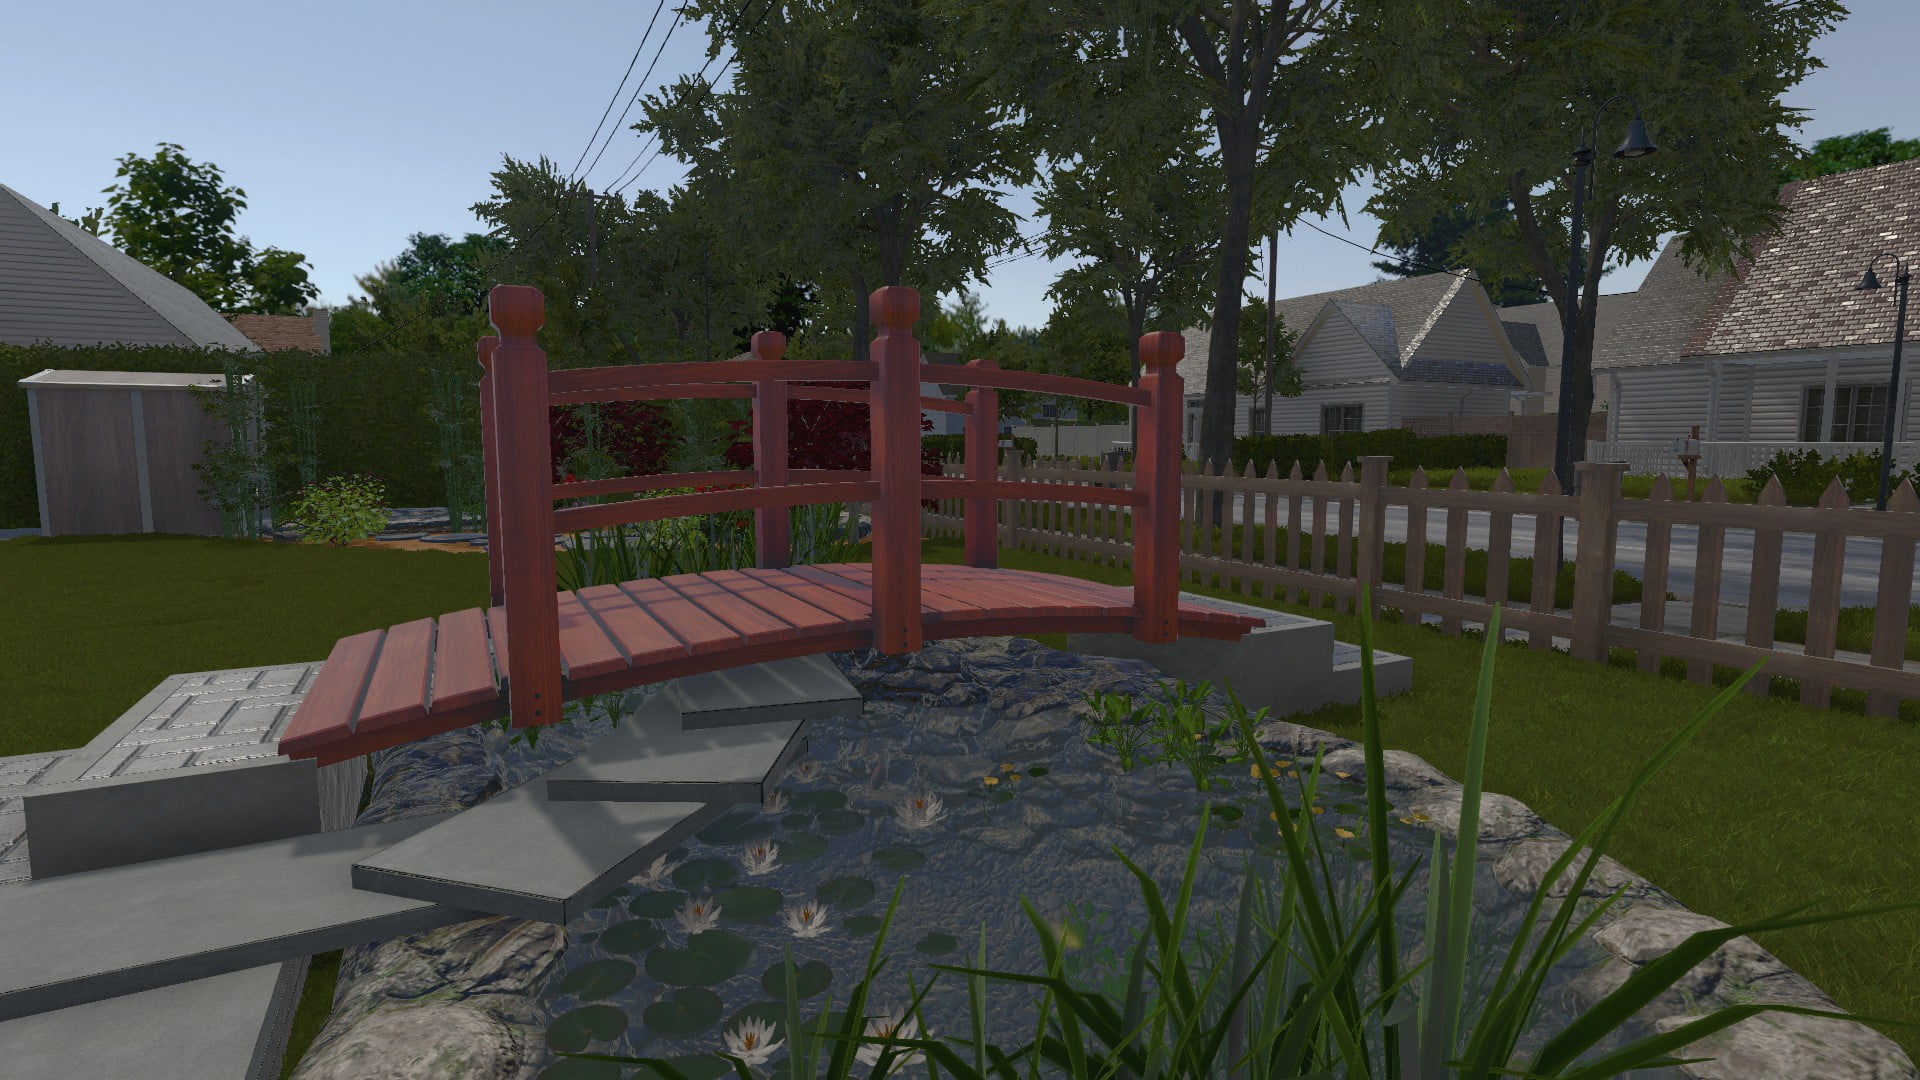
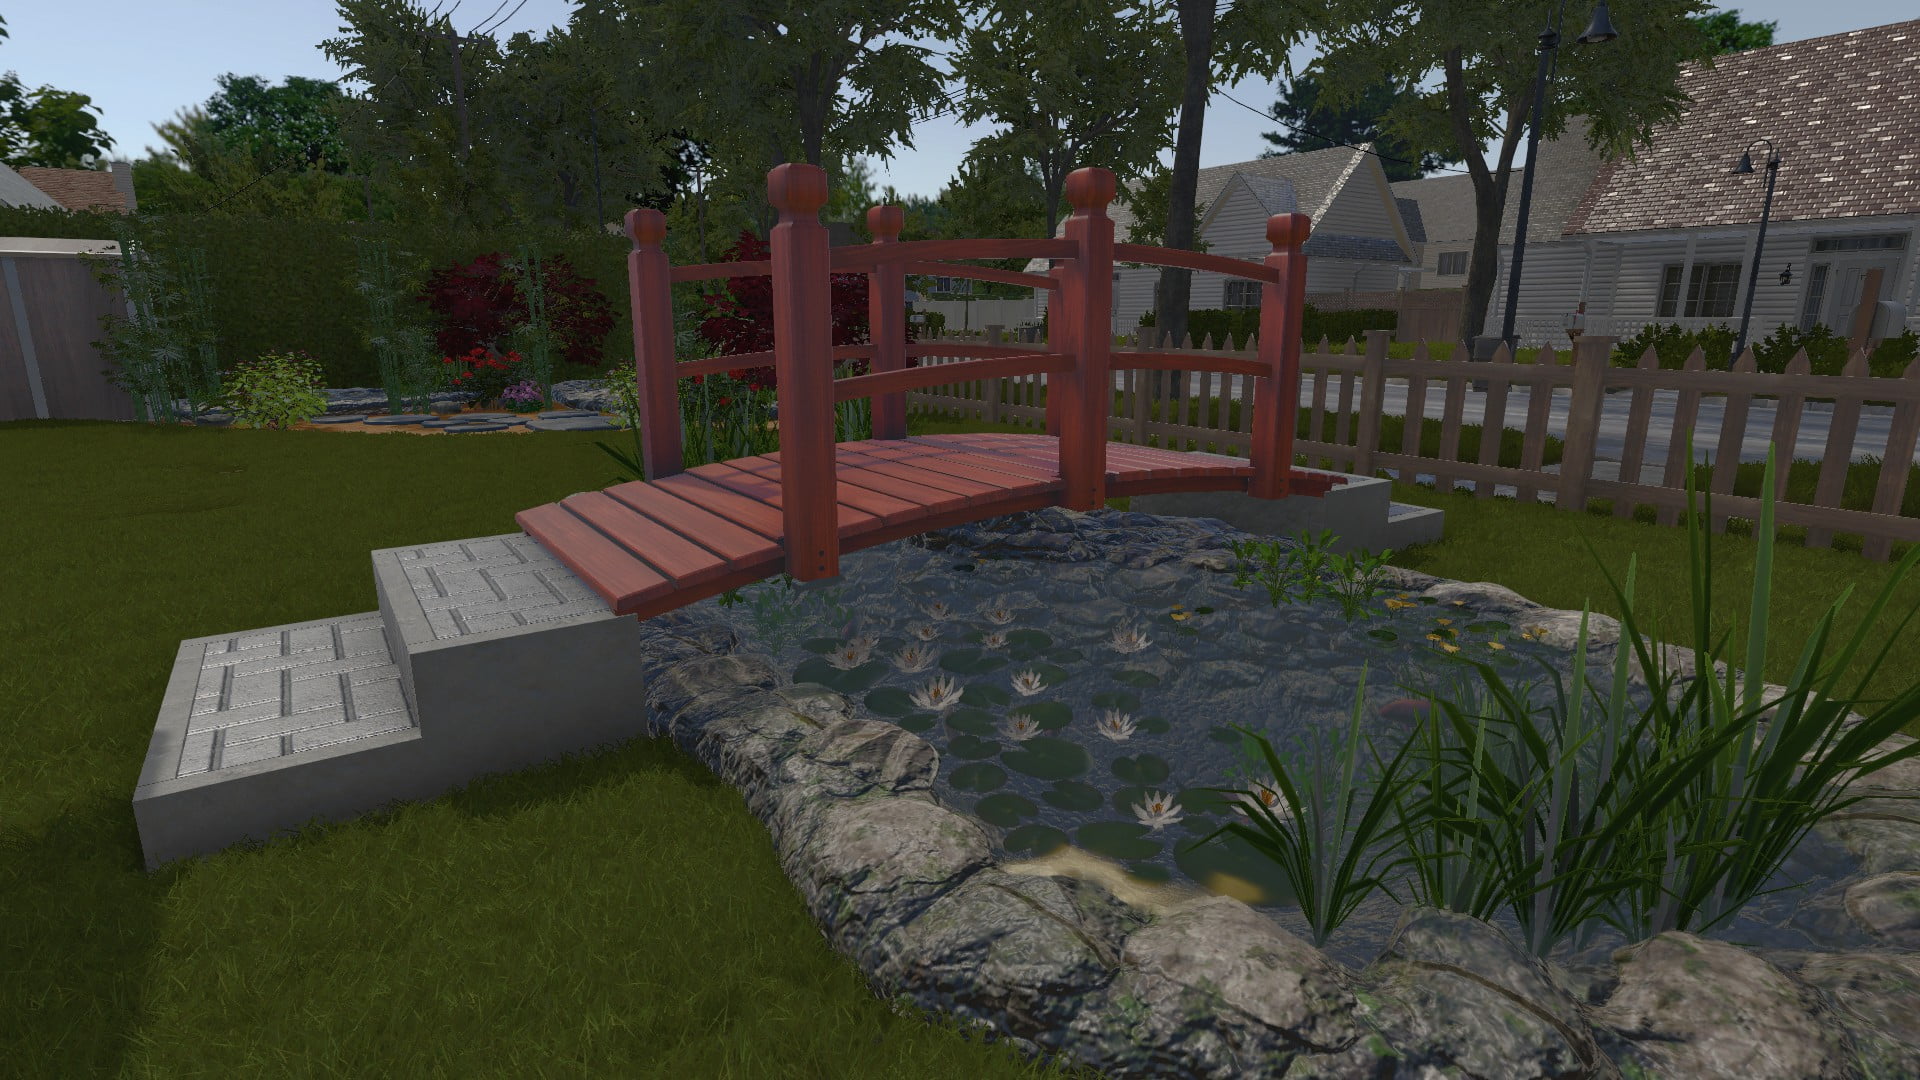
If you are happy with your bridge, the only thing you have left to do is CAREFULLY sell or move the tiles (or move them and sell them afterwards if you wanna be extra careful)
and the end result should look a little bit like this:
I hope you enjoyed reading this guide and will find it usefull for making your gardens look pretty!
