
Free the Tortured Prisoner can be started by going to Skyrest Bridge, and exploring the crypt to interact with the Tortured Prisoner while she is still locked up.
Objectives: Solve the Mausoleum Puzzle in Skyrest Bridge, remove the Umbral Tumor,s and bring the x1 Searing Accusation to the Tortured Prisoner to free her from the cell.
Rewards: x1 Tortured Prisoner’s Head Cage, Unlock the Tortured Prisoner as a companion and Merchant, Queen Sophesia’s Ring.
Lords of the Fallen Free the Tortured Prisoner Quest Walkthrough
You’ll first need to go to Skyrest Bridge and find the Skyrest Bridge key. Once you do, warp to the Vestige of Ethryg and go left towards the room where Exacter Dunmire is. Use your lamp to pass the gate and keep moving forward, following the path.
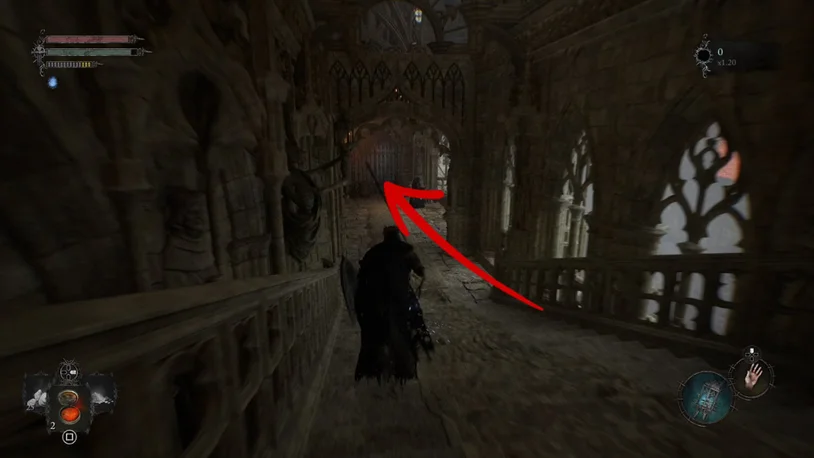
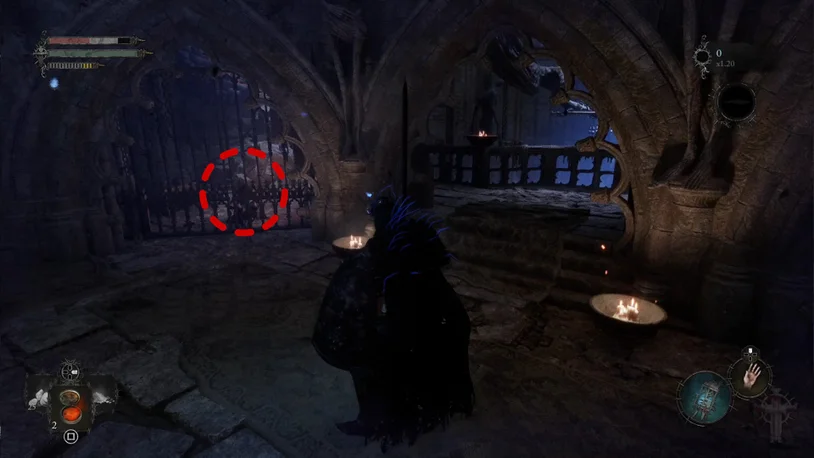
When you get to the area shown below, keep moving forward and then turn to your right. You’ll see a locked door you can open using the Skyrest Bridge key.
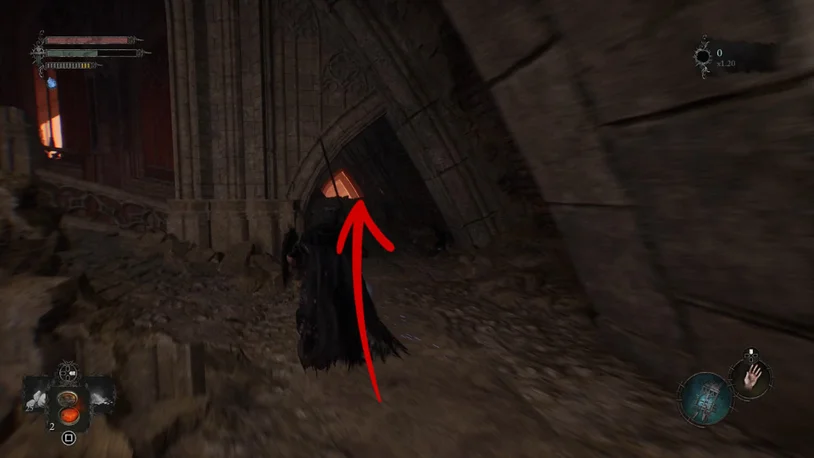
In this new area, use your lamp to enter the umbral realm and move toward the bridge with braziers on its sides.
In the umbral realm, you’ll notice a ladder to the bridge’s left. Use it to go up. You’ll see there is an Umbral entity blocking something that’s on the other side. To remove the entity, you’ll need to soulflay three umbral bellies.
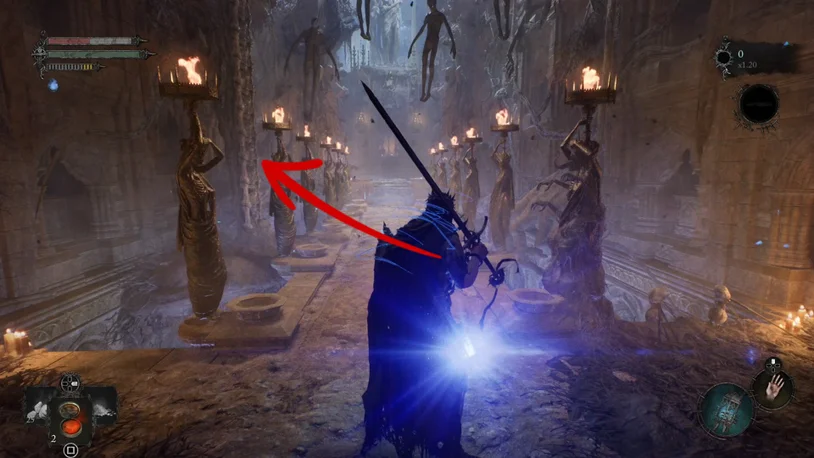
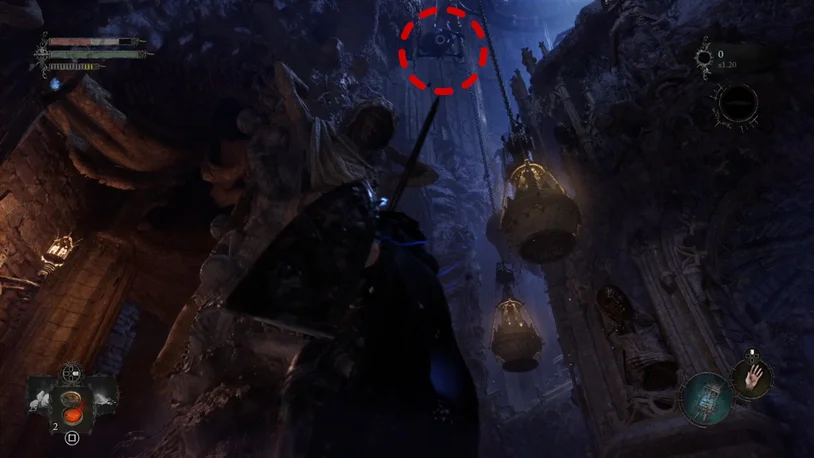
The first one is visible from where you are; just turn to your left to see it.
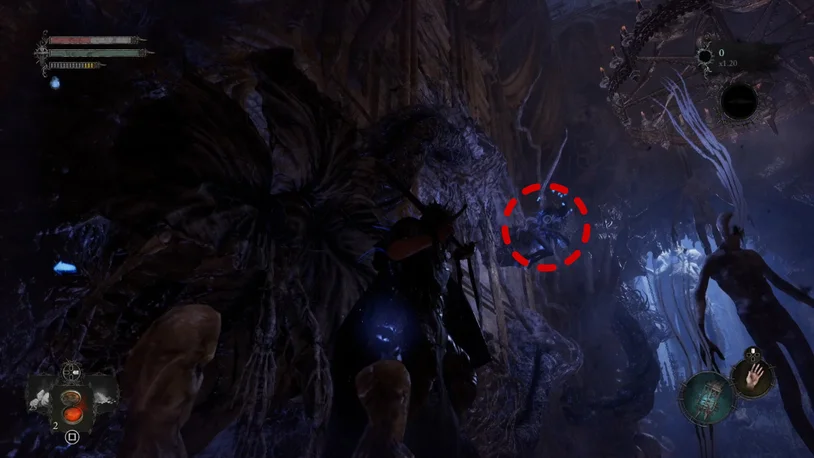
Now get down the ladder and walk towards the center of the room, where the sarcophagi is. Look up, and you’ll see the next Umbral belly.
The third and final belly is to the bridge’s right side. First, look down at the gap on the side of the bridge, and you’ll notice a platform you can move using your lamp.
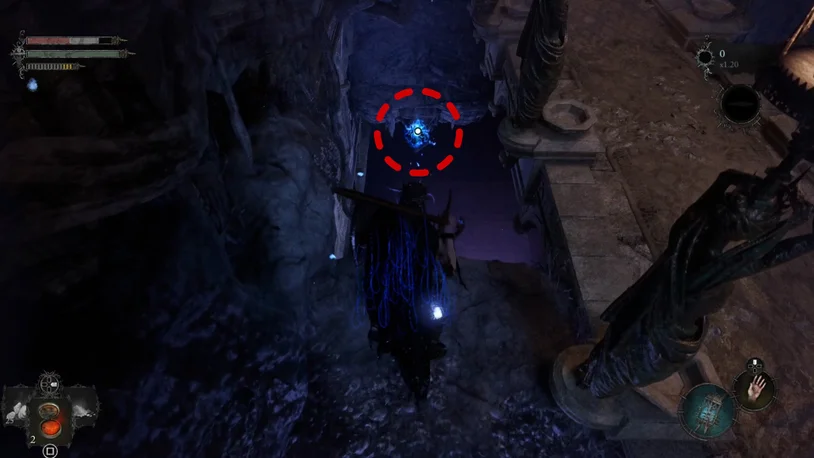
Move it to get it closer to you and drop down, turn around, and you’ll see the last Umbral belly under the bridge, soulflay it.
Turn around again and move the platform to the other side. There is a ladder you can use to go up where the bridge is.
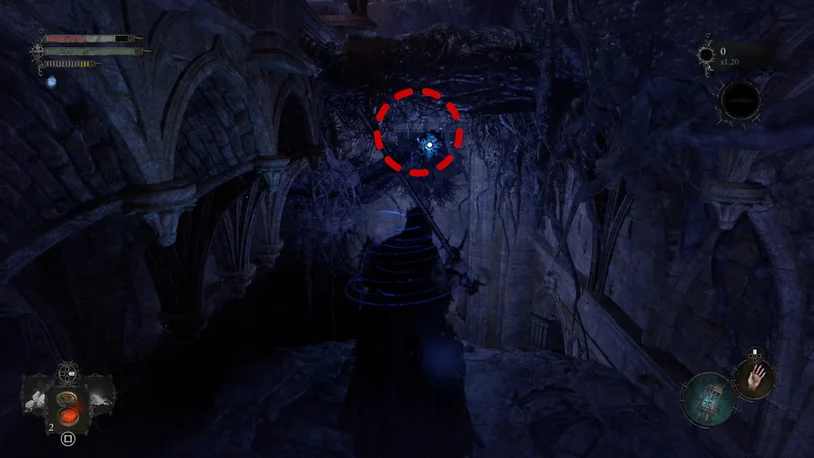
Now that the three Umbral bellies are gone go up the ladder to the bridge’s left. Instead of the Umbral entity that was blocking the path, you’ll see now another Umbral belly, soulflay it to get the Searing Accusation.
With that item in your inventory, go down the ladder and move forward using the stairs that are to the left of the sarcofagui.
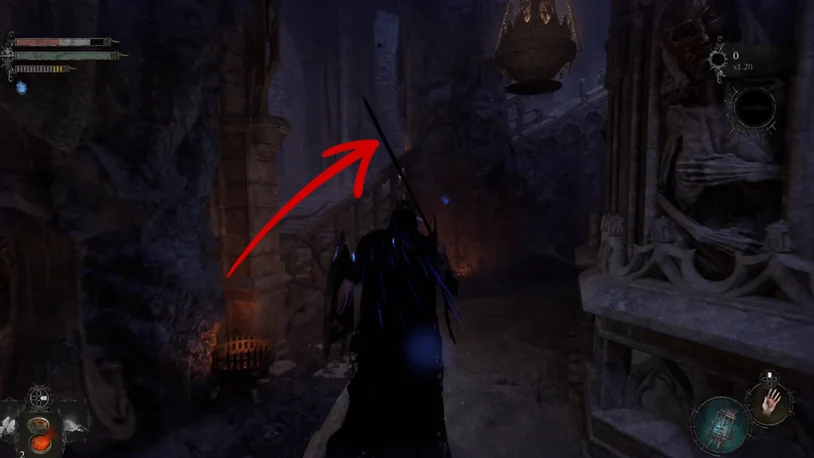
You’ll now be in a room with a stigma and stairs leading to the central room in Skyrest Bridge. Look to your left, where you’ll see the Tortured Prisoner behind bars.
Talk to her to give her the Searing Accusation item. Now rest and return to the arena where you fought Pieta. This time, the Tortured Prisoner (now freed) will be standing just outside the arena. You can talk to her to learn more about who she is and to access her merchant inventory. She’ll also give you the Calrath Noble’s Bow Pose.
If you return to the cell where the prisoner was being held captive, you’ll notice that it is now open, and you can pick up the Tortured Prisoner’s Head Cage.