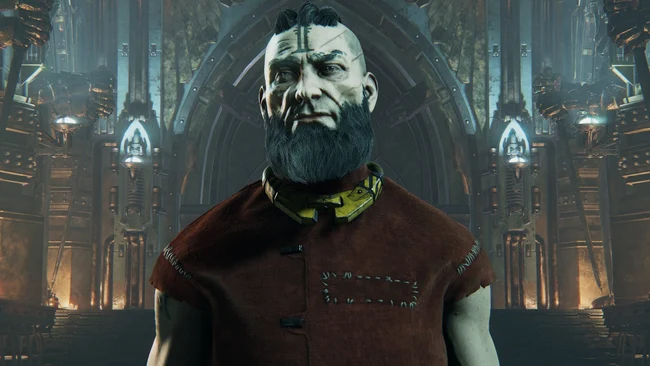
Basic guide to fighting the Karnak twins, for those trying to complete Damnation or Hard Mode. This guide does NOT tell you how to activate hard mode, just the strategy for how to beat the boss.
Warhammer 40,000: Darktide – How to Beat Karnak Twins
You’ll want a balanced loadout that has CC and utility. The boss fight severely punishes having a build that isn’t well-balanced for all potential enemies, as you will be facing EVERYTHING. Hordes (requiring cleave weapons), carapace (requiring rending weapons), and bosses aplenty. Pick weapons that give you good damage profile coverage. I chose a cleaving sword and a rending ranged weapon.
Being able to lock down the horde is key. Any class will do, as each one has at least one strong utility in their kit:
- Veteran: Shout /w Raise. Ammo / Medkit talent.
- Psyker: Telekine Shield / Dome. Smite.
- Zealot: Chant. Flashbangs.
- Ogryn: Taunt (Shield w/talent or ability). Charge.
Veteran is weakest here I think – Chant, Taunt, Dome, and Smite are all extremely good – but they make up for it in raw DPS. In general I would not recommend pure DPS loadouts though, you absolutely need maximum utility to handle what is being thrown at you.
Boss Details
If either boss is targeting you, you can’t revive friendlies unless the twins are stunned by a shout, push, or chant, as both of them have attacks that knock you back even when blocked.
The ranged boss shoots you with his gun, which causes knockback and a lot of damage. He also throws proximity tox grenades. You can dodge the shots like sniper shots (look for the gun sparkle), and you can detonate the tox grenades by clipping the edge and quickly walking out. TOX GRENADES ARE YOUR LOSE CONDITION. If too many are in the arena, it’s too difficult to move around, and you will get overwhelmed. This is why you target the ranged boss first. Takes extra damage from melee attacks.
The melee boss charges you and does melee swings. You can just block her. She’s mainly a challenge to kite, as you need to avoid getting pinned into a horde by her charges. Otherwise, just keep blocking and wait for her to switch targets or for a shield break. Takes extra damage from ranged attacks.
Phase transition happens at 25% breakpoints, shared between bosses. That is, if you have hit the 75% breakpoint on the ranged boss, the next phase will trigger if you hit 50% on ranged OR melee. You can either try to split your damage to make the last phase easier, or focus ranged. I suggest ranged.
Strategy / Cadence
At any particular time, a maximum of two of your team will be targeted by the twins. Of the remaining two who are open to fight whatever, one person should focus on weakening shields, the other should focus on minesweeping the tox nades, and both should kill elites as quickly as possible and ideally clear their teammates backpedal spacing..
You can roughly divide the fight into three mini-phases (kite aka shields up, DPS aka shields down, and fans) and 4 meta-phases (each health bar breakpoint).
The cadence is like this:
1. Twins have their shields up and are chasing 1-2 players (ideally, a Taunt Ogryn with a shield). This is the start of each kite phase and each meta-phase.
2. Adds enter the arena. Kill elites and thin the horde of fodder, in that order. The horde takes a while to respawn (faster respawn on higher difficulties), so clearing one – especially if you do it fast – gives you some breathing room. You should also be weakening, but NOT popping, the shields. Once a boss’ shield is weak, just kite them until the other is too. You can tell because the shield reddens, and also their a big health bar on your UI that tells you how.
3. Once all elites in the arena are dead, and both shields are weak, pop the shields. This is your DPS phase. Immediately focus the ranged twin. If you do it right, you’ll trigger the phase transition before the next add wave spawns. You can do this in a single shield pop if you are on the ball, otherwise two.
4. Do the fans. The number escalates each time you trigger a phase transition. Note that the zealot’s chant protects you from the tox gas. Ogryn push charge is extremely useful for this phase. Ragers and Maulers will usually come out of the second fan door, so be prepared to CC and kill them ASAP. After fans are done, you’ve finished one meta-phase.
Repeat steps 1-4 until the ranged boss is dead. After that, assuming you didn’t lose tons of ammo or one of your teammates to attrition (screwing up shield breaks, not killing elites), killing the remaining boss is easy.
