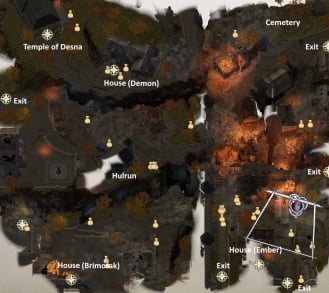
Market Square Walkthrough
Other Pathfinder Wrath of the Righteous Guides:
- After you enter the area, walk slightly west and take out the Abrikandilu, then pass the Athletics check to assemble a bridge from the rubble and complete A Divided City. Buff if needed to pass the second Athletics check (“get across the rubble”), and continue north to fight a Fiendish Giant Fly and Centipede. After defeating them, look for the pile of junk. Pass the Athletics check to earn 80XP and minor loot. Speak to Grandma Gretlen afterward to earn 80XP.
- In the northeast corner you’ll find a cemetery and some ghouls, as well as a grave containing Throwing Axe +1 (Perception DC20).
- In the north center of the map you’ll find Curl checking out some bodies among the rubble. After speaking with her, Jannah will show up (A Friend in Need Is a Friend Indeed). Slightly south, pass the Mobility check (“use the trunk”)
- Northwest you’ll run into Counter Arendae’s Servant, who will point you to Arendae Party House (No Better Time For a Banquet). Later, head there on the world map and defeat the enemies. Loot the room to acquire Decimation, then speak to Aranka to receive Aranka’s Shawl followed by Daeran (the latter of which will join your party). Tell him you want gratitude to receive Arendae Family Ring.
- Once you have the shawl from Aranka, return to Market Square to find Kenabres Crusader (Thall the Wallflower) at the entrance and give him the shawl, after which the Inquisitor will show up and arrest him. Defend Thall, who will thank you later, then go northwest to the Temple of Desna. Inside, your friends will teach you a song (which you can use later to recruit Arueshalae early). If you join in on the song, you’ll have the opportunity to become an Azata. Either way, you’ll receive 460XP and Wand of Remove Disease.
- In the northwest corner of the map (slightly east of the Temple of Desna) you’ll find a house with a chest next to it. Disarm the trap inside then enter the basement. Take See Invisibility scroll from the body. Buff your party and equip any magical or Good or Cold Iron weapons, then use the See Invisibility scroll to reveal Shadow Demon. Focus it with the aforementioned weapons and magic. After it dies, pass the Athletics check to clear the blockage in the corner. Unlock the chest to find Wicked Longbow.
- On the west side of the map there is a scrawny tiefling trapped under some rubble next to a church. Free him to earn a little XP and learn about a secret entrance to Gray Garrison.
- Slightly east of Temple of Desna, you’ll find some loot amongst the trees adjacent to a building. Prepare your party (ensuring your frontline formation has at least two party members next to each other on it to avoid being caught flat-footed) then take the loot to trigger an encounter with a Babau. It hits hard but if you’re buffed and have good formation, you’ll be fine. Take Cold Iron Shortspear +1 from the body.
- In the east central area you’ll run into a few ghouls and cultists (one of which will proclaim their true passion is raising undead). Wipe them out (Grease is handy), then loot Dark Horn from the bodies.
- Around the center of the map (somewhat east of the central west exit), look for a wooden cart and rainbow coloured decorations. Loot Midnight Bolt from a board leaning against the cart.
- At the south central portion of the map (look for the “Mongrel” marker), take out the Schirs and loot the bodies to find Club with Nails.
- In the southwest corner of the map you’ll find a small house containing Brimorak. He likes to lob fire spells at you so Fire resistance will help a great deal here. Offensively, go with cold spells, anything that targets Reflex, and Good or Cold Iron weapons. Afterward, loot Signet of House Vespertilio, Piece of a Holy Symbol, and Abrupt Force from the bodies and chests.
- Look for the mongrels on the south side of the map center who will agree to form a pincer attack in the upcoming fight if you ask them.
- In the southeast corner you’ll find Kaylessa collapsed on the ground near the tower by the area exit (The Outcast). Pass the Perception check and you’ll find she does in fact hate demons, though is holding back on you. Let her go and you’ll earn 184XP.
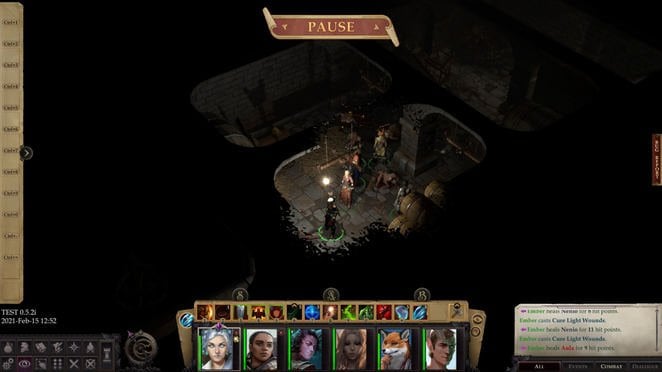
- In the southeast corner (slightly west of Kaylessa) you’ll encounter Ember being attacked by crusaders. Convince them to stop and they will; free them and Ember will be pleased (and join your party). Inside the house, take out the rat swarms and disarm the trap, then loot the area for Hide Armour +1 and Seasoned Wings and Thighs (recipe).
Feud of the Faithful
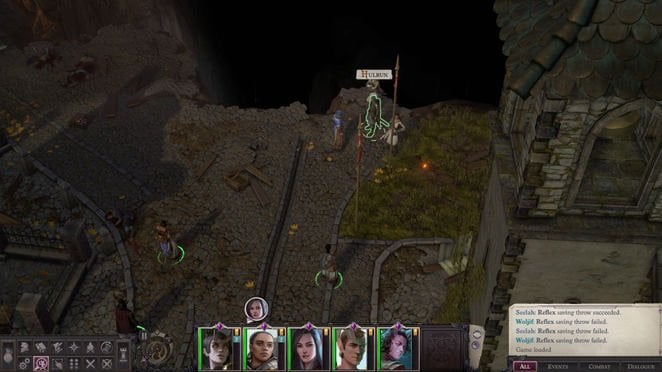
At Market Square, in the south central portion of the map you will run into Hulrun and Ramien. Regardless of what you say, Ramien will run off and you will be left with the option of killing Hulrun (and acquiring Longsword of Right) or hunting down Ramien (northwest, and slightly south of the Temple of Desna, by the trees and broken cart).
Talking to Ramien will reveal a third option (broker peace between the two) as well as a quest (Starward Gaze).
If you fight Ramien, he will vanish and you will fight Ilkes in his place (an easy fight that won’t yield any notable loot). Return to Hulrun with the news to earn 530XP and complete the quest (460XP). If you attempt to broker peace, Hulrun will simply attack you and you’ll acquire Longsword of Right. Return to Ramien with the news to earn 530XP and complete the quest. The Clerics of Desna will join the crusaders if you ask him to head to Defender’s Heart (A Common Cause).