Gray Garrison Walkthrough
Make a hard save now as there’s no going back.
Other Pathfinder Wrath of the Righteous Guides:
Once you’ve dealt with everything else, speak to Irabeth to begin your attack. Once inside the Gray Garrison, Klaem will buff your men and party with Haste (at least if you won the battle at Defender’s Heart).
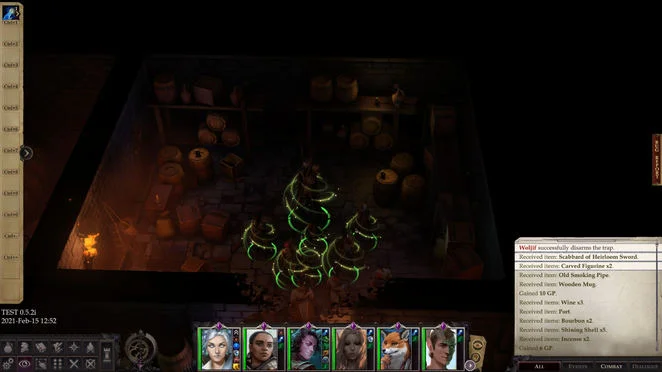
Move forward to the southwest room, looting Scabbard of Heirloom Sword from the junk on your left, past the first doorway and the trap. Next, take the northeast exit.
Take out the cultists and ignore the magic door for now. Go up the second set of stairs. After the Vermlek’s take a nap, Coup de Grace ’em.
Wipe the enemies in the next area out (above where Irabeth and her soldiers are fighting), then take the stairs down.
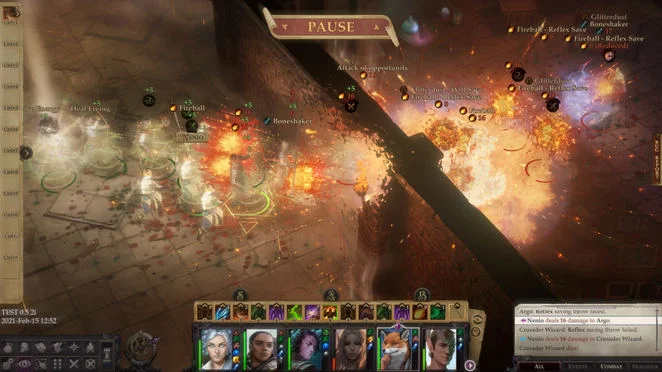
Kill the mages then open the magically sealed door (with the blue symbol) to fight a few more enemies. Make your way into the back room to battle Othirubo and his minions. The usual Grease and Glitterdust will serve very well here; Faerie Fire may as well. Take care to position your back liners carefully or they’ll take big damage. Also be sure to position your party outside the door to exploit the choke point. Among the loot you’ll find Belt of Incredible Dexterity +2 and Tail Sting.
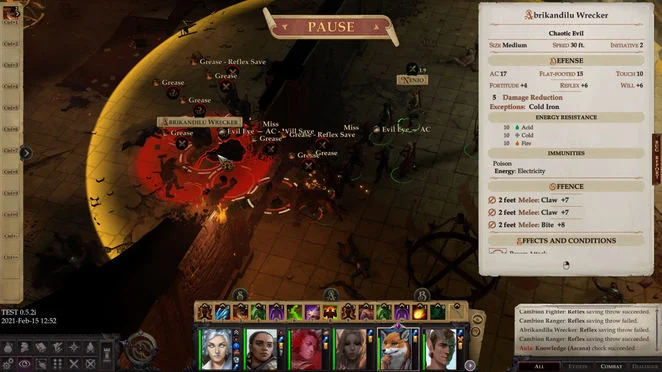
The next (locked) room over you’ll find Lesser Sonic Quiver and Razor-Sharp Claw. Across the hall, pass the Athletics check and enter the room to fight Abrikandilu and acquire Magic Essence.

Northwest you’ll find a large trap on the floor. Pass the Trickery 35 check (may require many tries, so don’t give up; Guidance will help). In the rooms beyond, take The Malady, Magic Essence, and Shiny Dagger. In the room with the lone Cambion Rogue, position your tanks in the rear, as you’re about to be flanked.
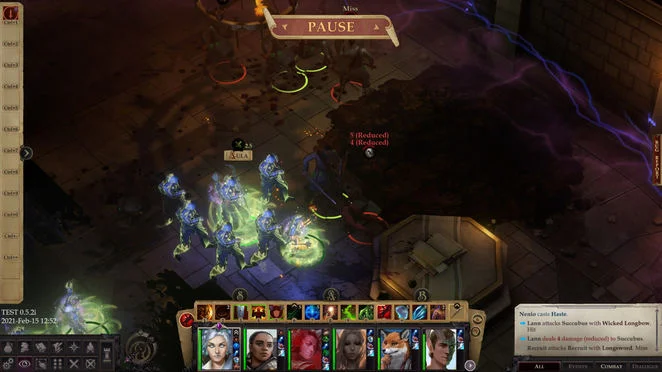
Once the battle is over, head through the large main door to encounter a succubus with several recruits under her spell. Dispel Magic will restore some of their senses, making the ensuing fight easier. Use Grease on the Succubus and focus her.
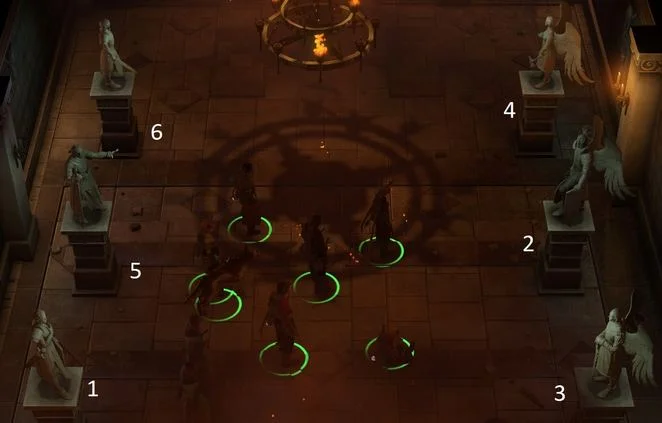
Solve the statue puzzle according to the screenshot above, prompting a door to appear. In the back room, pick up Flail of Lightburst and Cold Iron Falchion +1.
Second floor
Take the northwest stairs to the second floor now. Take out the two Schirs with Coup de Grace, then buff like crazy before entering the left room with Jeslyn and his minions. This is one of those fights that’s very difficult if you don’t respect the almighty power of doors and very easy if you do. Position everyone but your main tank a ways behind the door (not in the room where the enemies reside) and send your tank in to trigger the fight.
Once the battle begins, immediately position your main tank a few feet away from the doorway in the hallway (on the side the rest of your party is located). Once they engage, cast Grease on the doorway and watch hilarity ensue. Take special care to ensure none of your party members step in the Grease and you should win easily with some Alchemist’s Fire, Fireball, Glitterdust, etc. Evil Eye – AC on Jeslyn to counter his buffs may help as well.
Post-combat, loot Befouled Key, Scythe +2, Amulet of Natural Armor +2, and Cloak of Resistance +2.
Passing Perception 25 check near the chests at the end of this room will reveal a hidden room behind them. Loot it to acquire Bulky Pick.
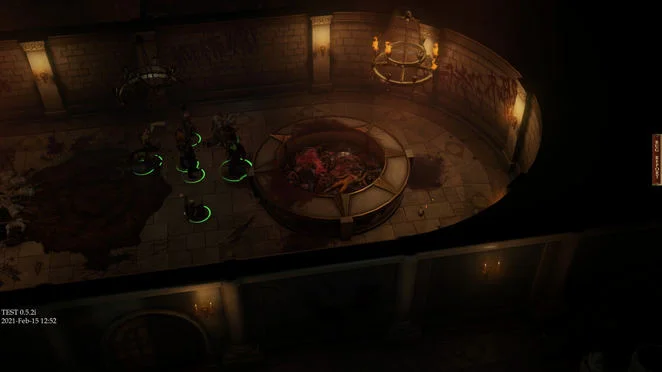
In the west room (with the Conjurers), take Elven Notes from the Gray Garrison off the table. Continue into the far east room (open the door to obtain access) with the hexagonal table and the clerics. Take ’em out then move south to the room with the large circular relic corrupted by the Abyss and cleanse it (after defeating the enemies along the way).
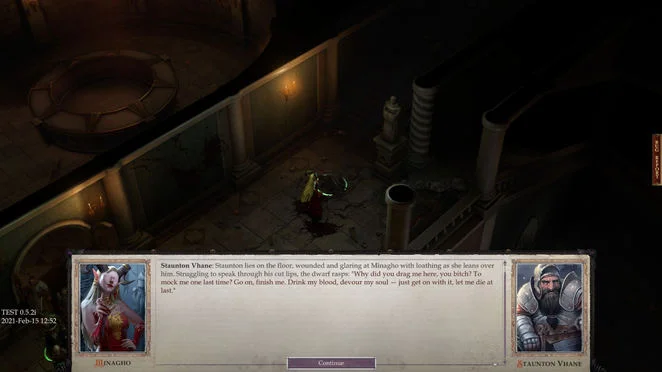
Take the exit to the right of the relic to meet with Staunton Vhane and Minagho again. The “good” dialogue option will see him attack Minagho before both of them run off. Follow after them to encounter Deradnu. He’ll charge your backline, so prepare for it. Post-fight, loot Blocker (greataxe).
Pass the Mobility check, then interact with the Wardstone. The “evil” option will result in the “doings of mortals” being of no concern anymore to the aeons.
Next up, fight Minagho at last. Since you’re imbued with Mythic powers, the fight will be a slaughter (in your favour). Afterward, Staunton will show up to rescue his woman. The good and evil dialogue options will have no effect here: he’ll set off with her regardless.
Obtain your Mythic abilities, then exit back to Defender’s Heart via the door to end the chapter.