Table of Contents Show
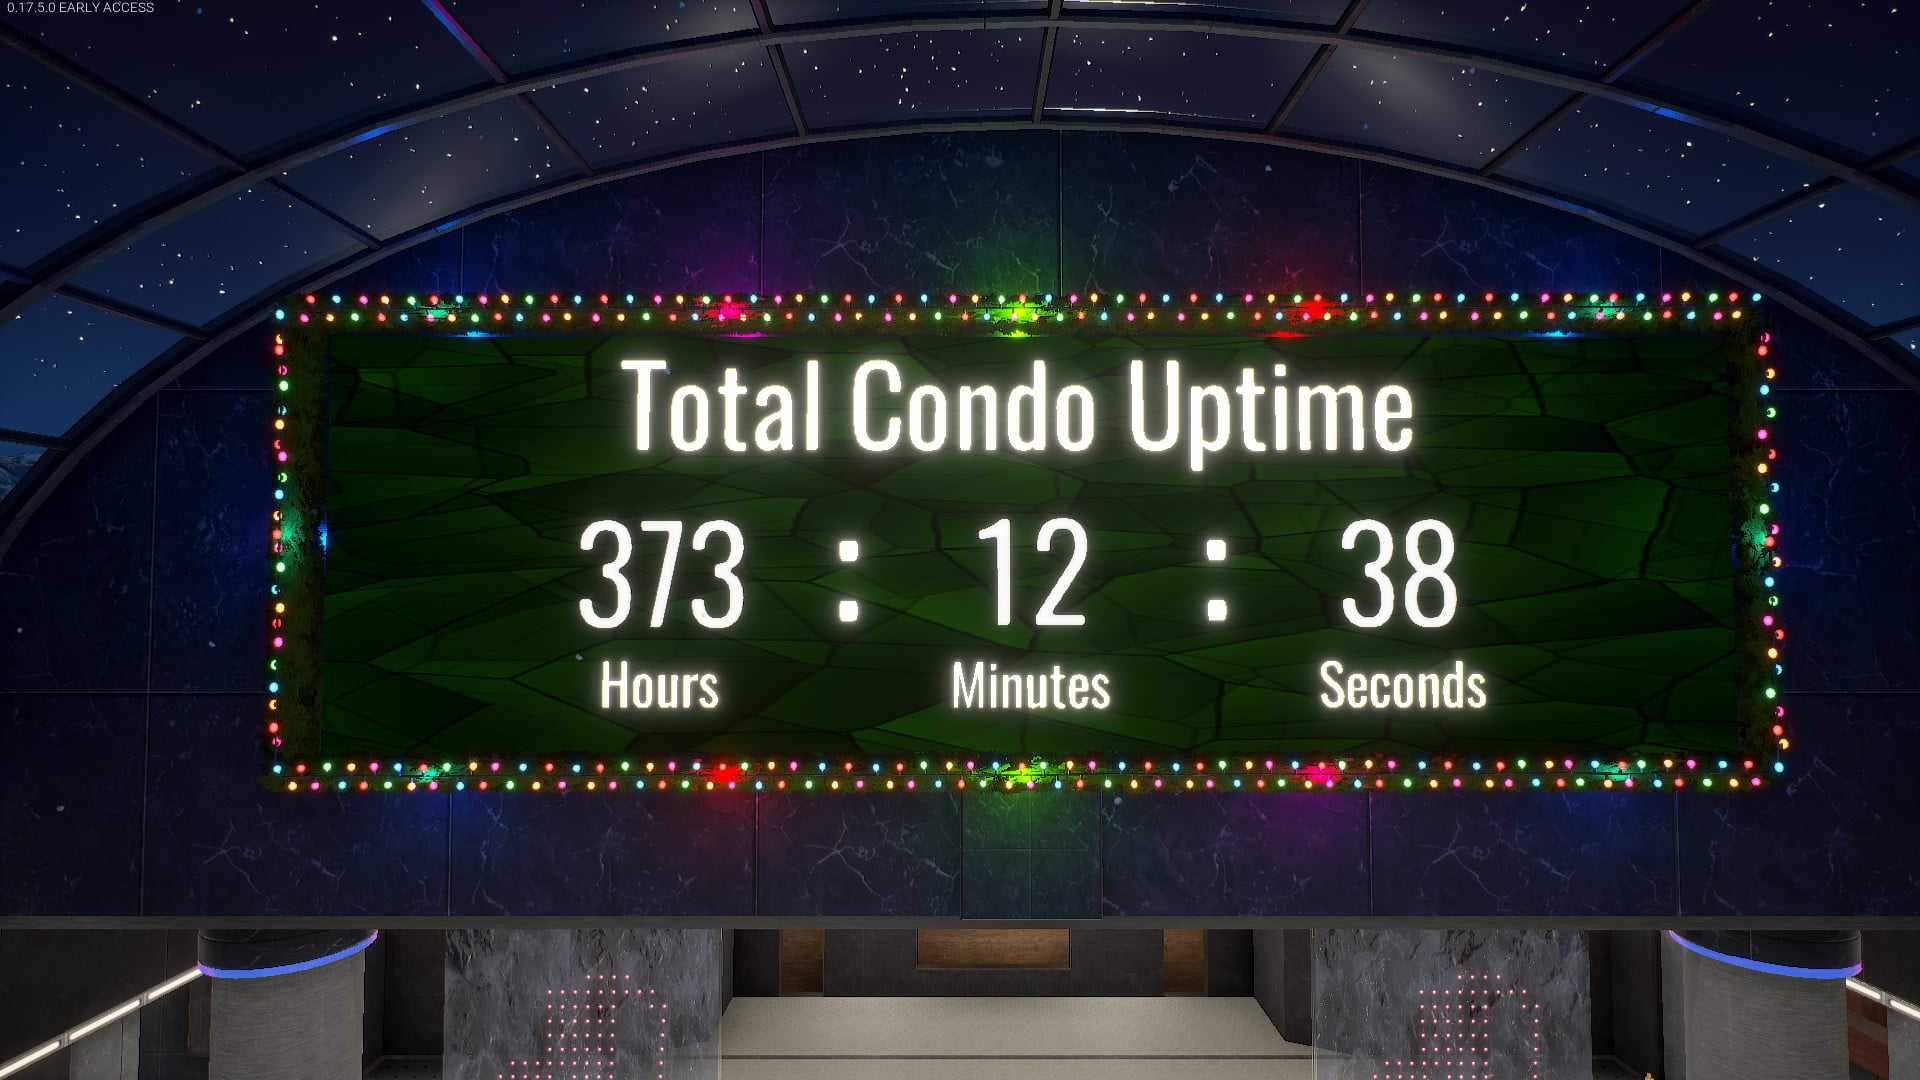
Tower Unite Condo I/O: Condo Up-time Counter
A step-by-step guide on how to create a counter that tracks how many hours a condo has been worked on.
What you will need
You will need ONE of the following items to create an up-time counter:
| Item | Store | Cost |
| Wall Clock | Central Circuit | 100 Units |
| Clock | Central Circuit | 300 Units |
| Pumpkin Clock | Sweet Suites Furnishings | 750 Units |
| Grandfather Clock | Rob’s Imports | 8,000 Units |
| Glow in the Dark Clock | Asteroid Belt | 5,000 Tickets |
It will also be helpful to equip the Tower Glove! It helps a lot with editing items quickly. Now that you have all of your items, let’s begin building!
Building the Counter
1: Place the items
First, place your clock from your inventory into the condo. Somewhere close to the clock, place three counter modules (Found in the Condo I/O section of the inventory) next to each other in a line near the clock.
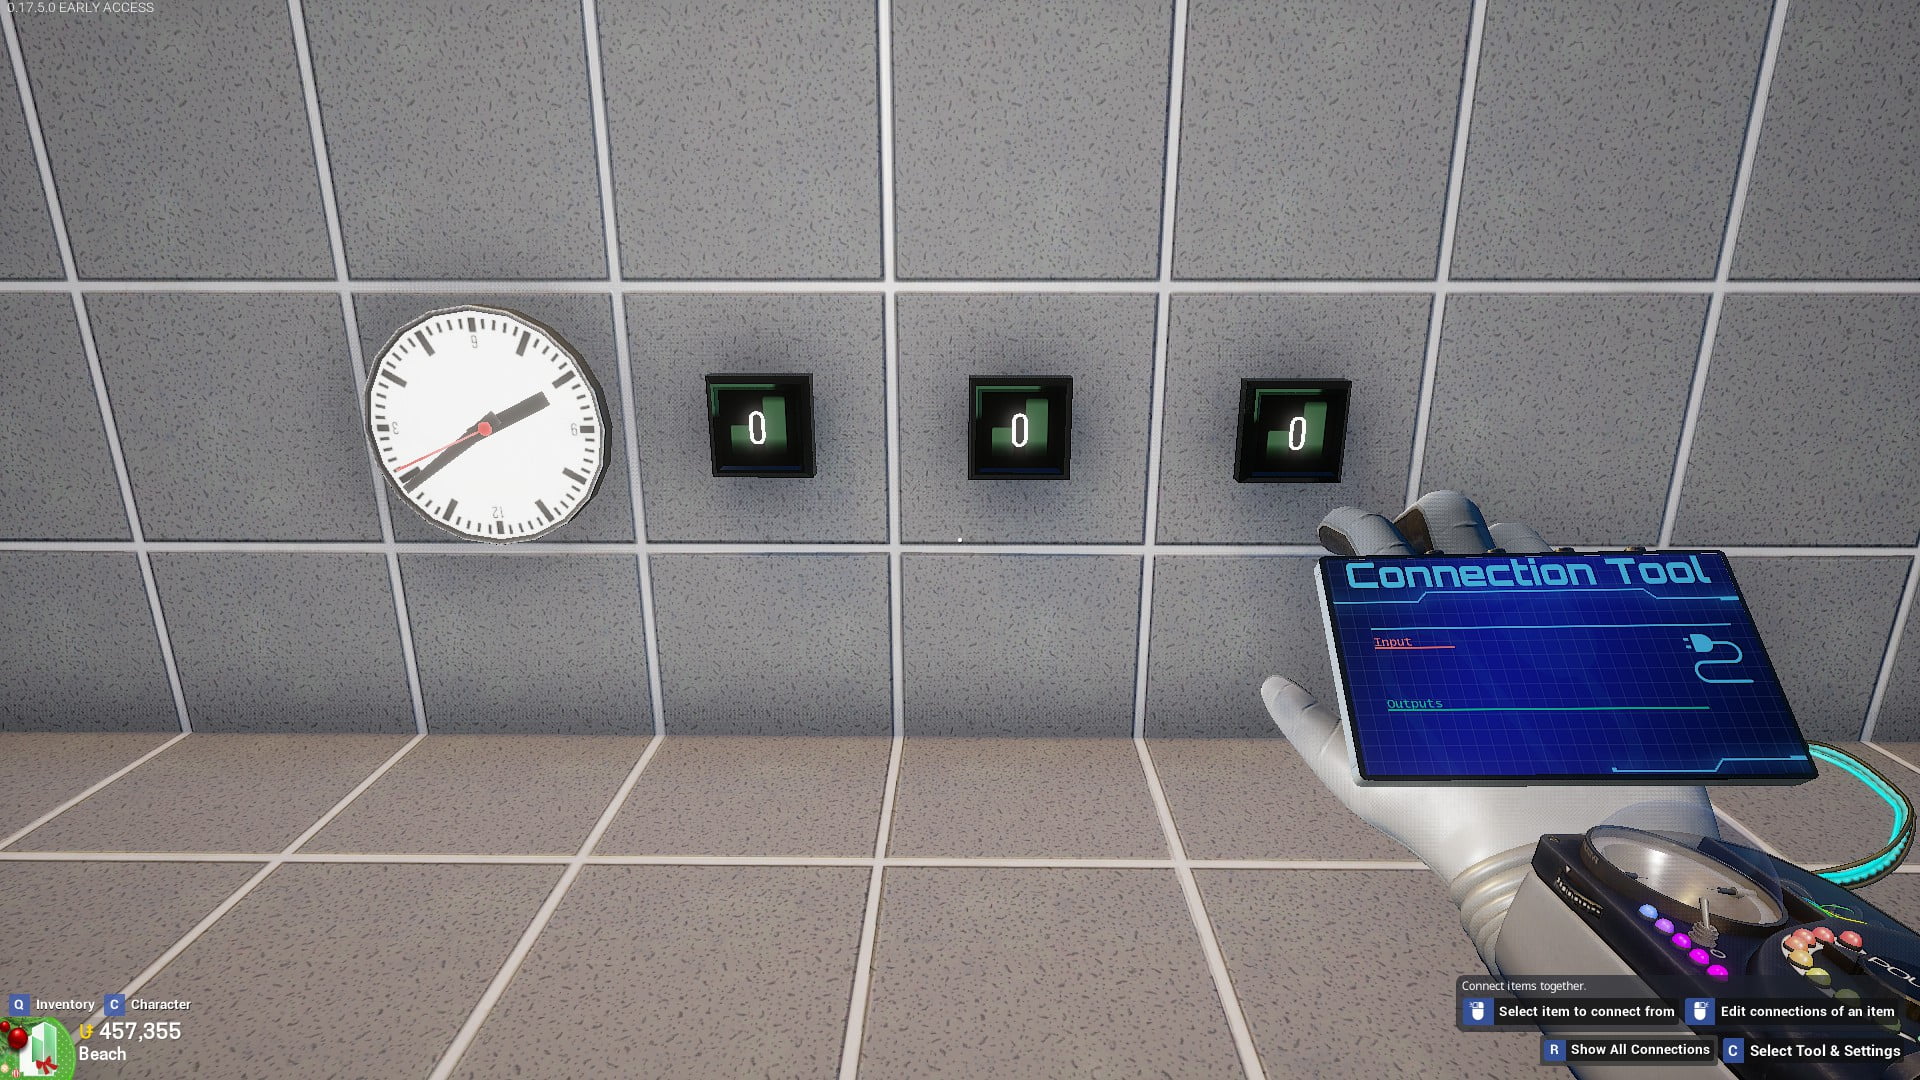
2: Edit the counters
Before doing any I/O editing, we need to make sure the counters are configured correctly to act how we want.
PRO TIP: To make editing easier, name the counter modules in a way that helps you remember which is which. In this guide, I have named the rightmost module ‘Seconds’, the middle one ‘Minutes’, and the leftmost module ‘Hours’.
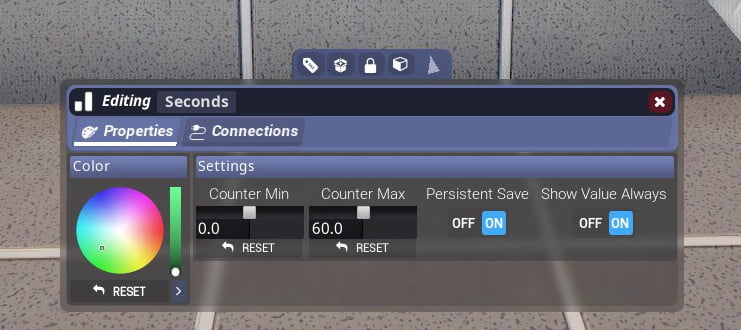
Open the ‘Edit’ menu for the counter module on the right, set the ‘Counter Max’ to 60, and turn on the ‘Persistent Save’ and ‘Show Value Always’ options.
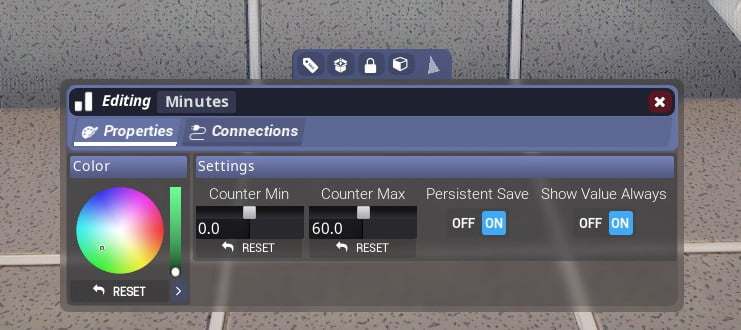
Open the ‘Edit’ menu for the counter module in the middle, set the ‘Counter Max’ to 60, and turn on the ‘Persistent Save’ and ‘Show Value Always’ options.
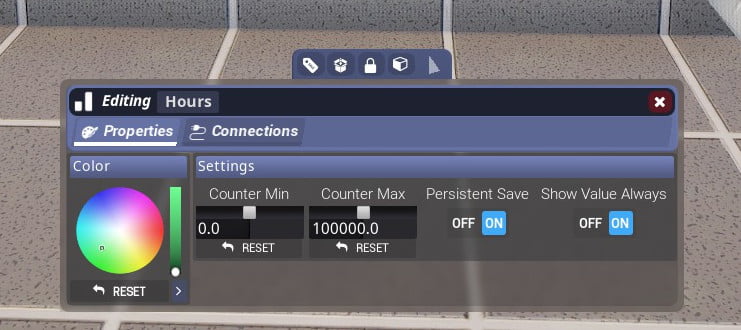
Open the ‘Edit’ menu for the counter module on the left. We want this counter to track the amount of hours that the condo is open. If it reaches the maximum value, it will stop accurately tracking the amount of time that has passed, so set the ‘Counter Max’ value to a high number that isn’t likely to reach. For this guide, I used 100,000 as the ‘Counter Max’ value. Also be sure to turn on the ‘Persistent Save’ and ‘Show Value Always’ options.
3: Connect the Wiring
We are now ready to edit the I/O!
Equip the Tower Glove and hold ‘c’ to change it into ‘Connections’ mode. You can connect items to each other by left-clicking the item that will trigger, and then left clicking the item that will be triggered. You can also right-click an item to open its ‘Connections’ window quickly.
First, connect the right counter to the counter in the middle.
Also, connect the right counter to itself.
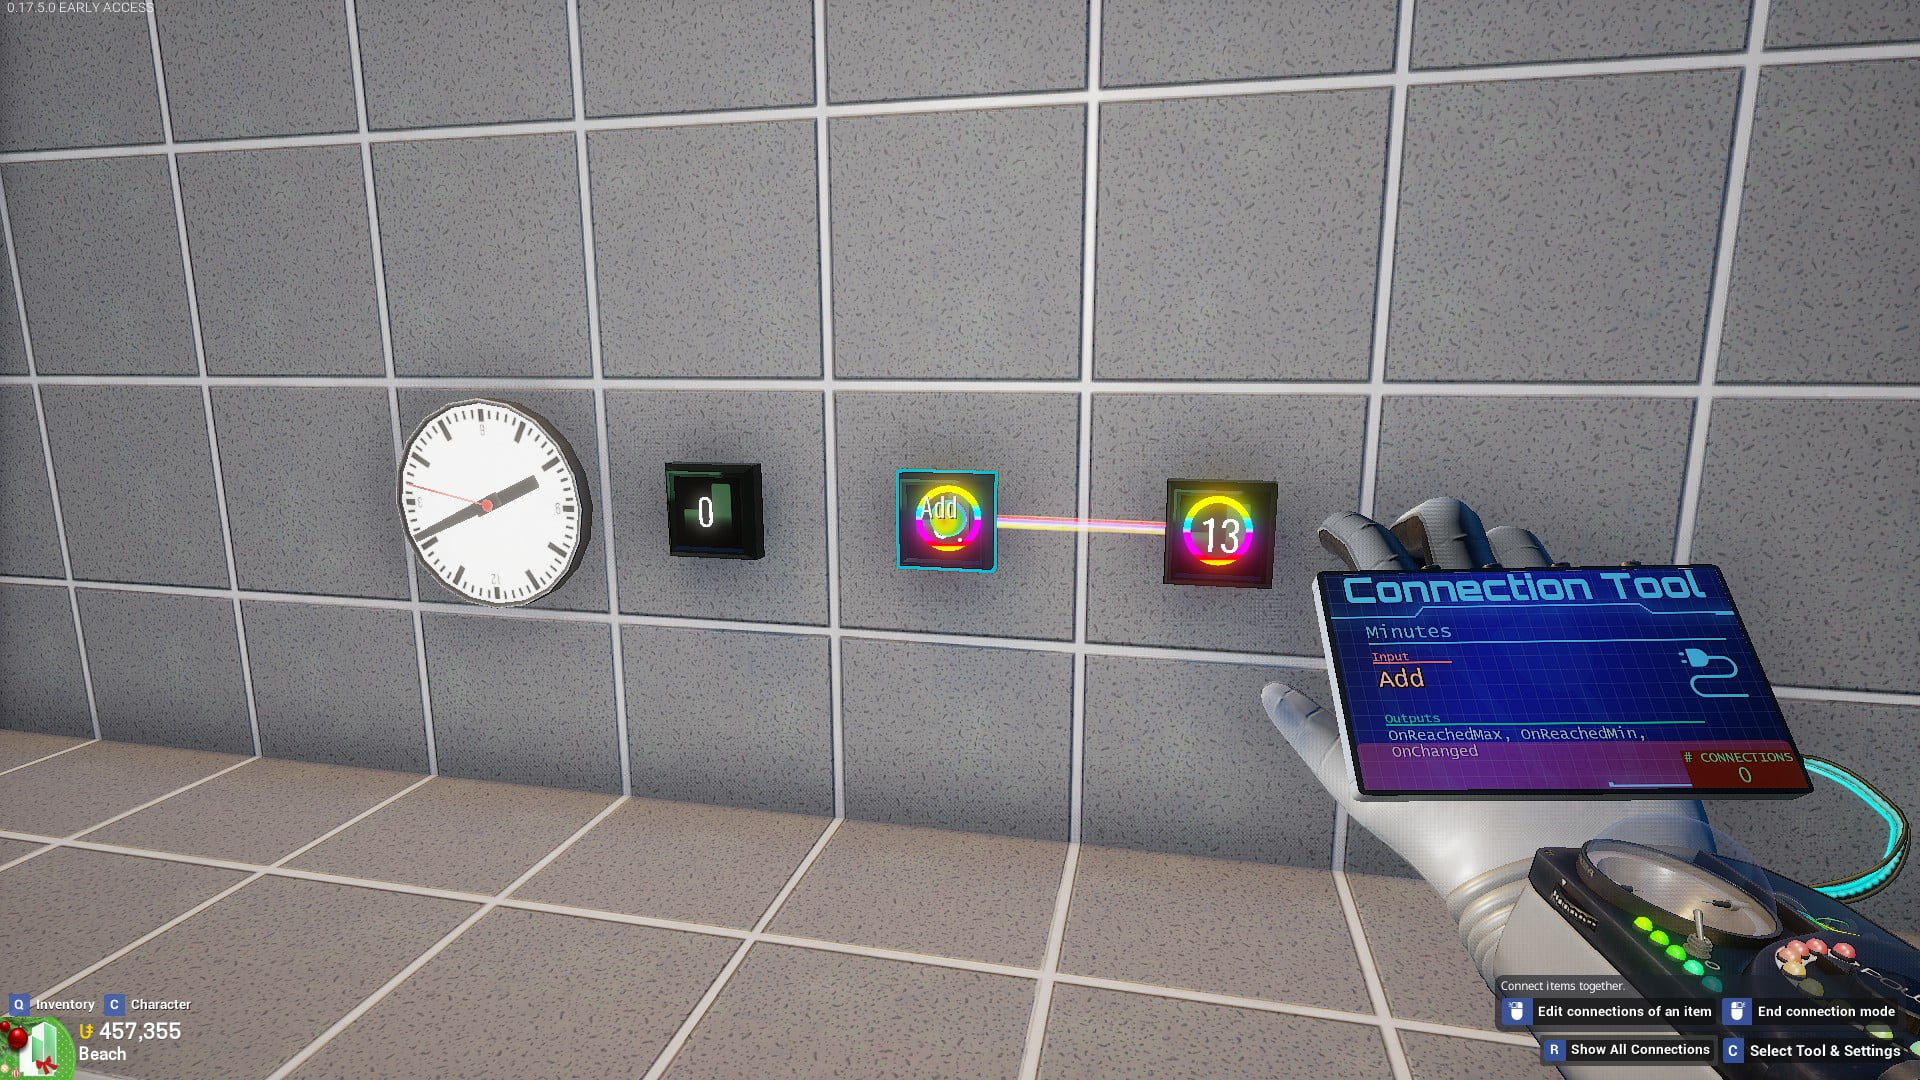
Open the ‘Connections’ menu for the right counter module. Set the connection to itself to ‘Reset’, and set the connection to the other module to ‘Add’, with a value of 1.

Next, connect the middle counter module to the counter on the left.
Also, connect the middle counter to itself.
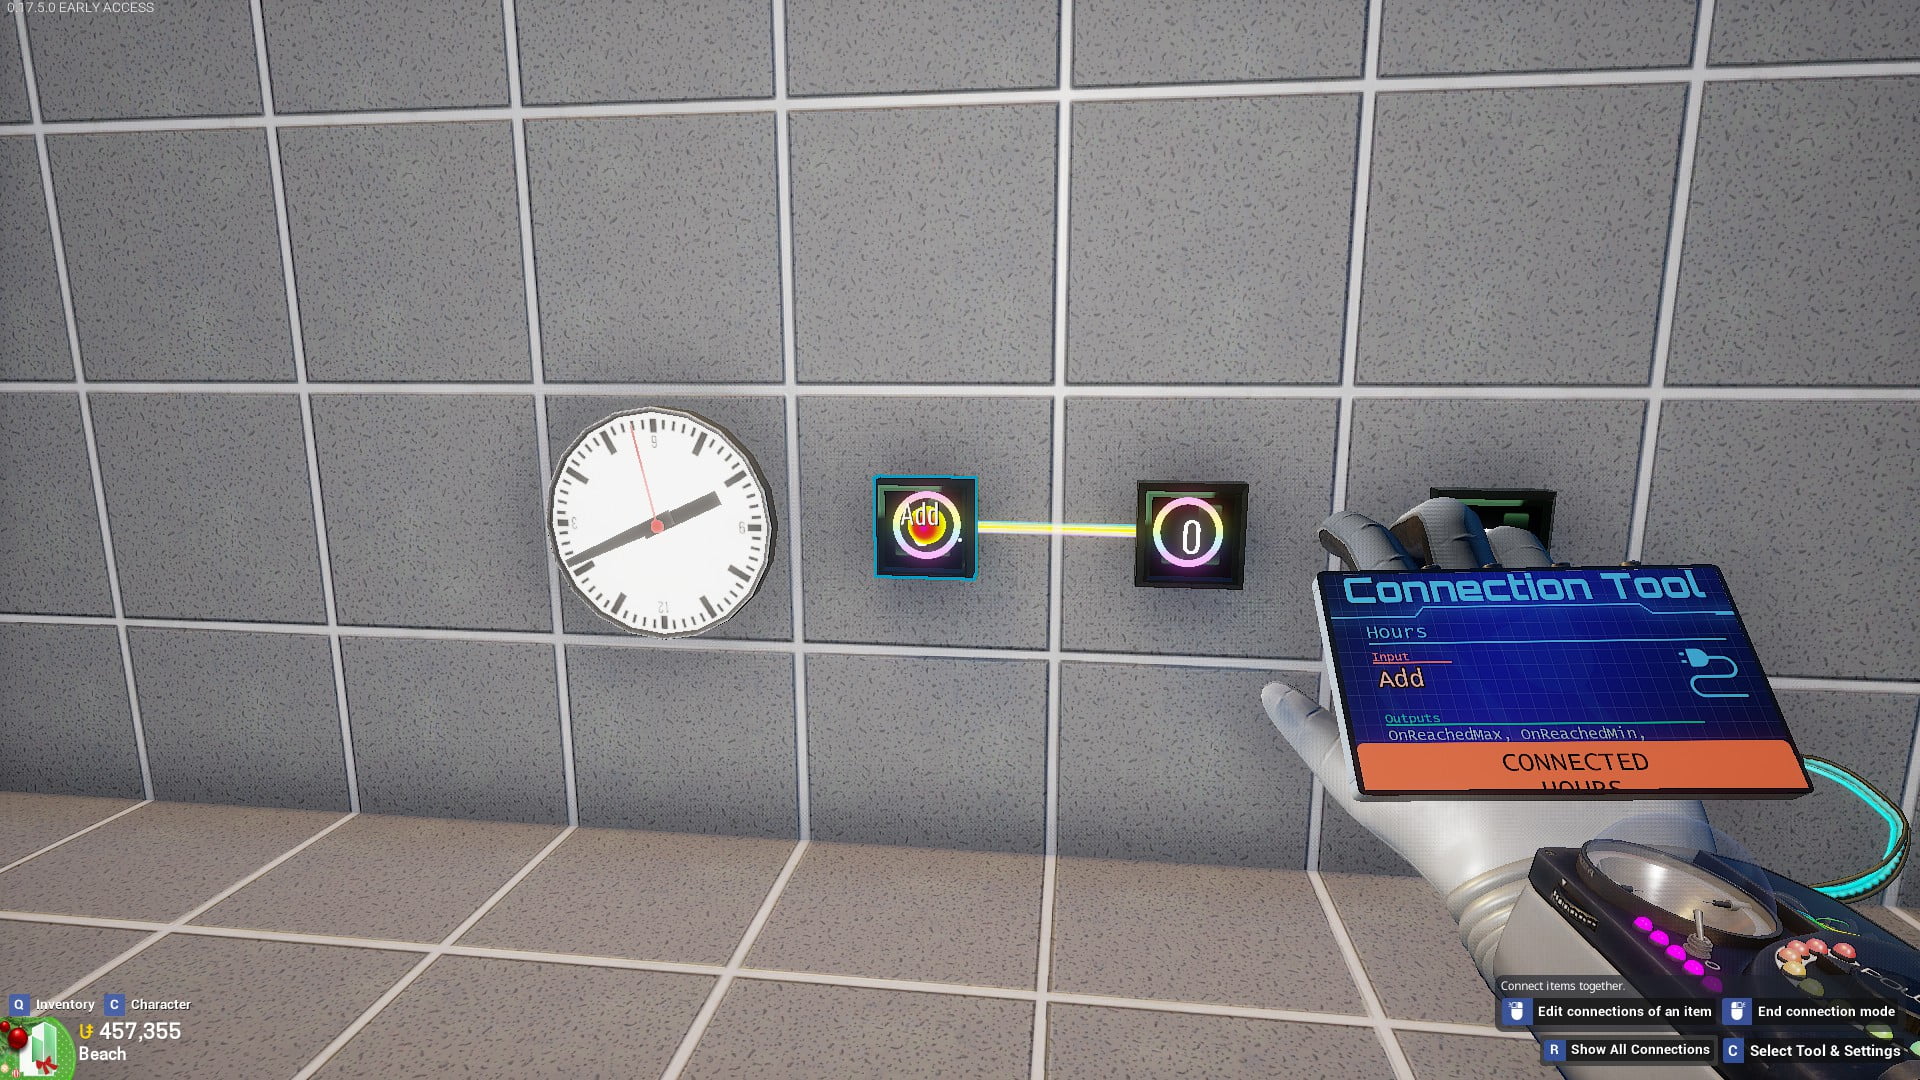
Open the ‘Connections’ menu for the middle counter module. Set the connection to itself to ‘Reset’, and set the connection to the other module to ‘Add’, with a value of 1.

Finally, connect the clock item to the right counter module.
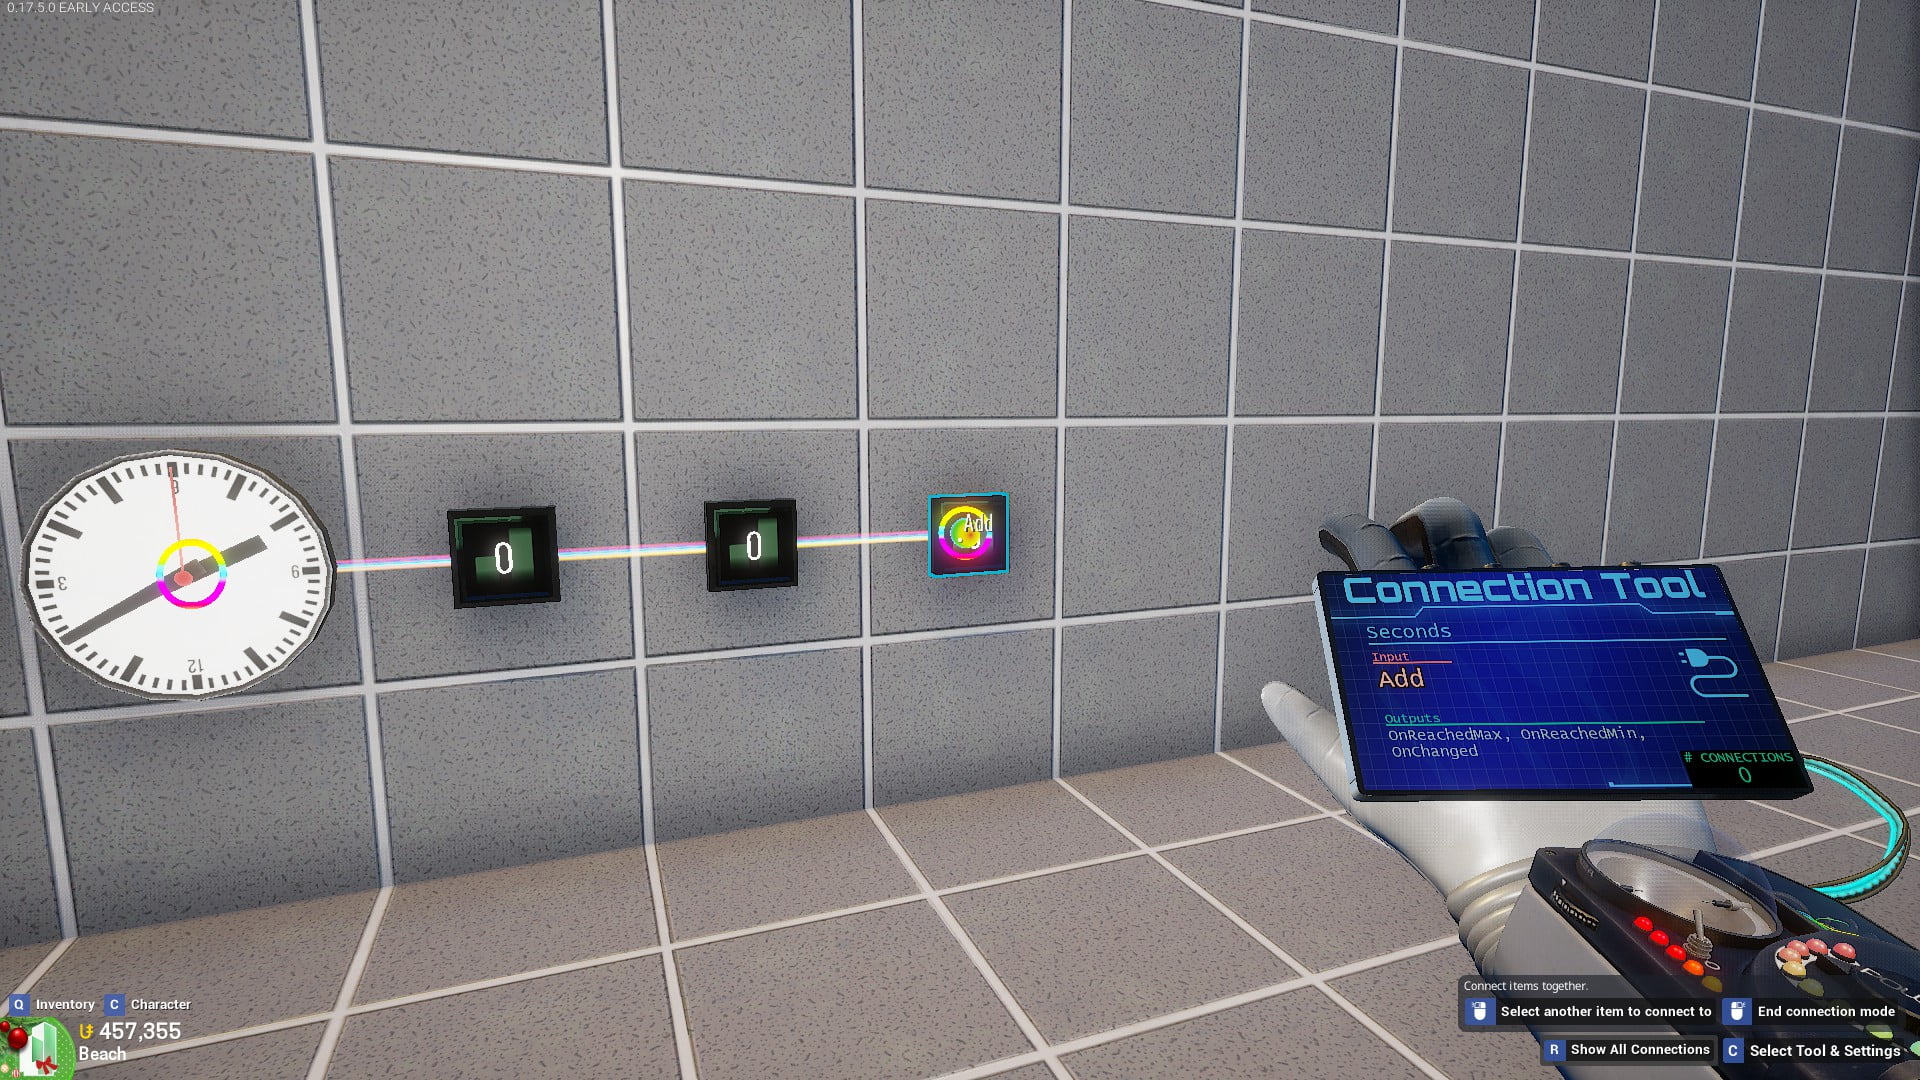
Open the ‘Connections’ menu for the clock item. Click and drag on the three dots next to the output box, and drag it to the category on the left labelled “OnSecondPassed”. Set the value next to ‘Add’ to 1.

Congrats! You now have a fully functional condo up-time counter! This counter will continuously count up in both single player and online hosting. The left counter displays the amount of hours that have passed, the middle displays minutes, and the right counter displays seconds.
Personalizing the Counter
Now that the counter is fully functional, we can do the fun part: Customizing!
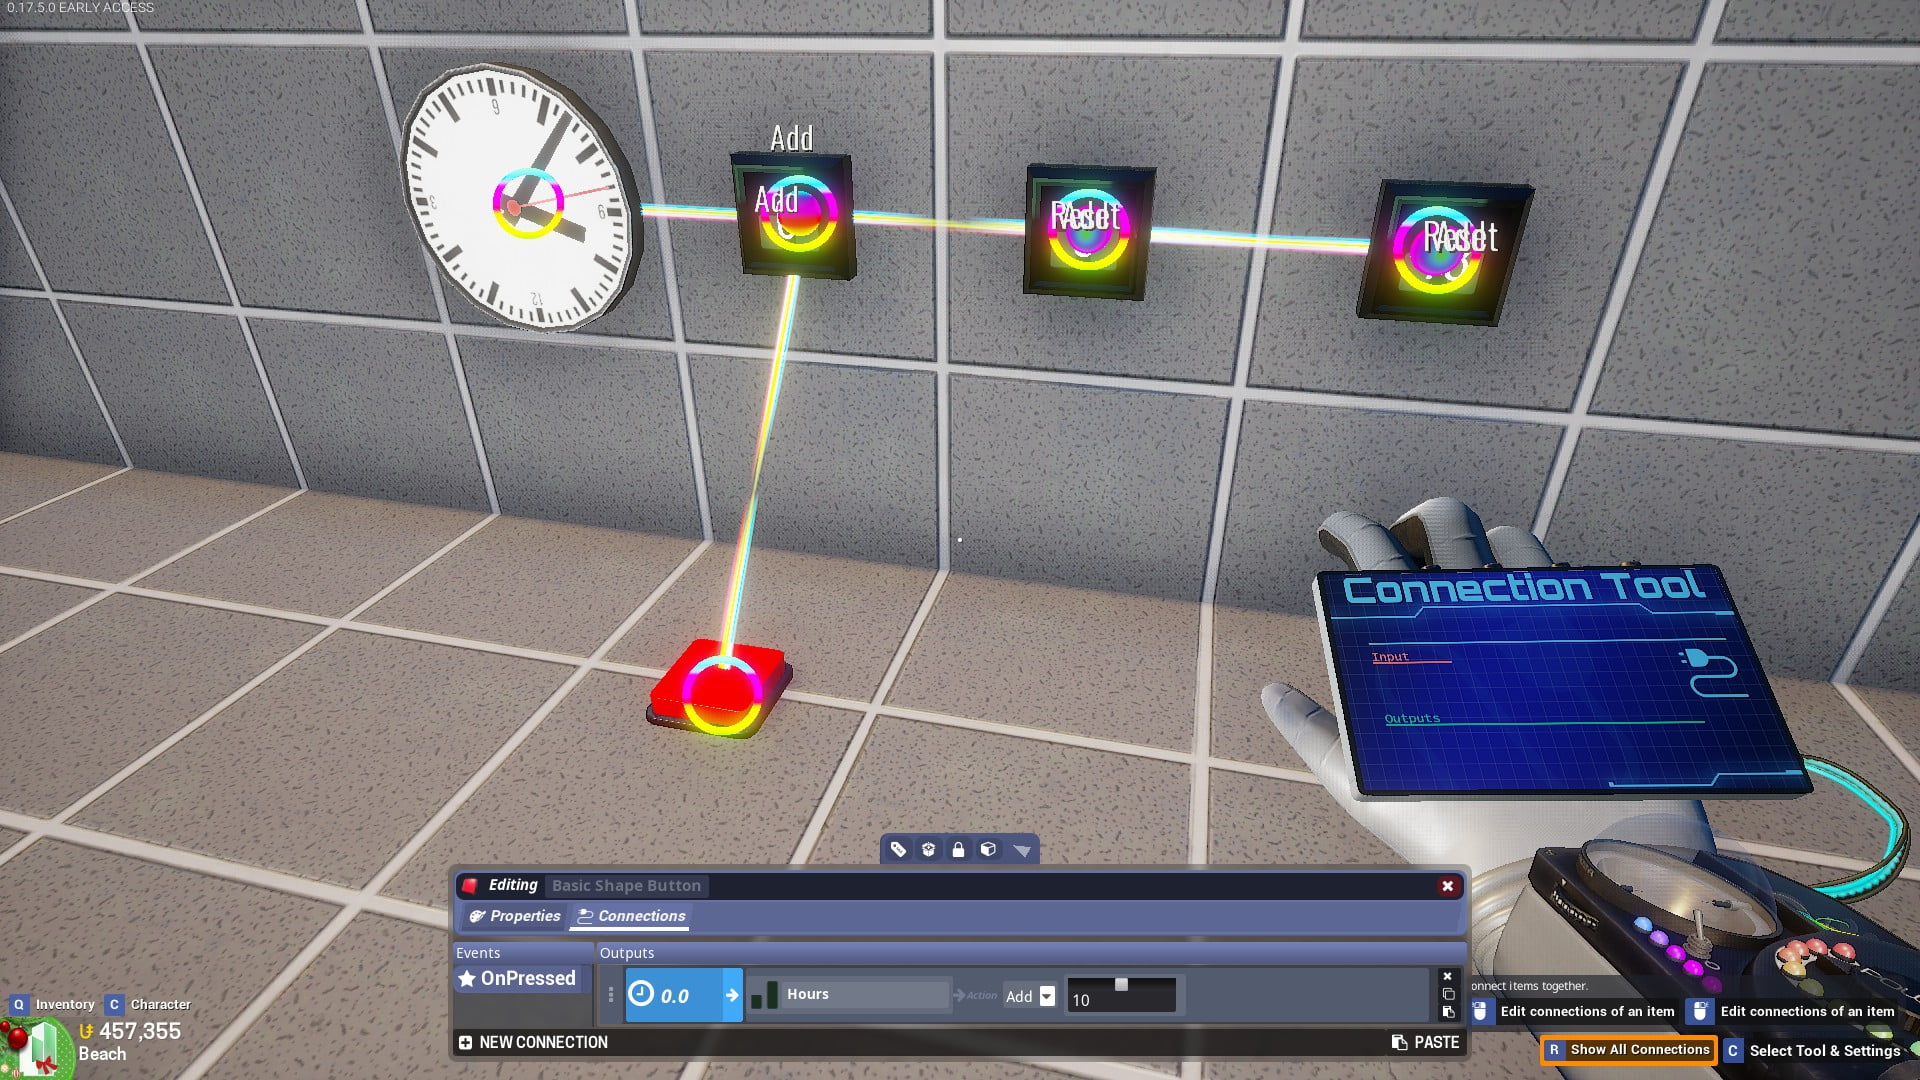
If you have had your condo up for some time and want to set the clock to a certain amount of hours, follow these steps:
- Connect the button to the left counter module.
- Open the ‘Connections’ menu and set the ‘Add’ value to however many hours you would like to add.
- Press the button once.
- Delete the button.
Use canvases, items, text, lights, etc. to add a personal touch to your counter! The counter modules can be scaled if you want the text to appear bigger.
