Comprehensive walkthrough guide for every standart puzzle solution (including DLCs) in A Little to the Left.
A Little to the Left: Walkthrough Guide
This guide provides standard solutions in A Little to the Left.
Tips for starting
Placement can be very specific for a level to register as completed. Listen for a ding to verify that things are placed right. If the level doesn’t feature dings, keep slightly moving the object around until you get it.
If you’re presented with a bunch of items, several having duplicates, you’re probably looking at a symmetry level. Place the ones with no duplicates somewhere along the center line, and try to work from there.
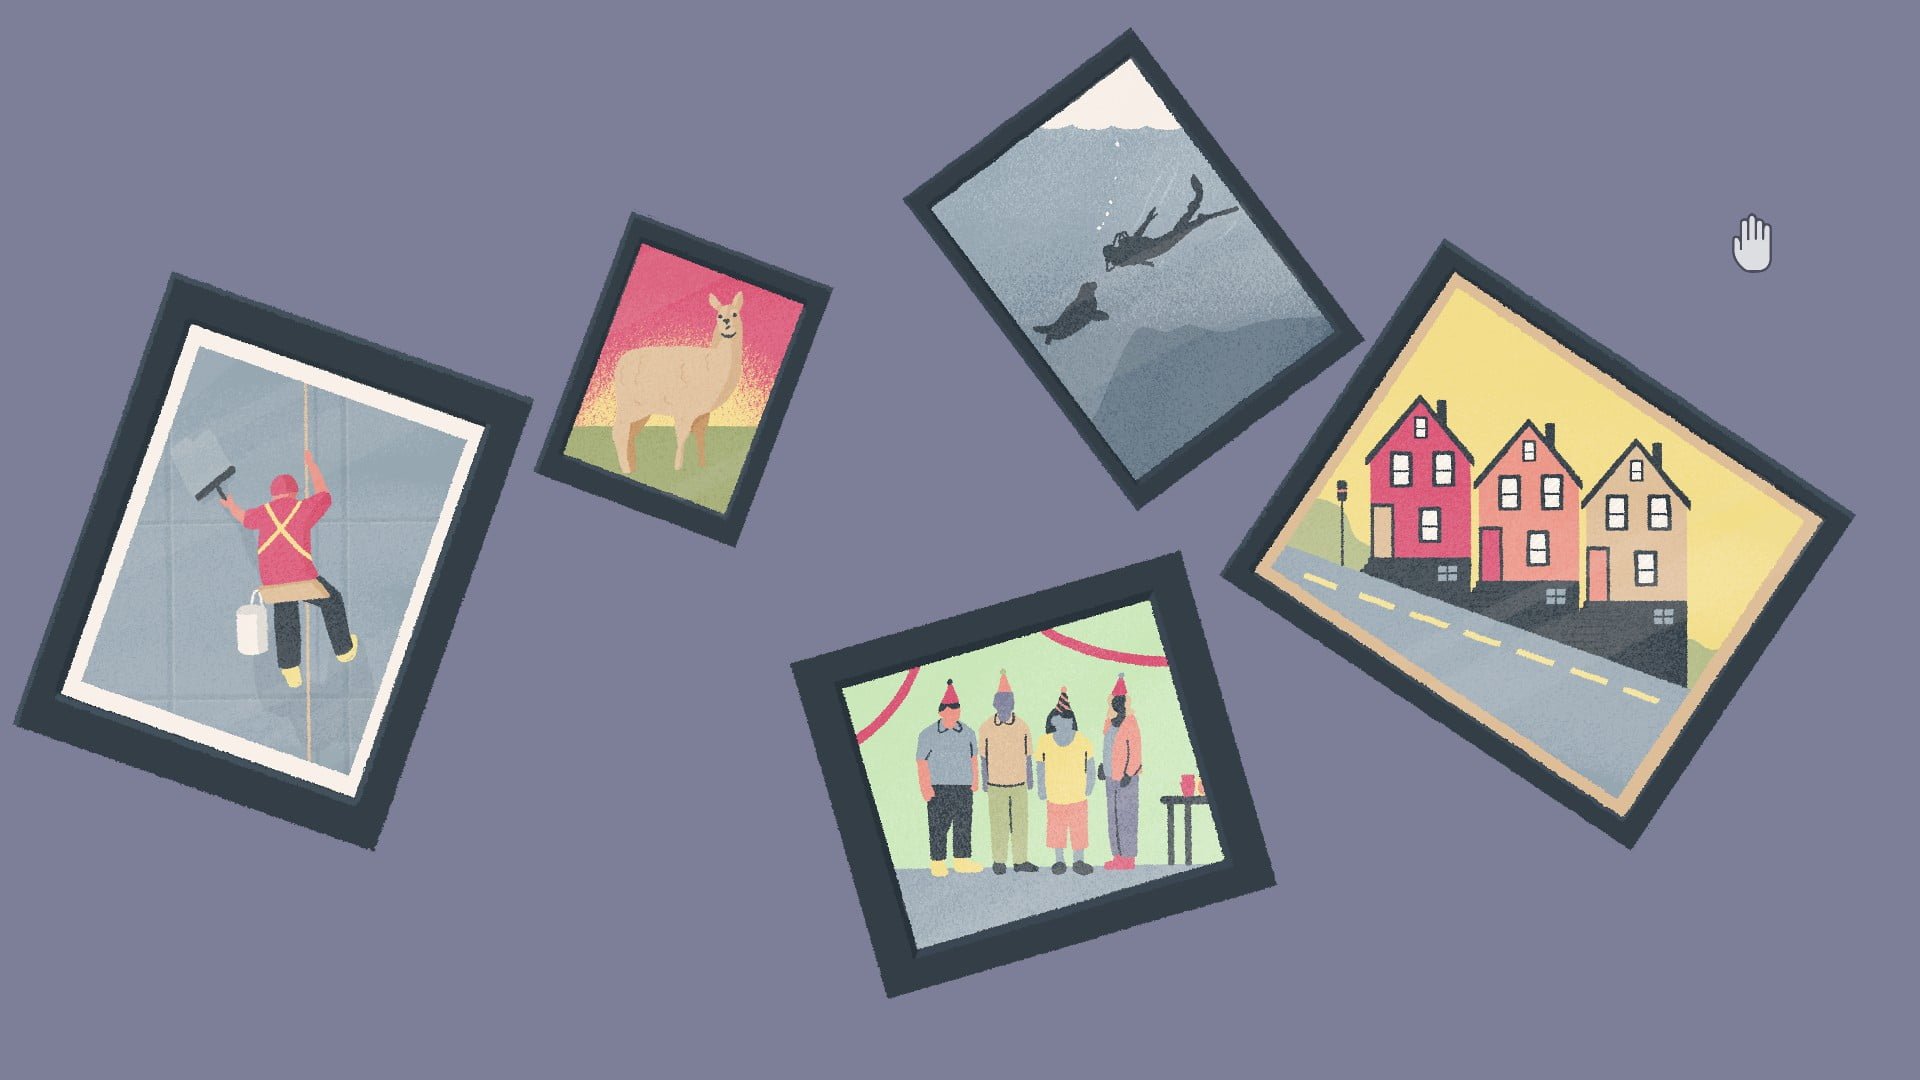
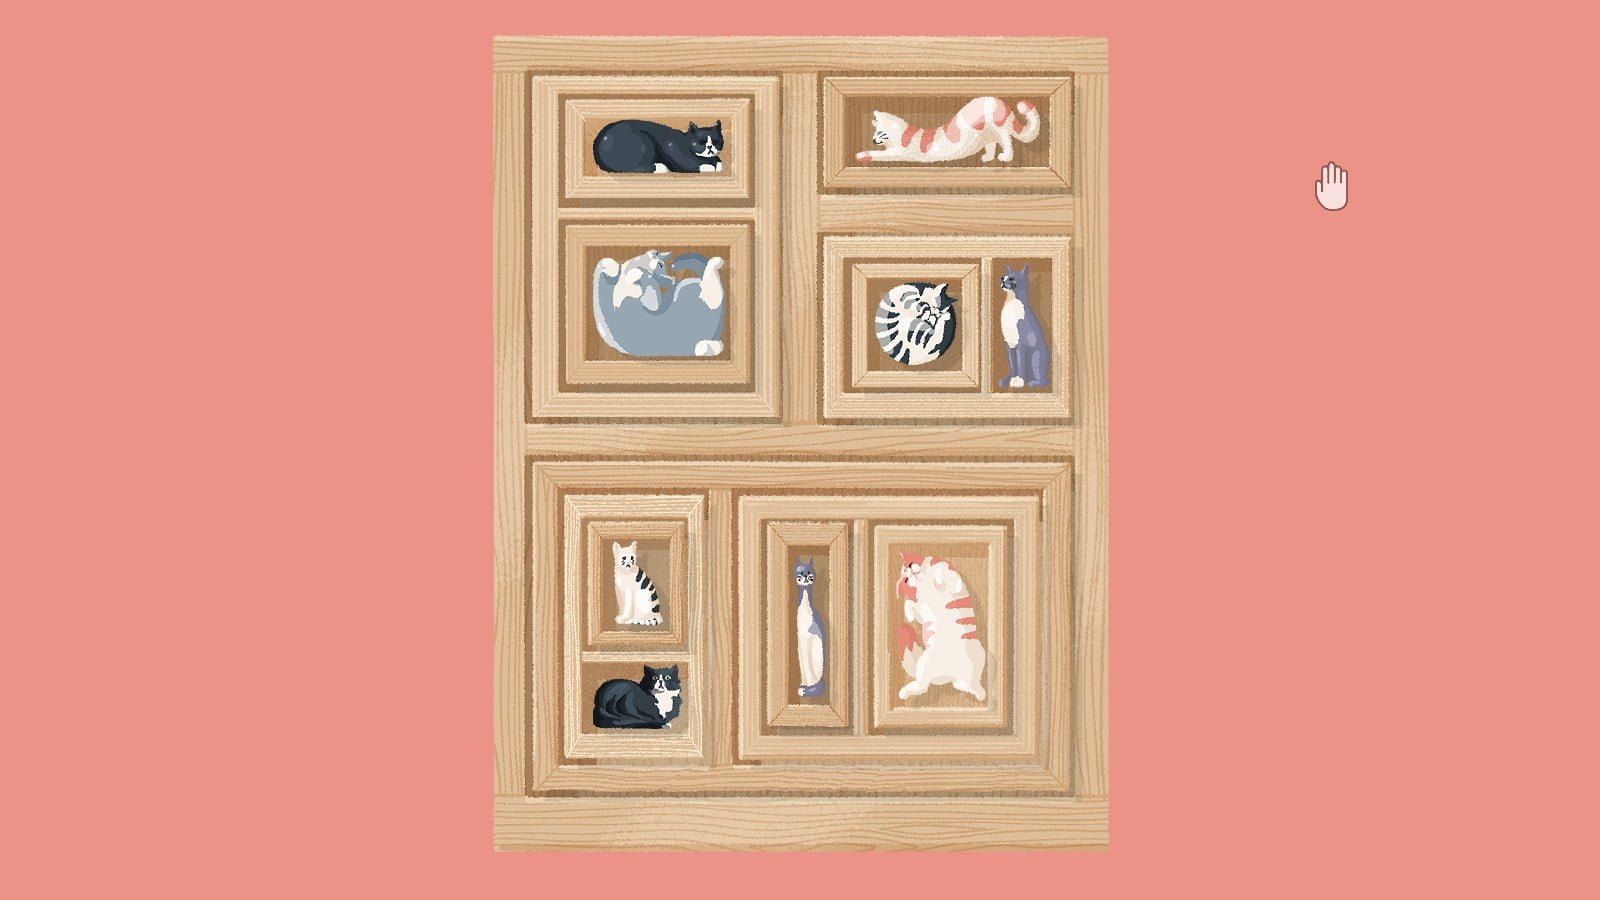
Chapter 1: Home Sweet Home
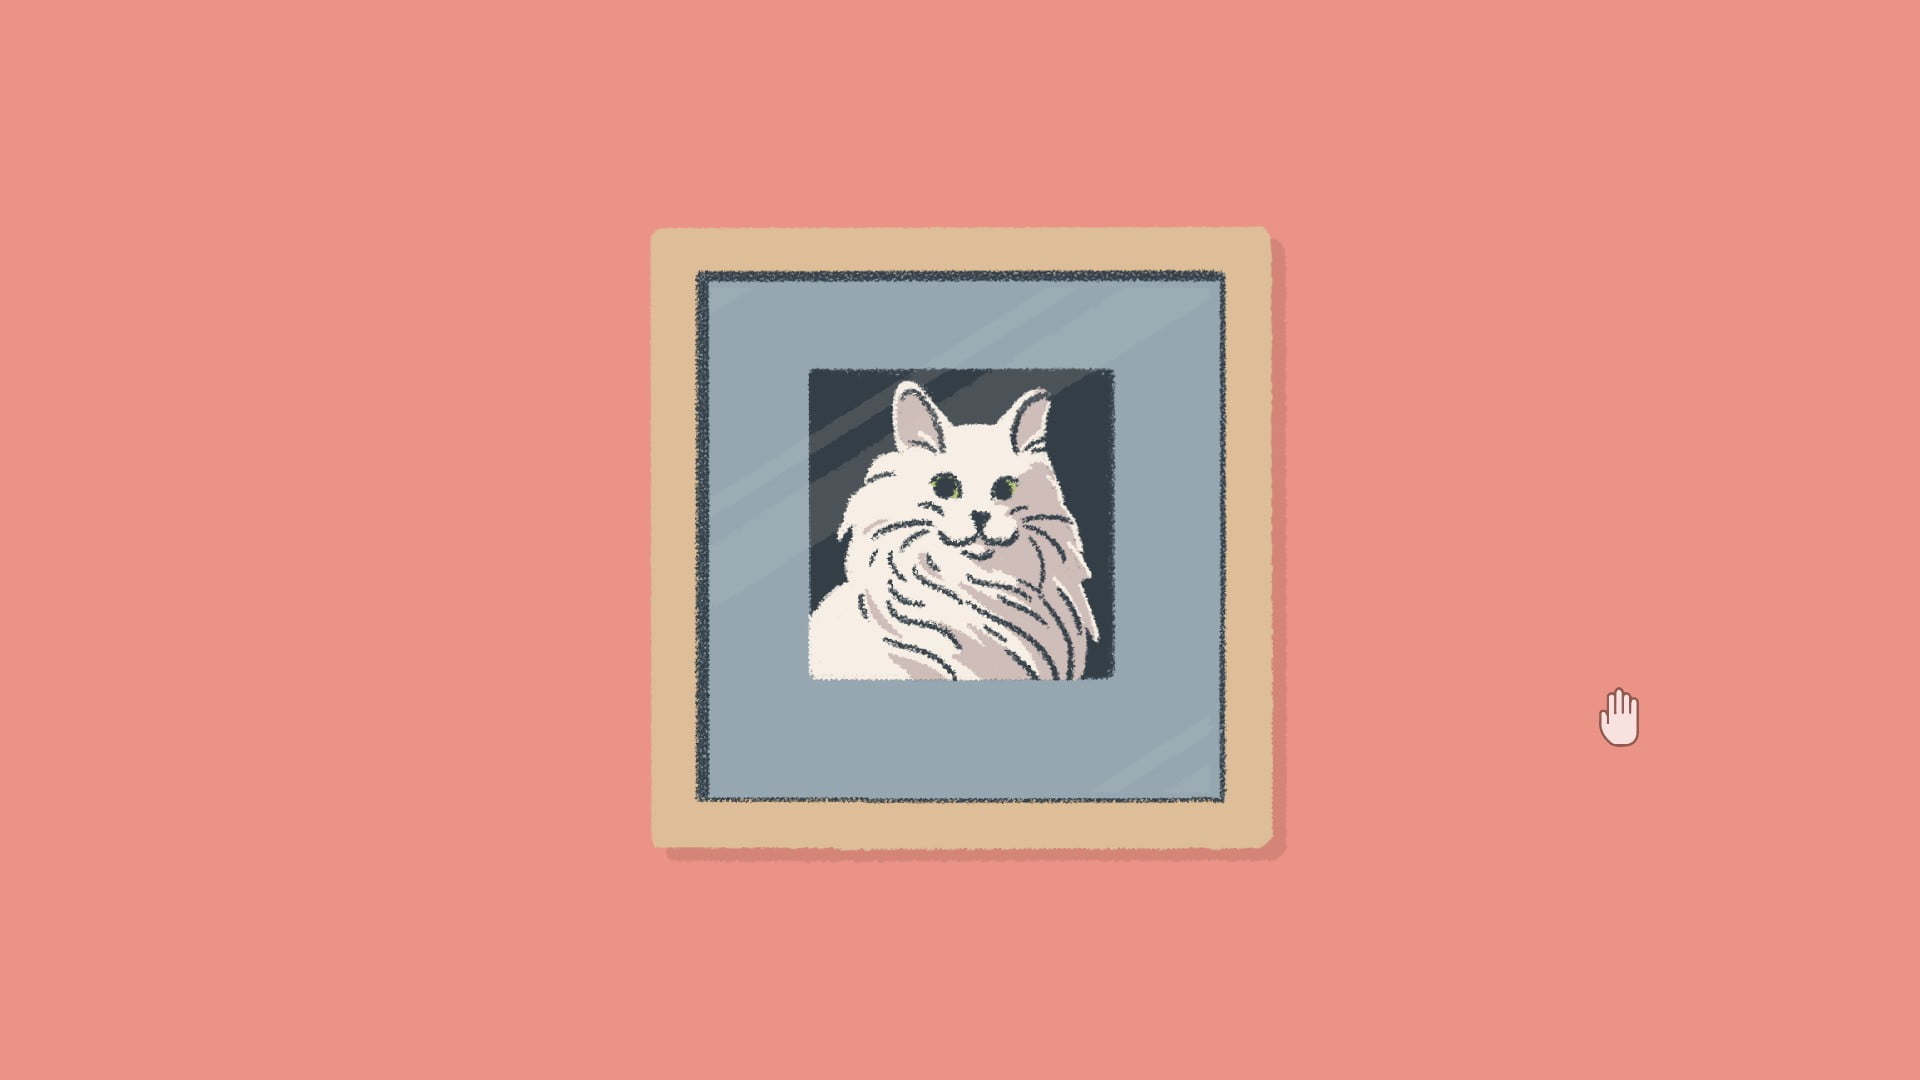
Level 1:
Straighten the painting.
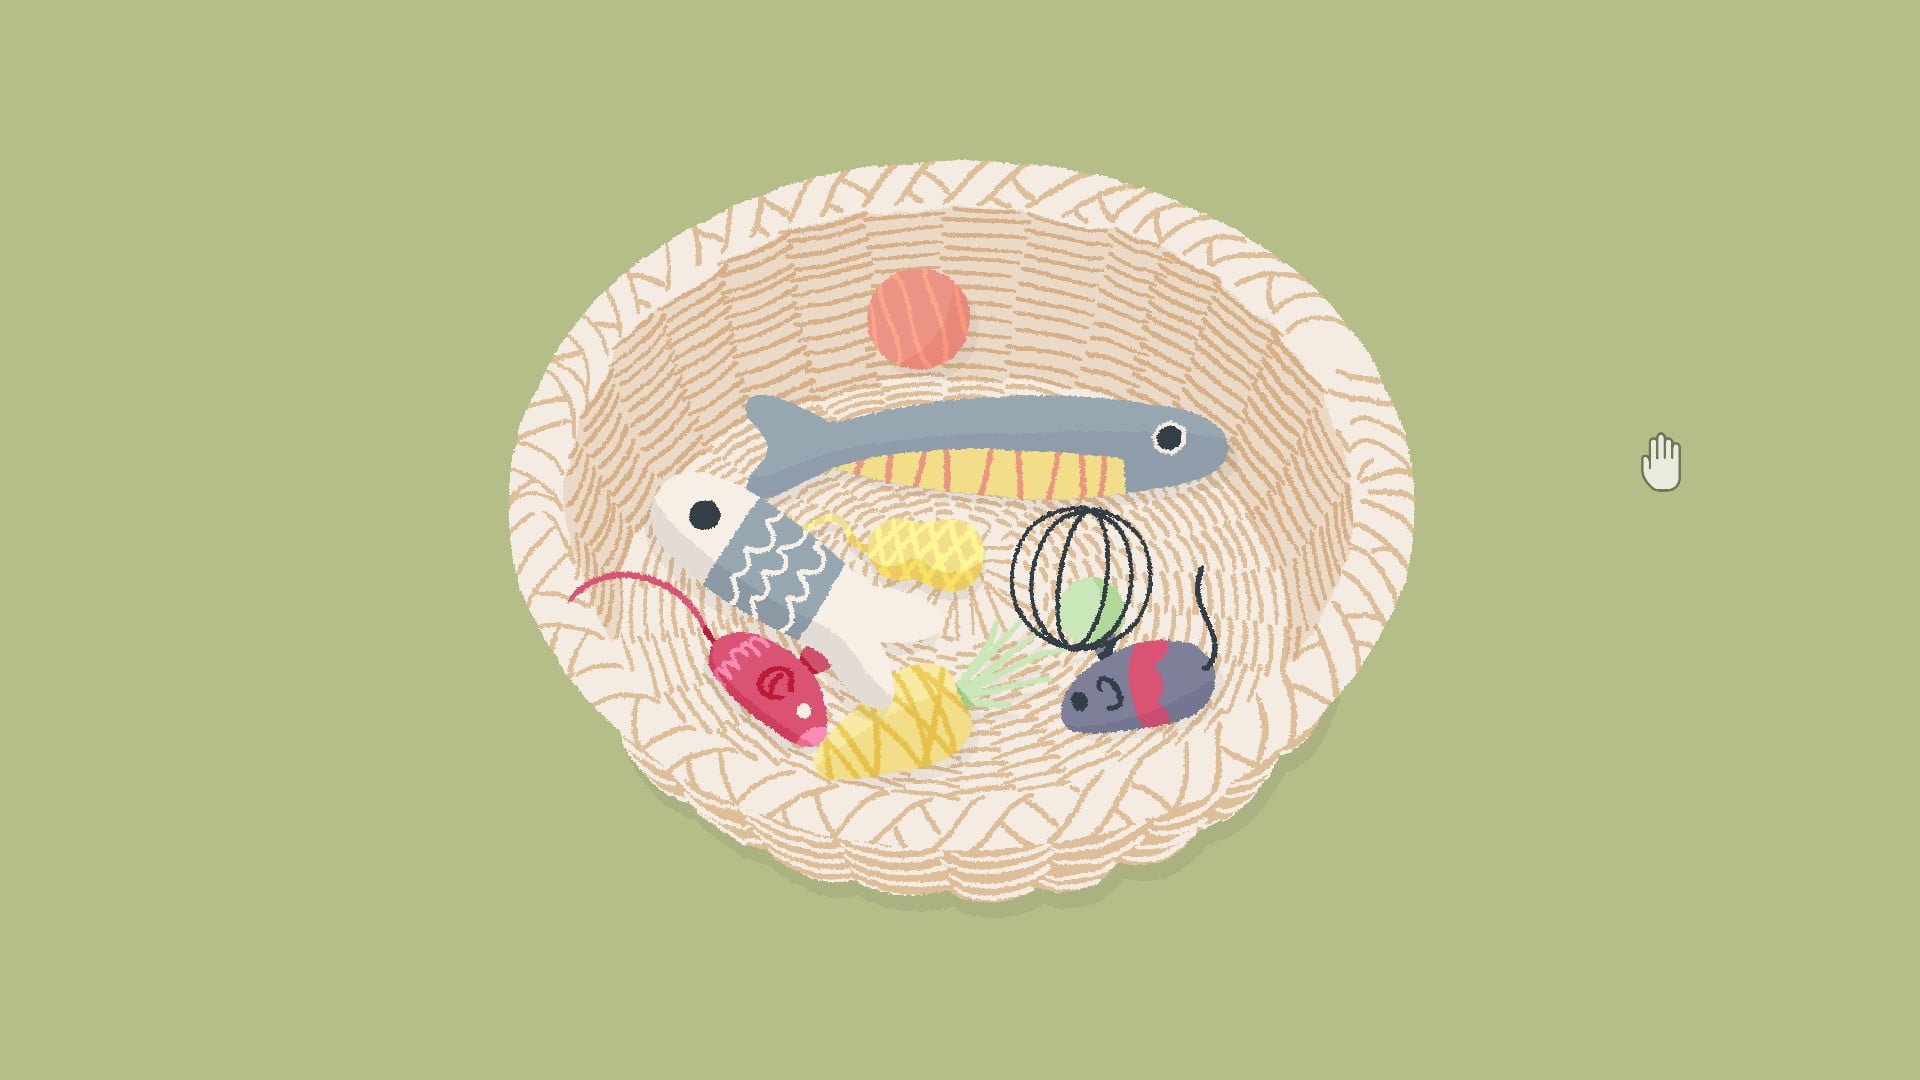
Level 2:
Place all the cat toys in the basket.
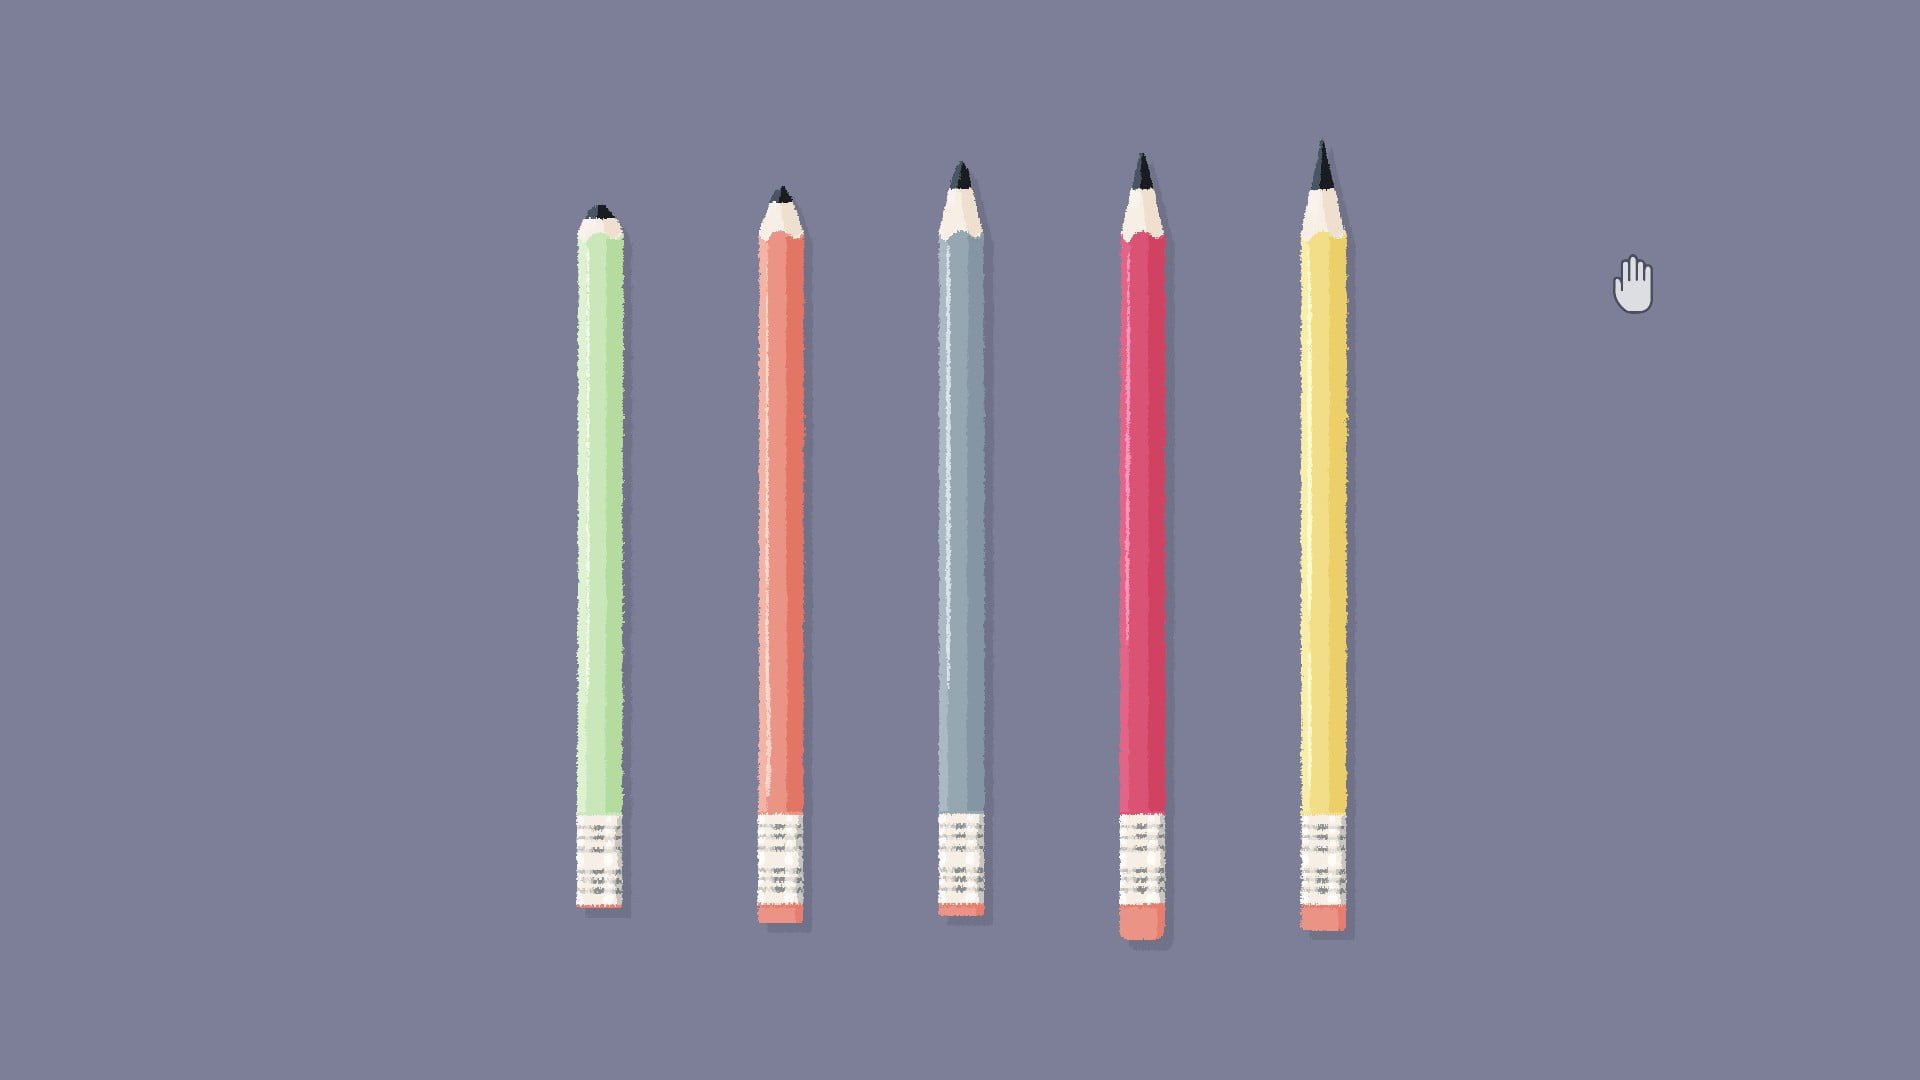
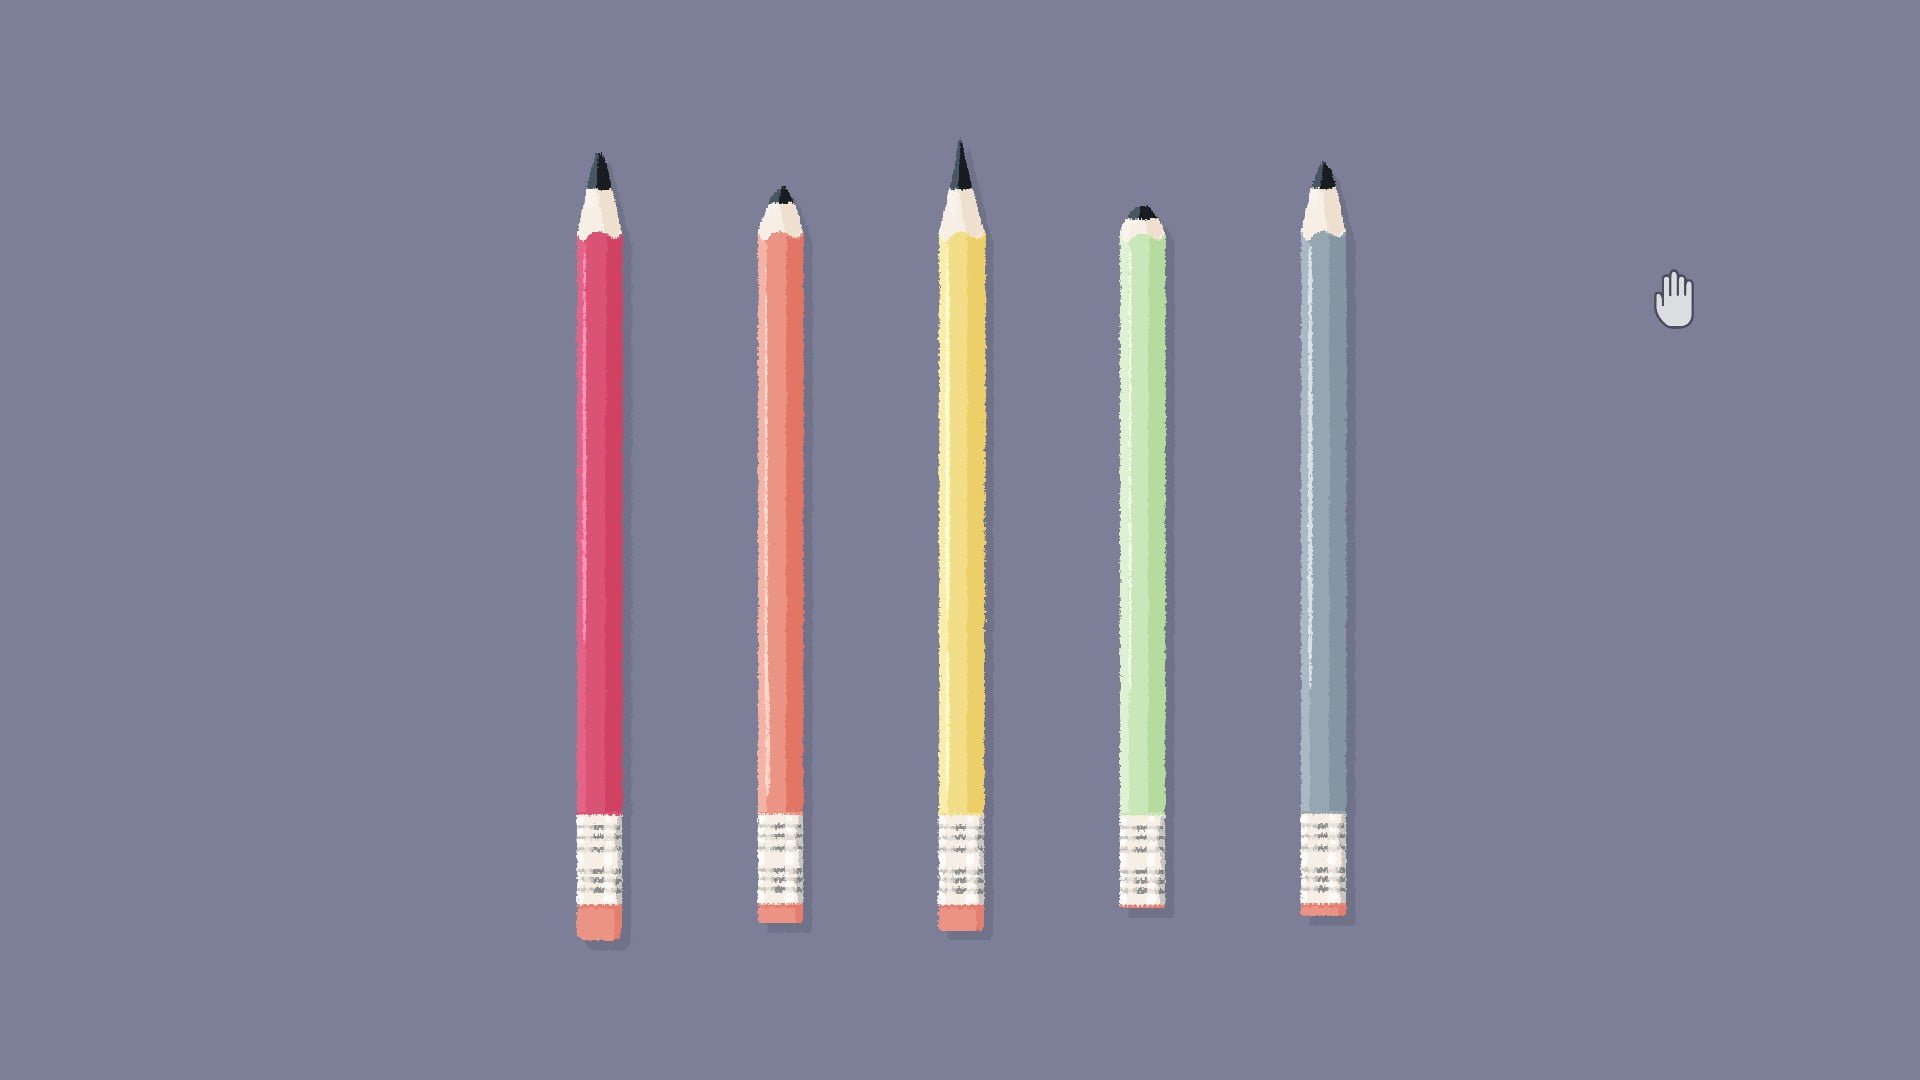
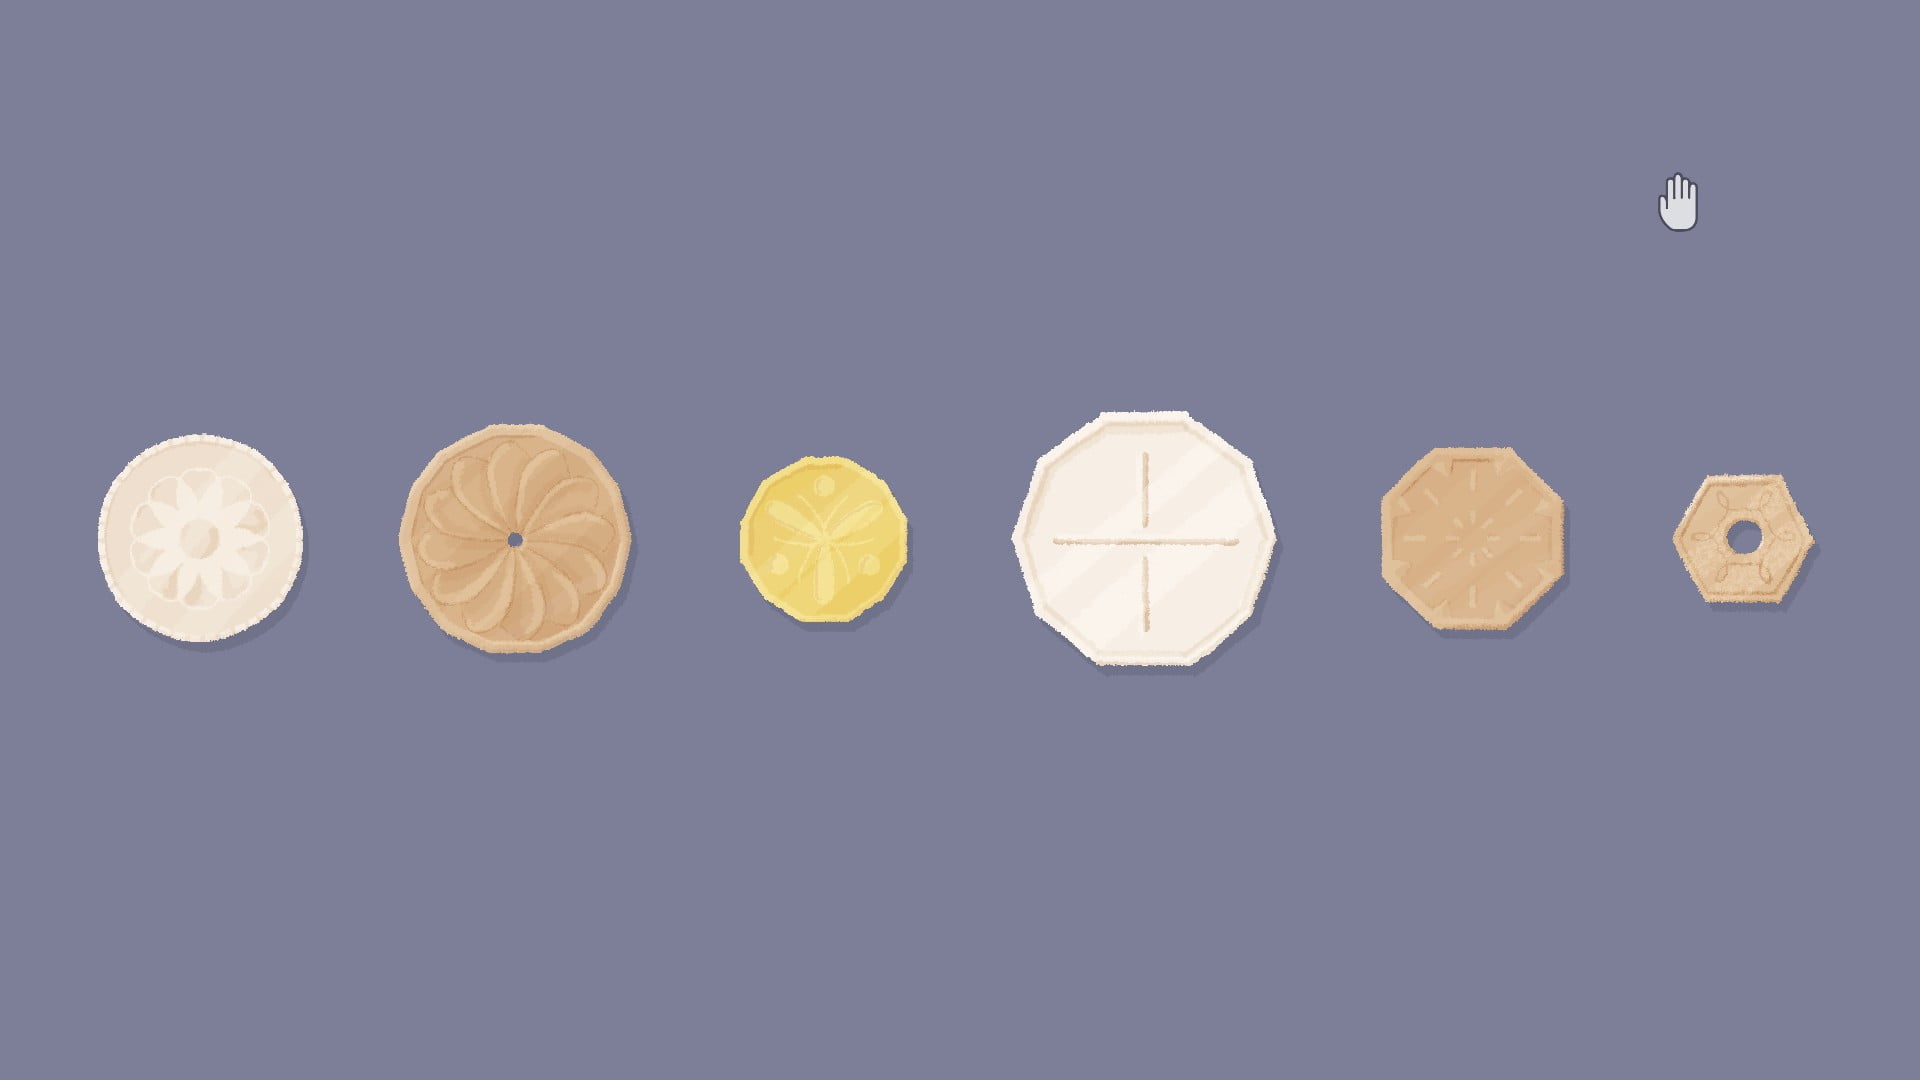
Level 3:
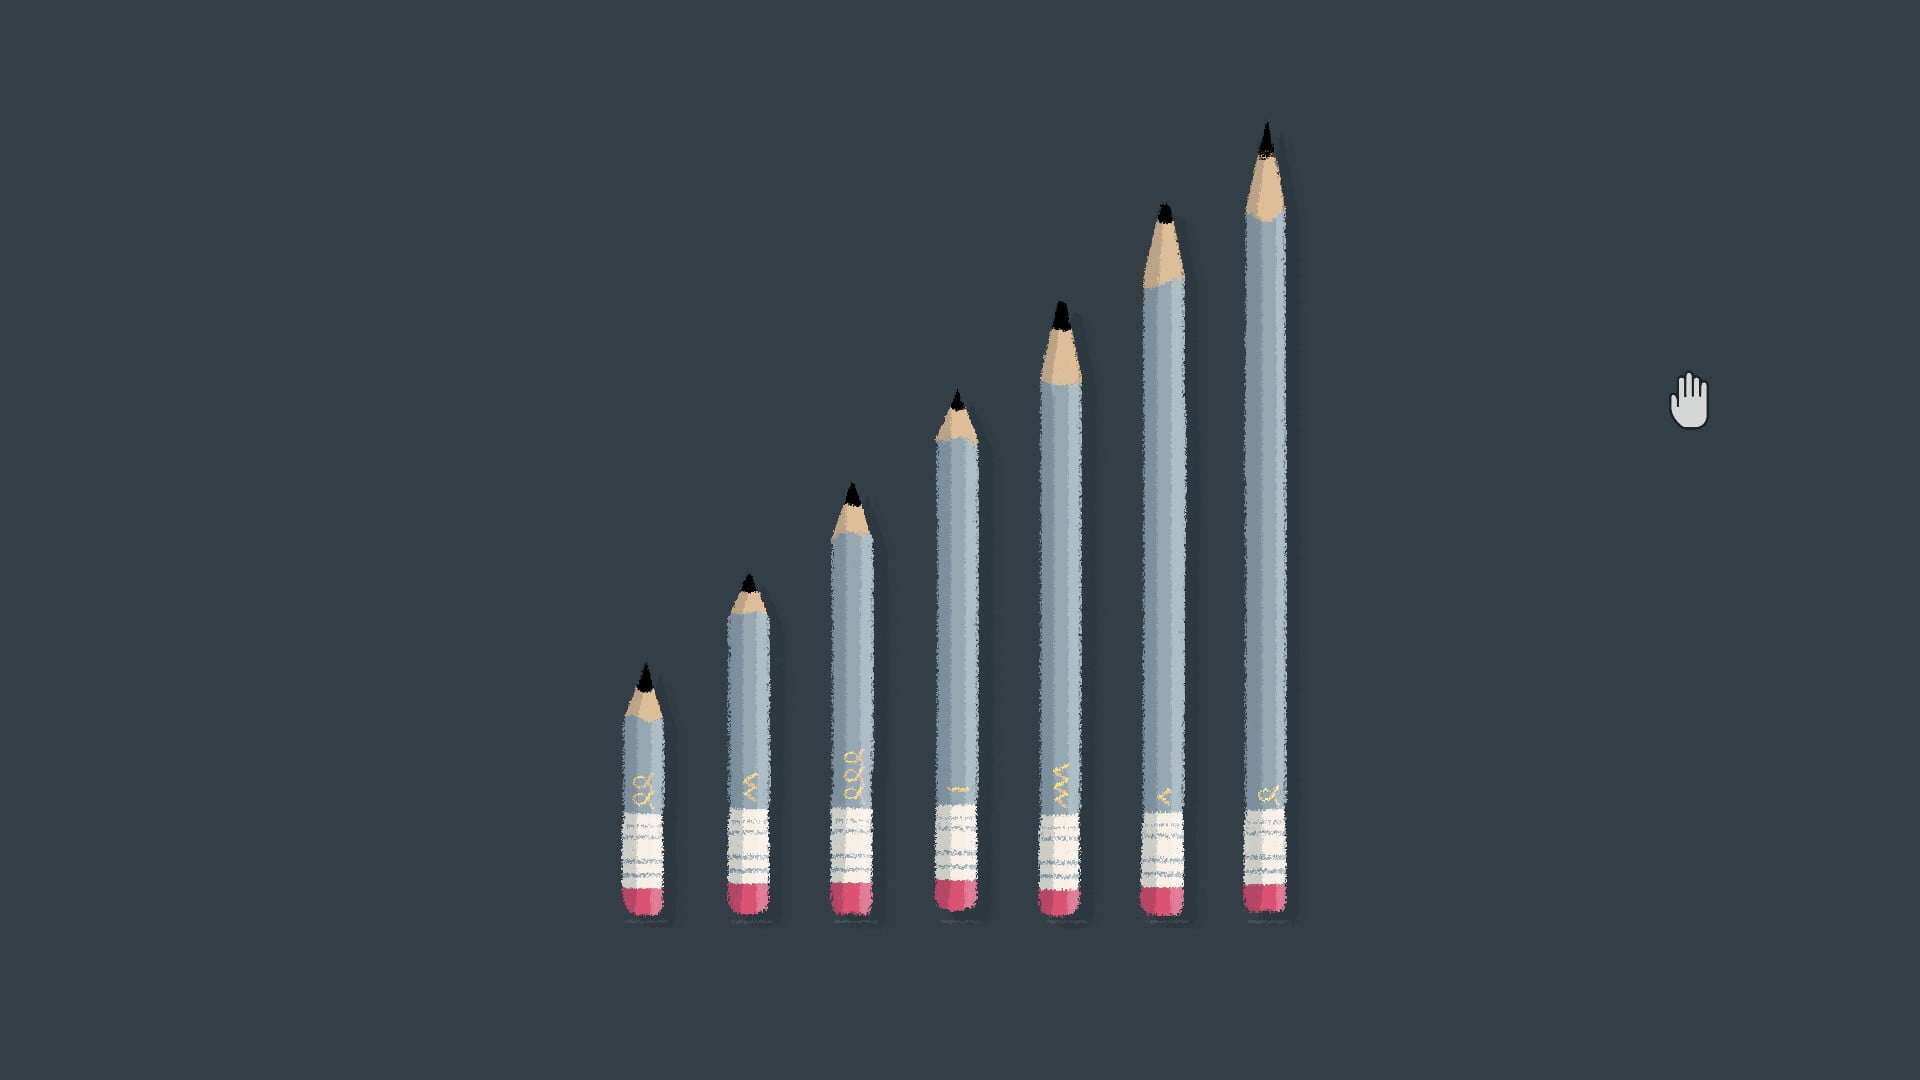
The marks at the top act as a hint. Place the pencils in order from lightest to darkest. Make sure that they’re straight!

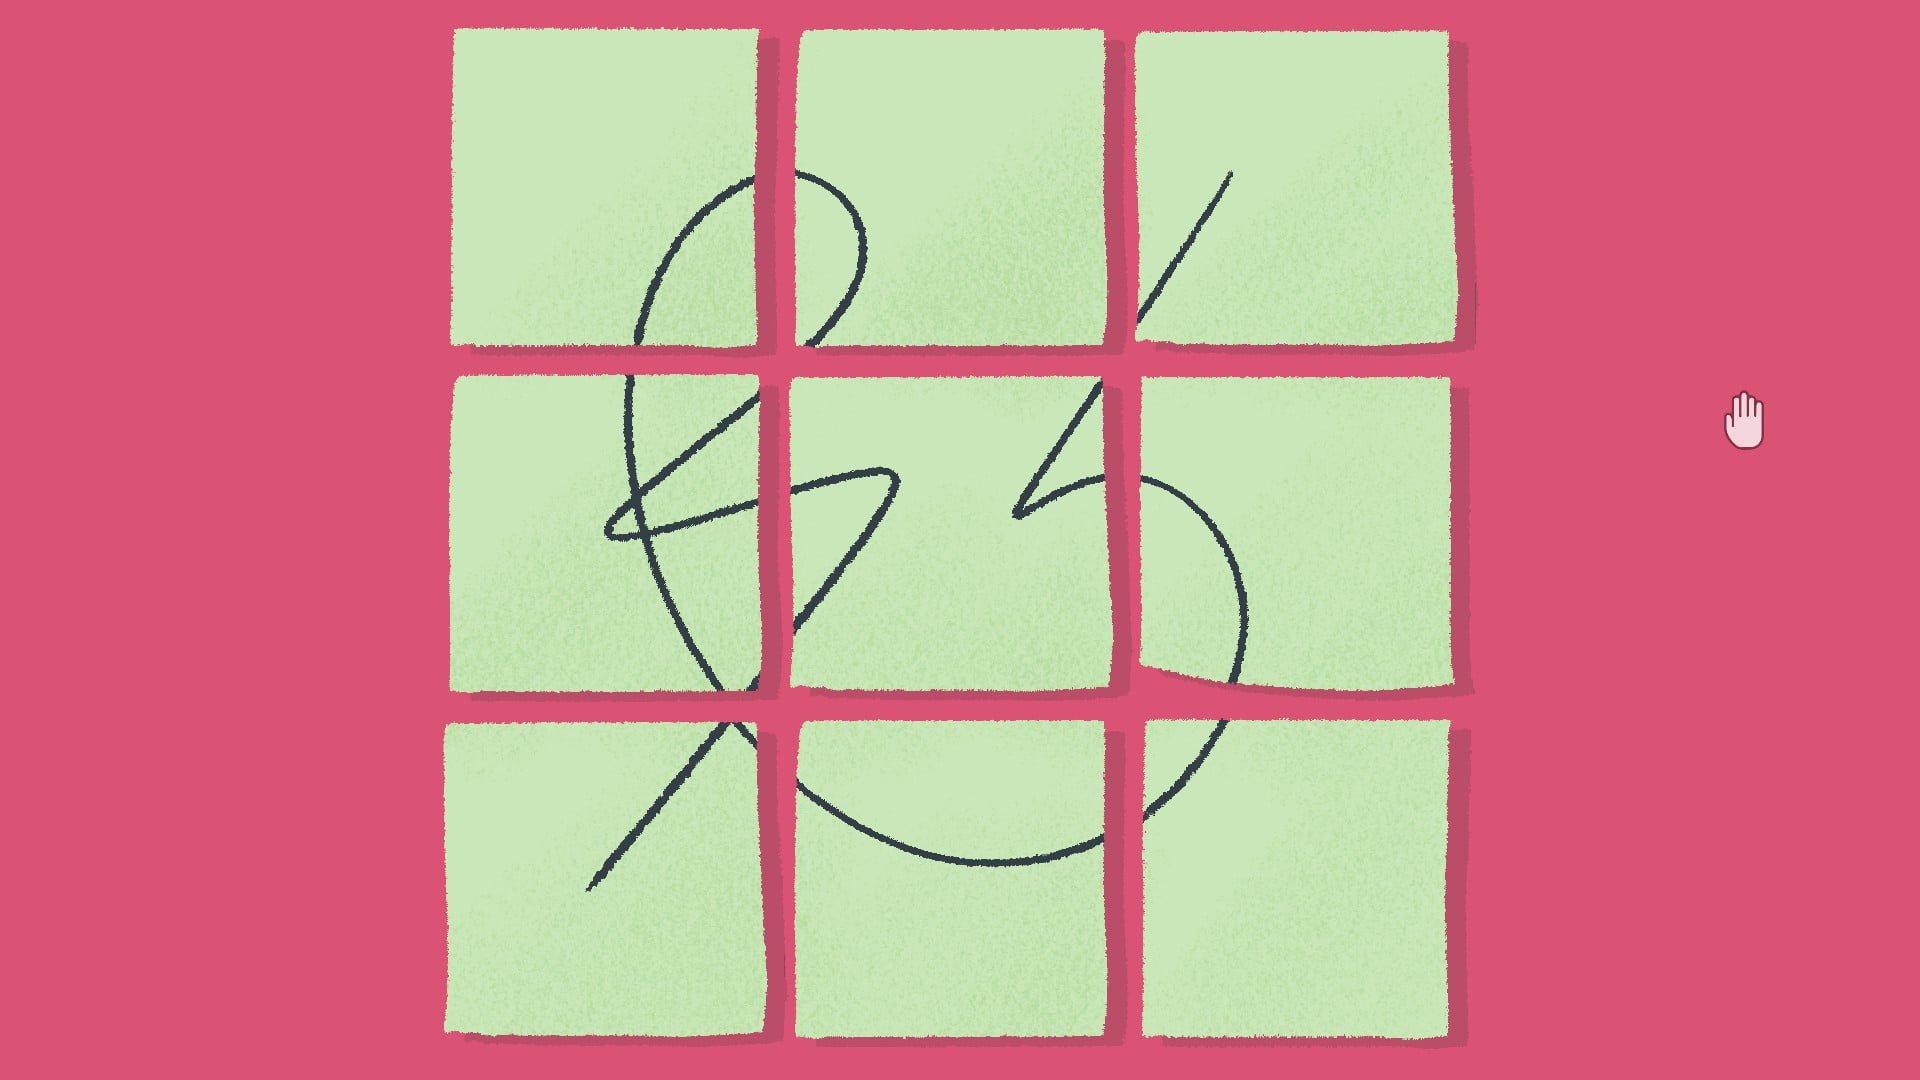
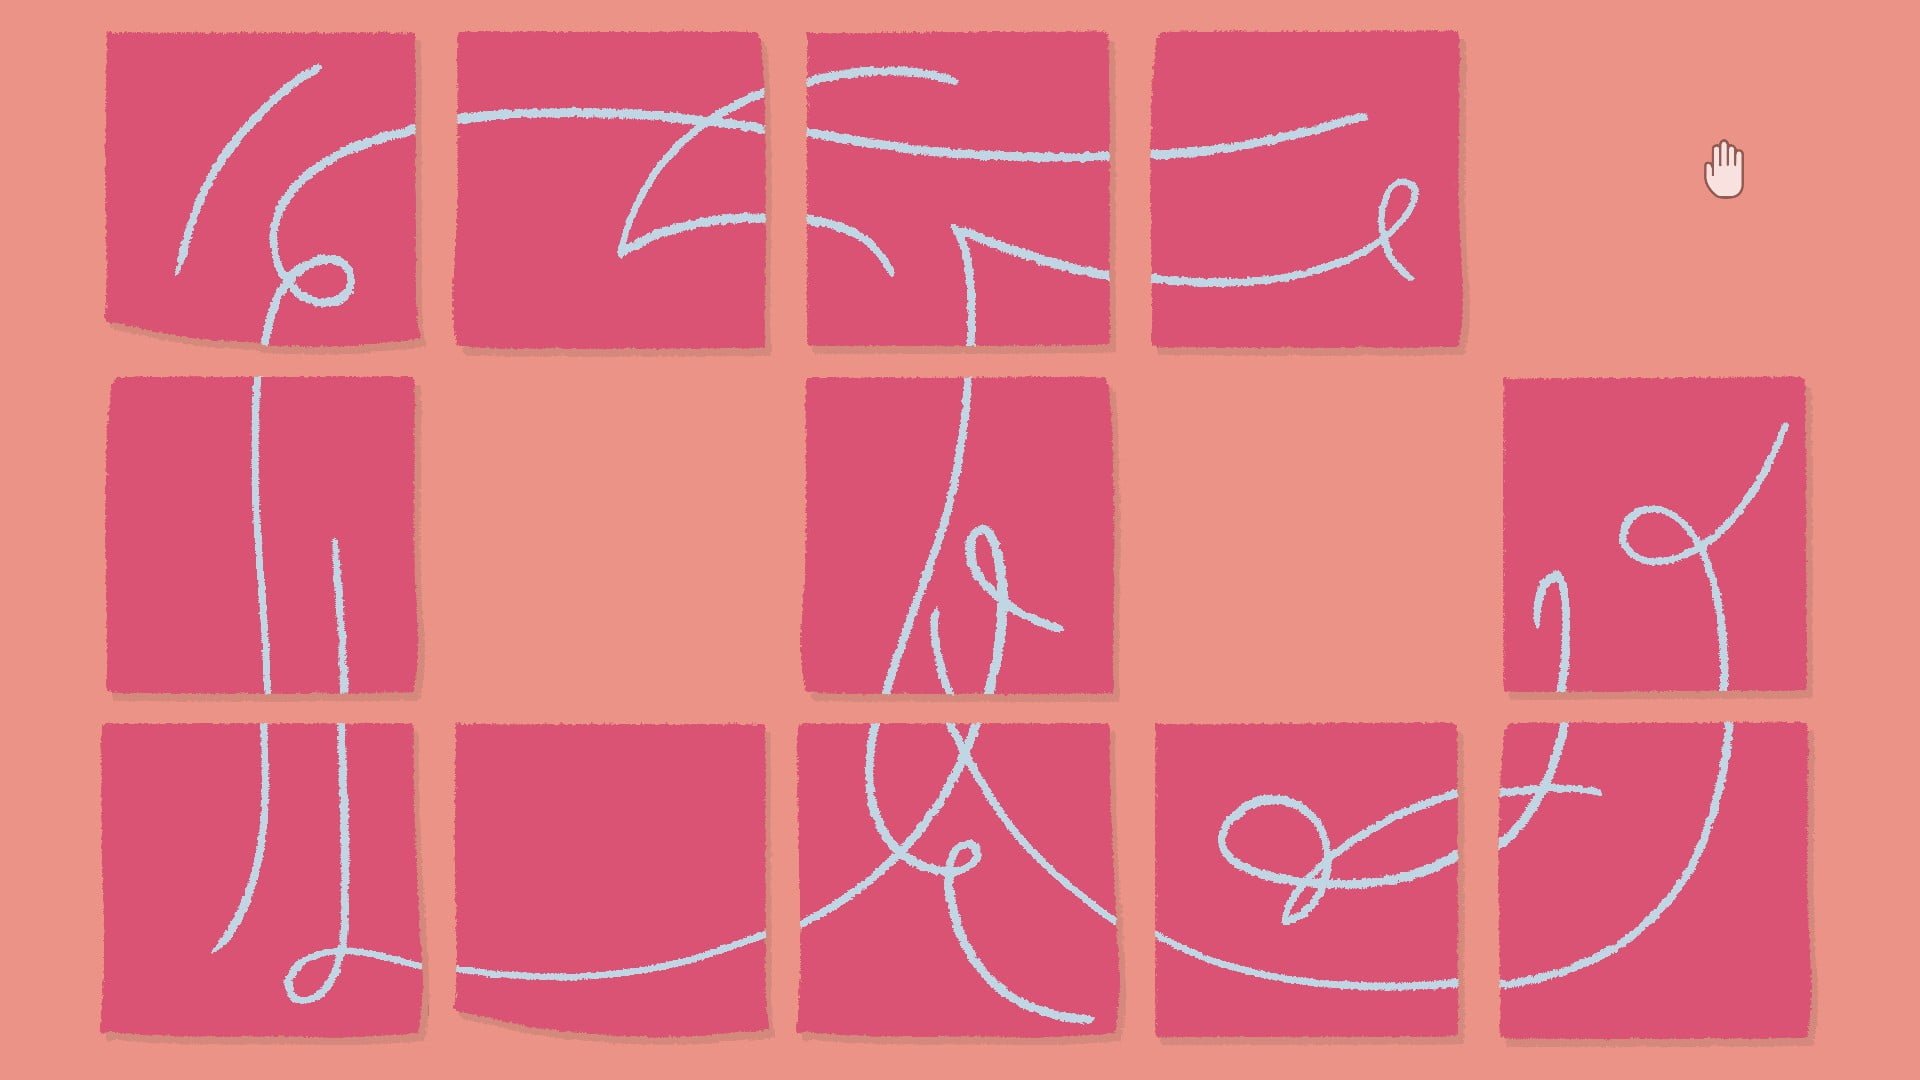
Level 4:
Place the sticky notes so that the scribble connects across all notes.

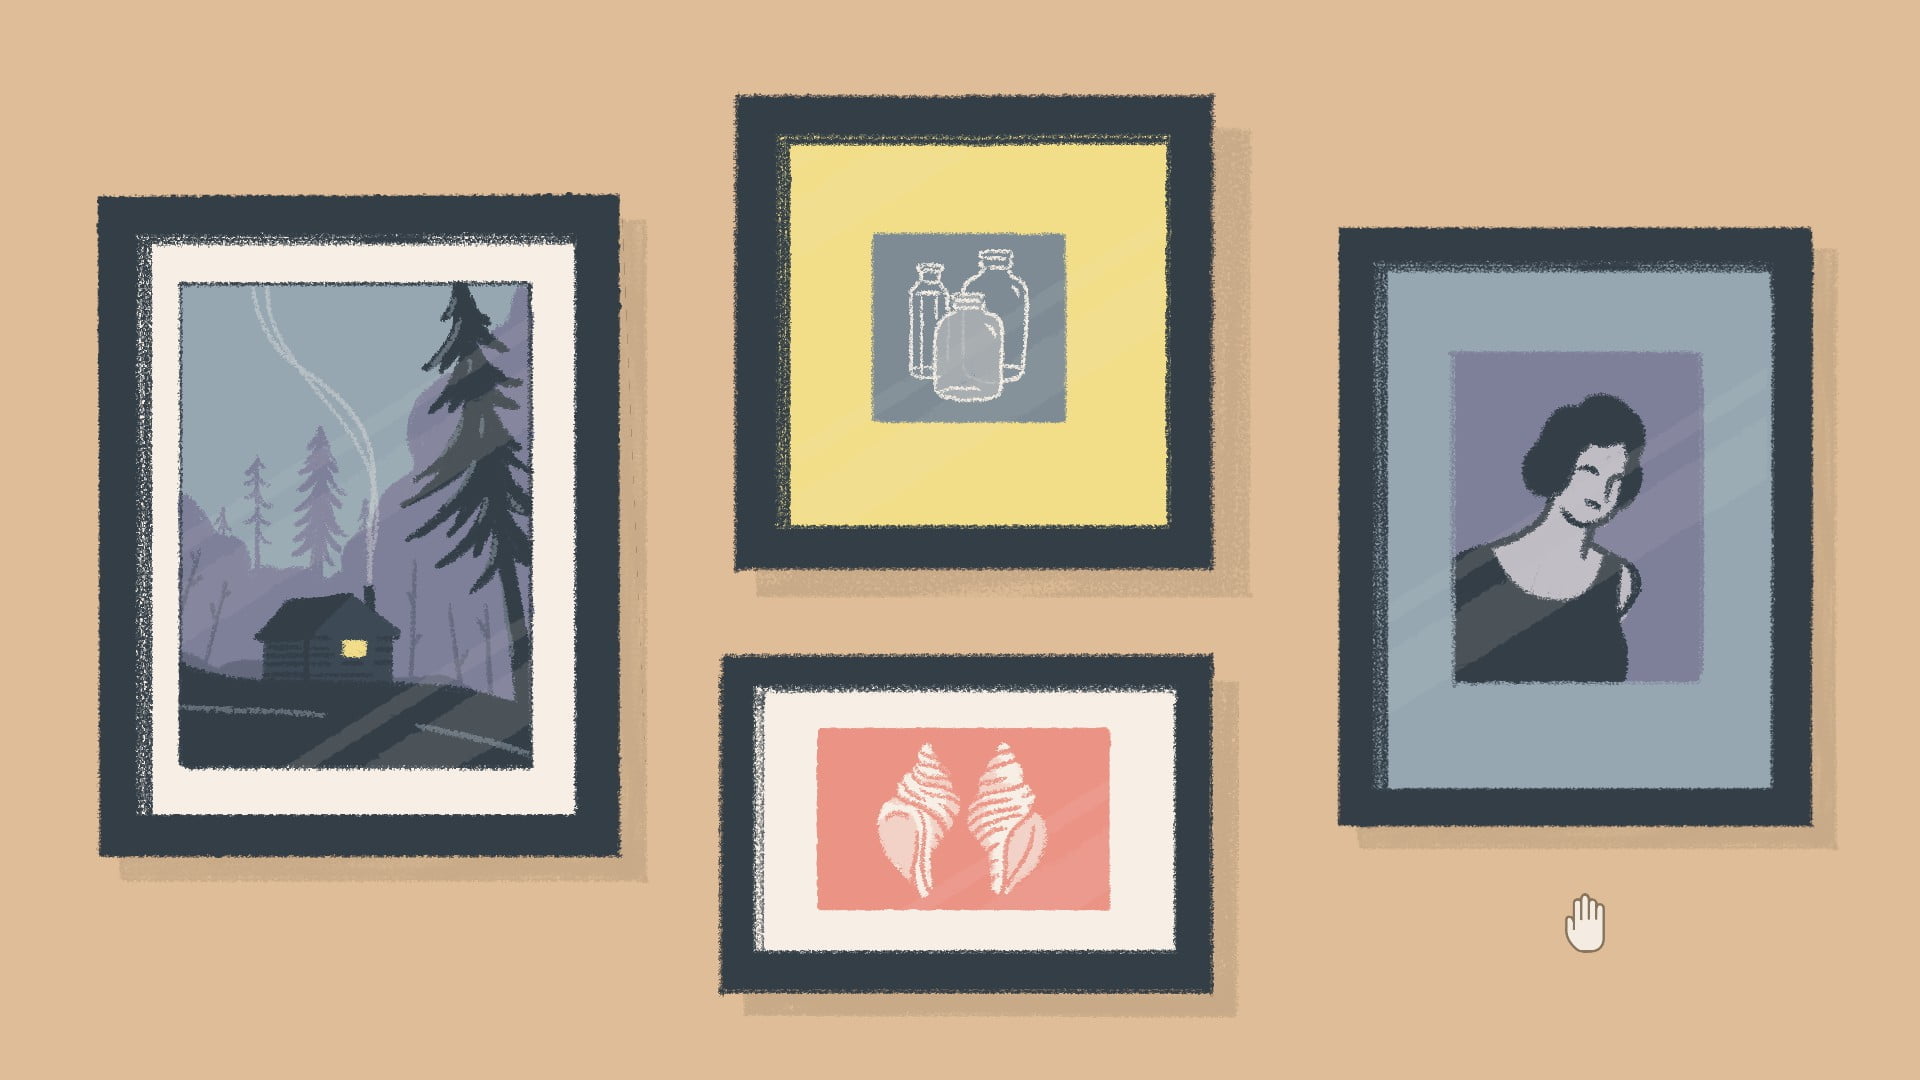
Level 5:
Straighten the paintings.
Level 6:
Stack the papers in order from largest area to smallest area.
Level 7:
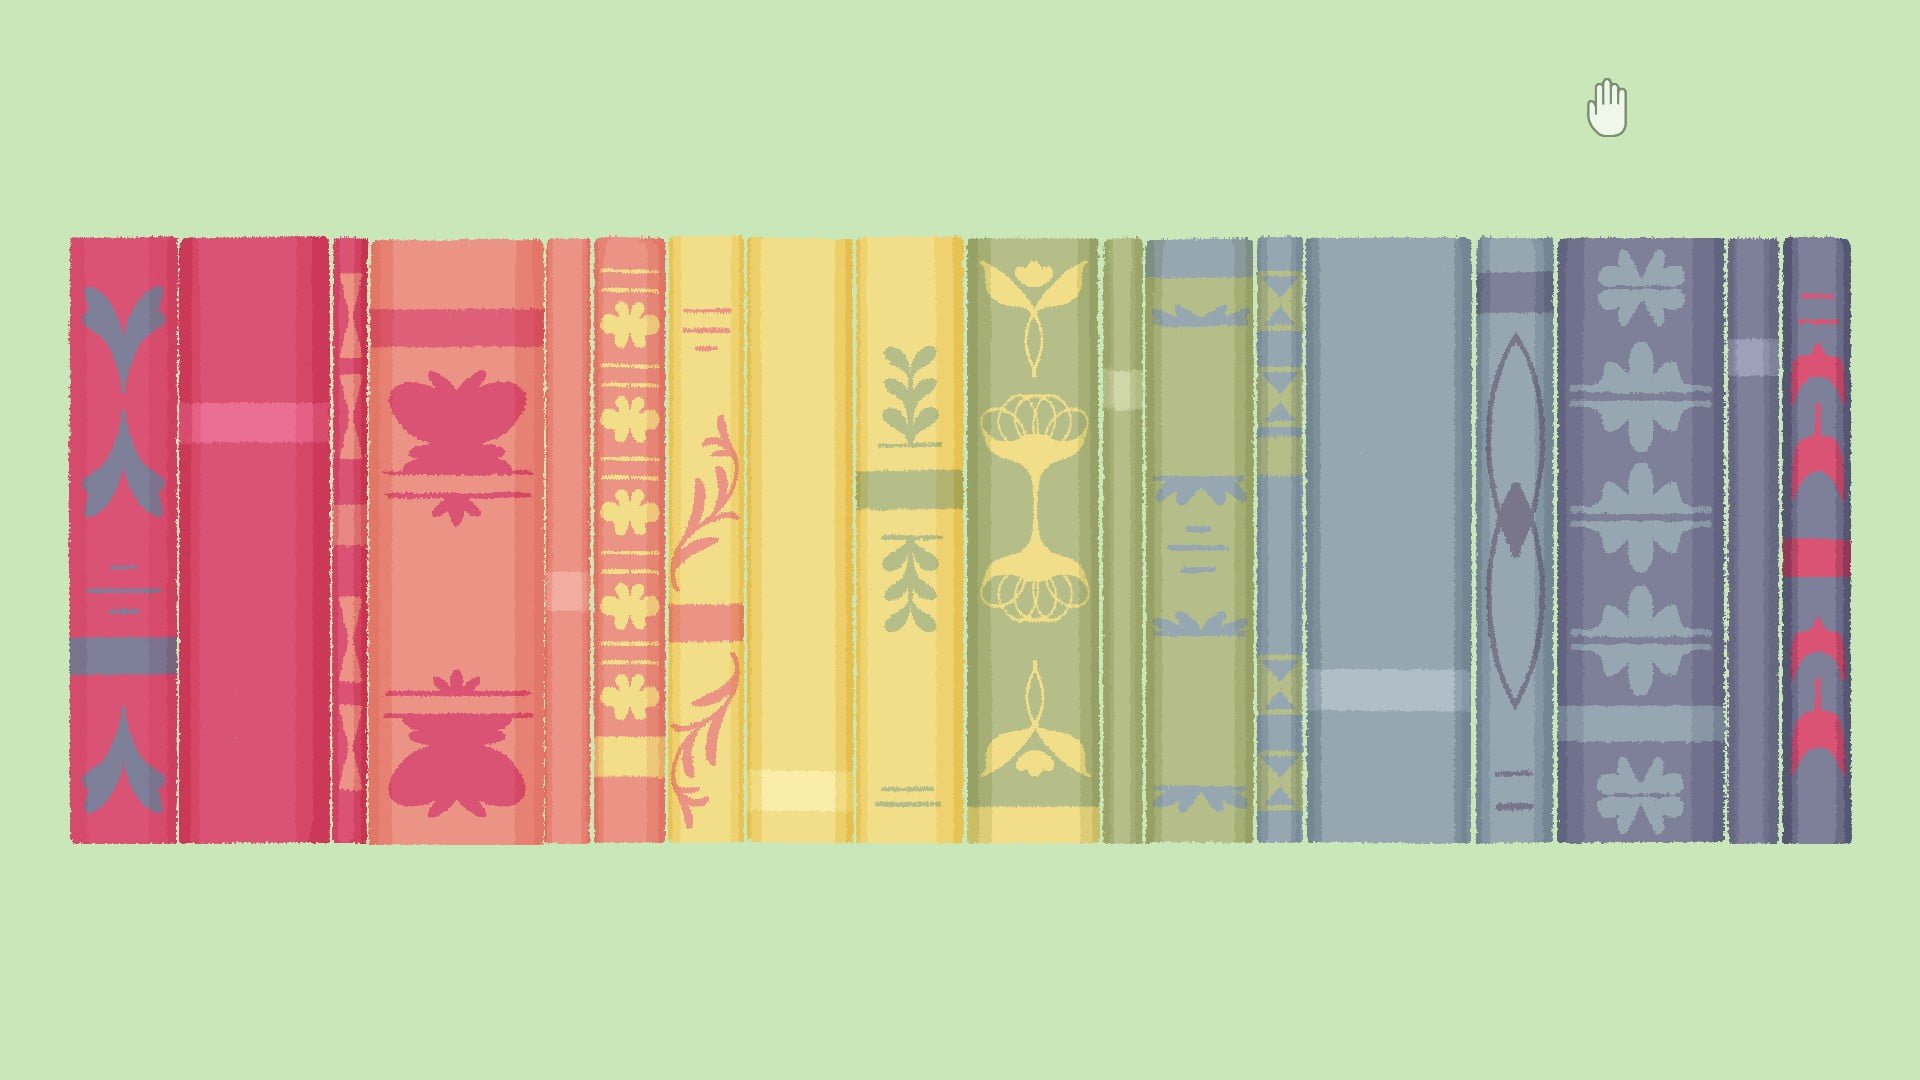
Slide the books in order from tallest to shortest.
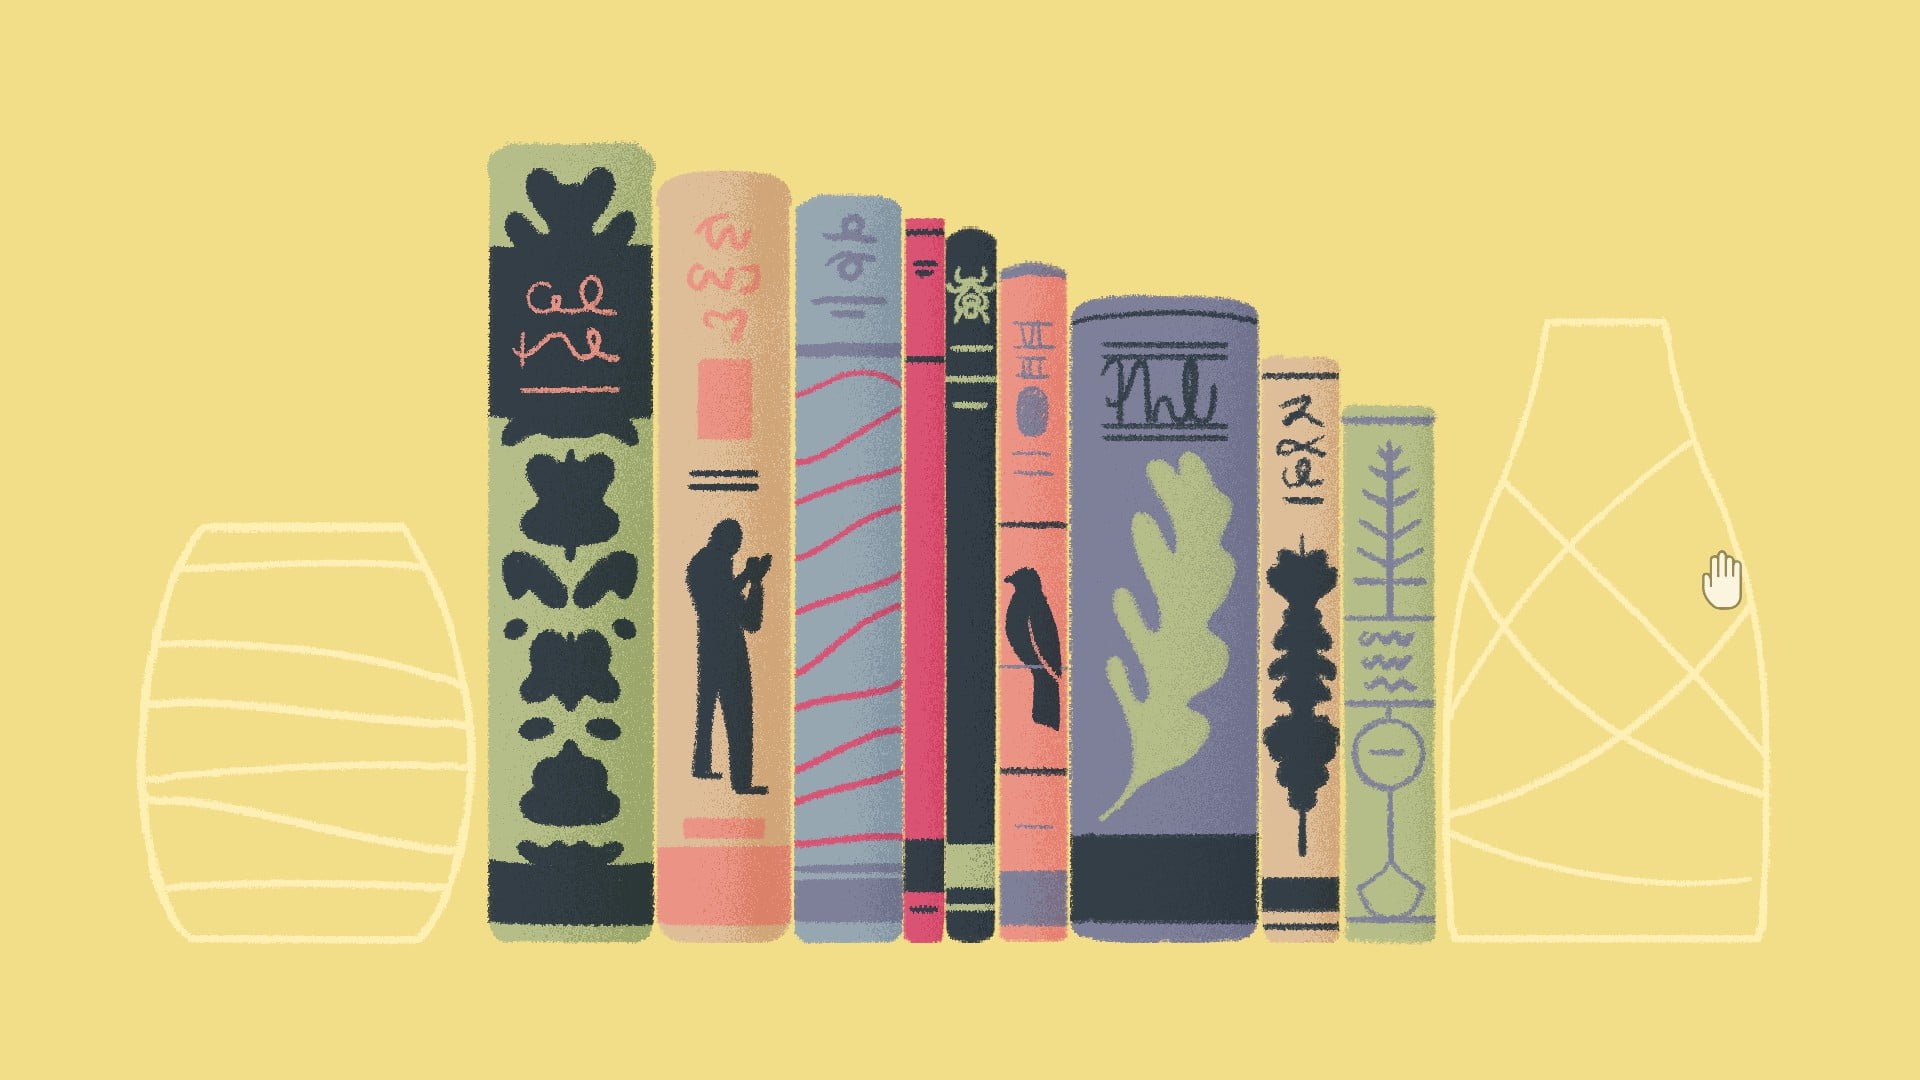
Slide the books in order from thickest to thinnest.
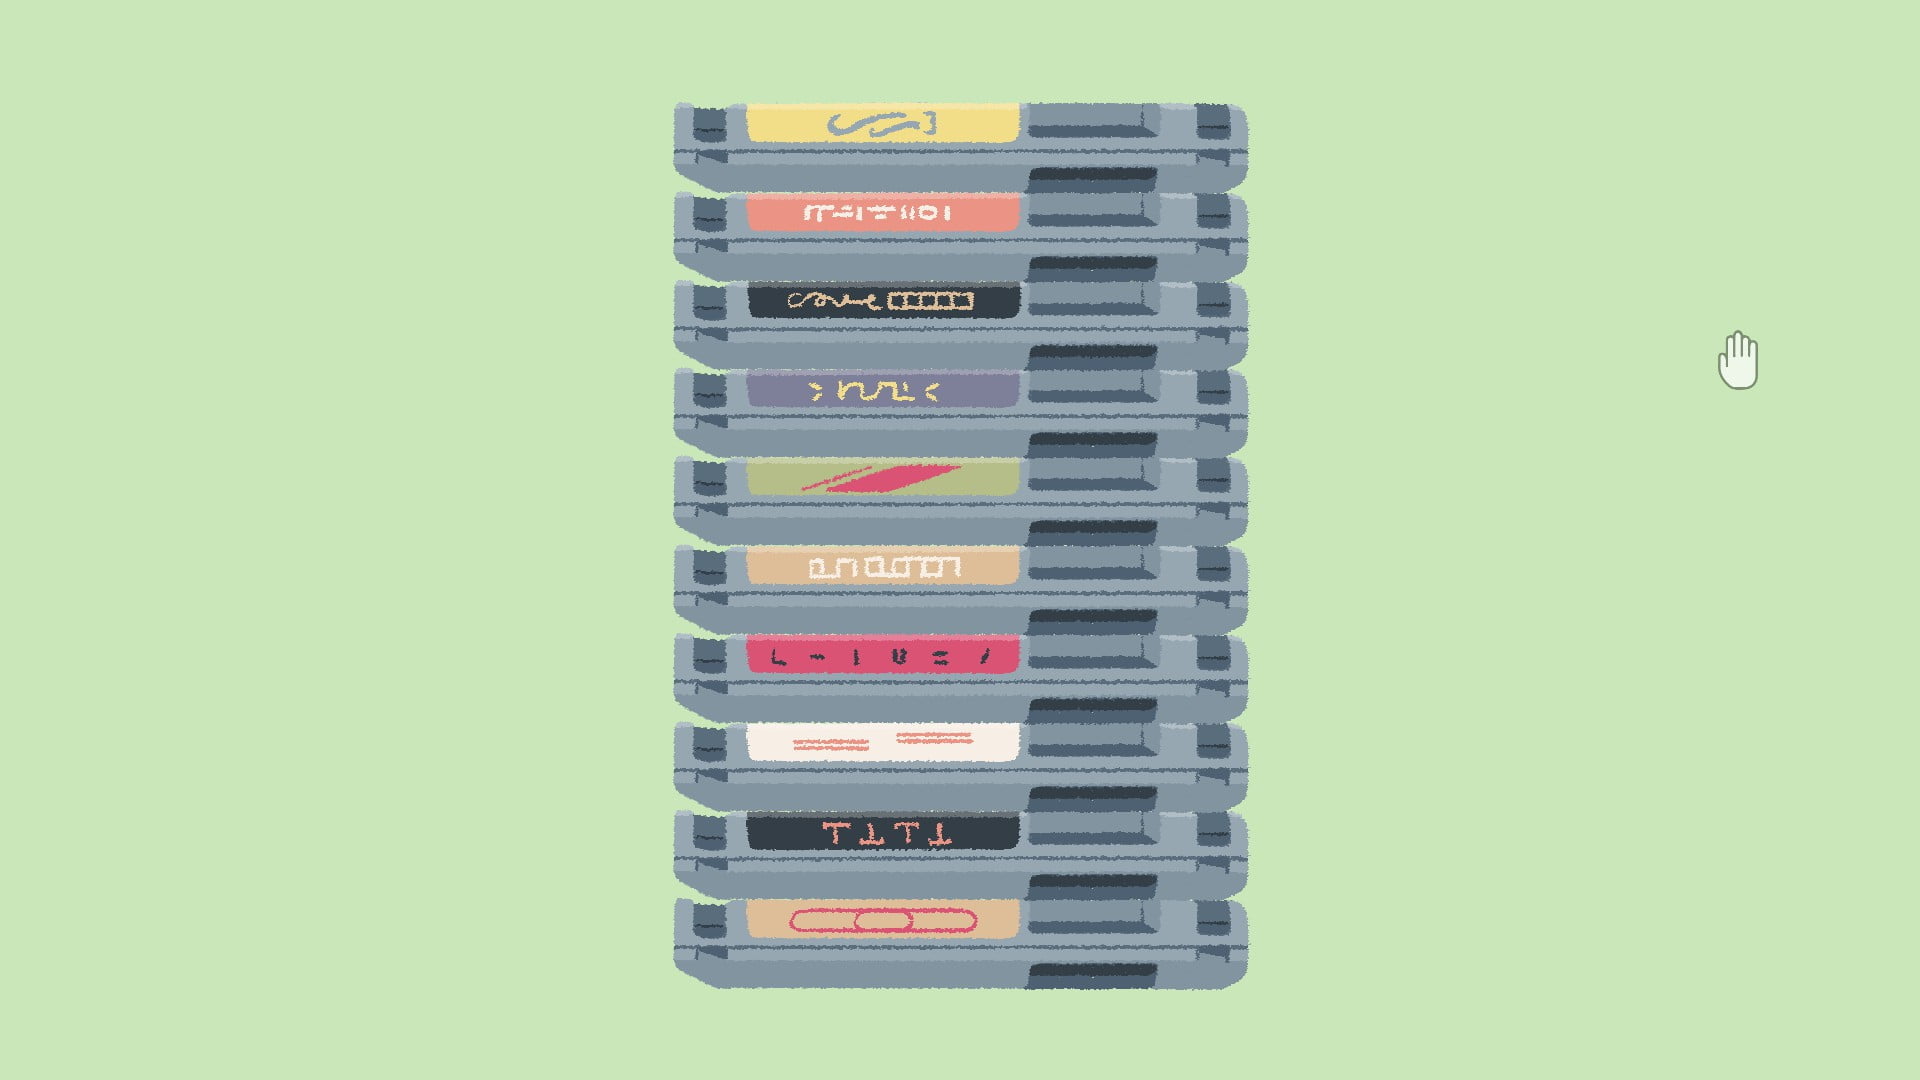
Level 8:
Slide the cartridges so that they’re vertically aligned.
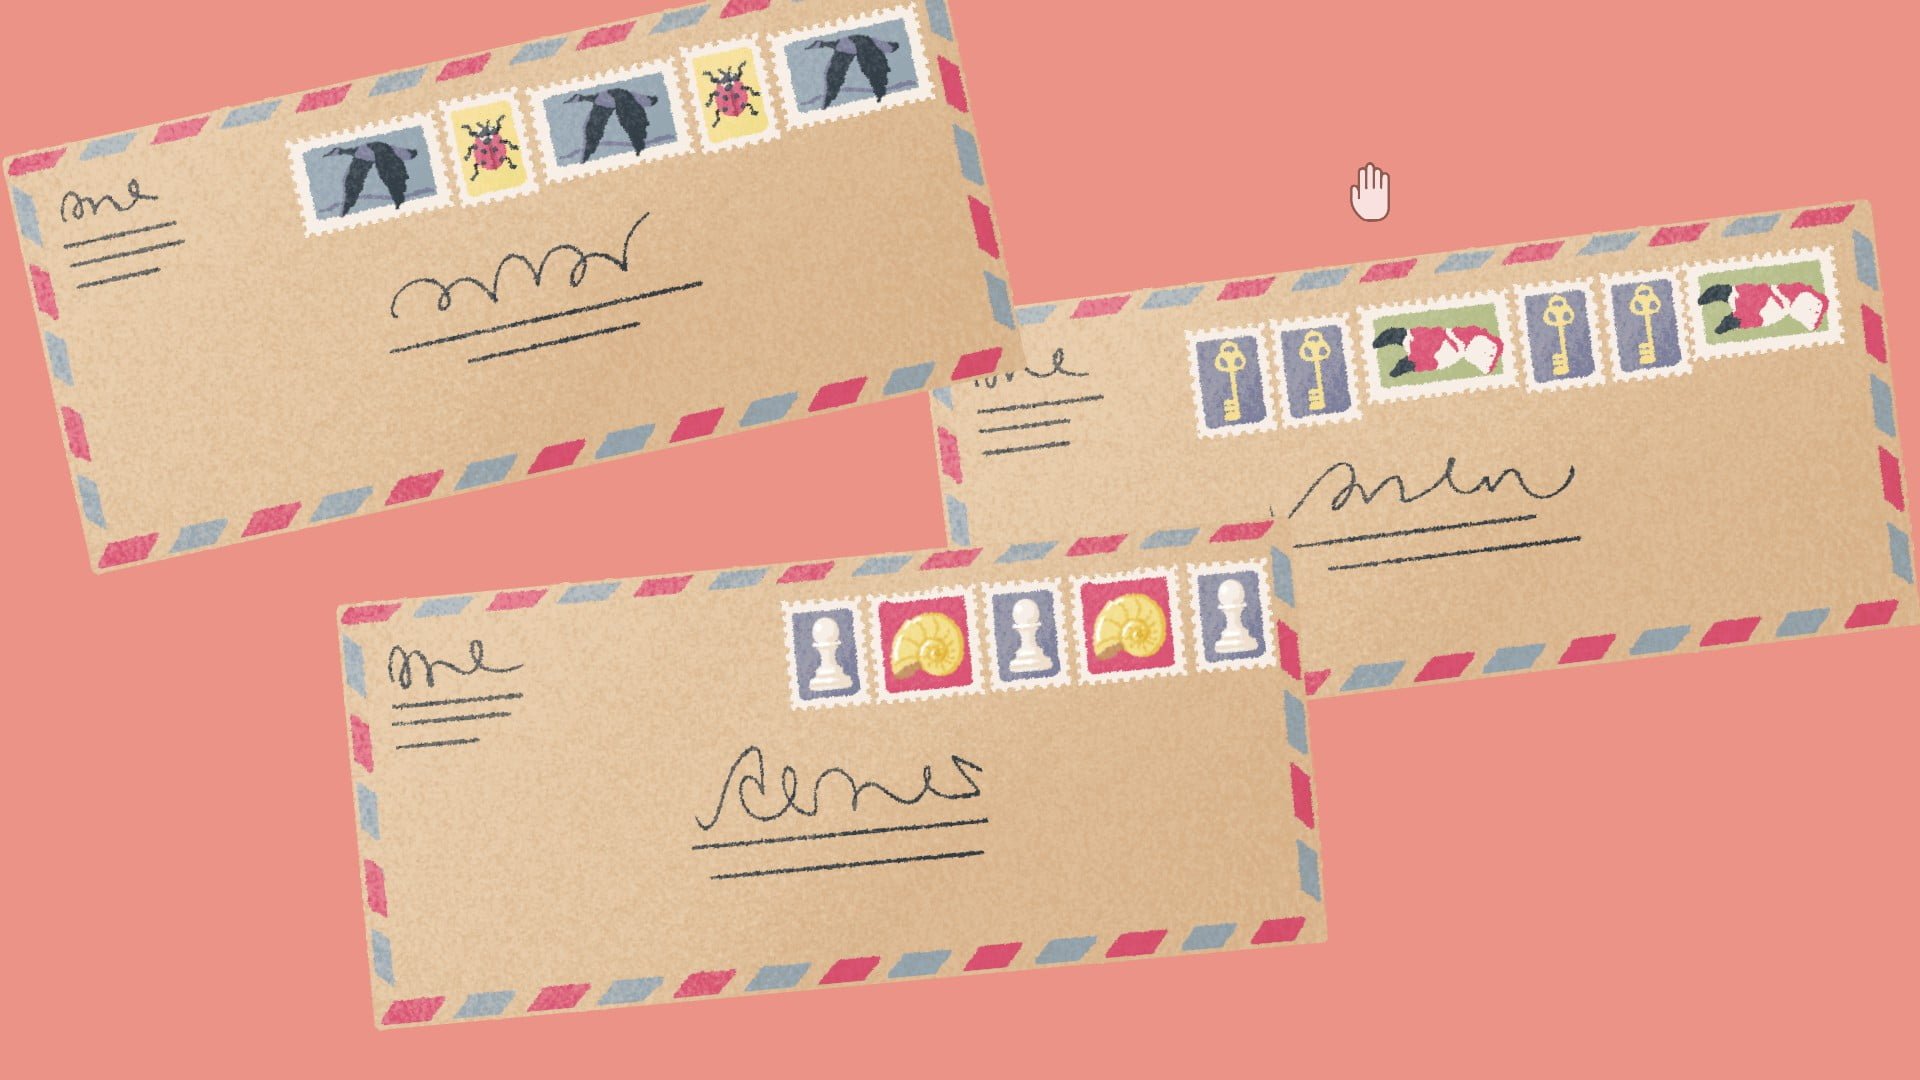
Level 9:
Use the stamps to continue the patterns present on the envelopes. Stamps may be underneath envelopes, so move them around if you’re missing one. Click the cat paw to prevent it from disrupting your screen.
Level 10:
Place the sticky notes in the grid so that the scribble connects across all notes.
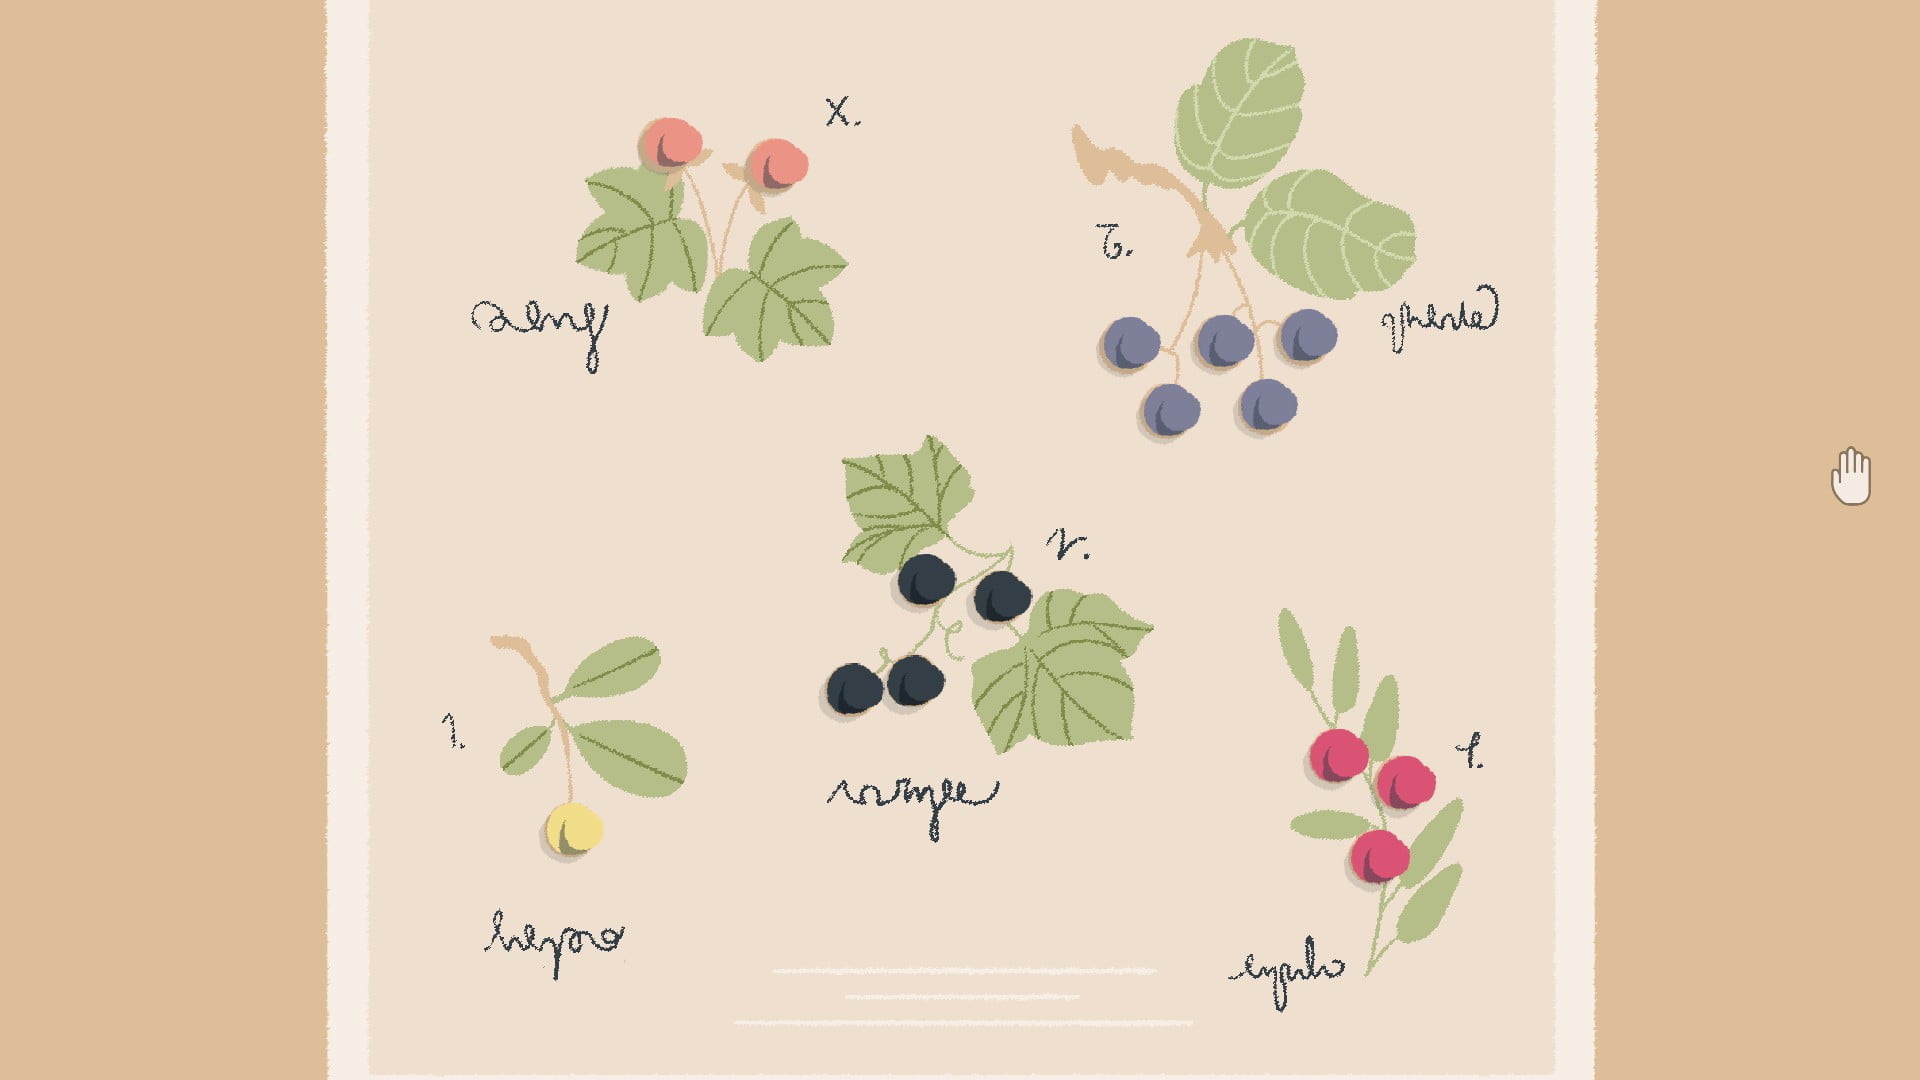
Level 11:
Count the number of pins in each color, drop them in the plant with the same number of berries. ex: there’s 4 black pins, so drop those in the plant with 4 berries.
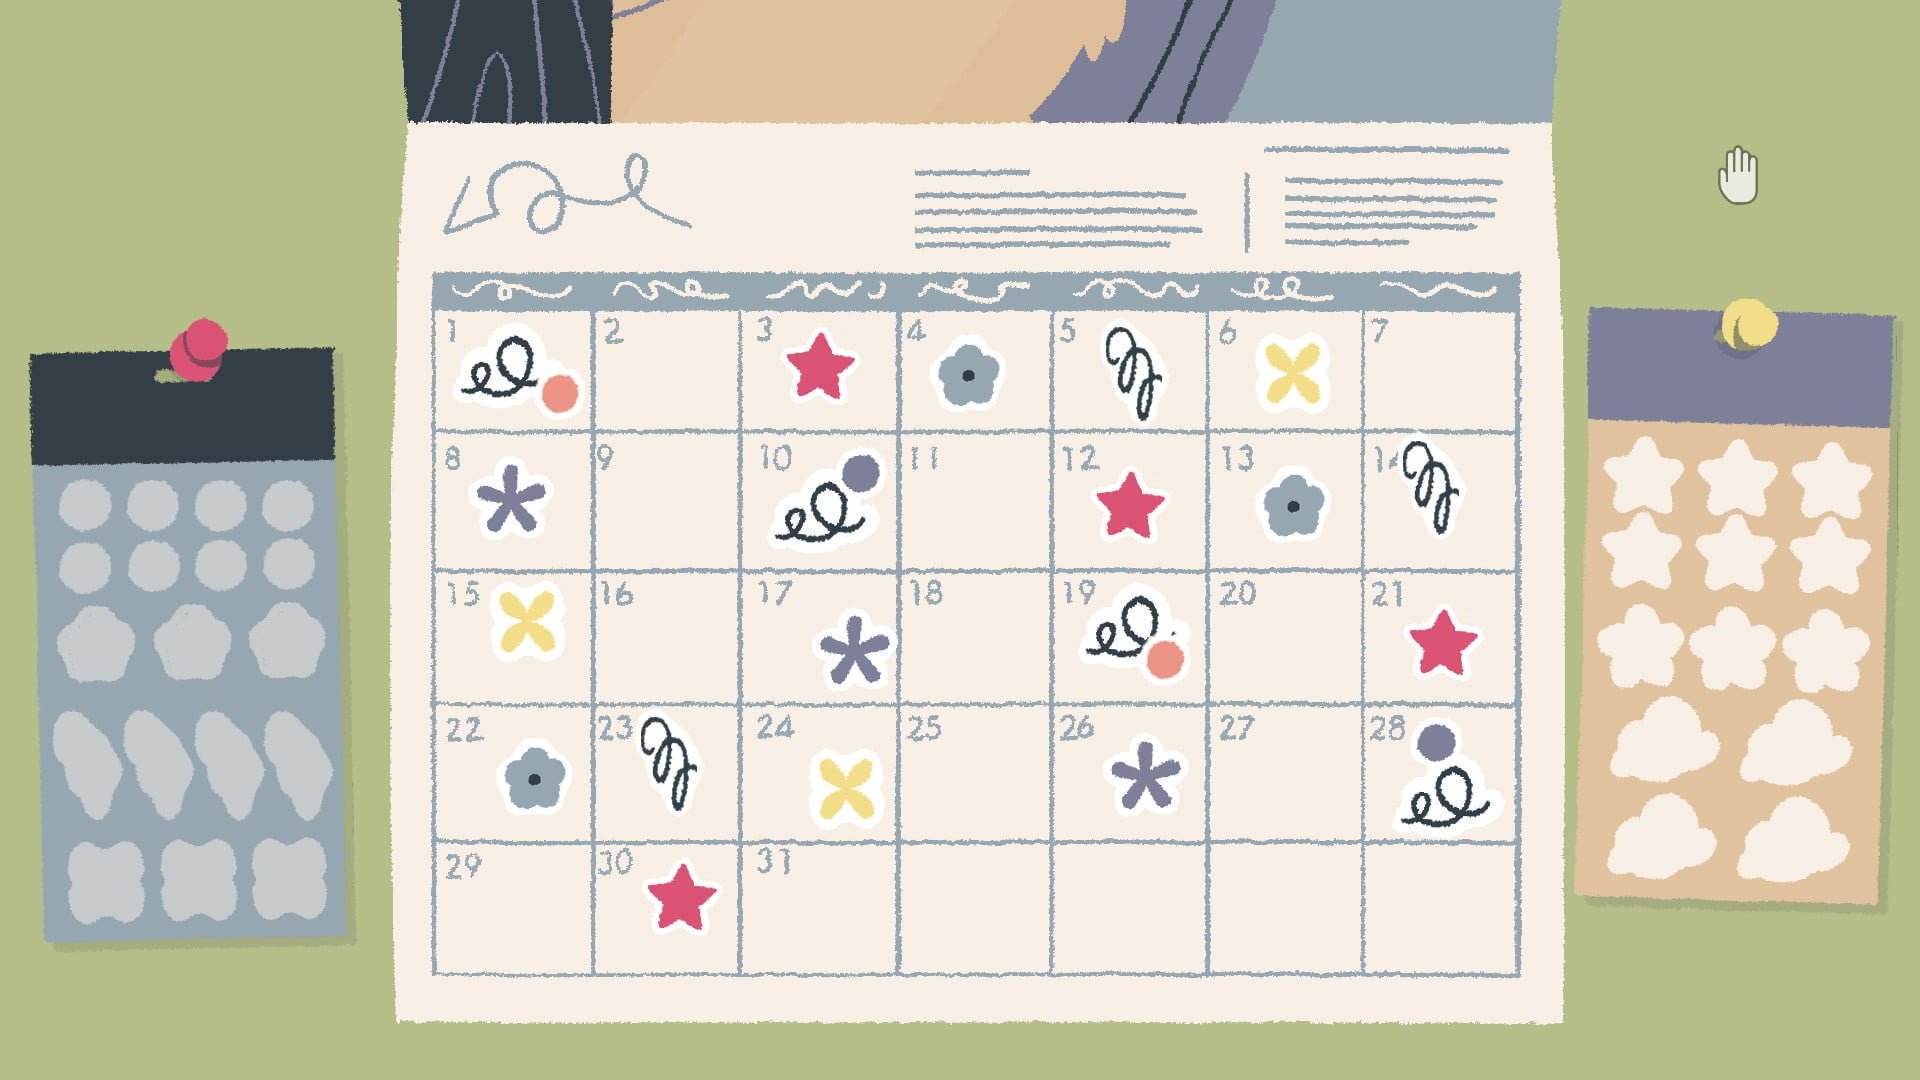
Level 12:
PLace the stickers on the calendar, continuing the pattern present.
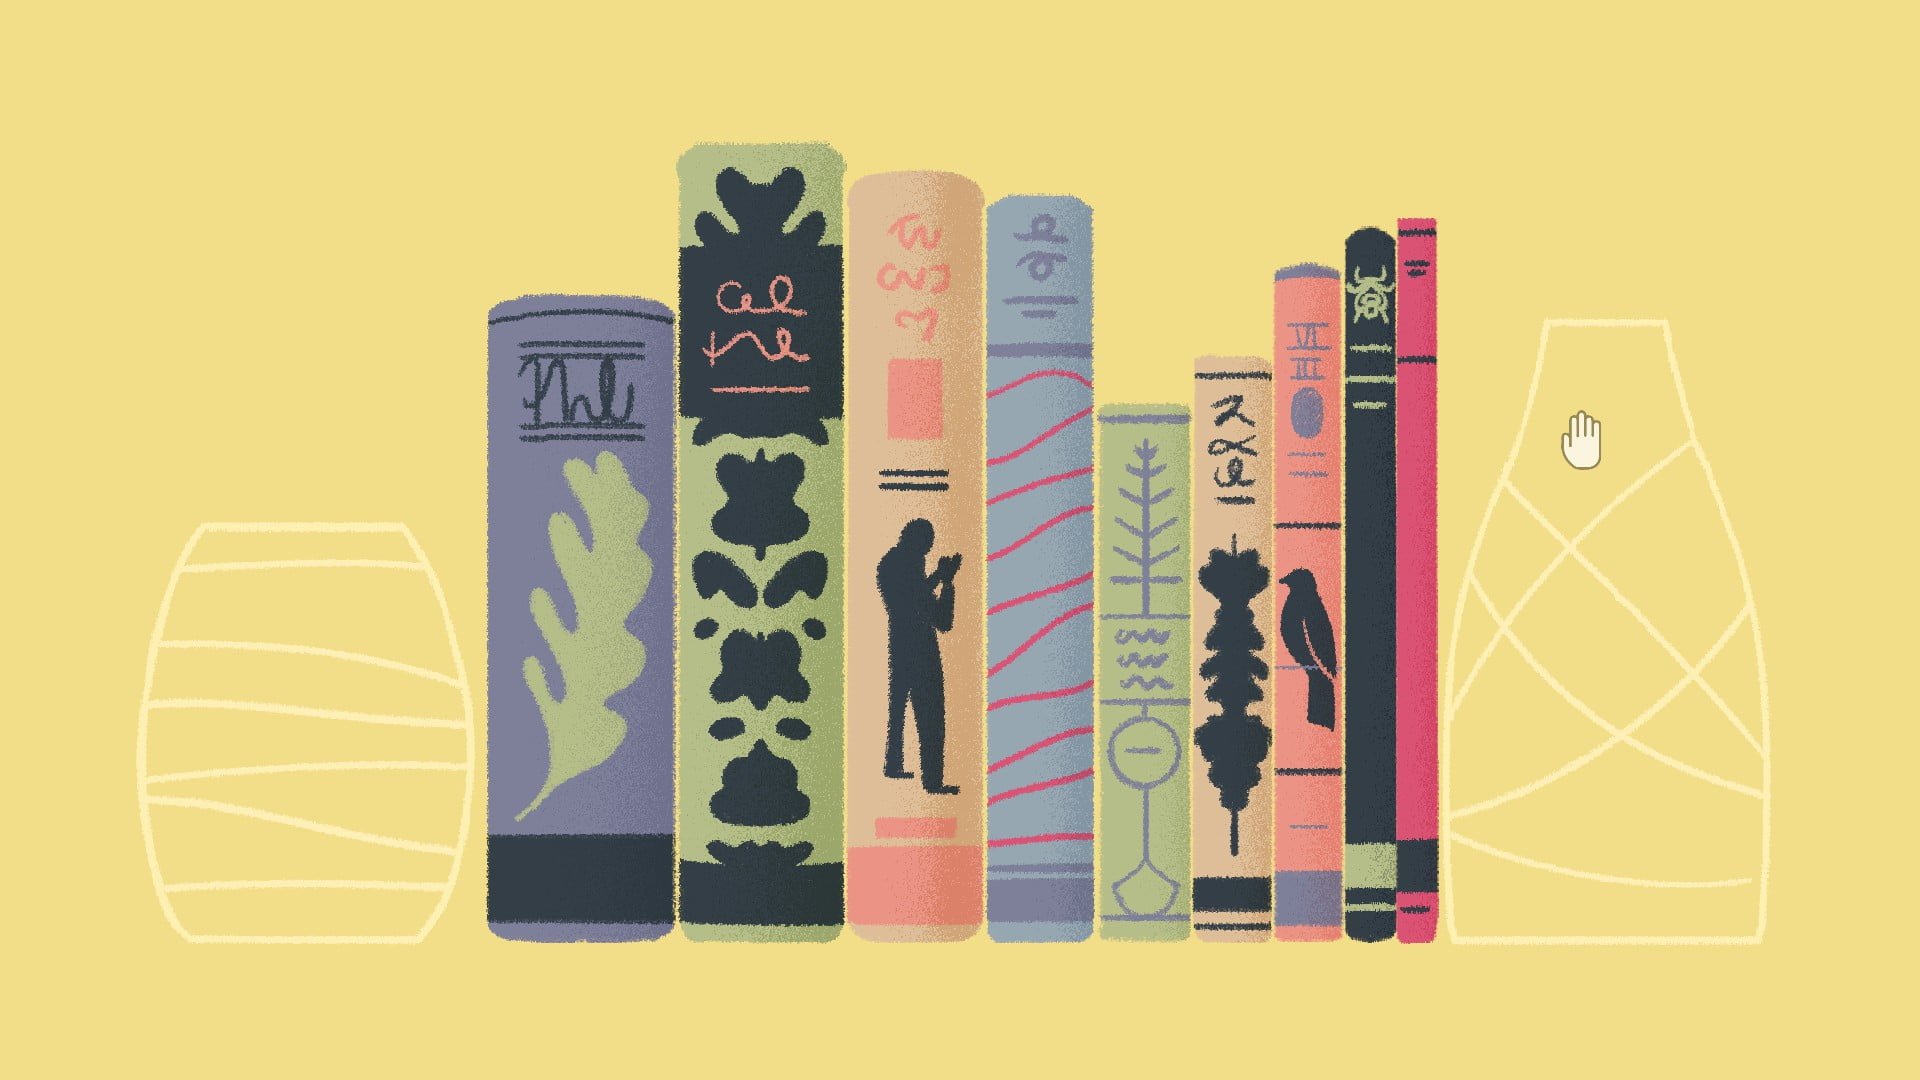
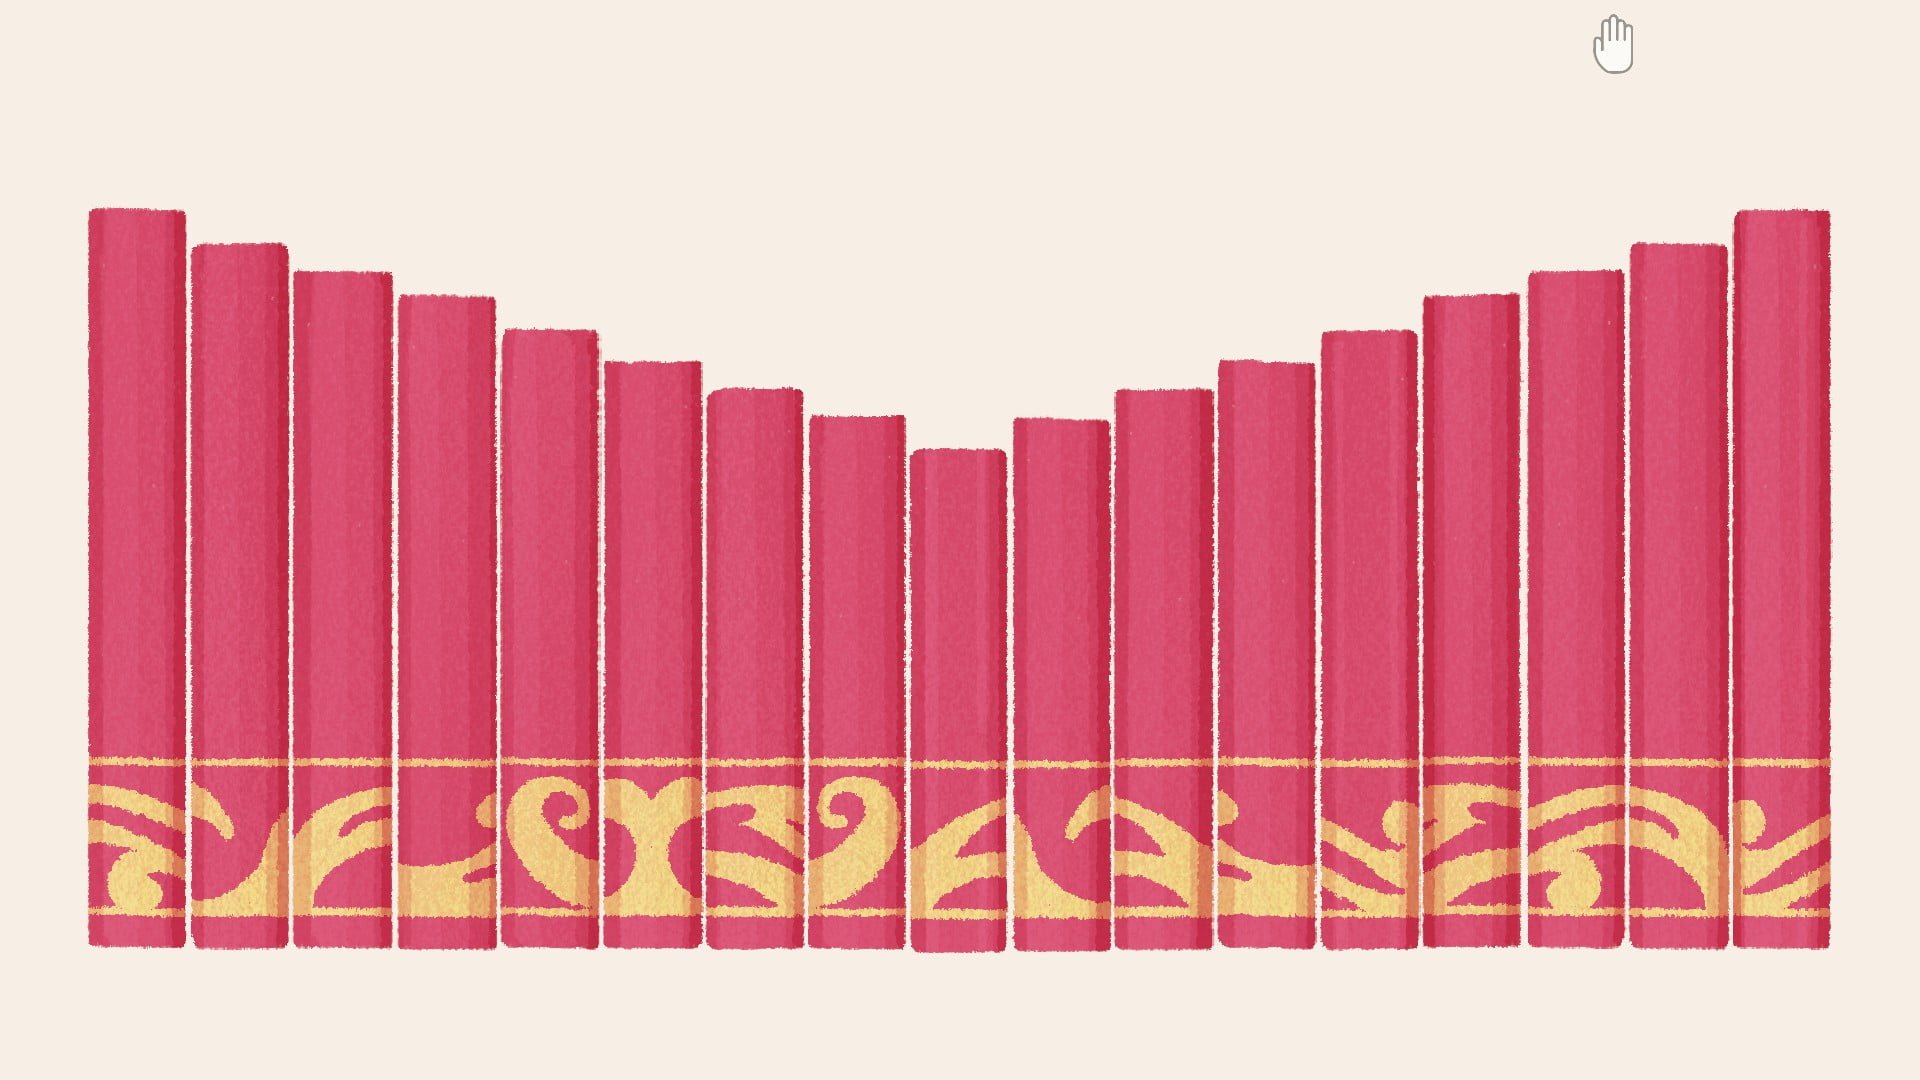
Level 13:
Slide the books so that the pattern across the base of the spines matches up across all books.

Slide the books so that the shortest is in the center, and the books increase in height on both sides.
Level 14:
Tilt the paintings so that the perspective/subjects of the paintings are right-side up. Placement can be very picky, listen for the dings to verify the painting is correct.
Level 15:
Place the sticky notes in the grid so that the scribble connects across all notes. Not every grid spot is used.
Level 16:
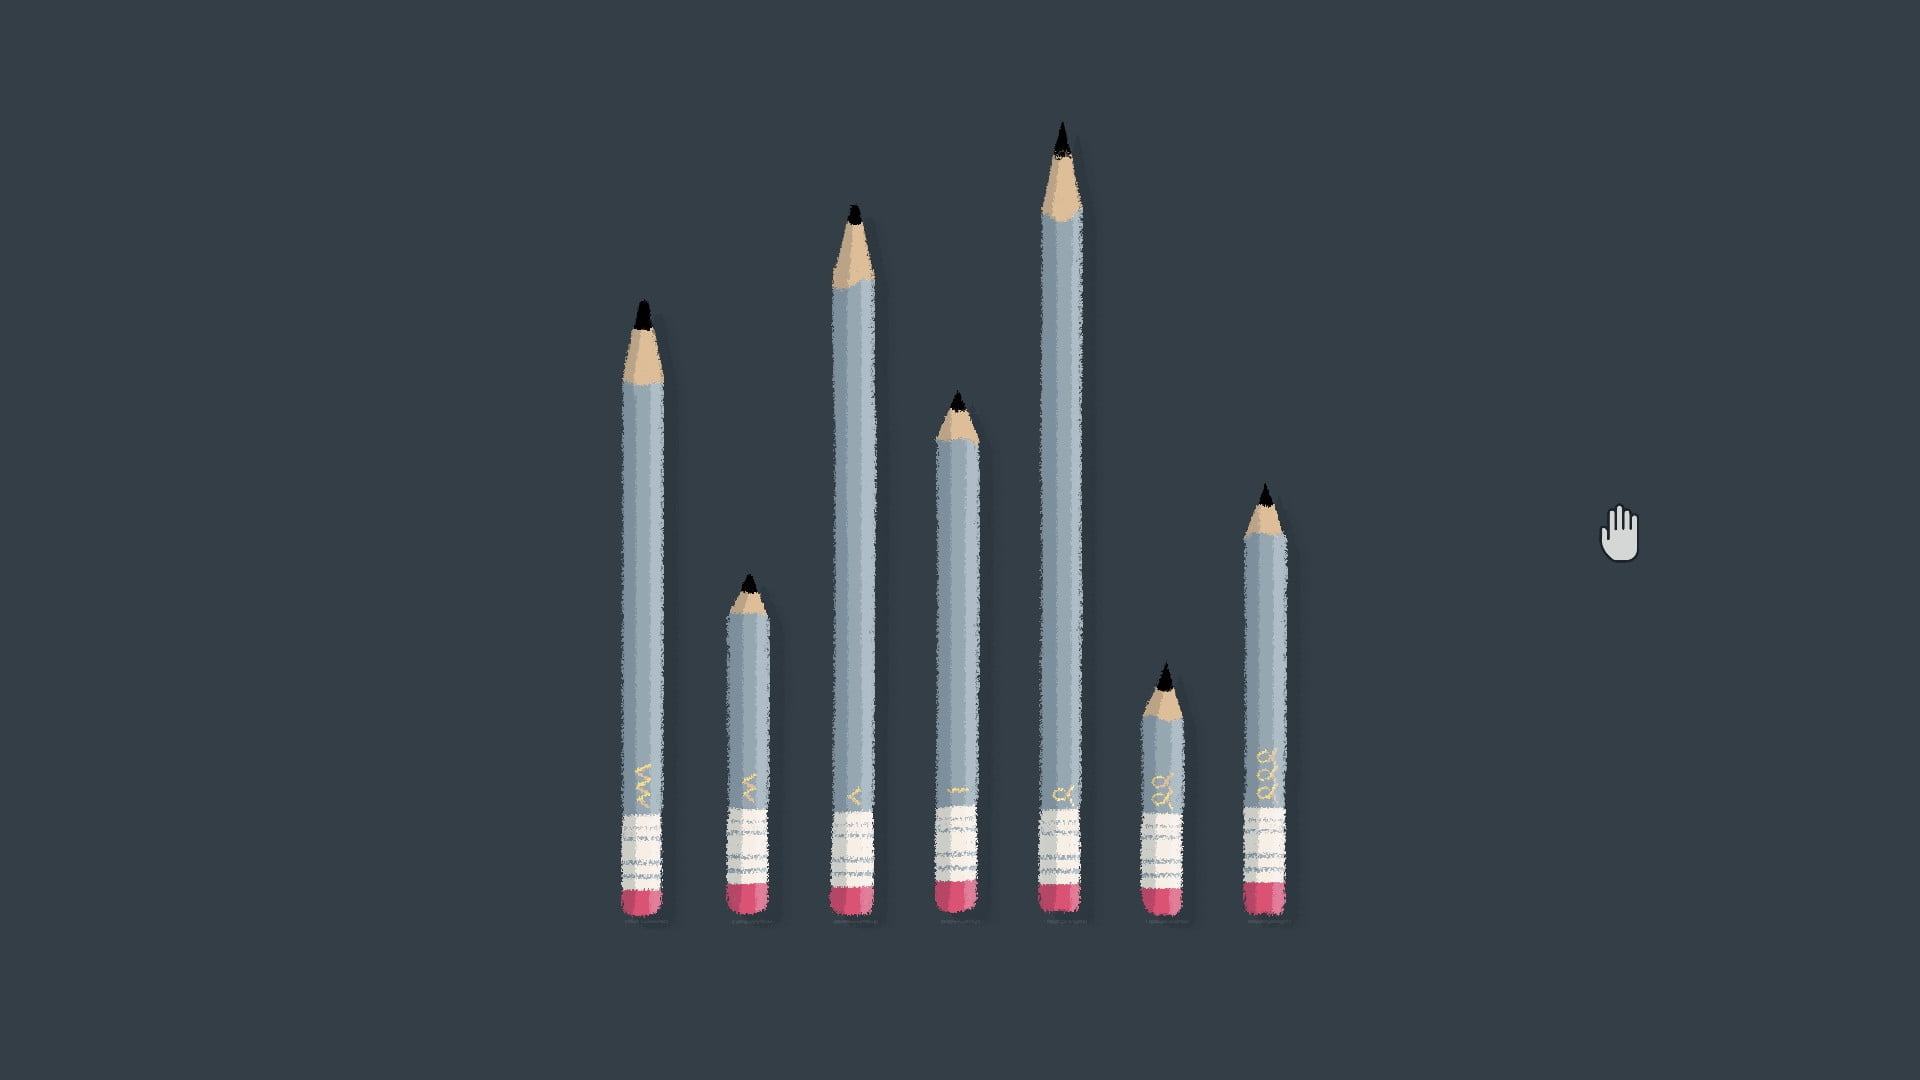
Place the pencils in order from dullest tip to sharpest tip.
Place the pencils in order from least eraser to most eraser.
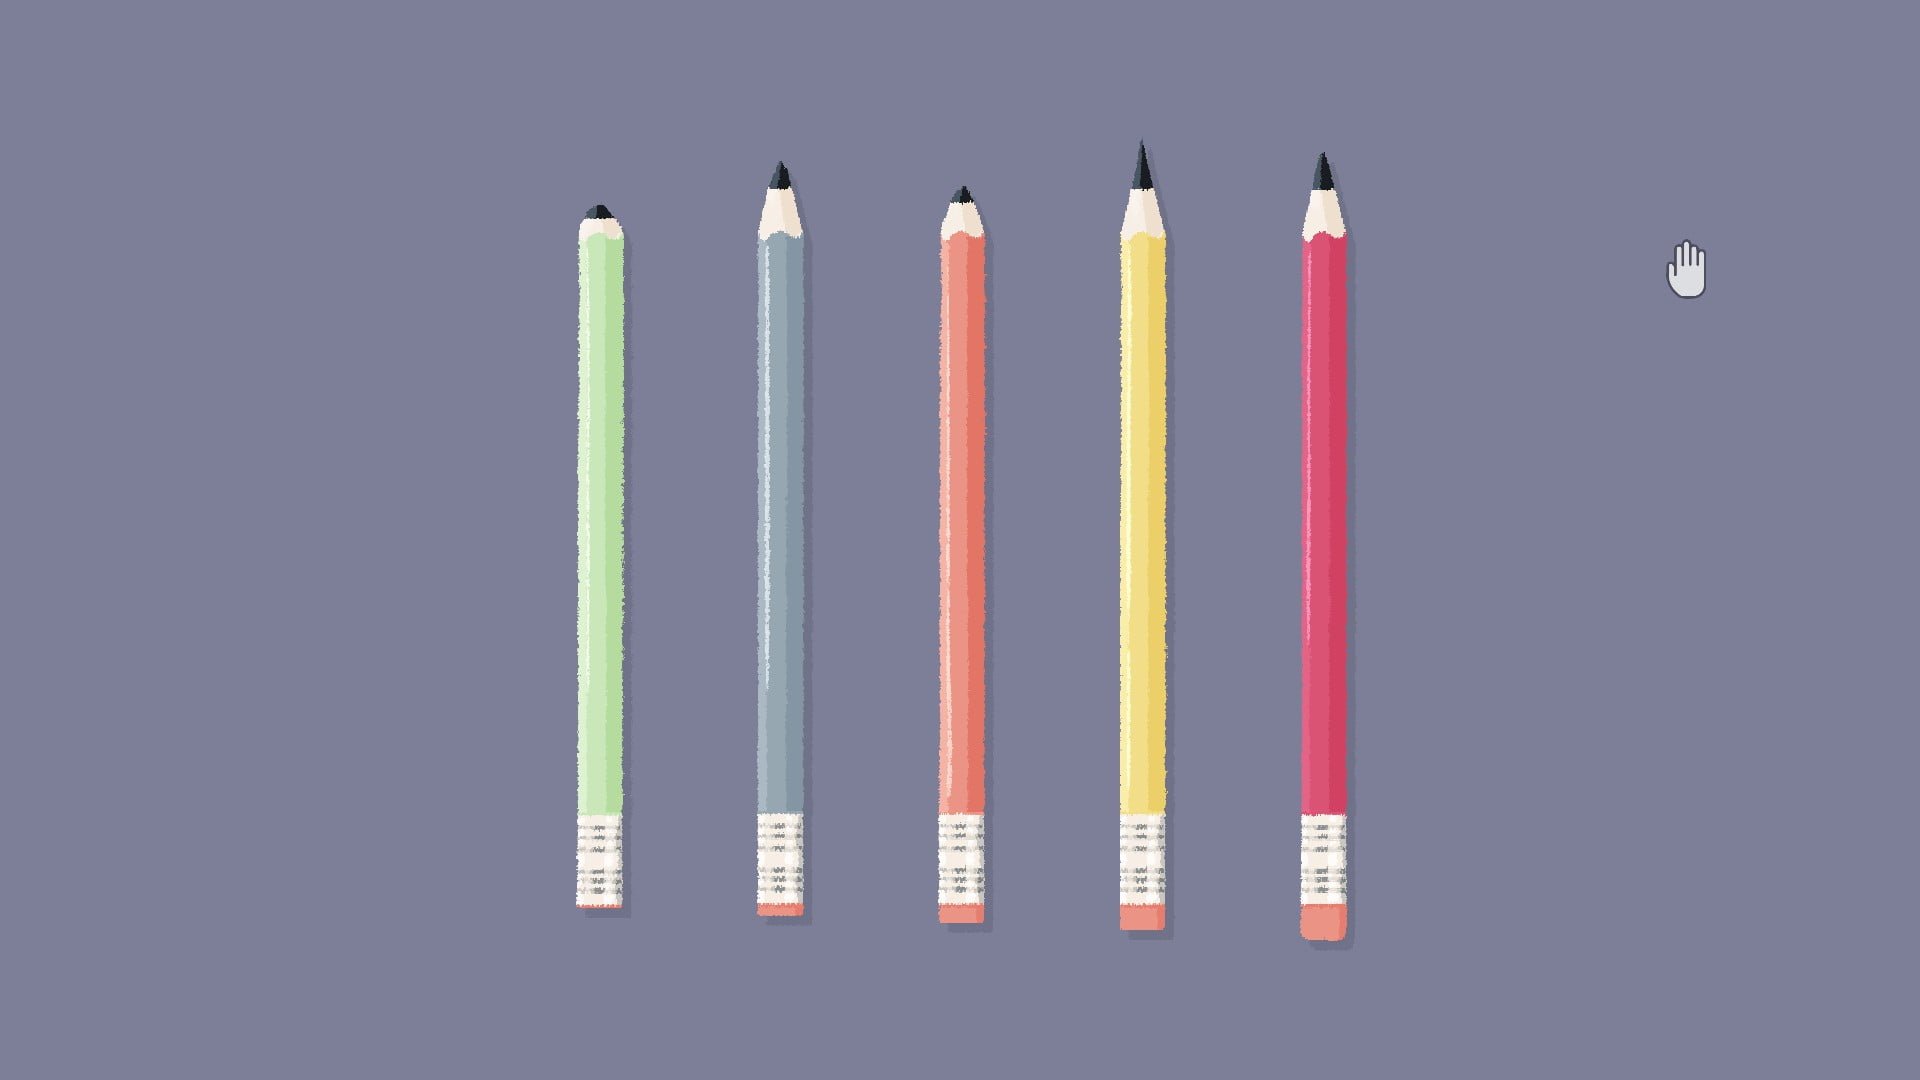
Place the pencils in rainbow order.
Level 17:
Arrange the items so that they perfectly take up the desktop with no spaces.
Level 18:
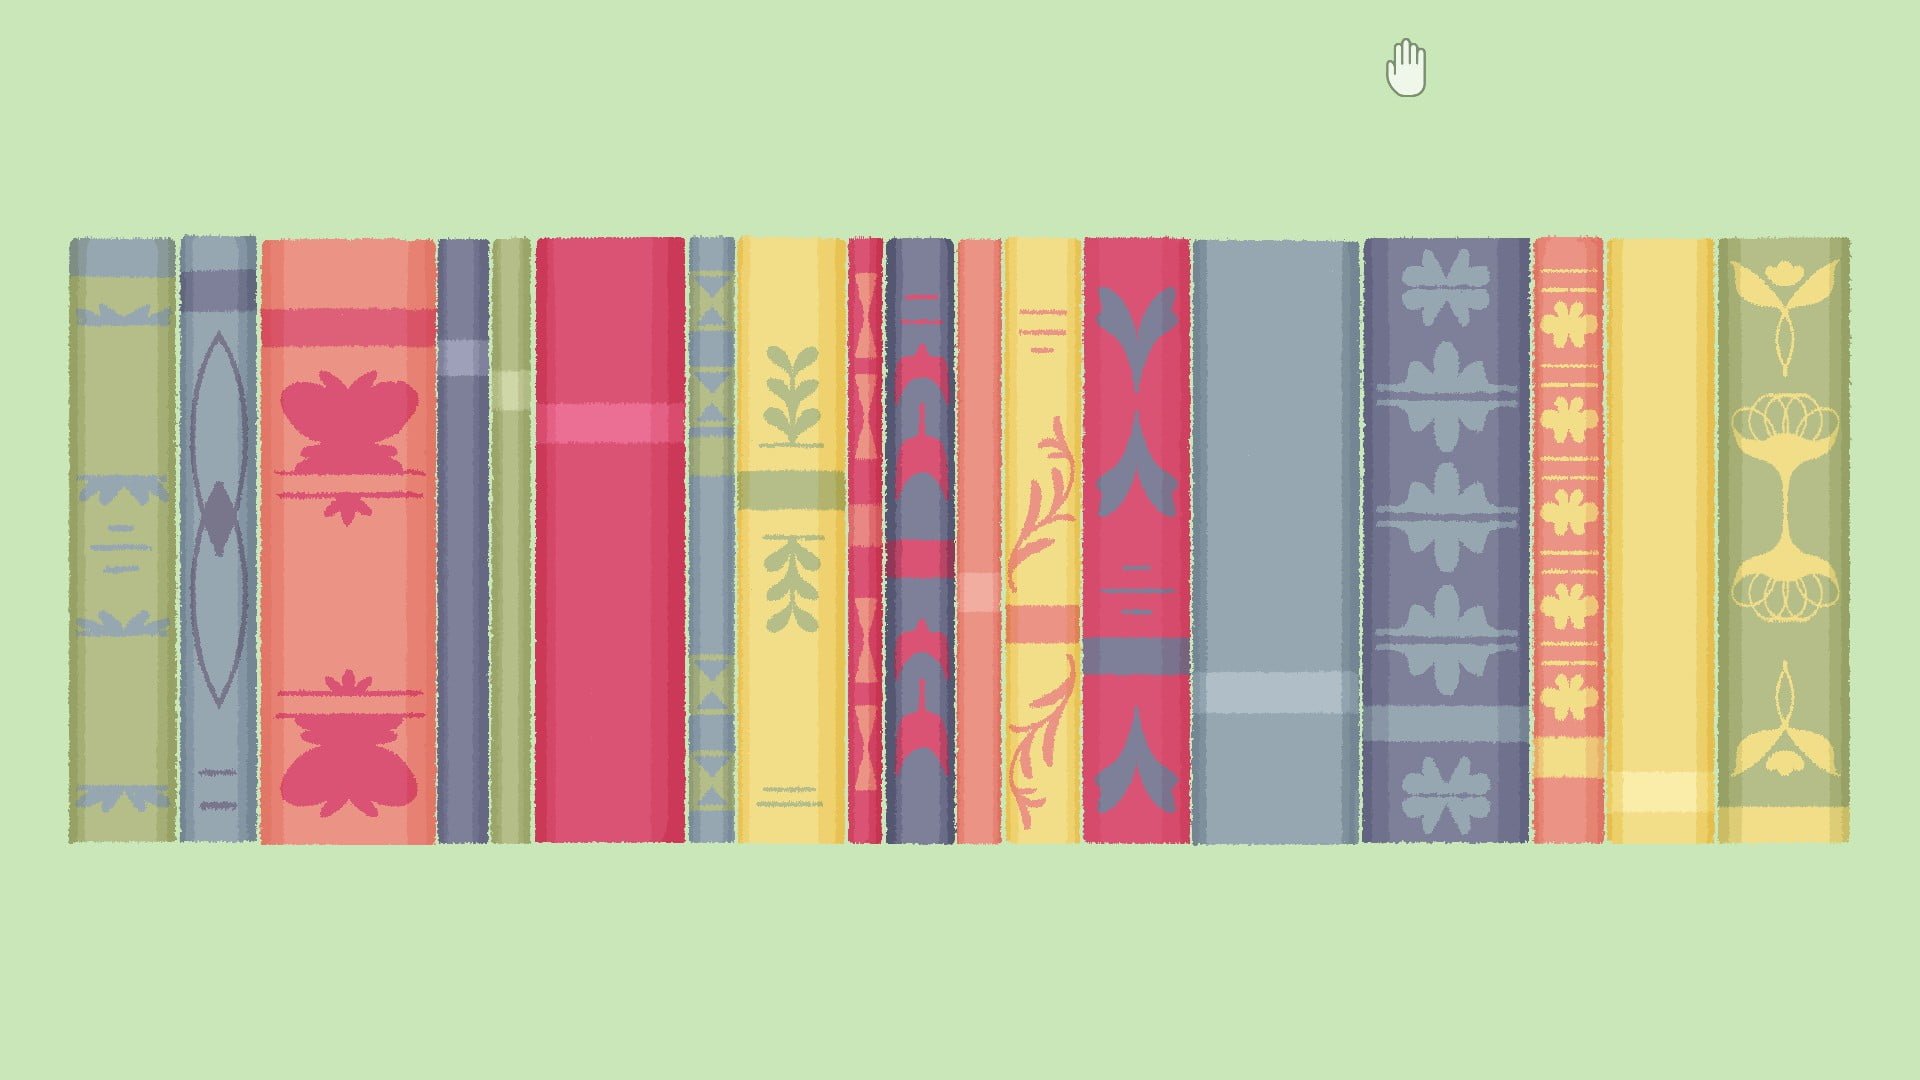
Slide the books so that they’re in rainbow gradient order.
Slide the books so that they’re in order from highest spine strip to lowest spine stripe.
Level 19:
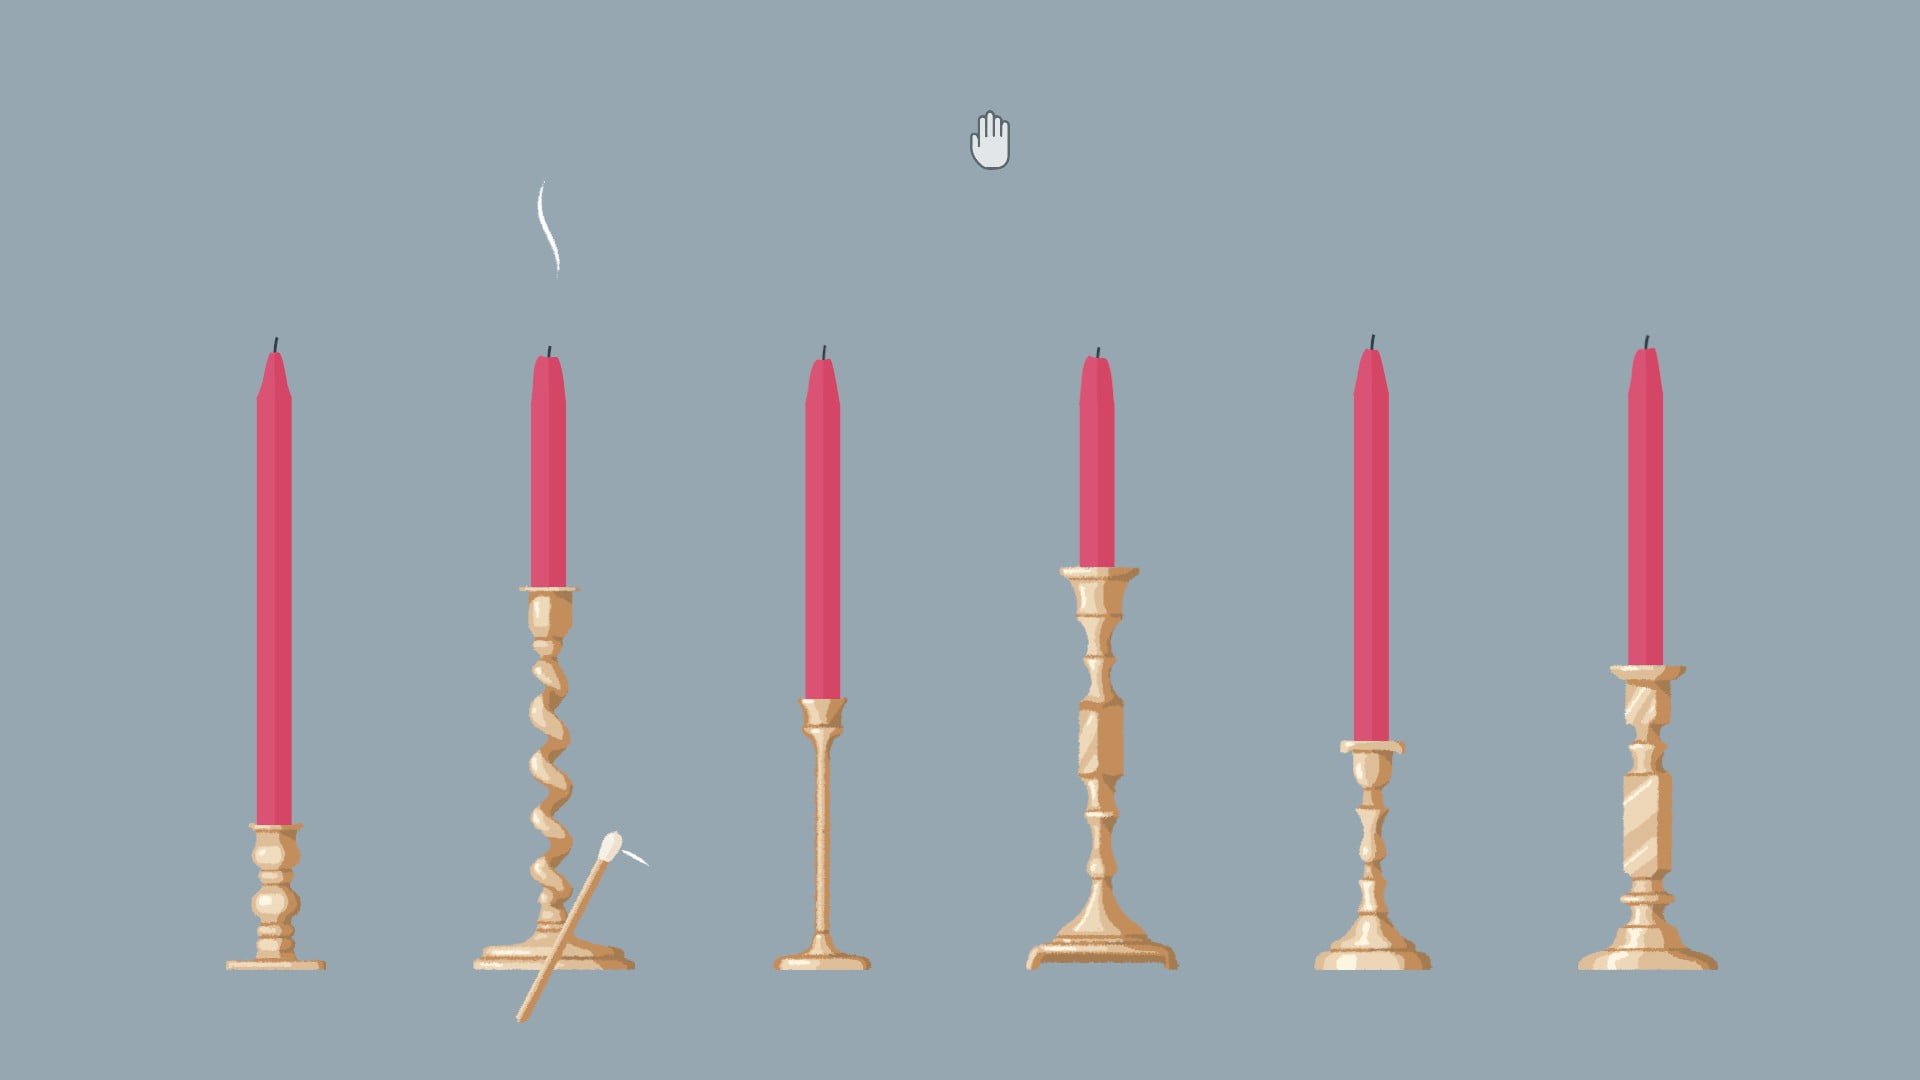
Place the pencils in order from tallest to shortest. Drag the shavings to the edge of the screen to get rid of them.
Place the pencils in order based on the carvings – curliest to zigzag-est (lol).
Level 20:
Turn the dials until the light turns on above them, and move the arm onto the second song, the only one without scratches.

Chapter 2: The Lost Recipe
Level 21:
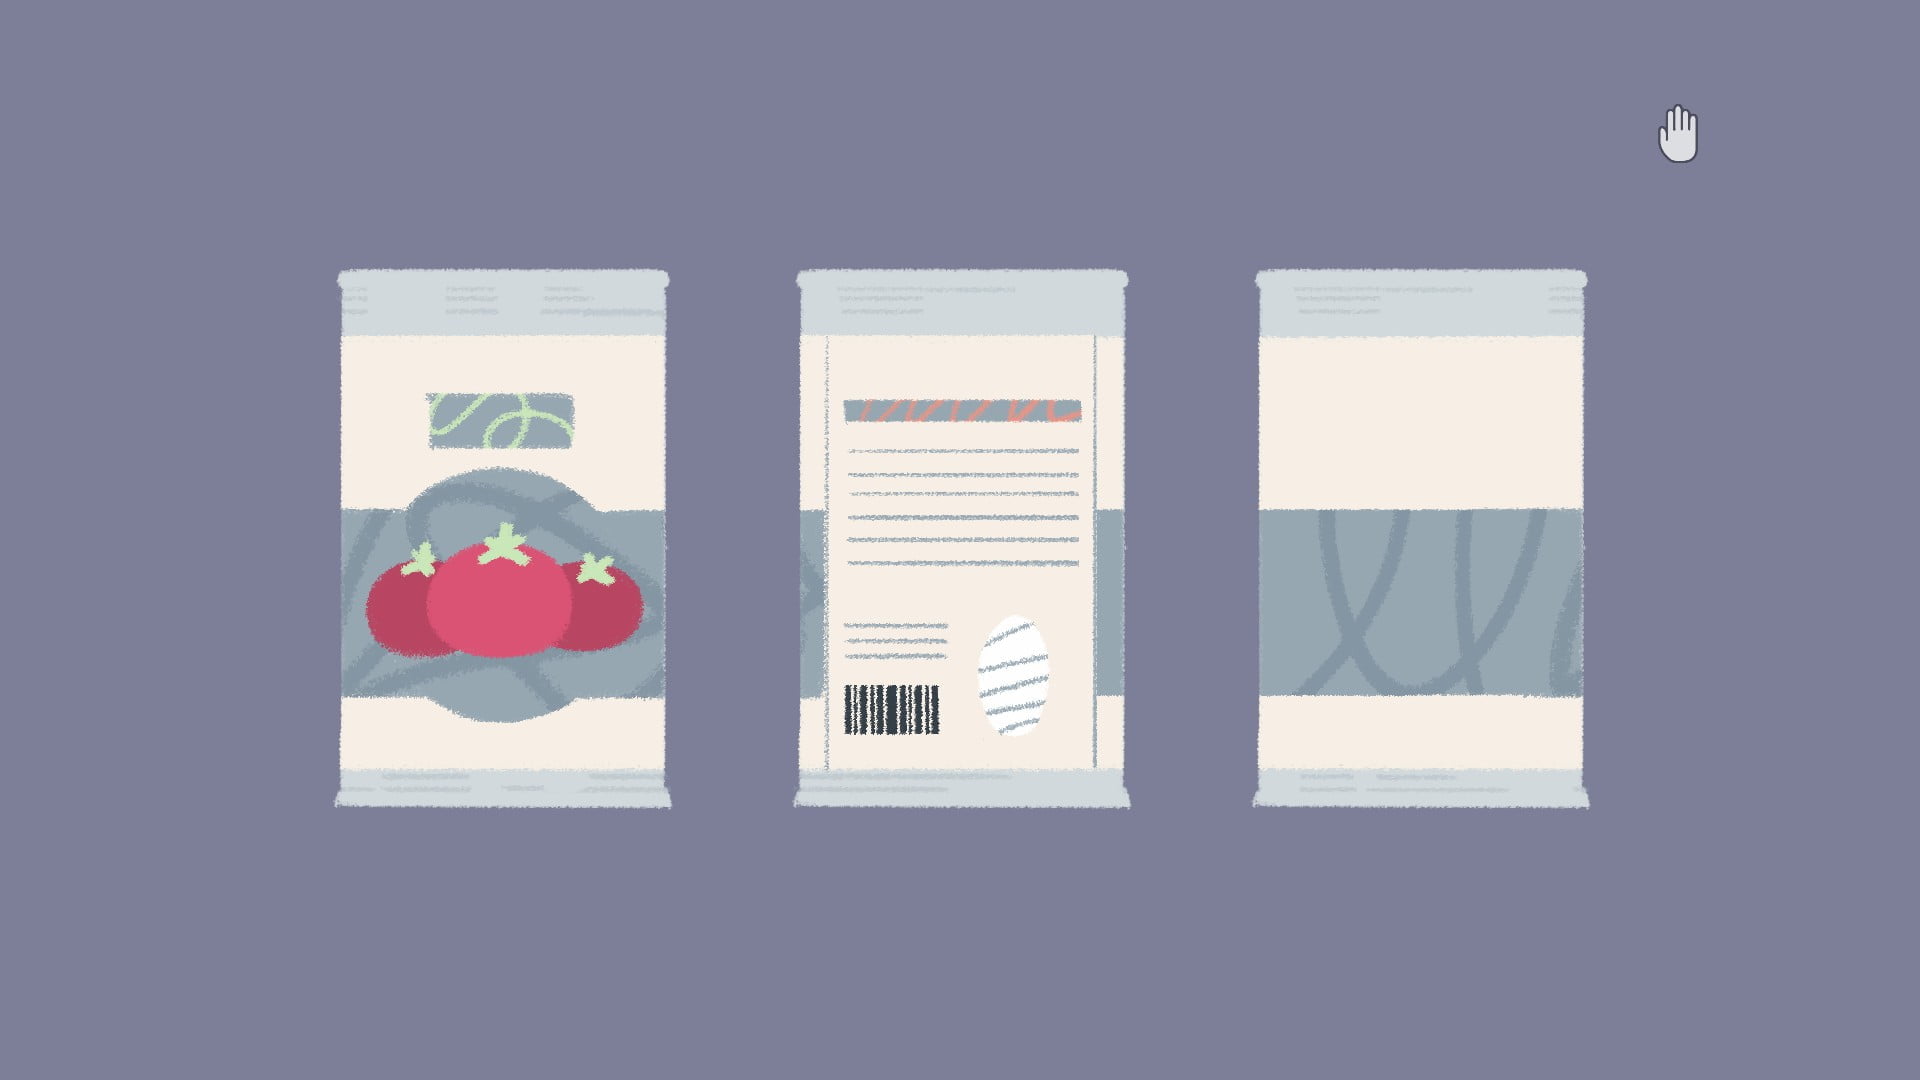
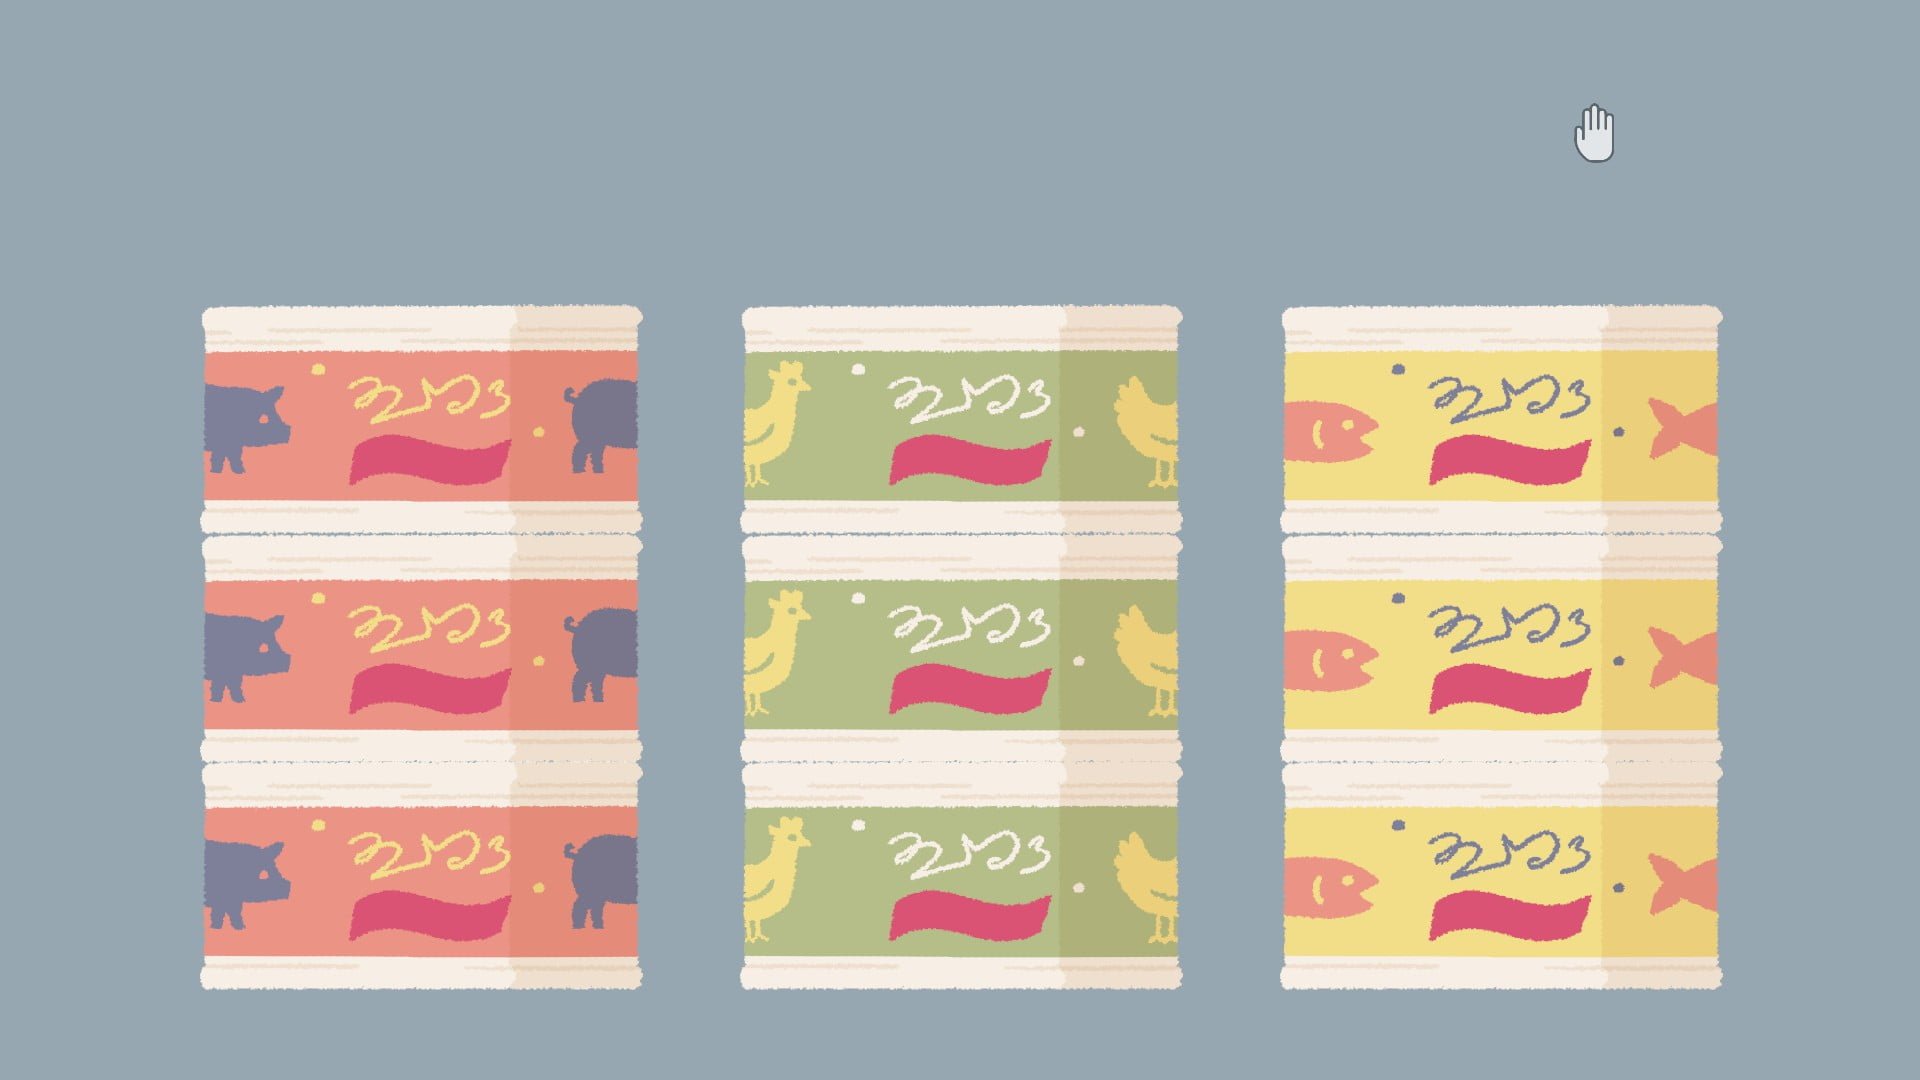
Rotate the soup cans until all display tomatoes on the front.
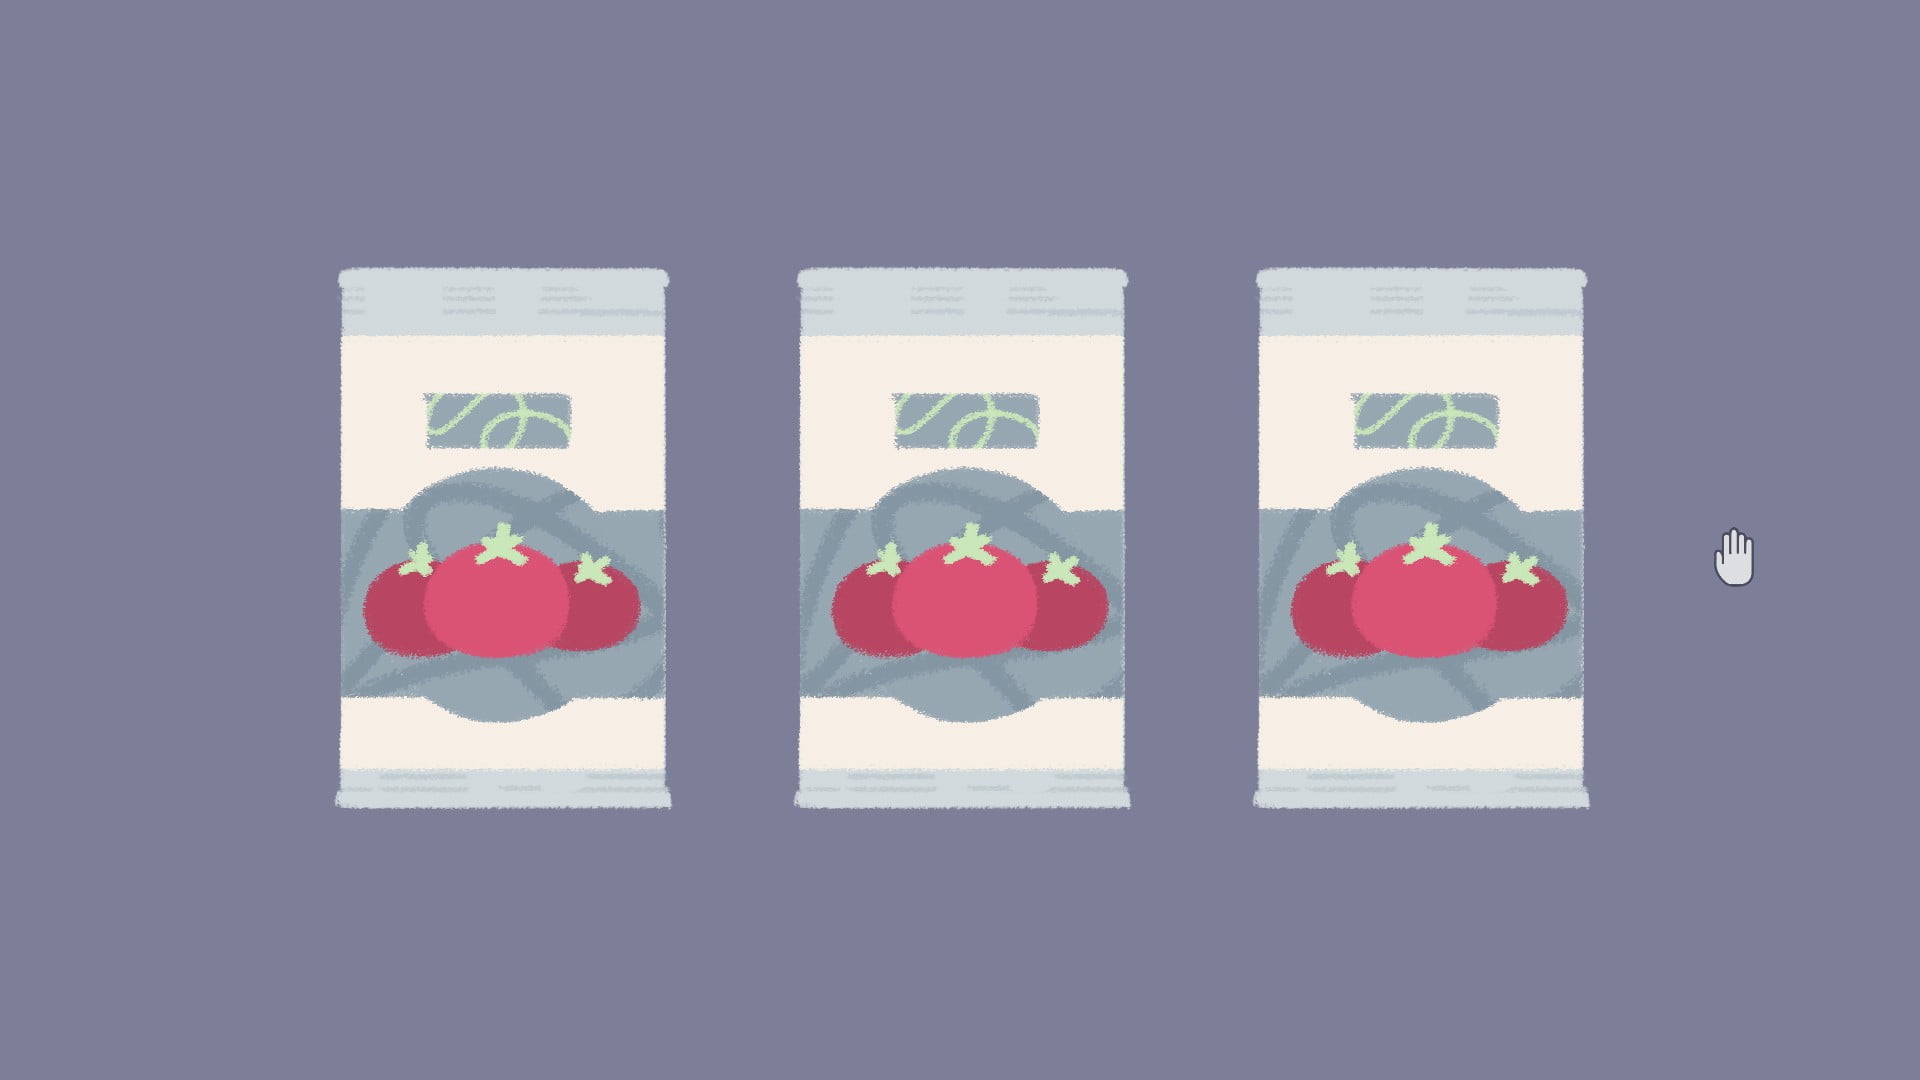
Rotate the soup cans so that they show the entire label across them.
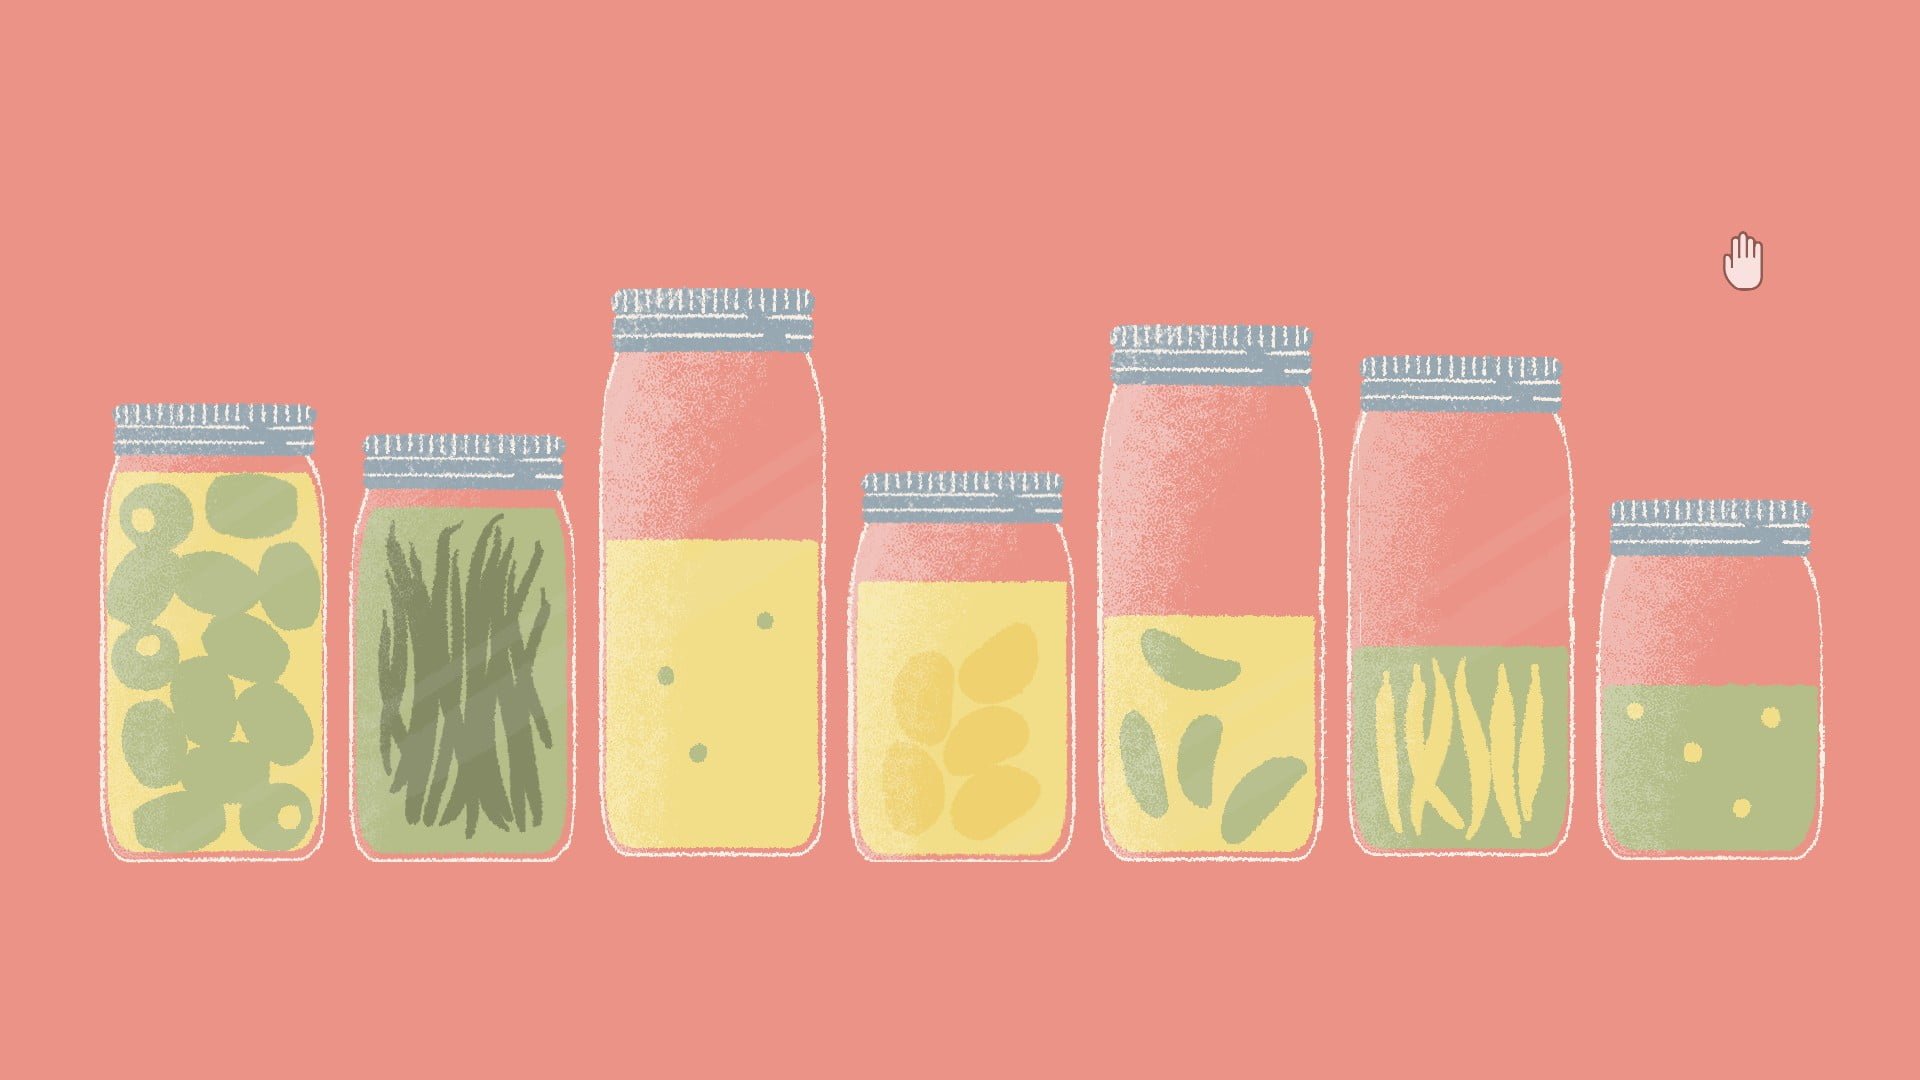
Level 22:
Slide the jars so that they’re in gradient order from yellow to green.
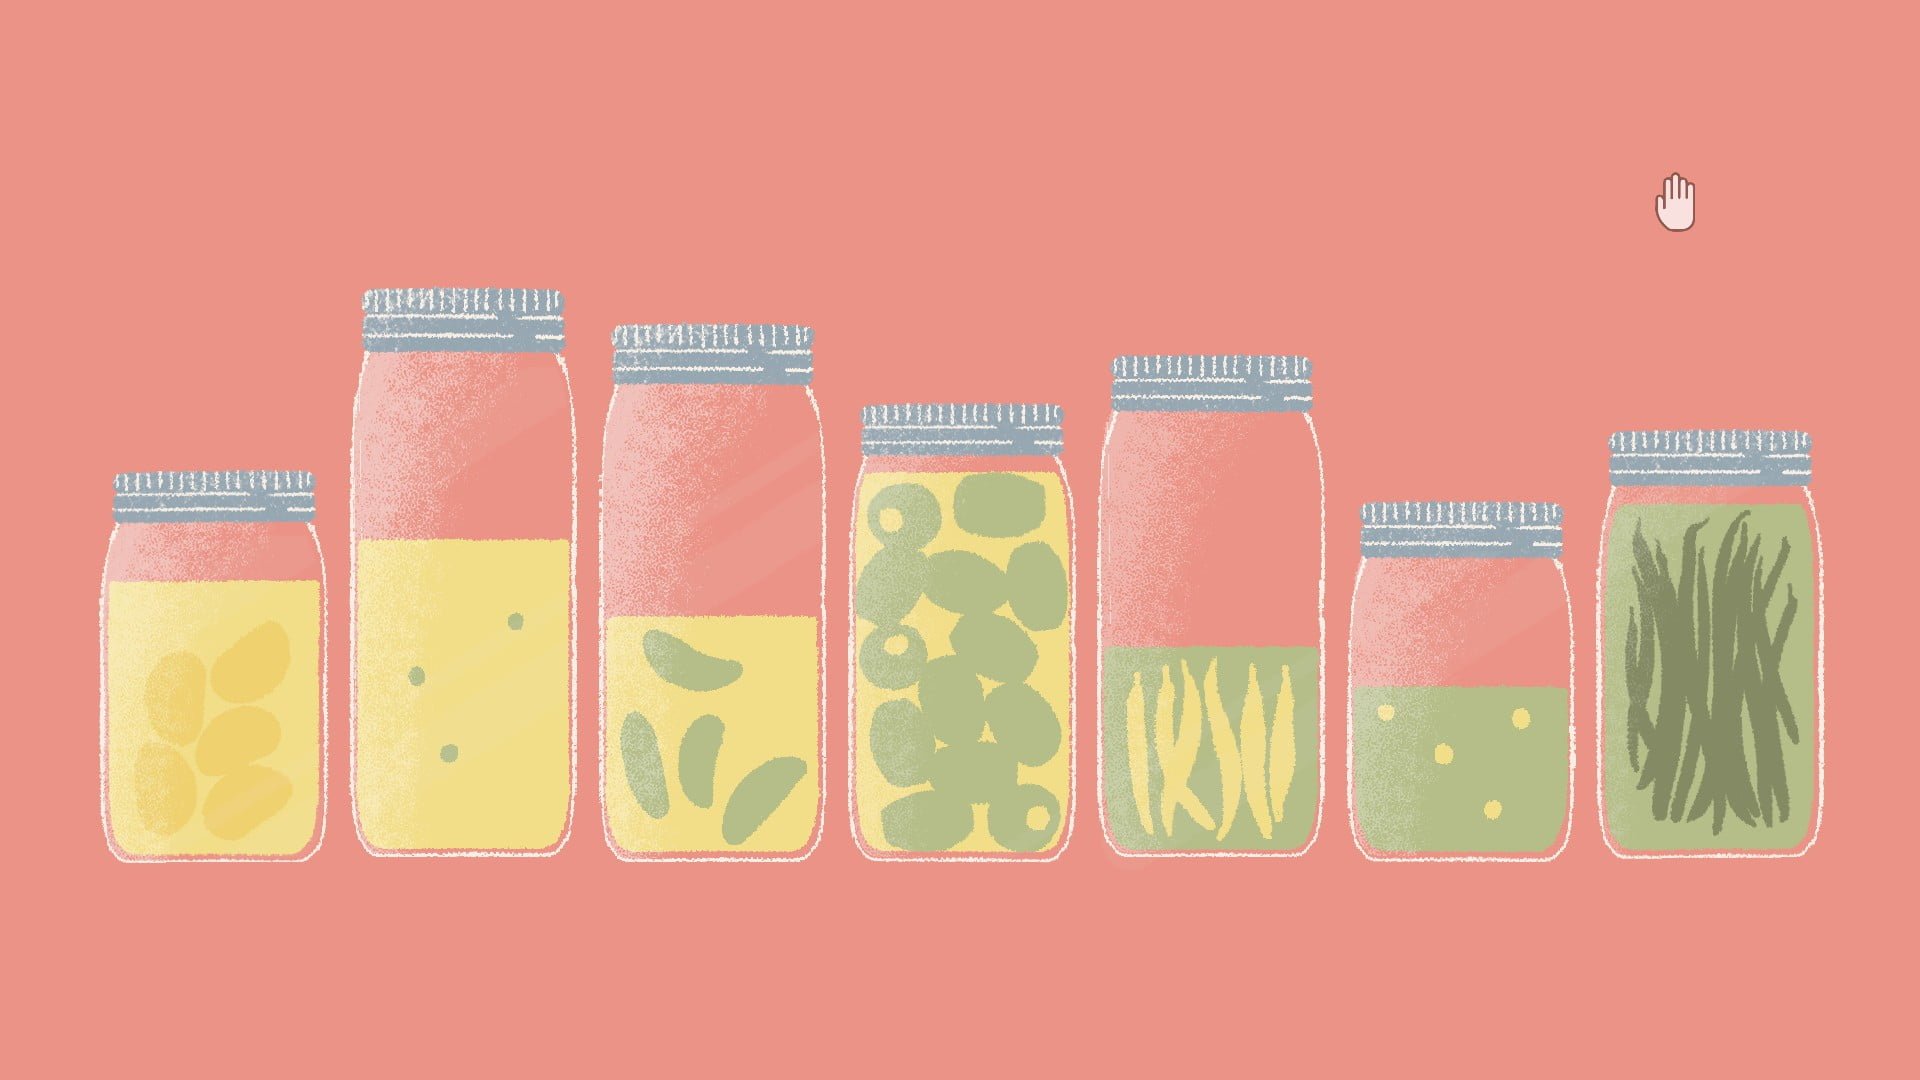
Slide the jars so that they’re in order from tallest jar to shortest jar.
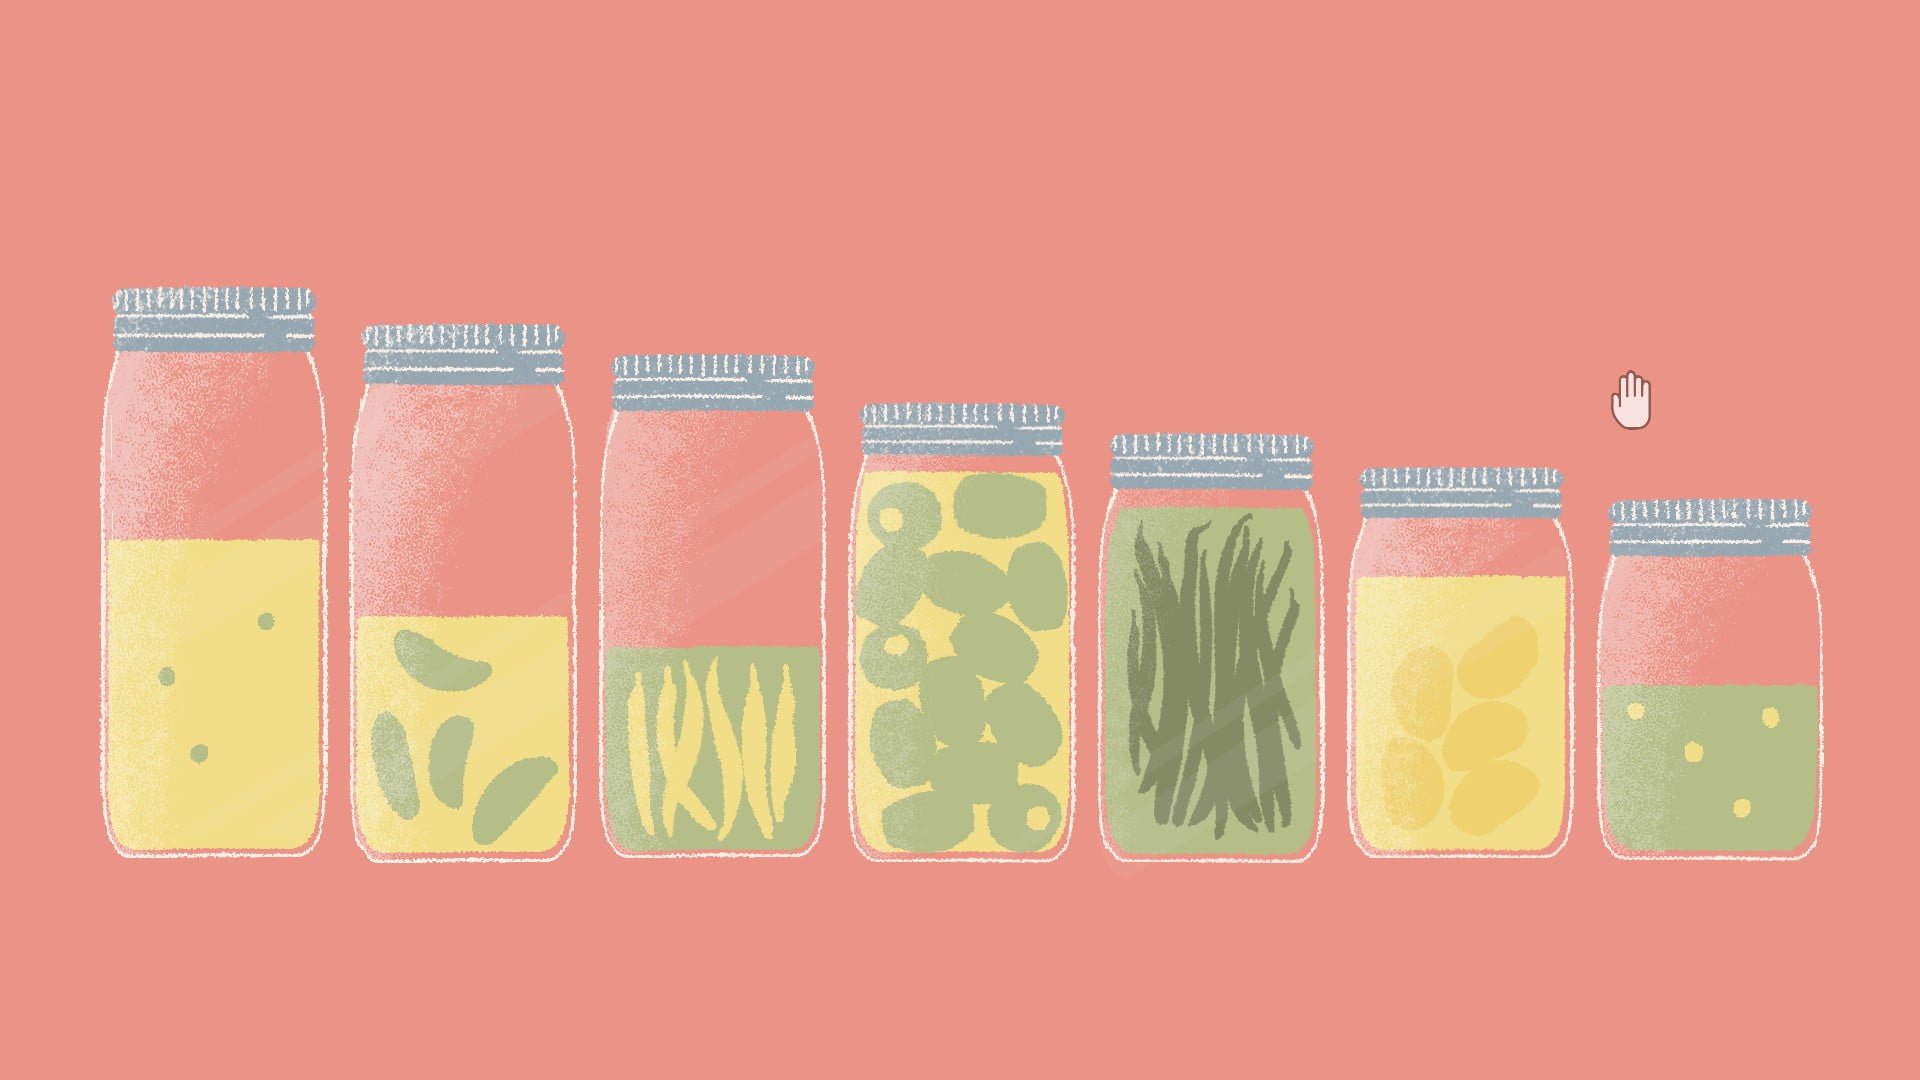
Slide the jars so that they’re in order from tallest liquid height to shortest.
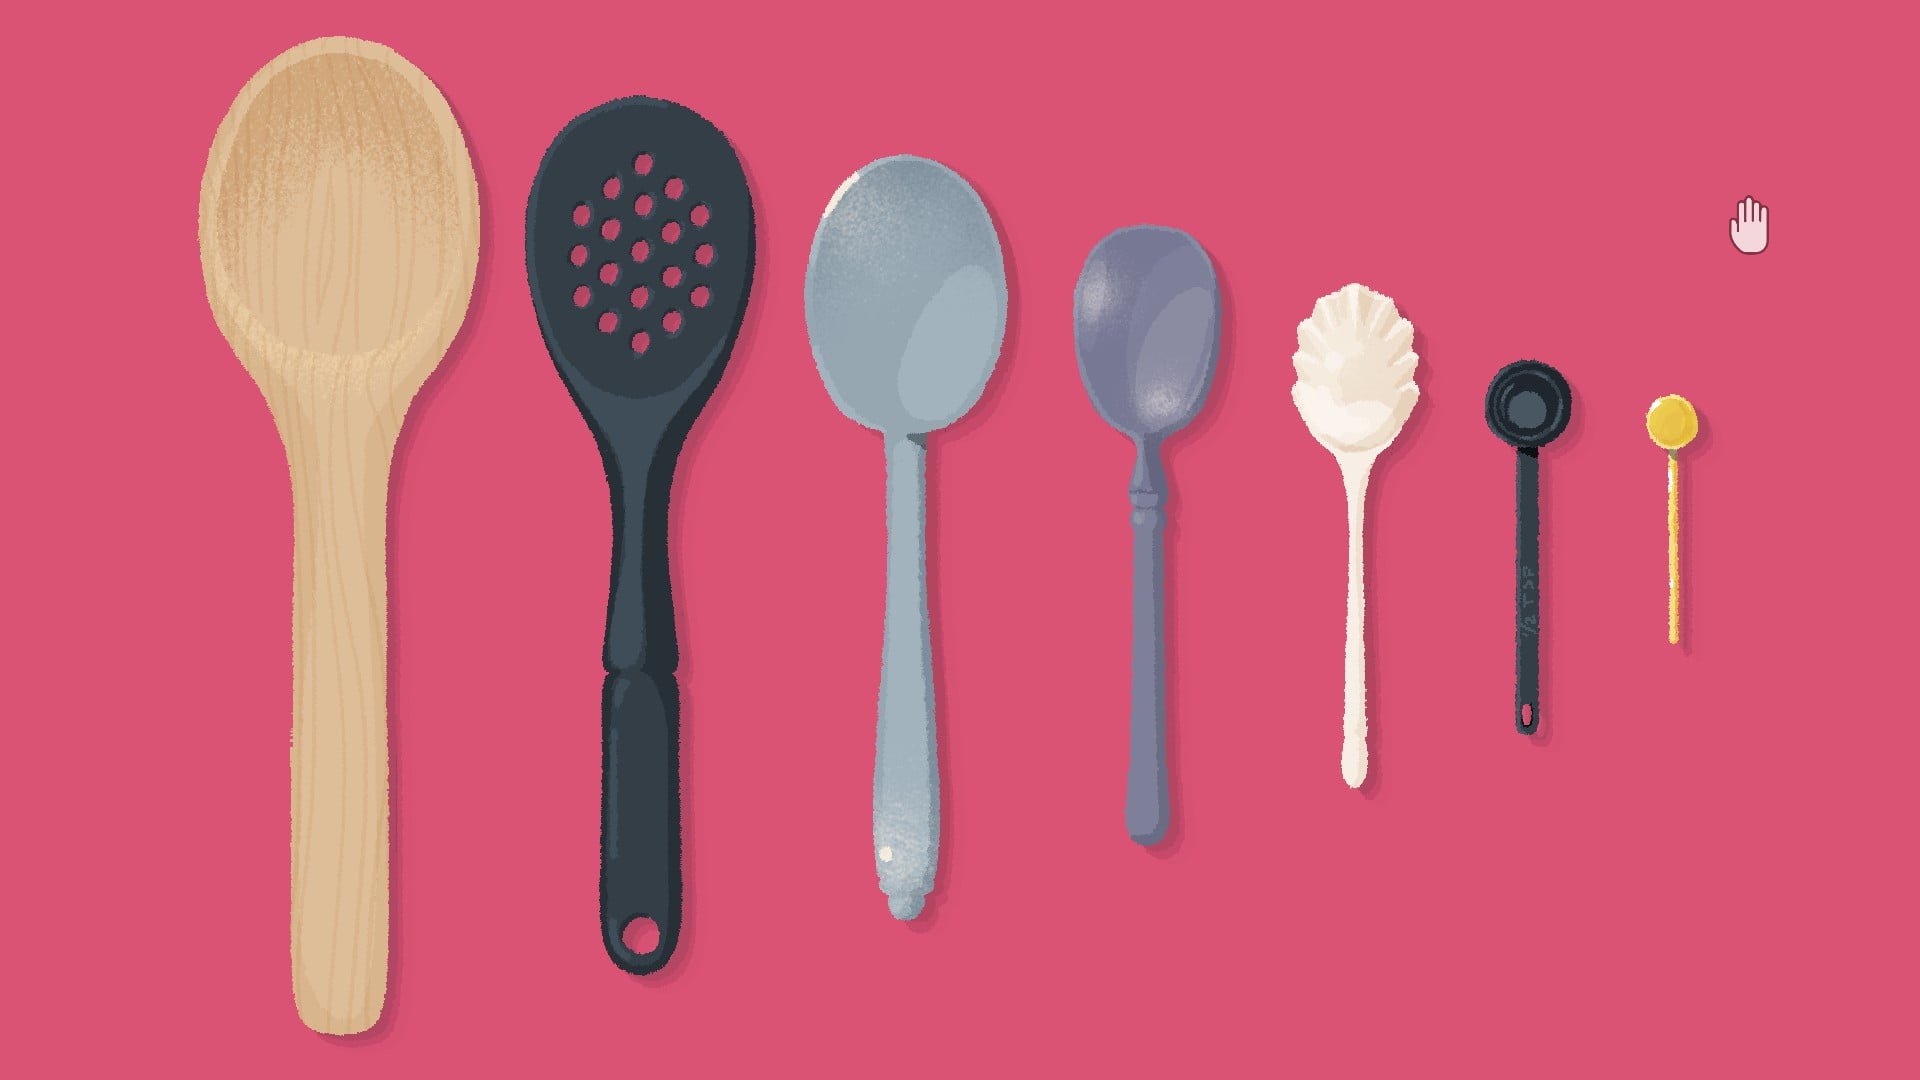
Level 23:
Stack the spoons so that the largest is on the bottom and the smallest is on the top.

Place the spoons so that they’re in order from largest to smallest.
Level 24:
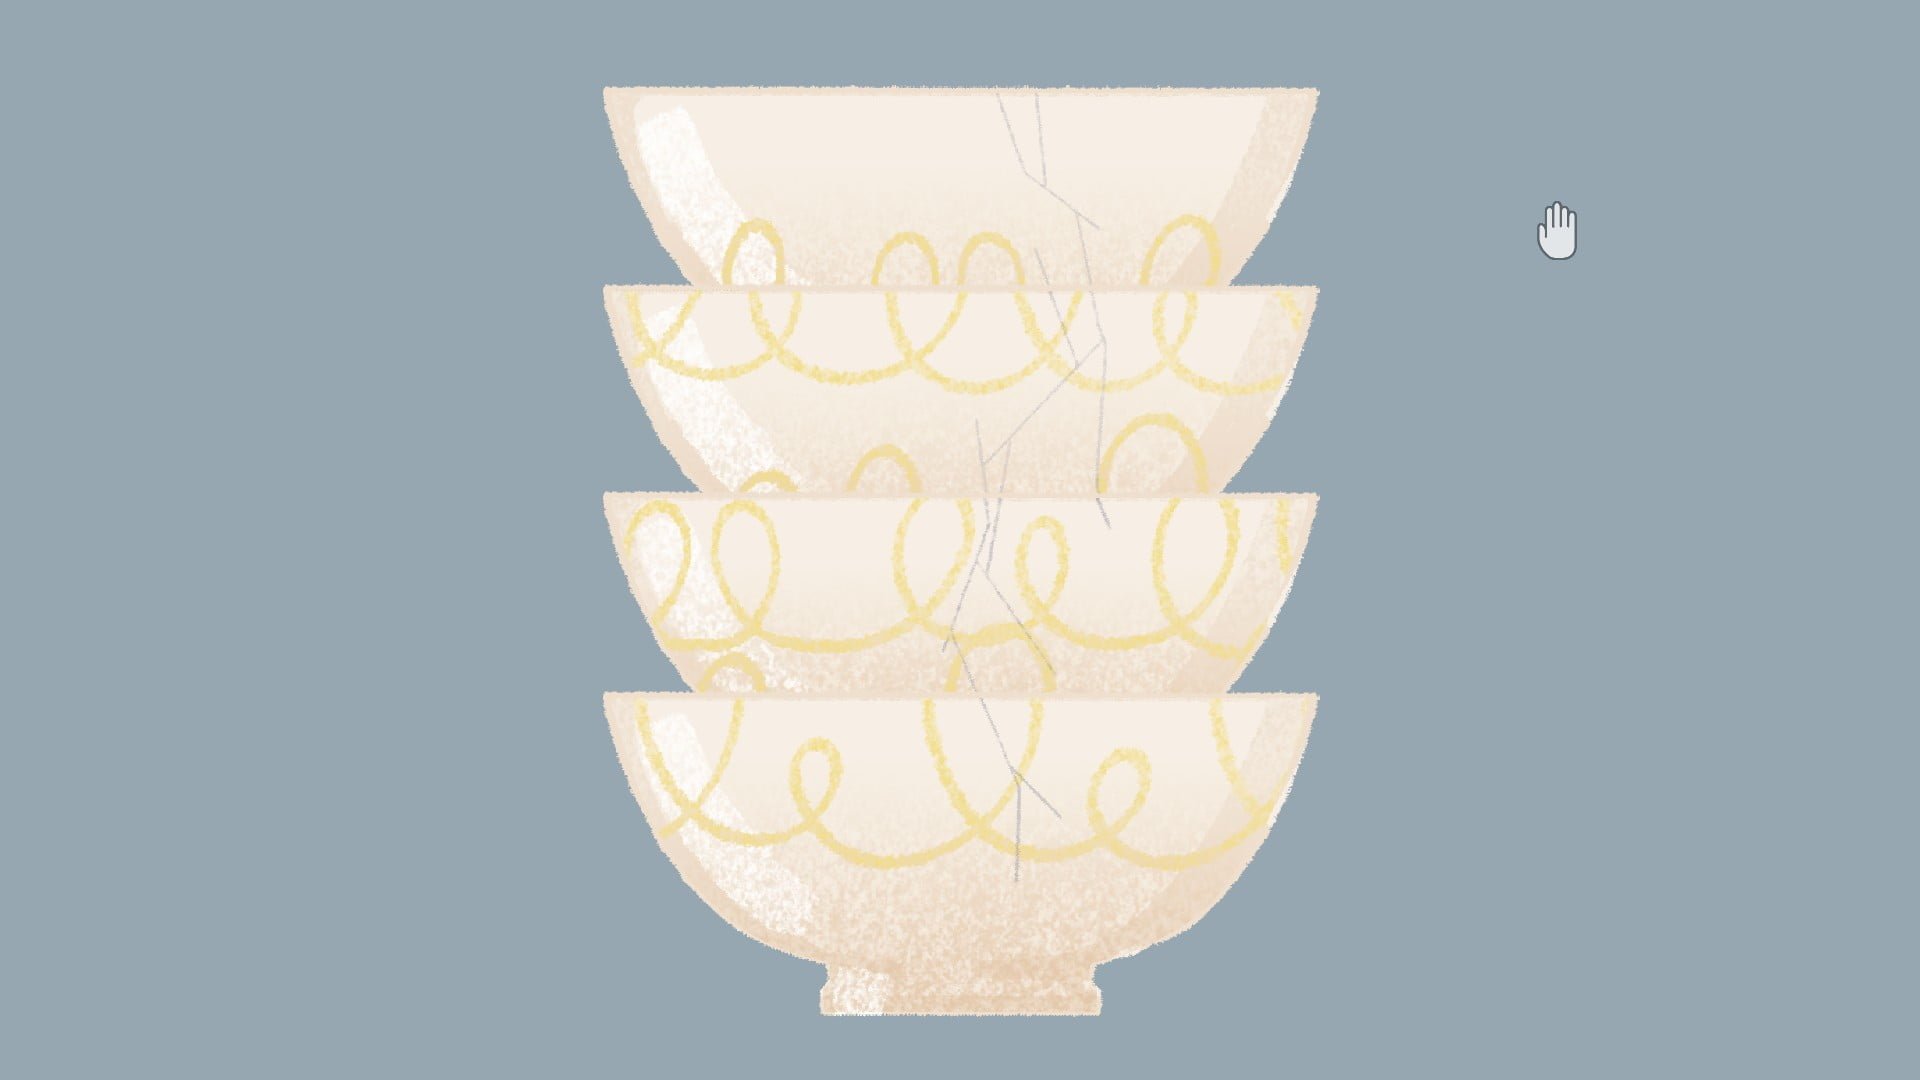
Spin the bowls so that the pattern lines up across all bowls.
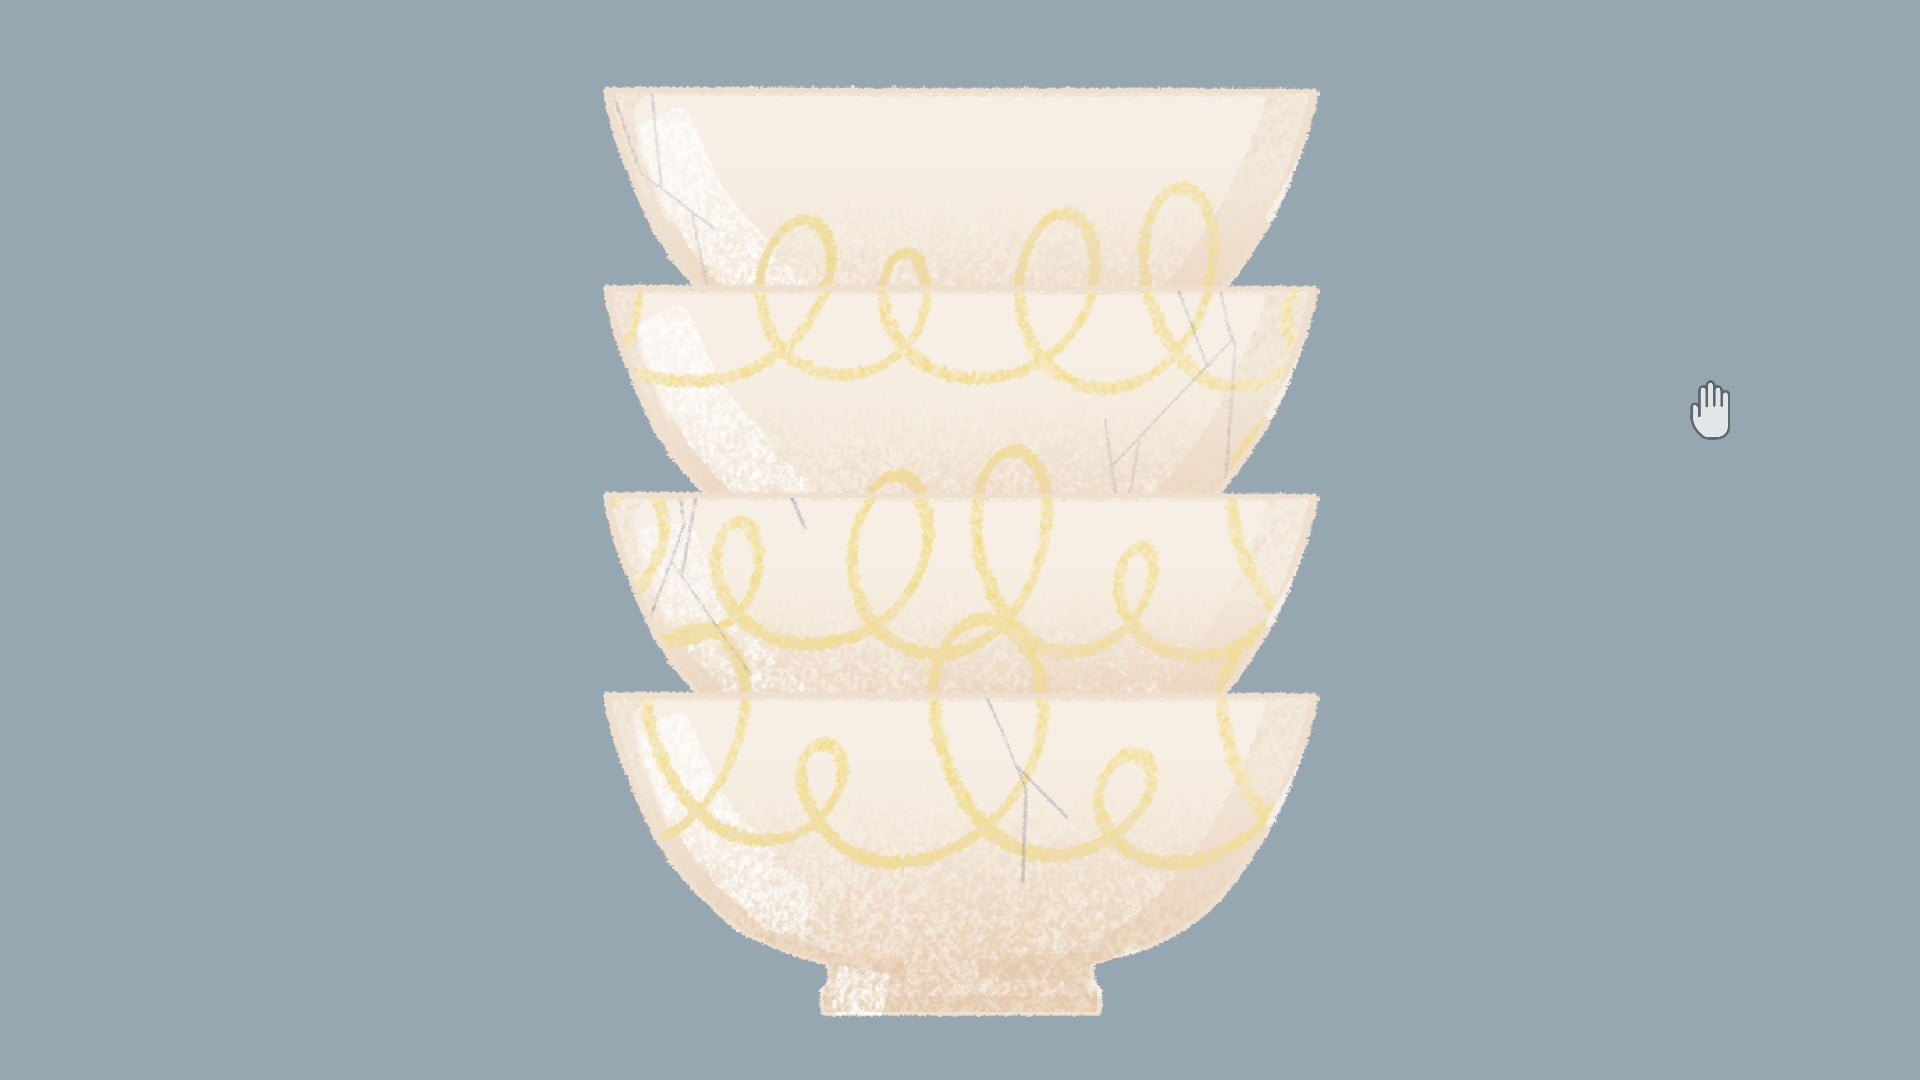
Spin the bowls so that the cracks line up across all bowls.
Level 25:
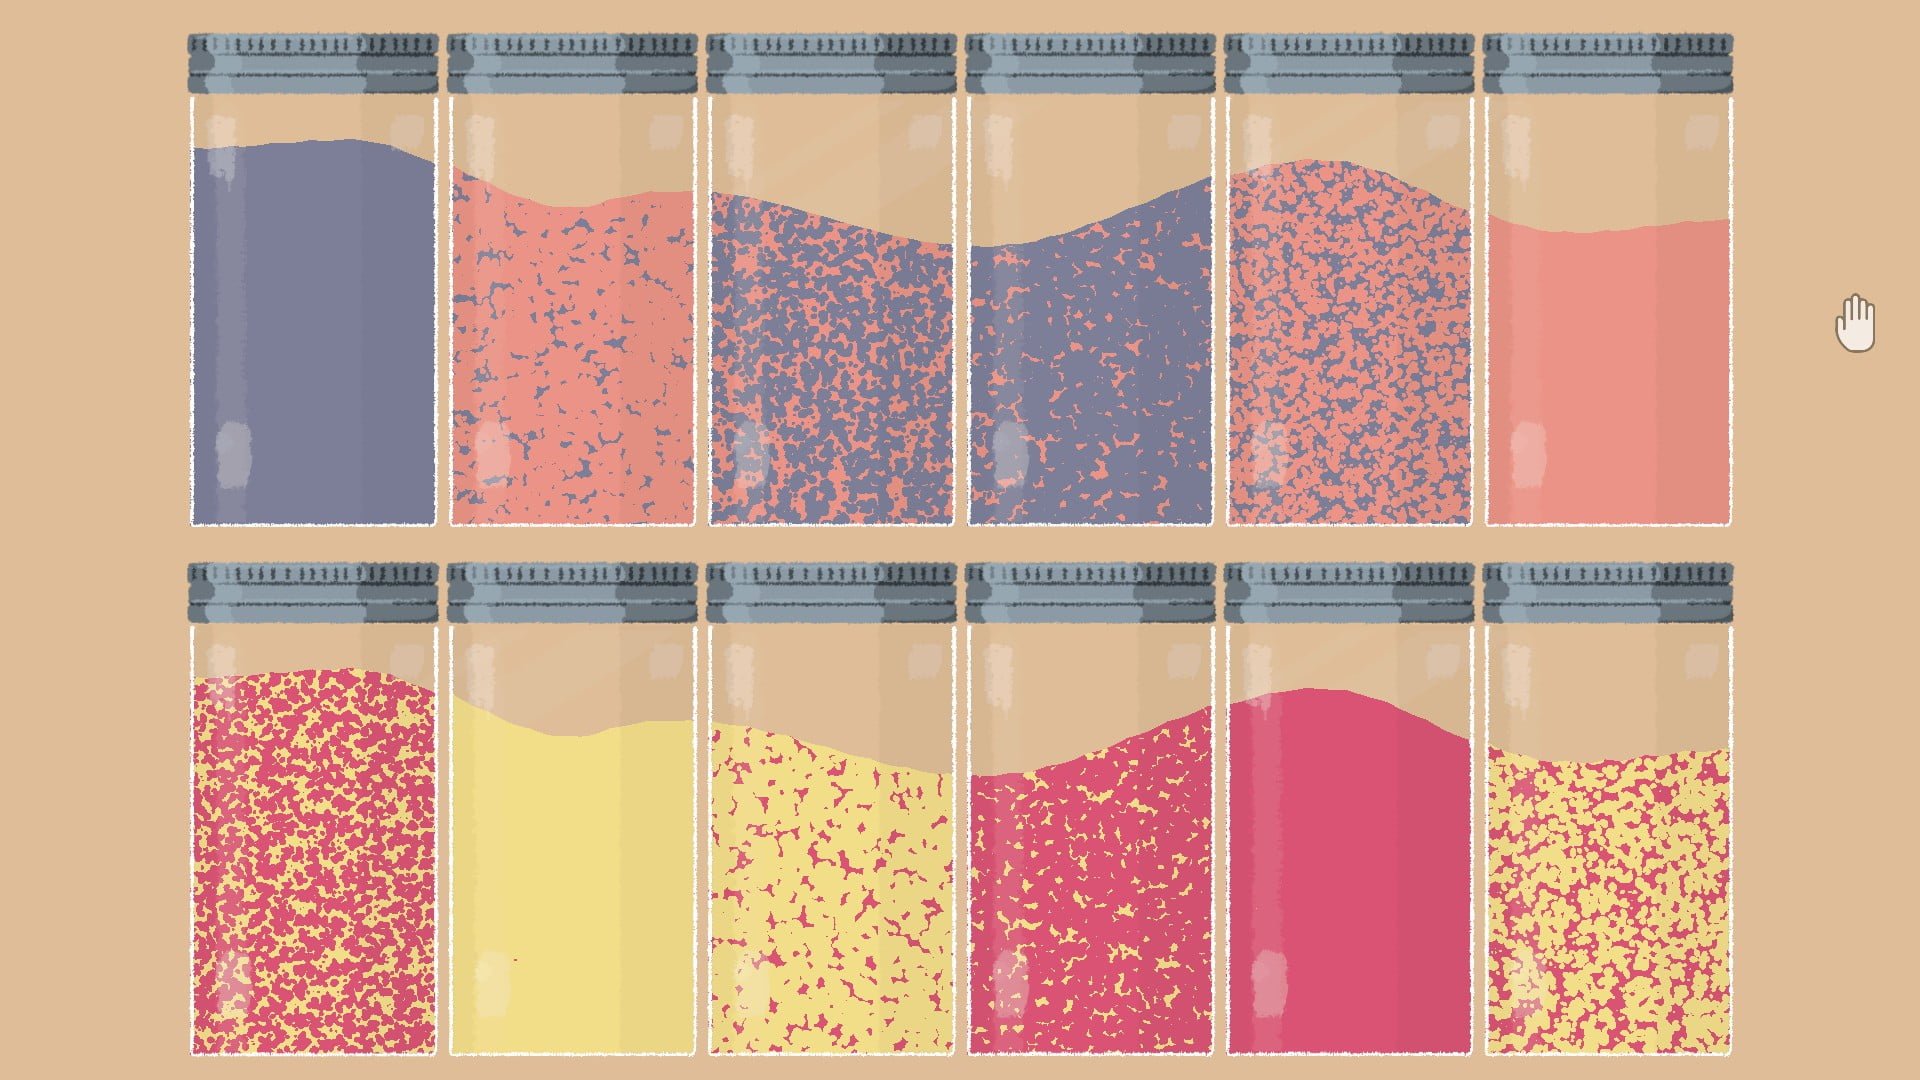
Slide the jars so that both rows are in color gradient order.
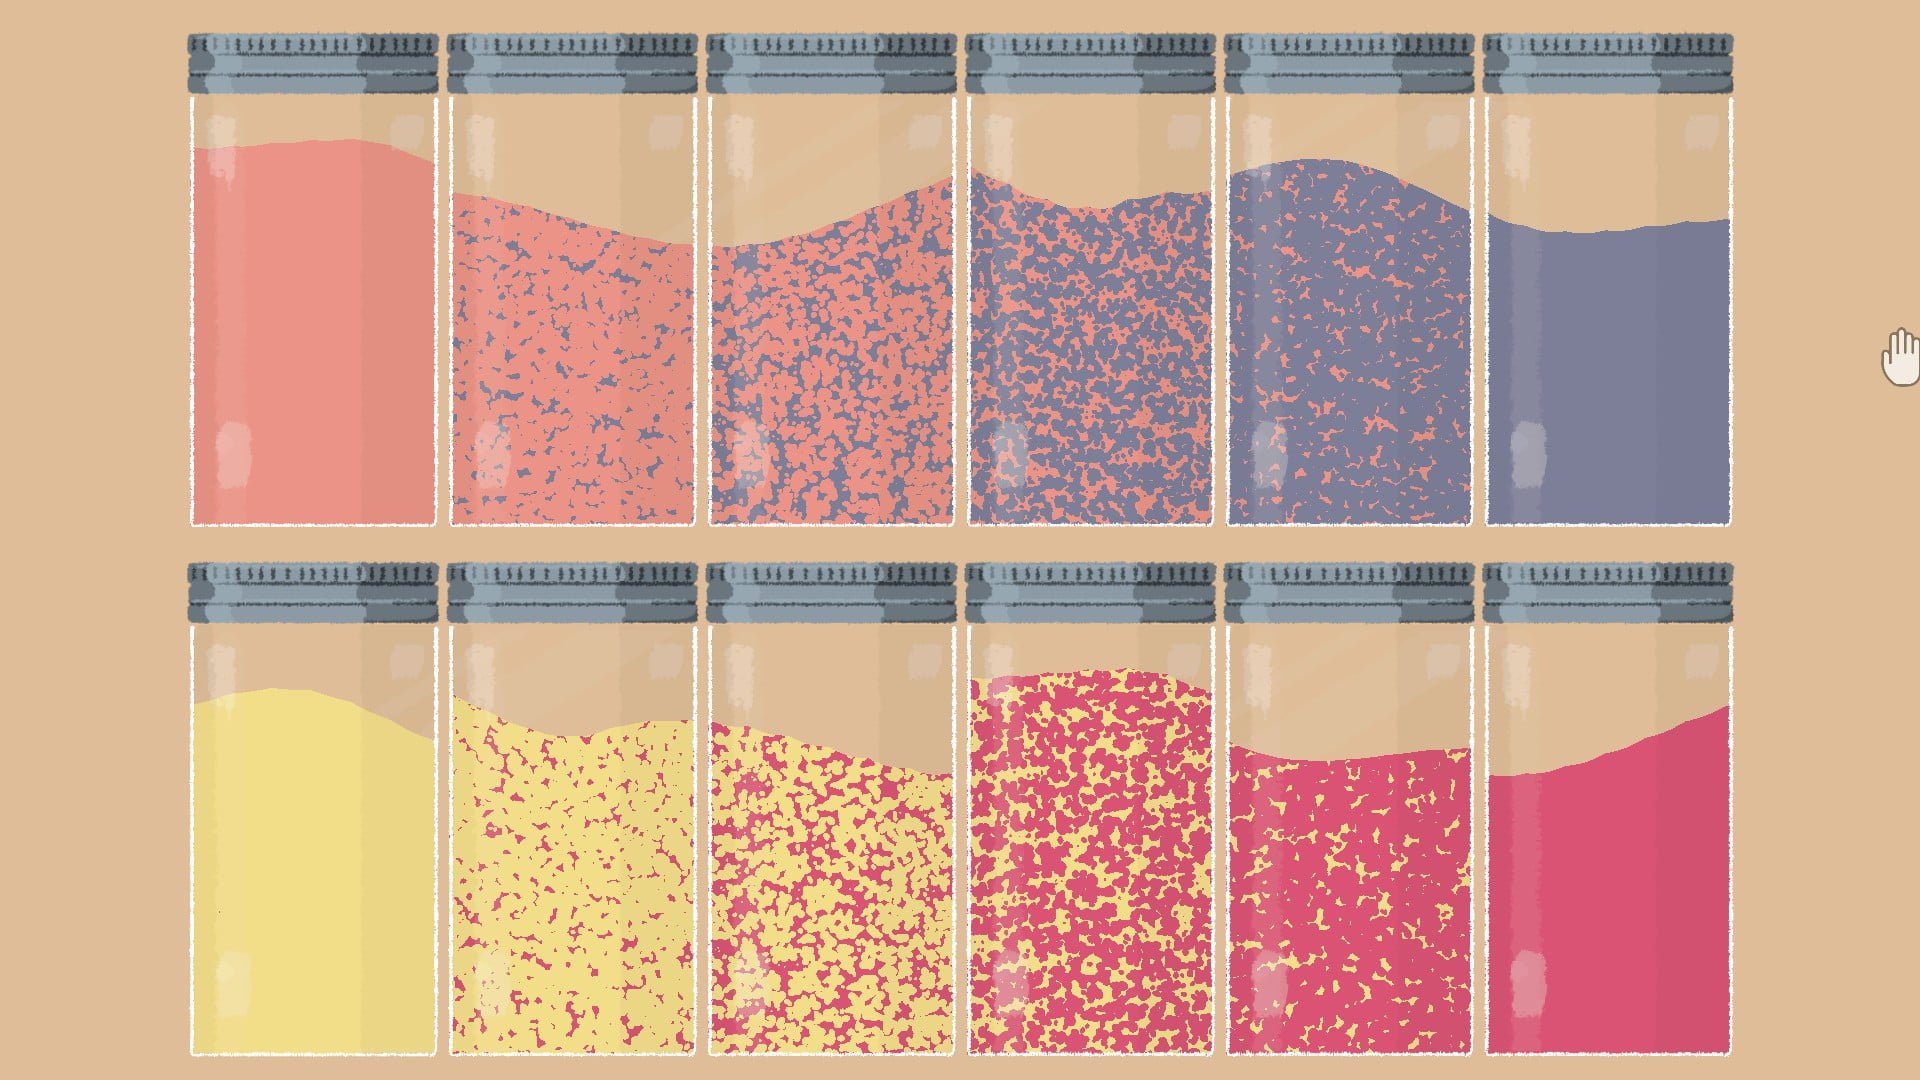
Slide the jars so that the slopes inside the jars line up on both rows. It looks like it randomizes which colors will be assigned to which jar, so if your colors don’t match mine, just make sure to copy the slope, as it’s unchanged.
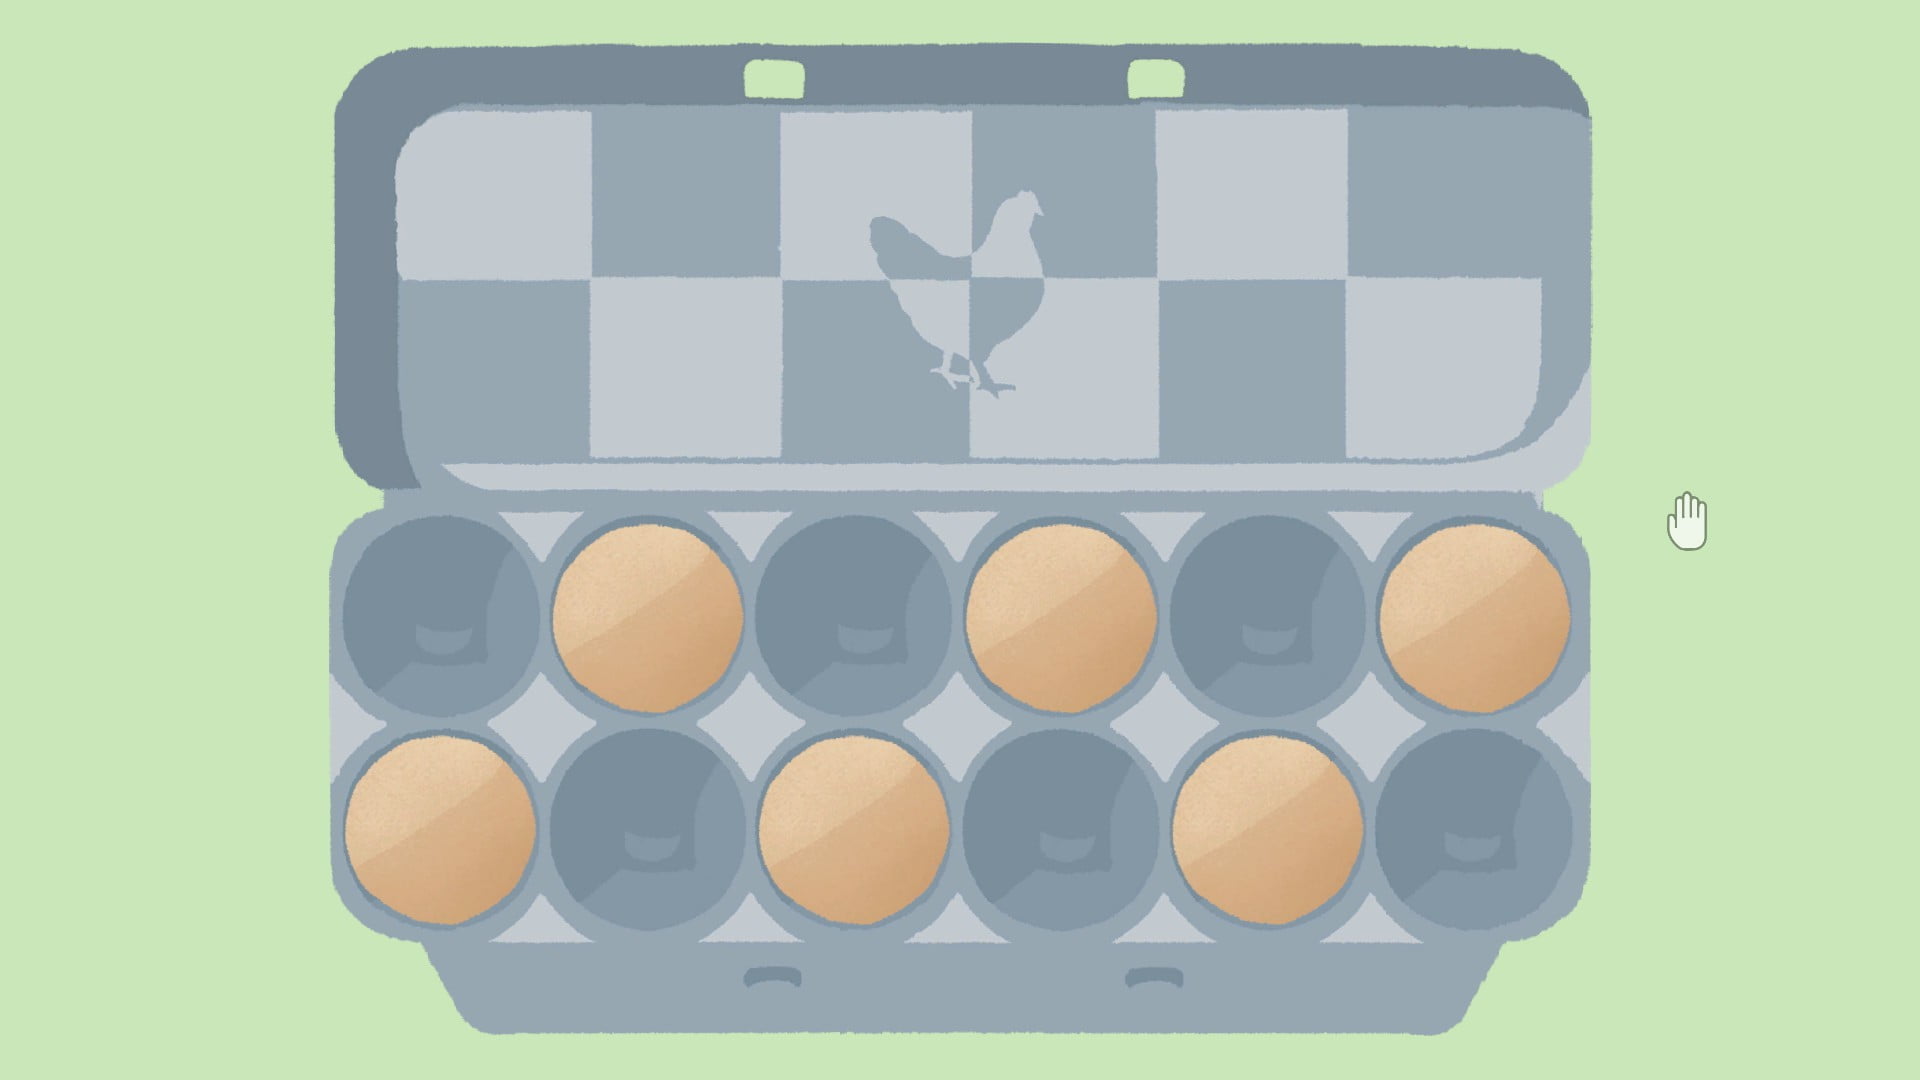
Level 26:
Arrange the eggs so that they’re checkered.
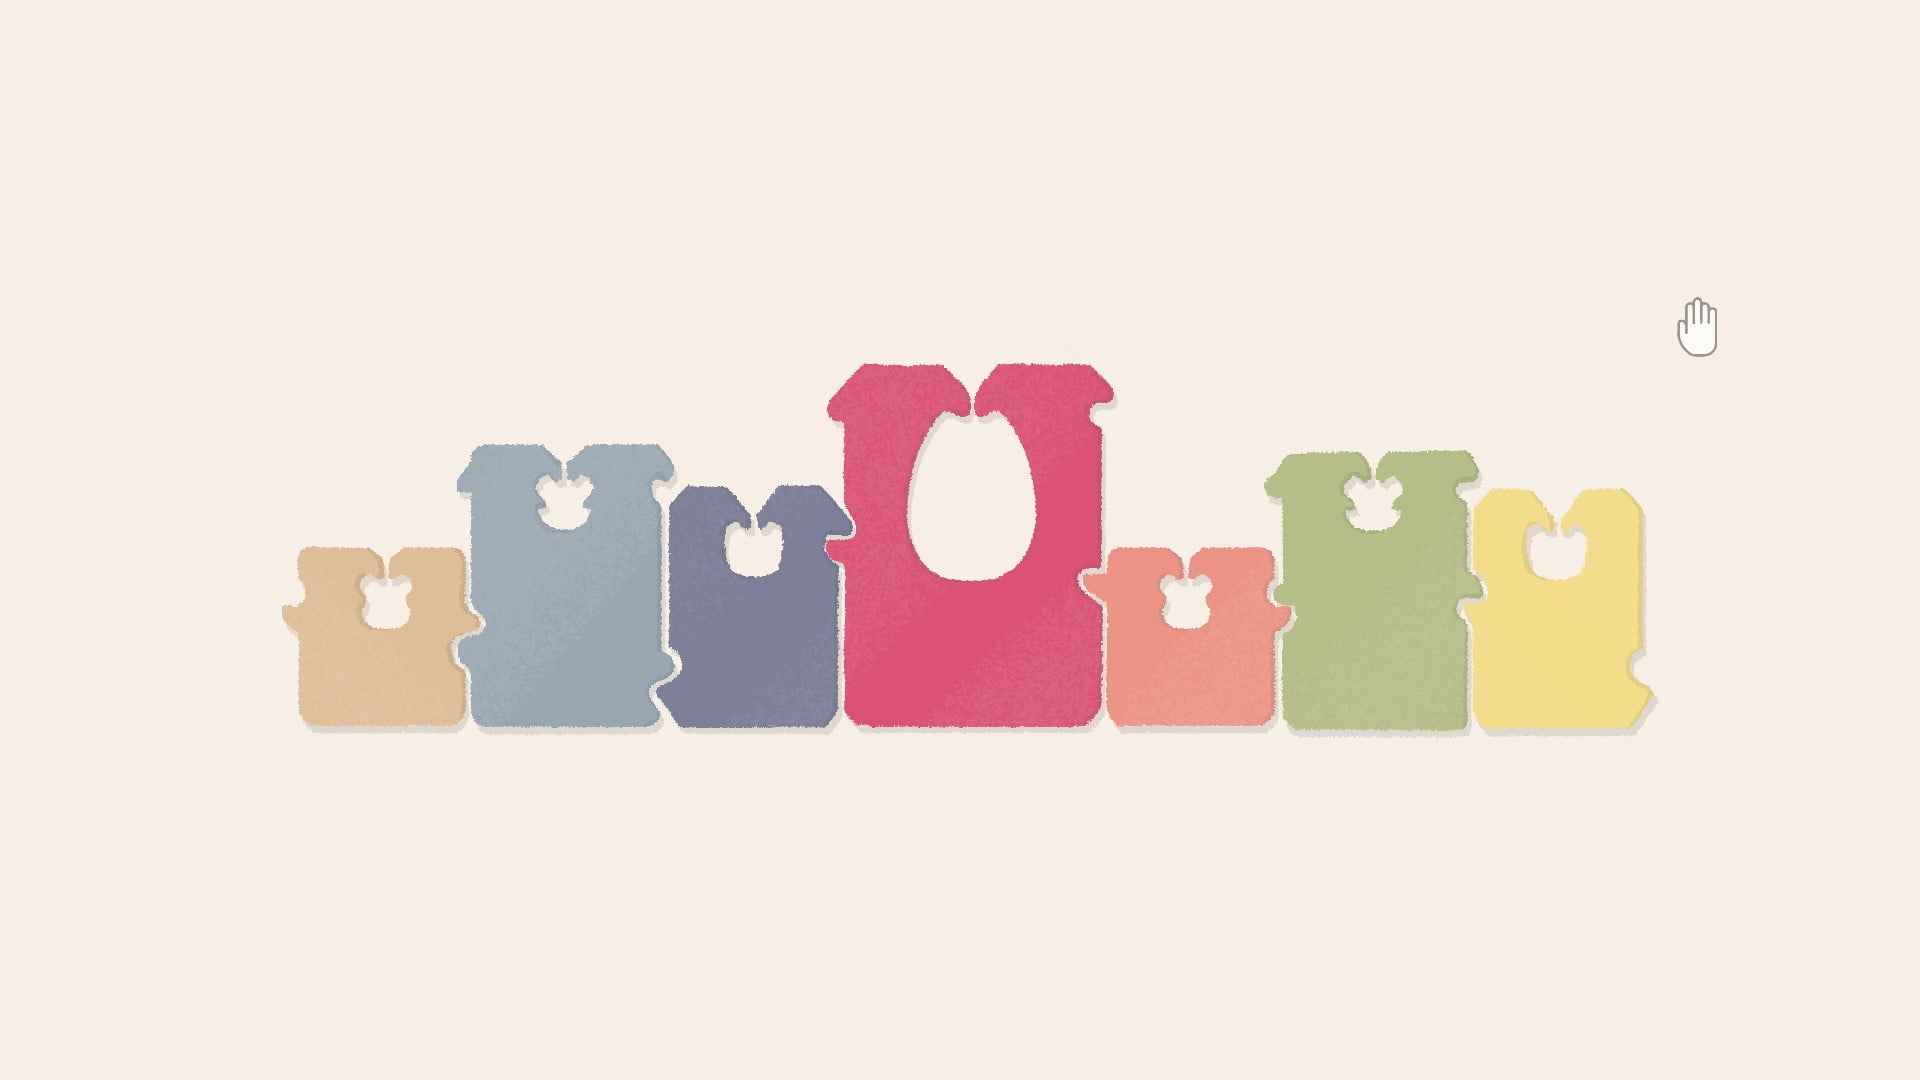
Level 27:
Place the bread ties so that they fit together like puzzle pieces along the sides. Drag the crumbs to the edge of the screen to get rid of them.
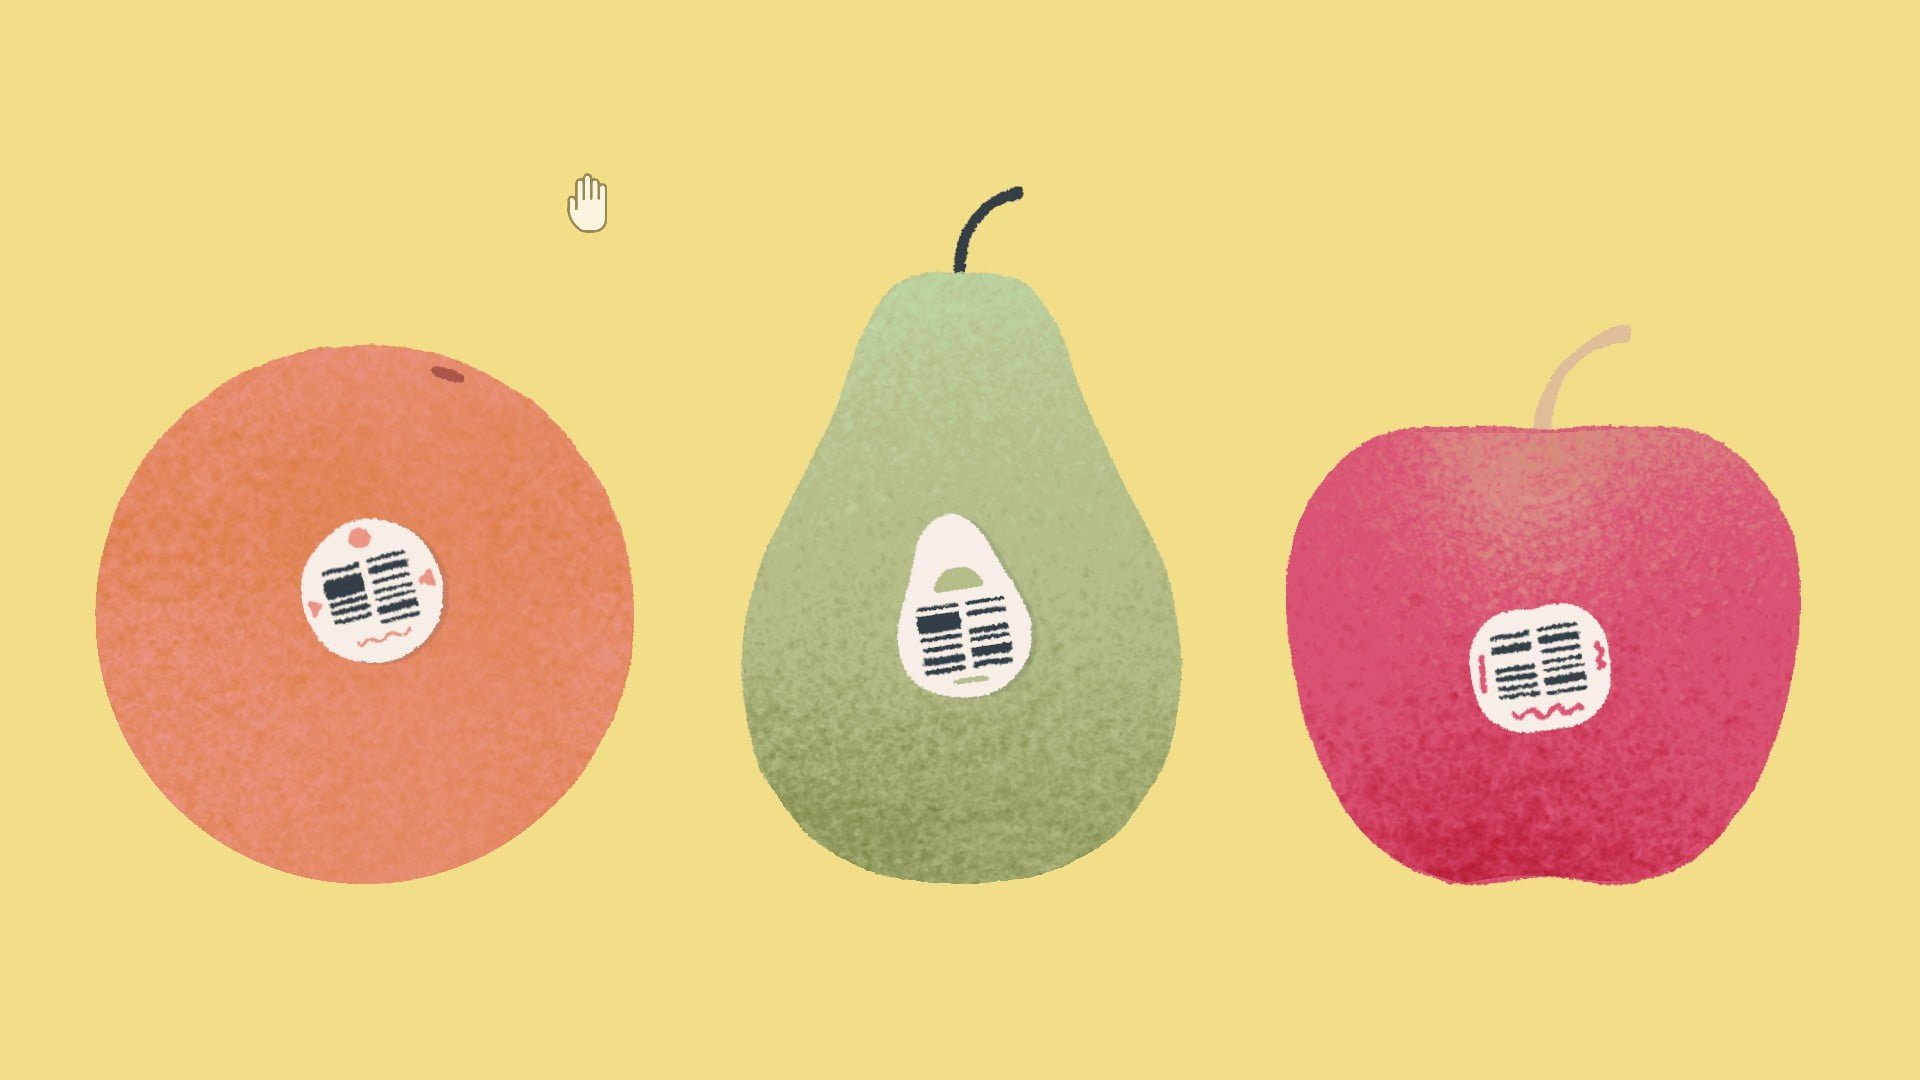
Level 28:
Spin the fruit and remove all stickers.
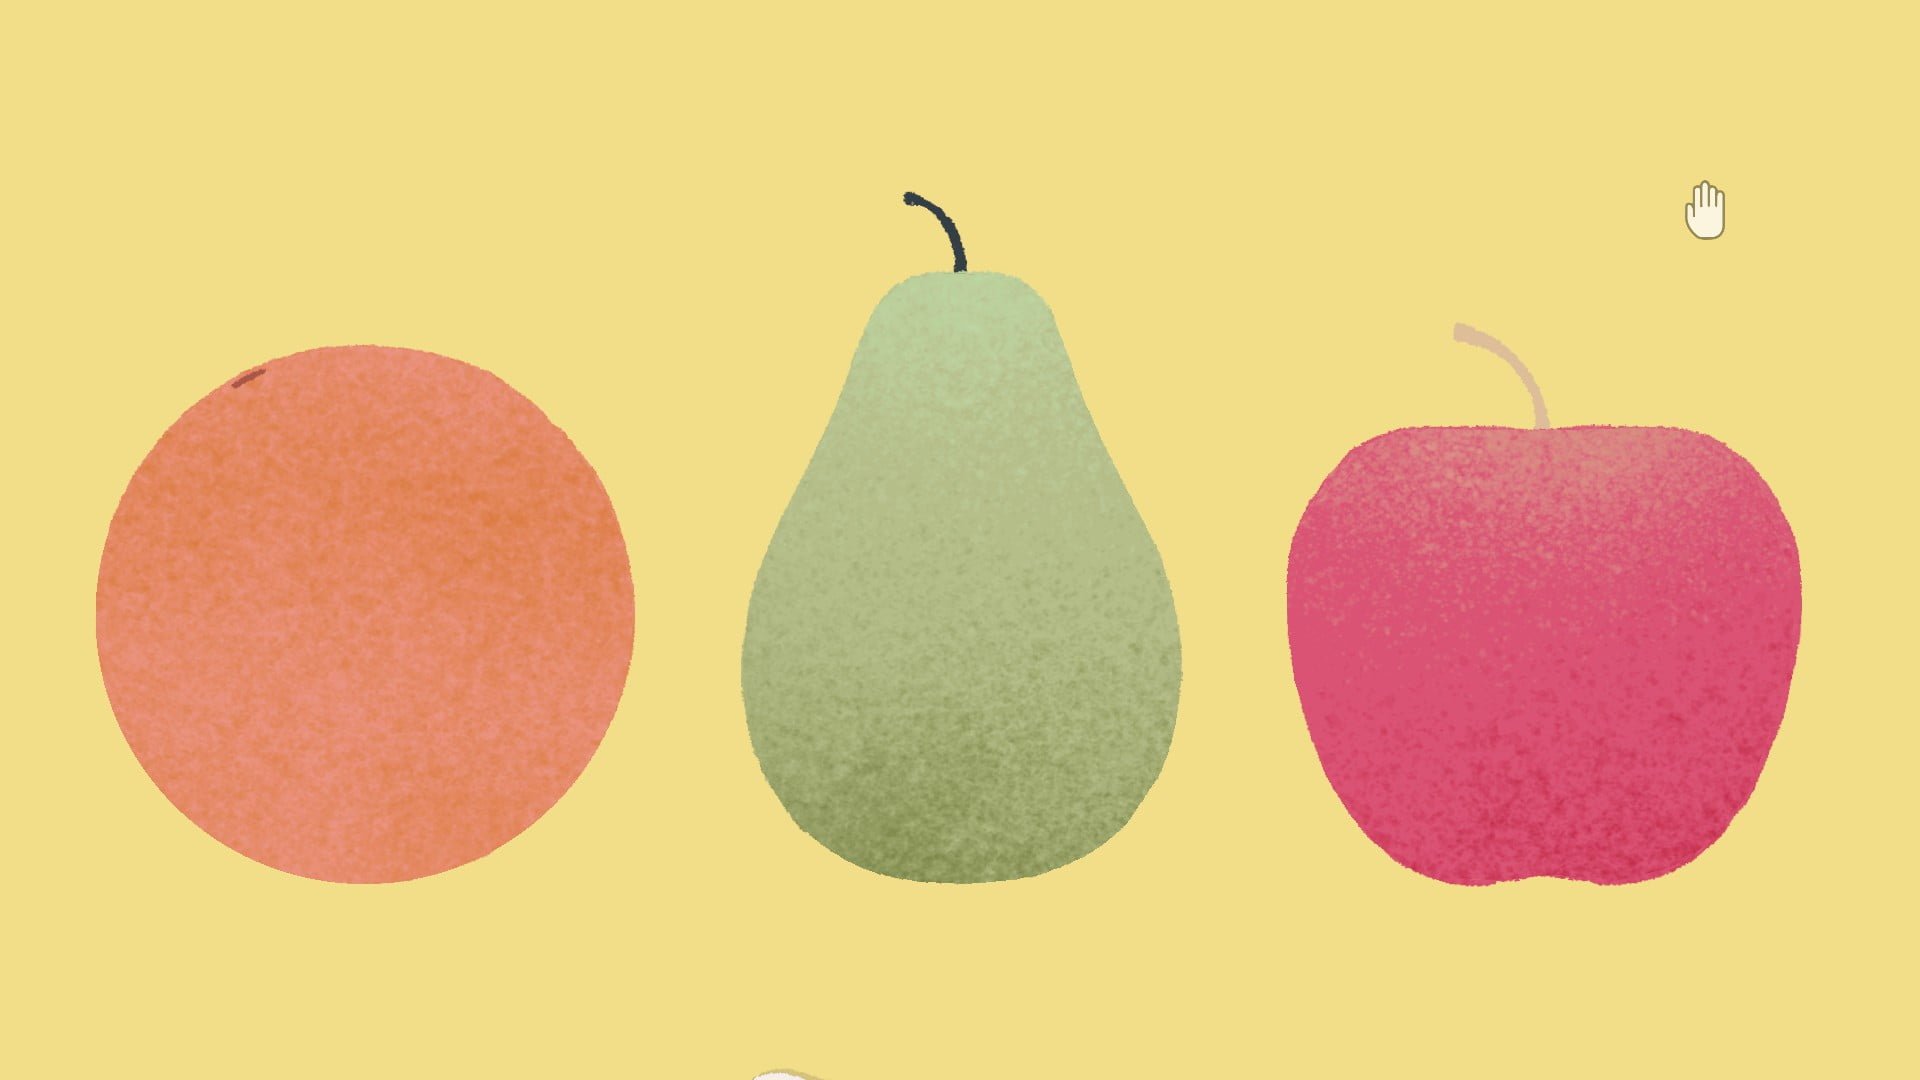
Spin the fruit and remove all blue stickers. Place the green sticker on the pear, the orange on on the orange, and the red one on the apple.
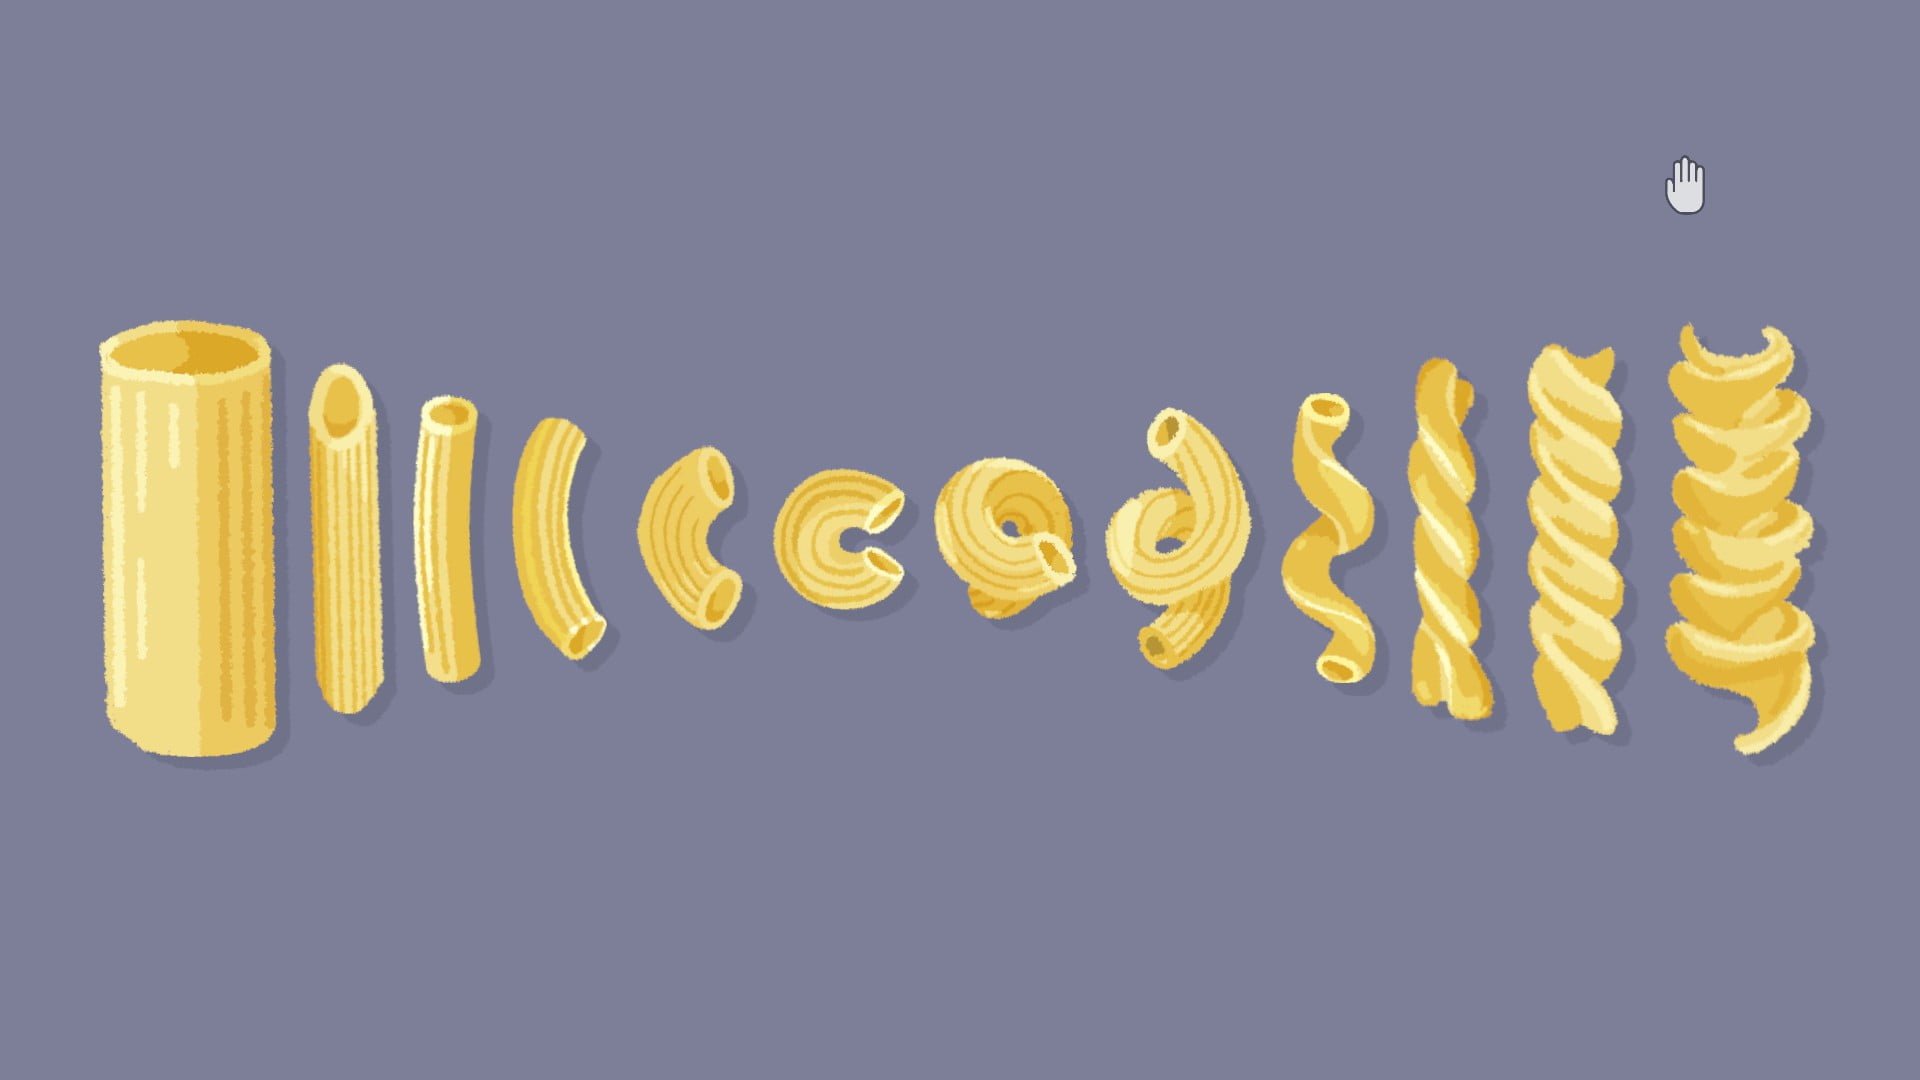
Level 29:
Place the noodles so they’re in order from straightest to curliest.
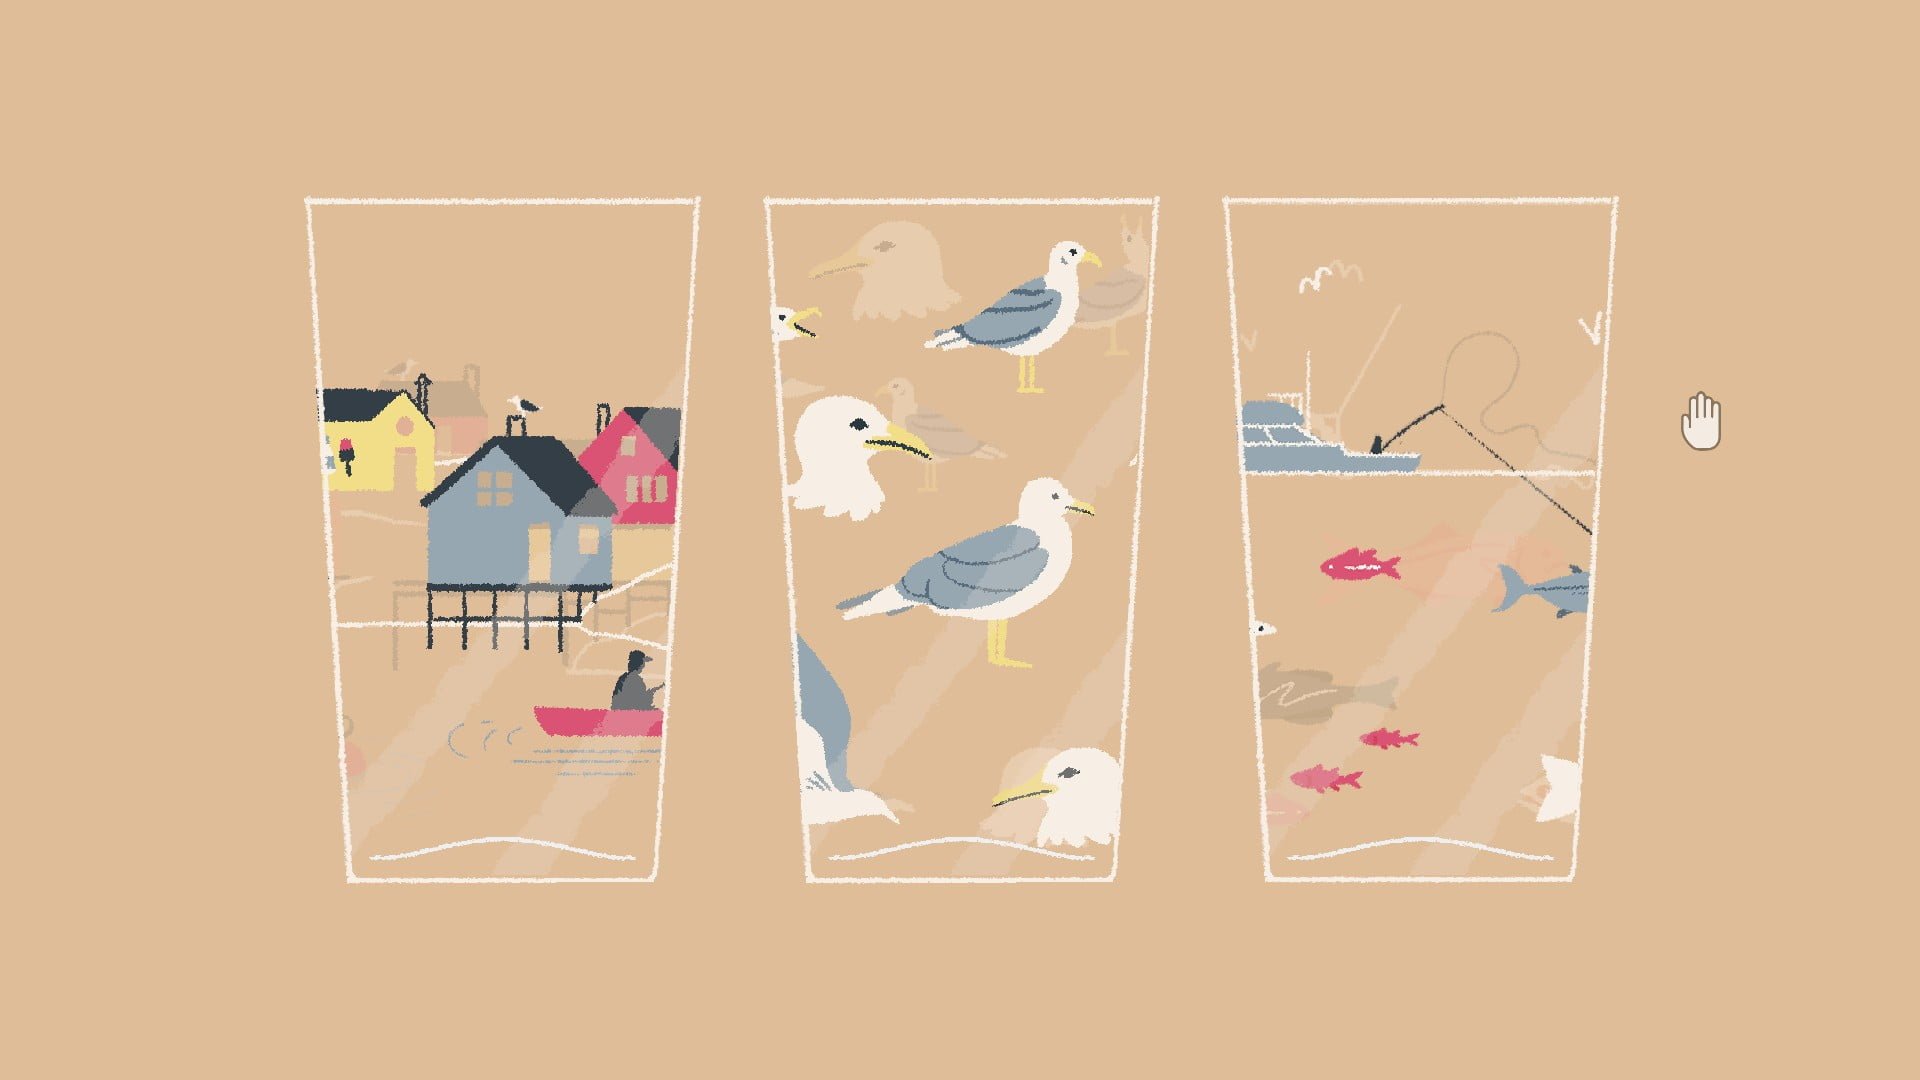
Level 30:
Spin the glasses so that an image lines up with an identical one on the back. The first image is a small bird, the second is a large bird, and the third is a fisherman.
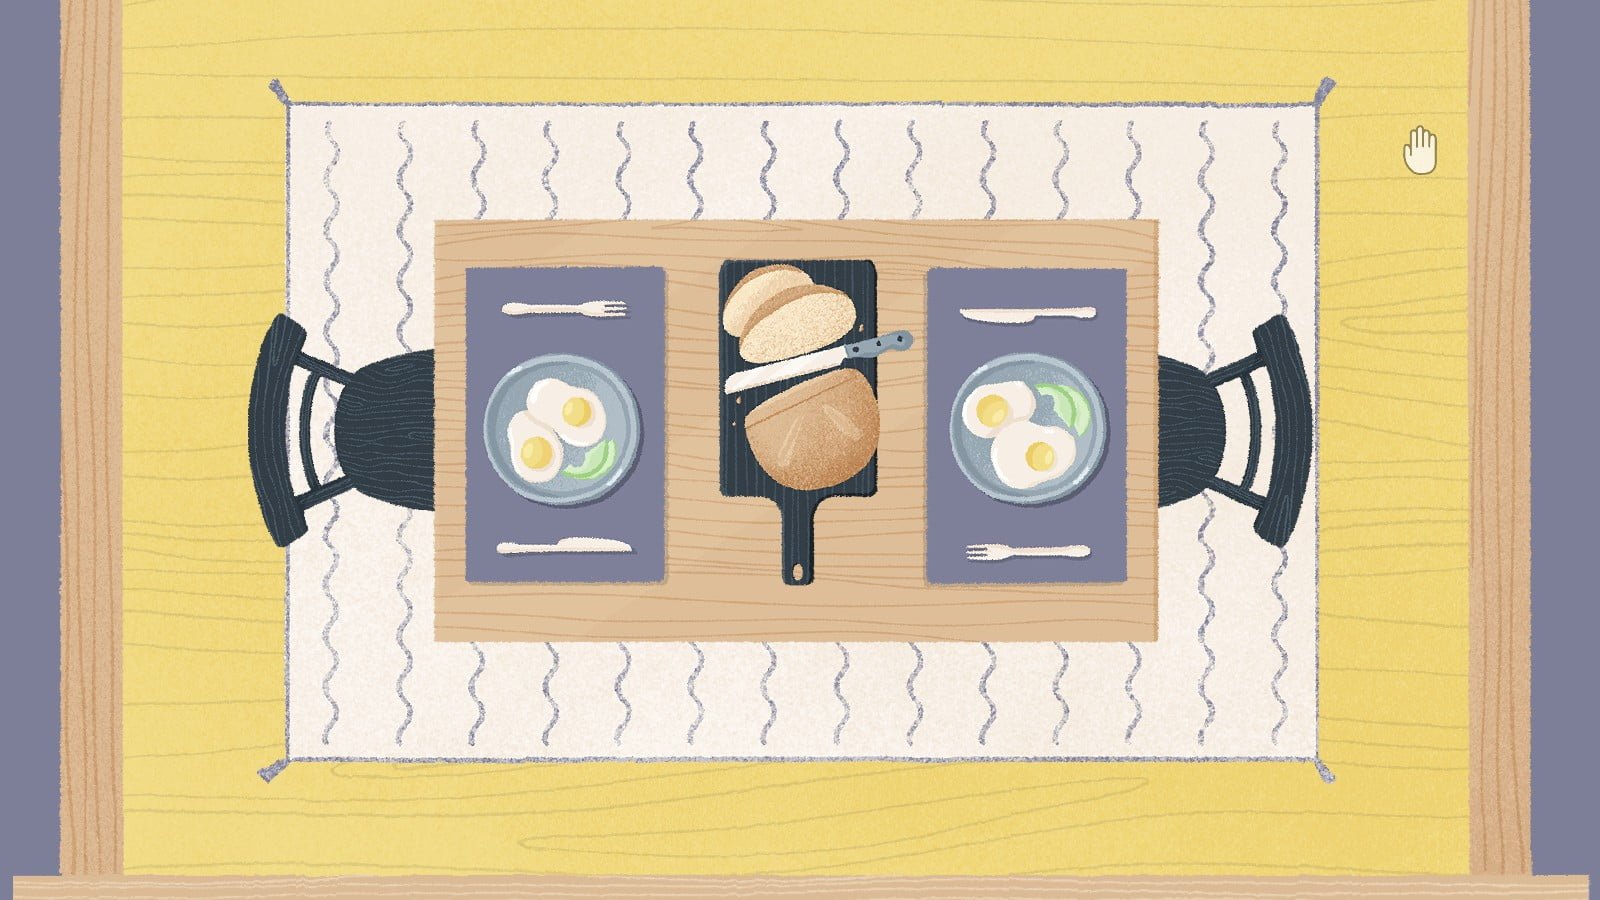
Level 31:
Place the table setting in proper order. The cat will mess up the arrangement a couple of times, simply fix it until the level is complete.
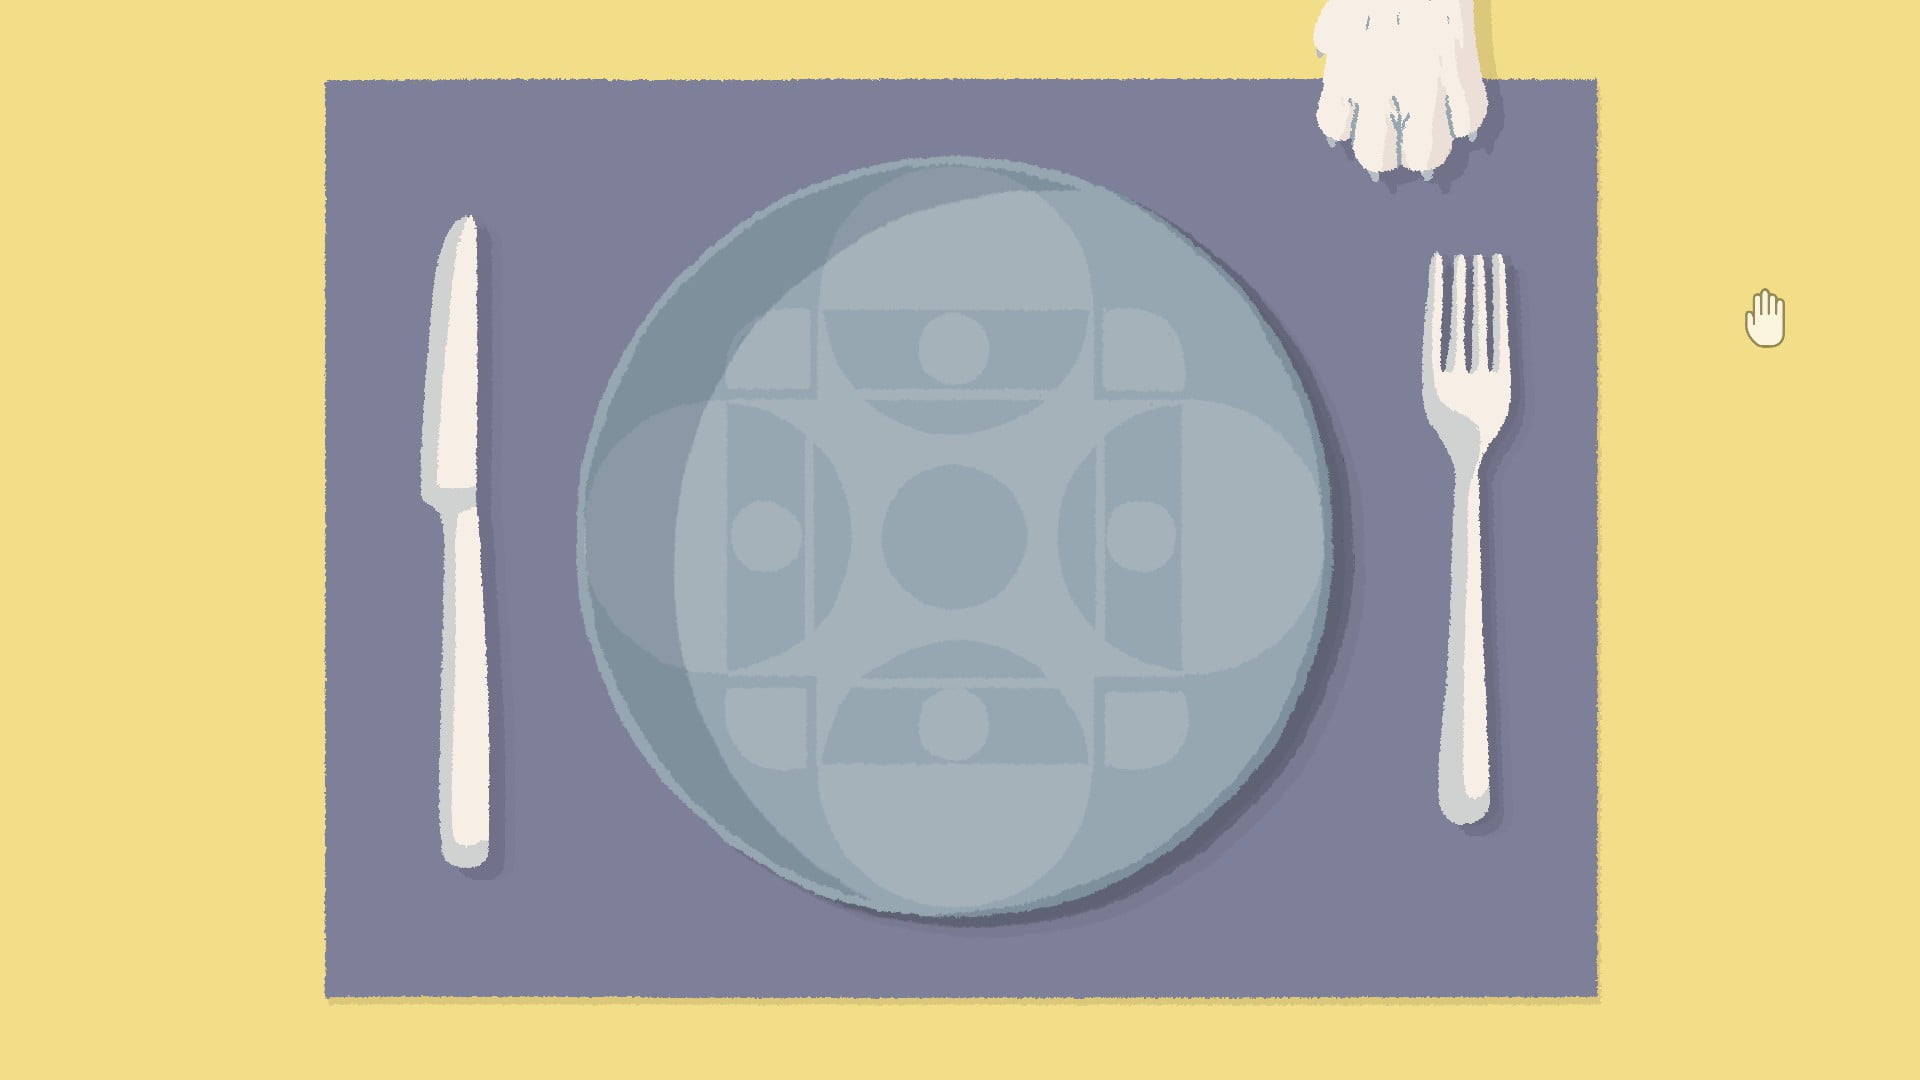
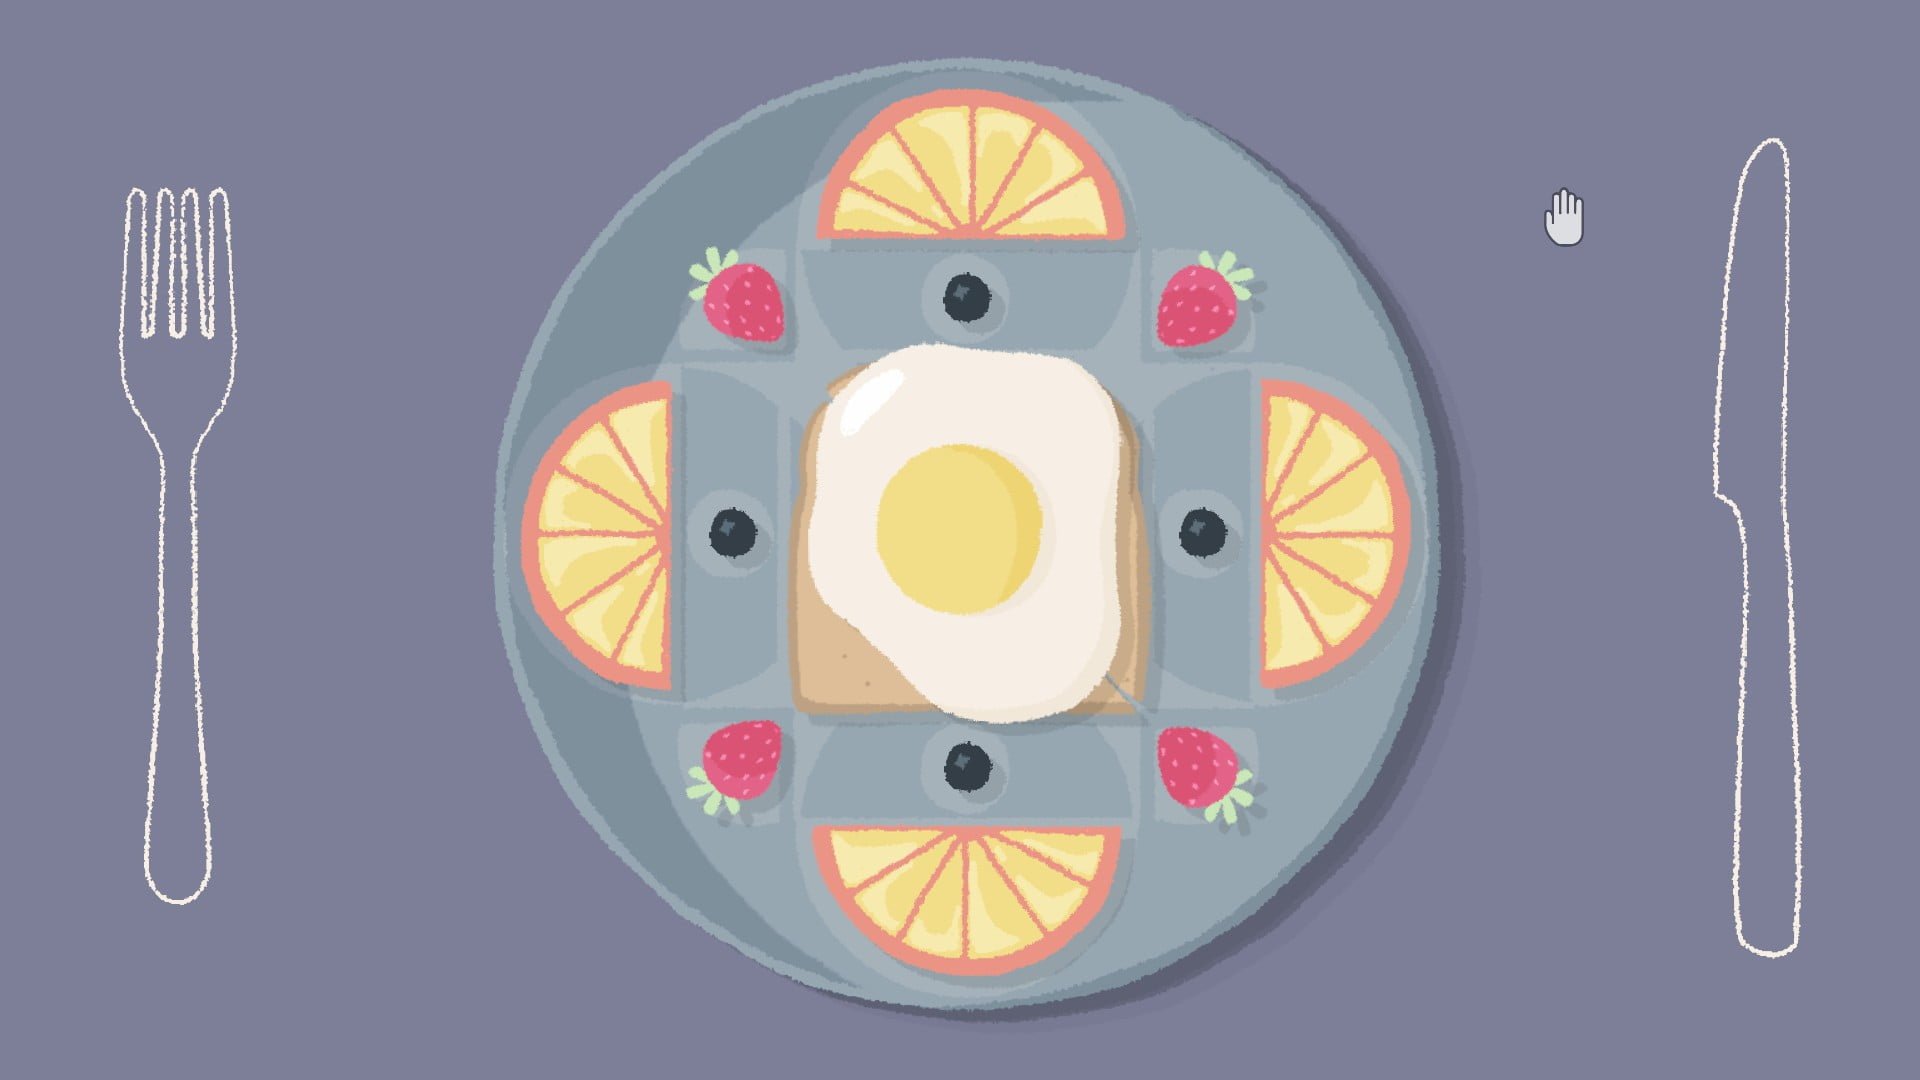
Level 32:
Place the food on the plate in a satisfying symmetric way.
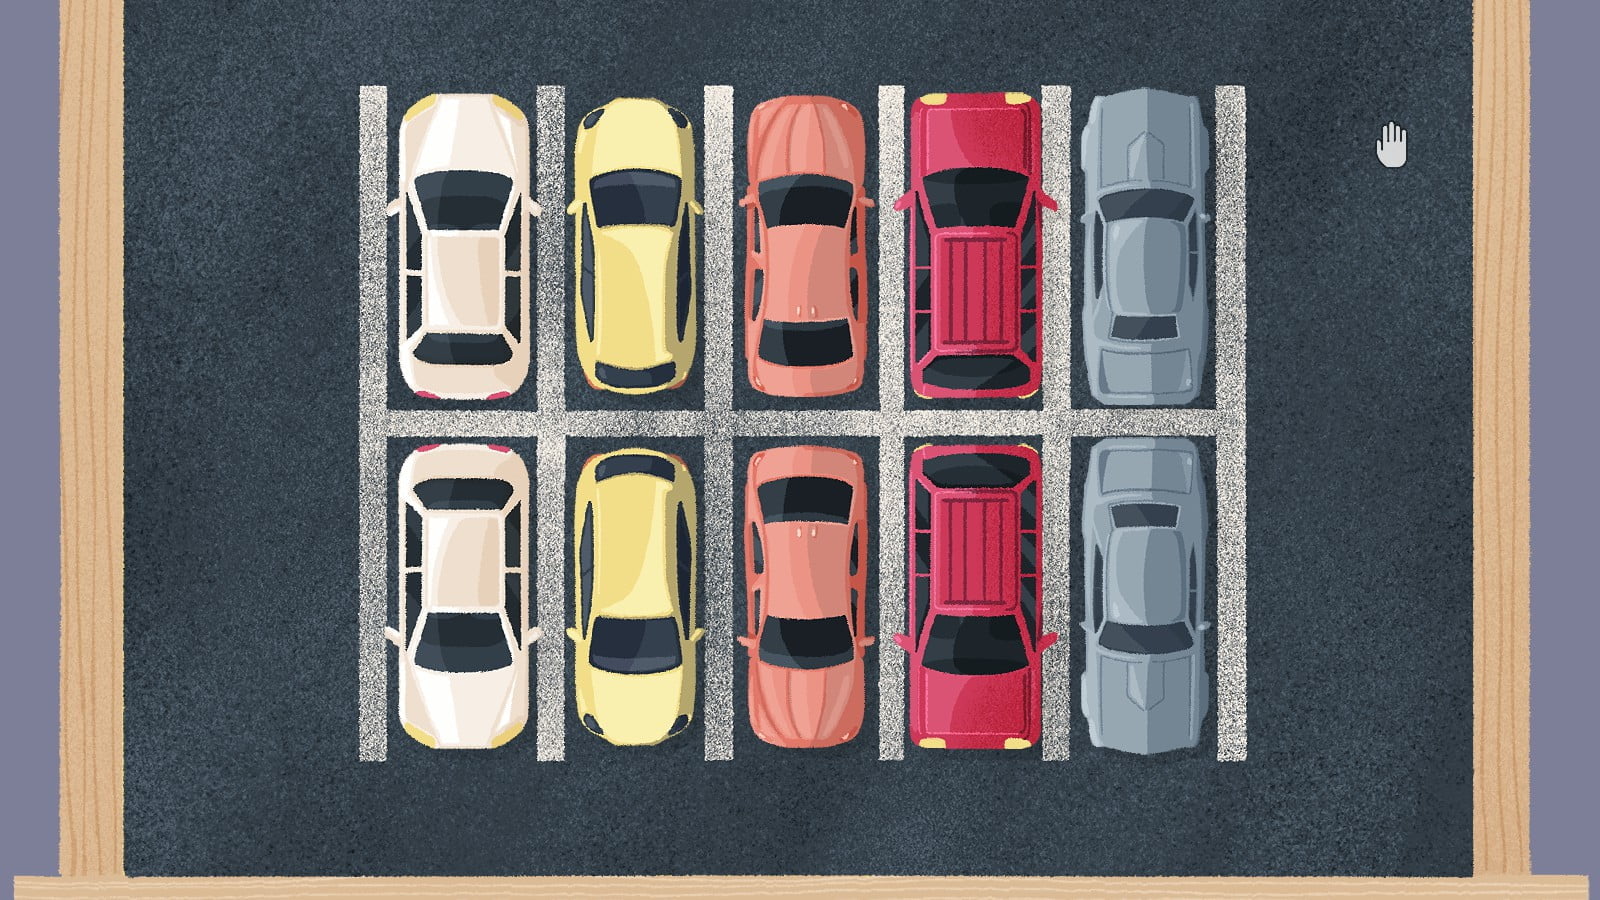
Level 33:
Move the cans so that each column is only one color.
Level 34:
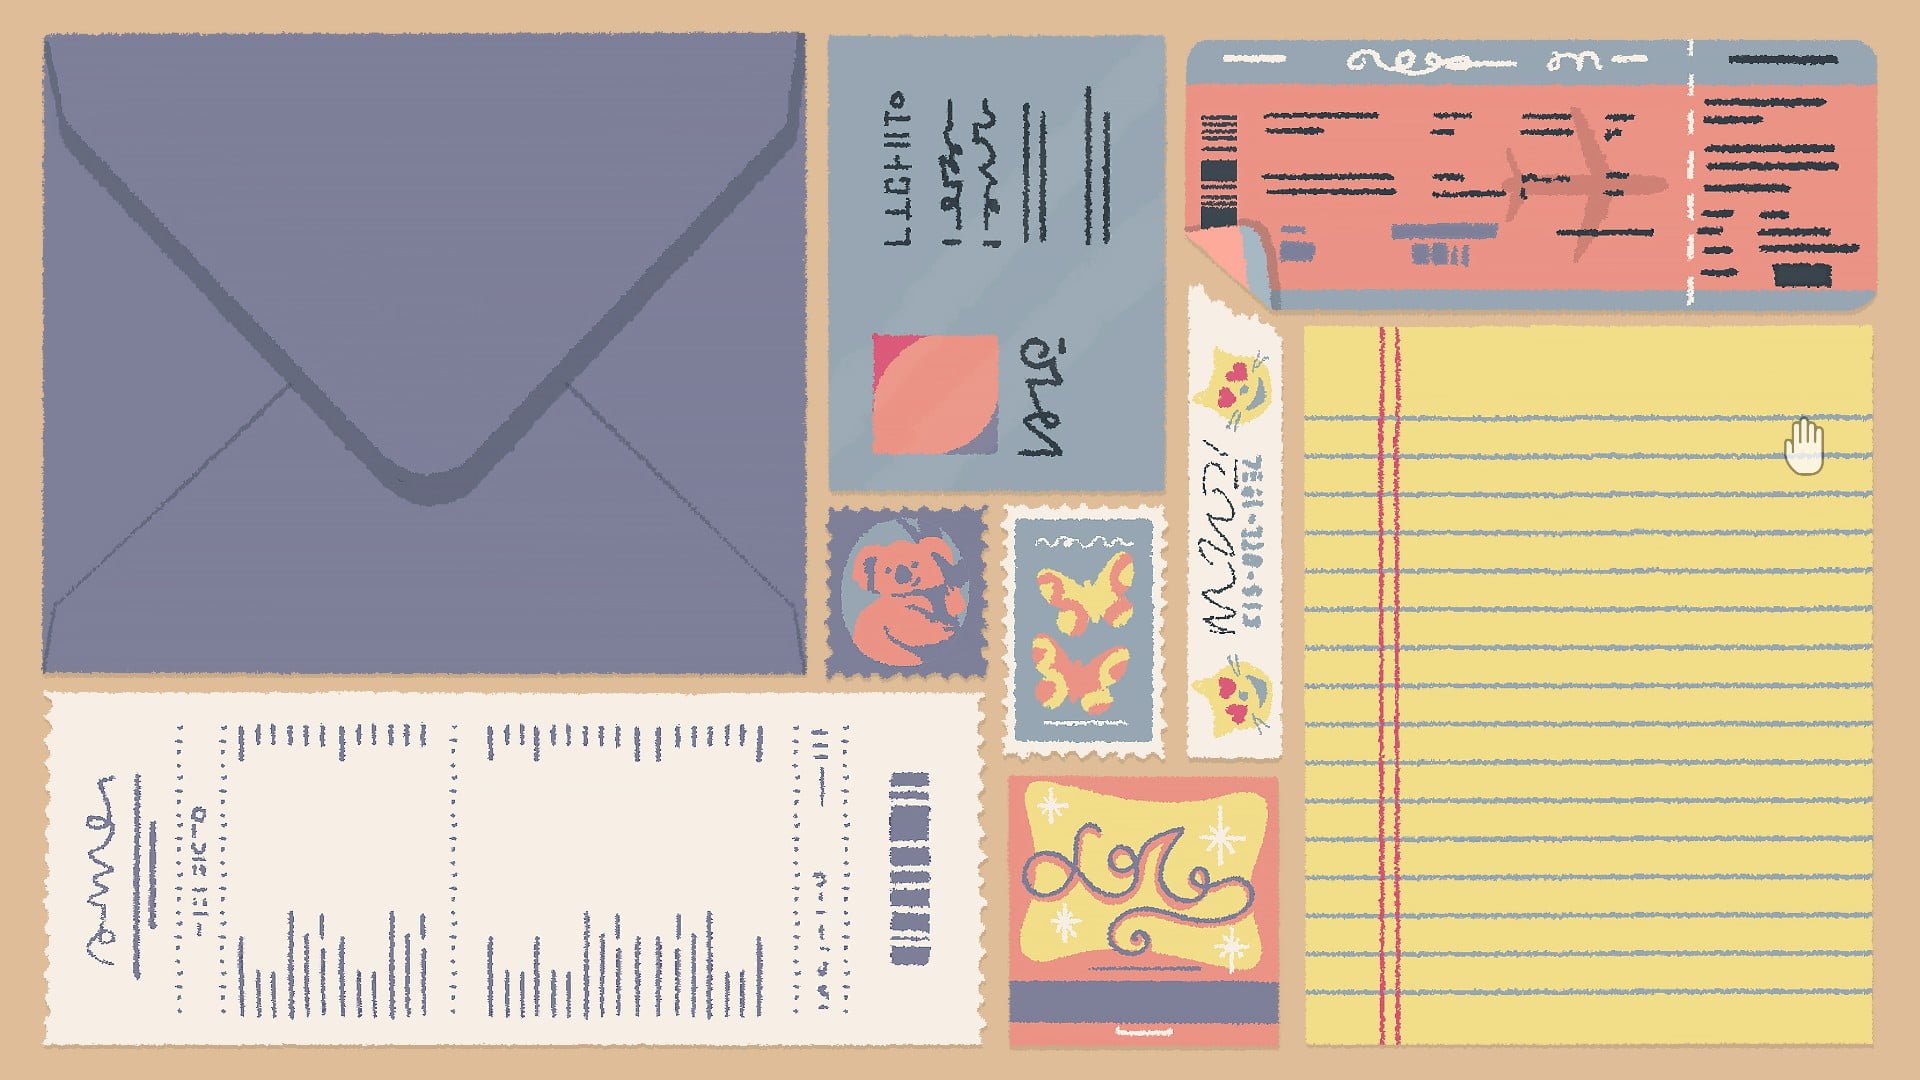
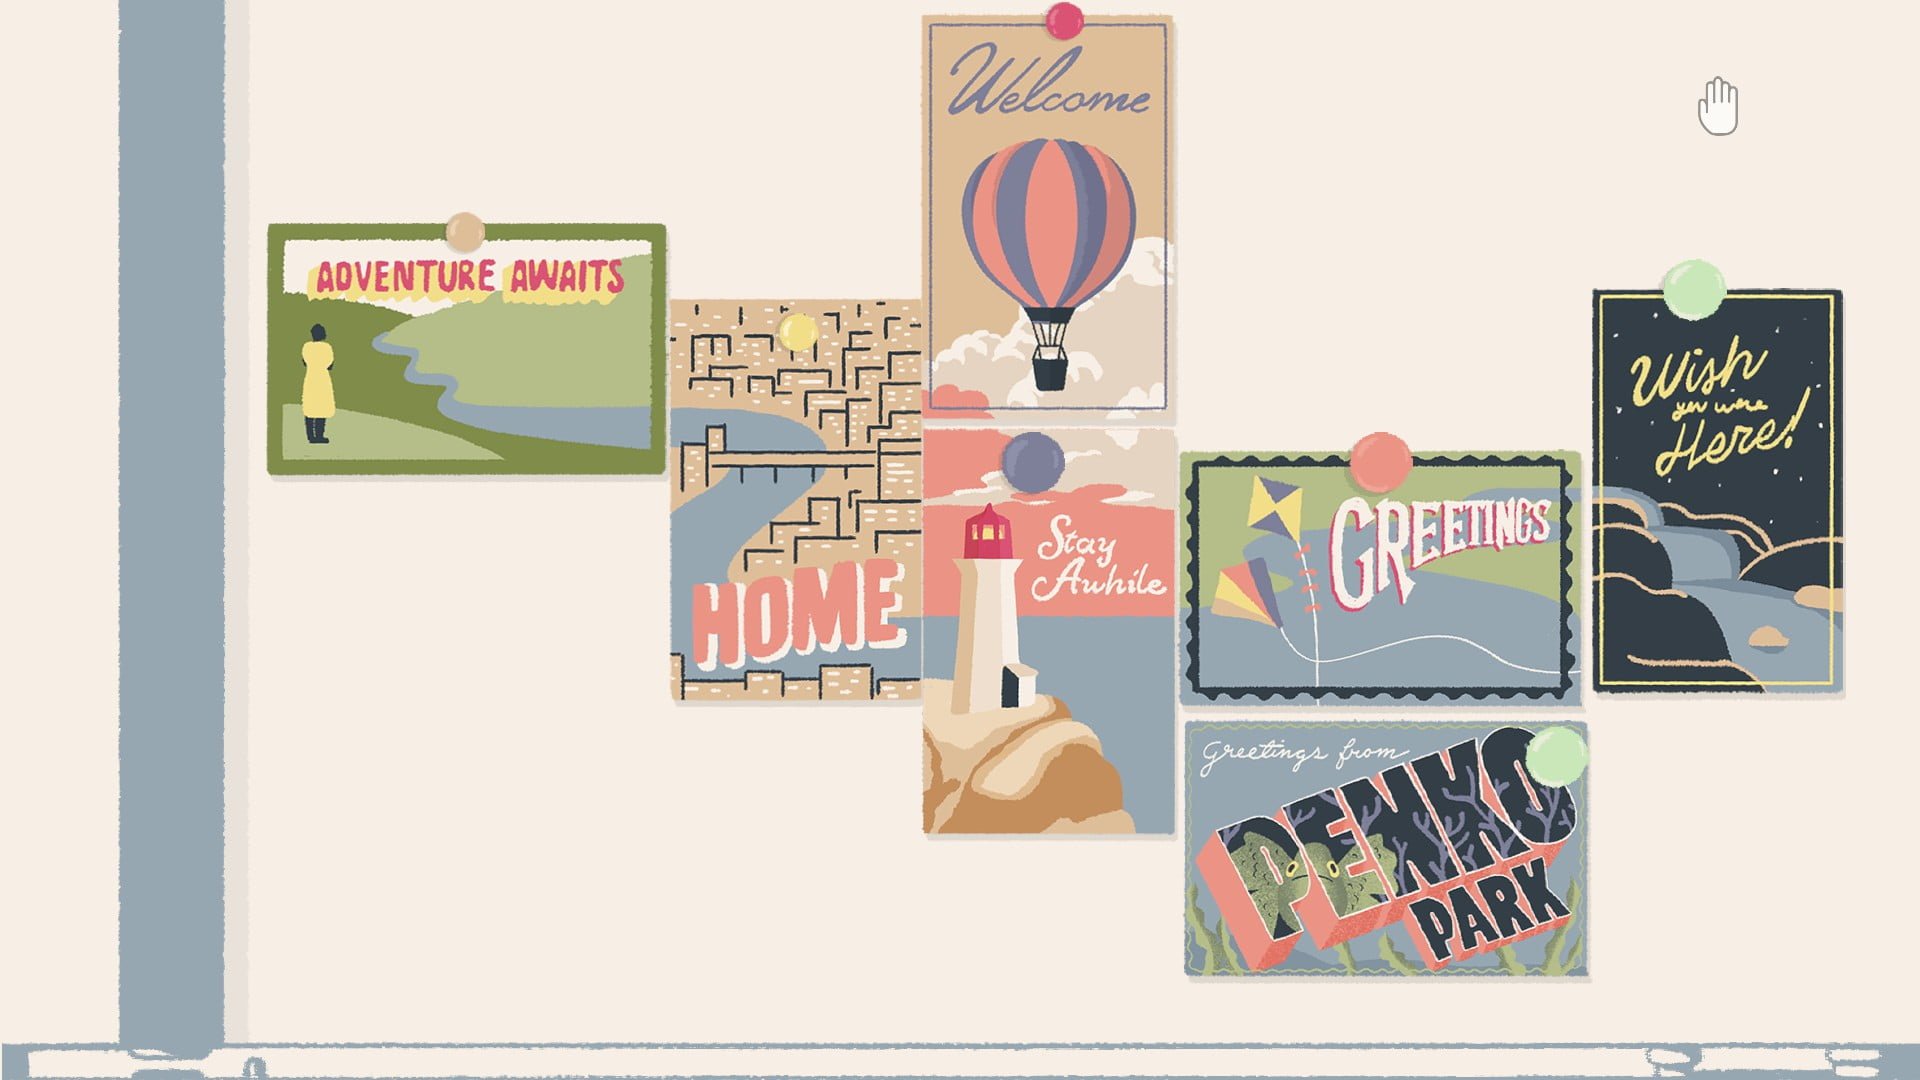
Arrange the postcards so that the water connects across all of them.
Level 35:
Slide the objects so that shapes continue into the next object. Mostly labels.
Level 36:
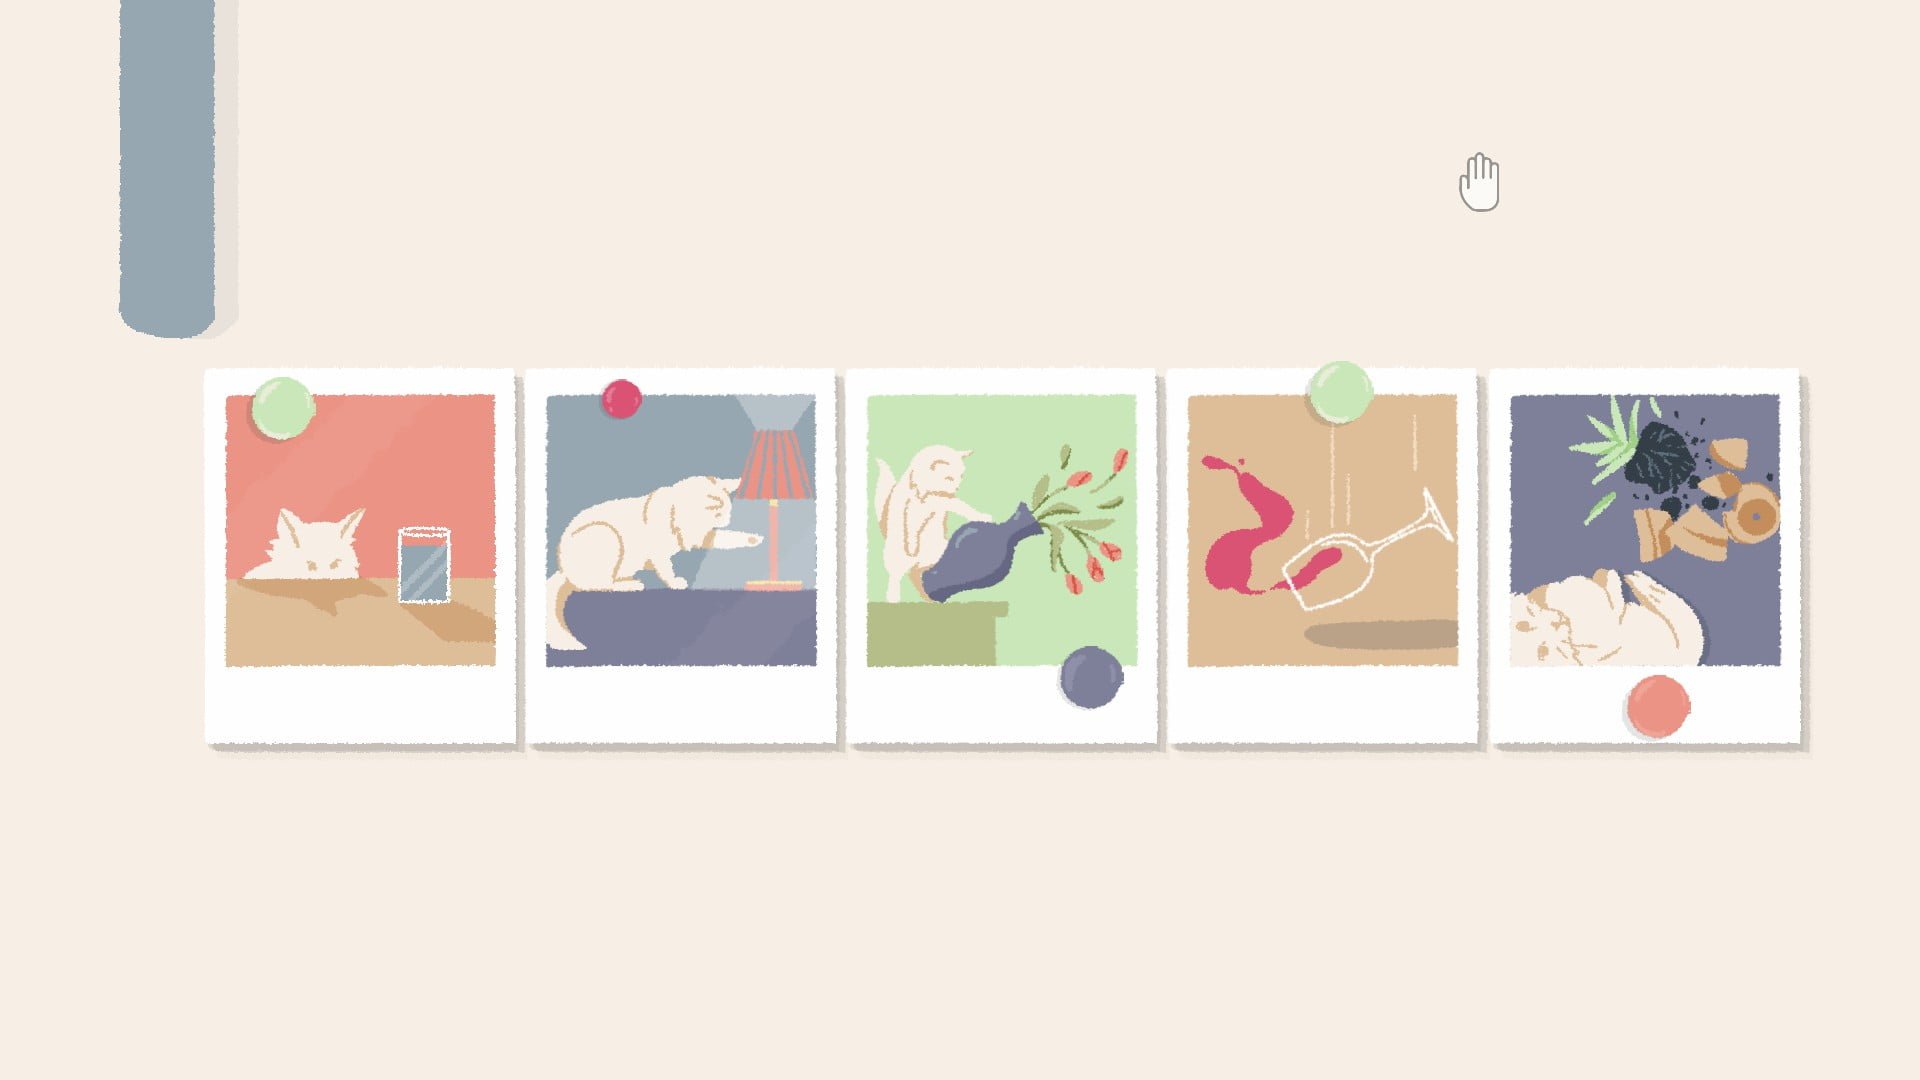
Slide the photos on the fridge to tell a story.
Chapter 3: Nitty Gritty
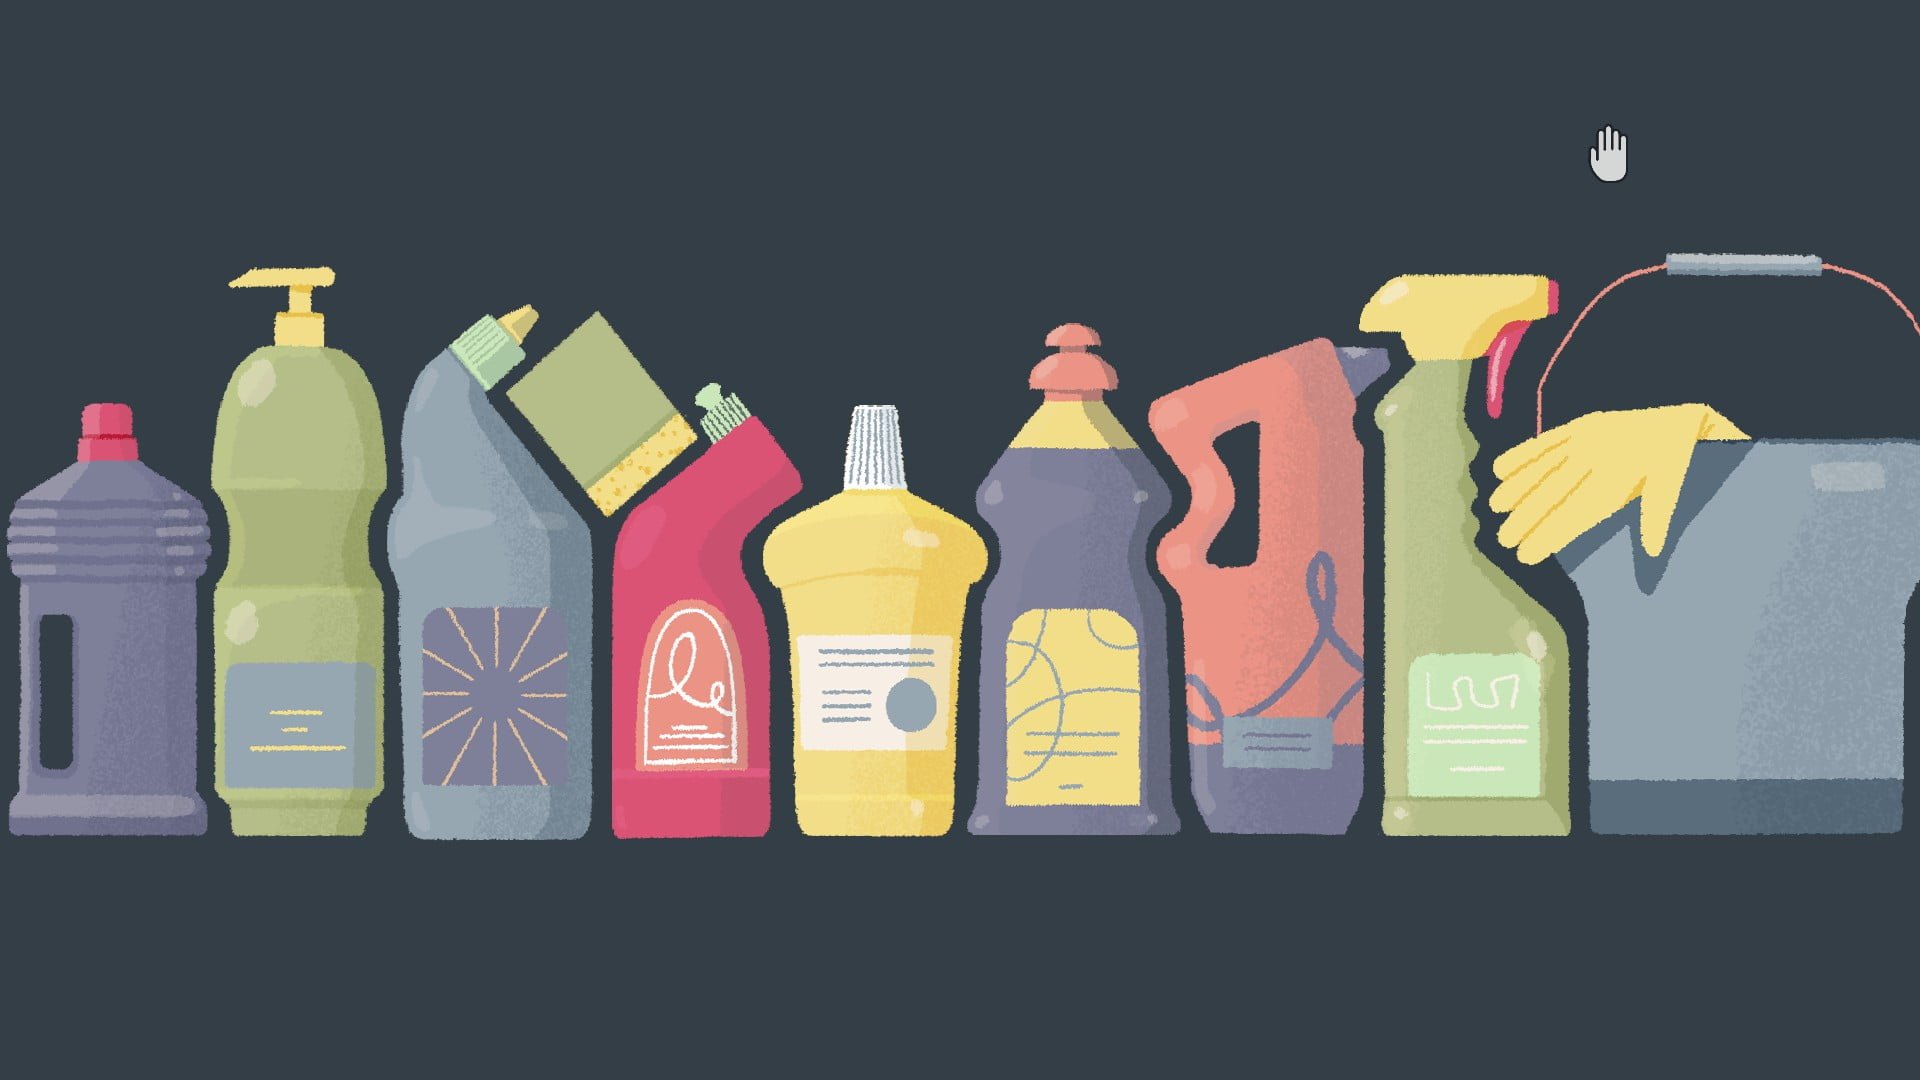
Level 37:
Slide the cleaning supplies so that the sides fit together like puzzle pieces. The sponge needs to be dragged.
Level 38:
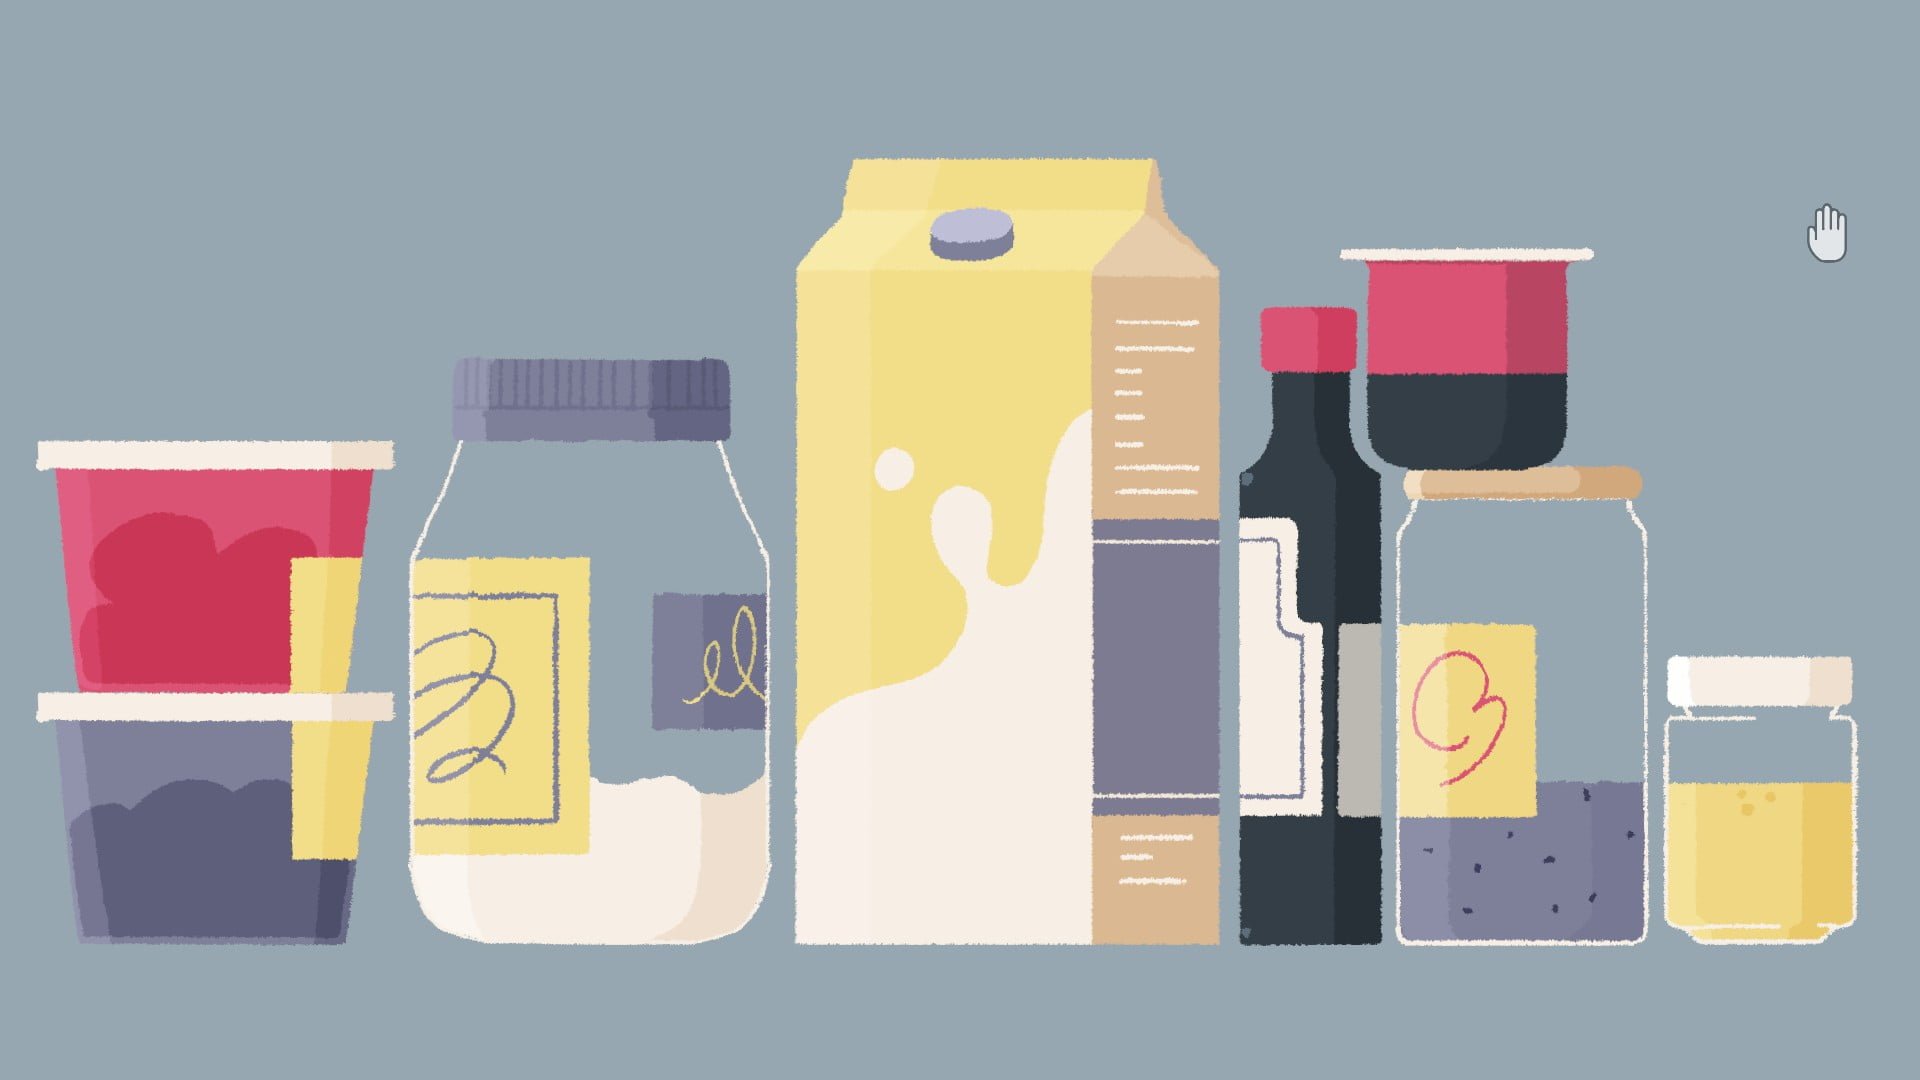
Arrange the items so that they fit. Make sure the labels line up to create a cohesive image.
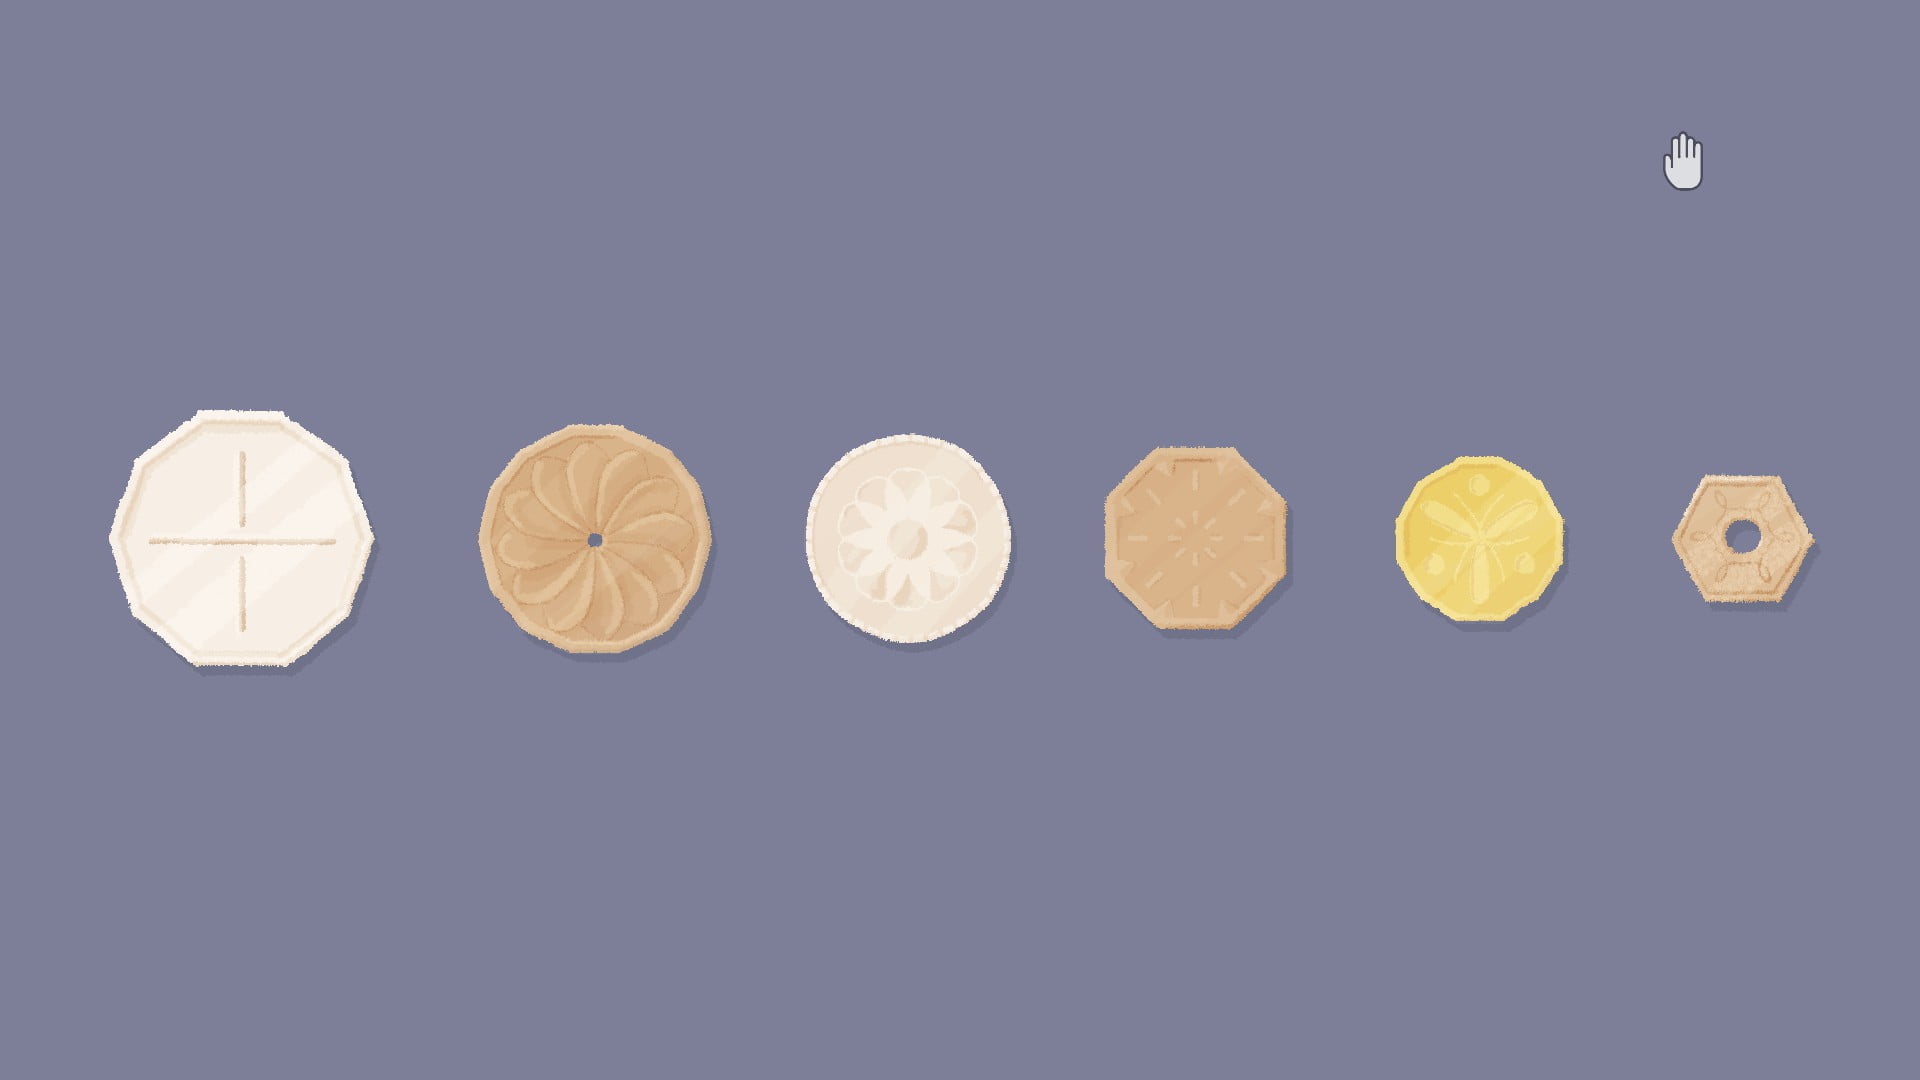
Level 39:
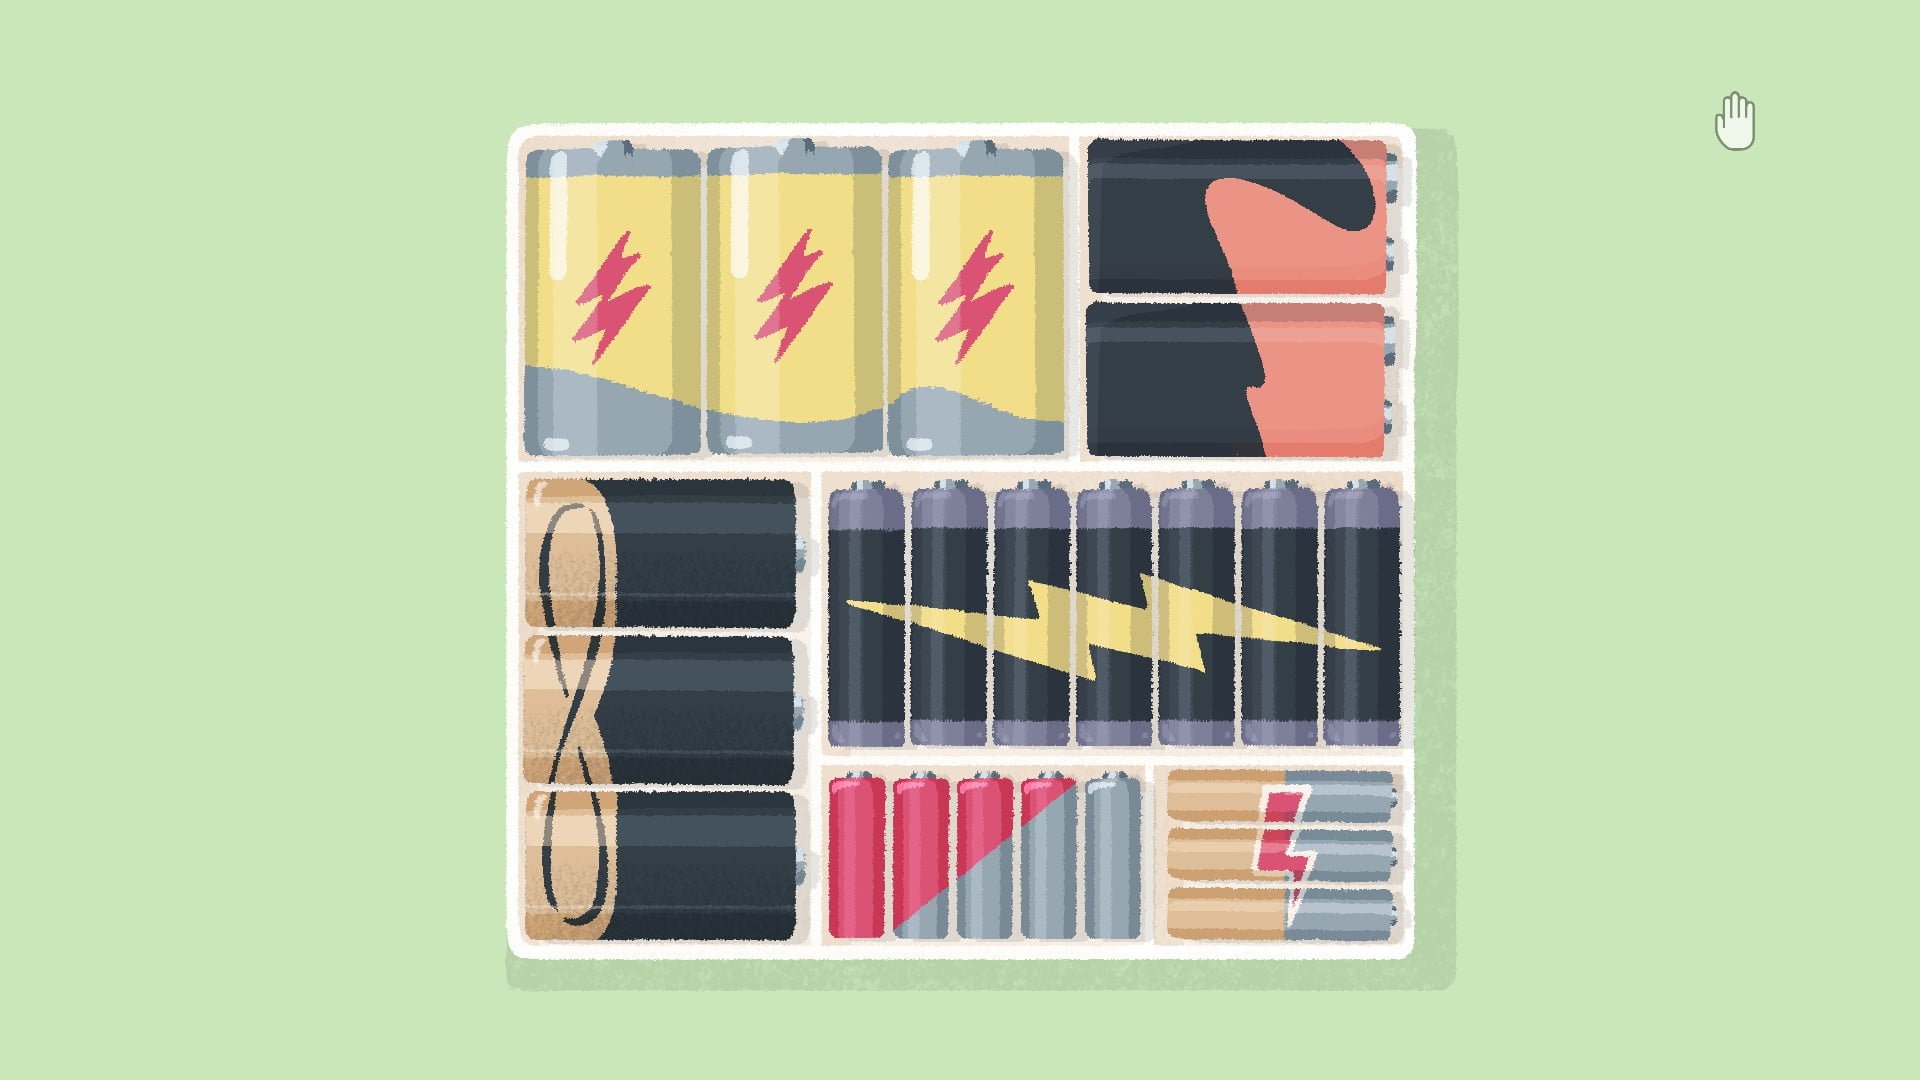
Place the items in order from largest area to smallest area.
Stack the items in order from largest area to smallest area.
Place the items in order of sides, greatest to least.
Level 40:
Arrange the kitchenware so they fit perfectly.
Level 41:
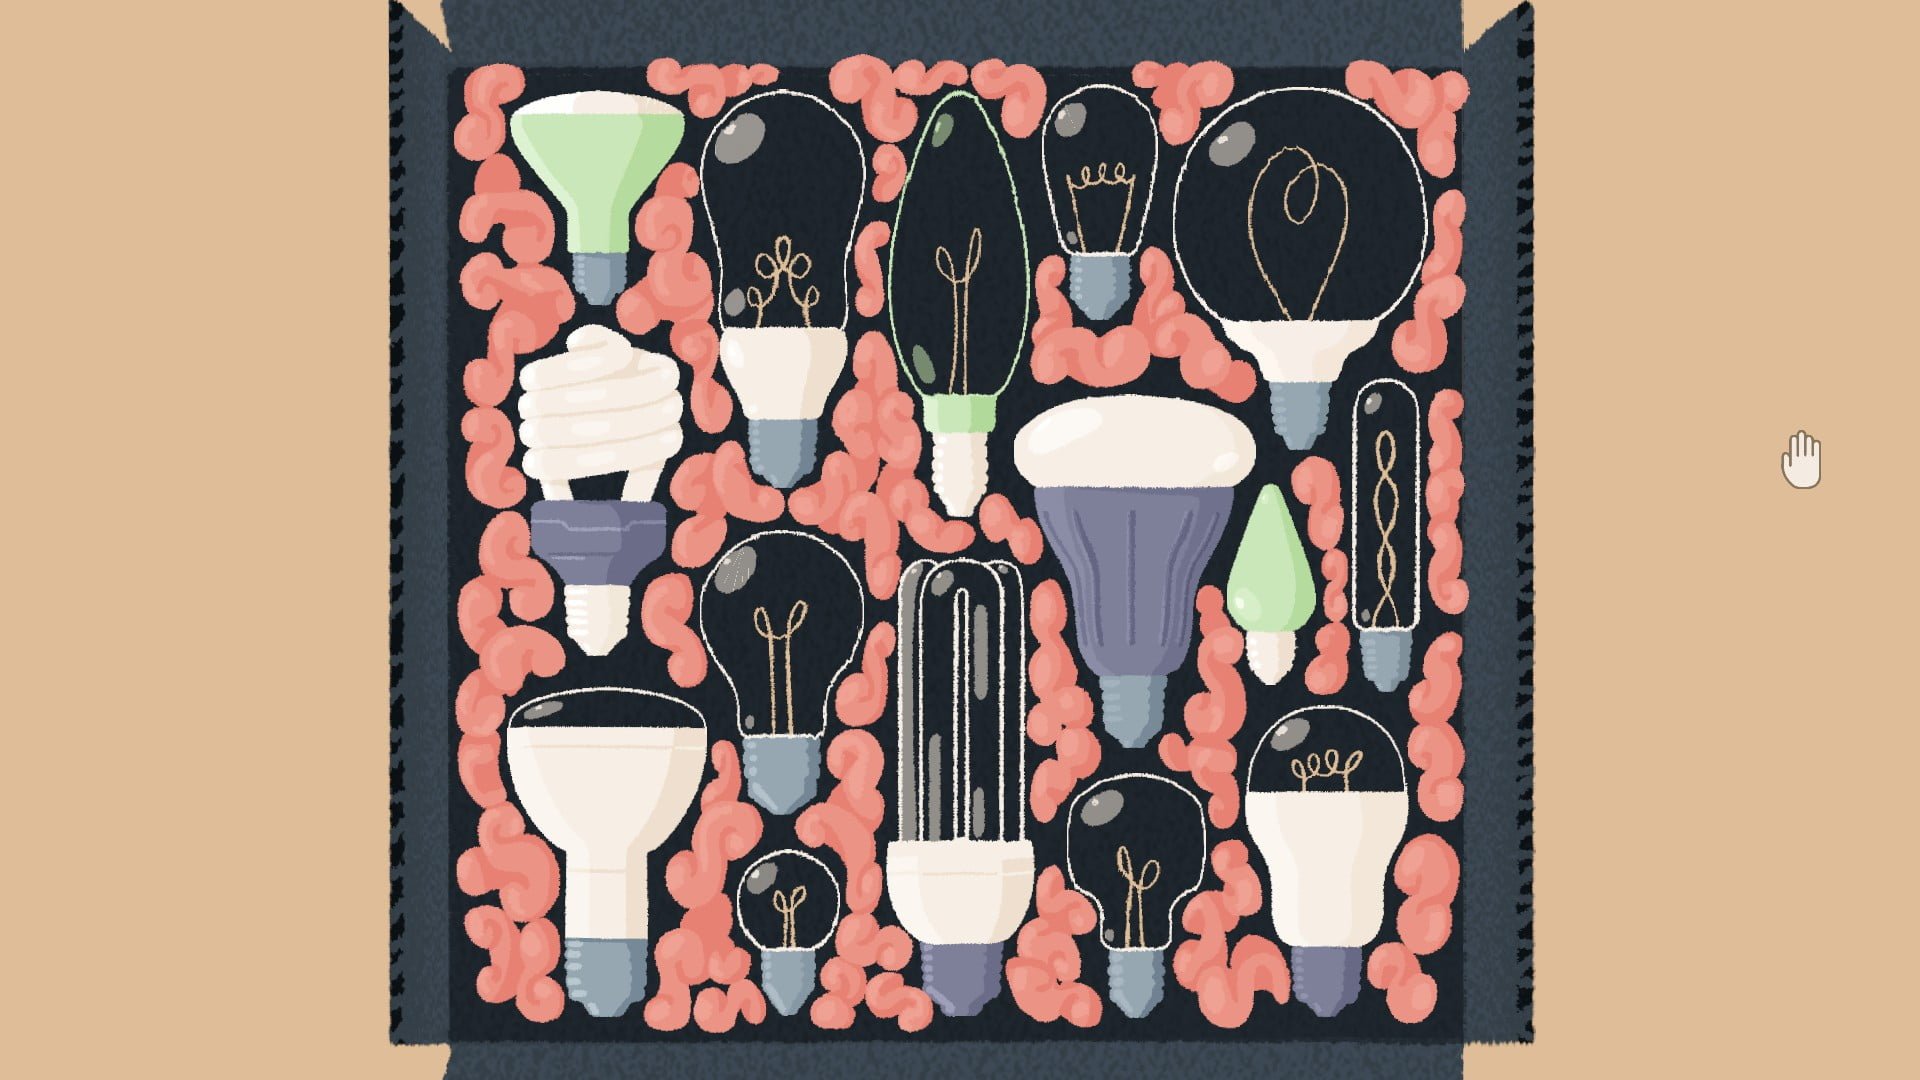
Arrange the light bulbs so that they fit perfectly.
Level 42:
Arrange the items so that they fit perfectly.
Level 43:
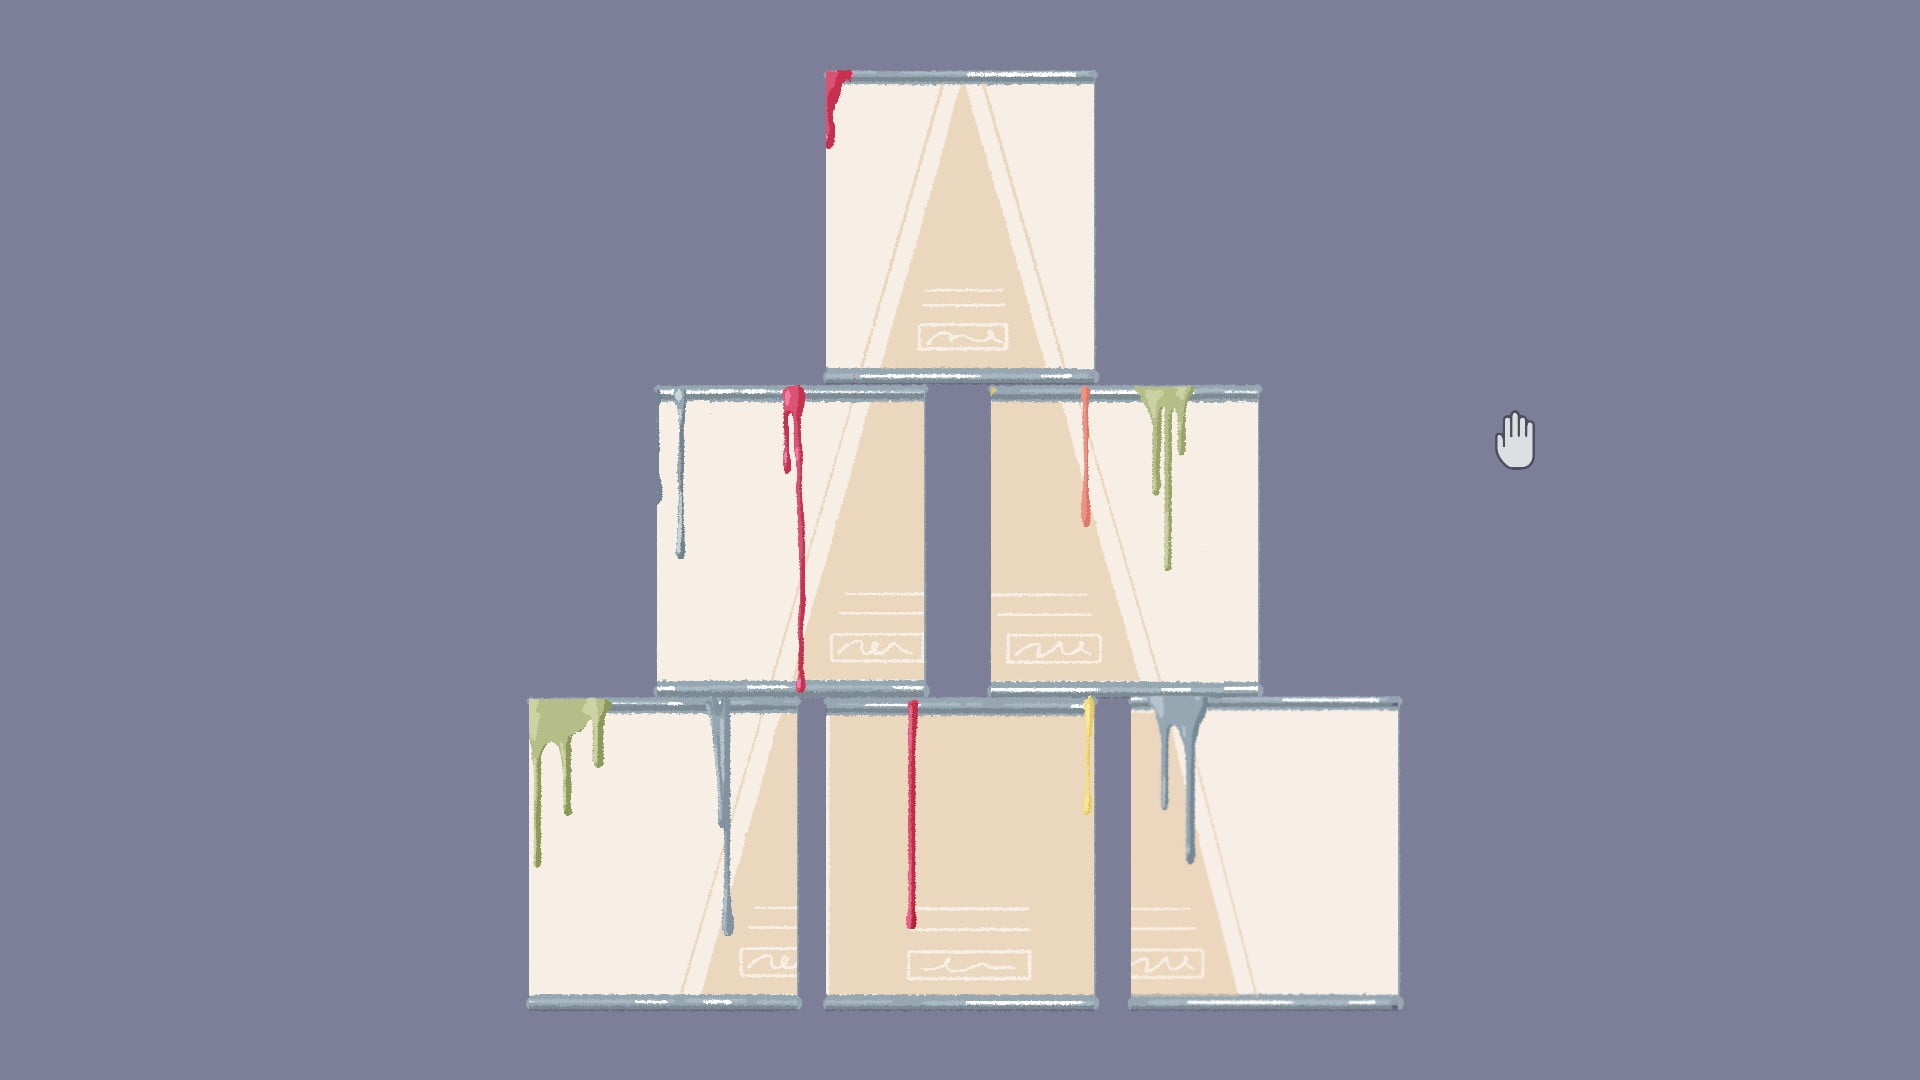
Spin the paint cans so that the pain drips line up.
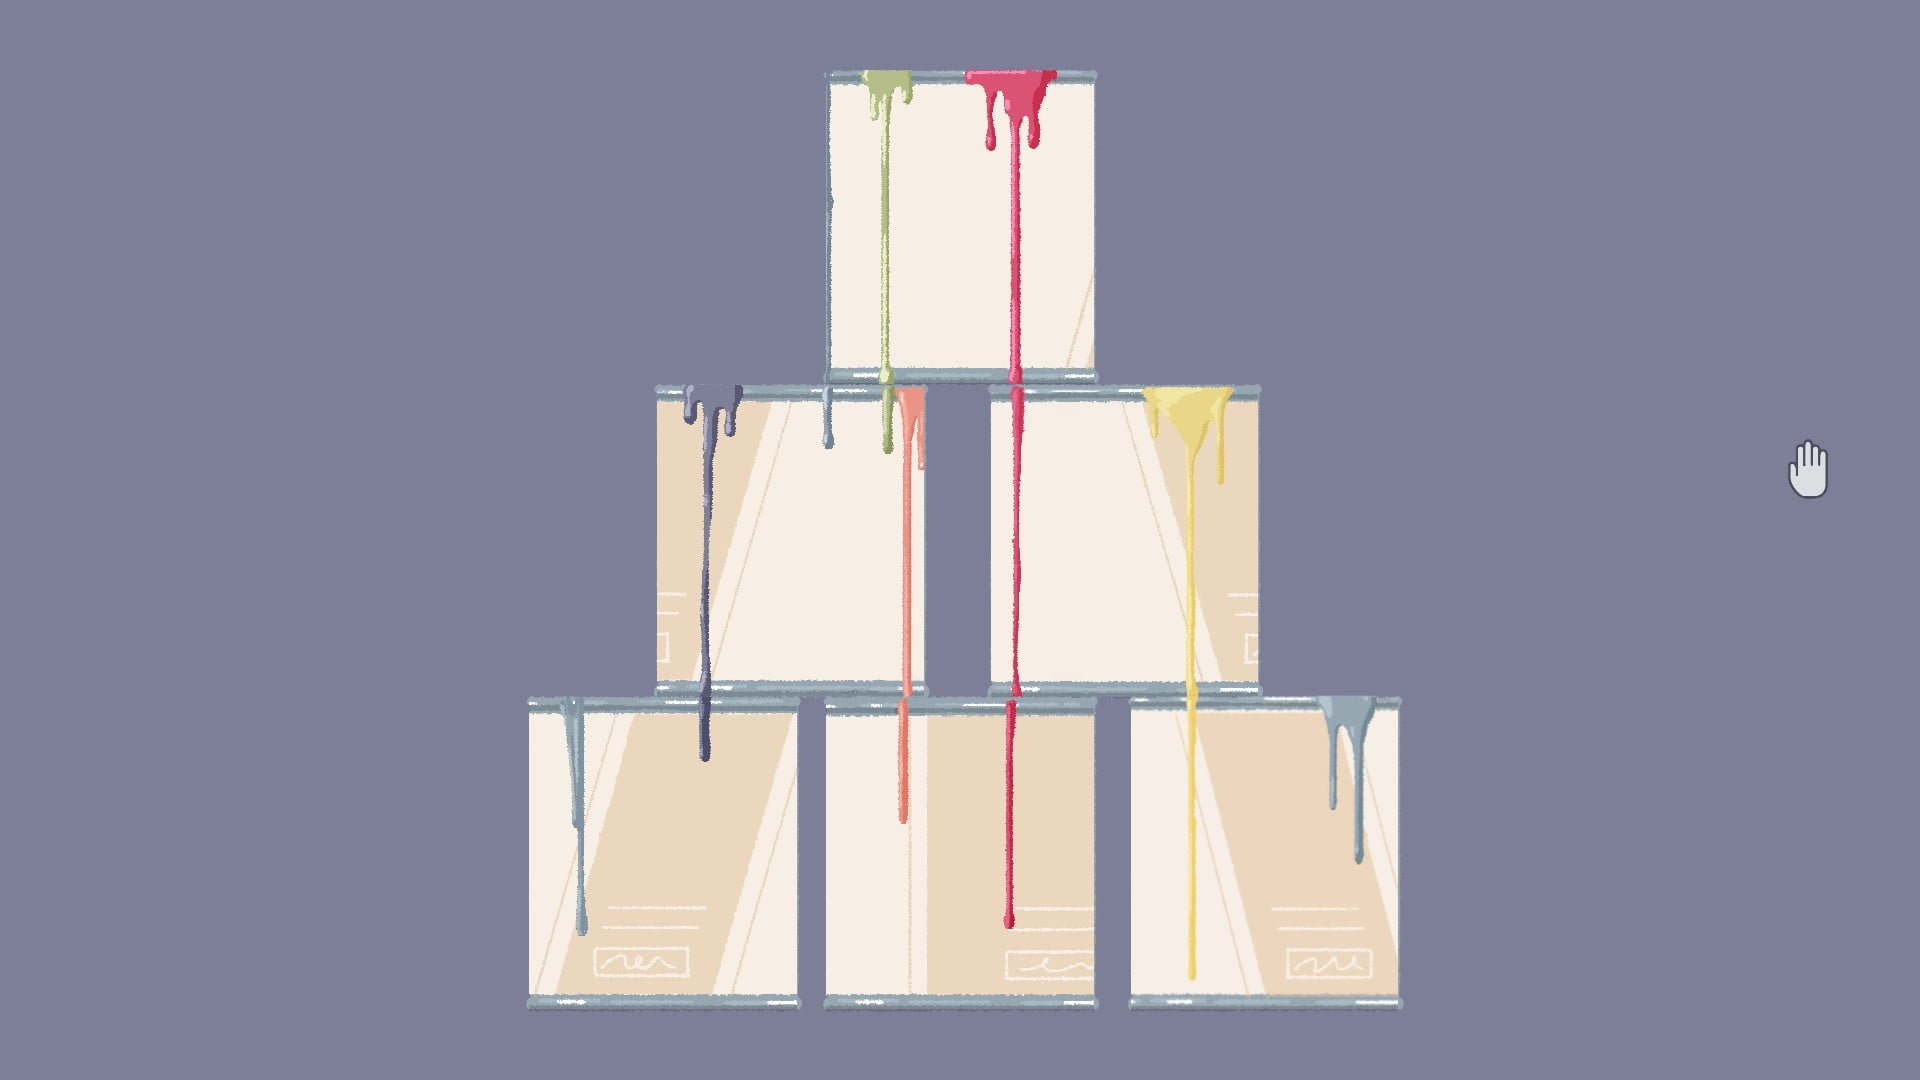
Spin the pain cans so that the triangular design lines up.
Level 44:
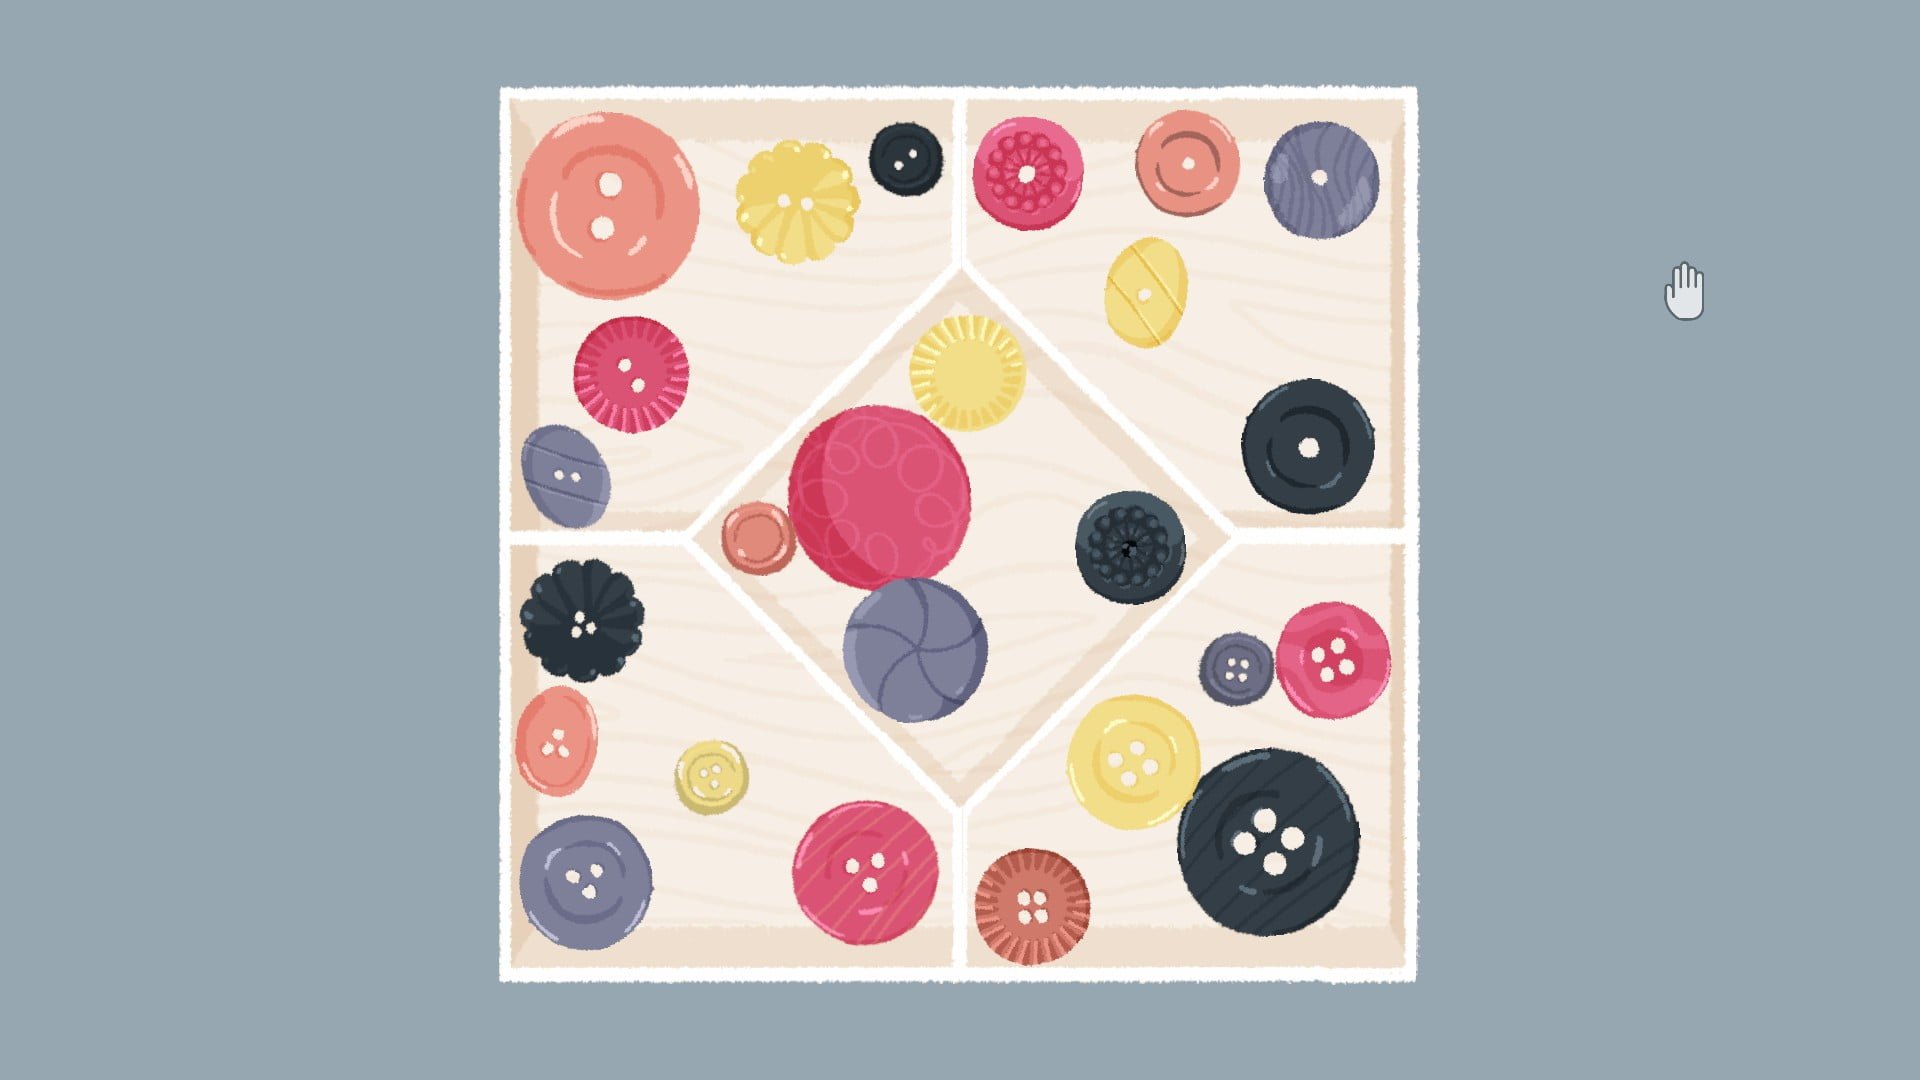
Sort the buttons by color.
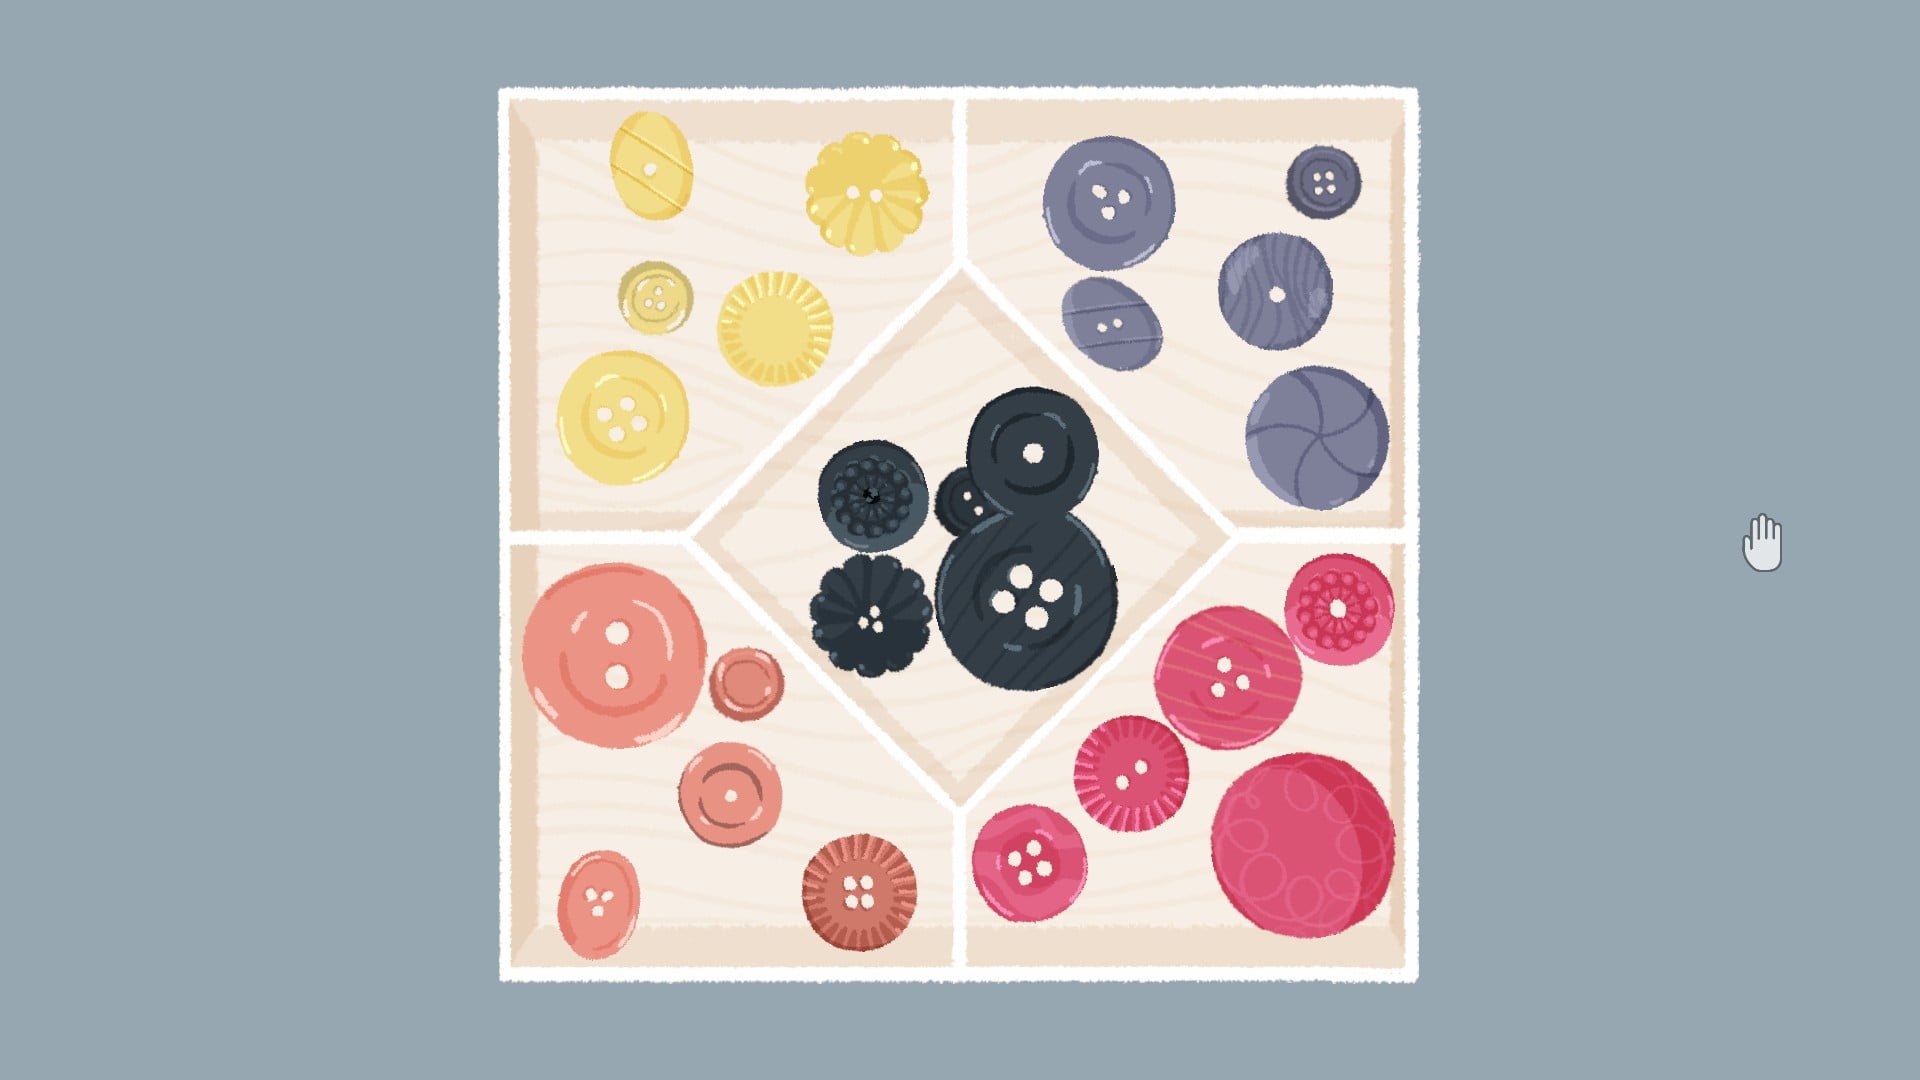
Sort the button by number of center holes.
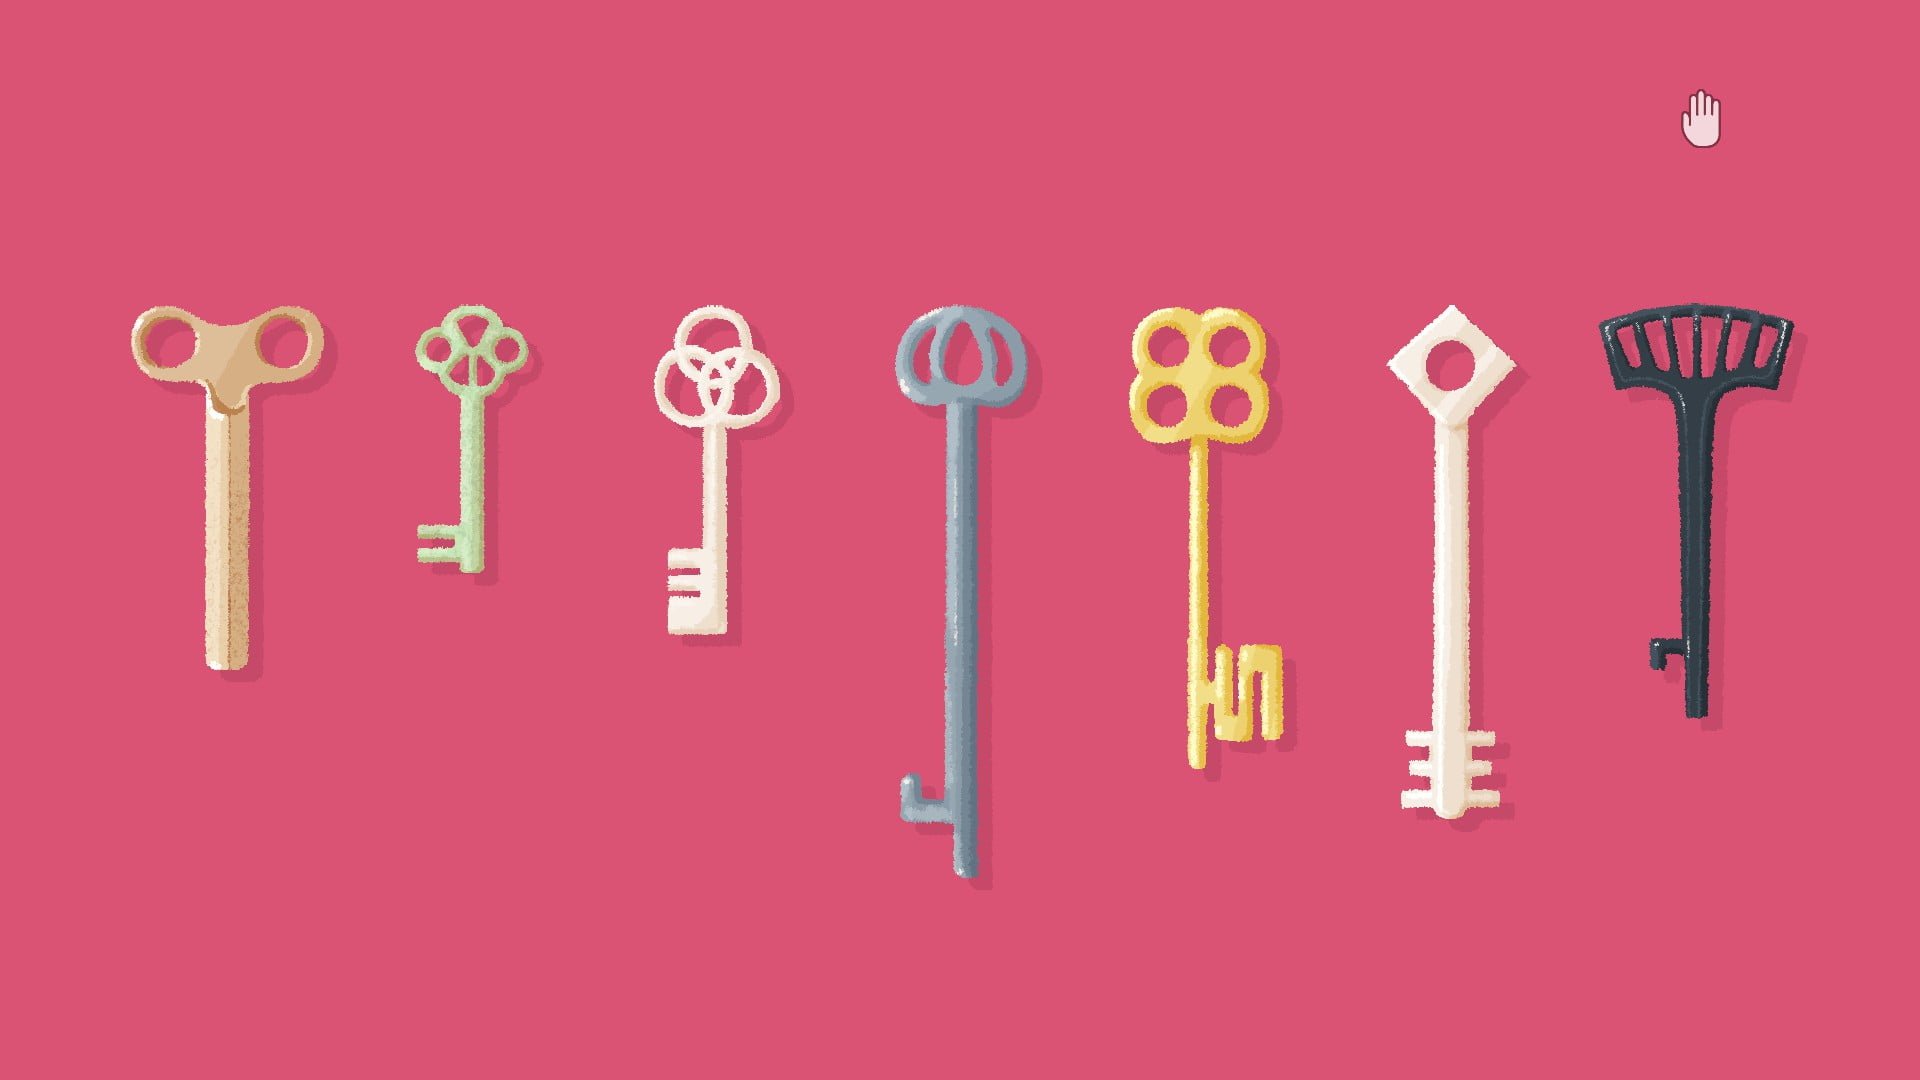
Level 45:
Place the keys in order from tallest to shortest.
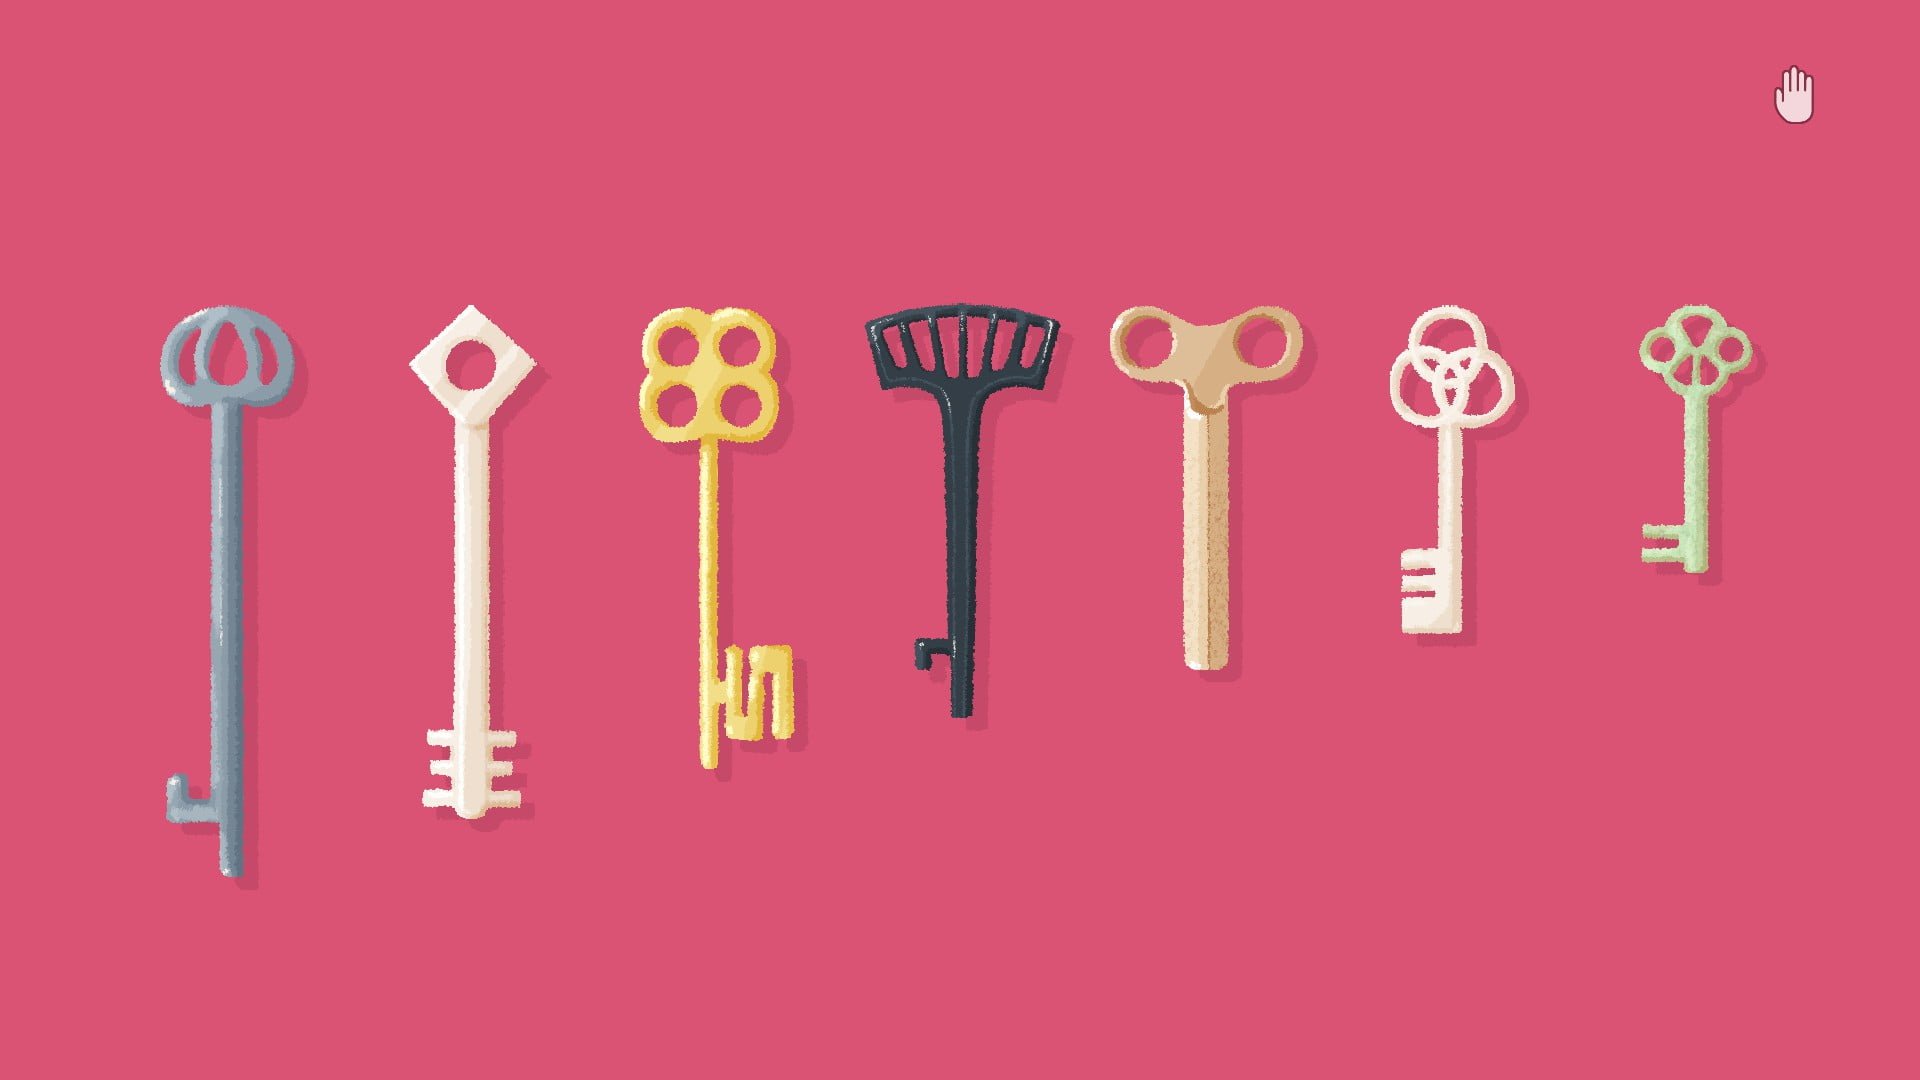
Place the keys in order from least holes to most holes.
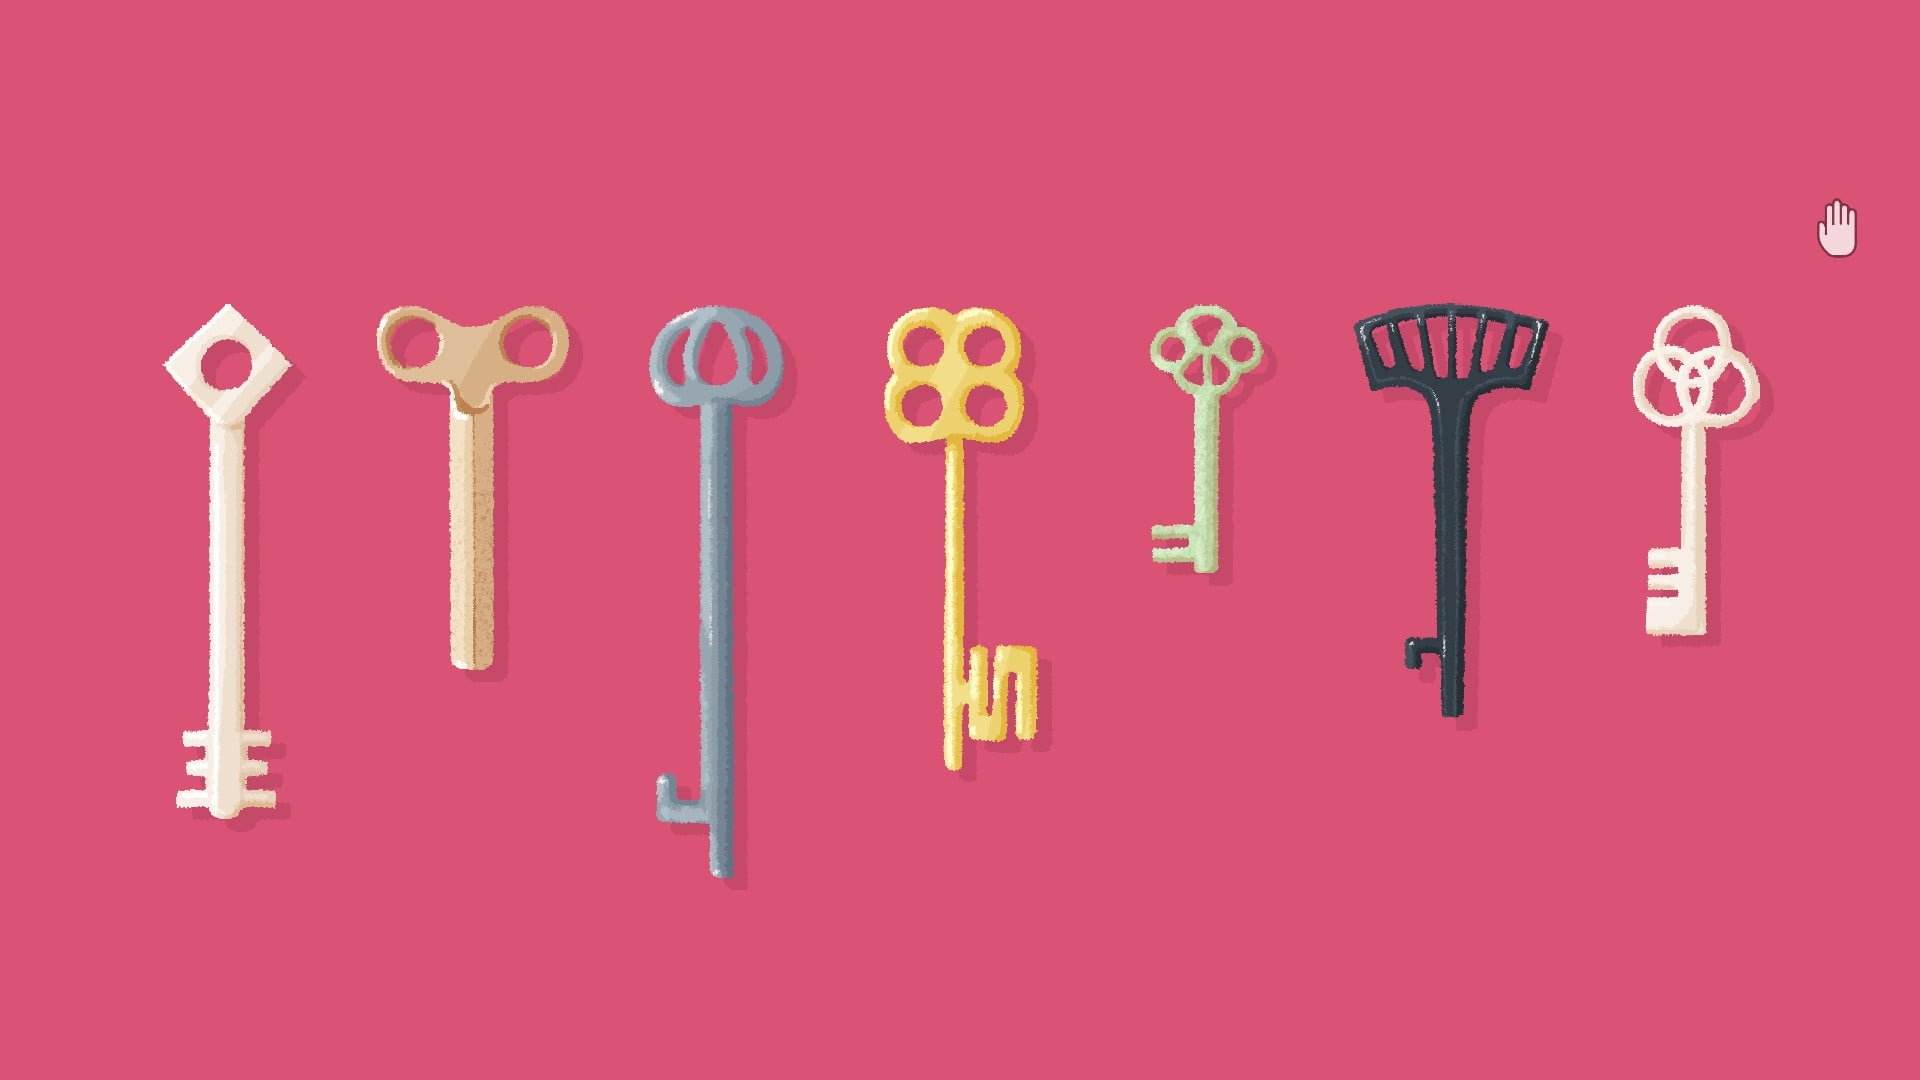
The end of the keys resemble numbers or have a certain number of pegs. Place them in order from 1 to 7.
Level 46:
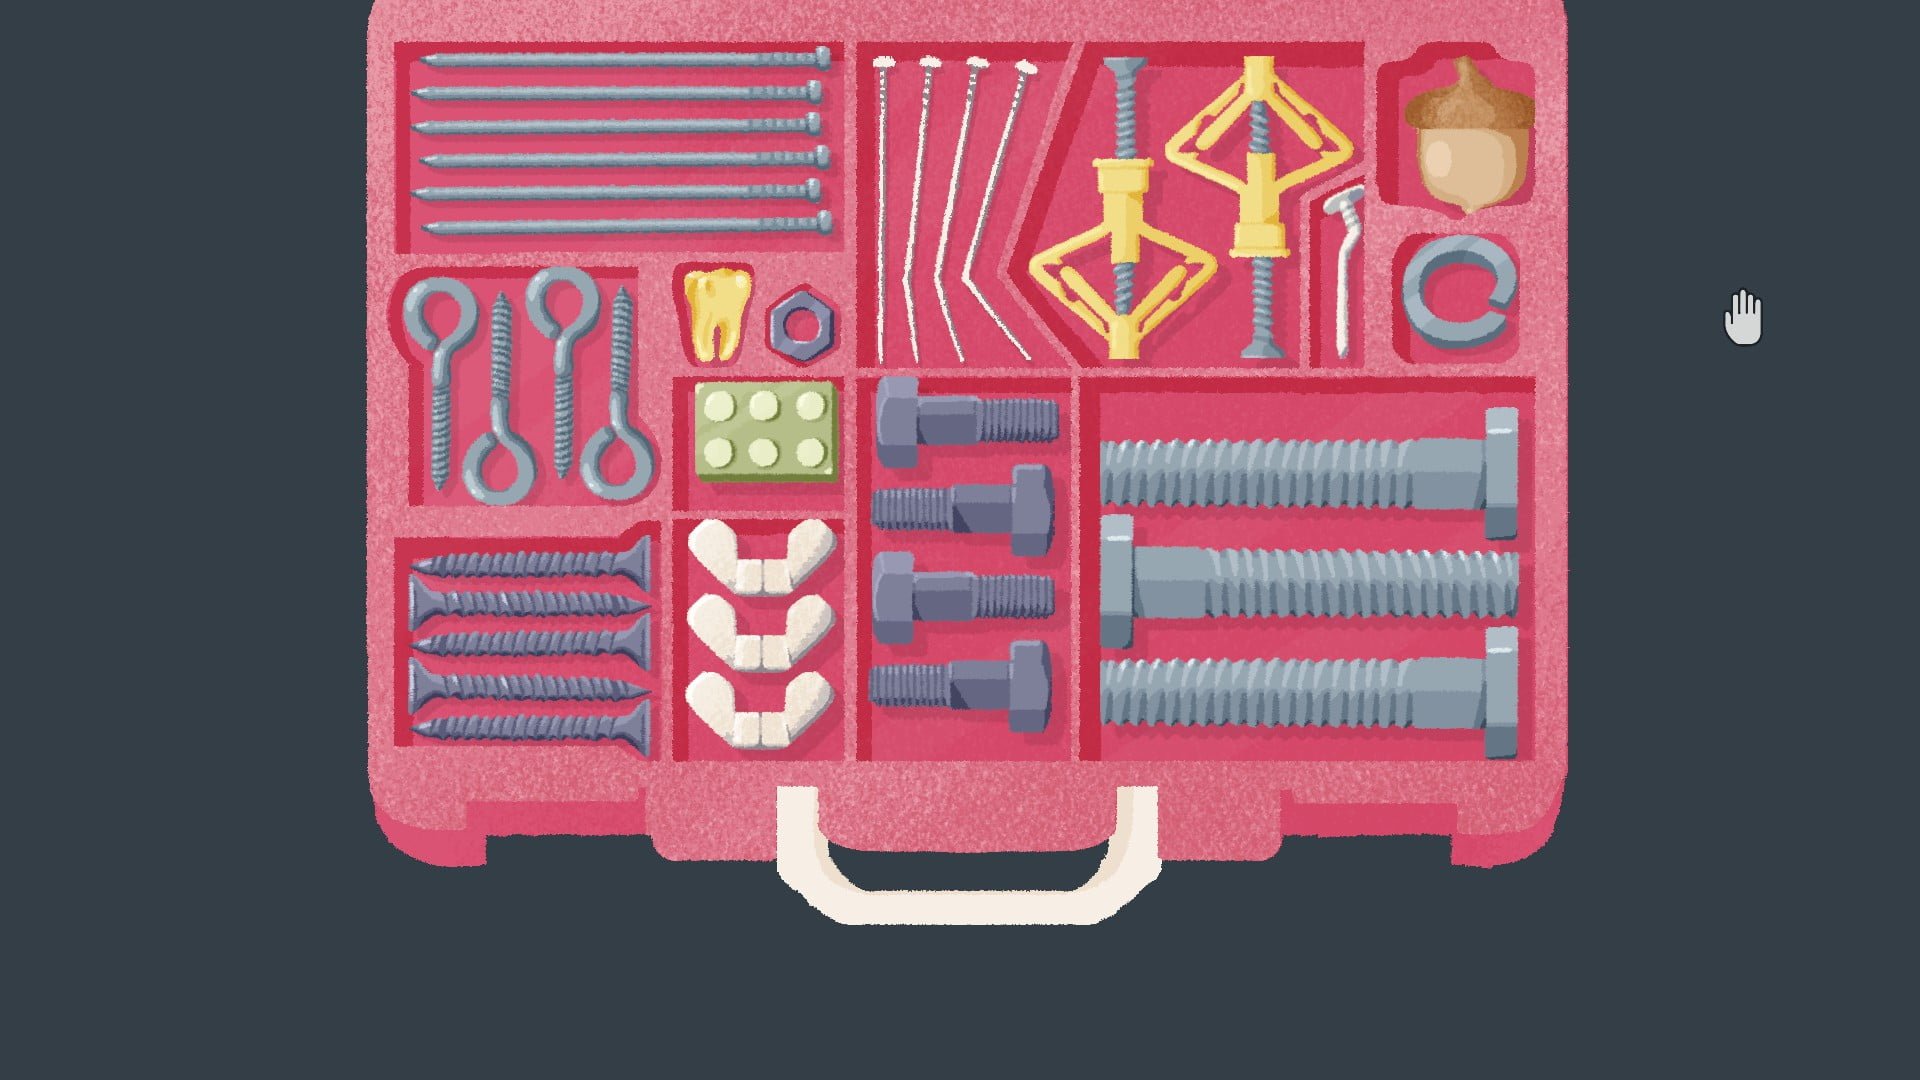
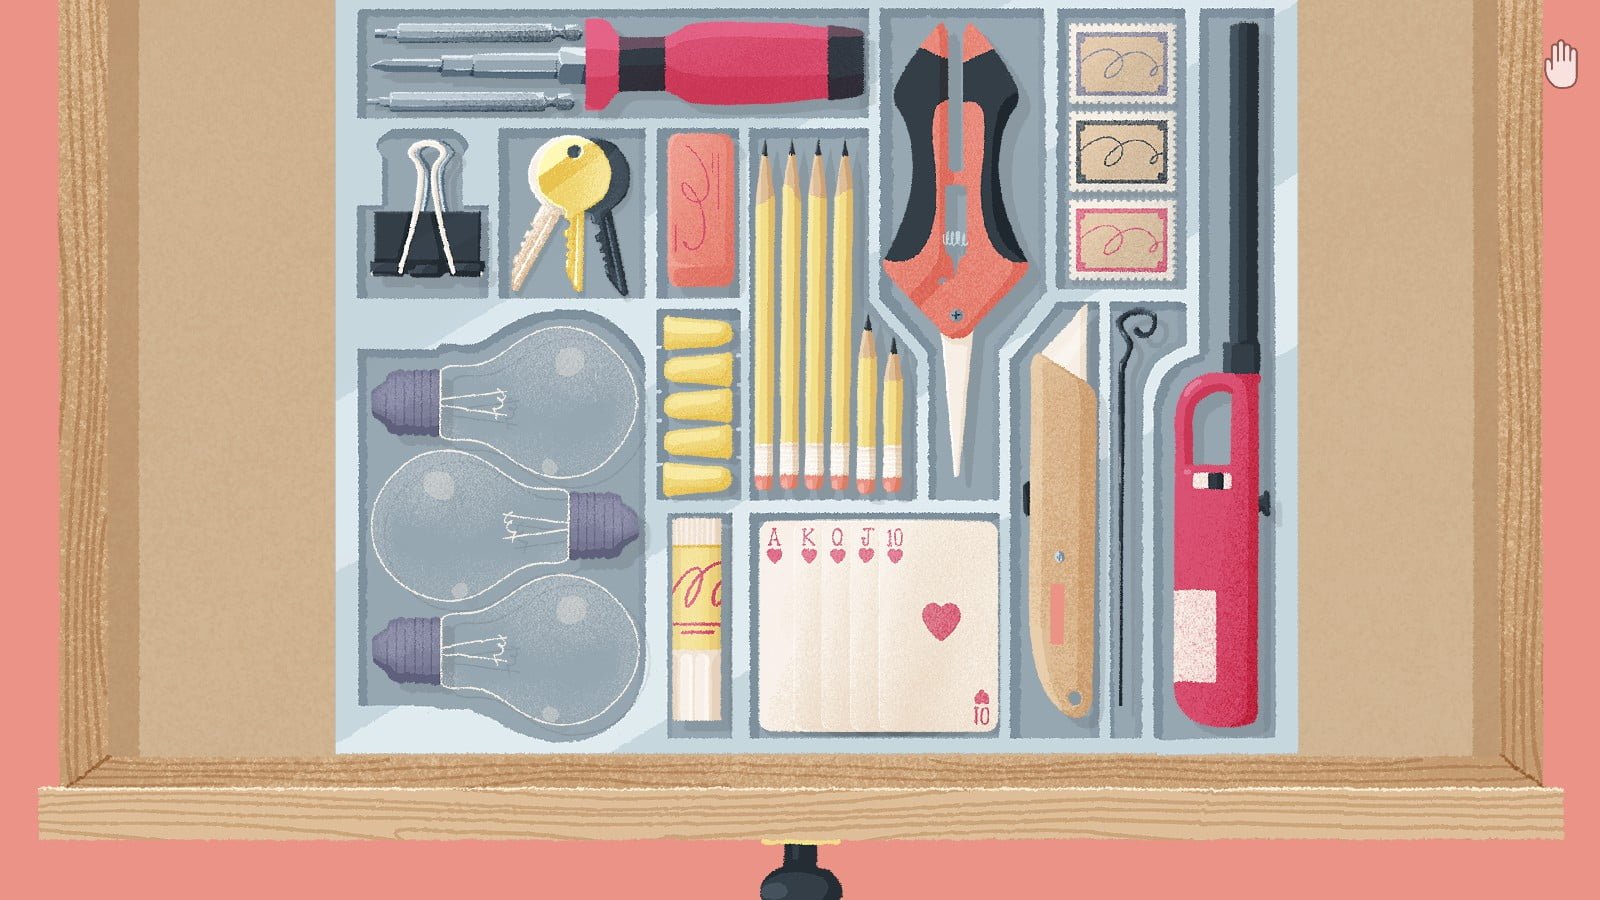
Arrange the toolbox so that everything fits perfectly.
Level 47:
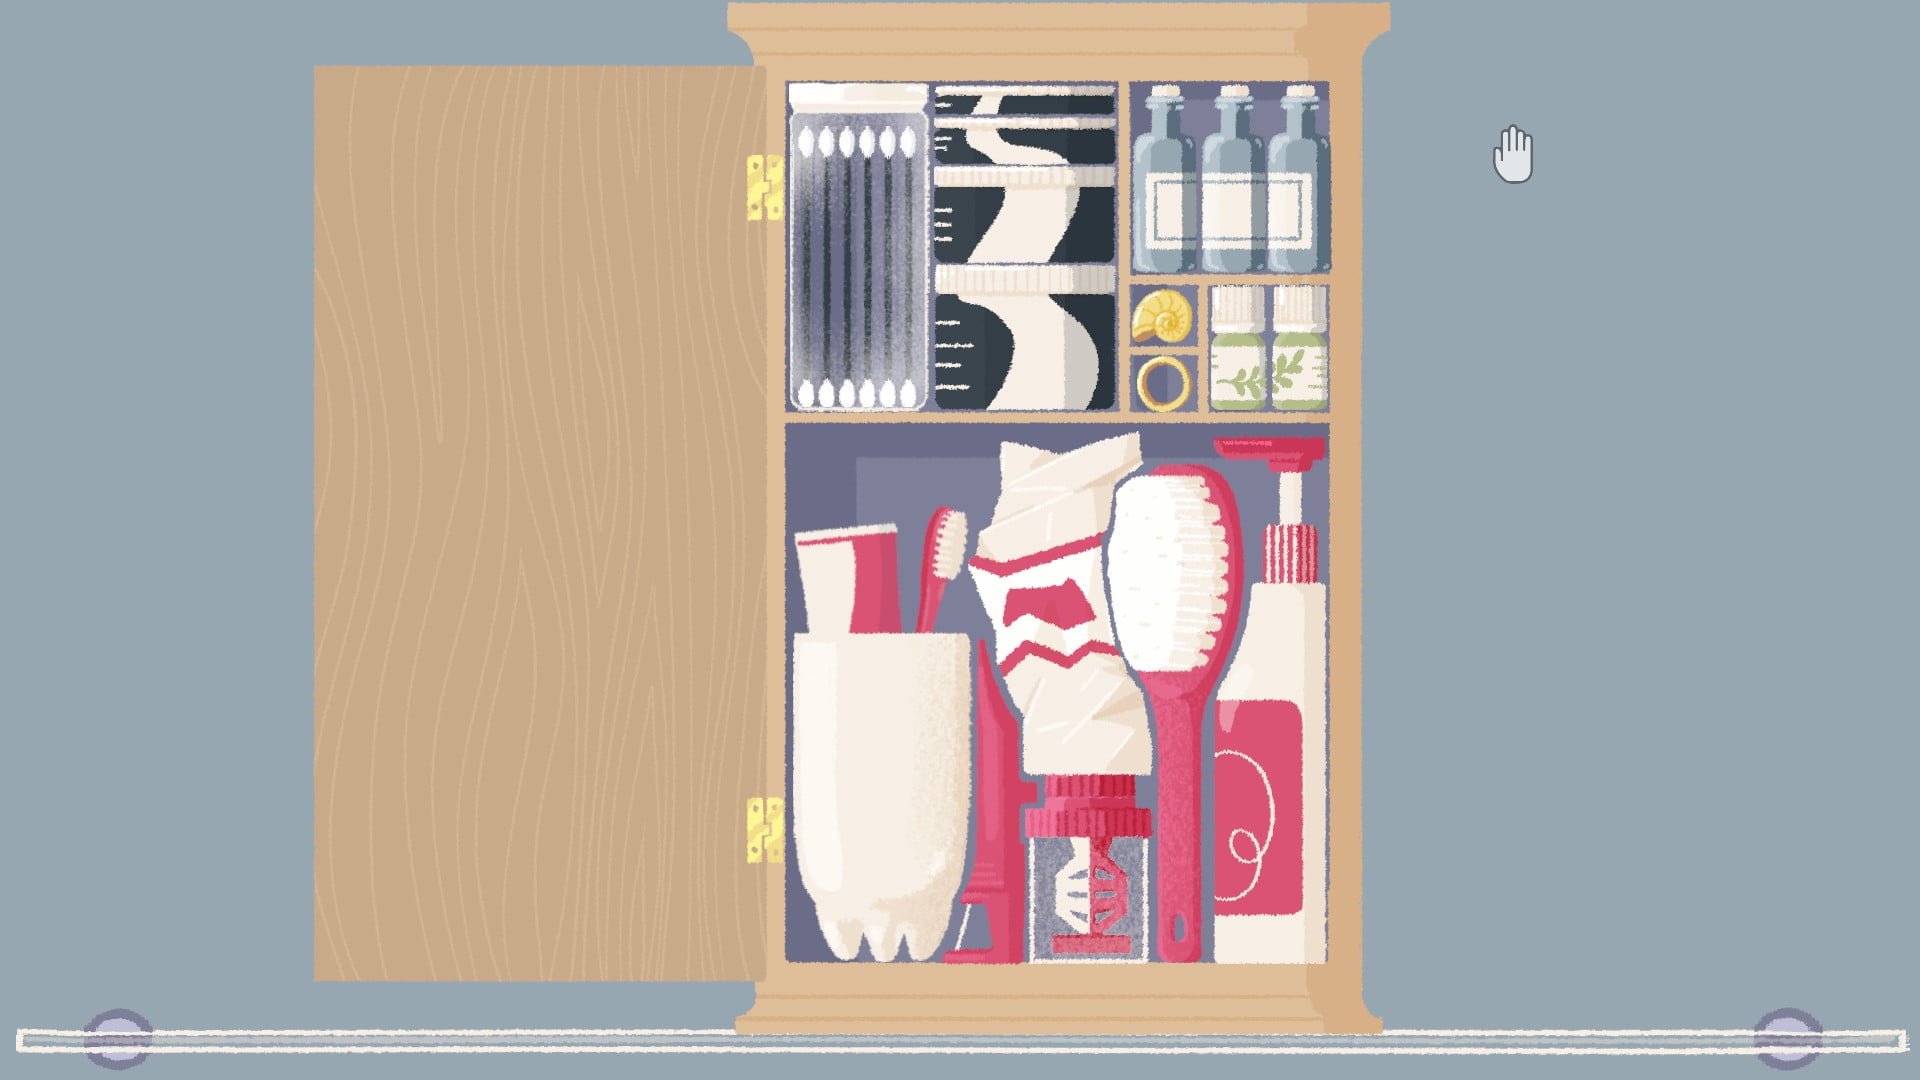
Arrange the cabinet so that everything fits perfectly. make sure labels are lined up. Click the lid of the Q-Tip jar to open it.
Level 48:
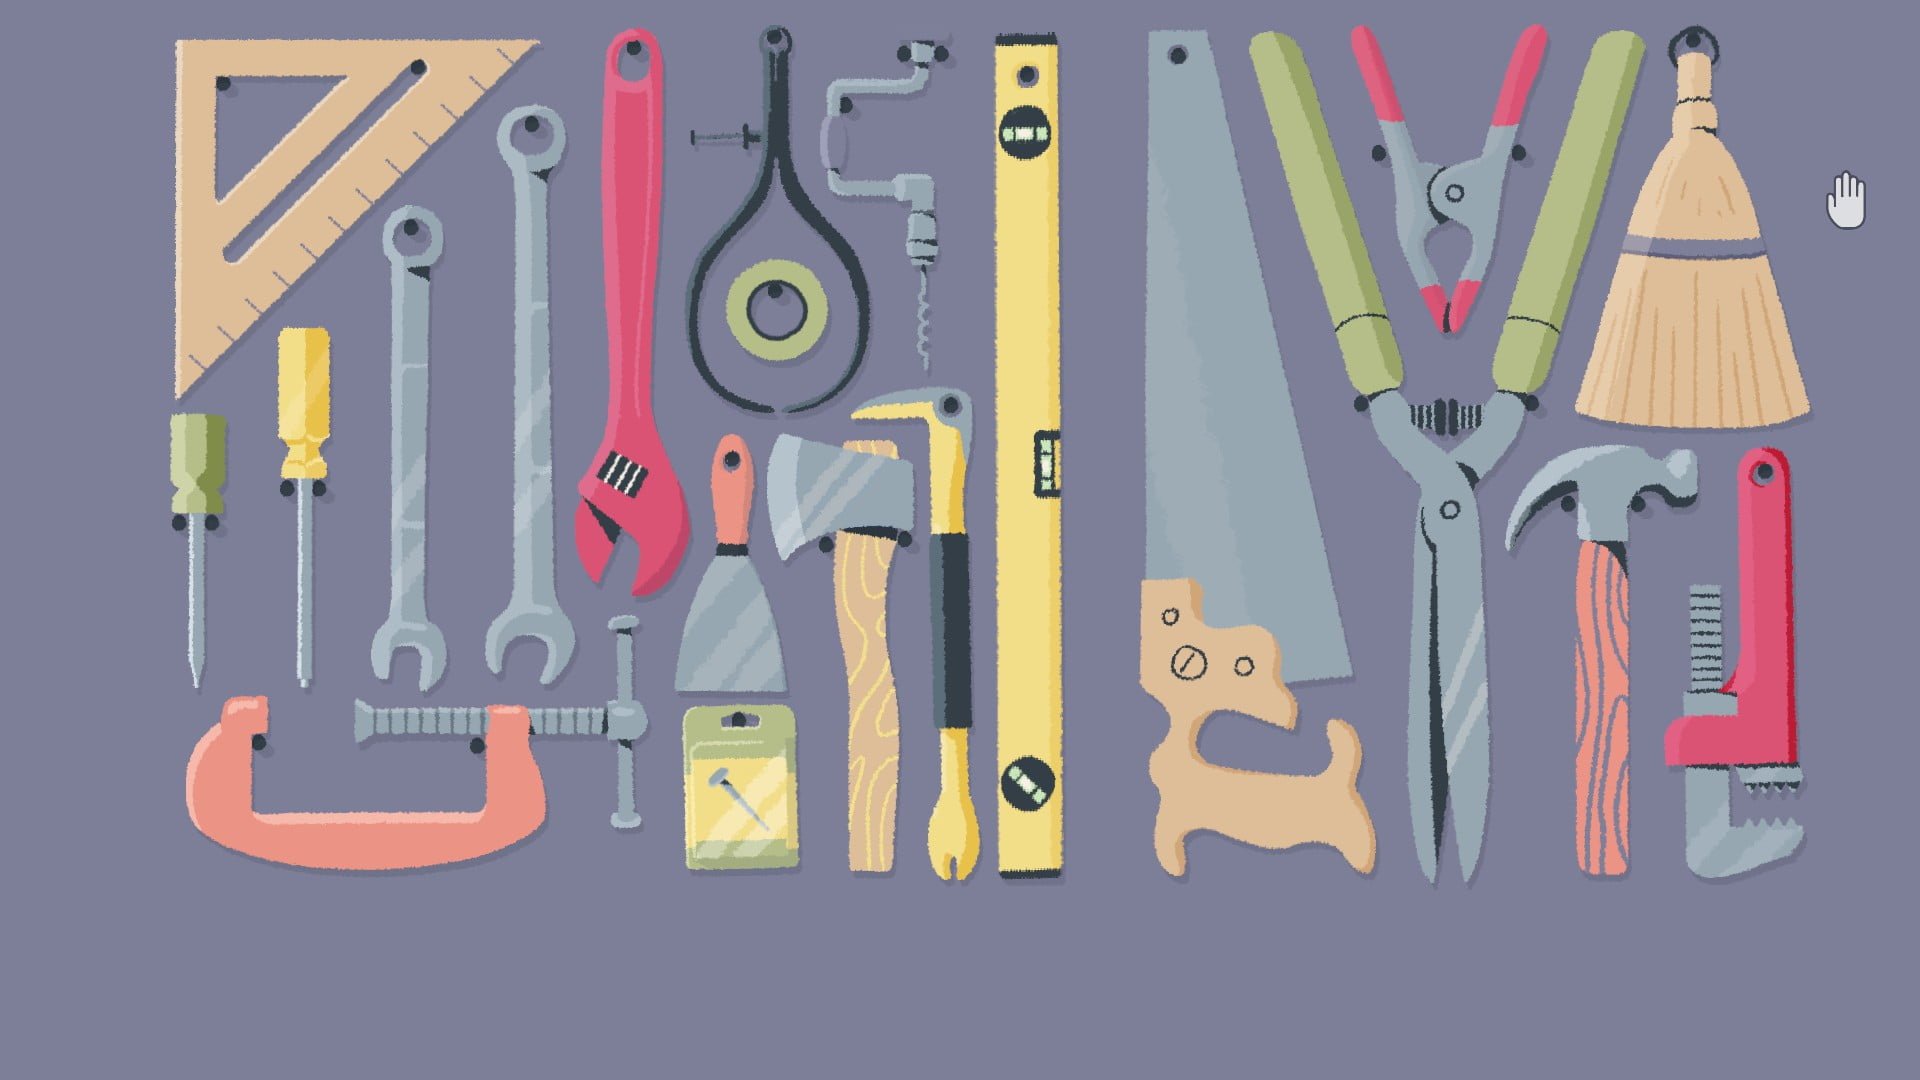
Arrange the tools so that everything fits on the pegboard.
Level 49:
Use the cloth to fully clean every coin.
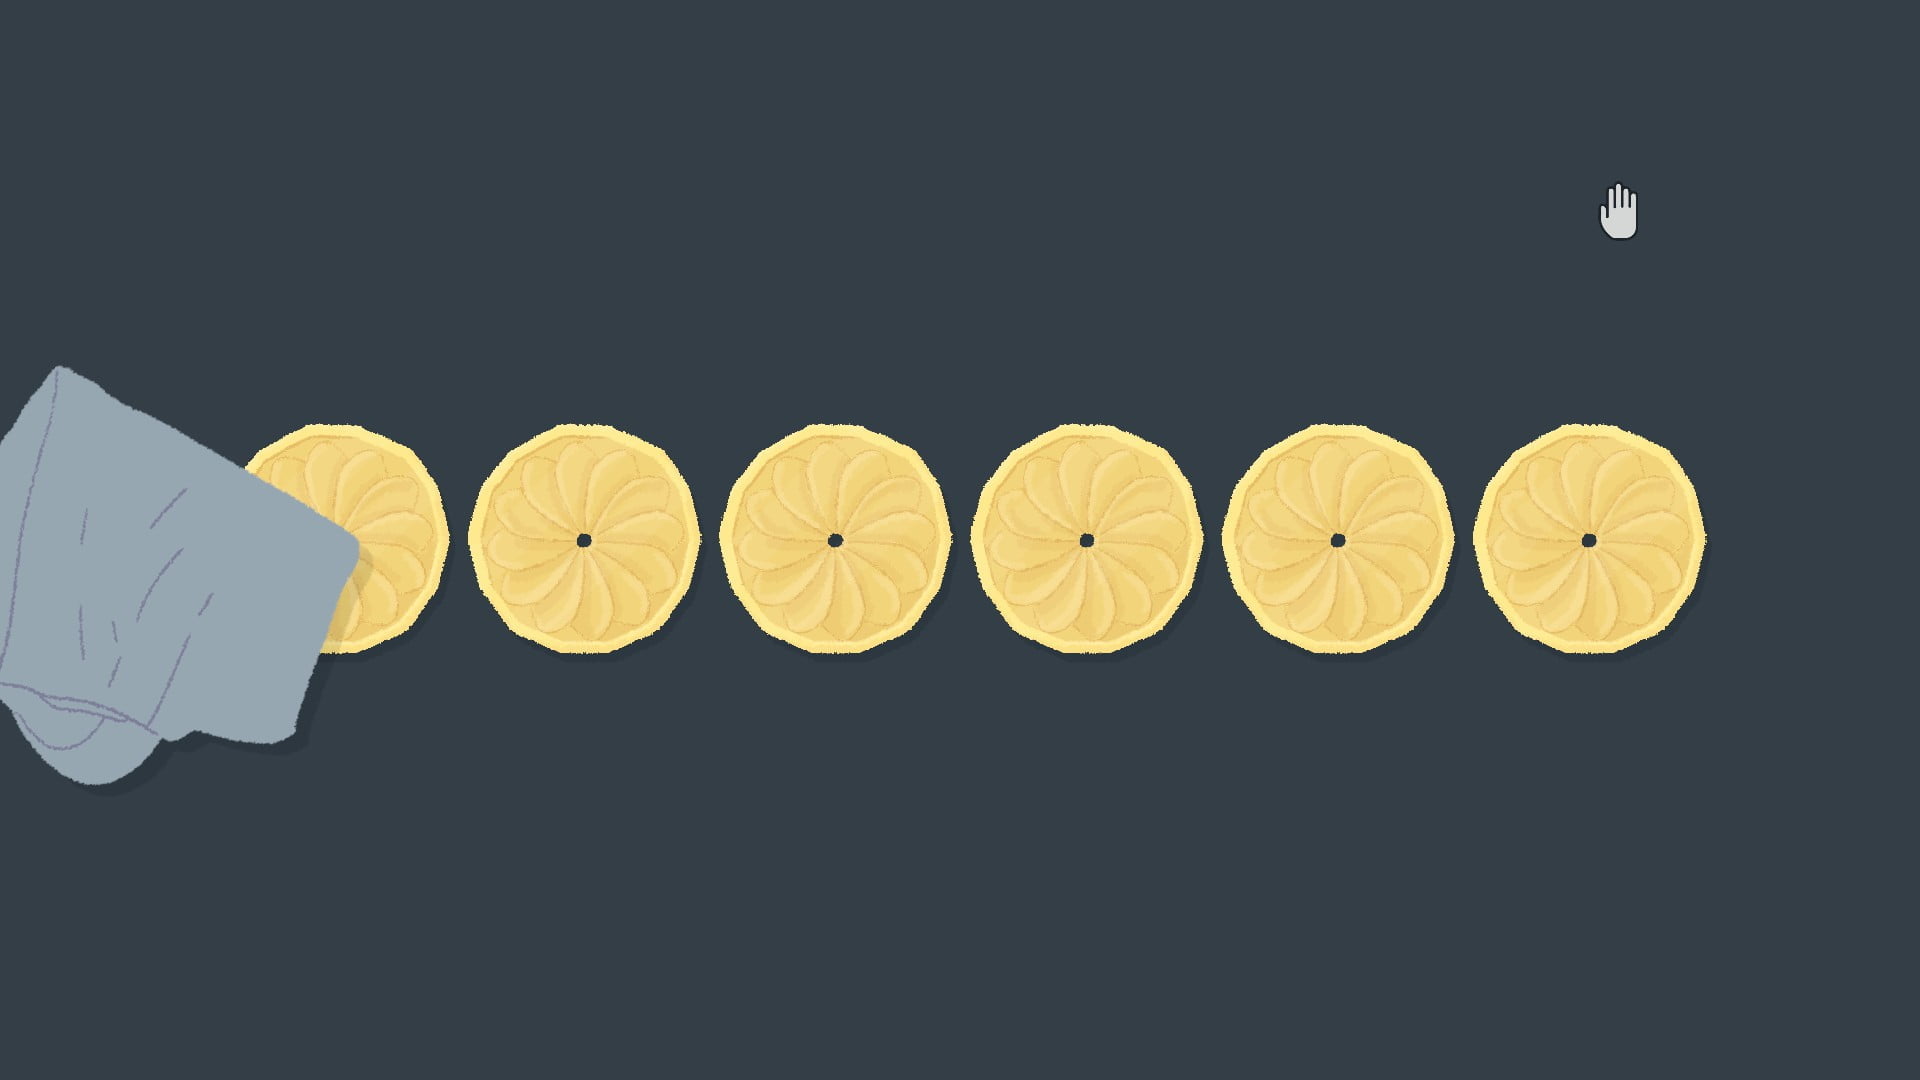
Click each coin until it’s fully dirty.
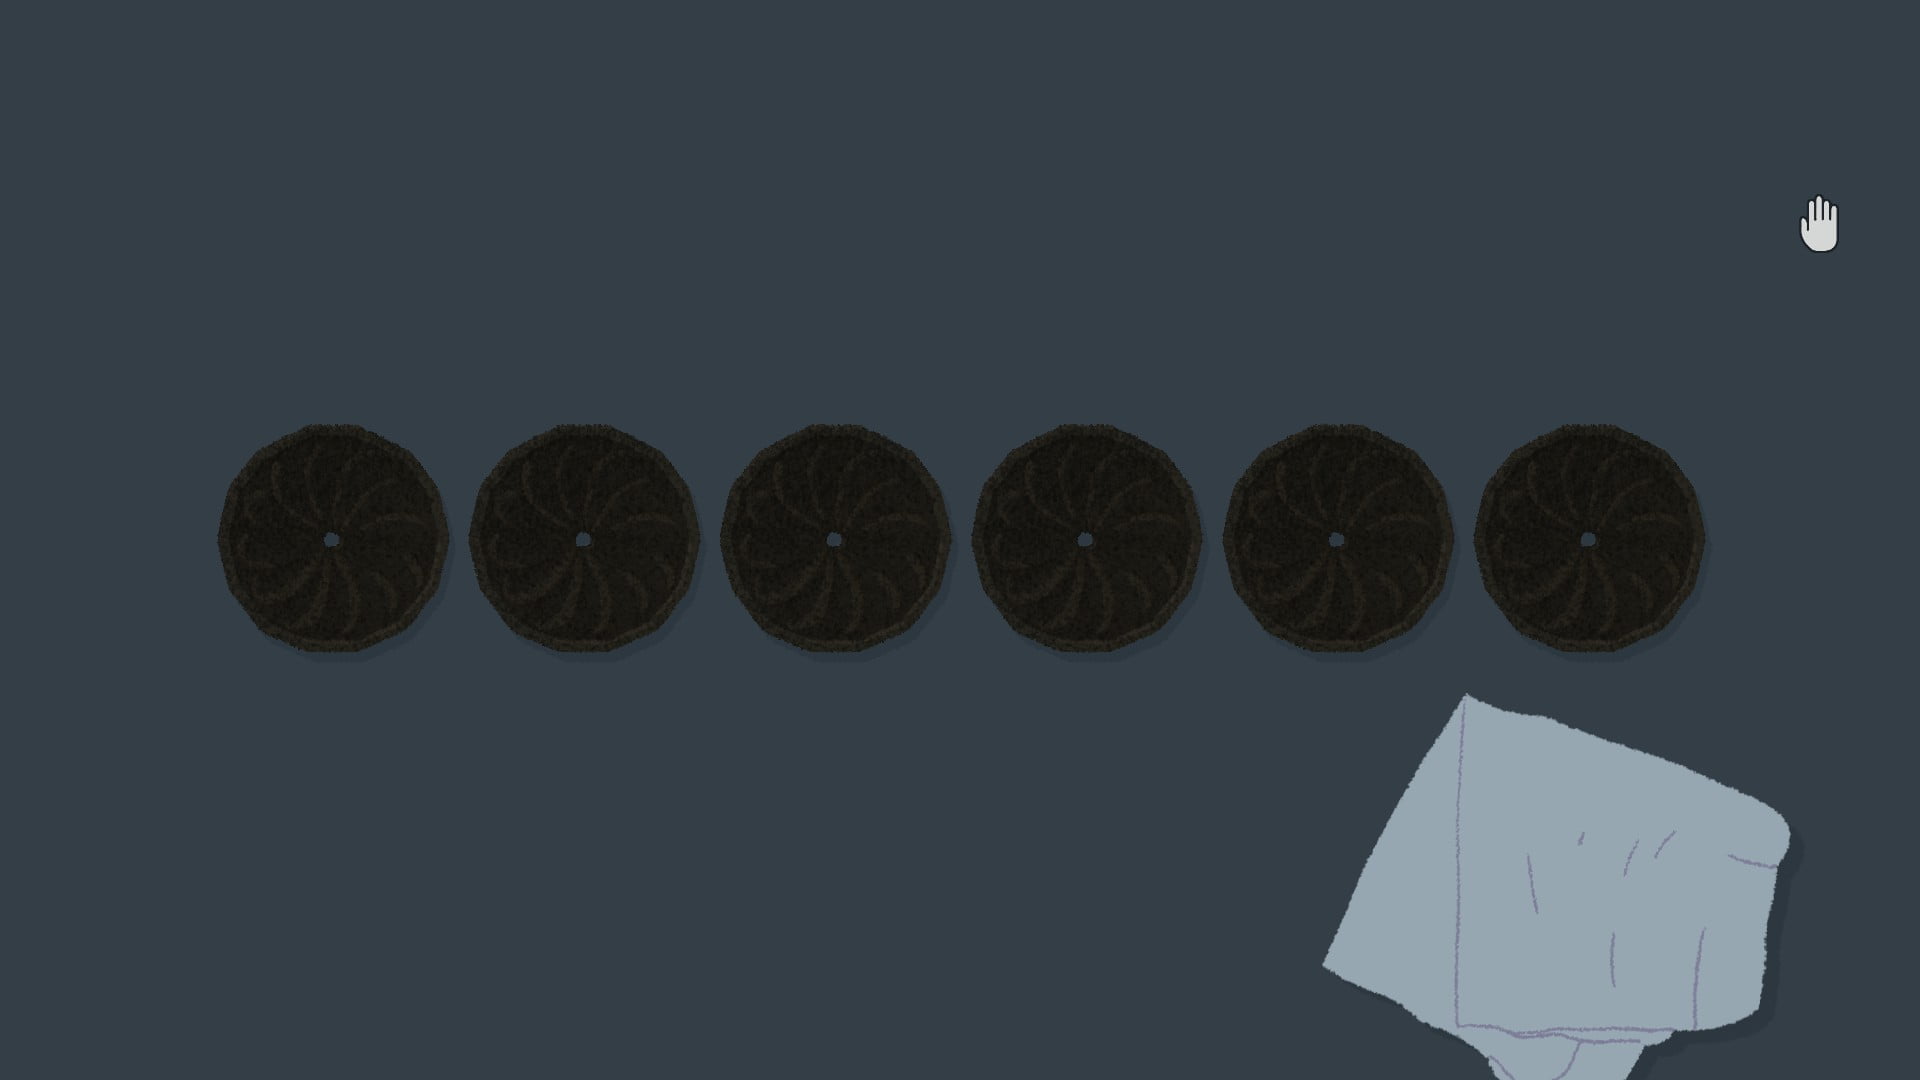
Clean/dirty the coins so that they range from dirtiest to cleanest.
Level 50:
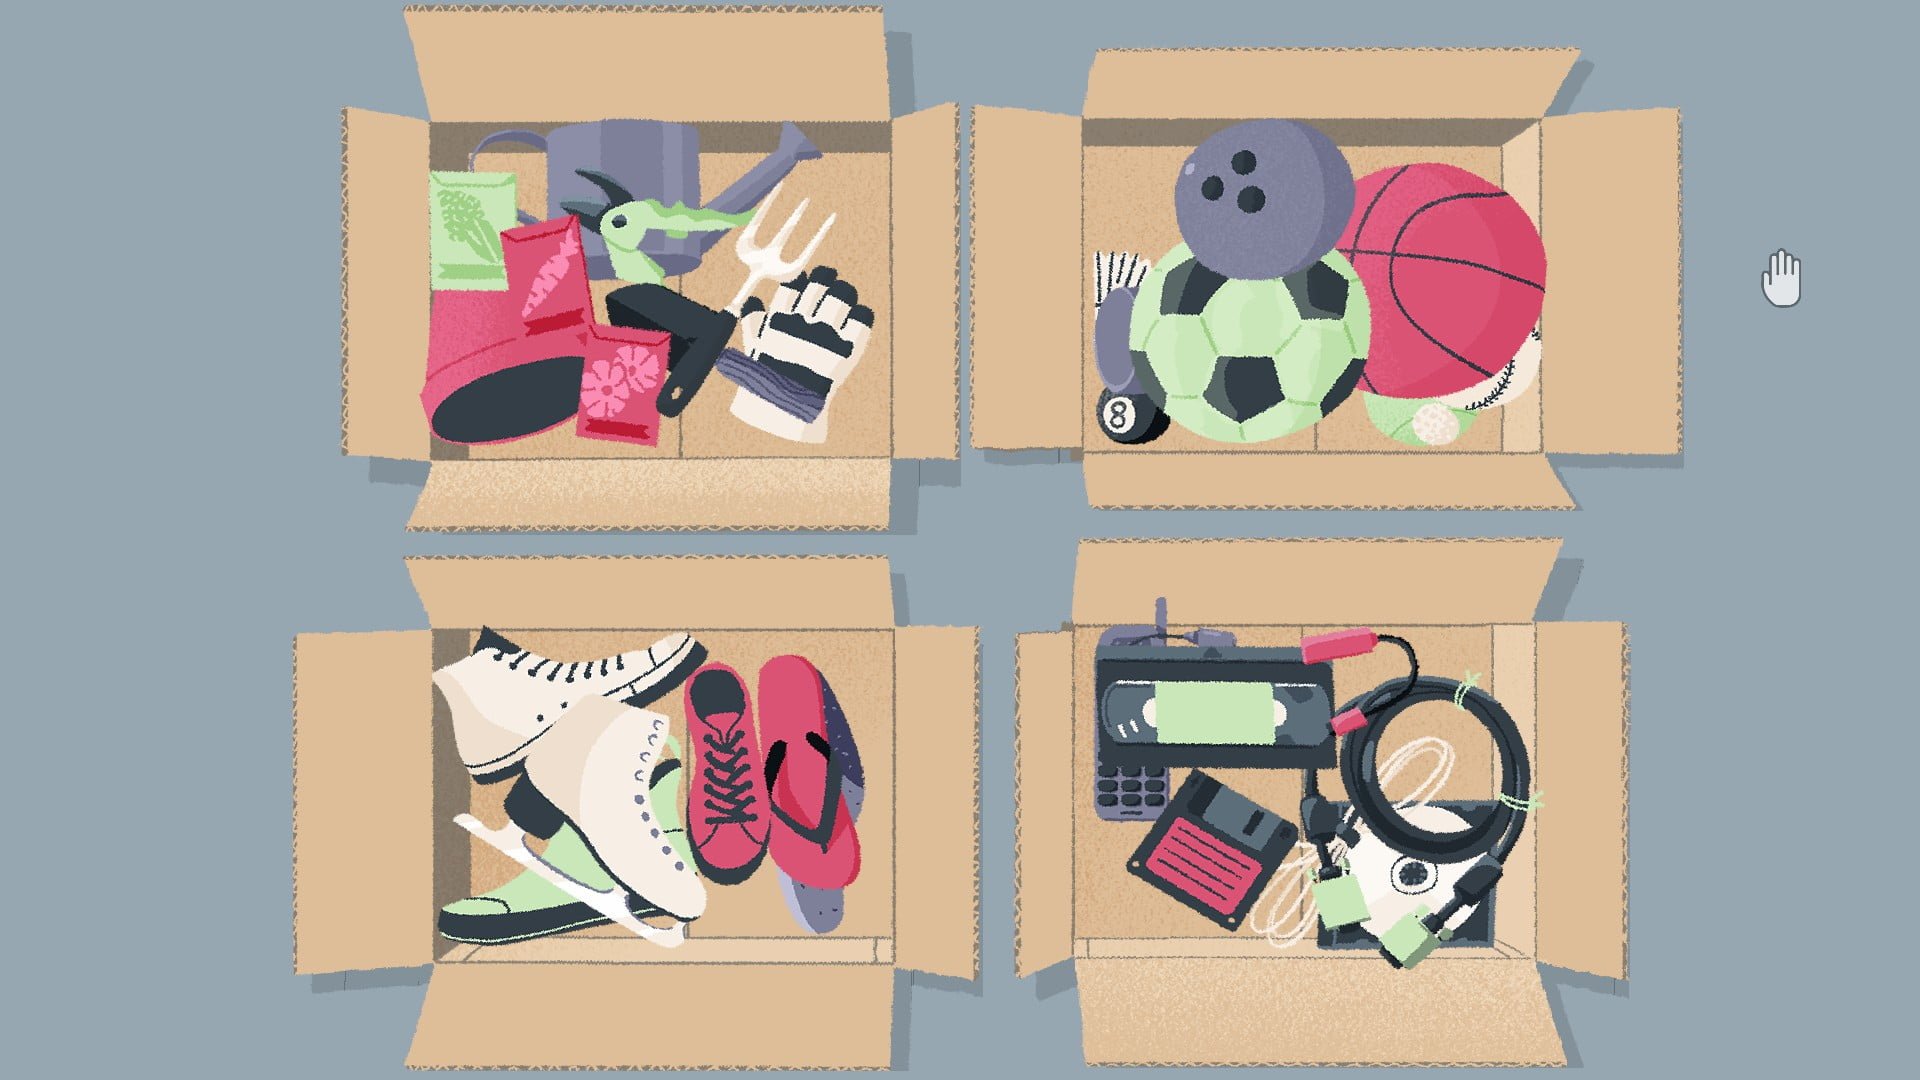
Sort the objects by color.
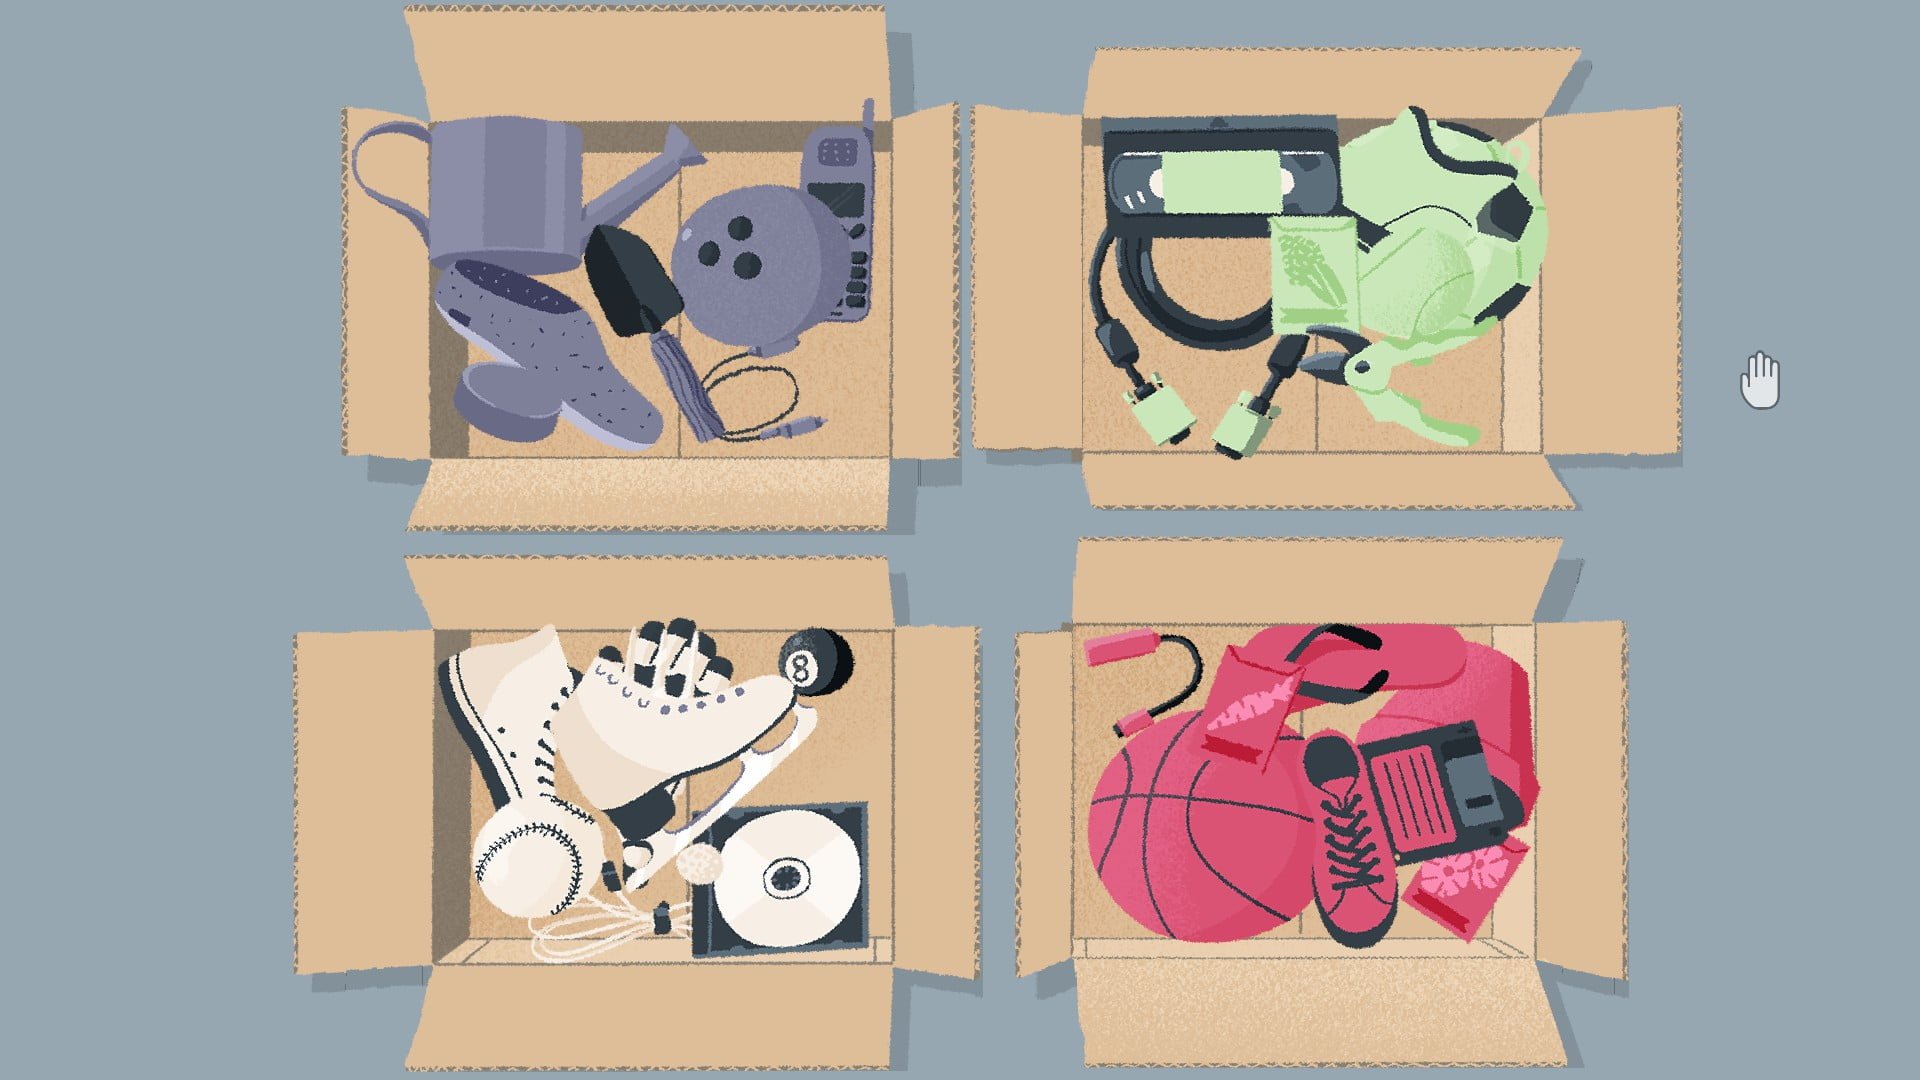
Sort the objects by type: gardening, sports, shoes, and technology.
Level 51:
Arrange the boxes so that the arrows all line up.
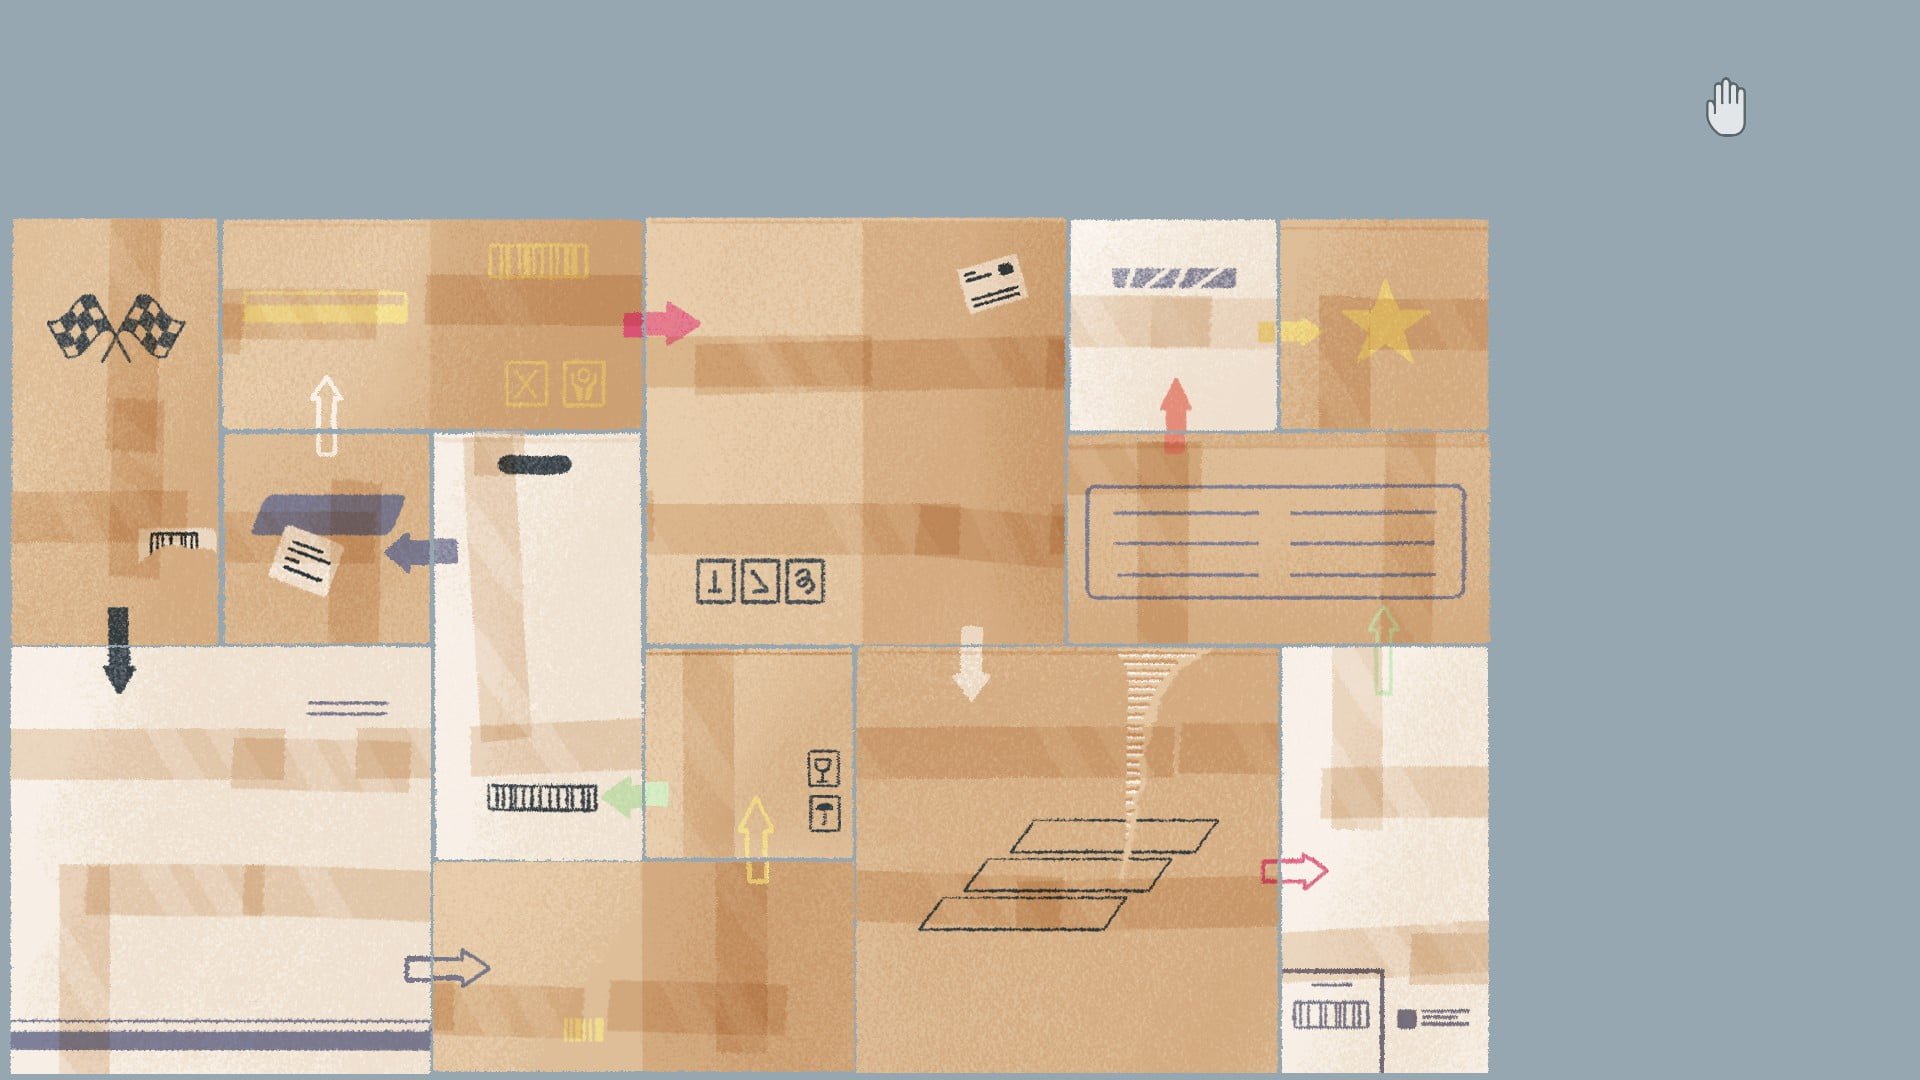
Arrange the boxes so that the tape lines up.

Level 52:
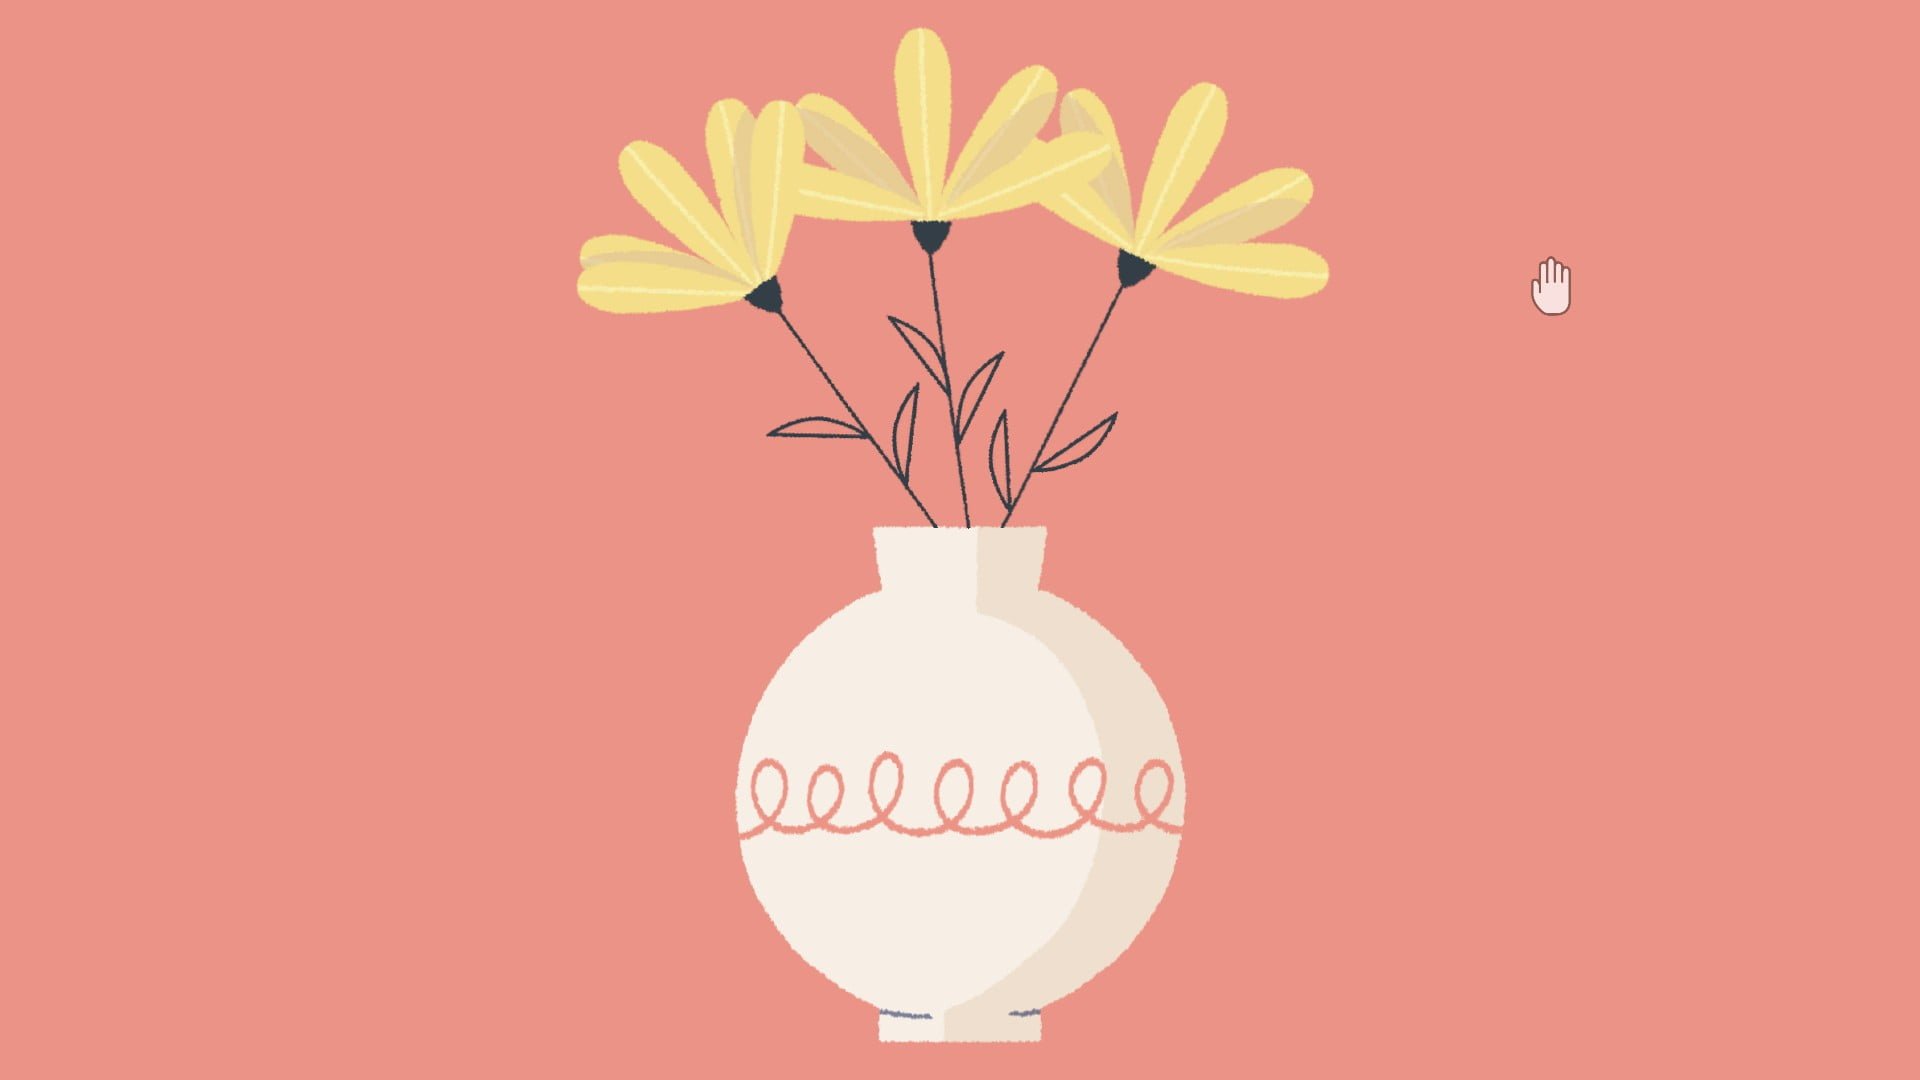
Use the cloth to clean the vase, then lift the flowers until they’re blooming.
Chapter 4: Inner Nature
Level 53:
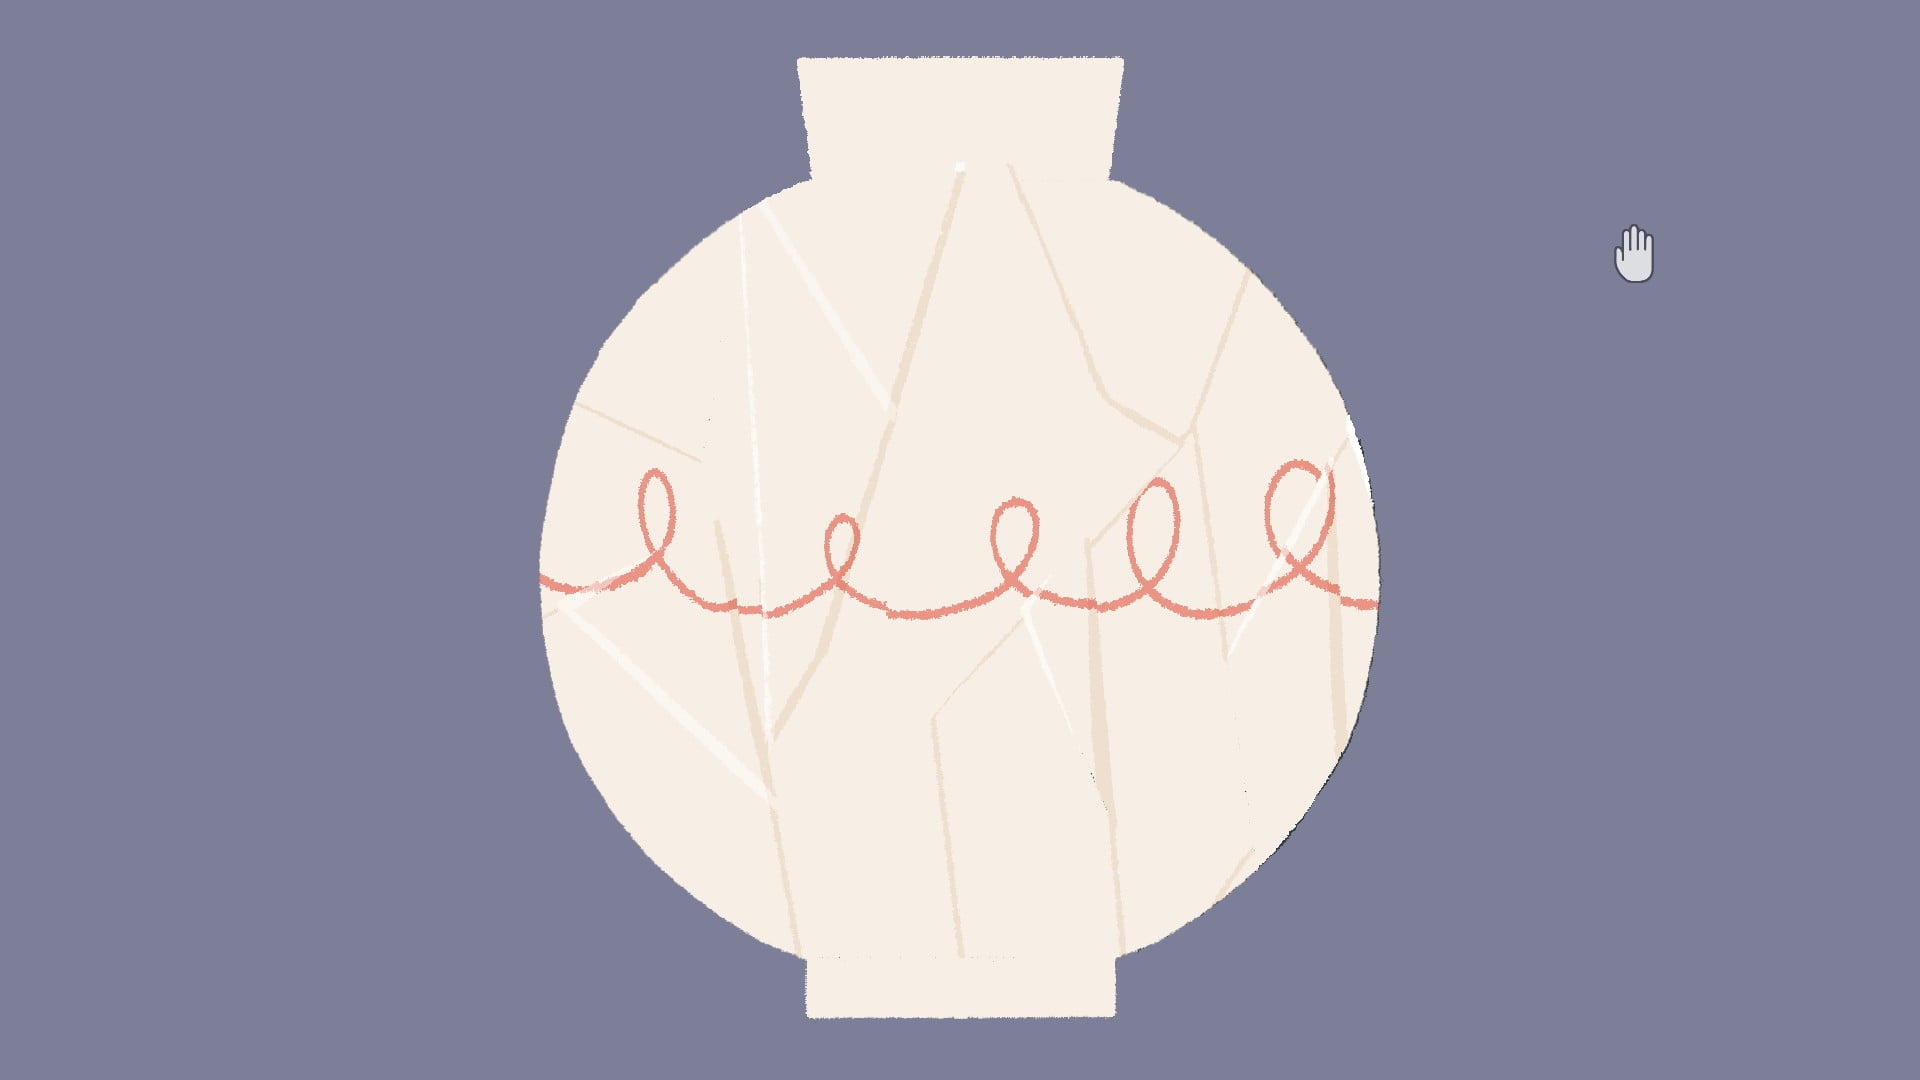
Put the vase back together using the pieces along the bottom.
Level 54:
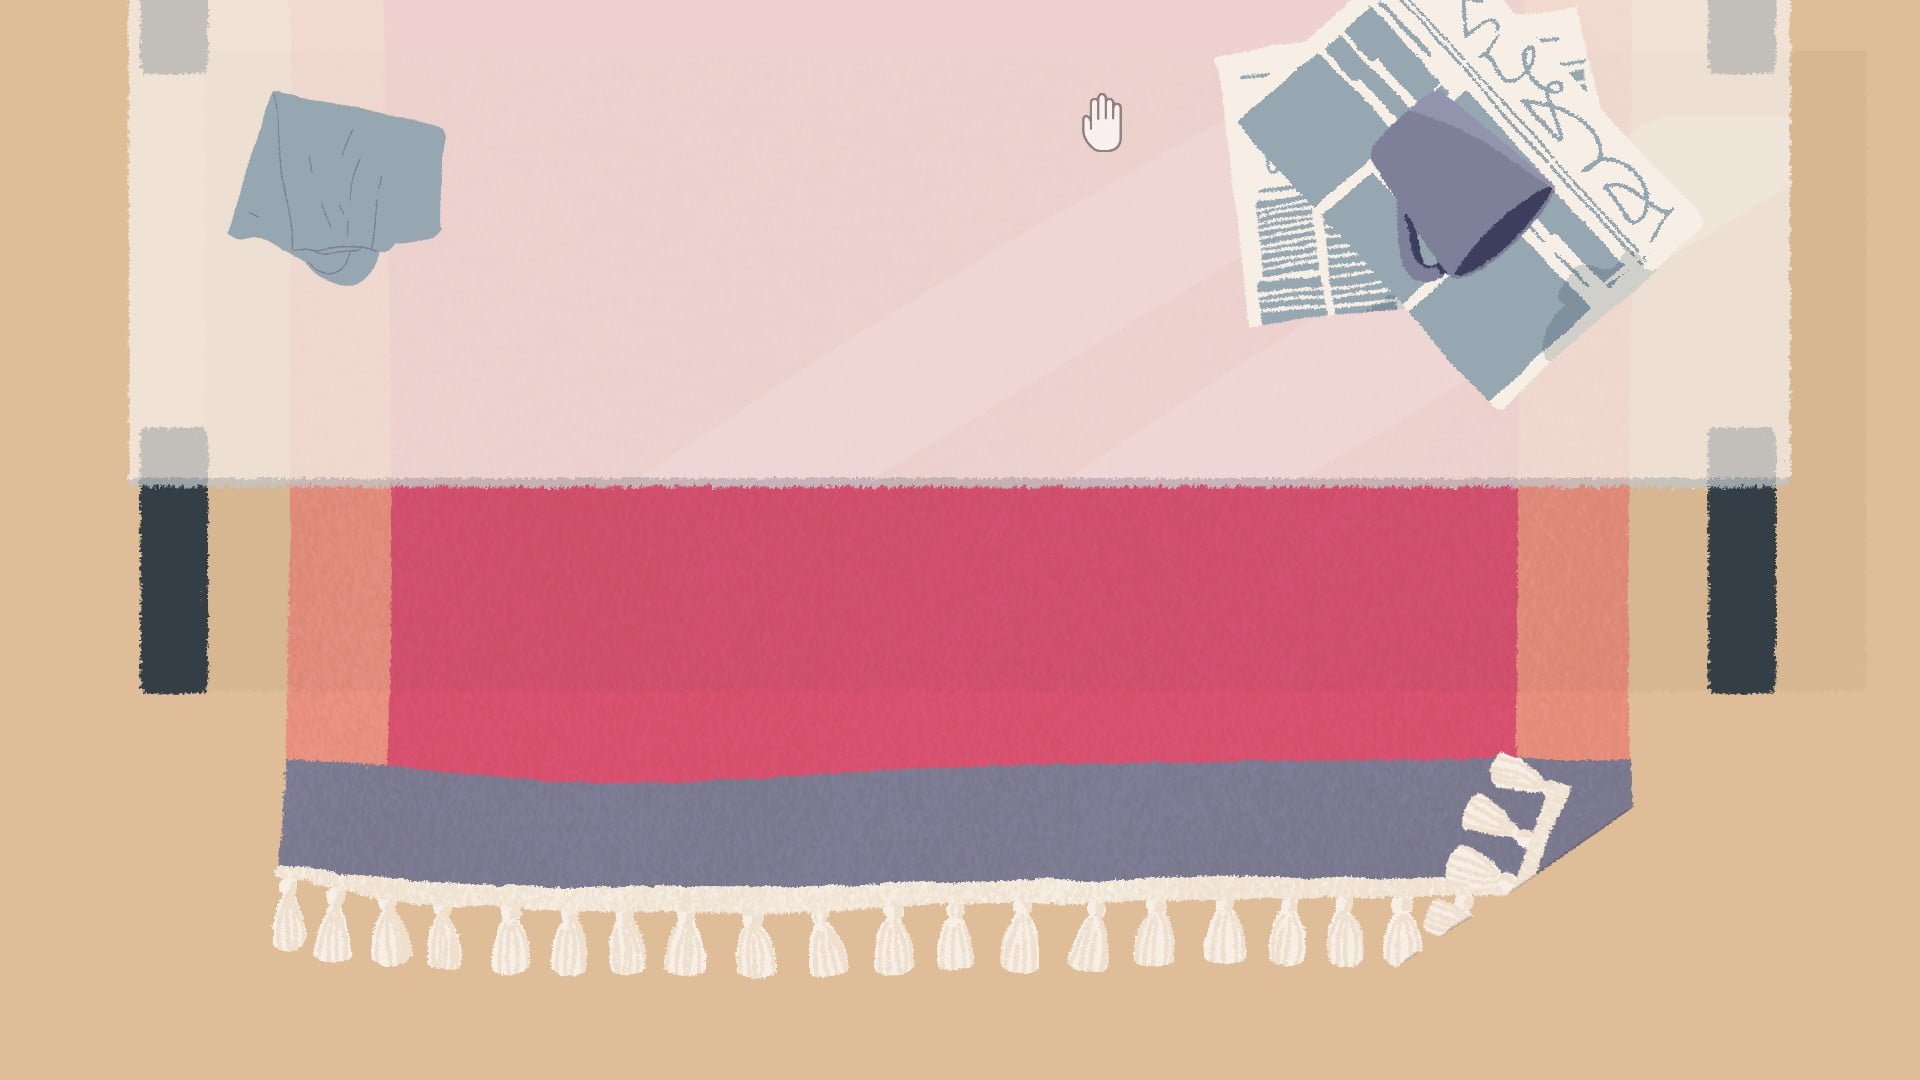
Use the cloth to clean the paw prints and spill. Don’t forget to move the papers and lift the rug.
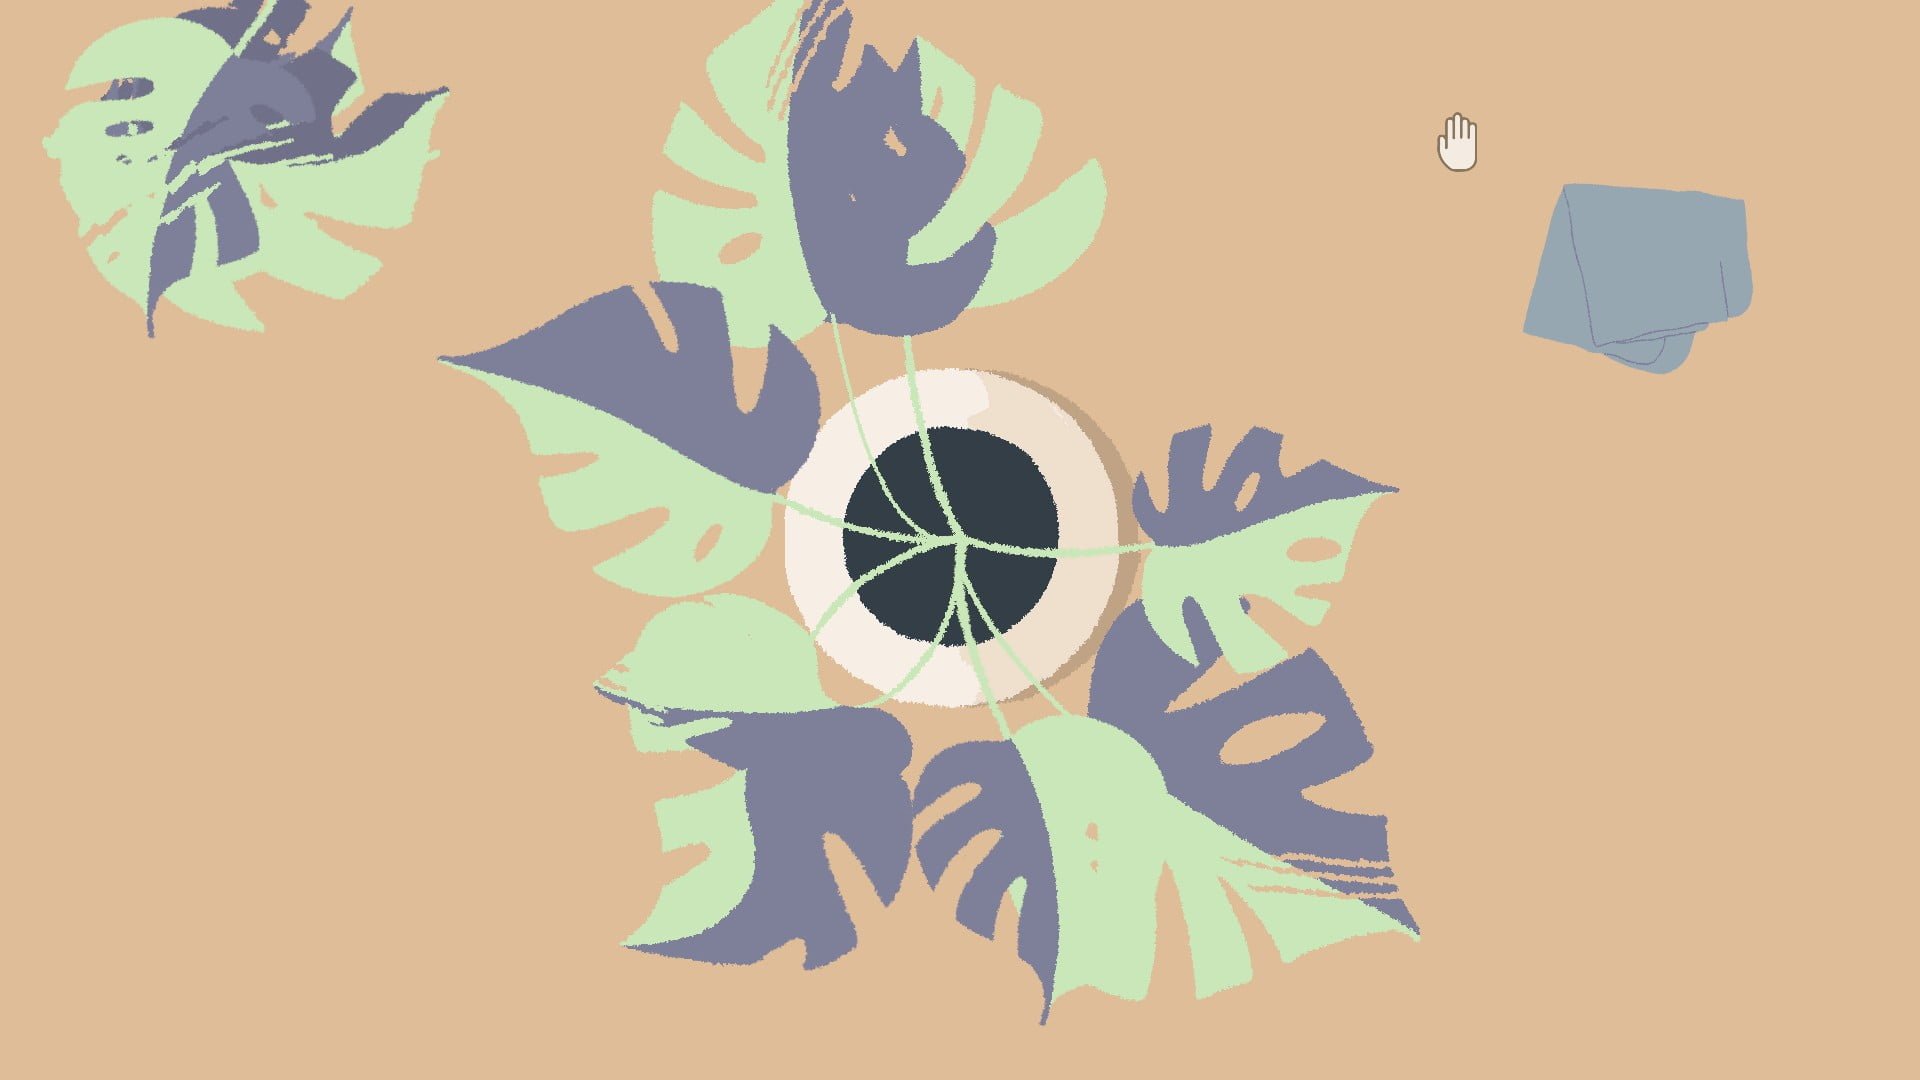
Clean the paw prints. Some are hidden underneath the leaves, move them to get access. Drag the broken leaves off screen for the nicest look.
Clean the paw prints left behind by the cat until it finishes.
Level 55:
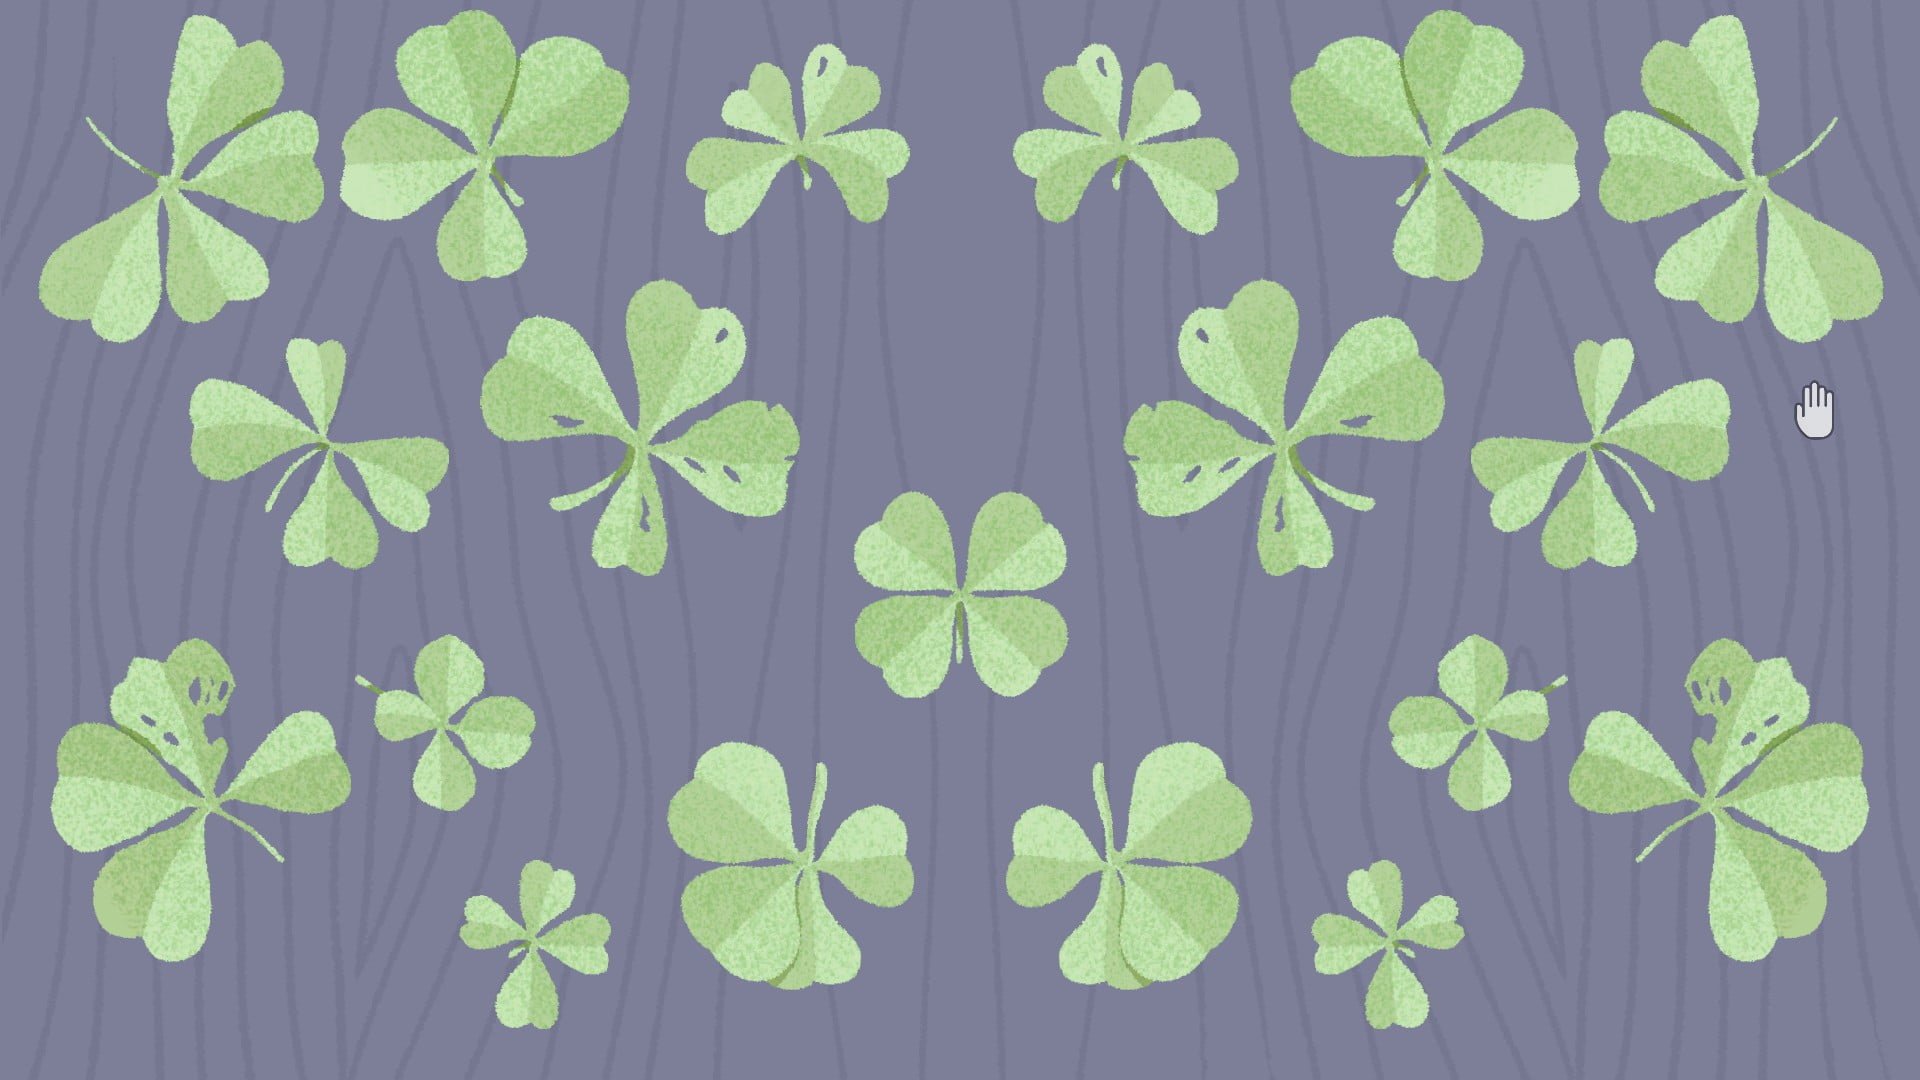
Pluck leaves off of the plant until it’s symmetric.
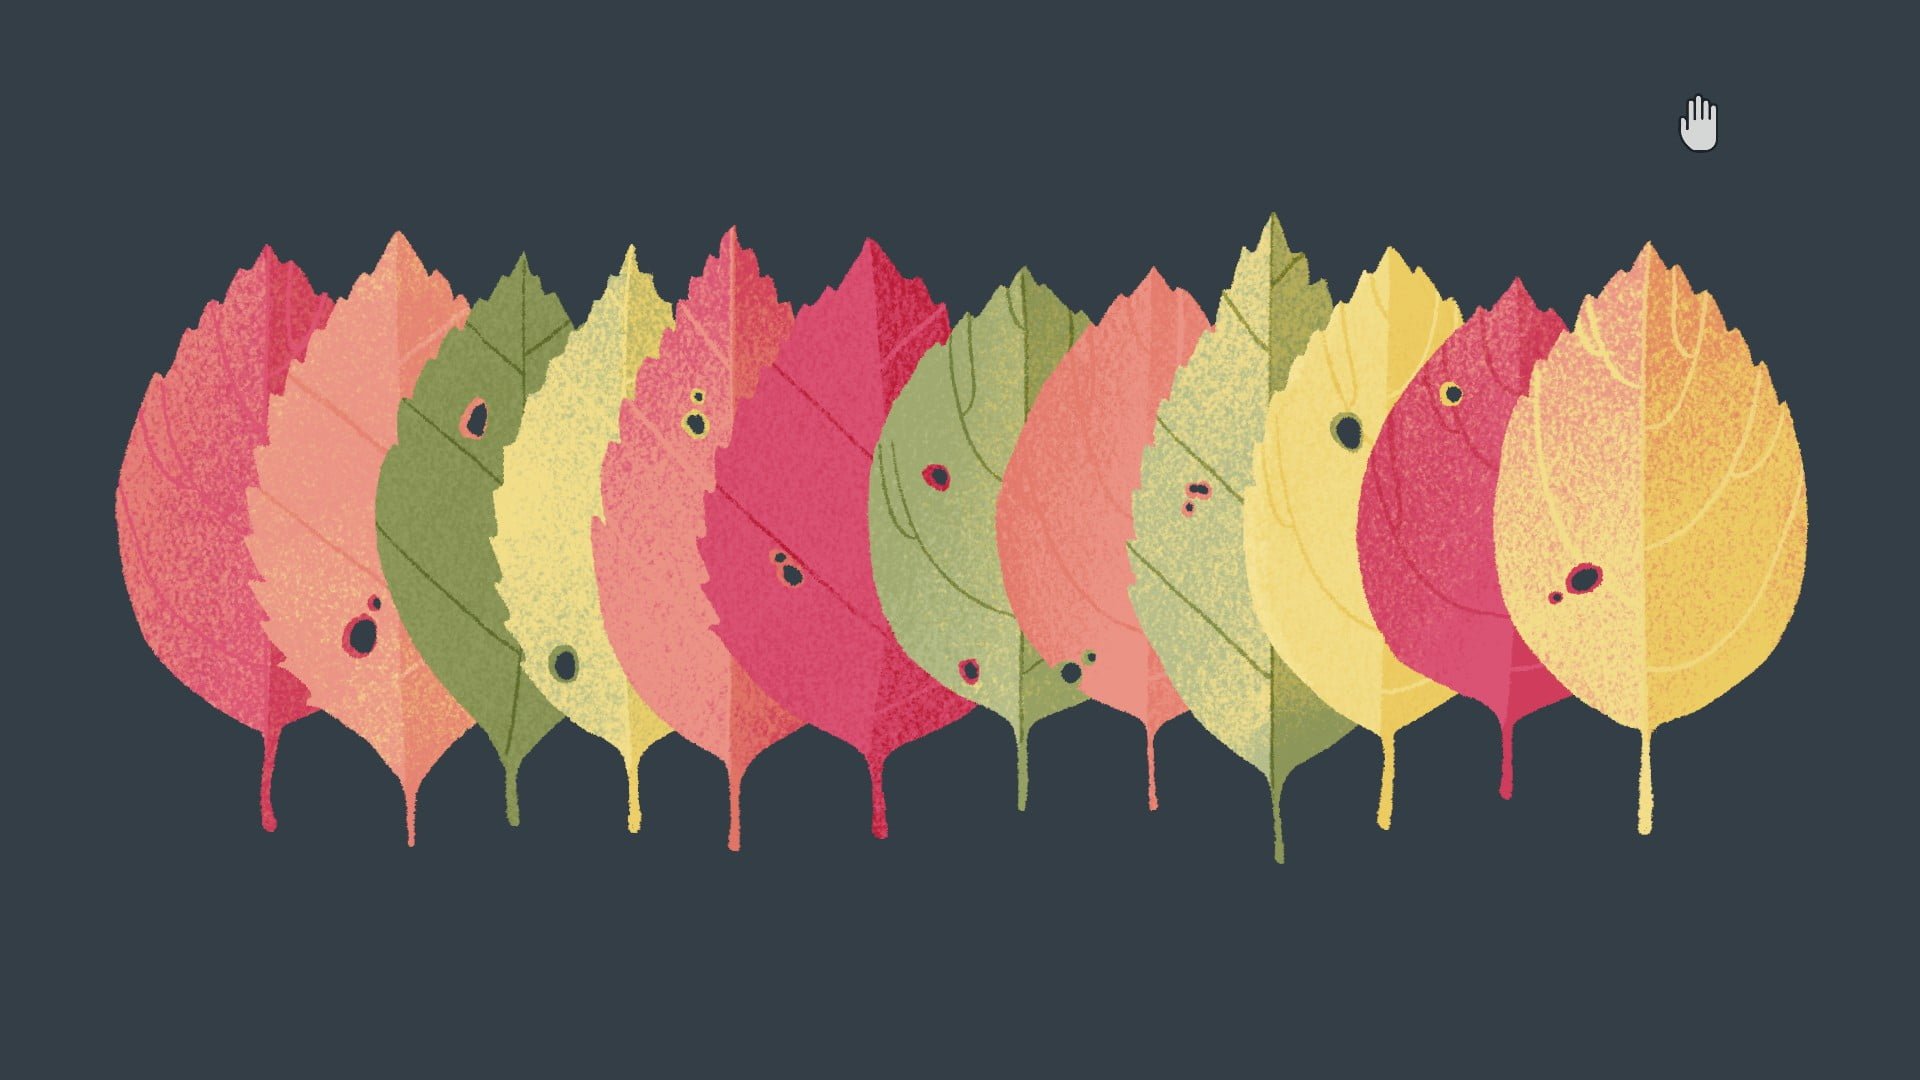
Level 56:
Slide the leaves so that they’re in color gradient order.
Slide the leaves so that they’re in order from most edge ridges to least edge ridges.
Slide the leaves so that the holes align.
Level 57:
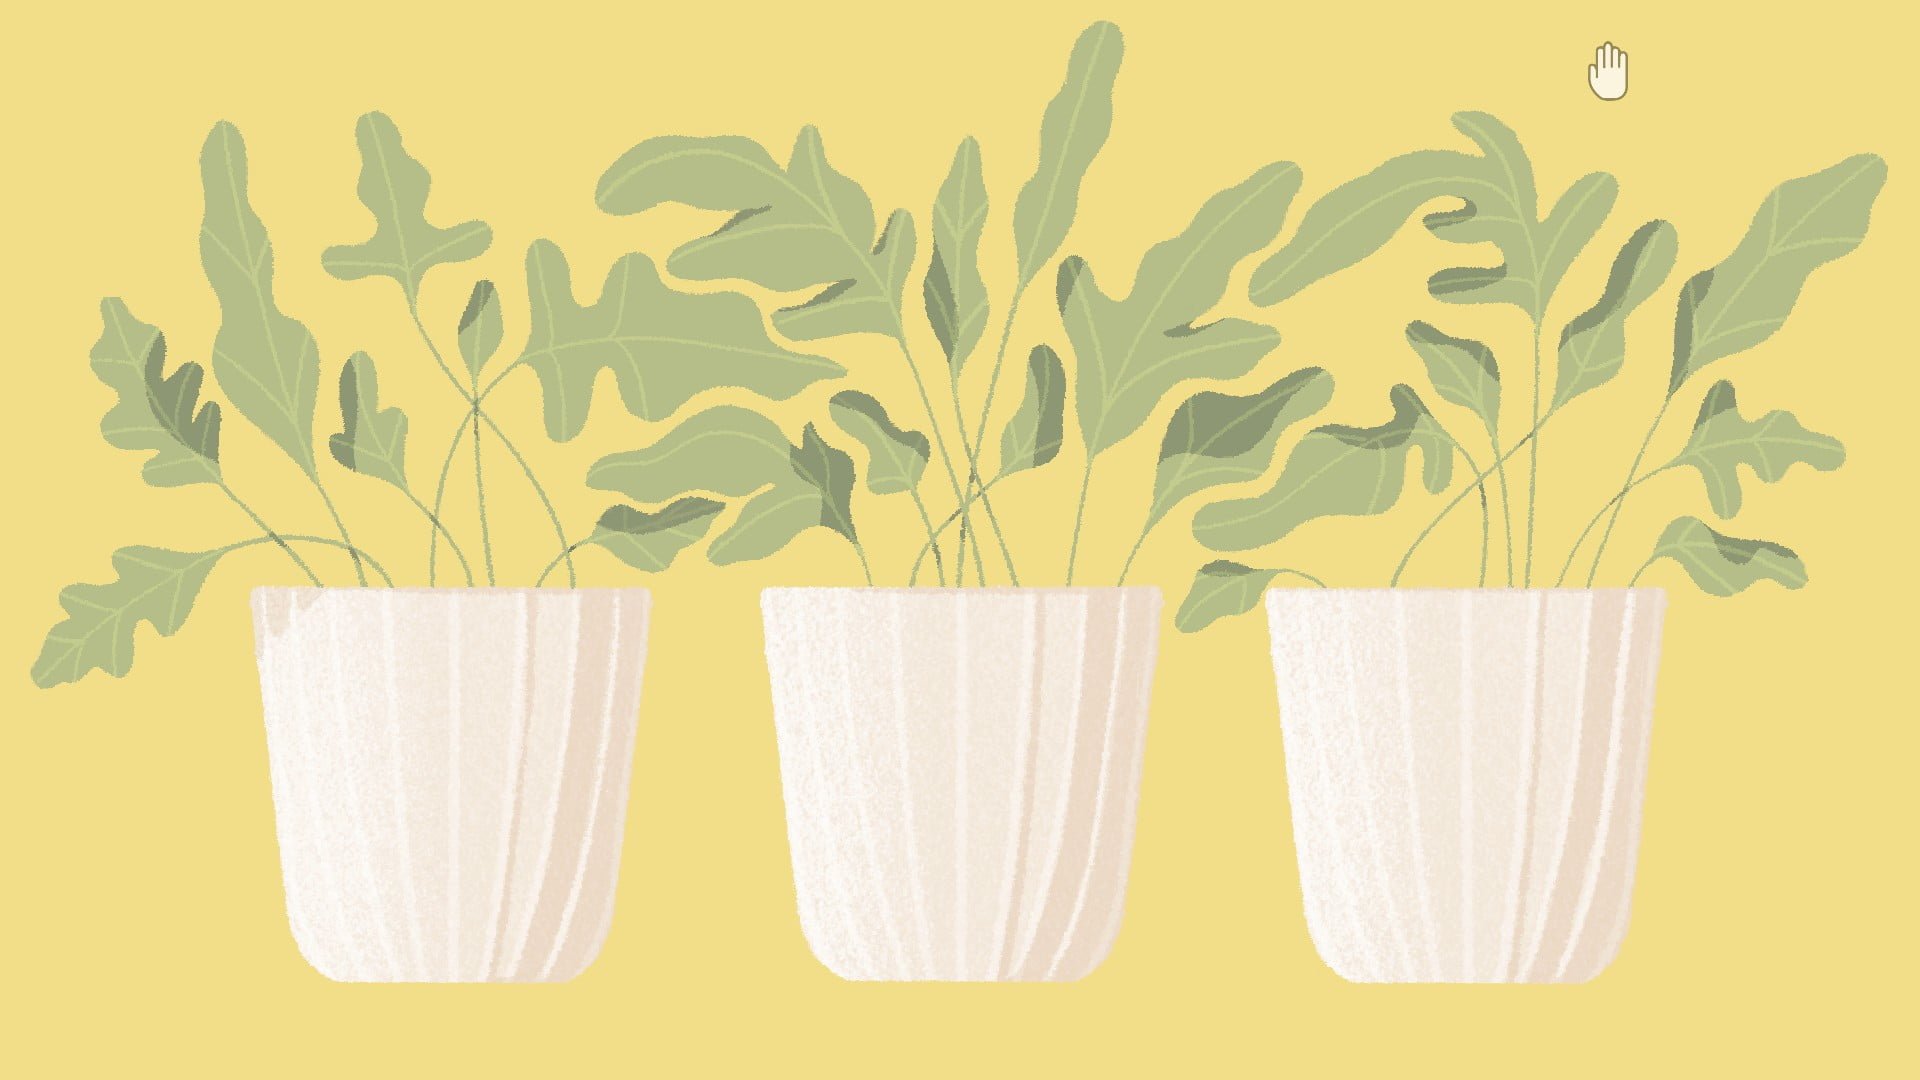
Put the plants in order so that the leaves nicely line up.
level 58:
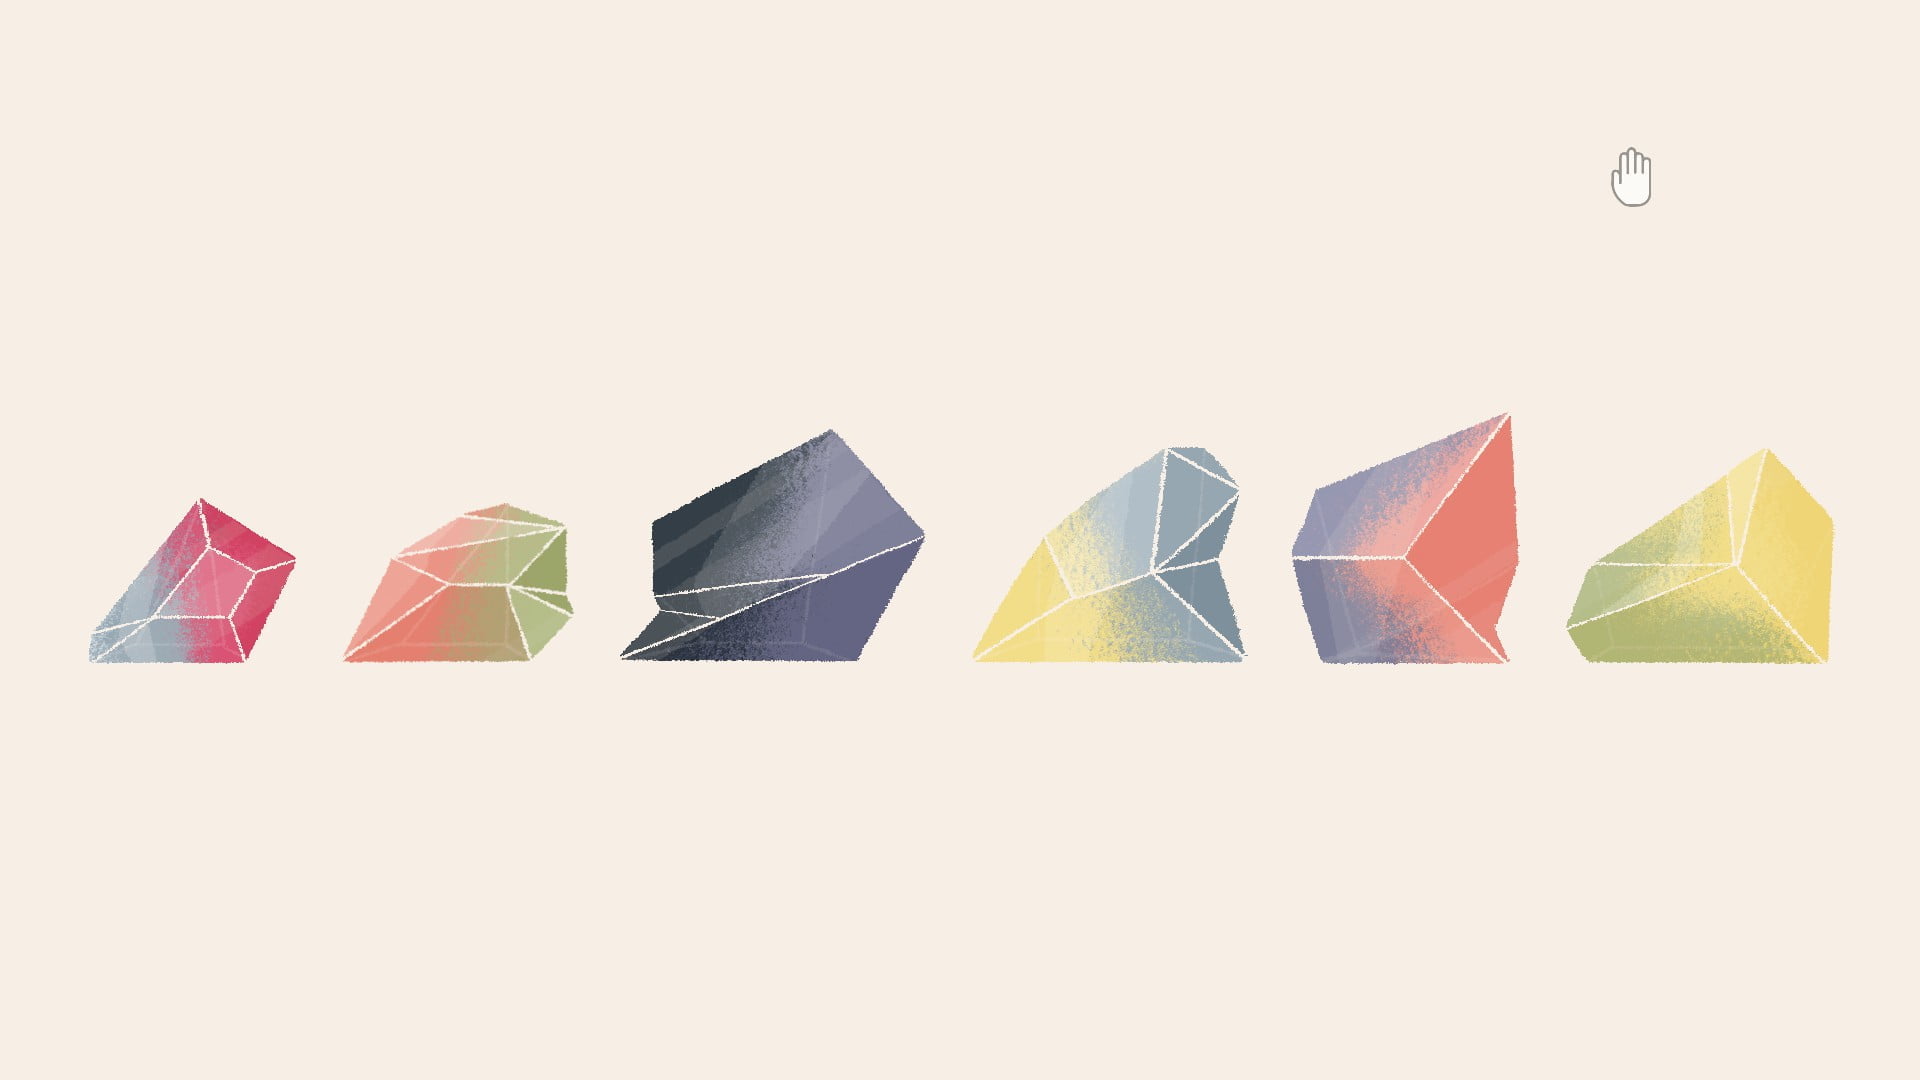
Slide the gems so that they’re in color gradient order.

Slide the gems so that they’re in order from least number of faces to most number of faces.
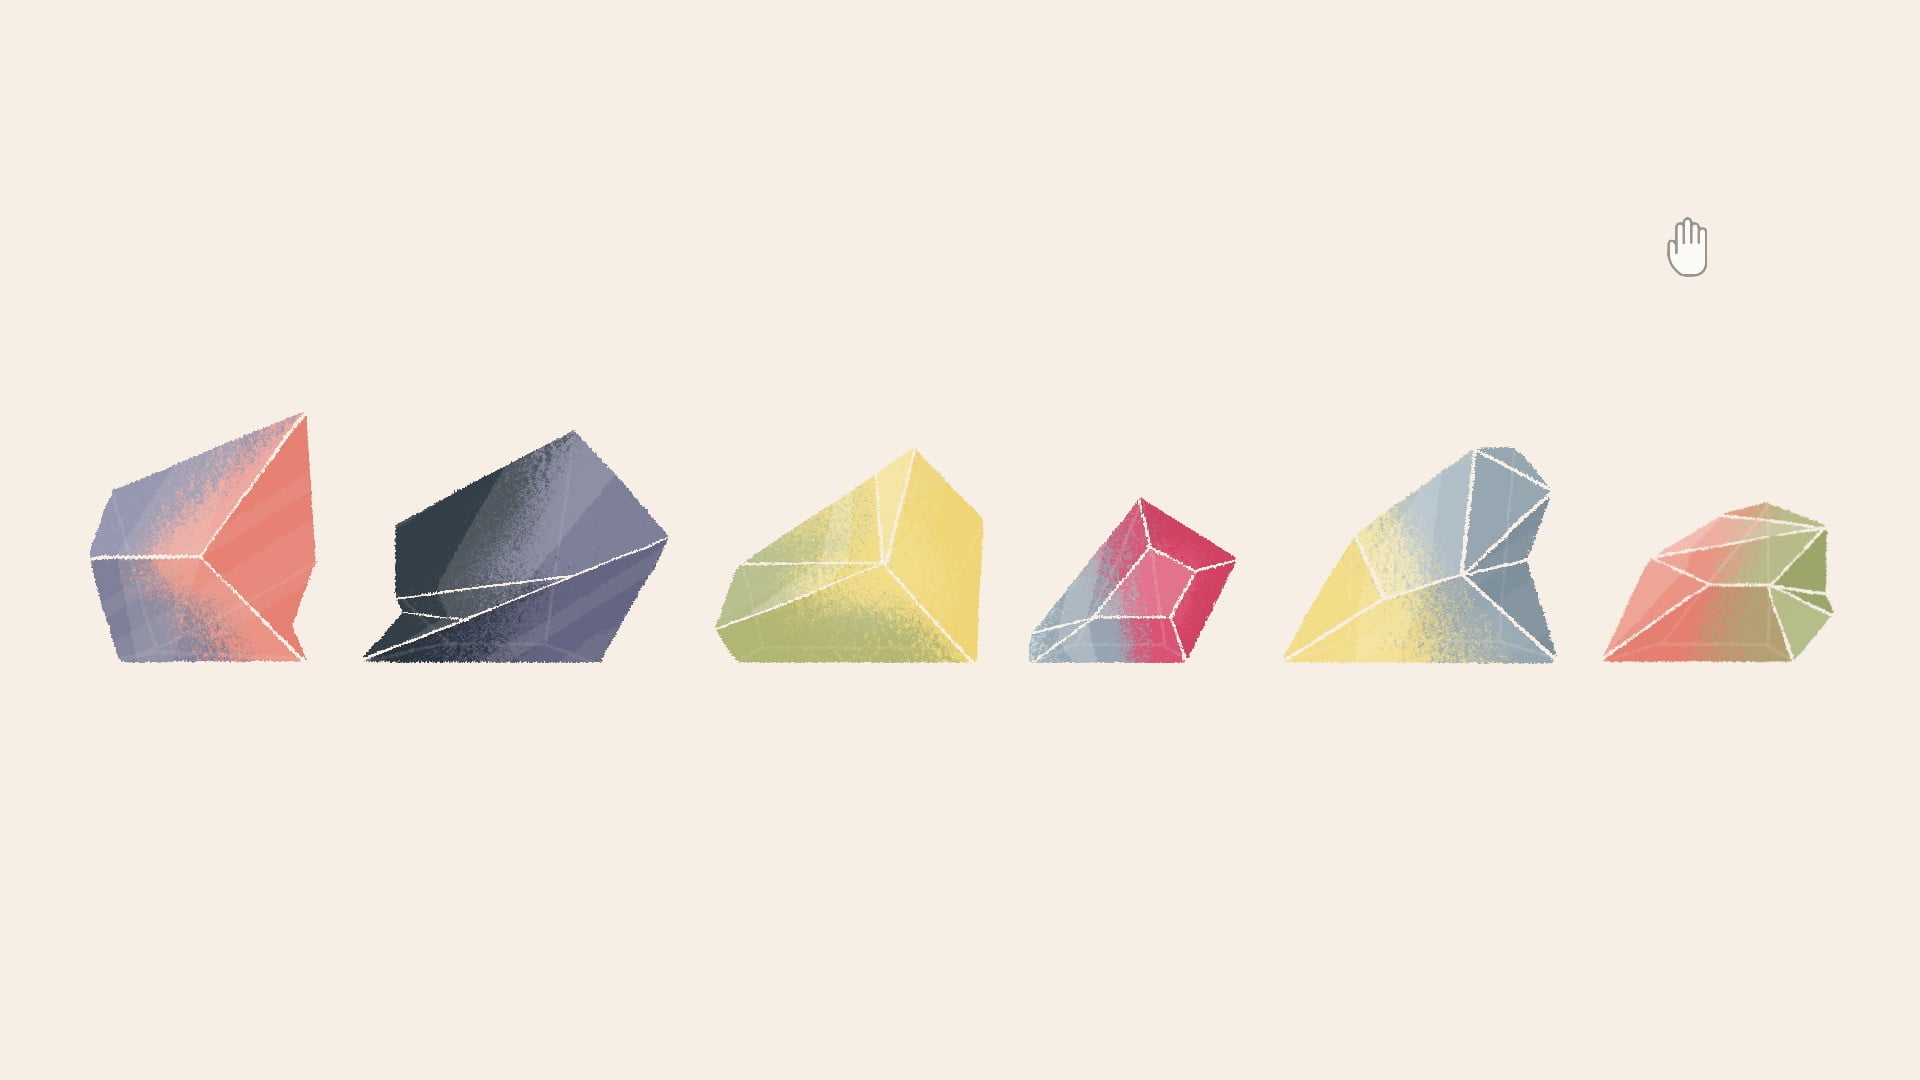
Slide the gems so that they’re ends fit together.
Level 59:
Create a symmetric pattern. This is what I did:
Level 60:
Clip the leaves until it’s symmetric.
Level 61:
Place the objects into the corresponding compartments. There is more than one way to solve this.
Level 62:
Create a symmetric pattern. This is what I did:
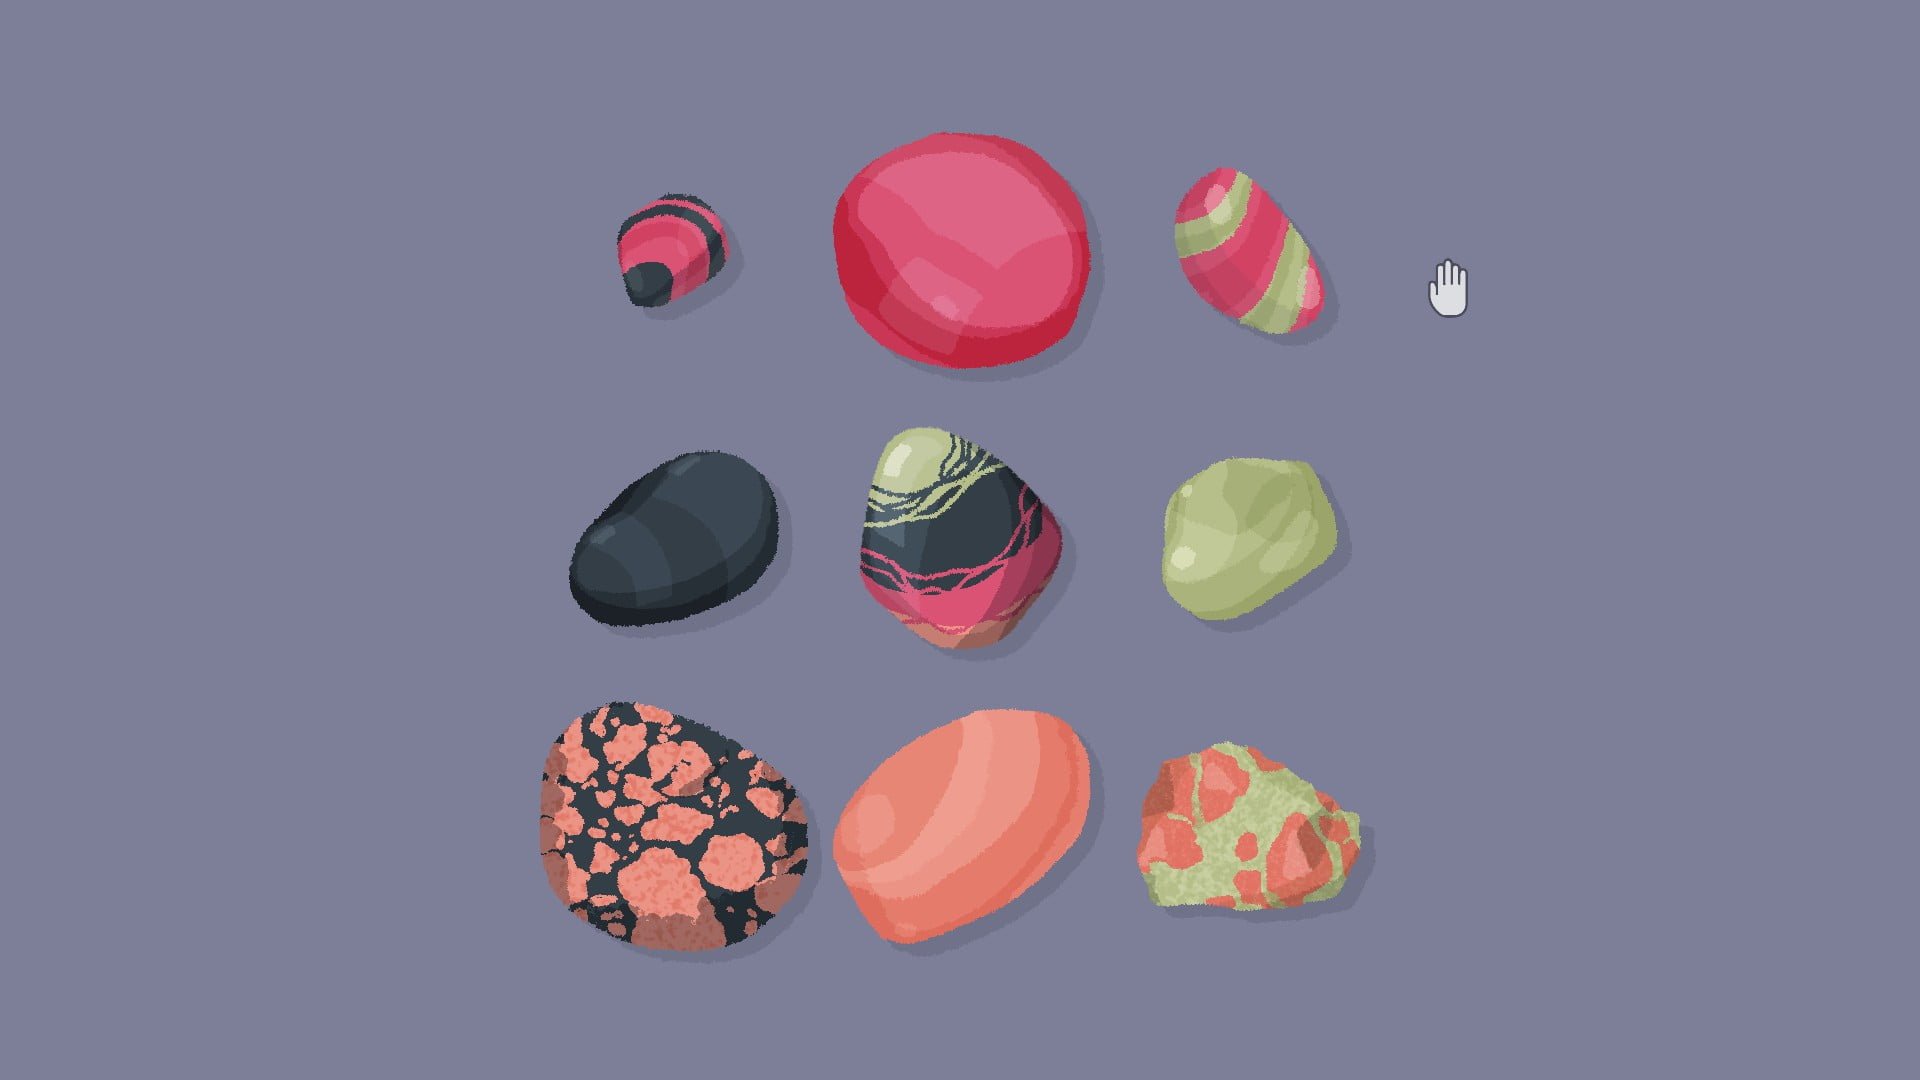
Level 63:
Place the rocks so that the color gradients. Solid colors go in the corners.
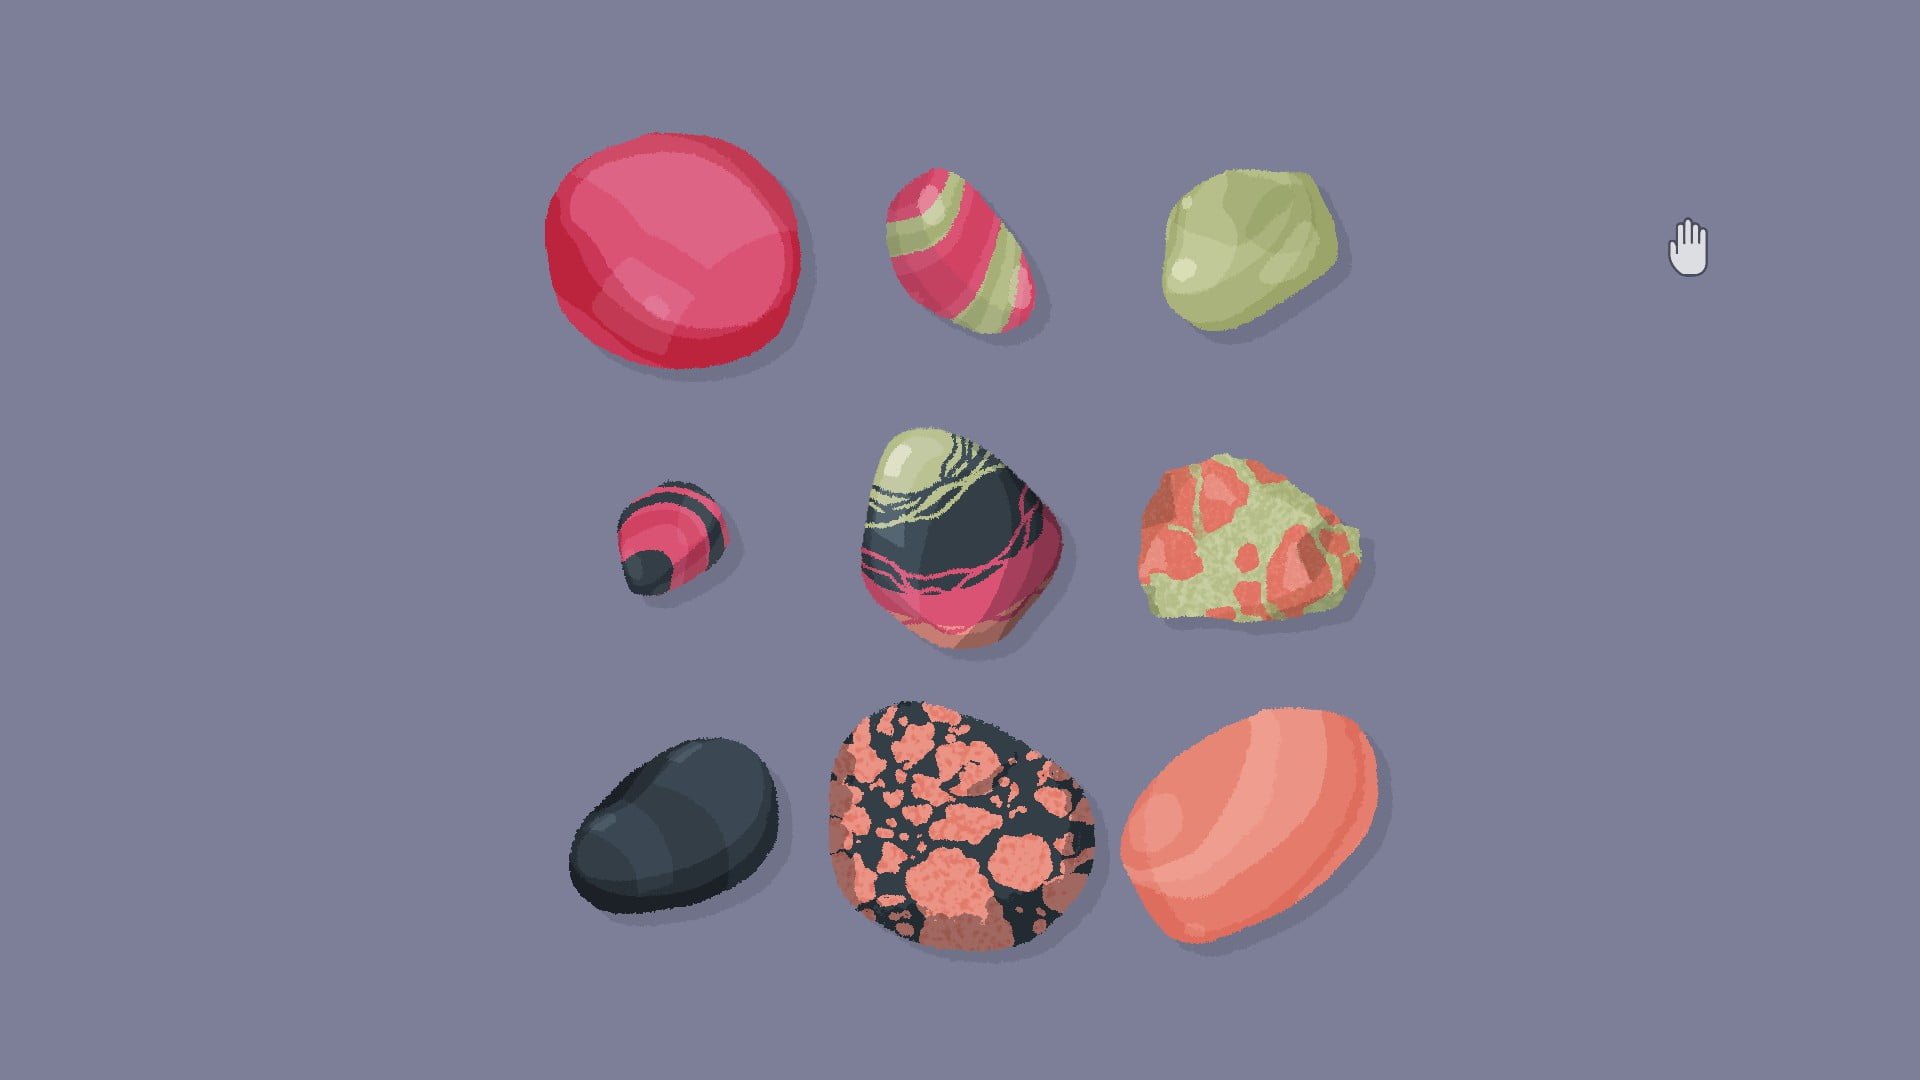
Place the rocks so that the color gradients. Solid colors go in the cardinal directions.
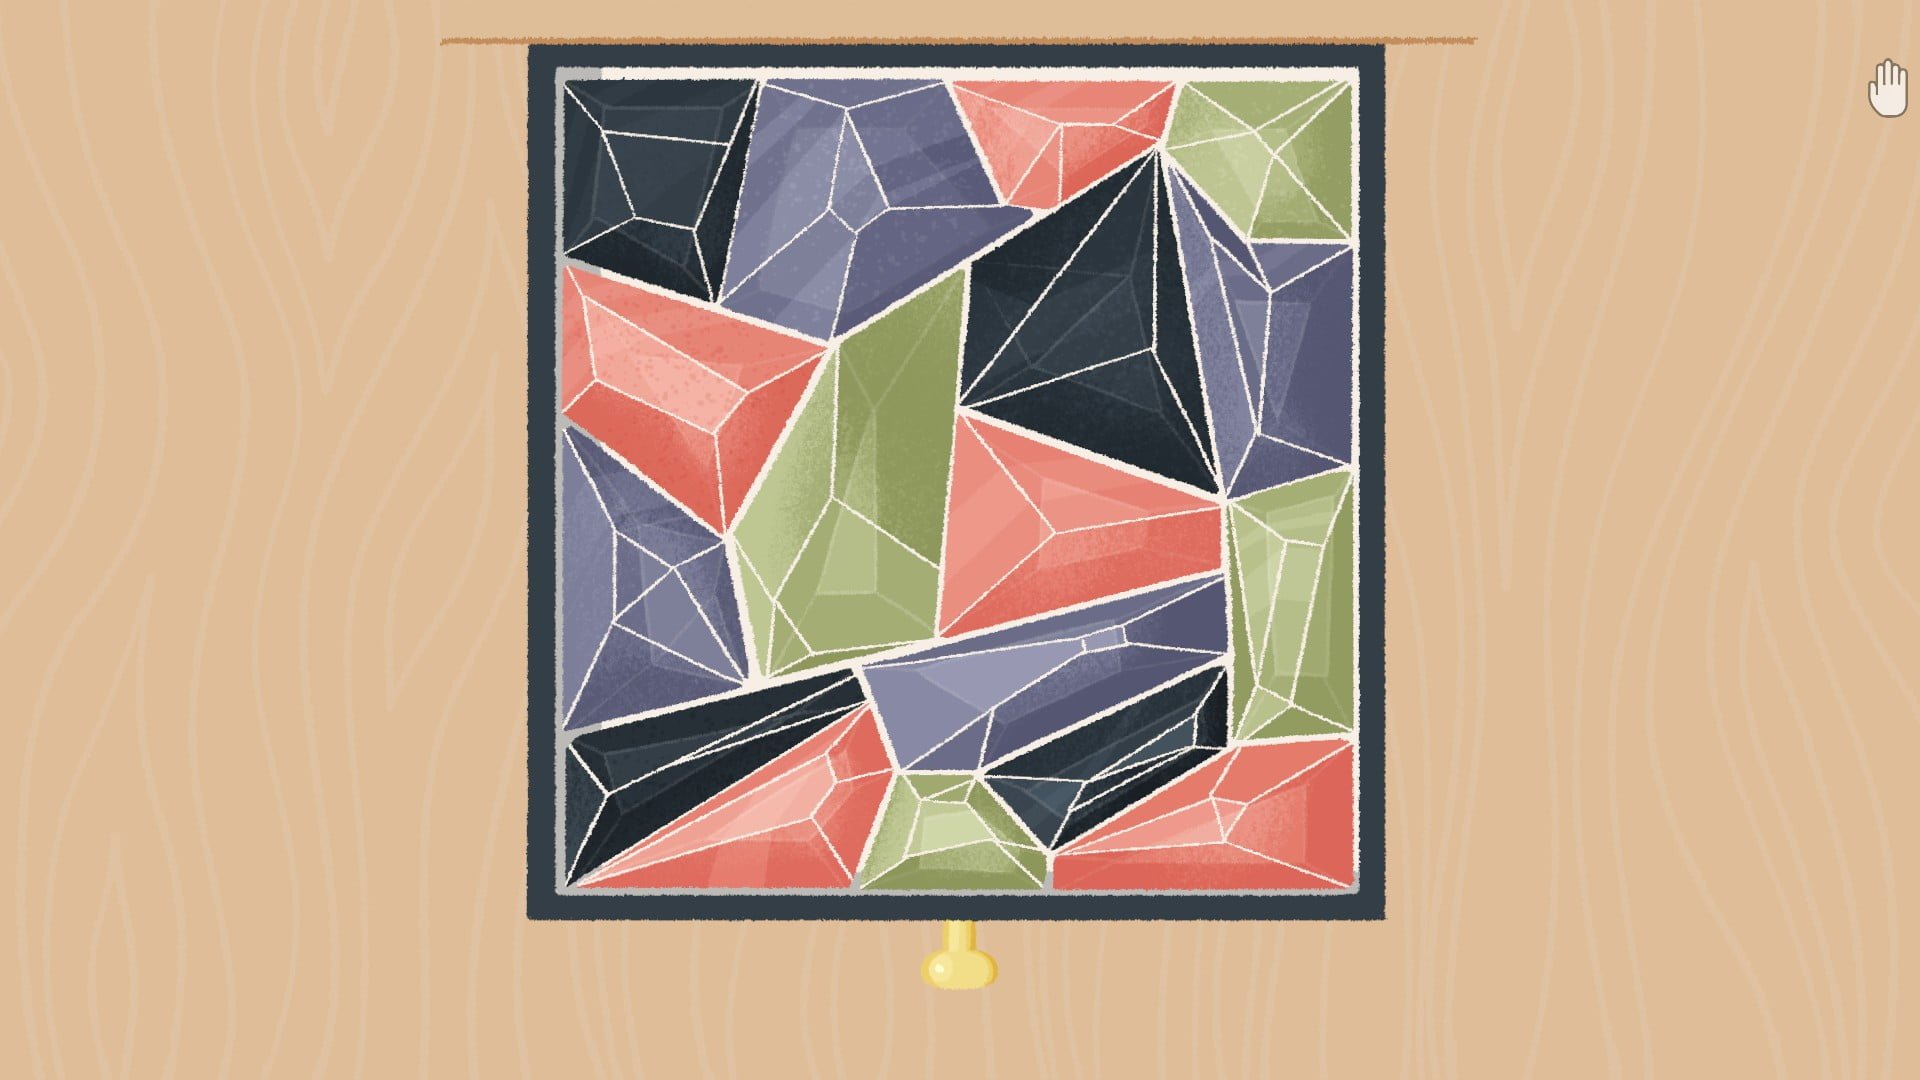
Level 64:
Fit the gemstones together like a puzzle.
Level 65:
Create a symmetric pattern. This is what I did:
Level 66:
Use the drag and zoom to align the pattern with it’s pieces, repeat 3 times. Zoom by dragging the outer ring.

Level 67:
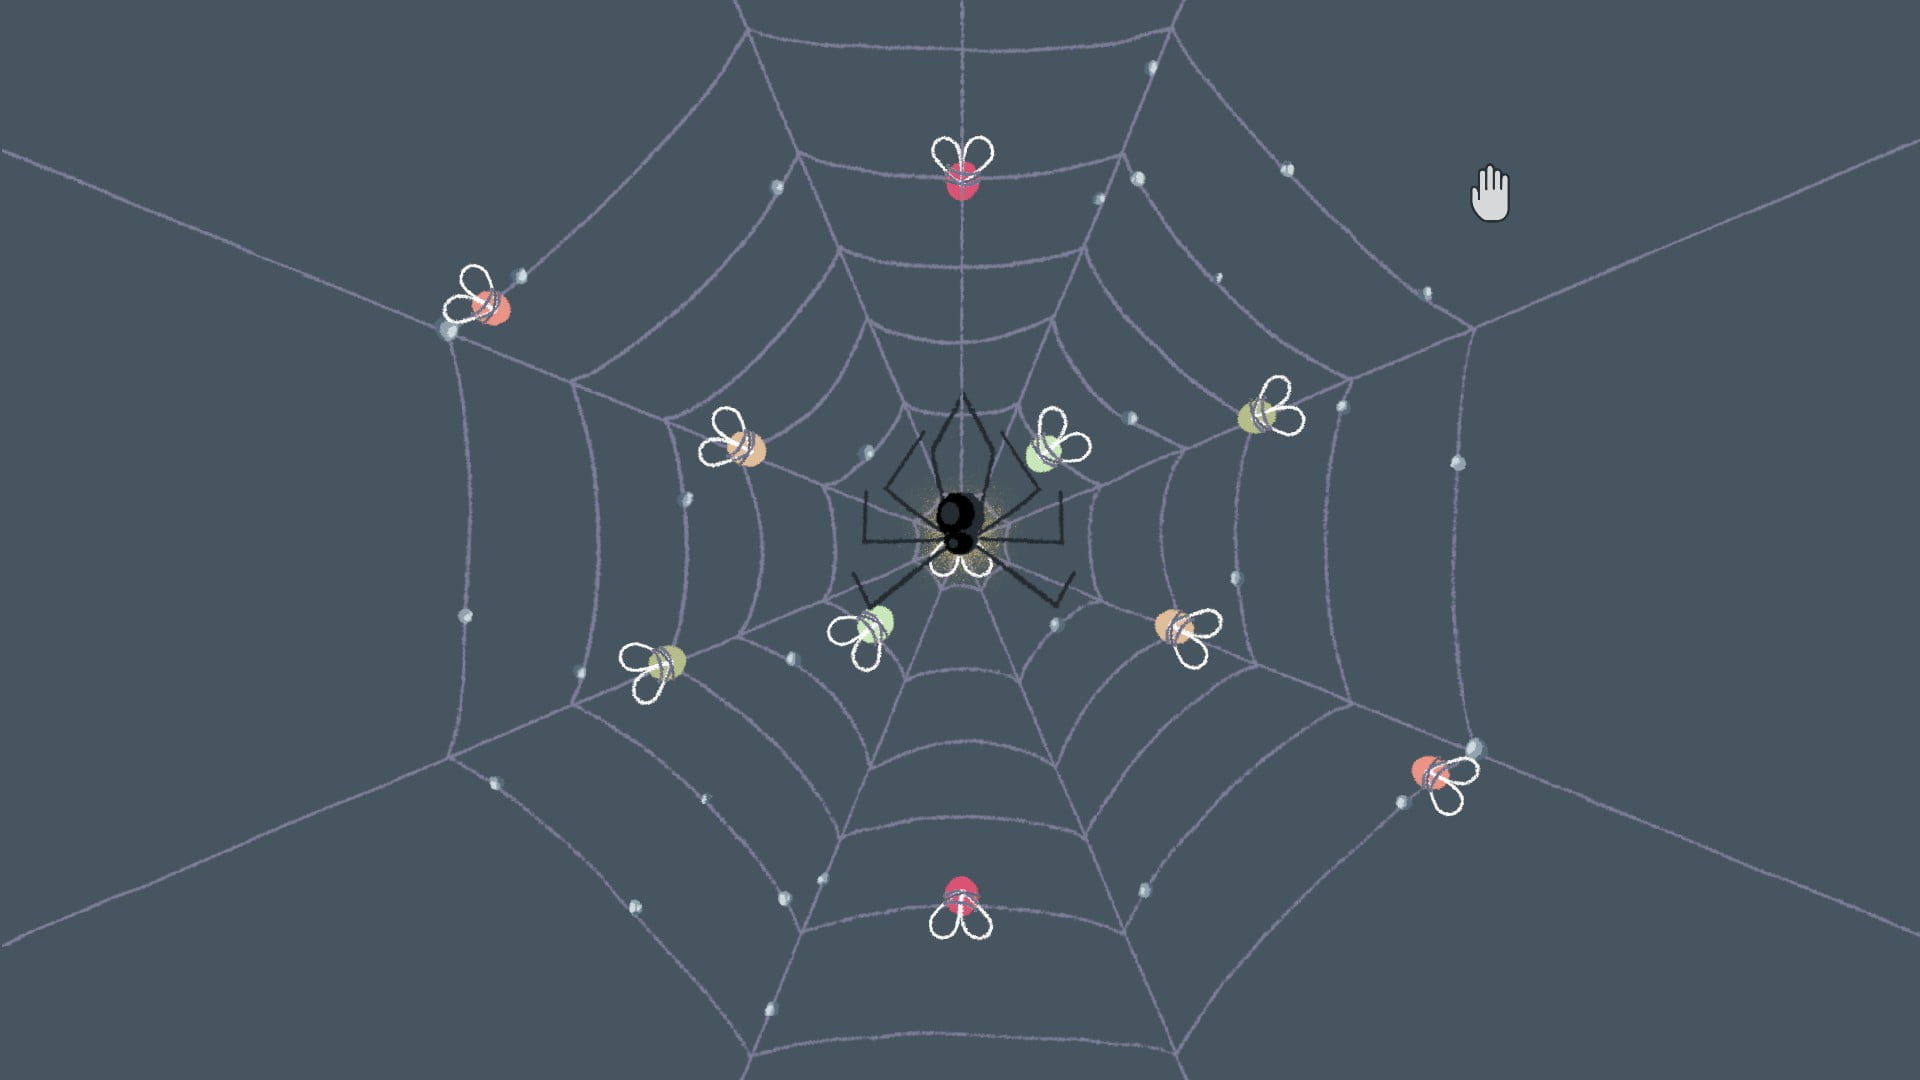
Grab the bugs and place them opposite of the already caught bug of the same color. Place the gold bug in the center.
Chapter 5: Near Earth Organizer
Level 68:
I feel like the hint given in the game is best way to depict this. Arrange the 5 leftmost paintings as it indicates. Then, tilt the upper-rightmost painting to the left, so that the ball falls into the garage. Tilt that painting to the left, so that it falls into the next painting, becoming a doughnut. Tilt the garage painting to the right. Tilt the doughnut painting to the right.
Level 69:
Spin the clockhands so that they match the shadow.
Level 70:
Drag the shadows until each piece has it’s own shadow. Then, slide the pieces so that they’re in order from shortest to tallest.
Level 71:
Drag the glowing stars around until a fuzzy set of lines appears. Slowly move the star around further until the lines become solid. You will have to create 3 constellations.

Level 72:
Make the icons on the laptop screen match the environment, then use those to properly organize the environment. Pay attention to the clock time, the order of the pencils and the rotation of the globe and the apple. When the cat walks across the keyboard, erroring the computer, simply close the pop-up windows.

Level 73:
Create a match for each color and place it into the center matchbox, creating a white match. Pick this match up to light it and end the level. How to make the match colors:
- Red – given
- Blue – place a red match in the purple box
- Purple – place a red match in the blue box
- Yellow – place a red match in the orange box
- Orange – place a red match in the yellow and red boxes
- Green – place a yellow match in the blue box

Level 74:
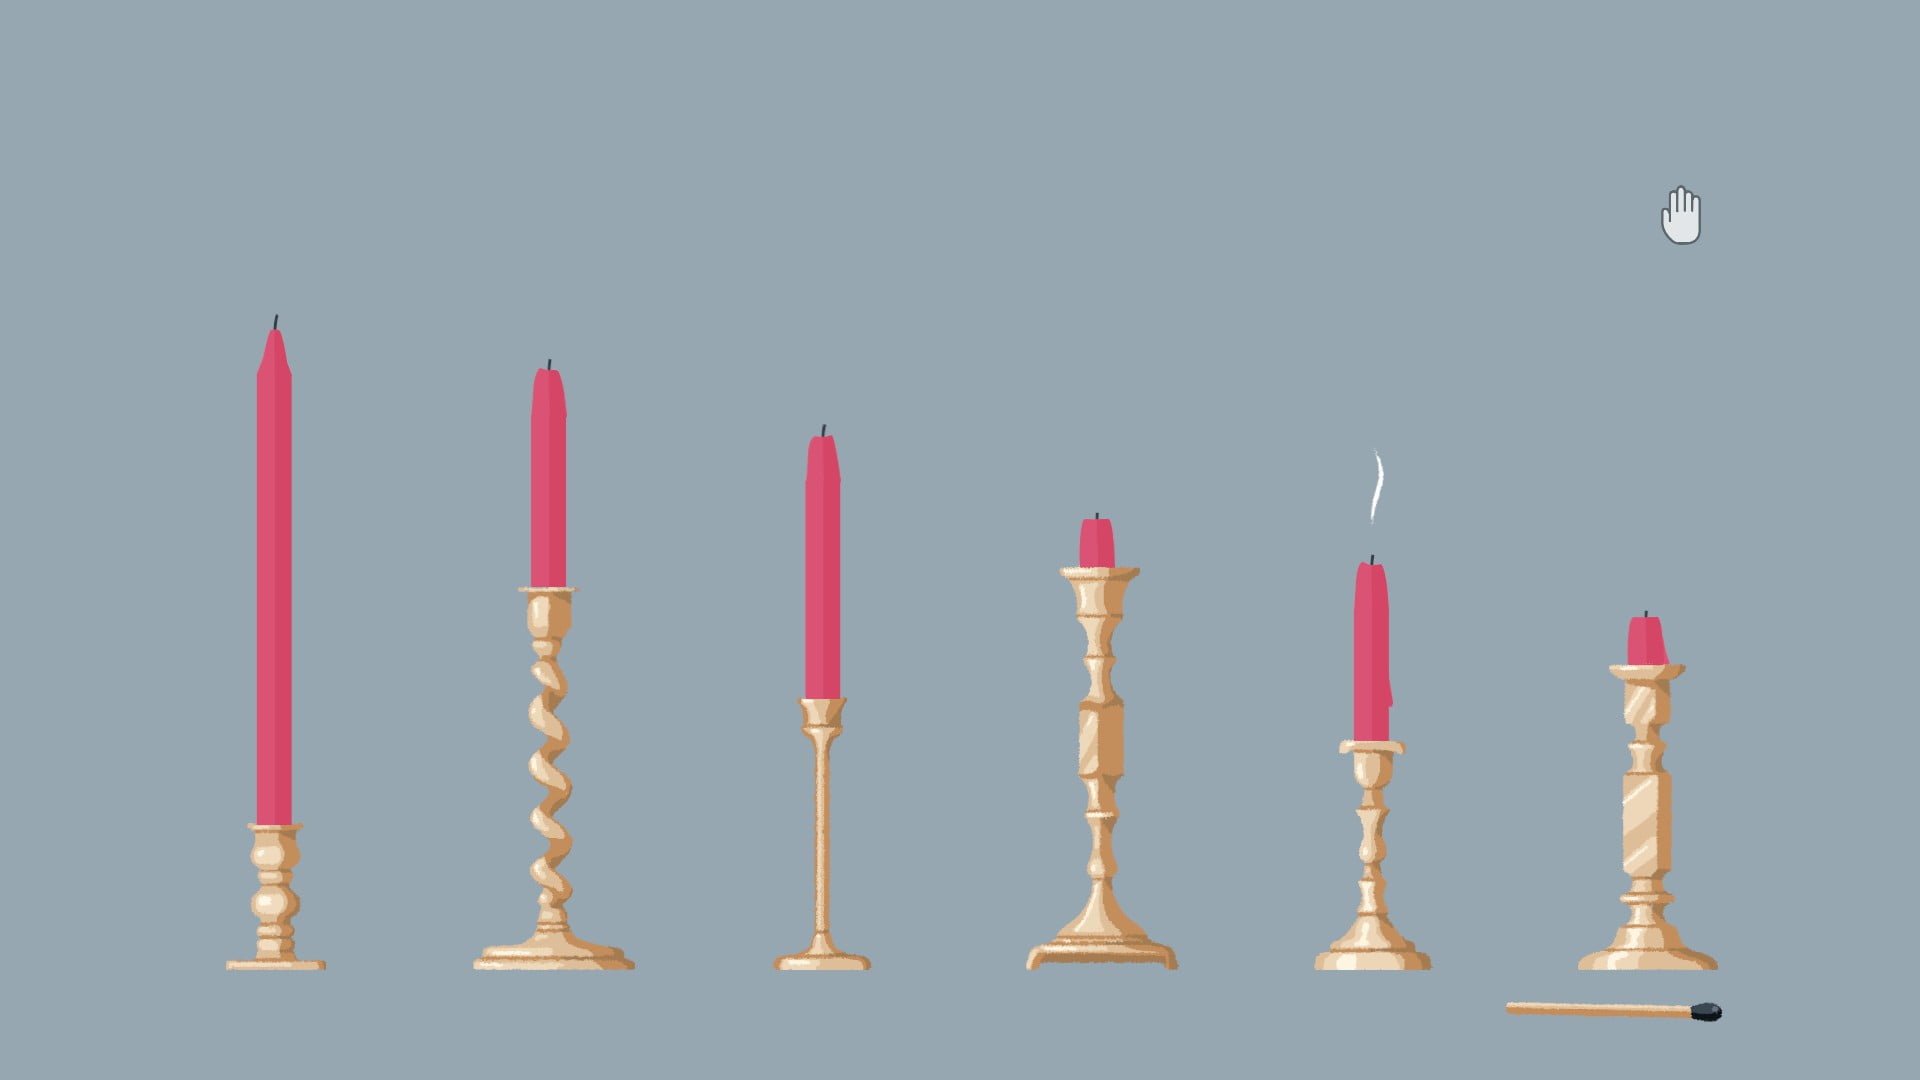
Use the match to melt/grow the candles until they are all the same length. The black match melts, the white match grows. Click on the flame to snuff it out.
Melt/grow the wax so that they’re in order from tallest wax to shortest wax. The black match melts, the white match grows. Click on the flame to snuff it out.
Level 75:
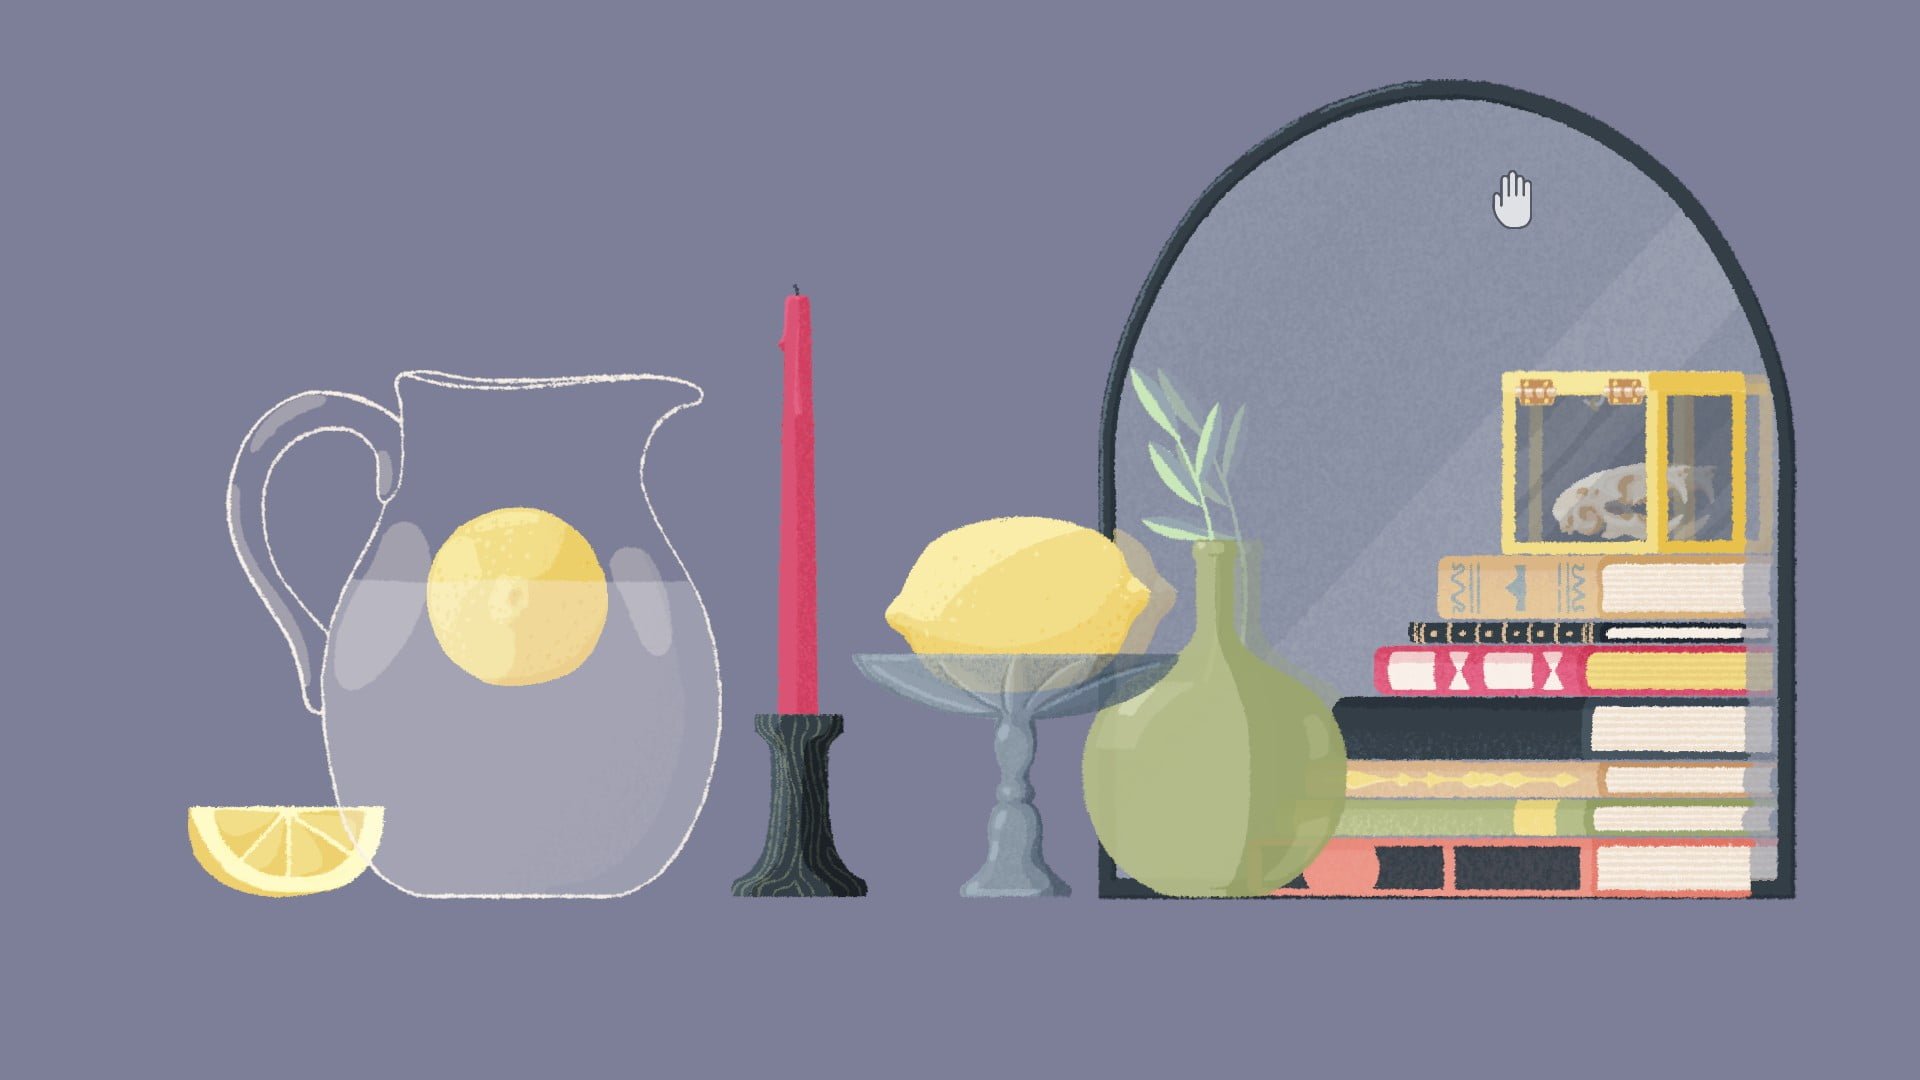
Arrange the items as they appear in the mirror. To open the box, click the clasp pictured in the mirror on the back of the box. Don’t forget to click on the flame to extinguish it!
Level 76:
Use the lightshade to illuminate the nearby electronics. Click the buttons to turn on lights. Only turn on lights in a heart shape. Return the lamp to it’s starting position.
Level 77:
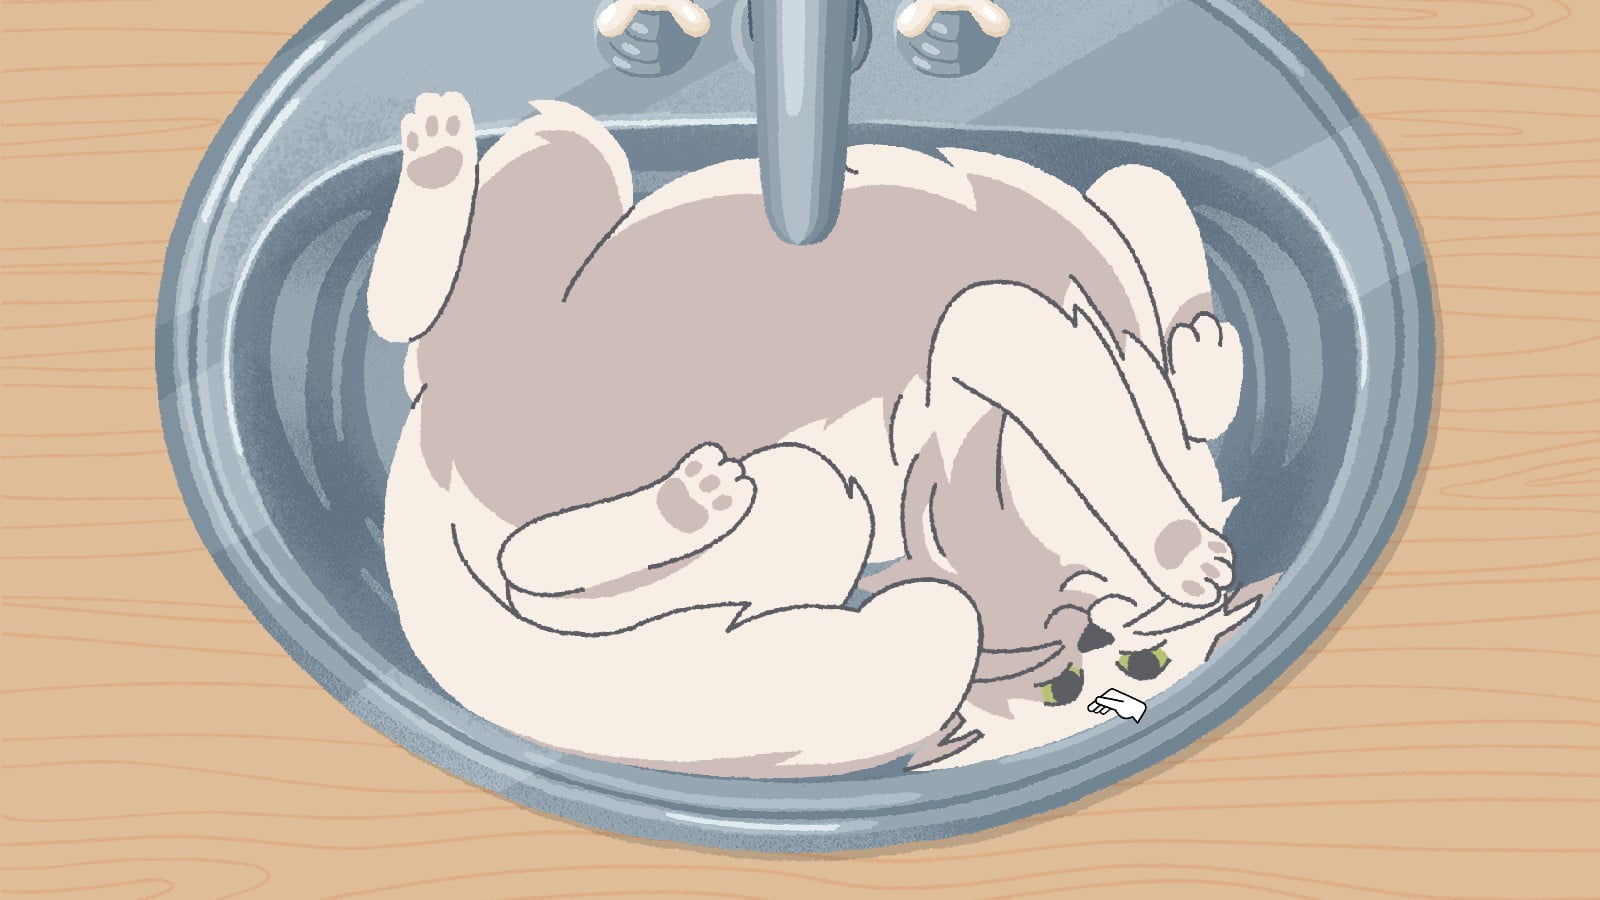
These events come at you fast and all count as one level, but you can use the level select to skip to a couple of different points during it.
Pet the cat and continue to pet the cat every time the pulsing colored circle reaches the same size as the larger background circle.

Spin the pencils.

Put the leftmost cat toys in the right spots.

Click the sticky notes until the pattern stretches across all of them.

Spin the rings until each stack of cans is only one color.

Spin the eggs out, and drag the forks until they’re off screen. Spin the strawberries out, rotate them until the fit within the gaps, and push them out.

Rotate the soup cans until they only show tomatoes.

Place the knut into it’s proper spot, and click on the backwards parts to flip them.

Click the tools that are clicking out of sync. When the scrapers appear, spin them.

Click the ladybugs in order from least spots to most spots.

Spin the shadow rings until each shadow is behind the proper piece.

Stack the tupperware from largest area to smallest area.

Fill the tupperware so that everything fits perfectly, including the crumbs!

Stack the tupperware. This takes a very long time, don’t get nervous! As far as I can tell, there is no time limit. If your tupperware starts shaking, it means you stacked it too high; the cat wants to jump to a specific height, so try removing some and making an even floor at a lower level.

Cupboards & Drawers Walkthrough
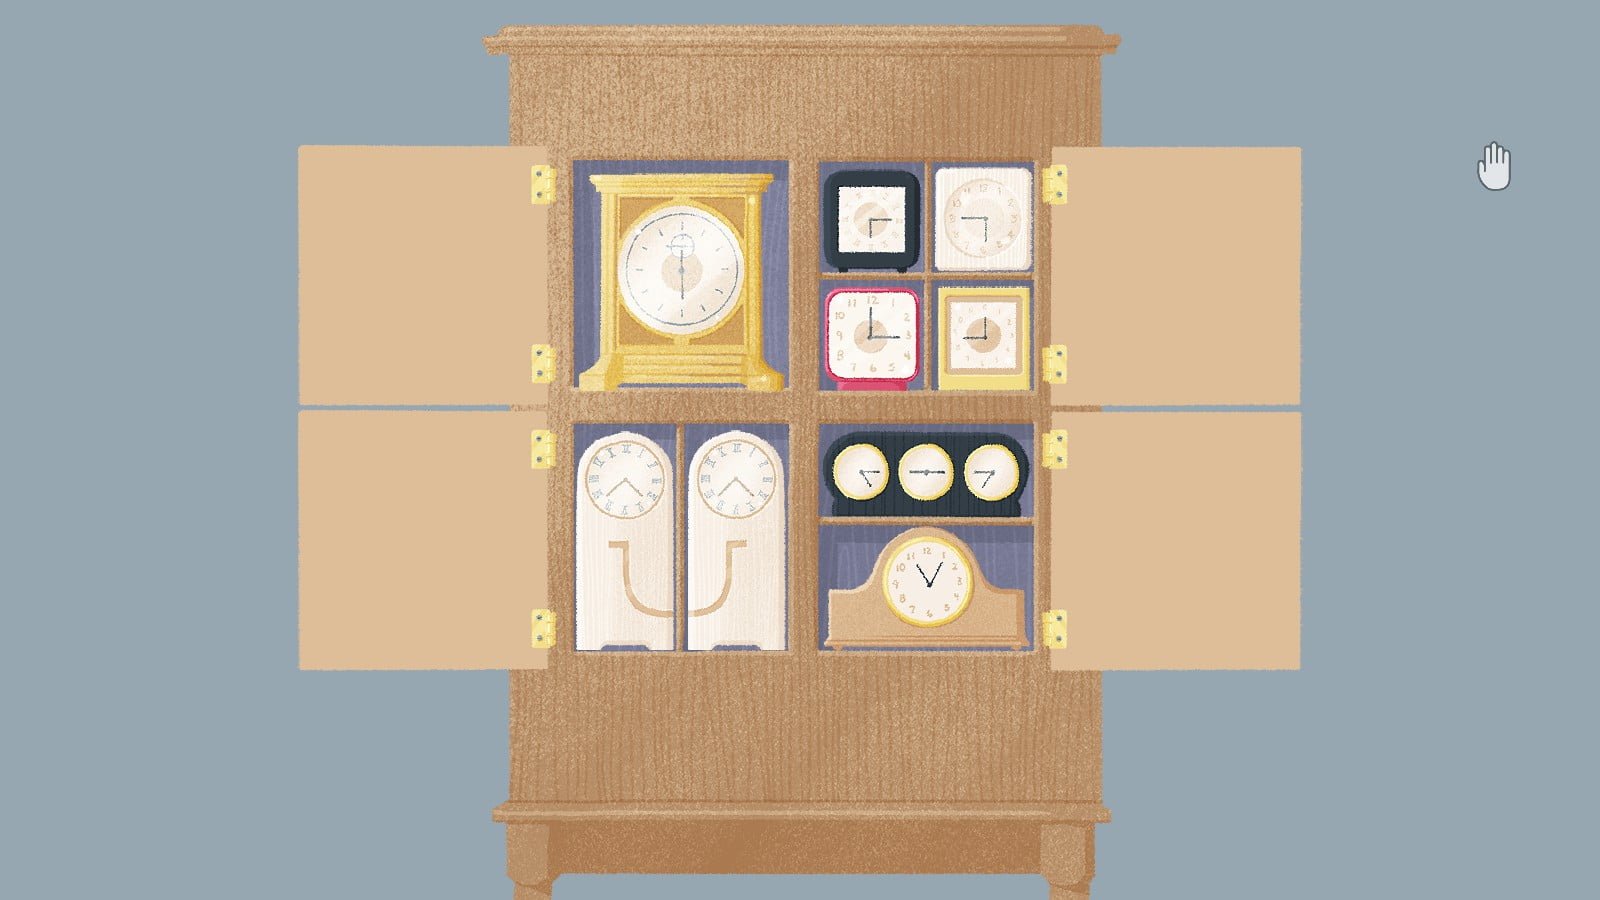
Level 1:
Open the cabinets and arrange the clocks so that they fit. Make sure that the clock hands line up across clock faces.
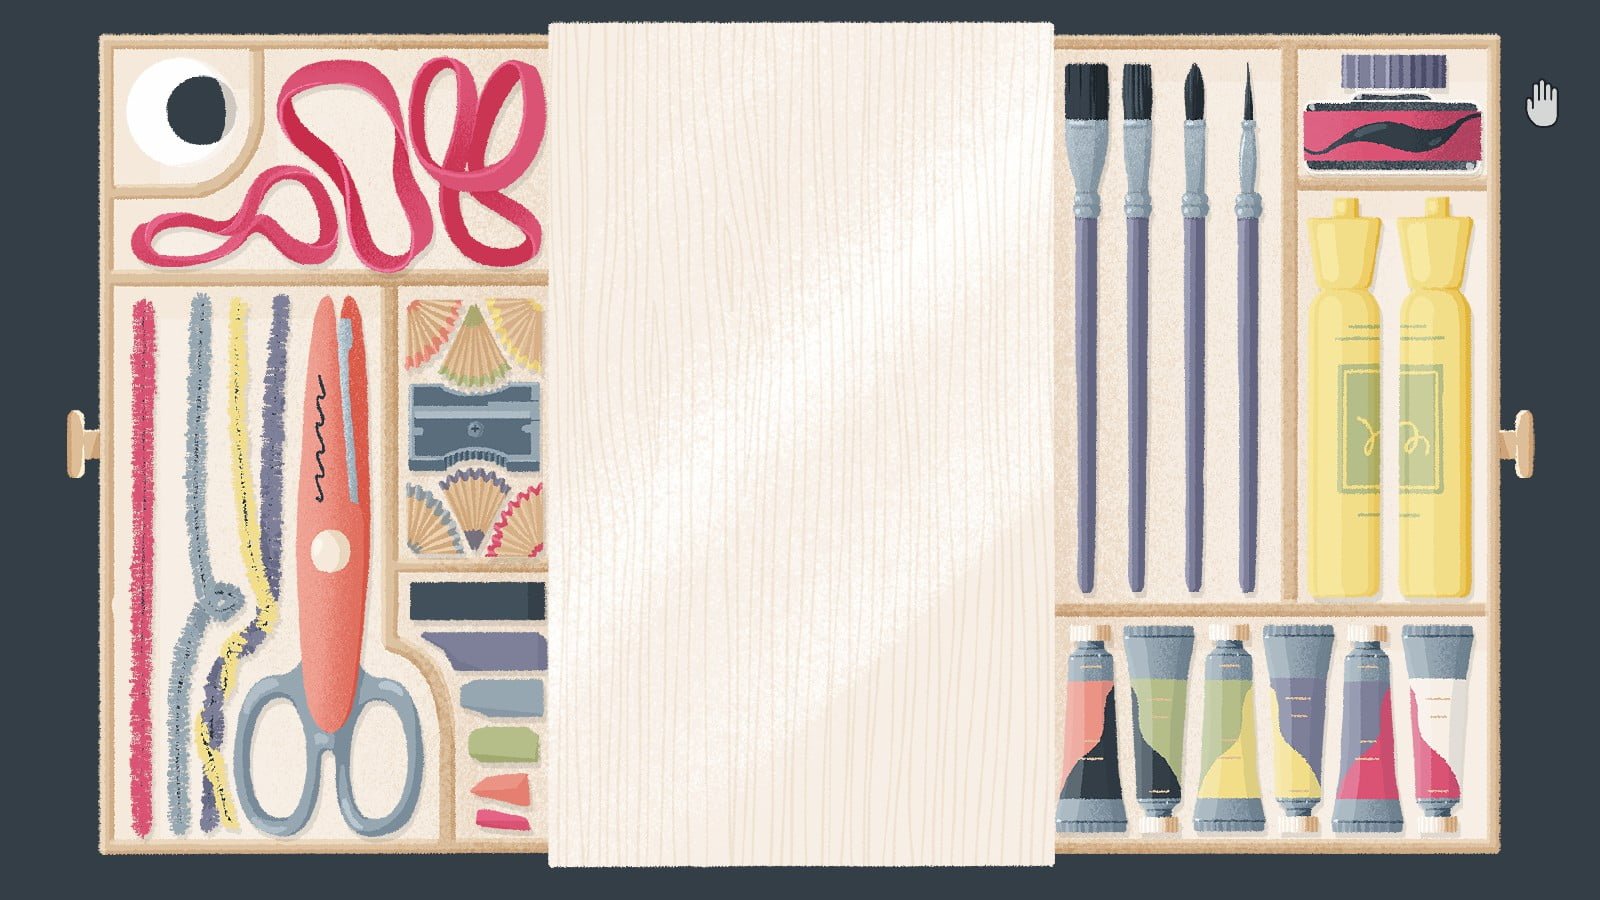
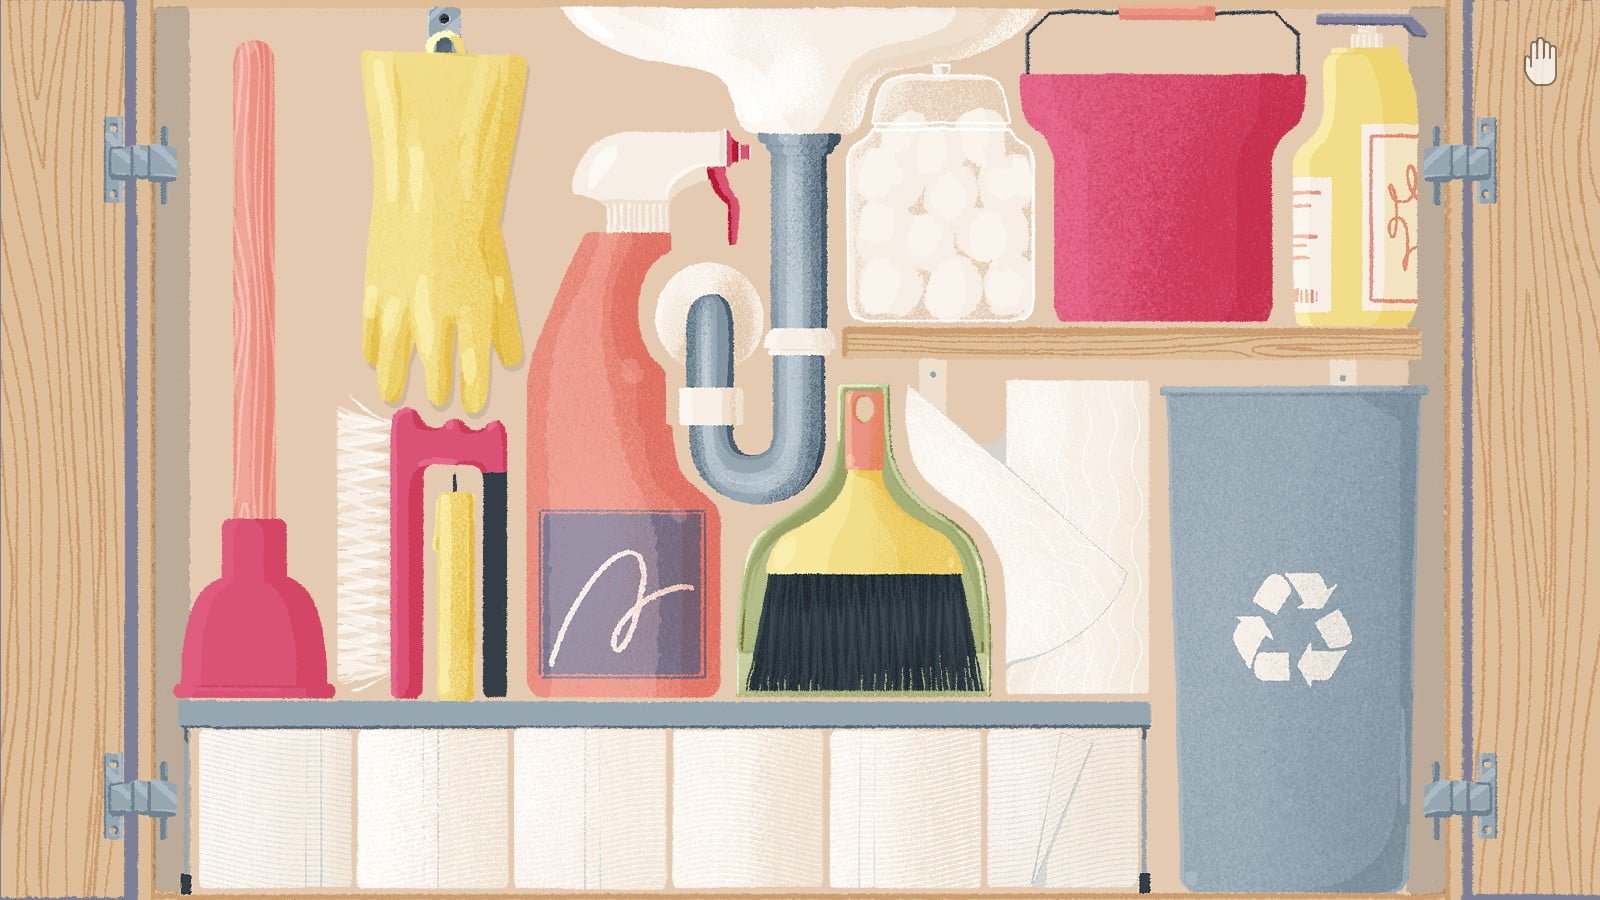
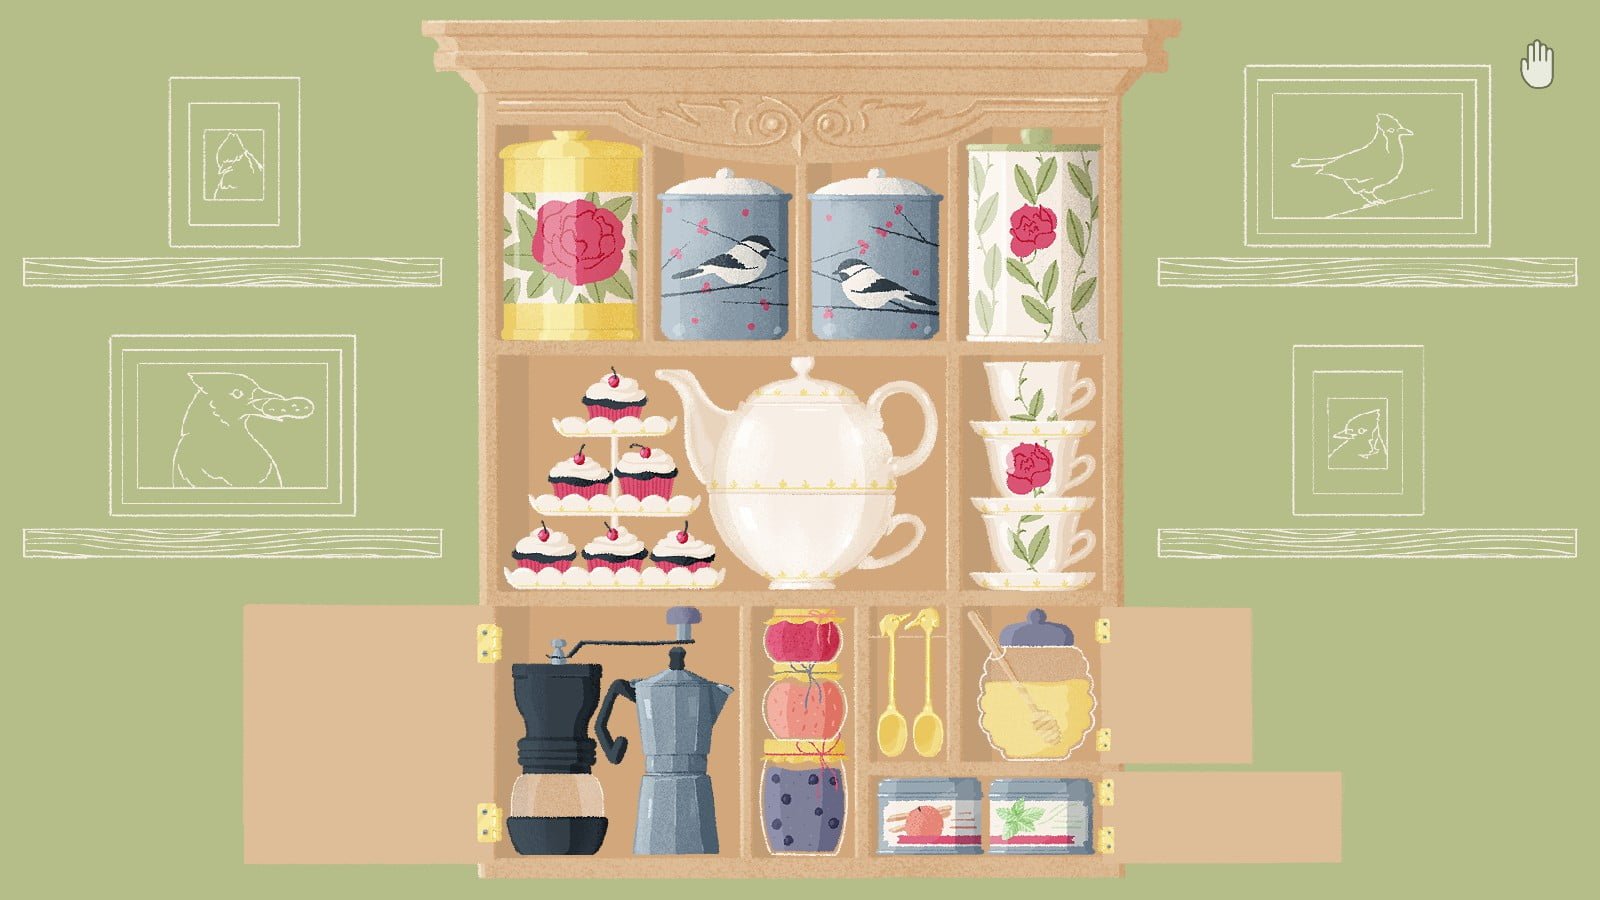
Level 2:
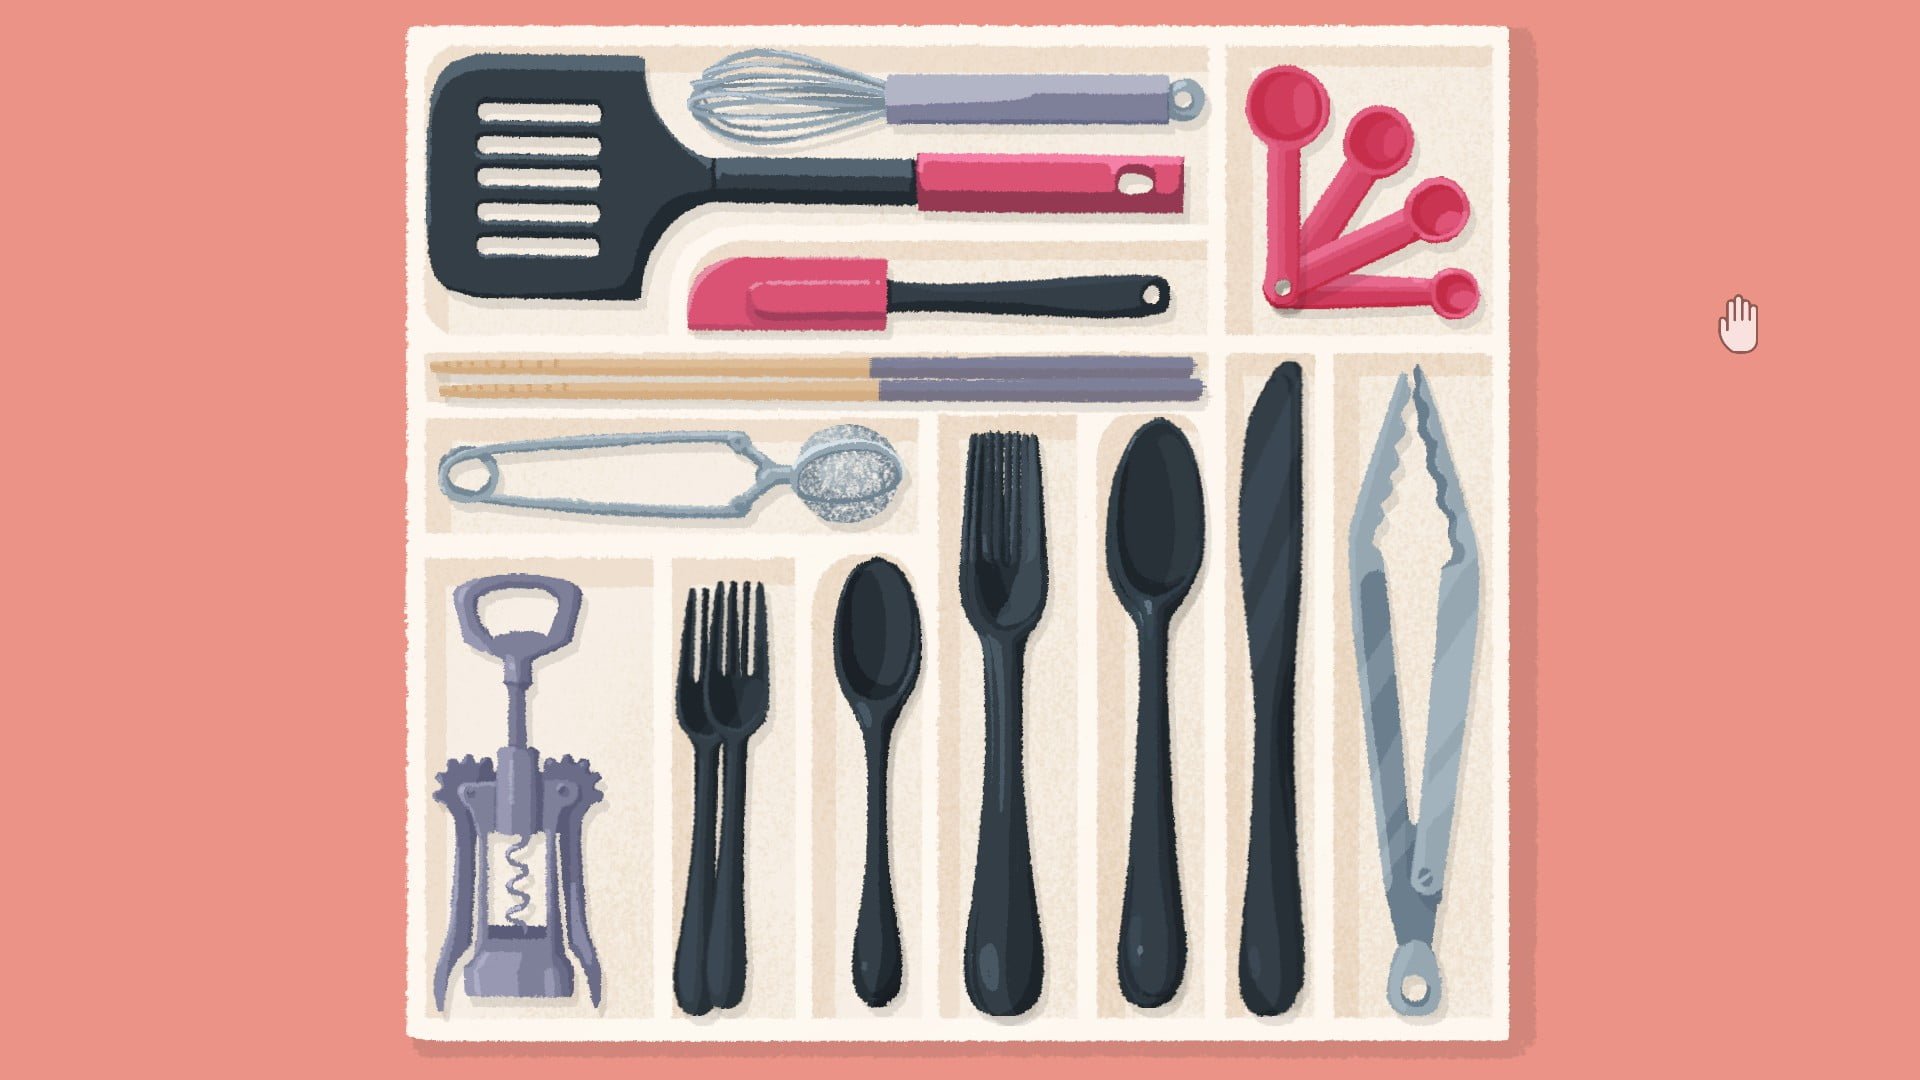
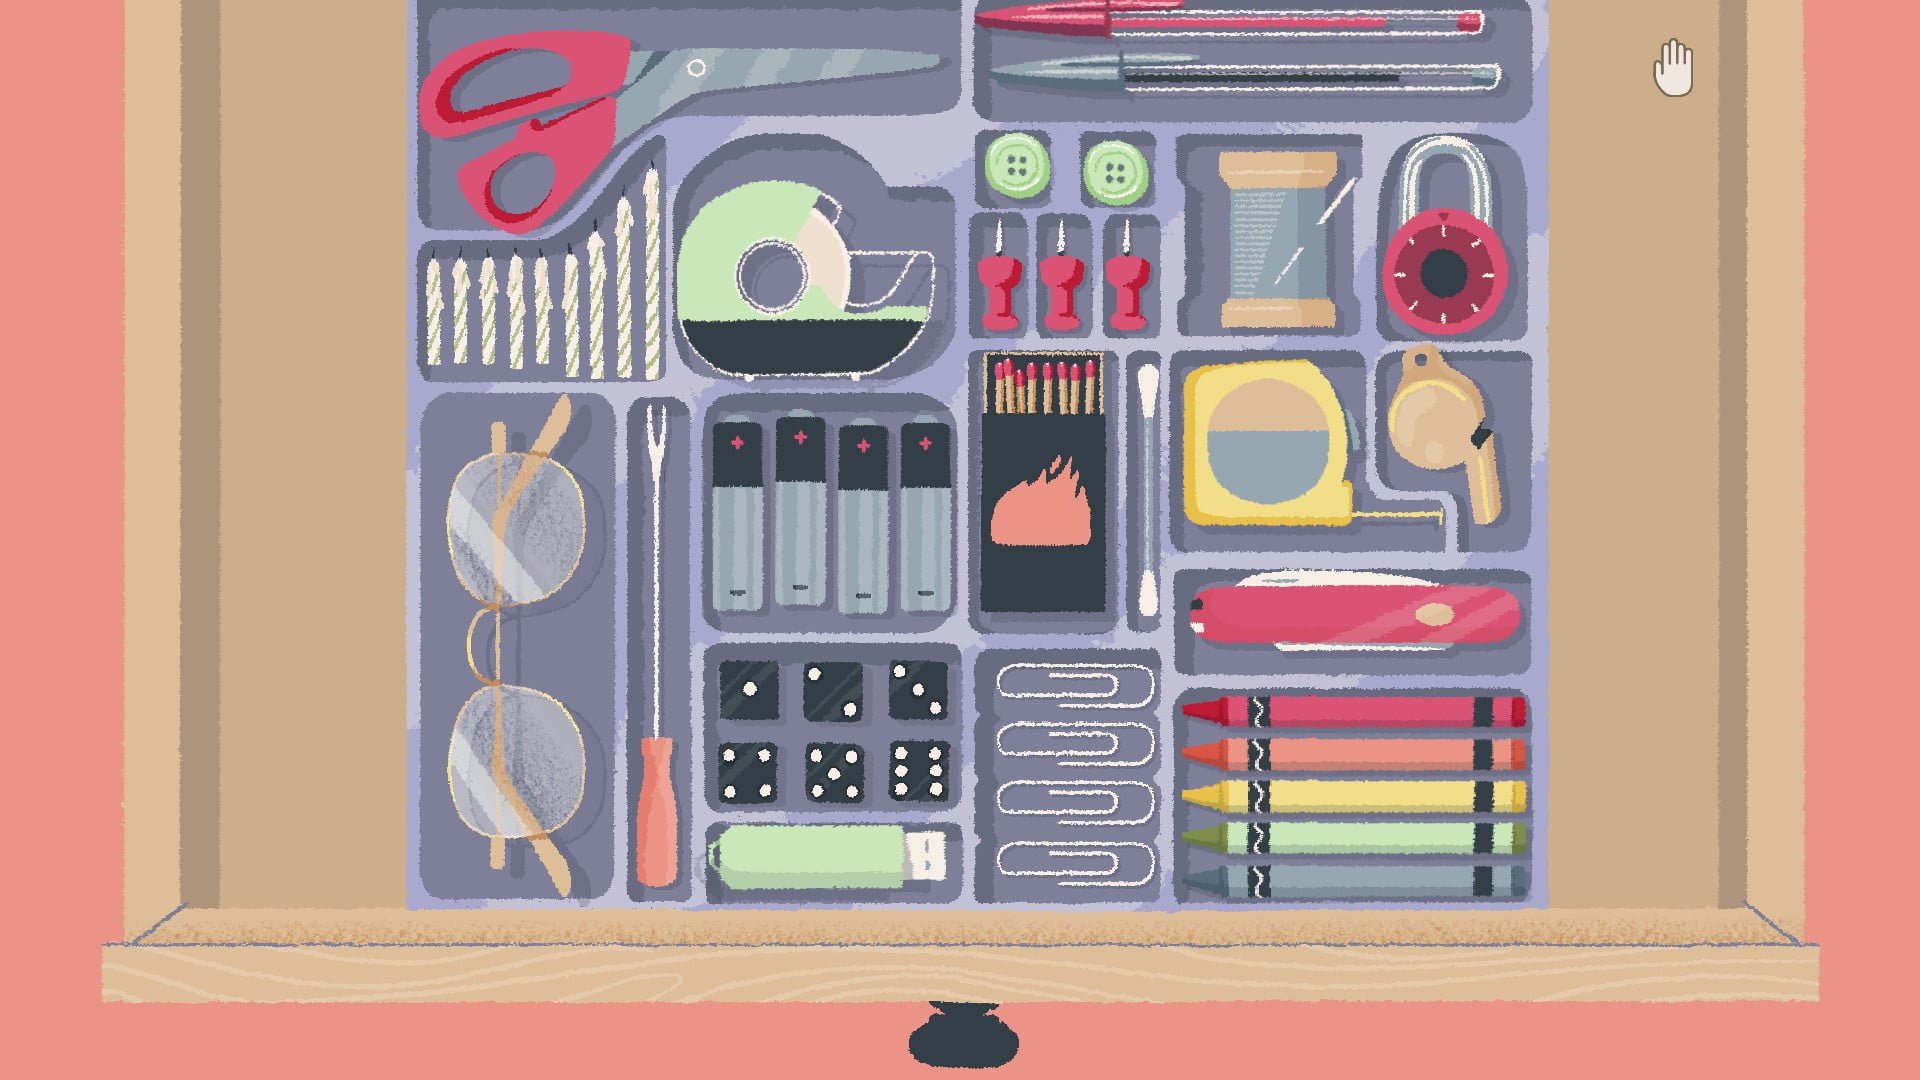
Open the drawers. Arrange the items so that they fit perfectly. Make sure labels line up. If you’re missing items, close the drawers and check underneath of them.
Level 3:
Place the cap on the corresponding pen. Arrange the pens from least gold strips to most gold stripes (or vice versa).
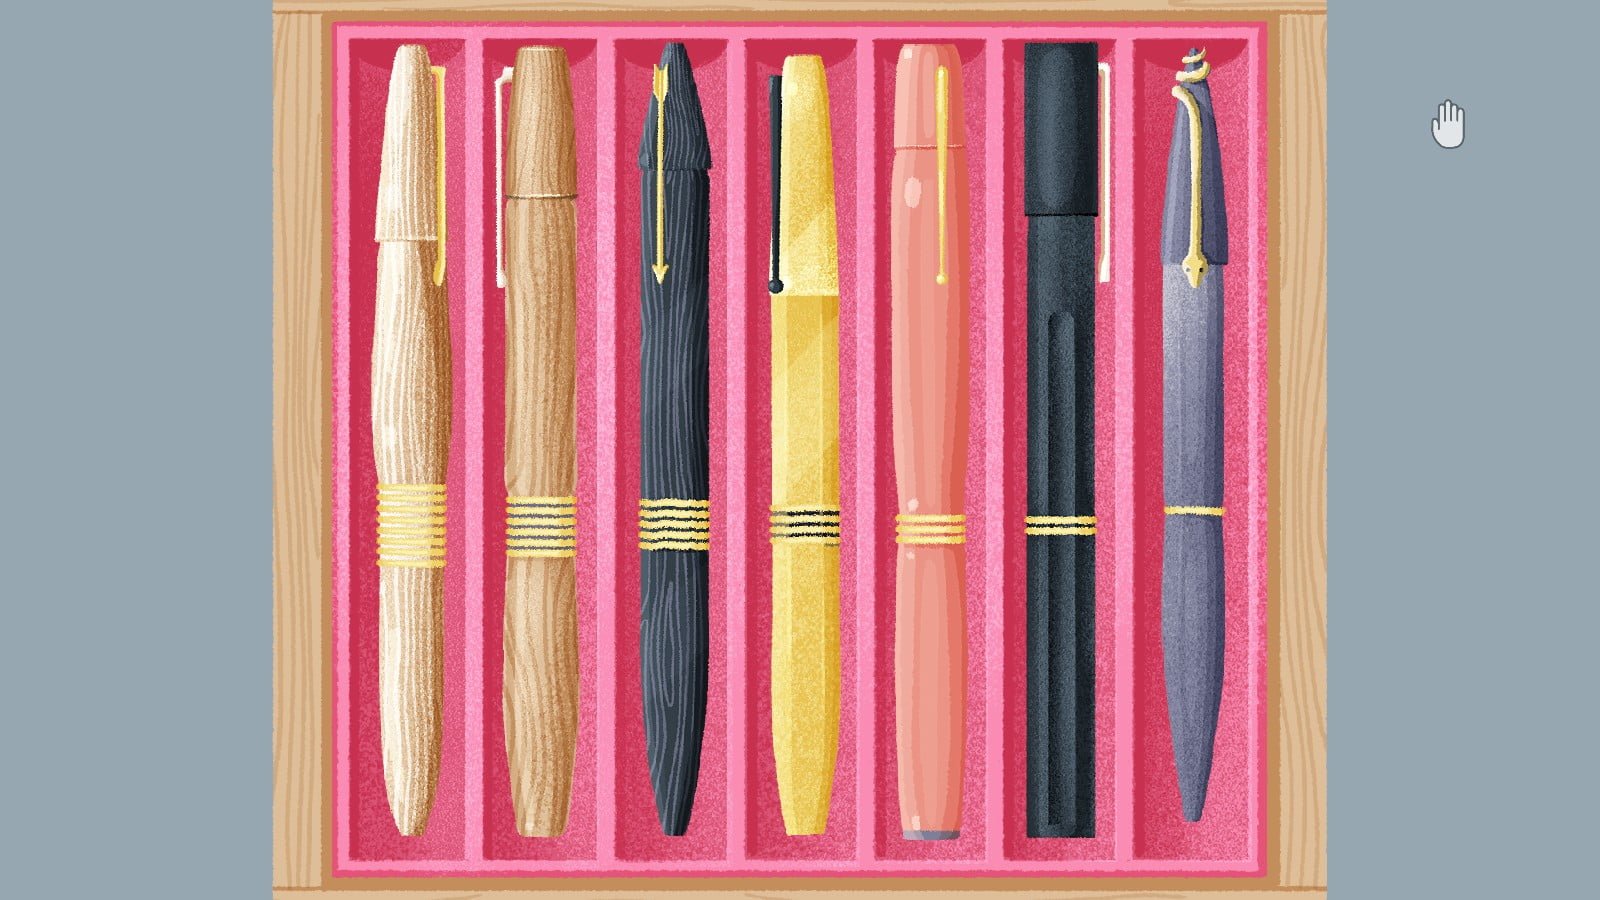
Place the cap on the corresponding pen. Arrange the pens from most rectangular to least rectangular (or vice versa).
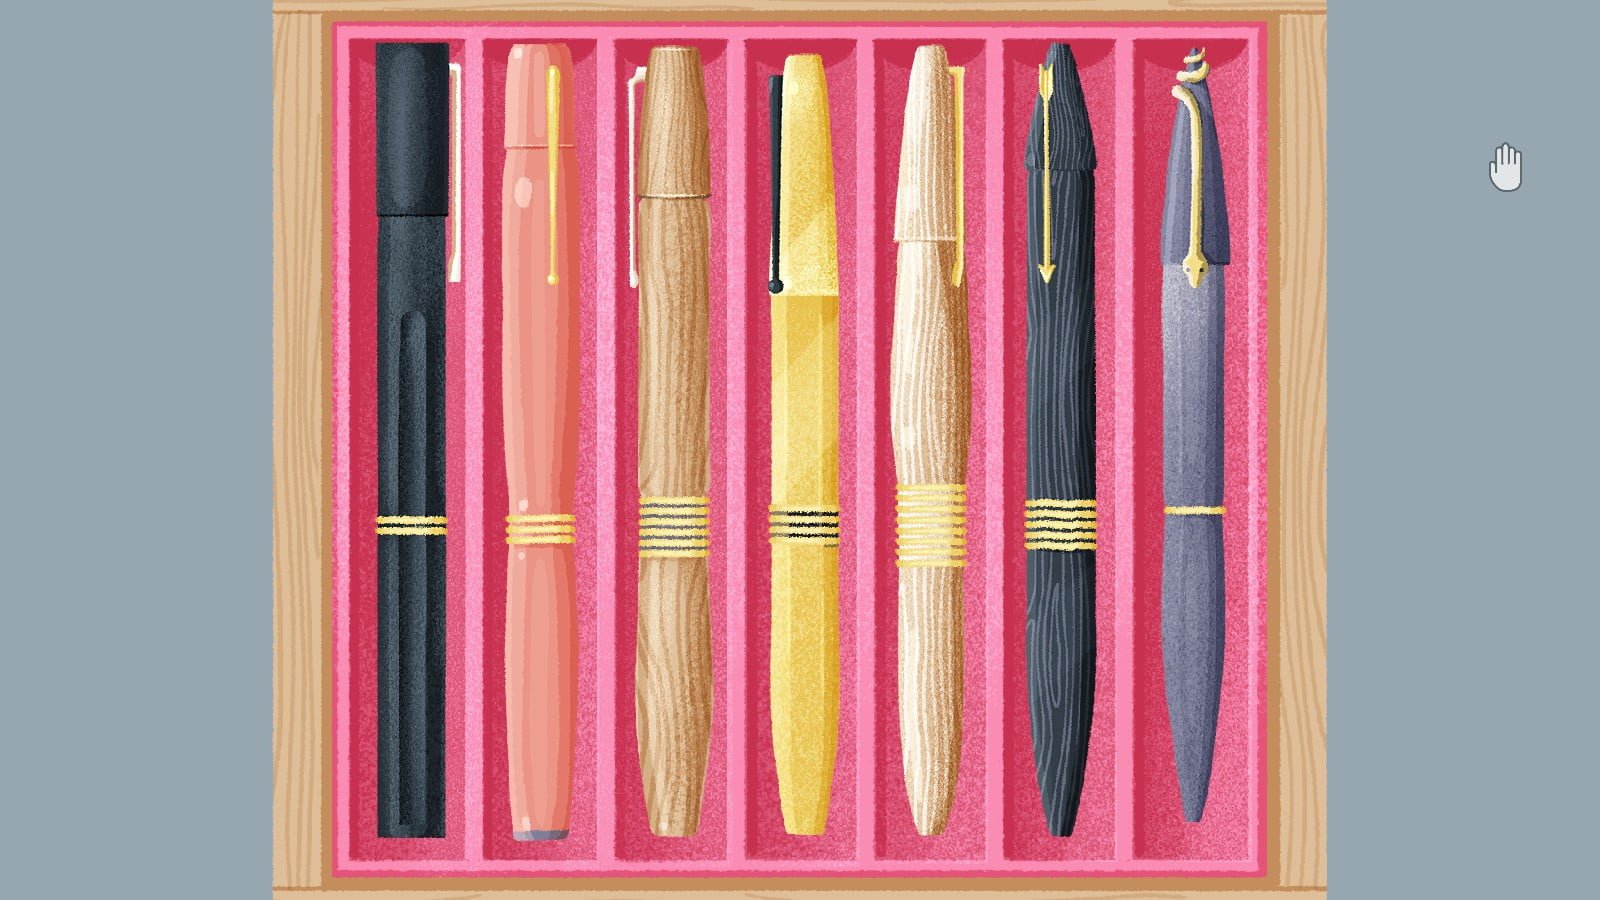
Place the cap on the corresponding pen. Arrange the pens from shortest cap to longest cap (or vice versa).
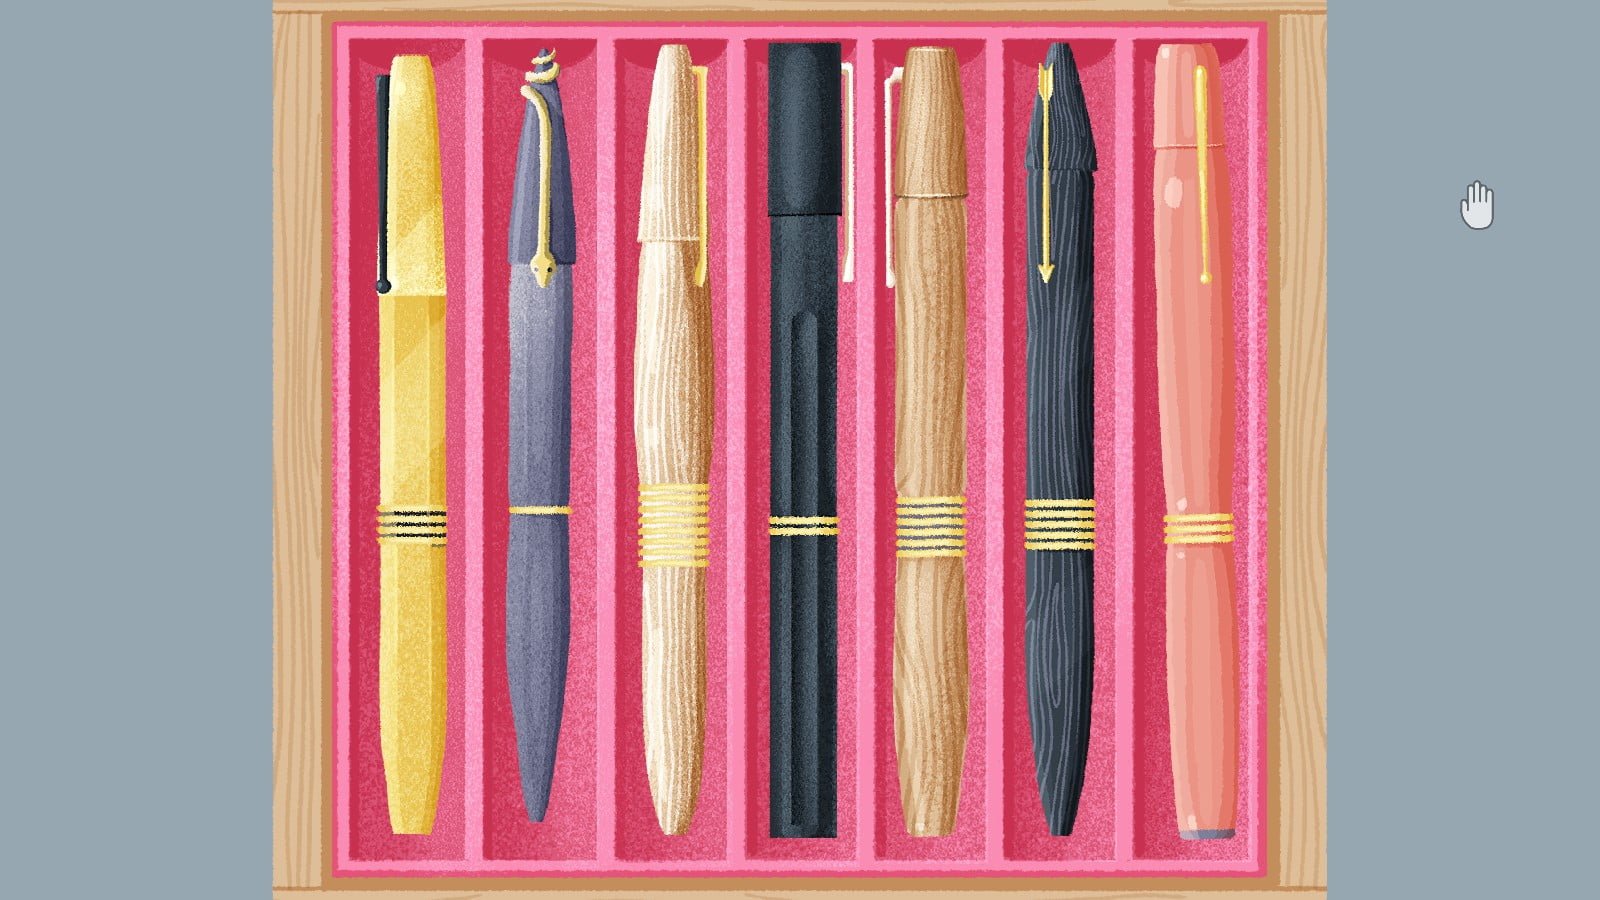
Place the cap on the corresponding pen. Arrange the pens in order of cap clip orientation.
Level 4:
Place the flowers onto their corresponding spots. Some spots are actually a combination of two flowers, tricksy~
Level 5:
Arrange the items so that they fit perfectly. Place the broom onto the dustpan to attach them.
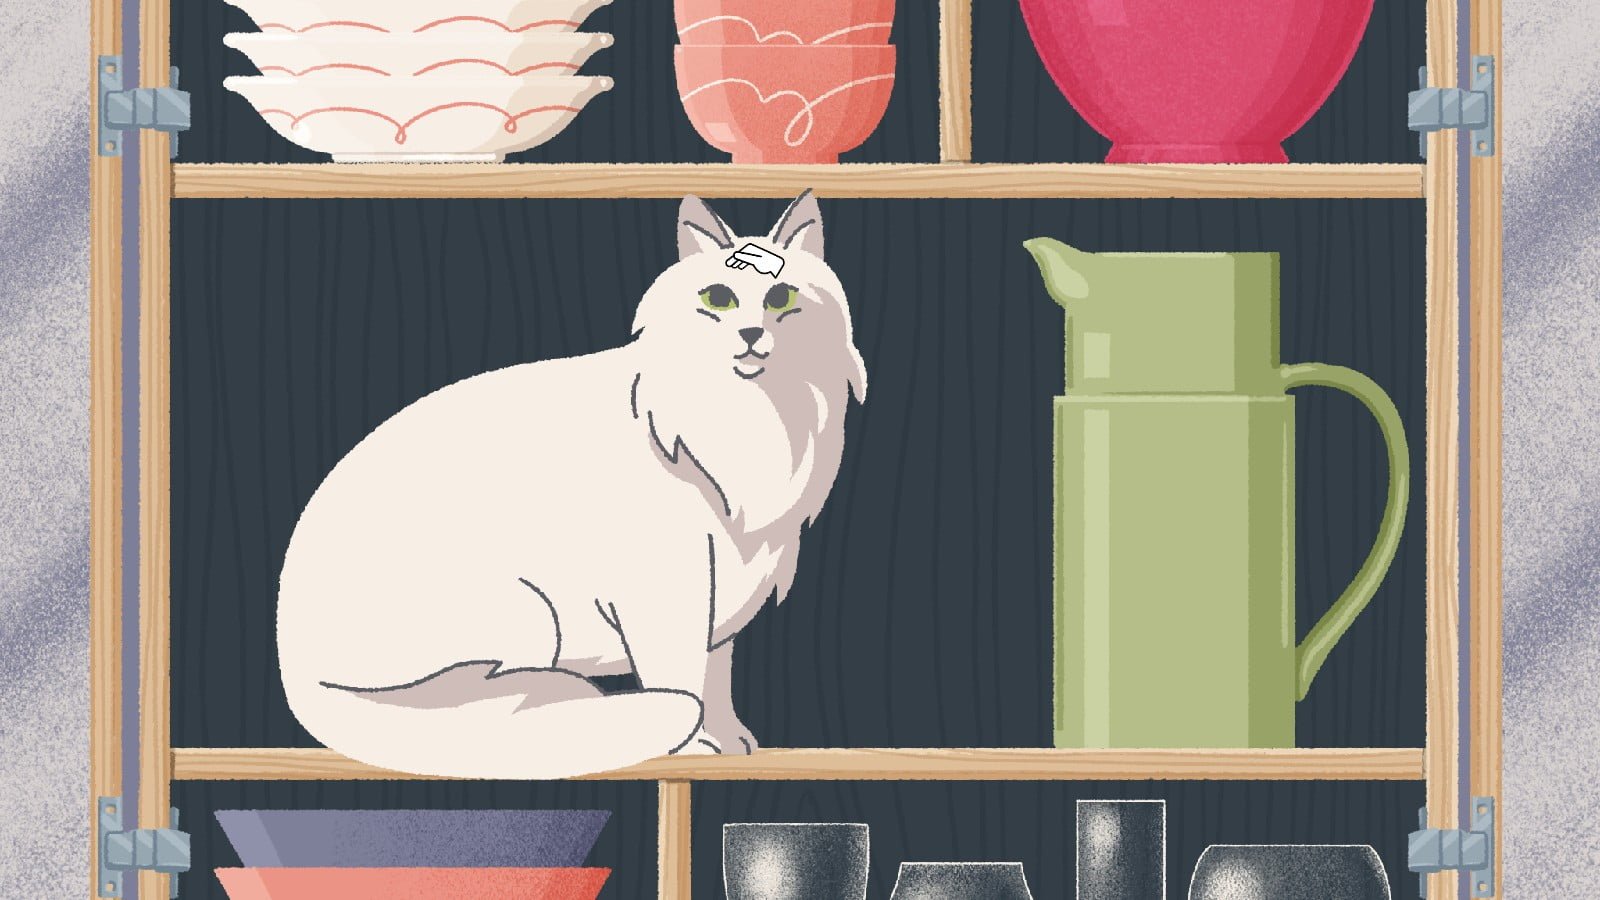
Level 6:
Pet the cat.
Level 7:
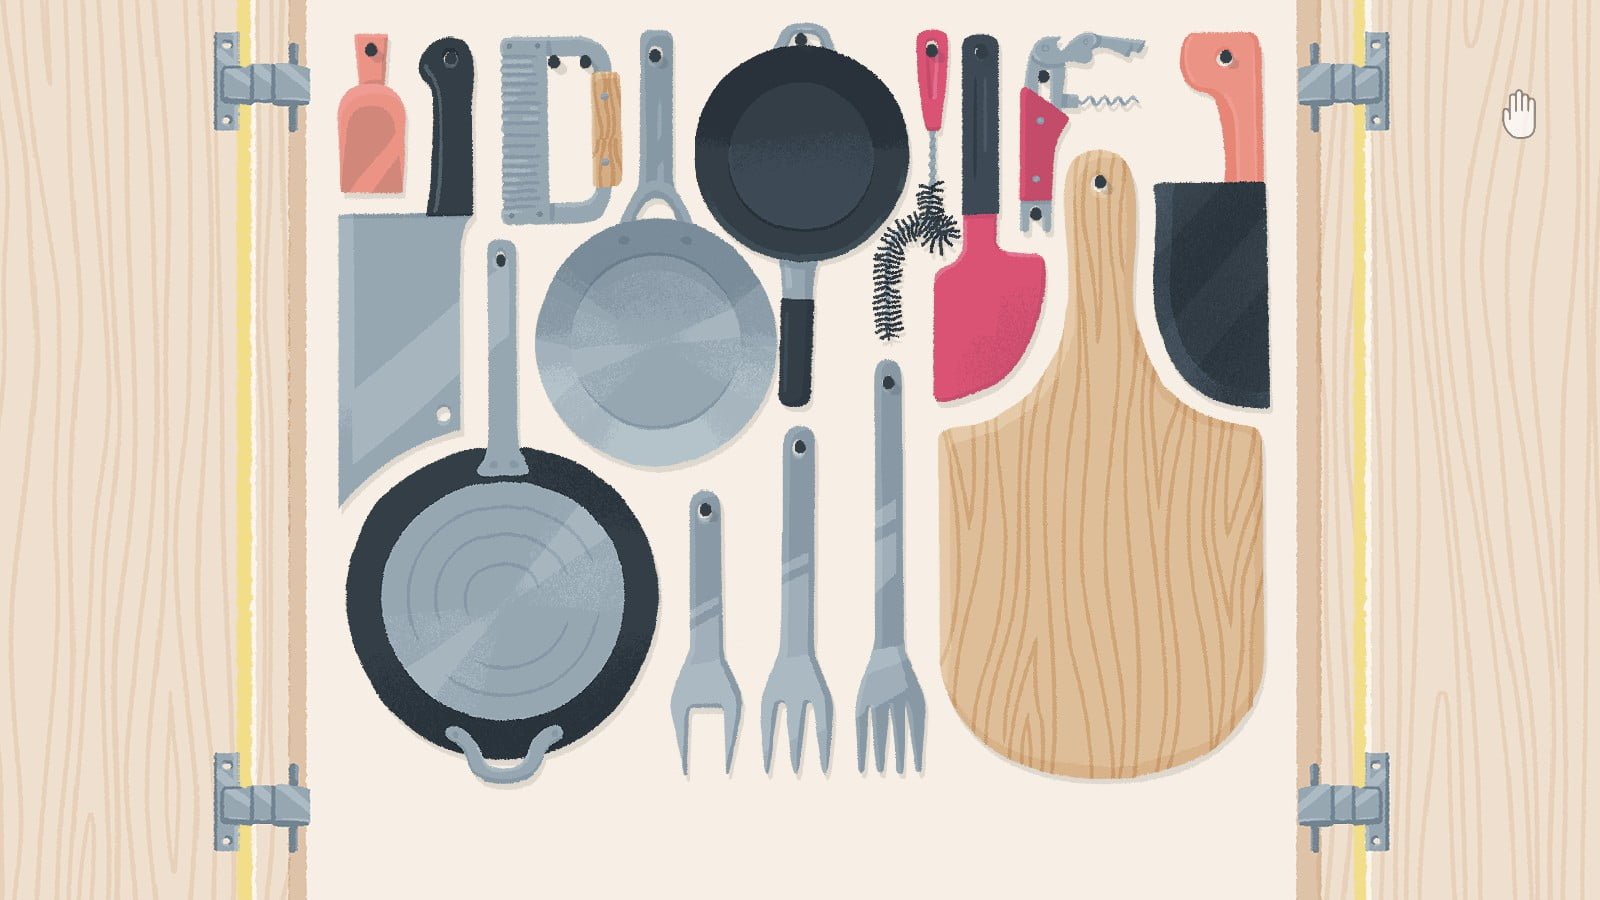
Arrange the items so that they fit perfectly.
Level 8:
Arrange the kitchenware so that the items fit perfectly on the pegboard.
Level 9:
Arrange the kitchenware so that they fit perfectly. There are actually two drawers here, the green one can be accesses by hovering your cursor towards the bottom of the screen, and the pink one by doing the same at the top of the screen.

Level 10:
Arrange the kitchenware so that they fit perfectly. Make sure patterns line up.
Level 11:
Arrange the kitchenware so that the items fit perfectly on the pegboard.
Level 12:
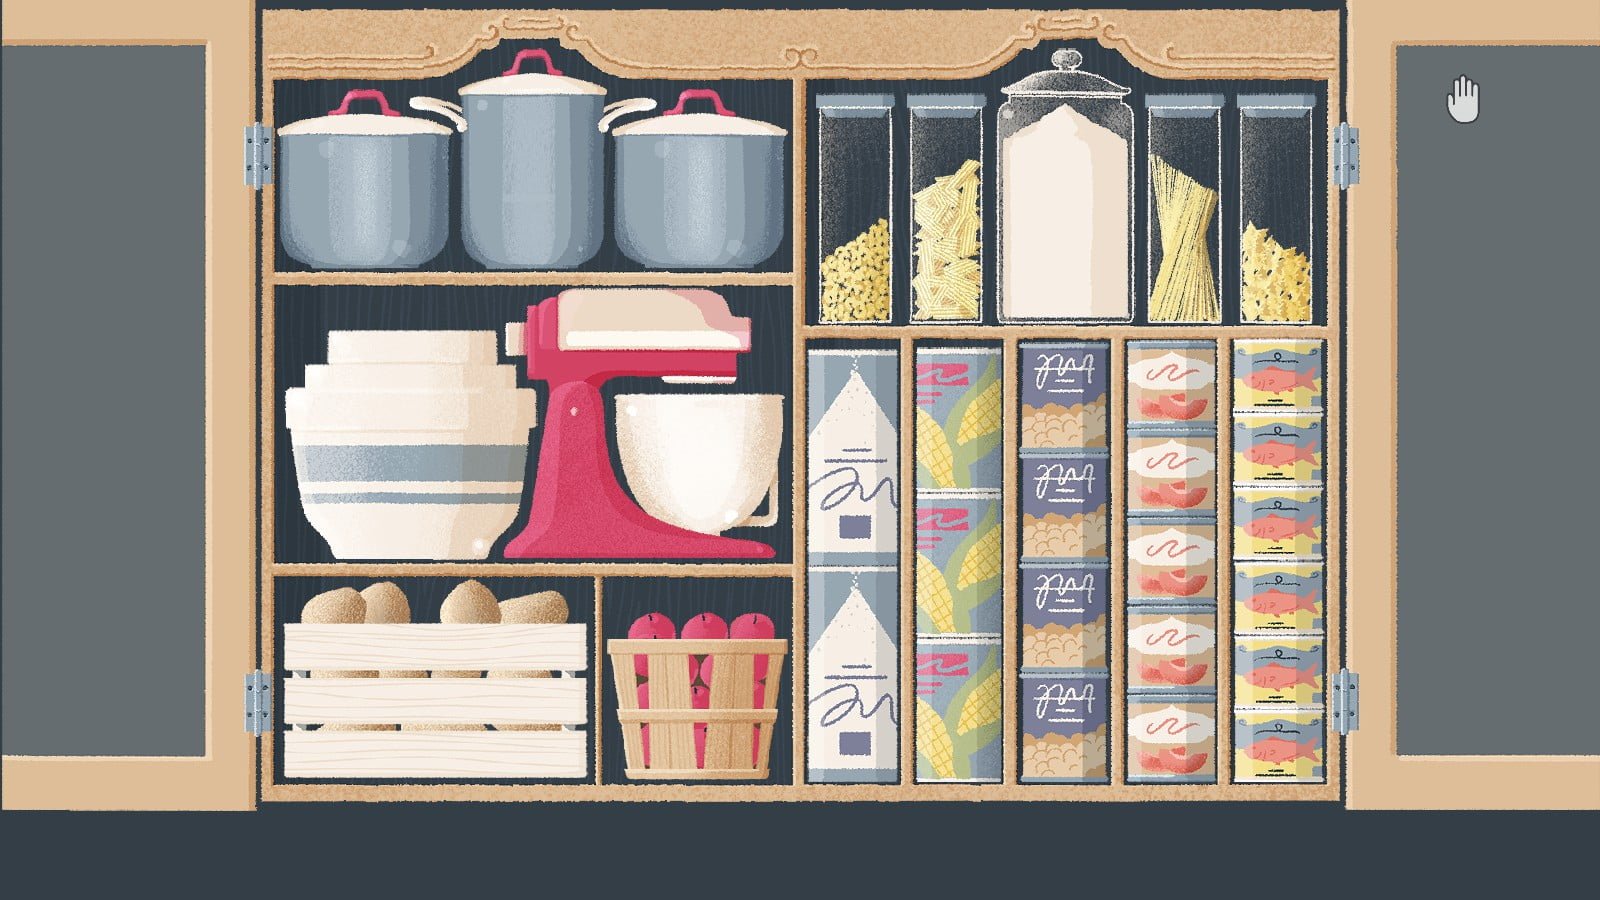
Arrange the items so that they fit perfectly. Make sure the pasta slopes line up with each other and the flour/sugar slope.
Level 13:
Pet the cat.
Level 14:
Arrange the items so that they fit perfectly.
Level 15:
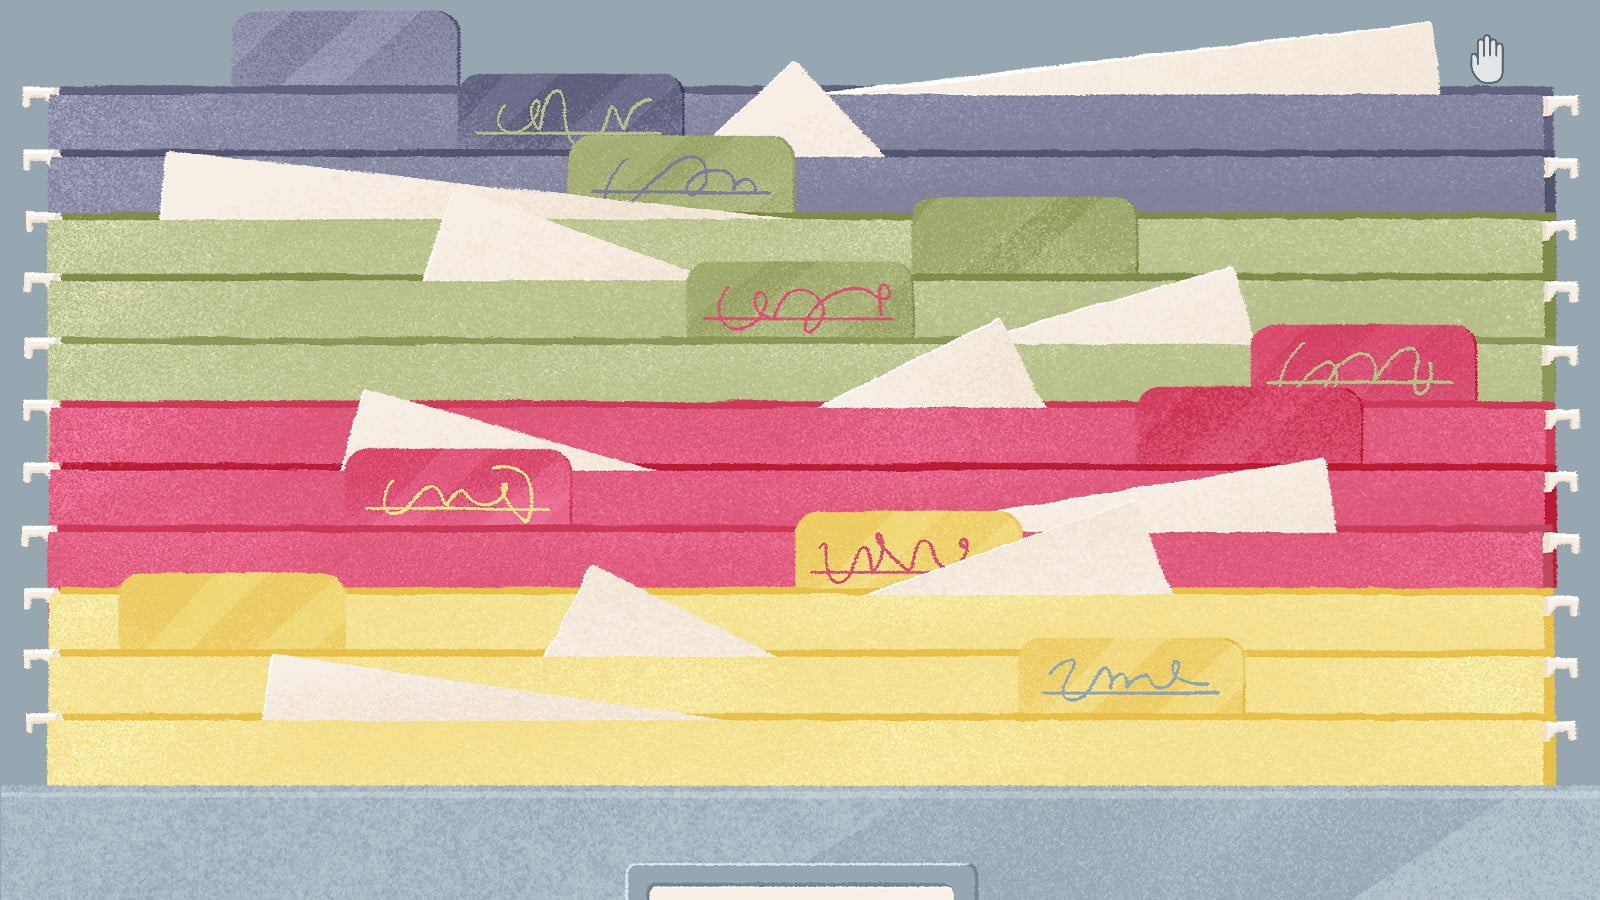
Slide the files so that they are arranged from leftmost tab to rightmost tab.
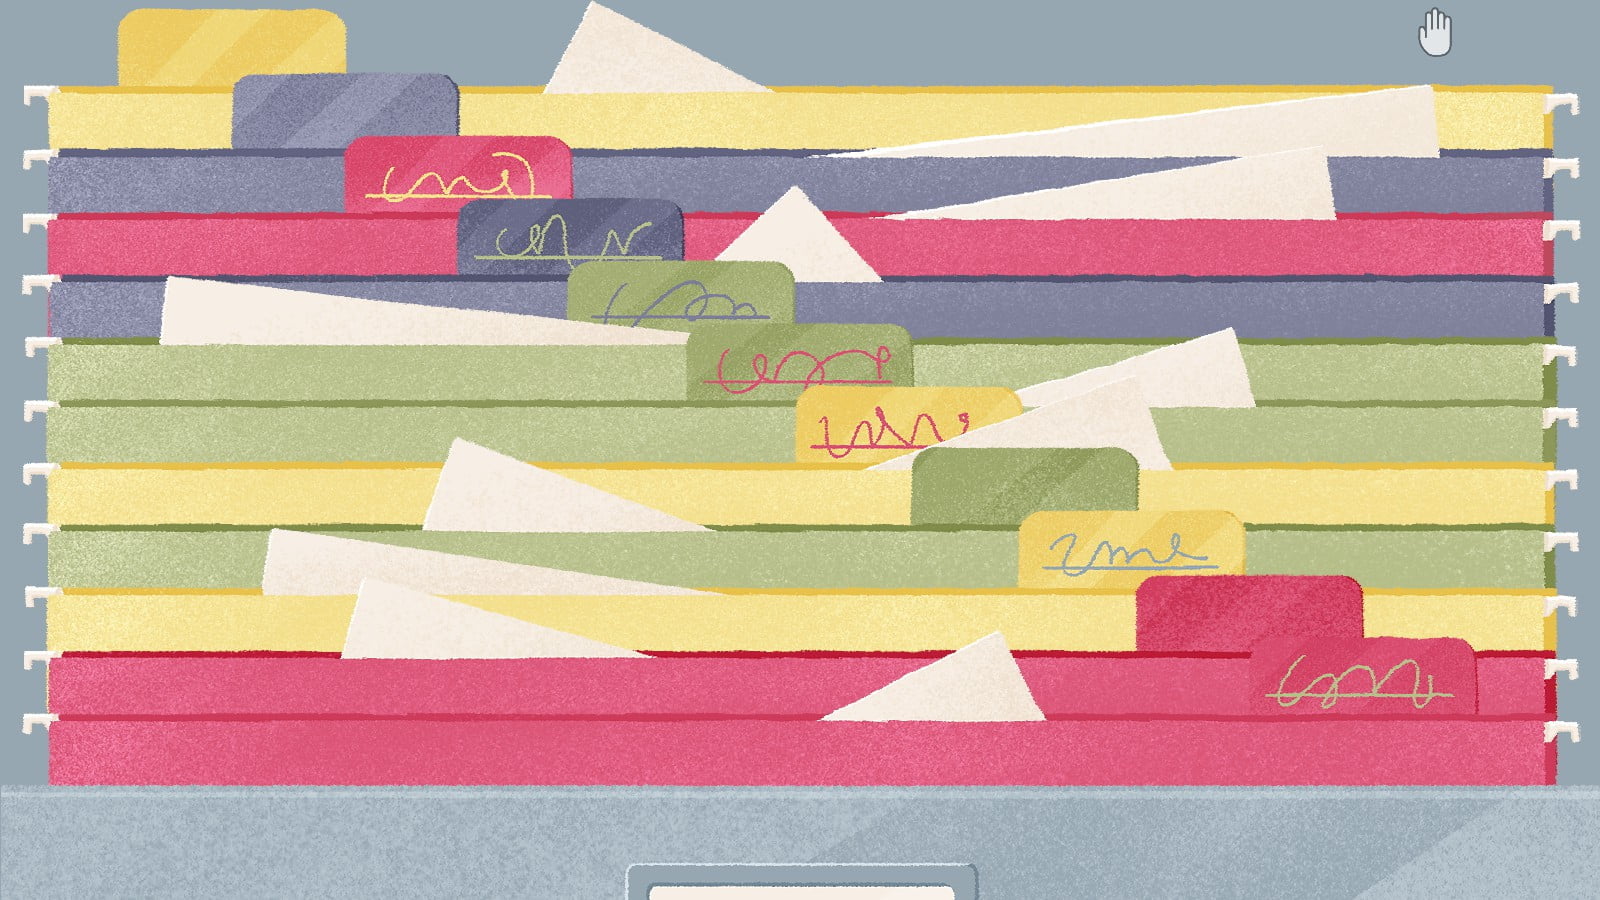
Slide the files so that they are arranged from leftmost paper to rightmost paper.
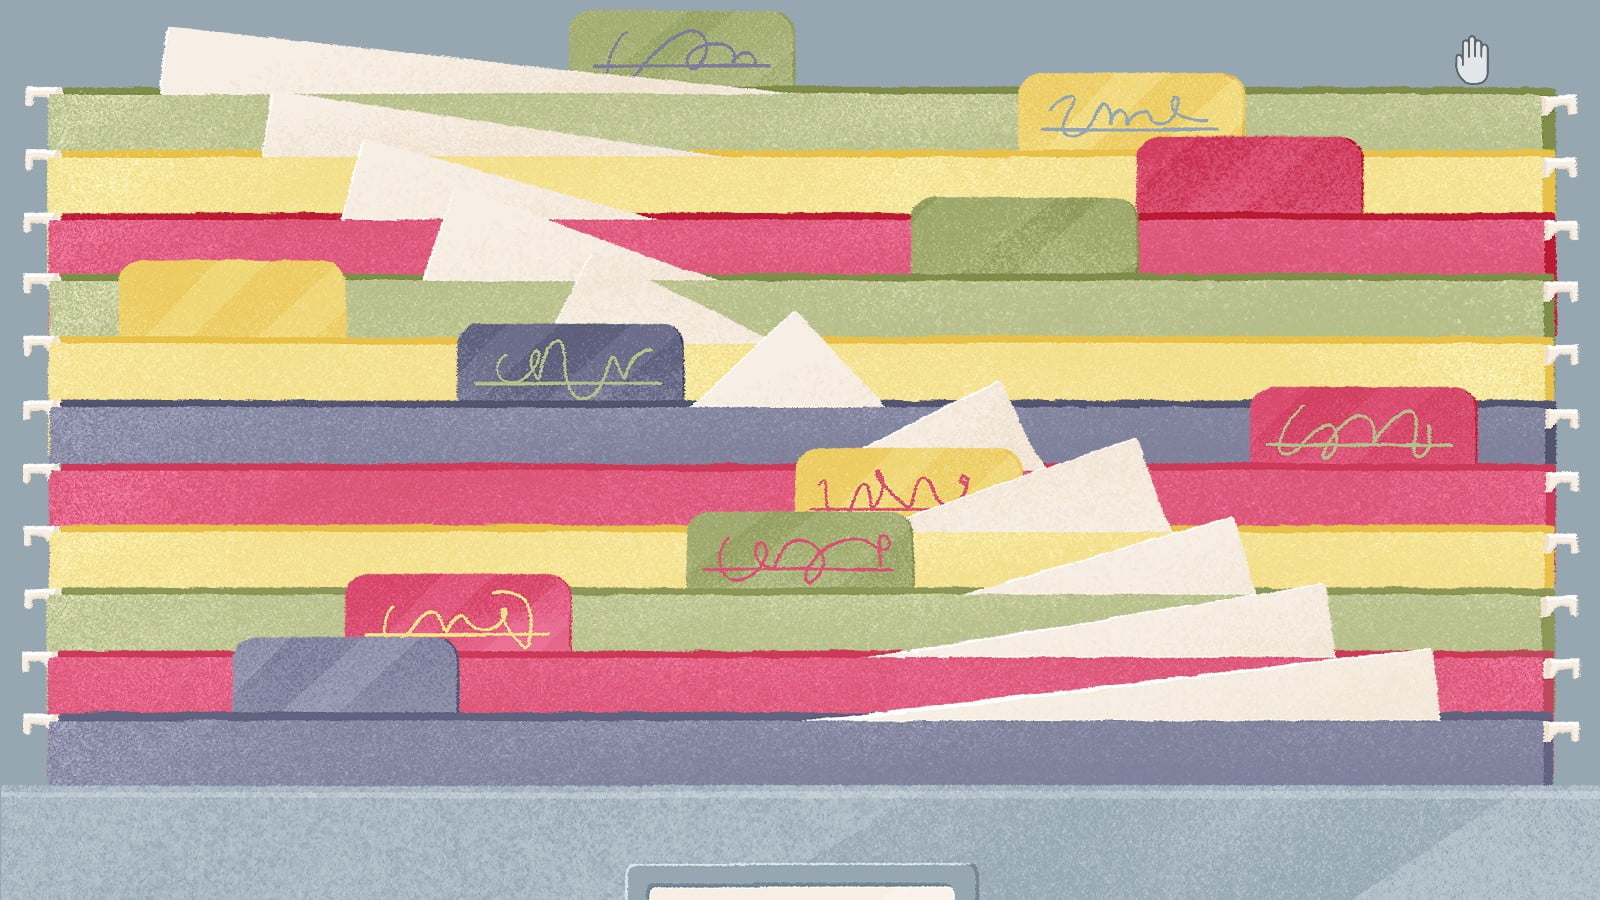
Slide the files so that they are arranged by color.
Level 16:
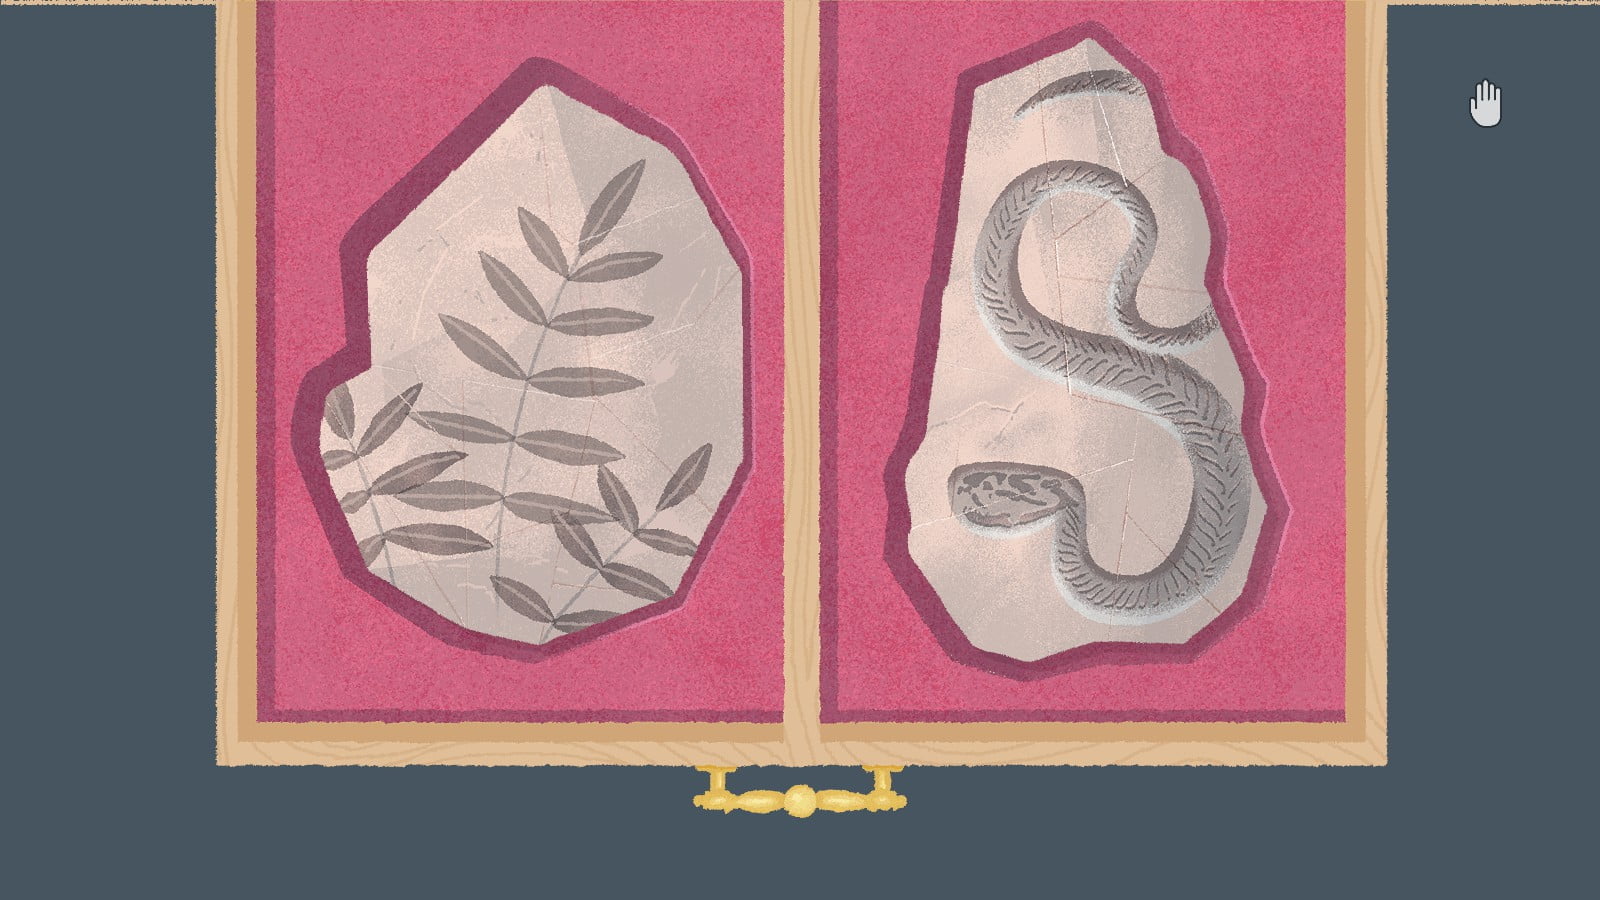
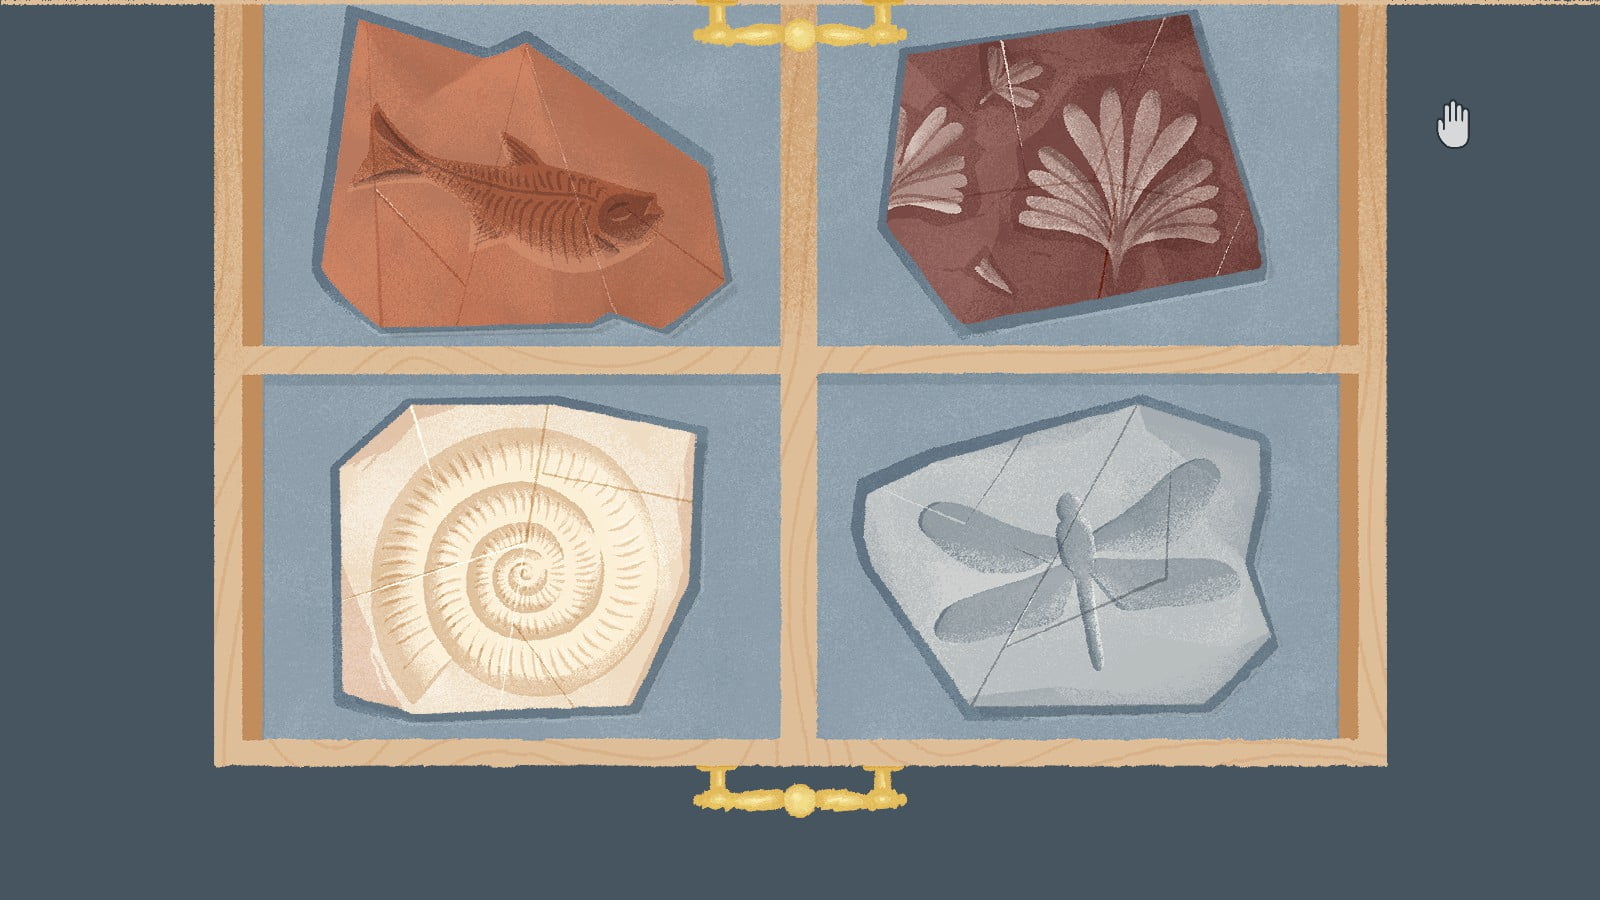
Piece the fossils back together. There are two drawers.
Level 17:
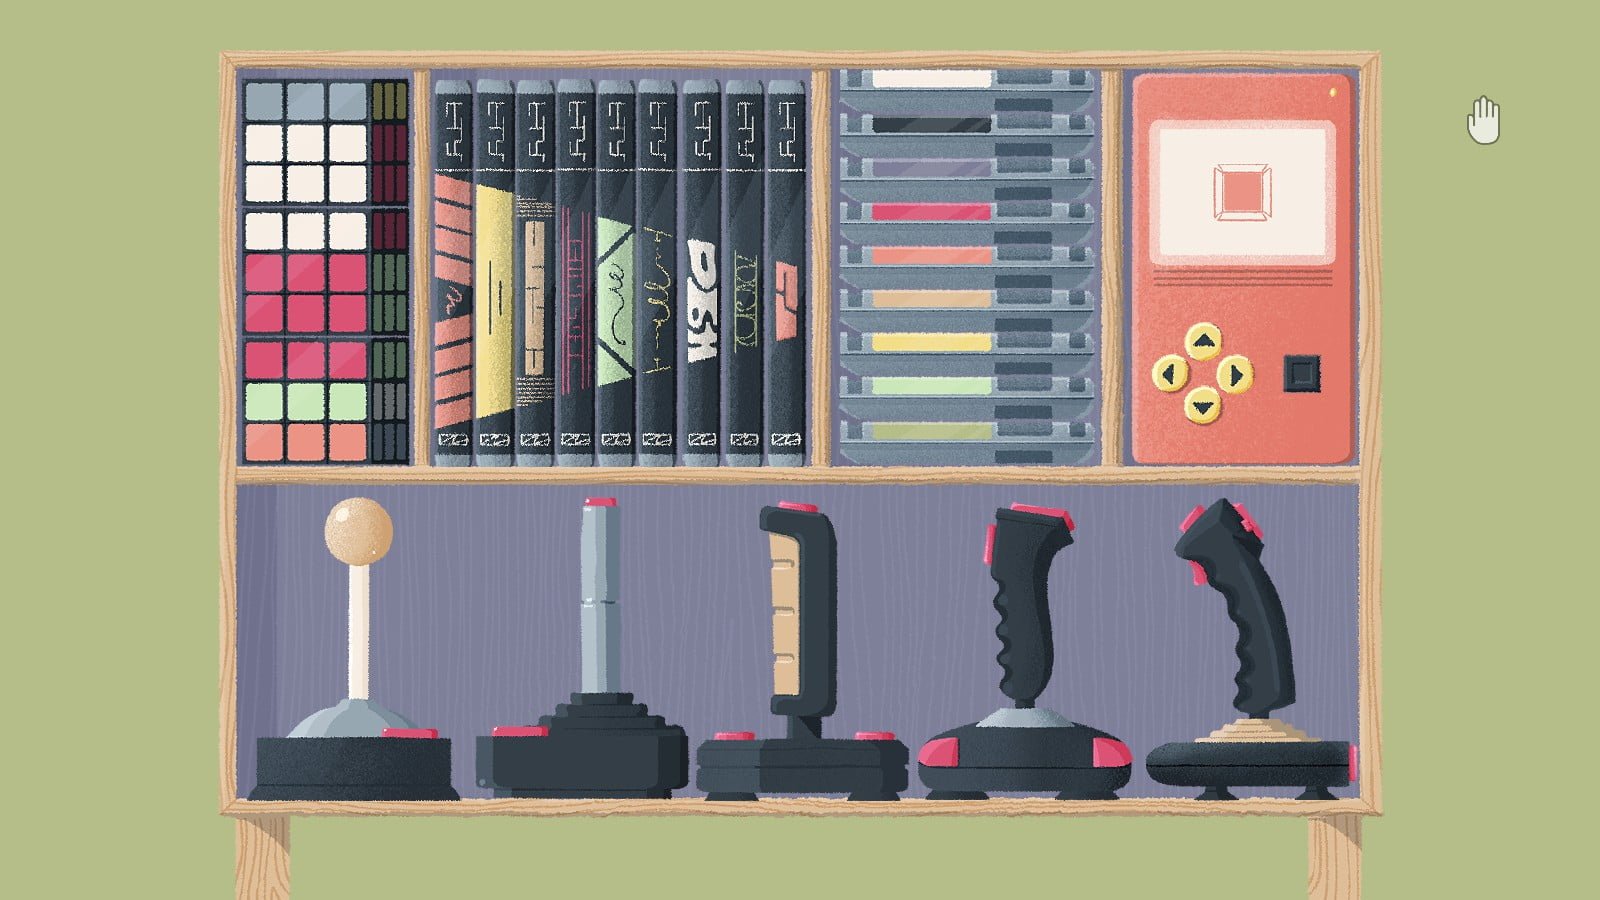
Arrange the items so that they fit. Make sure to line up the disc labels. Turn on the GameBoy using the black square button and use the arrow buttons to direct the circle into the box. Press the square button until the circle is a square.
Level 18:
Arrange the tiles so that they form a complete map. Open the drawers and arrange the items so that they fit perfectly. If you’re missing items, close the drawers and check underneath of them.

Level 19:
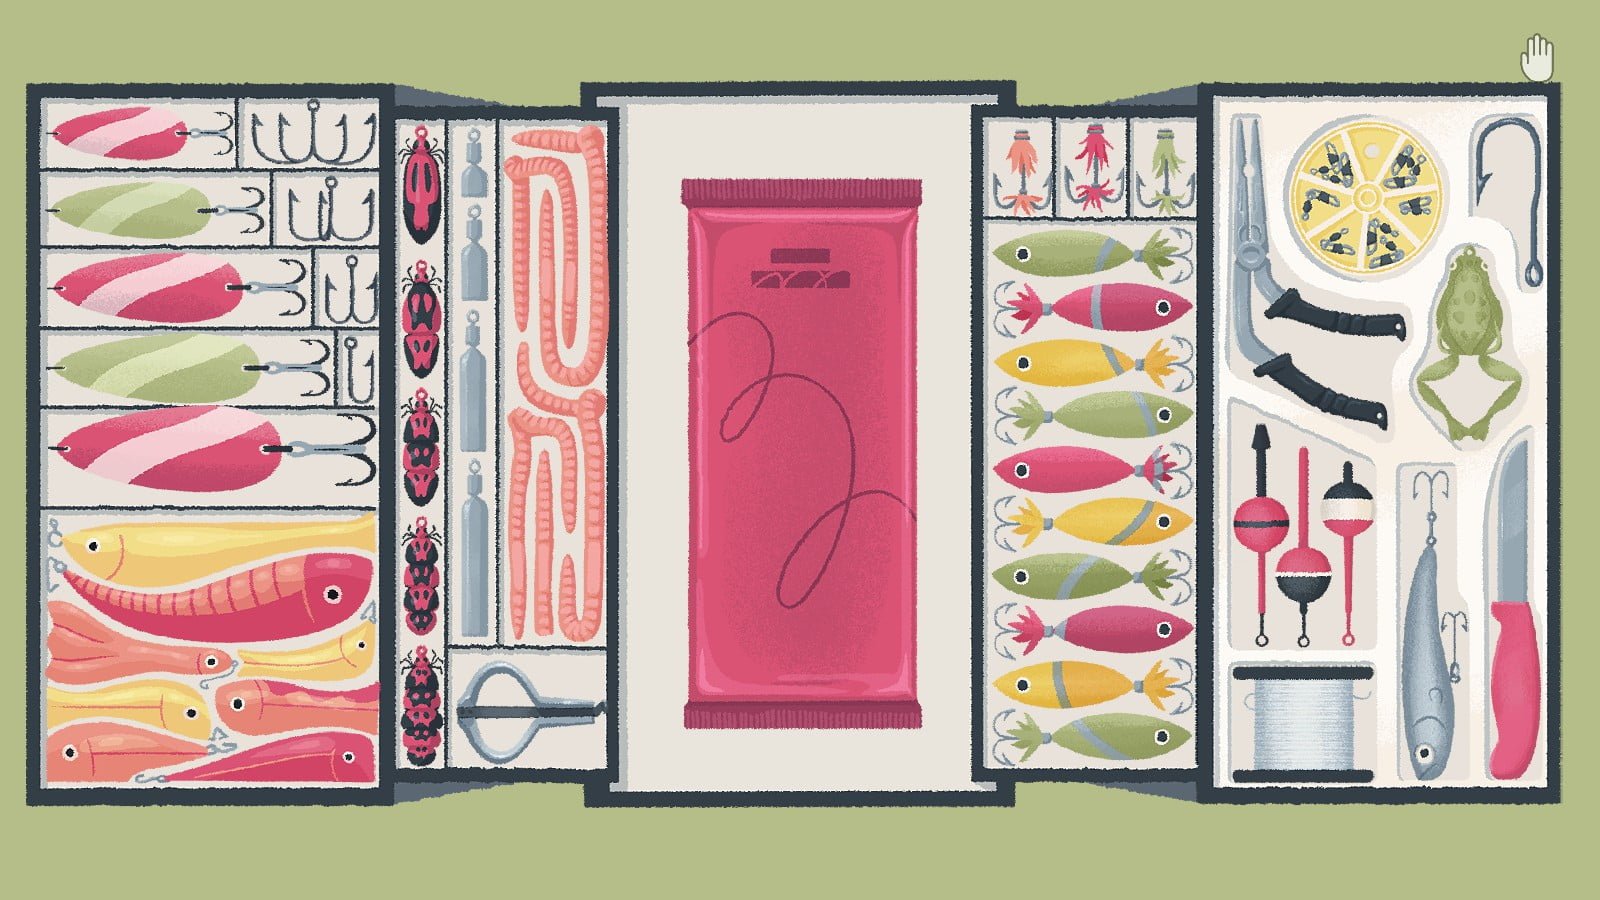
Arrange the fishing box so that the items fit perfectly. Make sure that the stripes on the small fish line up.
Level 20:
Pet the cat.
Level 21:
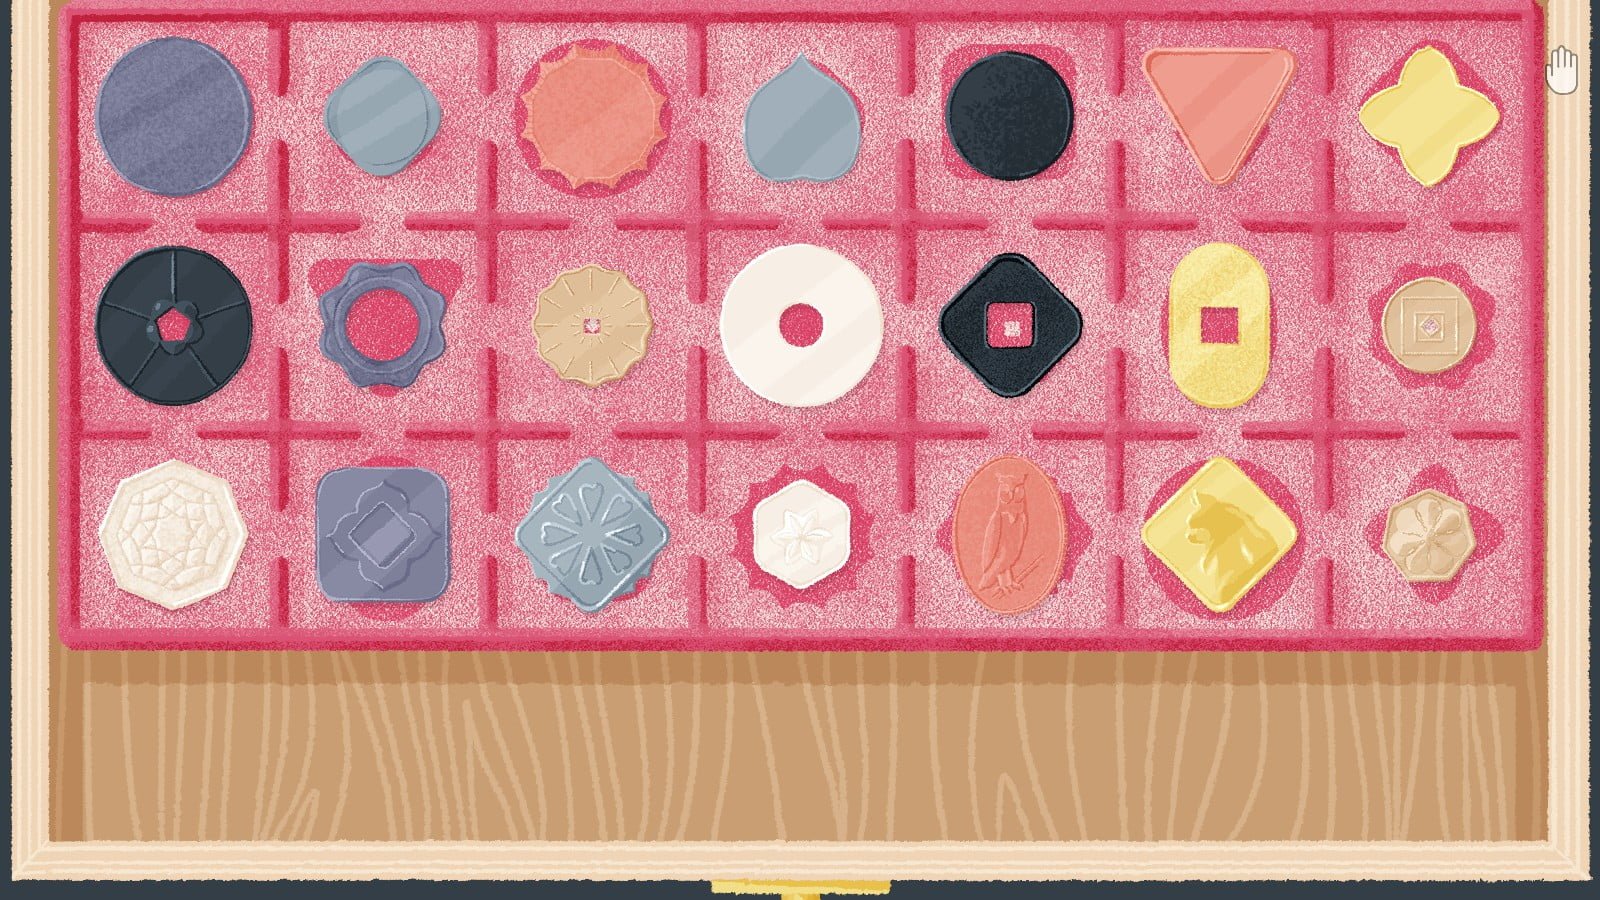
Place the coins into their corresponding spots.
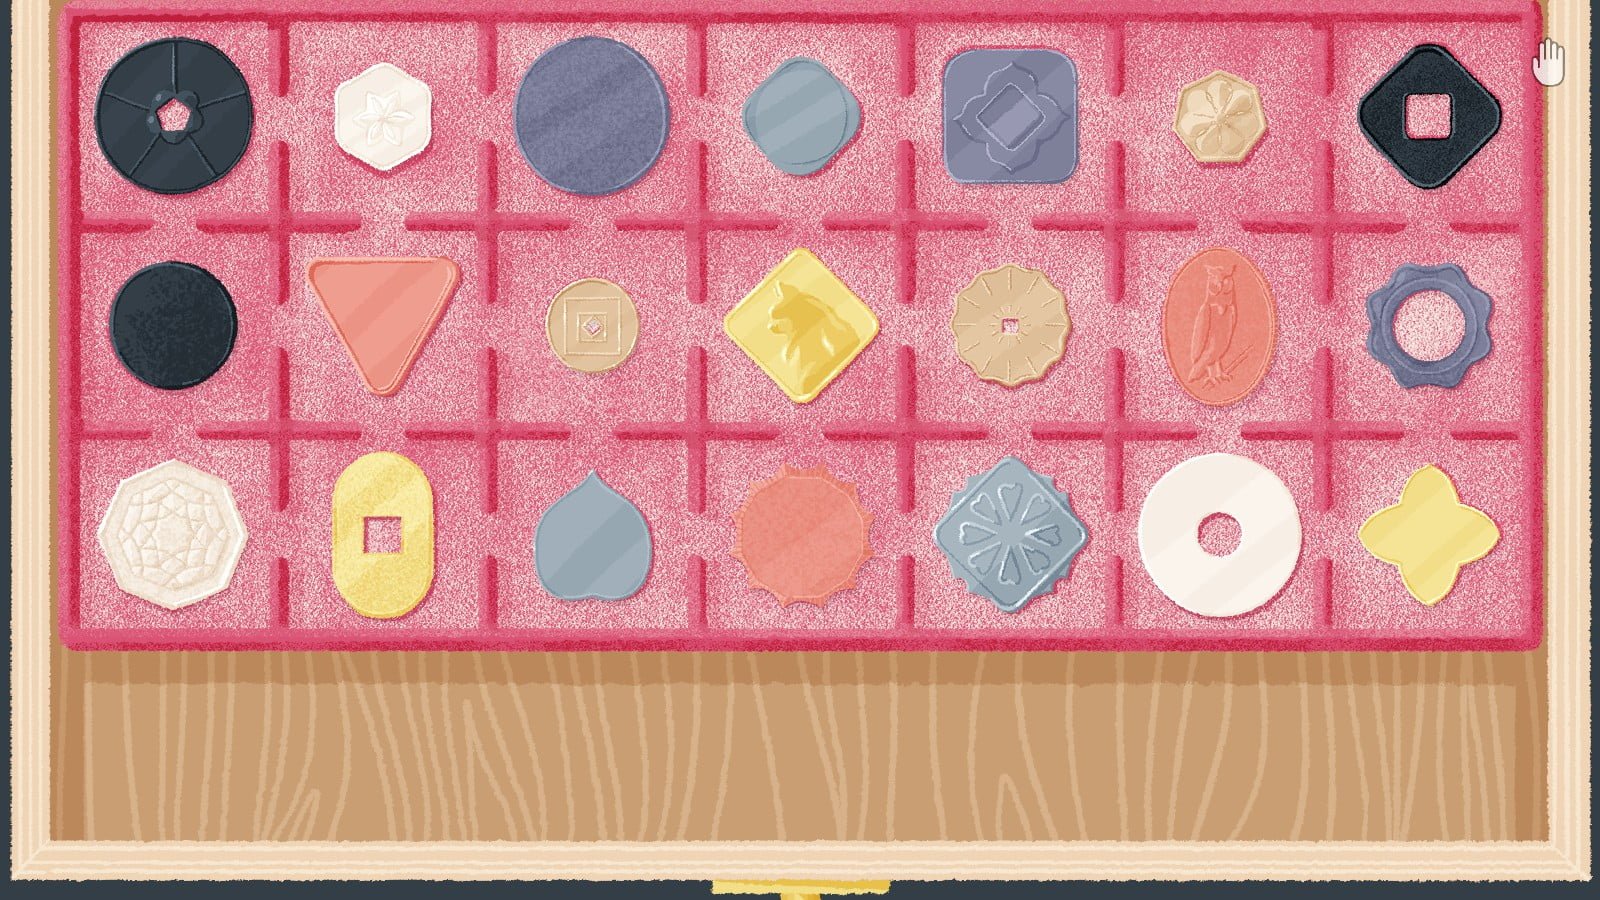
Arrange the coins according to color.
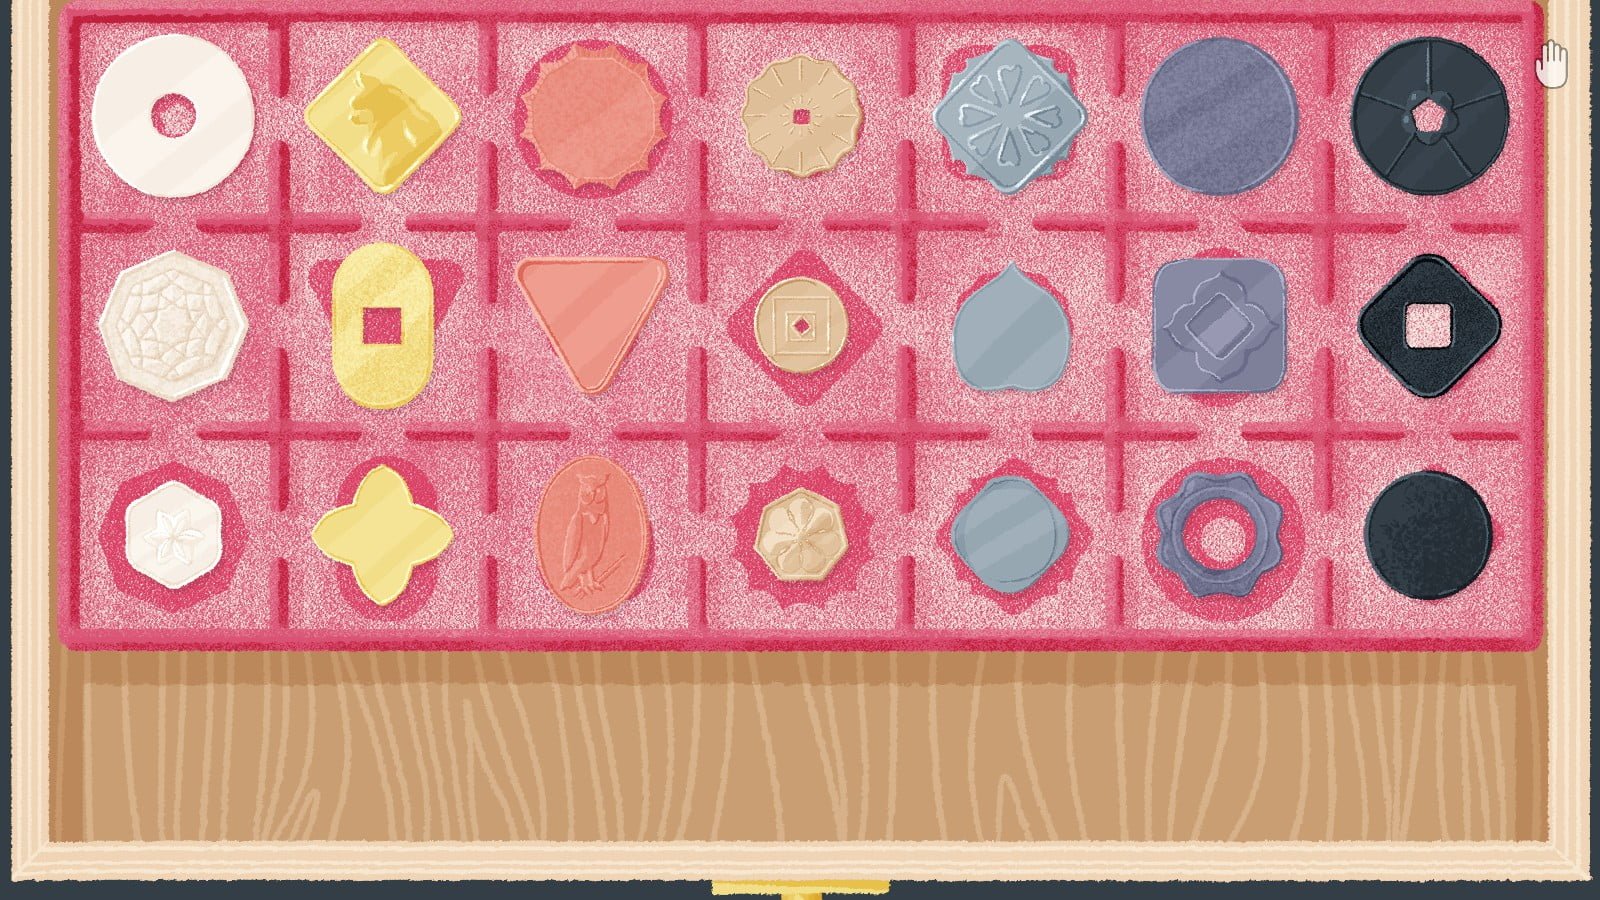
Arrange the coins according to has hole, is plain, and is embossed.
Level 22:
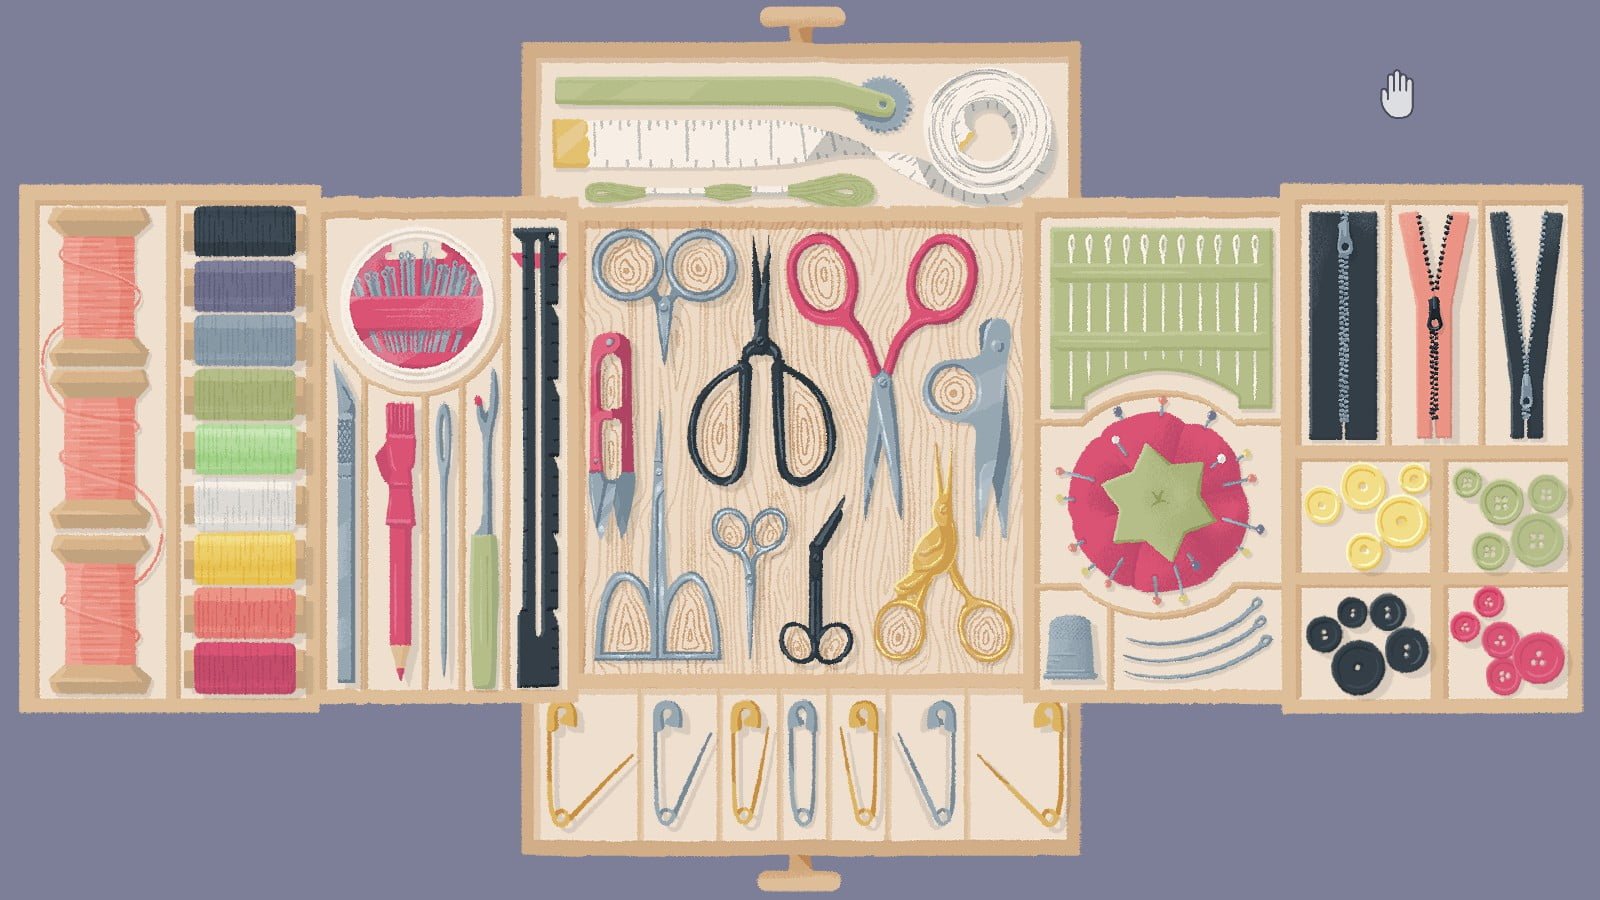
Open the drawers. Arrange the sewing kit so that the items fit perfectly. If you’re missing items, close the drawers and check underneath of them.
Level 23:
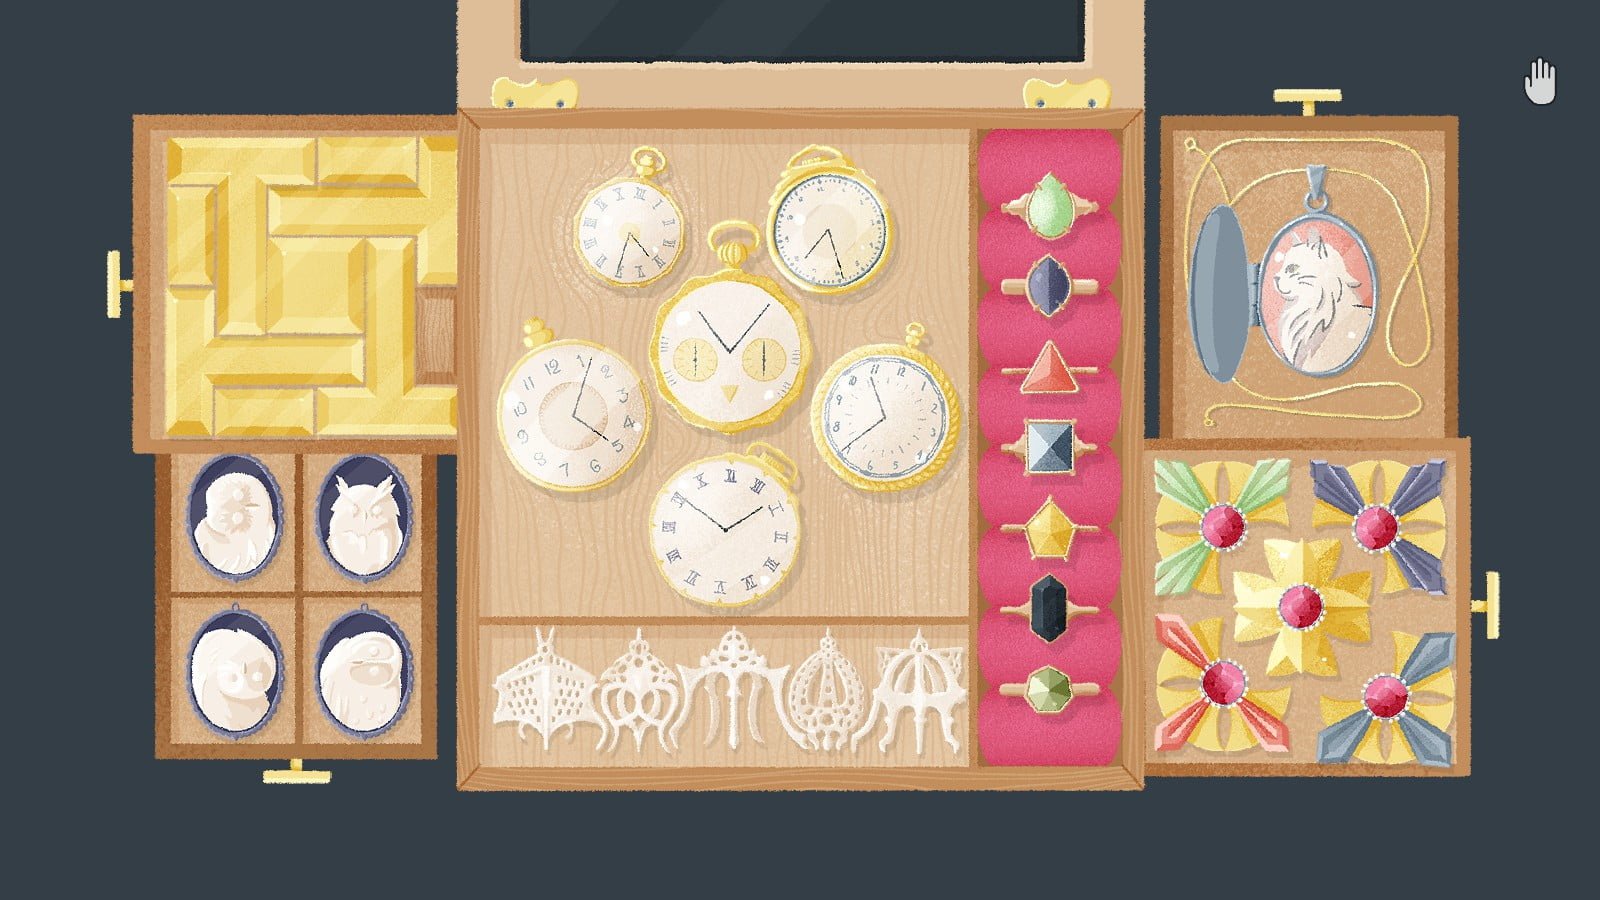
First, arrange the rings in order from most vertices to least vertices. Second, arrange the clocks so that the clock hand create an owl across the clock faces. Third, finish the jewel pattern. Fourth, arrange the golden pices so that they fit perfectly. Fifth, click on the locket to open and place the cat picture into it. Sixth, arrange the owl tokens. Finally, arrange the lace bits (?) so that they fit perfectly.
Level 24:
Pet the cat.
Level 25:
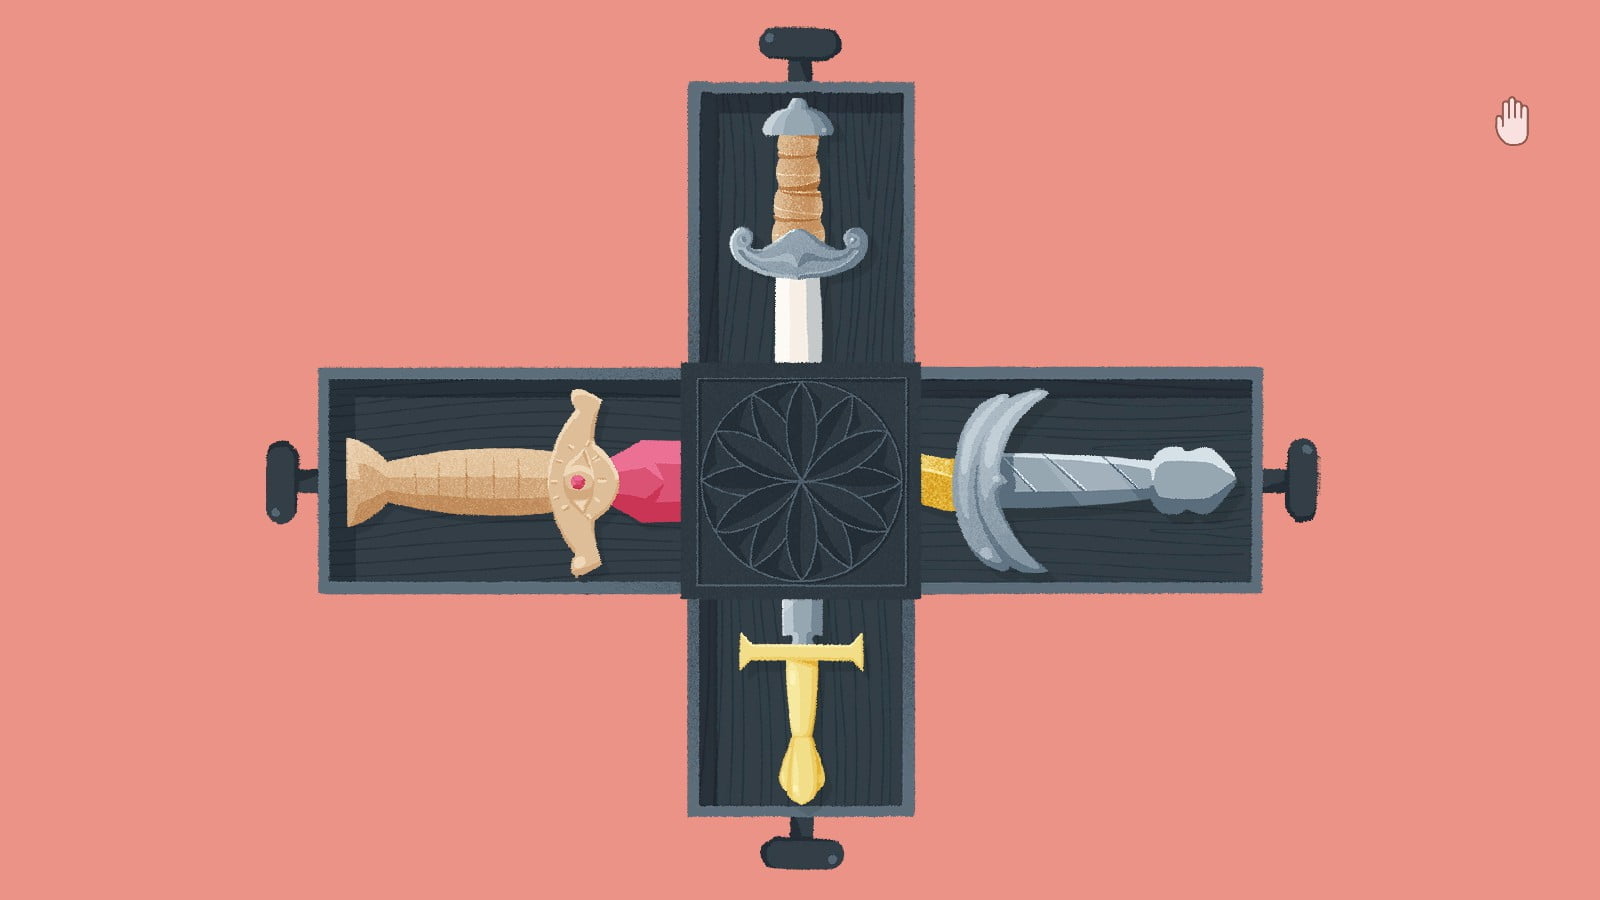
Place the blades so that they fit perfectly into the drawers. You will have to move the box around in order to fully open some of the drawers. You must close the drawers for the level to count as
complete.
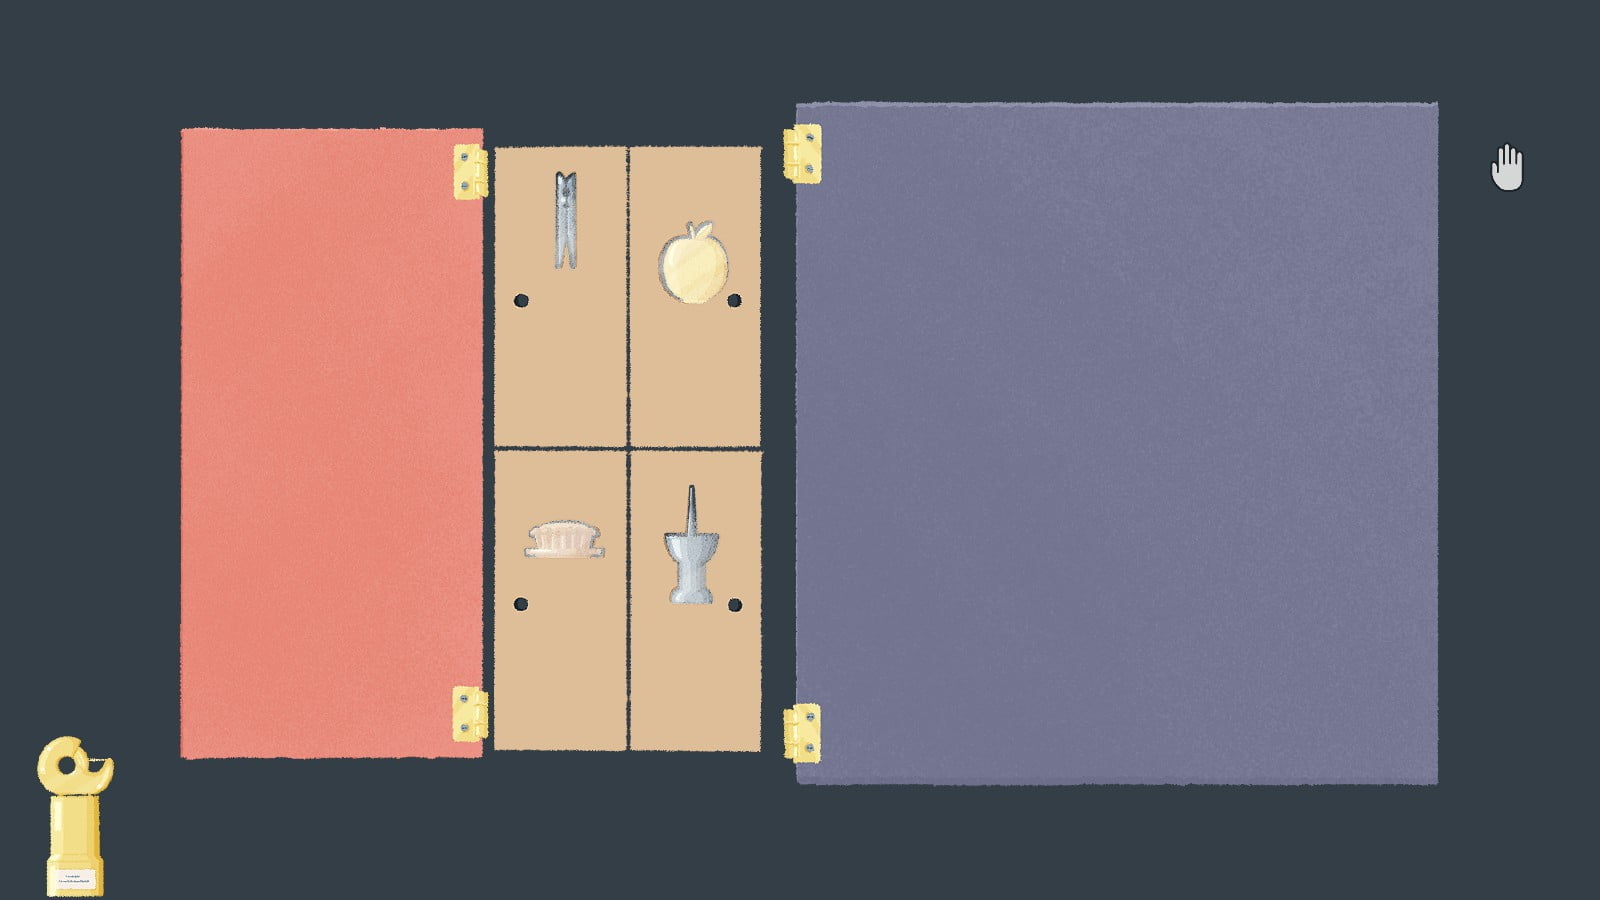
Level 26:
Click on the panels to flip them open and closed. Take all the trophies out of the case and place them into their rightful places.
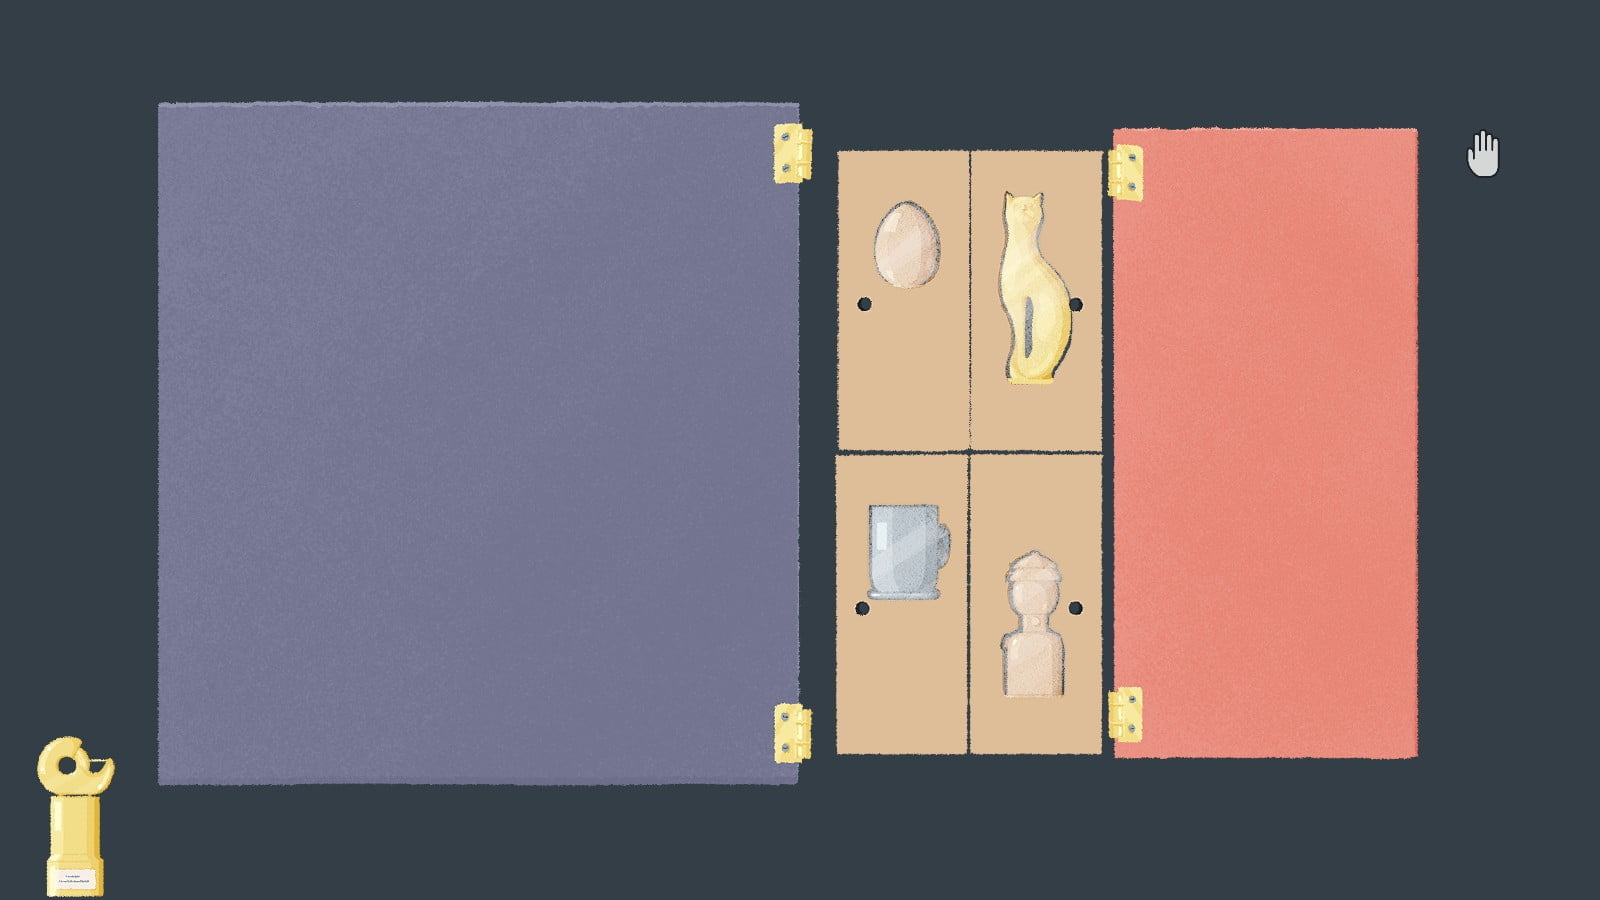
Level 27:
Arrange the boxes and the figurines so that the fit perfectly.
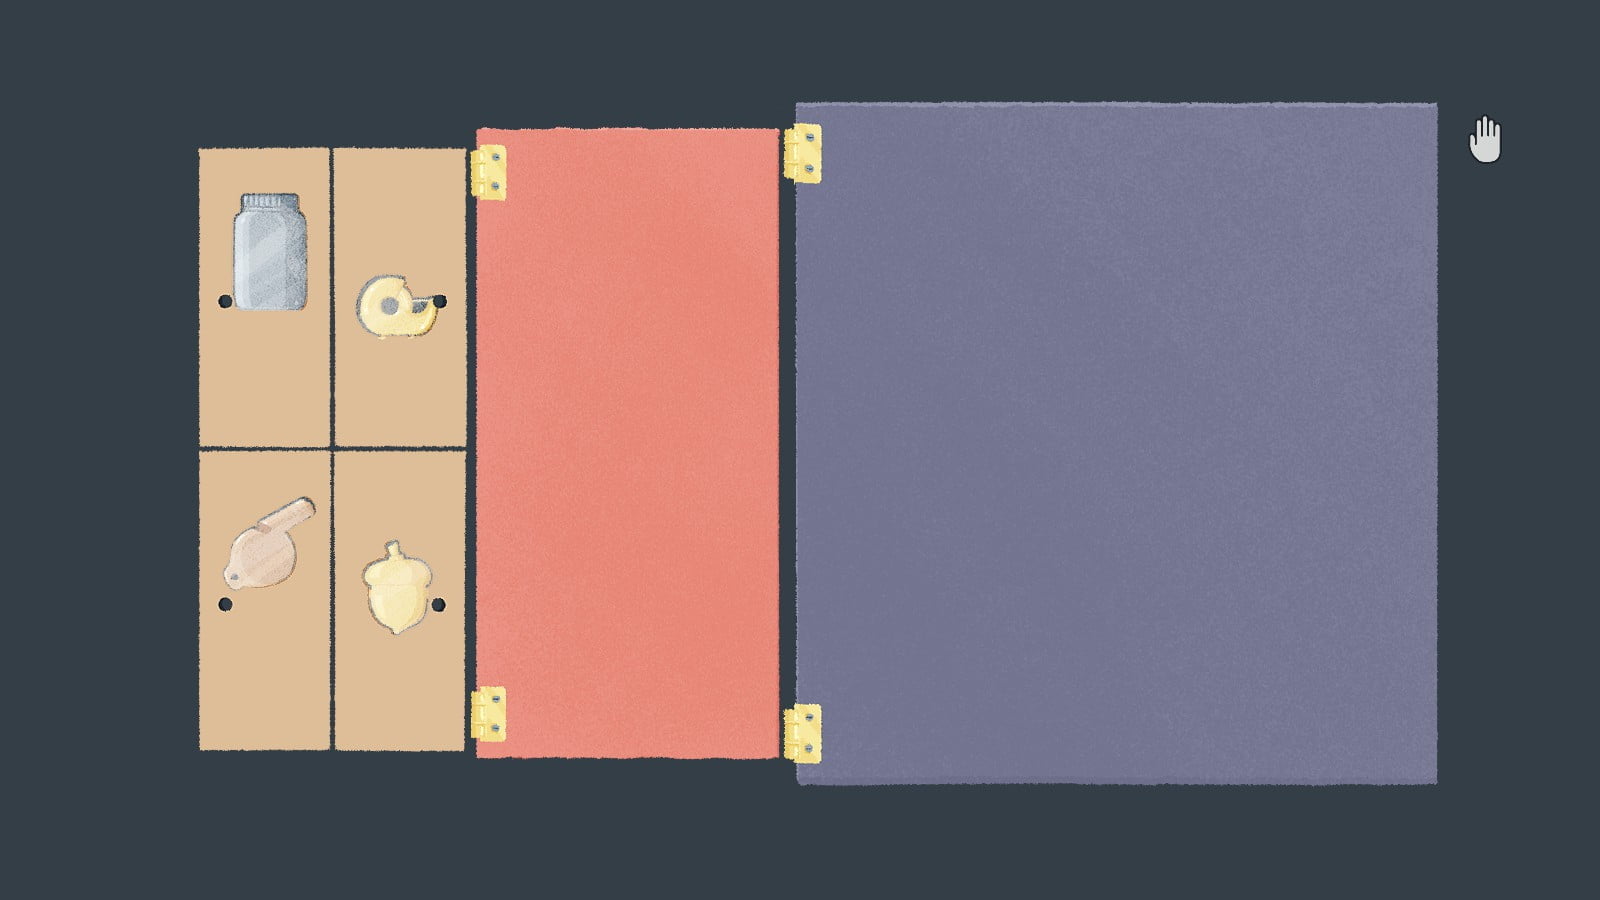
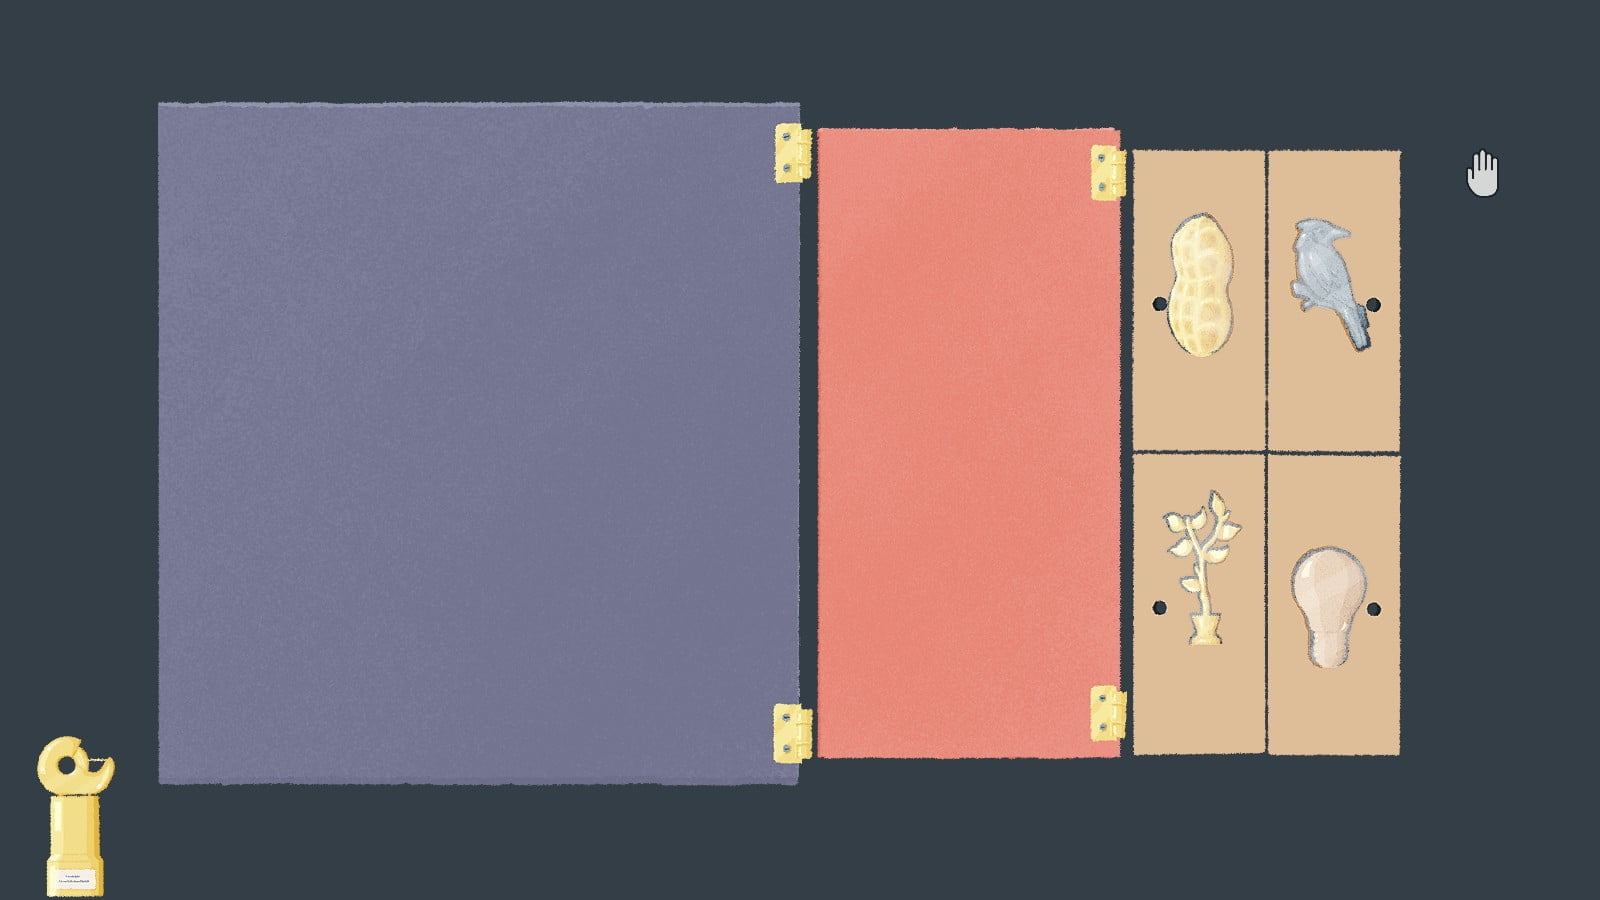
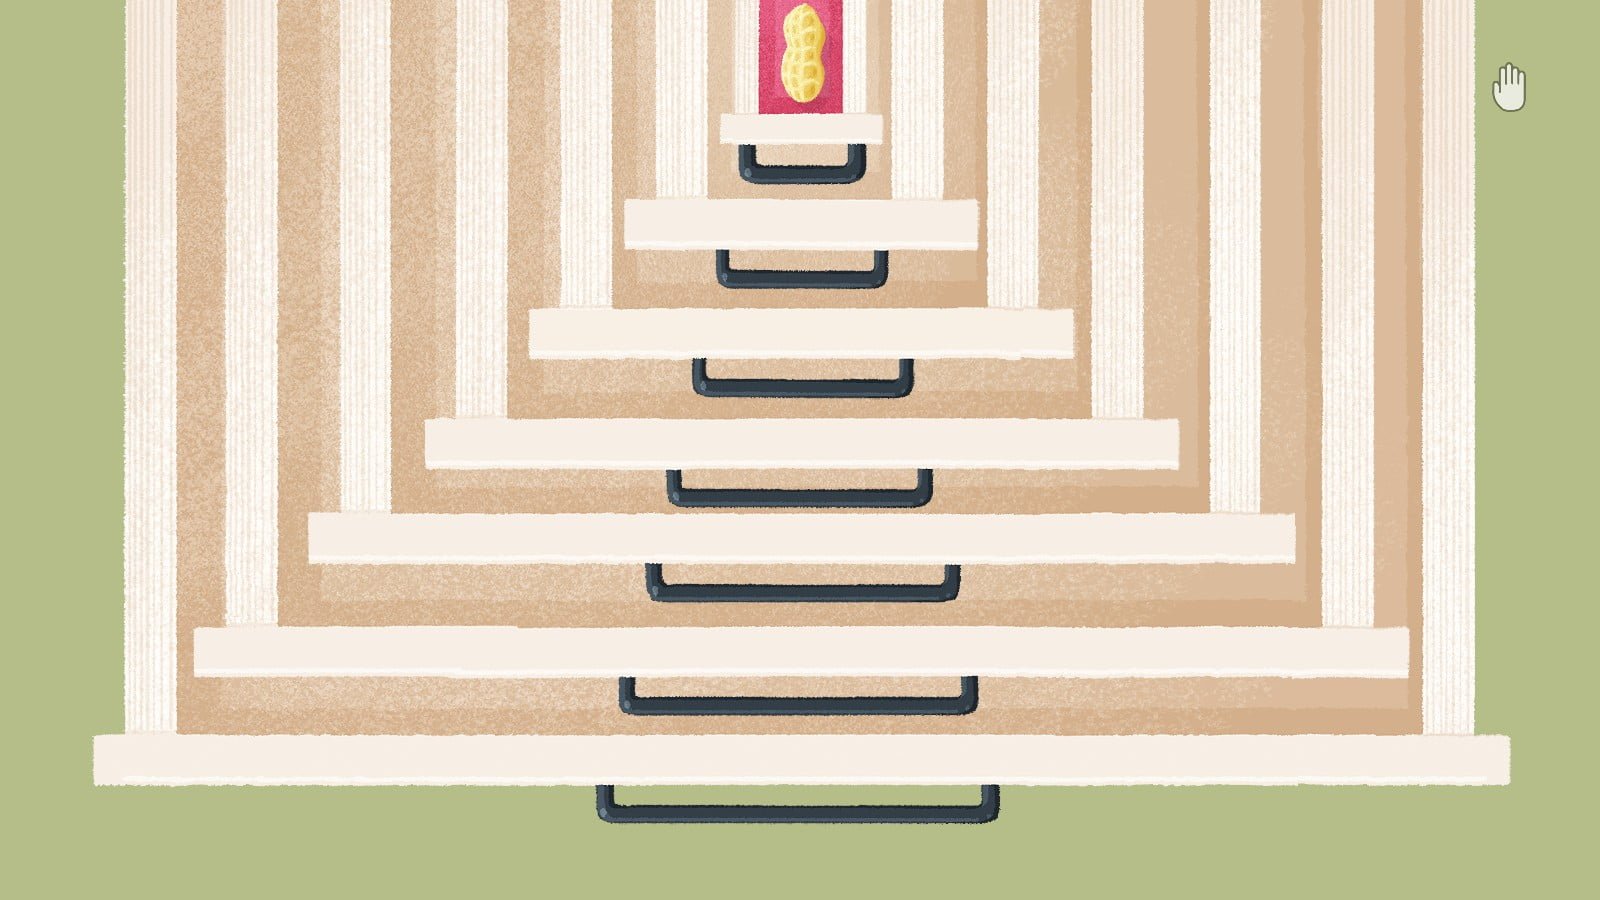
Level 28:
Place the peanut into the smallest drawer. Hover your cursor toward the top of the screen to access the drawers.
Level 29:
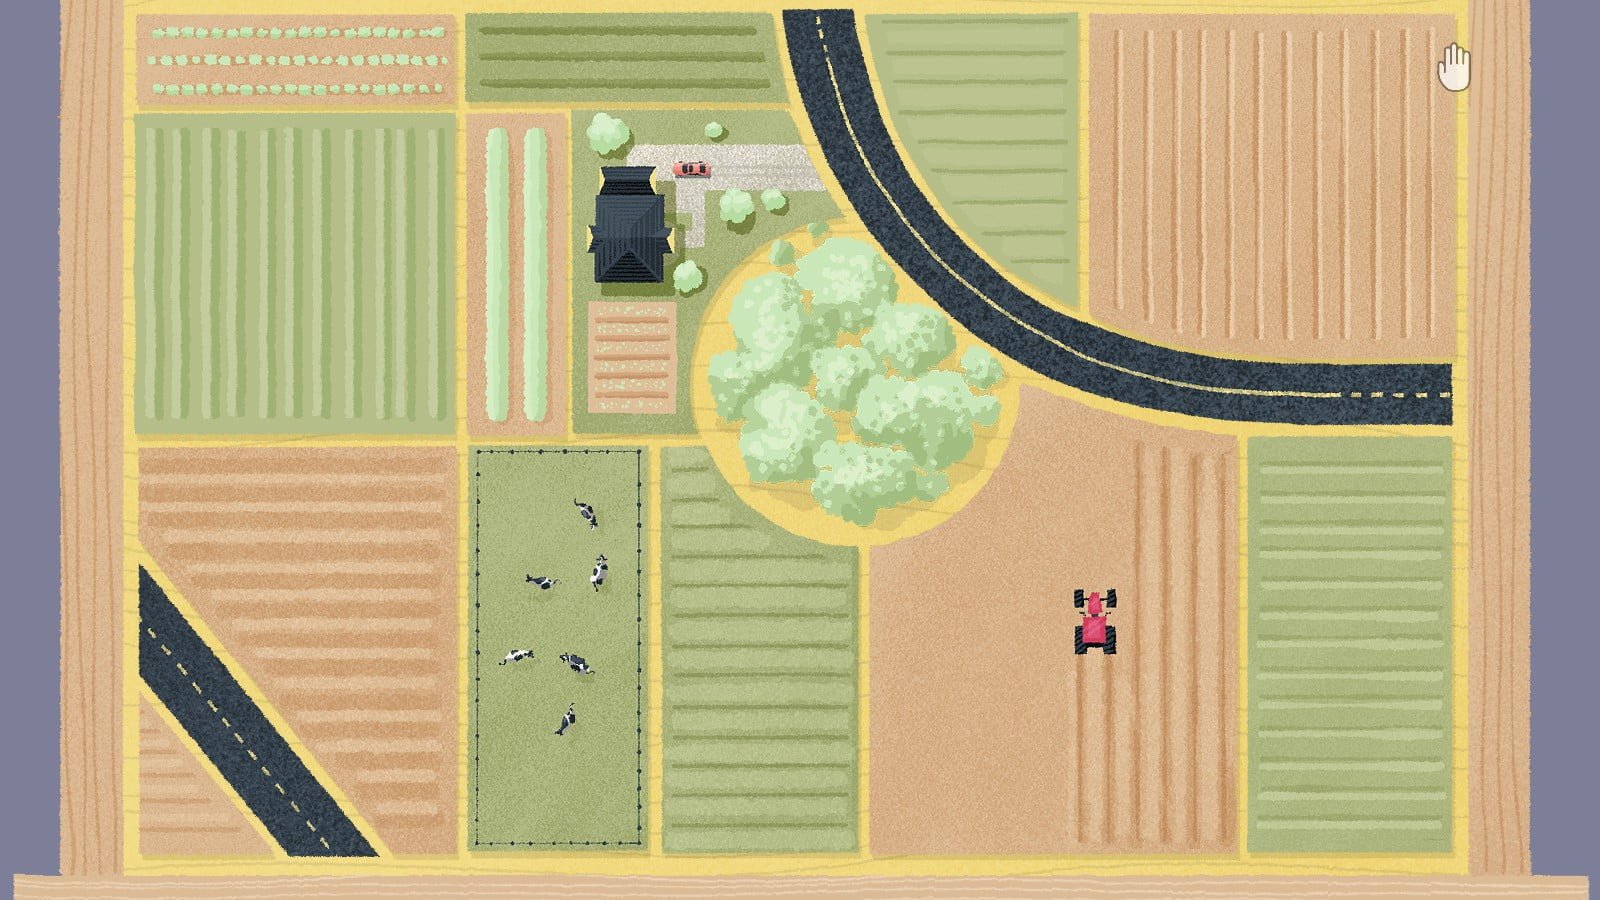
Drag the key to the first keyhole; arrange the room properly. Drag the key to the second keyhole; arrange the vehicles according to color. Drag the key to the third keyhole; Arrange the farm properly. Drag the key to the fourth keyhole.
A Little to the Left: Achievements
There are 55 achievements for the base game.
 Home Sweet Home
Complete every level in the first chapter to unlock this achievement.
 Guests Coming Over
Earn 100% completion in chapter 1 to unlock this achievement. This is done by earning all stars on every level.
 Lost Recipe
Complete every level in the second chapter to unlock this achievement.
 Clean Kitchen
Earn 100% completion in chapter 2 to unlock this achievement. This is done by earning all stars on every level.
 Nitty Gritty
Complete every level in the third chapter to unlock this achievement.
 Spring Cleaning
Earn 100% completion in chapter 3 to unlock this achievement. This is done by earning all stars on every level.
 Inner Nature
Complete every level in the fourth chapter to unlock this achievement.
 One With Nature
Earn 100% completion in chapter 4 to unlock this achievement. This is done by earning all stars on every level.
 Near Earth Organizer
Complete every level in the fifth chapter to unlock this achievement.
 Encounters of the Tidy Kind
Earn 100% completion in chapter 5 to unlock this achievement. This is done by earning all stars on every level.
 A Cozy Completion
Complete the campaign.
 Seeing in a New Light
Get a second star on a level to unlock this achievement. This means that you solve it in 2-3 different ways, based on the level.
 Triple Threat
Get all three stars on a 3 star level to unlock this achievement.
 Tidy Triumph
Get all stars for all levels to unlock this achievement.
 Triple Digit Tidier
Tidy 100 items. I unlocked this achievement this before completing the first chapter.
 Categorization Cadet
Tidy 250 items. I unlocked this achievement before completing the second chapter.
 Adept Aligner
Tidy 500 items. I unlocked this achievement around the time I completed the third chapter.
 Extraordinary Organizer
Tidy 1000 items. I unlocked this achievement before completing chapter 5.
 Helpful Hints
Press ‘Esc’ during a level to open the menu. Select hint. Use the eraser to reveal as much of the hint as you like to unlock this achievement.
 One Clean Page
Fully erase a hint to unlock this achievement.
 No Squint Hint
Complete the campaign without using a single hint to unlock this achievement
 Hint Hunter
Use the hint on 10 levels unlock this achievement. You will need to erase enough of the hint for the eye icon to appear in the bottom corner of the hint for it to count.
 Let it Be
Press ‘Esc’ during a level to open the menu. Select let it be to unlock this achievement. This skips the level.
 What Is What Will Be
Skip 10 levels in the campaign using let it be.
 No Mess Left Behind
Complete the campaign without skipping a single level to unlock this achievement.
 Fun for Humans Too
In chapter 1, level 2, shake the cat toy that looks like the achievement photo a whole bunch of times to unlock this achievement. More specifically, the inside ball needs to be continuously for 15 seconds to trigger the achievement.
 Bad Kitty
Click on the cat’s paw during one of the levels where the cat tries to interfere with your work to unlock this achievement. The first time we see the cat is in chapter 1, level 9, though I find it easier to complete this achievement in chapter 2, level 11.
Sweep Them on the Floor
In chapter 1, level 19, there are pencil shavings. Drag them to the edge of the screen to unlock this achievement.
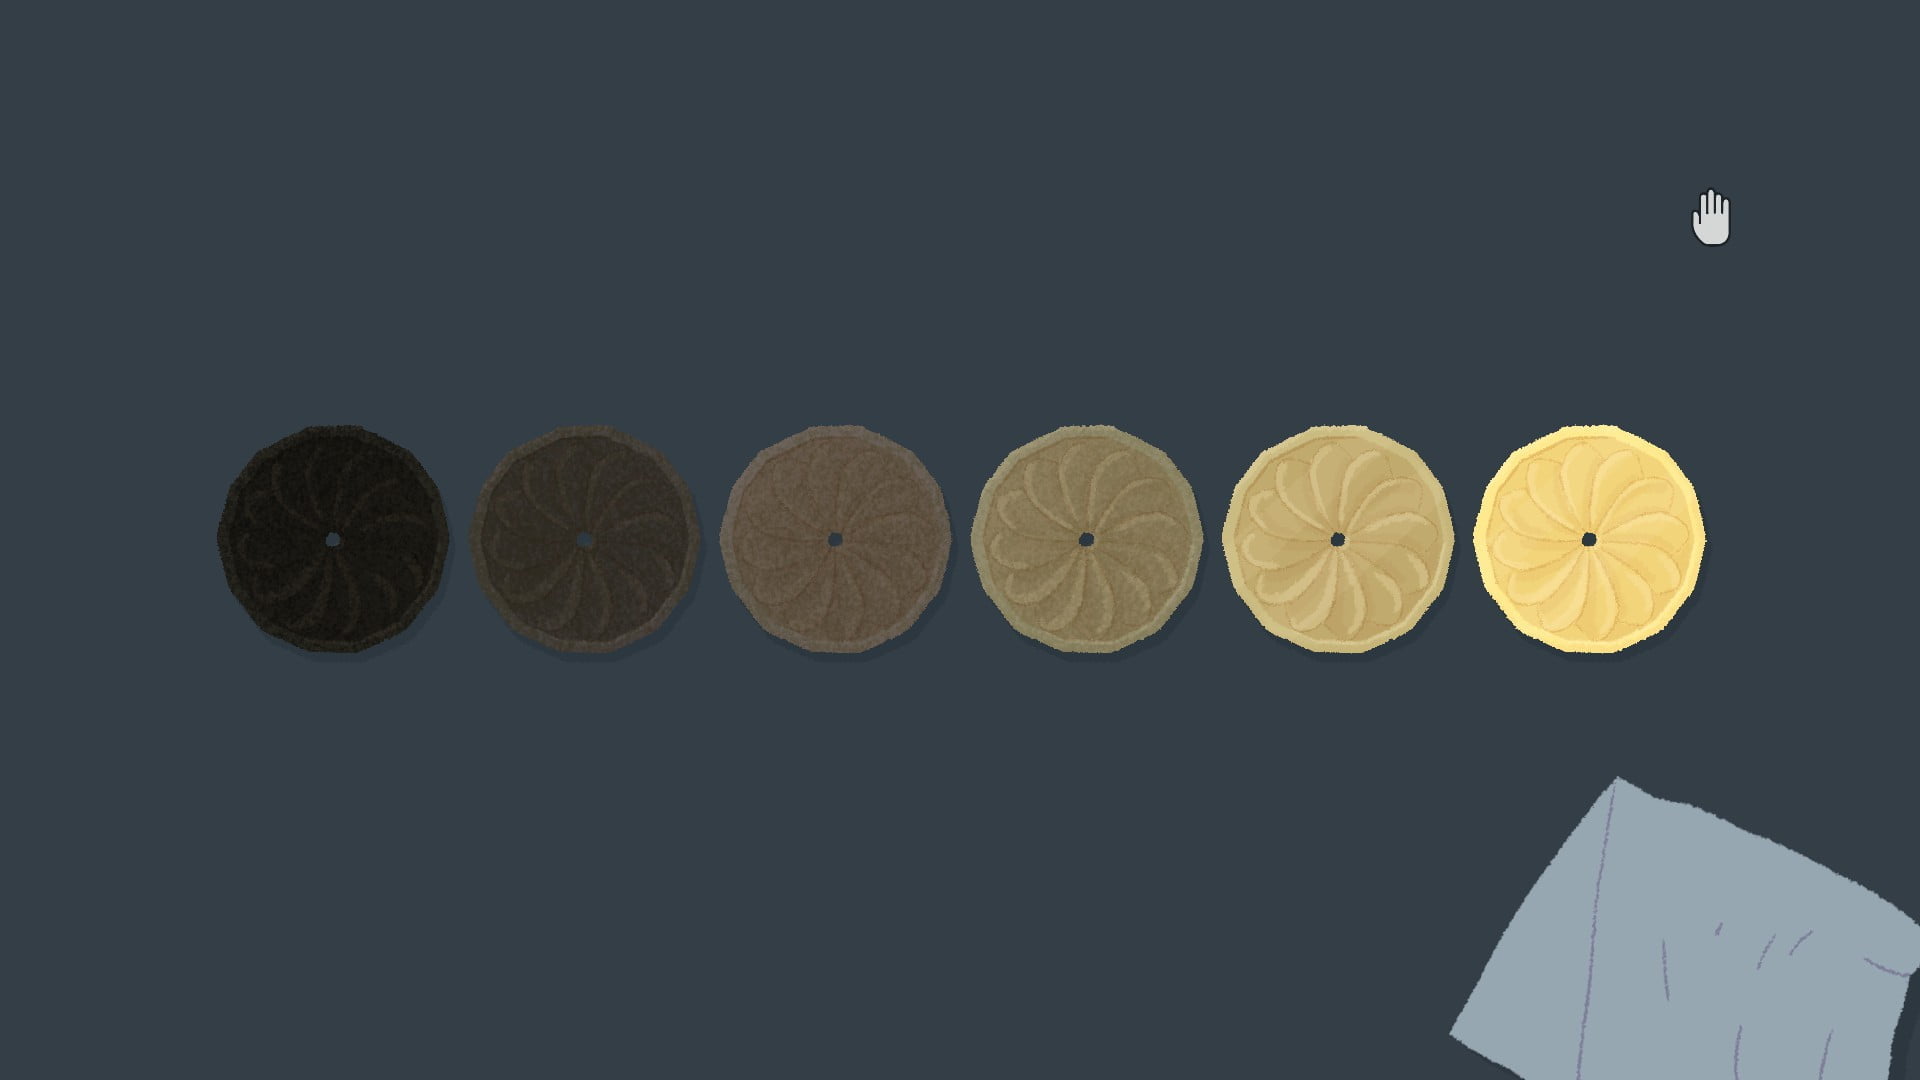
 Exacting Eggs
Complete chapter 2, level 26, in the least amount of moves possible to unlock this achievement.
 Keep Away
In chapter 2, level 31, do not allow the cat to disrupt the puzzle to unlock this achievement. The first grab is unavoidable, but the rest can be prevented by clicking on the cat’s paw or moving the placemat out of reach.
 Draw Me a Rainbow
In chapter 3, level 42, there is a set of crayons. Place them in rainbow order to unlock this achievement.
 Path of Destruction
Clean the coffee stain and drag the broken leaves to the edge of the screen in chapter 4, level 54, to complete this achievement.
 Harmonized Purr
During the final level, make no mistakes while petting the cat. Also, you must pet the cat at the first opportunity each time, the first time the circles match to unlock this achievement.
 Unstable Stacker
Complete the tupperware tower in the final level by using every available spot to unlock this achievement.
 Rainbow to the Moon
On the tupperware tower in the final level, There will be three rows of different colors, for me, it was Grey > Red > Yellow, your’s could appear in a different order. Continue stacking in that color pattern to unlock this achievemnt. For example, my first row that the cat jumped on needed to be Grey, the second jump needed to be Red, then Yellow. Note: the autofilled tupperware probably won’t match the color you’re supposed to be placing. Just ignore it, it won’t affect the achievement.
 Be The Chaos
During the credits, click on every name (first or last) and job title to unlock this achievement.
 Sqweeky Clean
Complete 7 daily tidies in a row to unlock this achievement.
 Two Week Sweep
Complete 14 daily tidies in a row to unlock this achievement.
 Calendar Collector
Complete 30 daily tidies in a row to unlock this achievement.
 Today’s Tidy
Complete a daily tidy to unlock this achievement.
 Tidy Toddler
Complete 3 daily tidies to unlock this achievement.
 My Lucky Number
Complete 7 daily tidies to unlock this achievement.
 Neat as a Pin
Complete 14 daily tidies to unlock this achievement.
 Flip the Calendar
Complete 30 daily tidies to unlock this achievement.
 Halfway There
Complete 50 daily tidies to unlock this achievement.
 Three-Quarter Sorter
Complete 75 daily tidies to unlock this achievement.
 Highly Decorated
Get all daily tidy badges to unlock this achievement.
Cupboards & Drawers Achievements
There are 8 new achievements with the Cupboards and Drawers DLC. Currently these achievements are reported to be quite buggy.
 The Other Side
Complete every level in the DLC to unlock this achievement,
 Everything Put Away
Earn 100% completion in the DLC to unlock this achievement. This is done by earning all stars on every level.
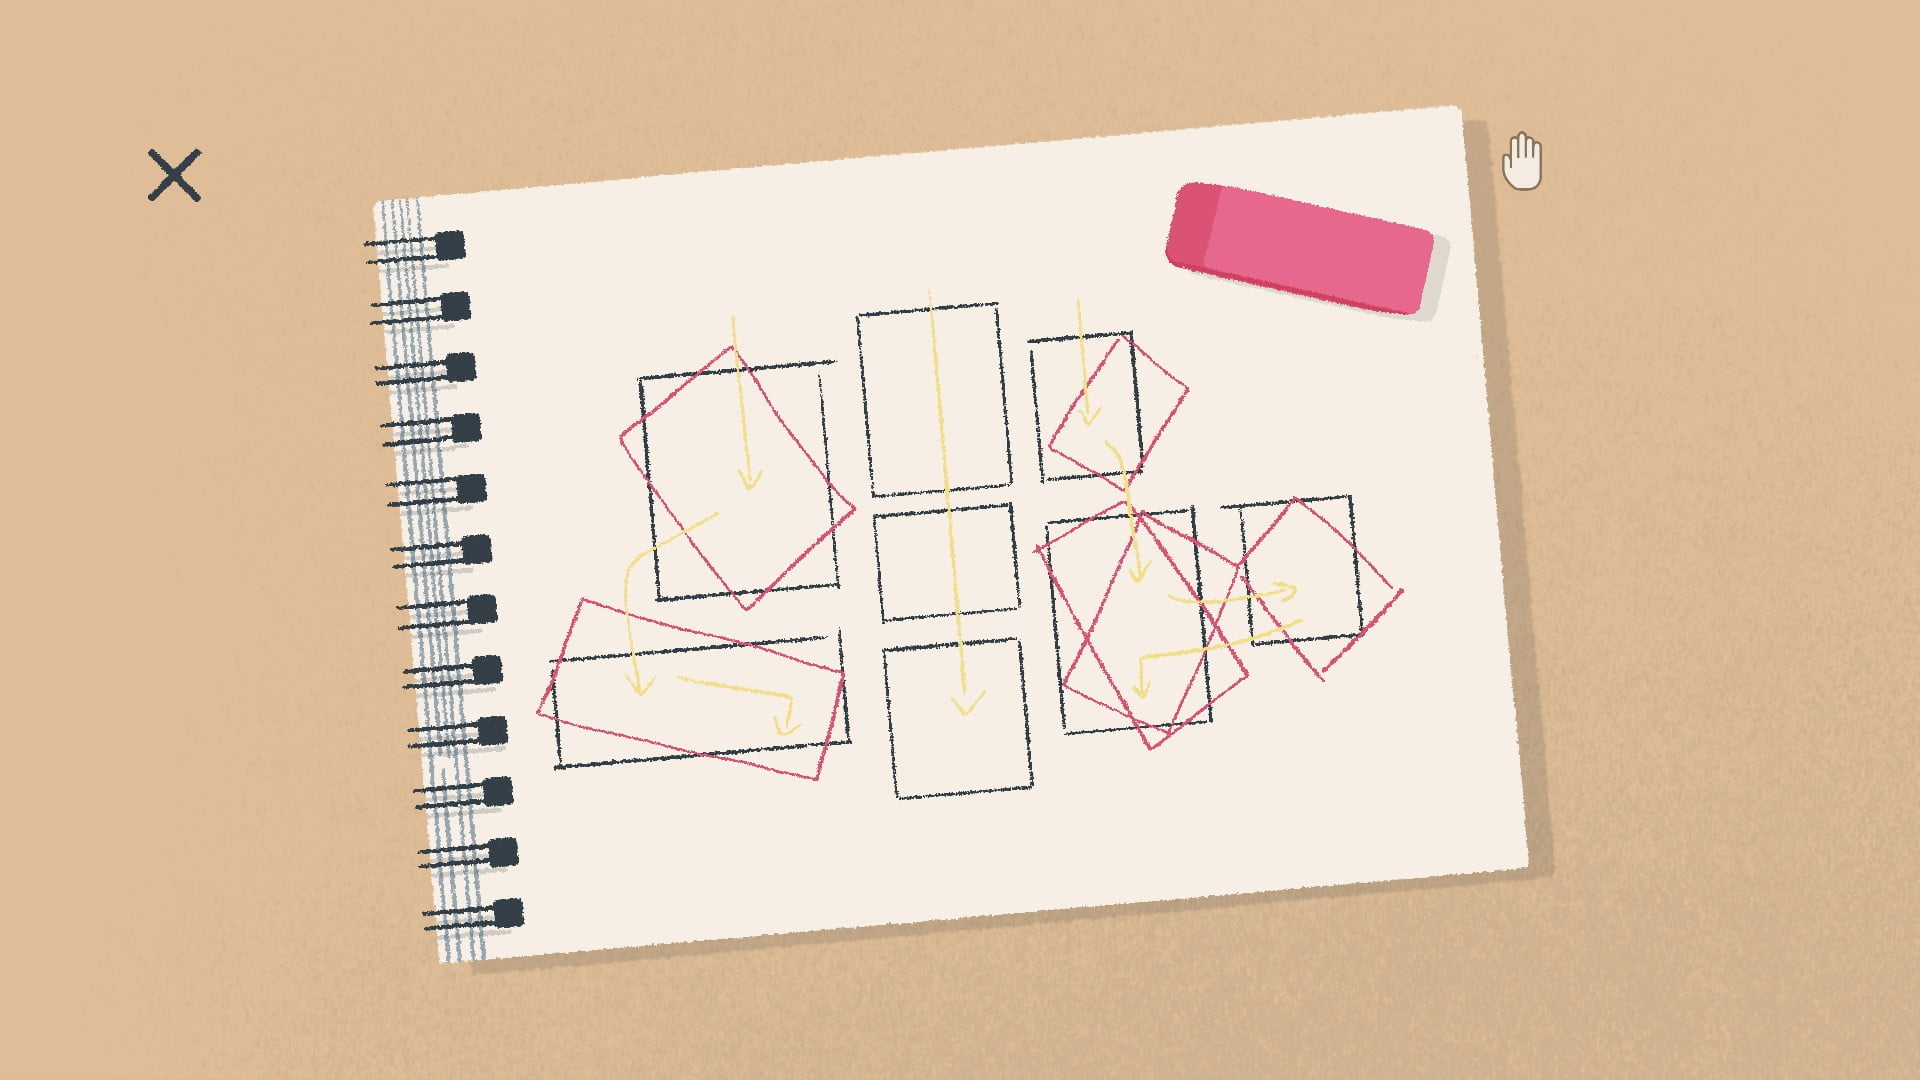
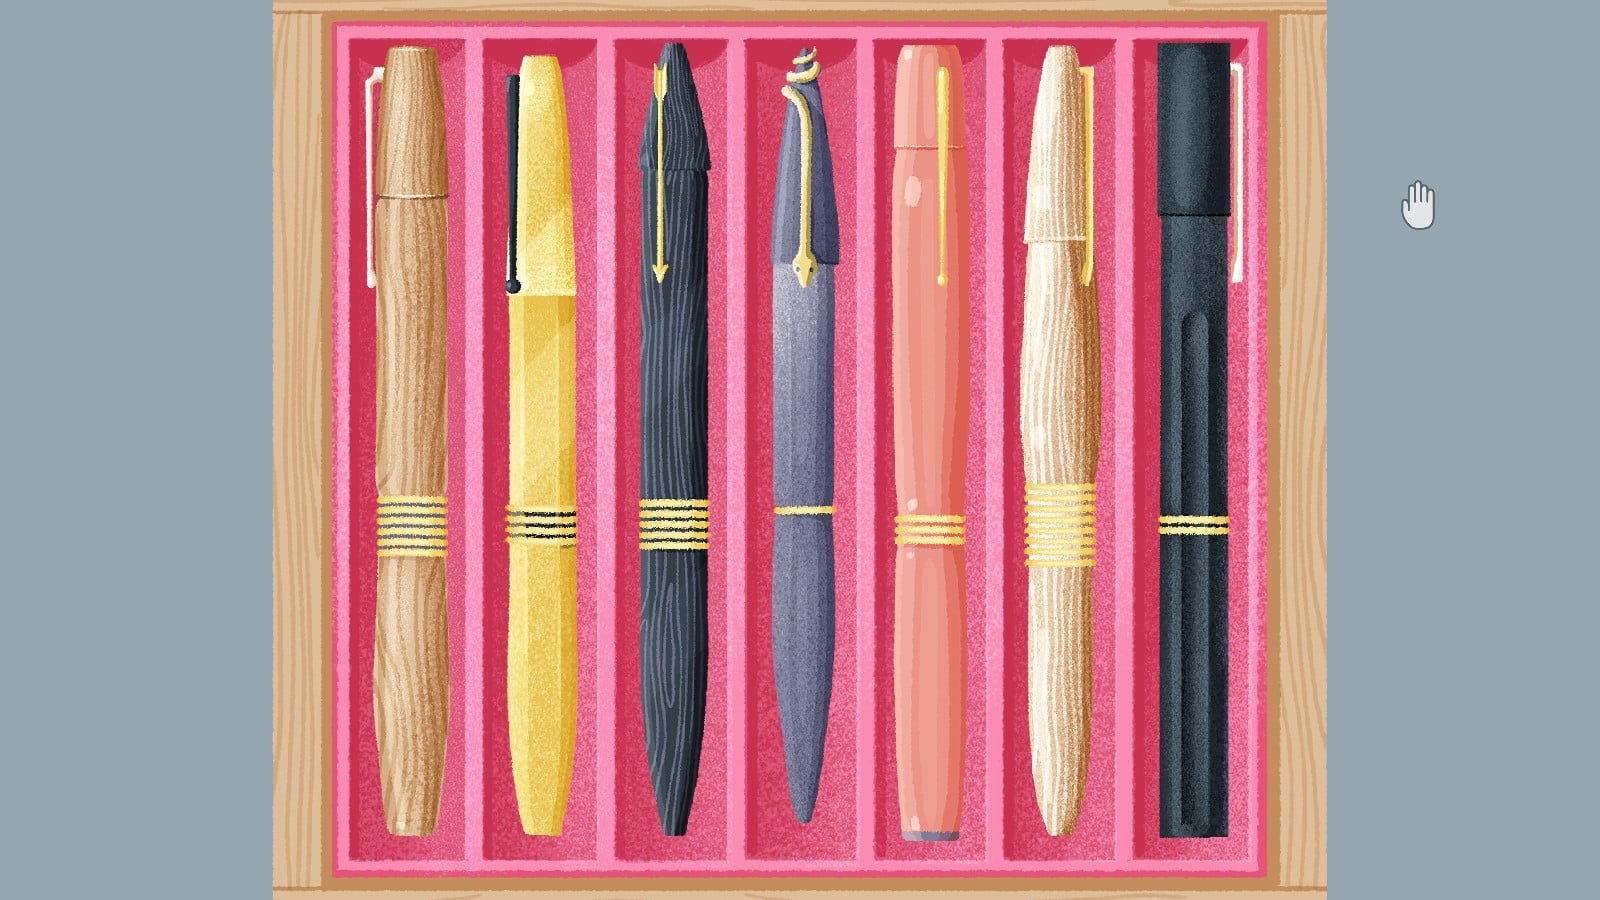
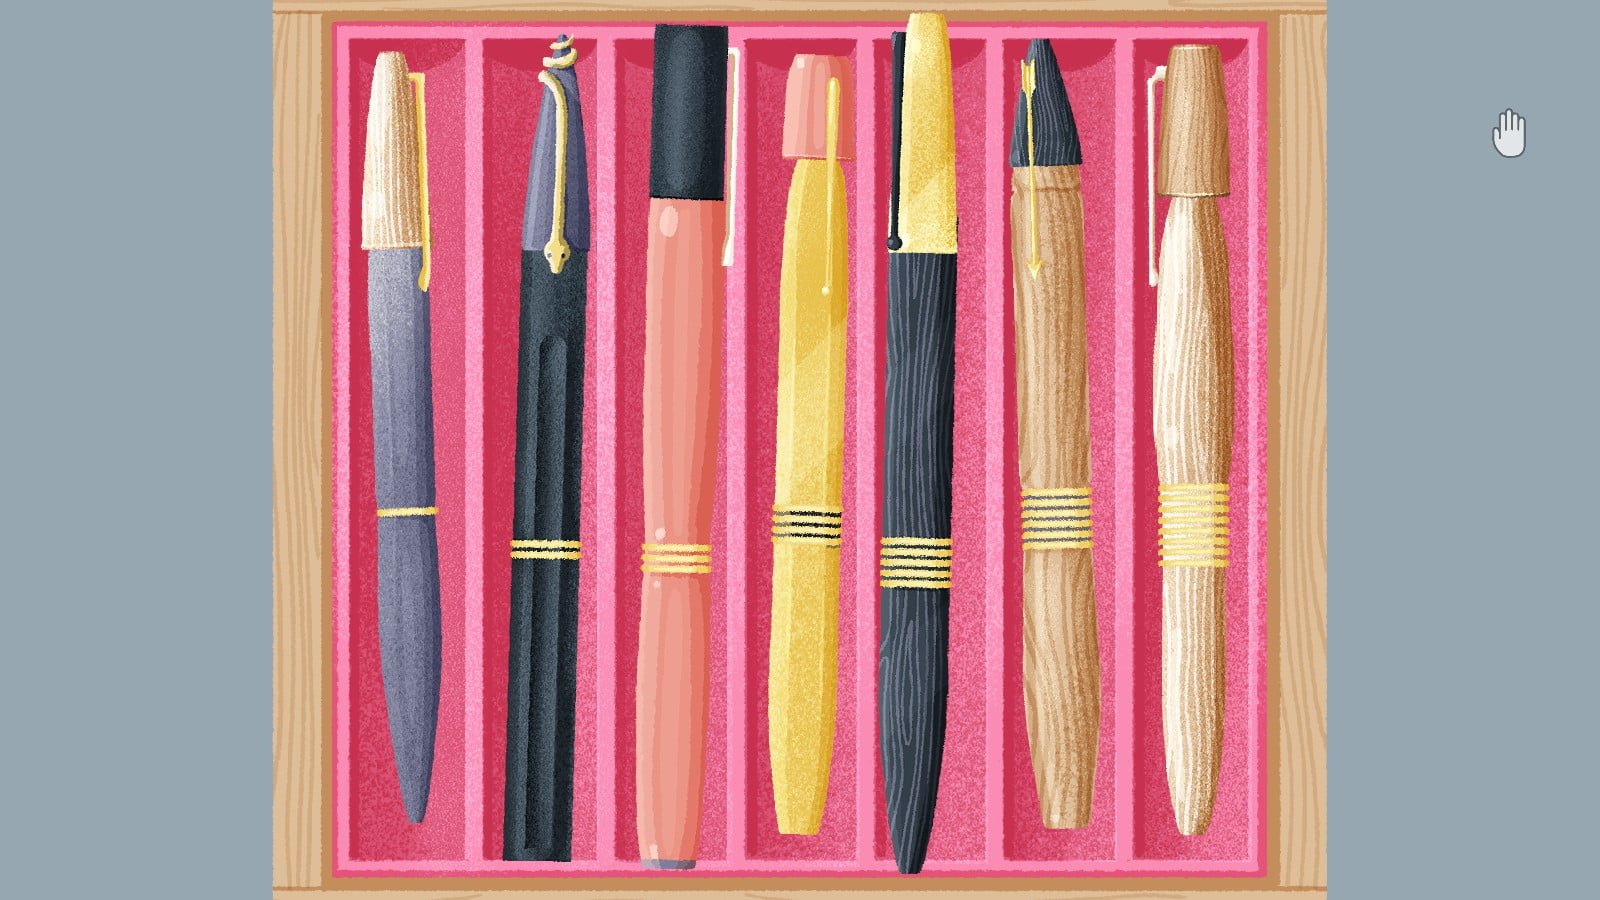
 Where is My Cap?
In level 3, place every pen cap on the wrong pen, without simply trading between two pens to unlock this achievement. This sounds confusing, but the best way to achieve this is to first place the pens in order (I used line order), then place each cap on the pen to the left of the pen it belongs on. Here’s a screenshot for clarity:
 A Balanced Meal
In level 7, stack all items on the center circle to unlock this achievement. Okay, this achievement is a bit of a nuisance, so here are my tips:
- Do not let the trays get too close to their intended positions, they will lock in place and cannot be moved after that.
- Stack the largest trays on the bottom, with the smallest on top. If all the smaller trays are stacked on the largest tray, the only the largest tray technically needs to be stacked on the circle.
- Place the food items in their intended positions on each tray as you move along, EXCEPT the apples. I just slapped the apples on top.
- Food will fall of the trays, it’s okay, just add them to the top later.
- If you think everything is stacked and you have not yet triggered the achievement, grab the bottommost tray and slide it off of the center, food may have fallen off of your trays without you noticing, or maybe your tray shifted a bit too far off of the center circle. Return it to the center circle.
If you still can’t get the achievement, know that this one is quite specific, just keep trying.
Here’s what my stack looked like when I got the achievement:
 Can do Altitude
In level 12, stack every can on top of each other to unlock this achievement. This is most easily done by making 2-3 stacks and joining them.
 In No Rush
In level 13, wait ~30 seconds before petting the cat to unlock this achievement. The achievement should pop up while you are waiting.
 Now You’re Playing with Power
In level 17, turn on the GameBoy to unlock this achievement.
 Show Off
In level 26, line up all of the trophies to unlock this achievement.